Happy Monday—let’s kick off the week with another fun flip!
Supplies Used:(Affiliate links may be provided for convenience. For more info, see my full disclosure here.)
- Sander
- Bondo
- Primer
- Paint
- Miter Saw
- 2×4
- Kreg Jig
- Quart Paint Sticks
- Painters Tape
- Sandstone Stain
- Special Walnut Stain
- Polyacrylic
- Knobs
- Contact Paper
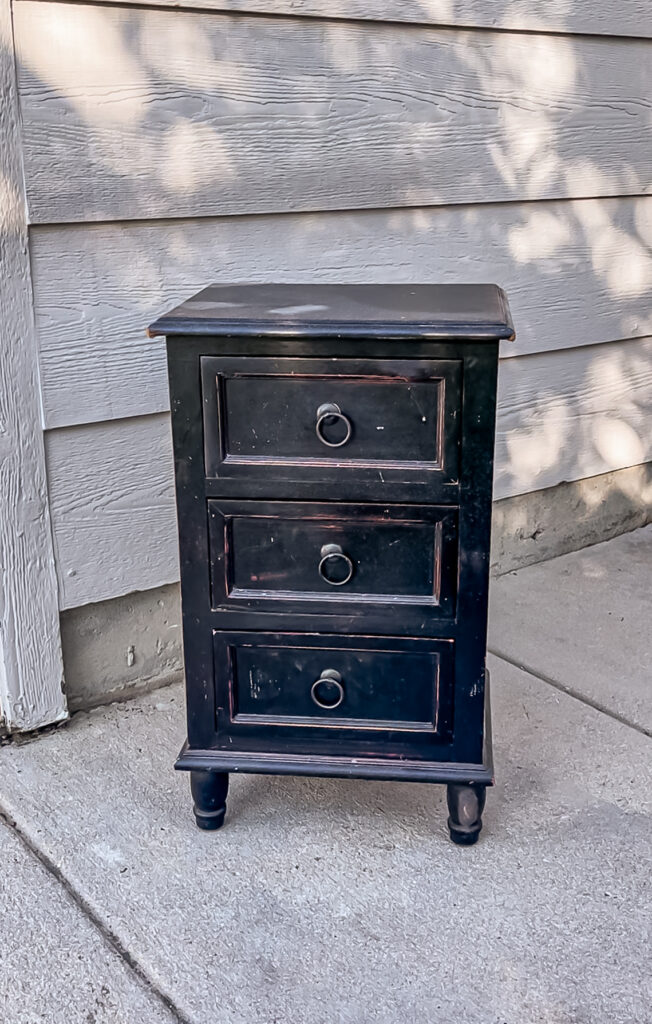
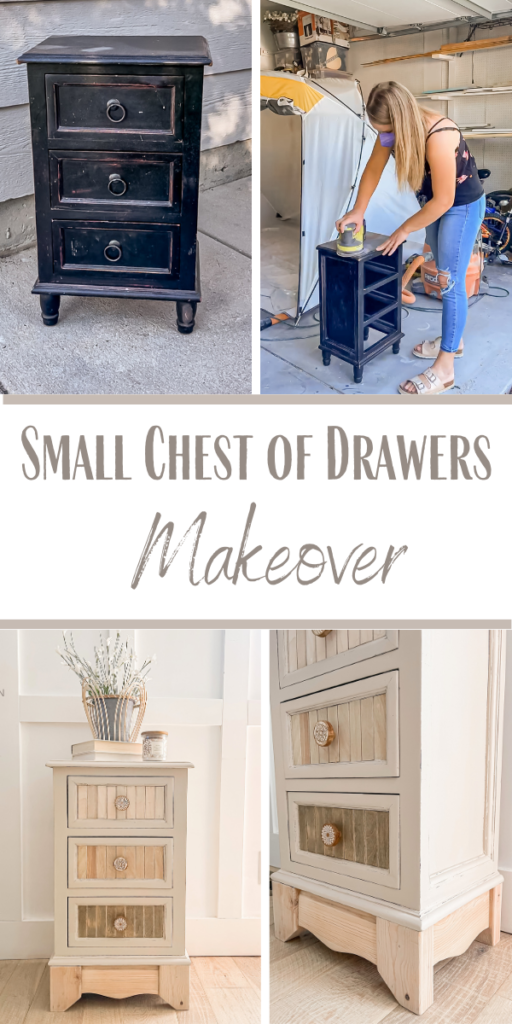
I got this piece for $10 on Facebook Marketplace and although it was in pretty beat up shape, I knew that I could give it a little love.
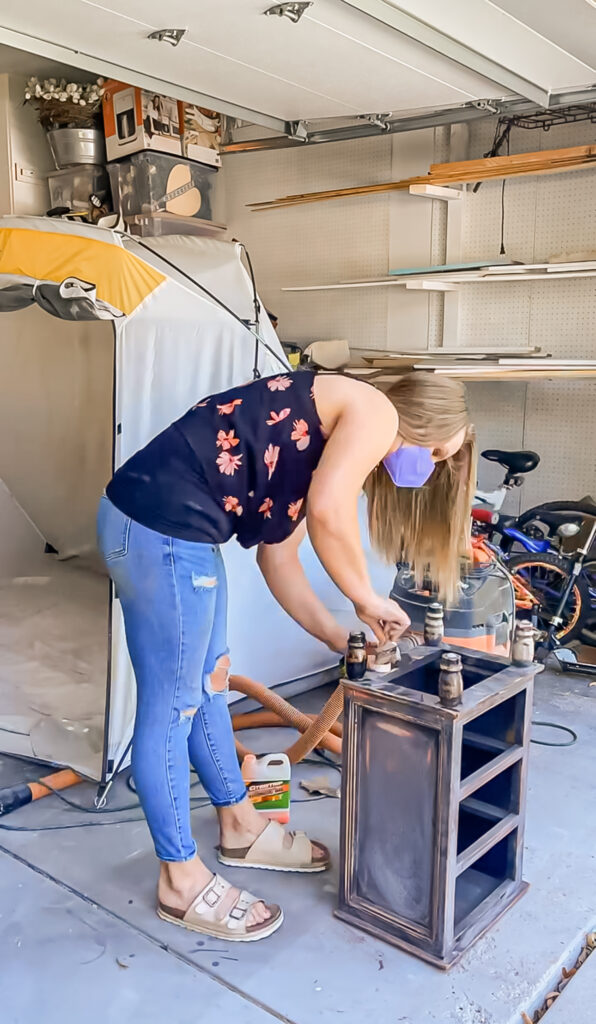
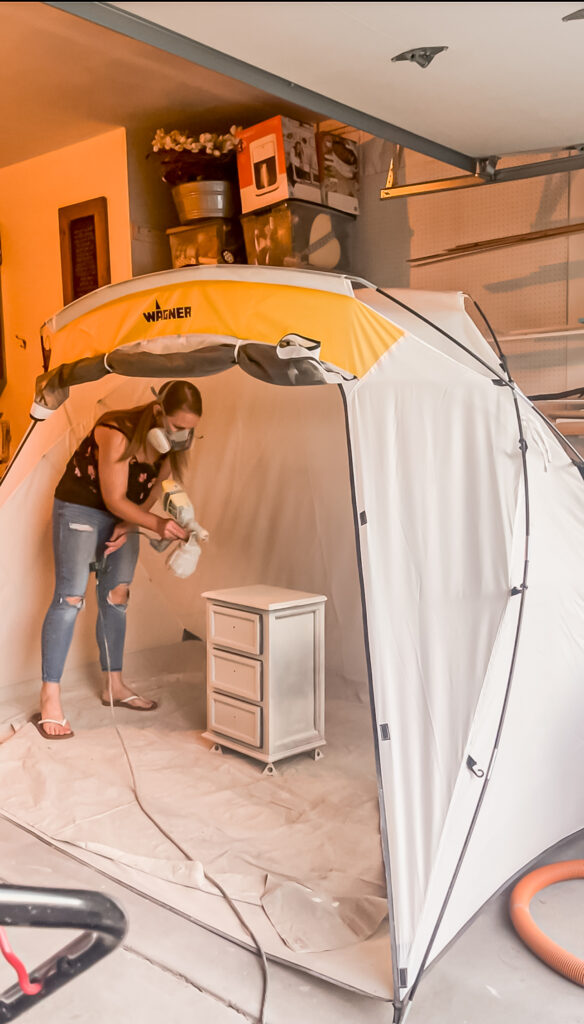
I started by popping the old hardware off and giving it a good deep clean. I then gave the whole piece a scuff to prep it for primer and paint.
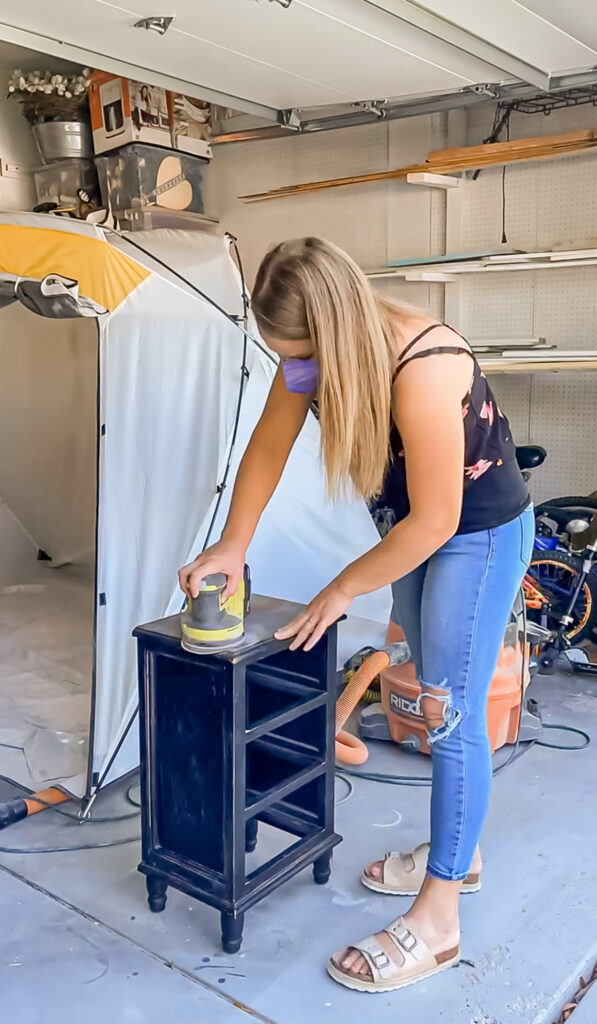
The paint covering the MDF was very thin, so a lot of it became exposed. There was also some bubbles from water damage that needed to be smoothed down. In the past when I have painted over exposed MDF it comes out very rough since it just continues to soak up paint and the texture difference is very visible.
I have learned that when this occurs you need to spackle or Bondo over those spots so that a buttery smooth finish can be created.
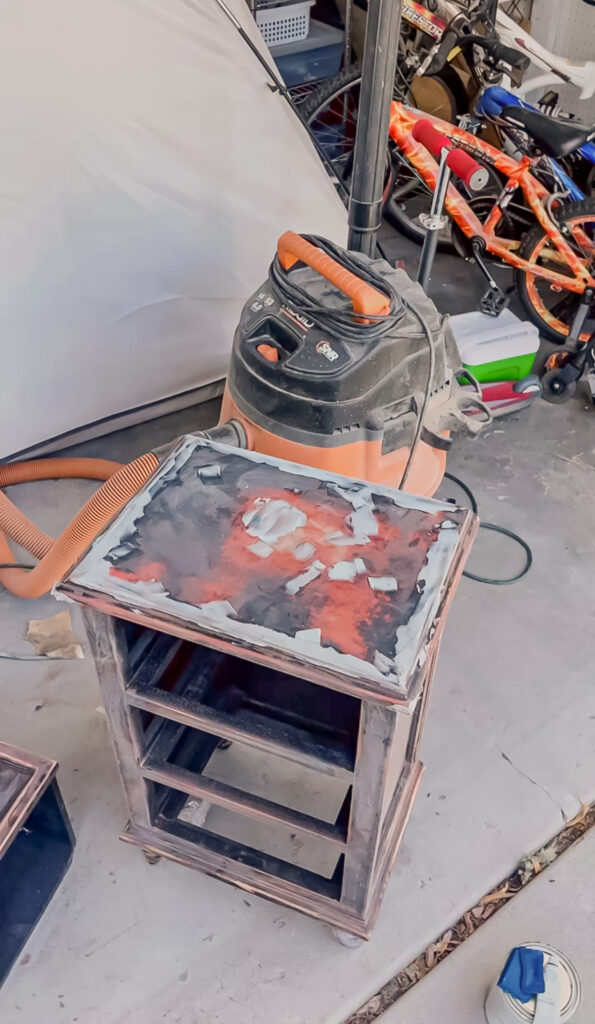
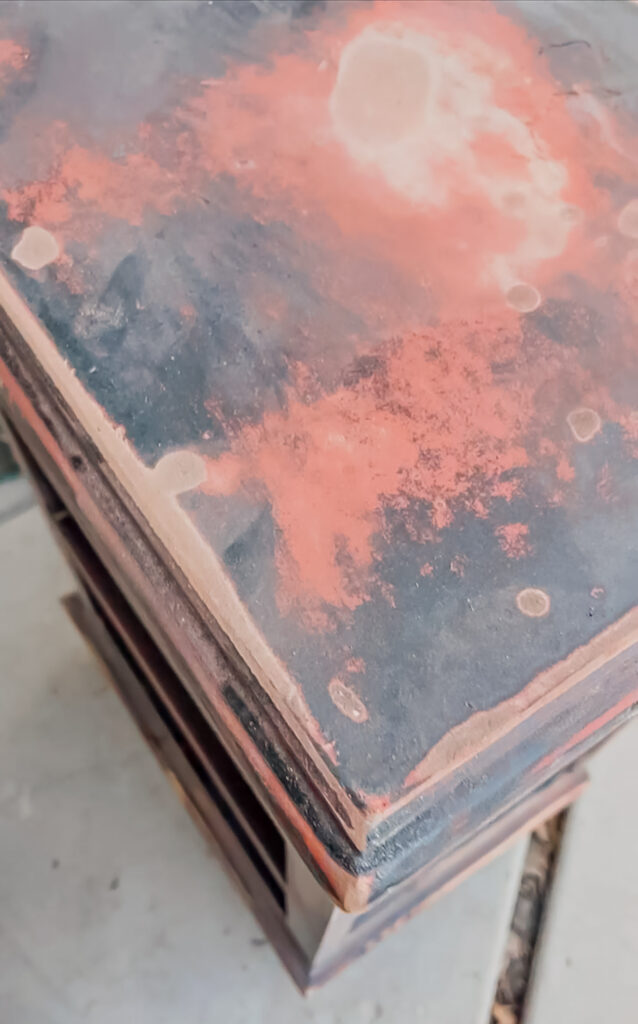
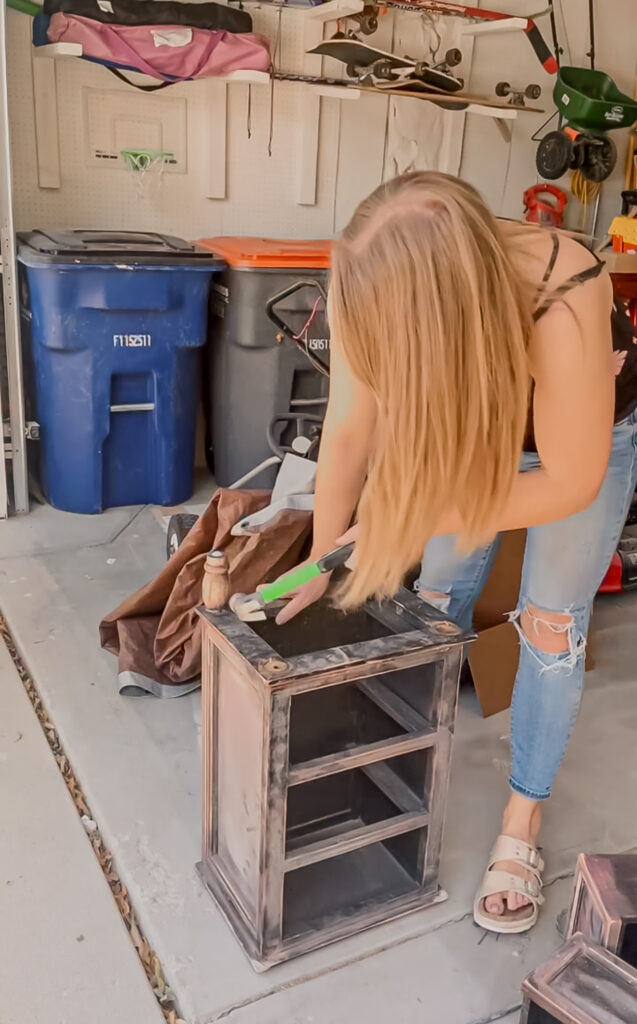
I tried to keep the original wood feet but because of how detailed they were, sanding was extremely tedious. I decided to apply some Citristrip and then wrapped them with plastic to see if that would help.

After an hour I saw that the paint was still not coming off easily so I decided to just hammer them off since it wasn’t worth the effort and I had a better idea in mind anyways.
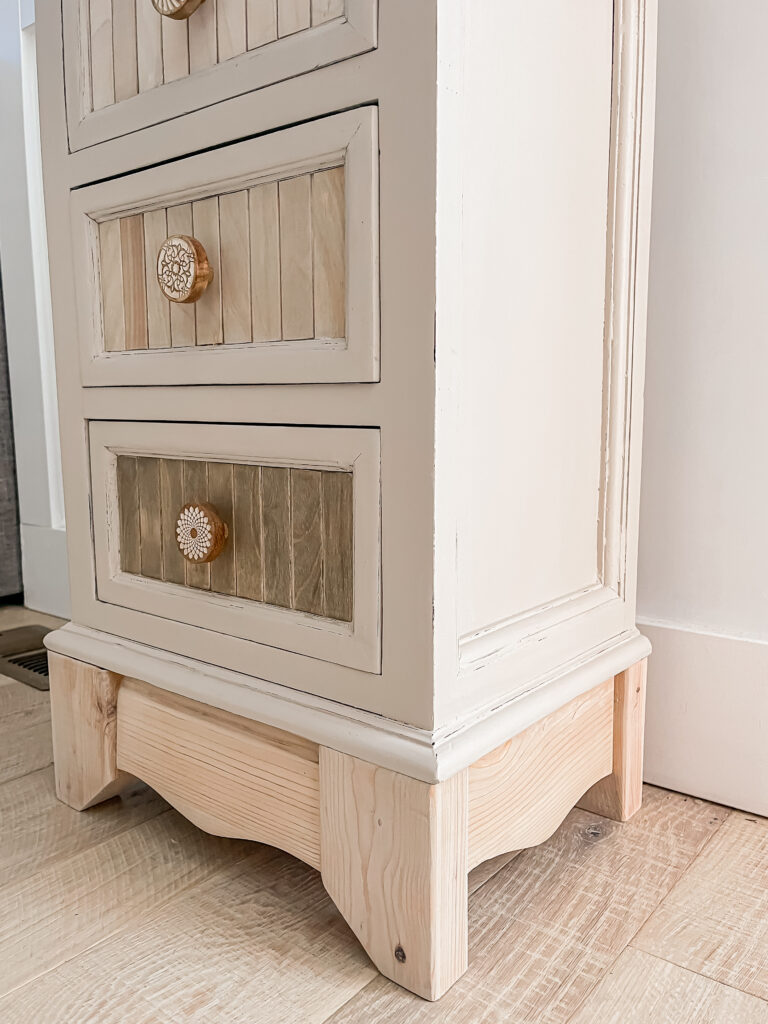
I used a 2×4 and some curved trim that I had on hand to build a new base.
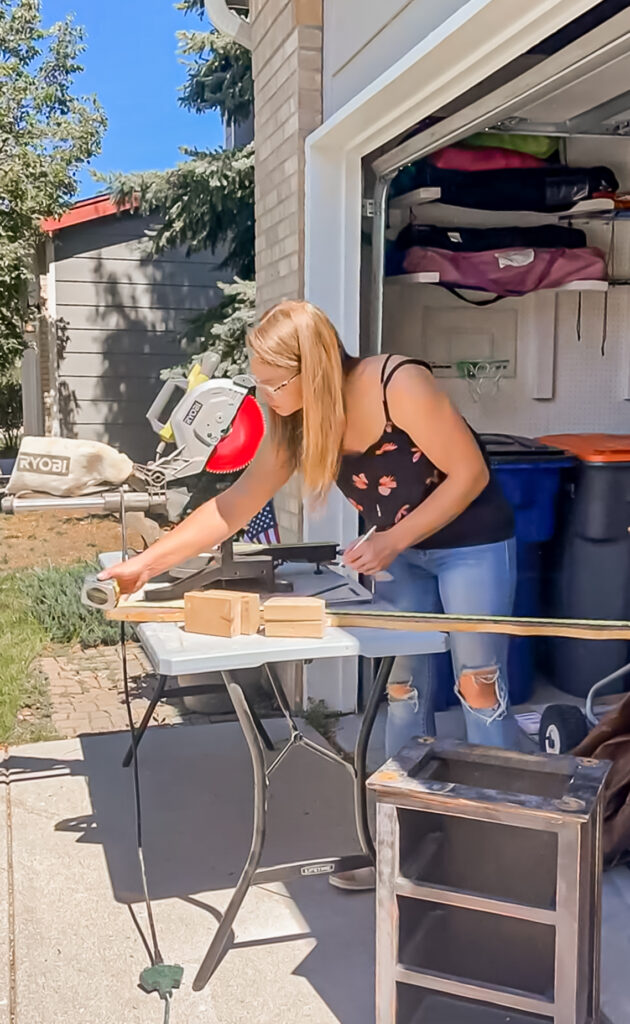
After all of the pieces were cut down to size, I used wood glue and Kreg jig pocket holes to attach them together.

I set the base aside and applied a coat of clear shellac primer to help with paint adhesion and to block and tannins from the wood portions from bleeding through.
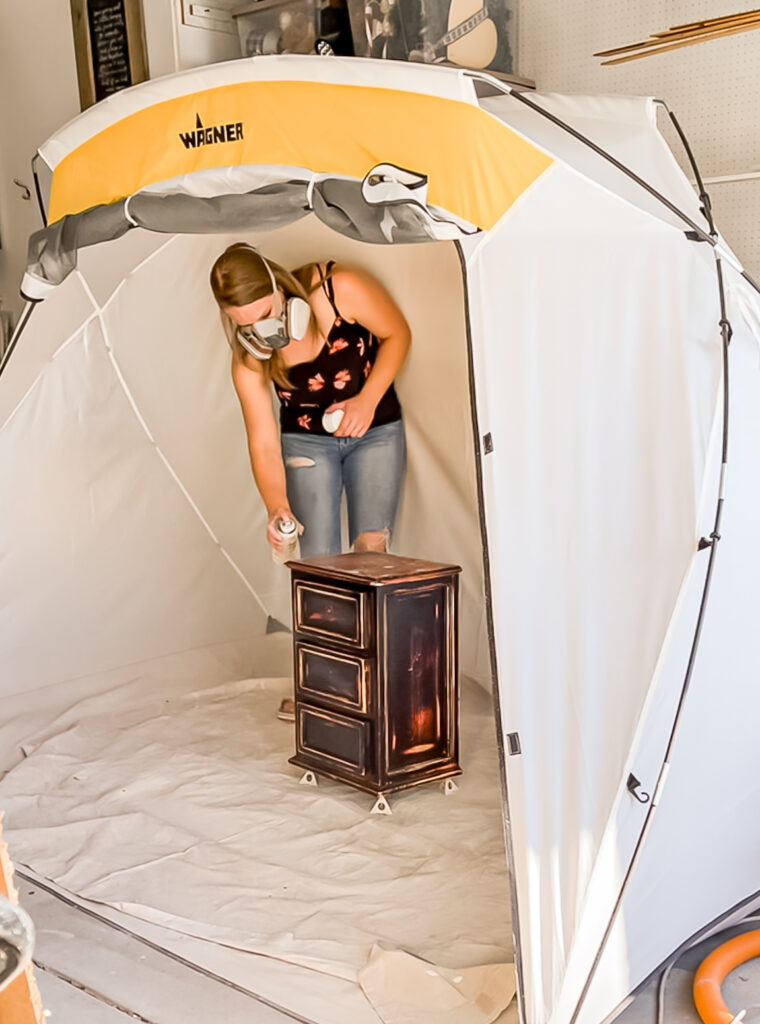
Once that was dry, I applied a couple coats of enamel paint.
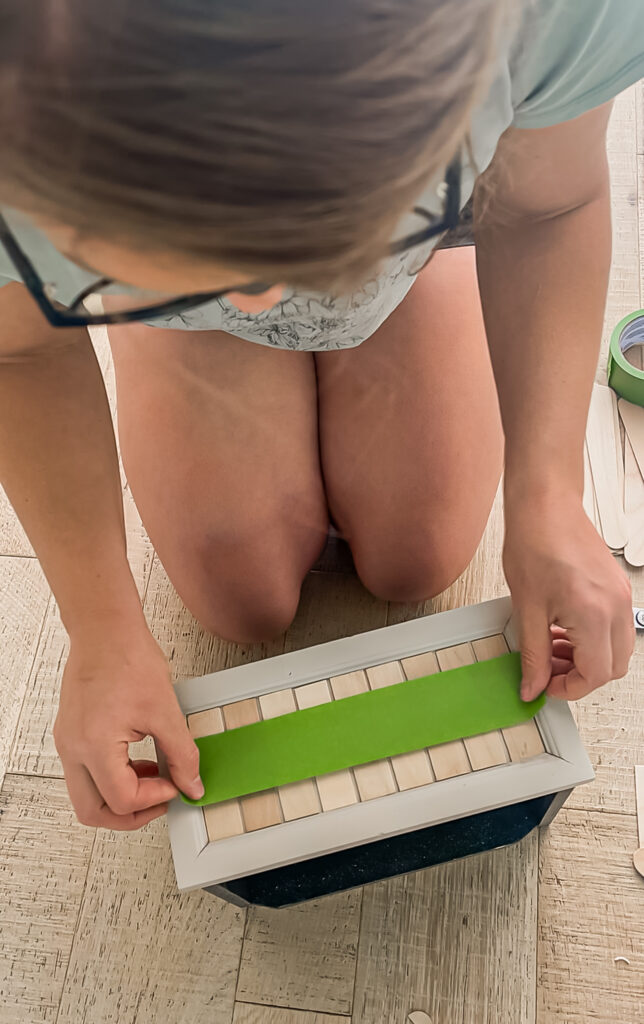
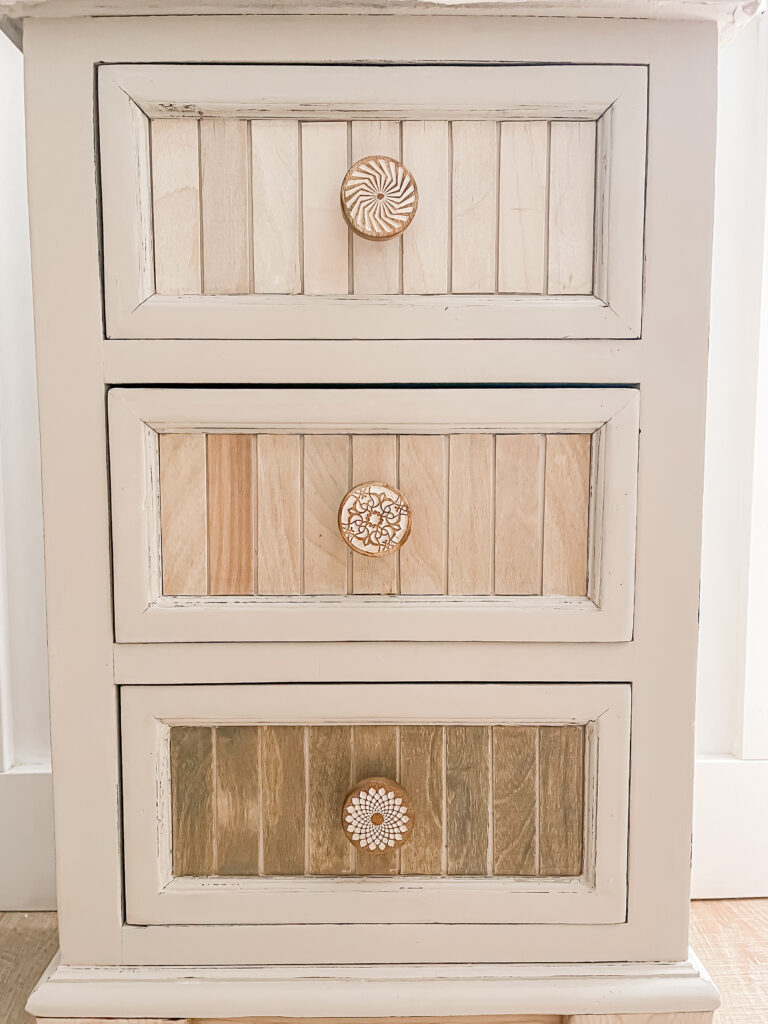
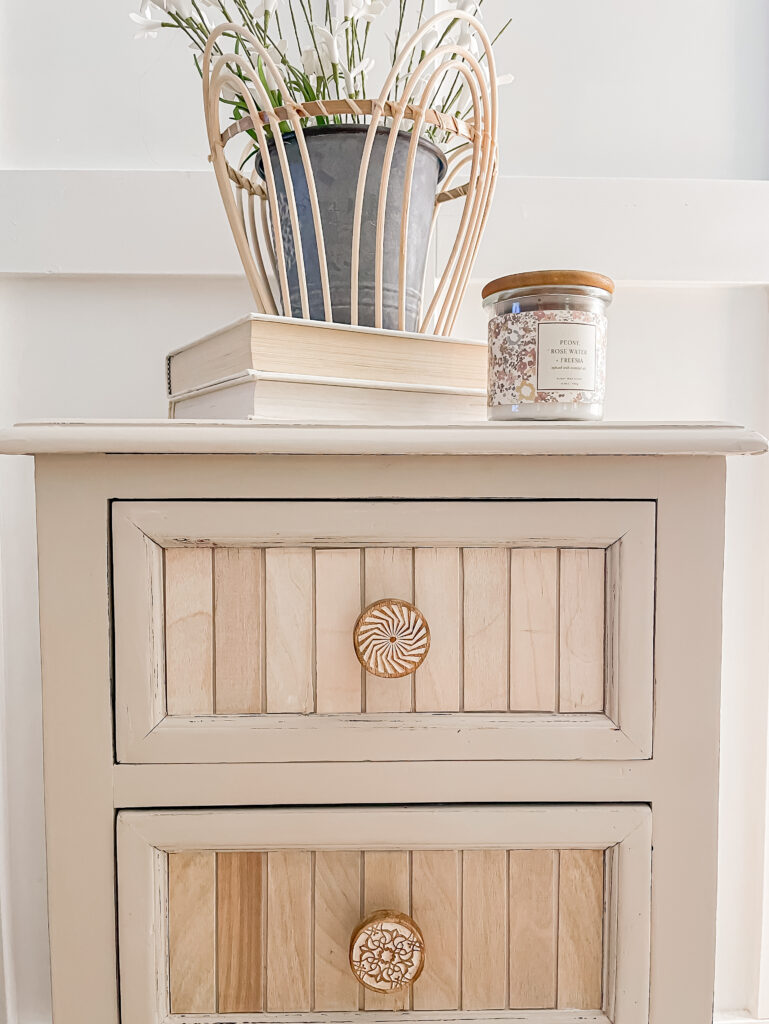
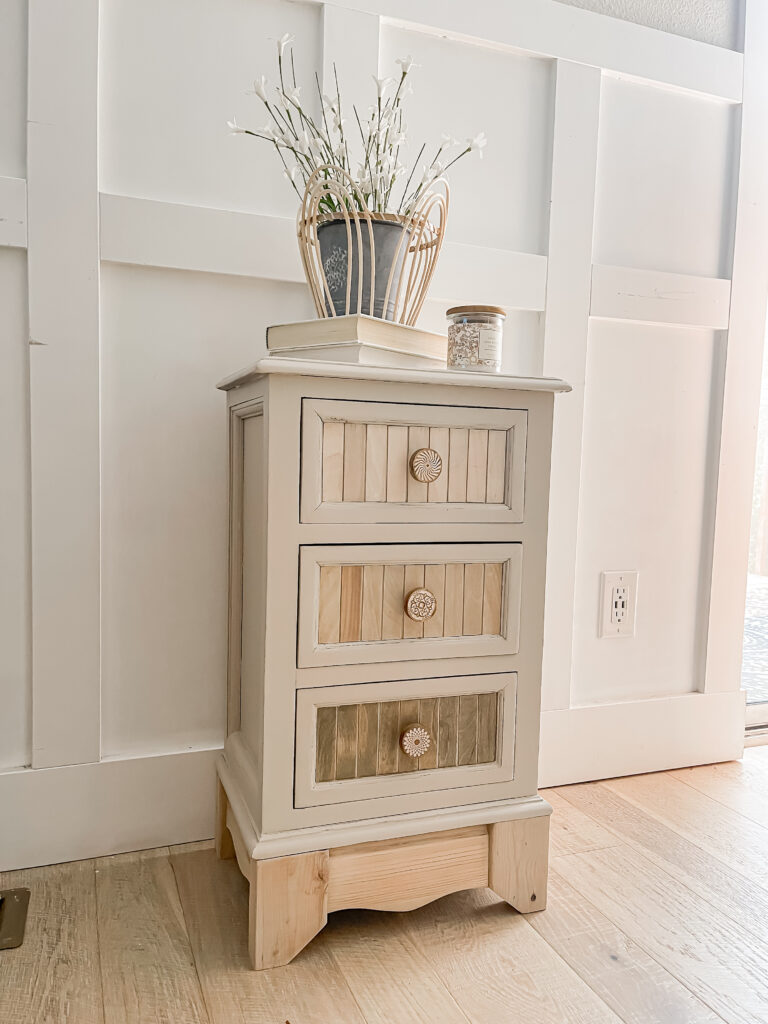
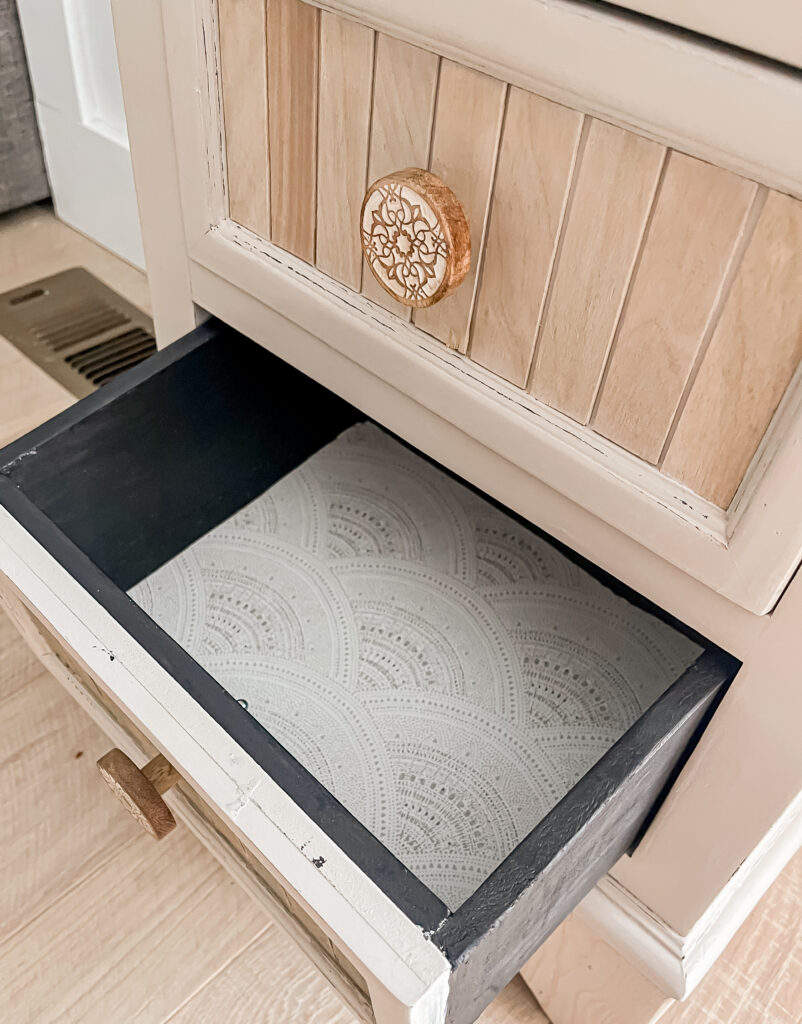
Next it was time to add some interest to the drawers. I cut down quart paint sticks to fit inside each one.

I ran a piece of painters tape across them to keep them perfectly spaced, then laid down some wood glue on the drawer. I pressed them down and put a piece of scrap wood with clamps on top as they dried.
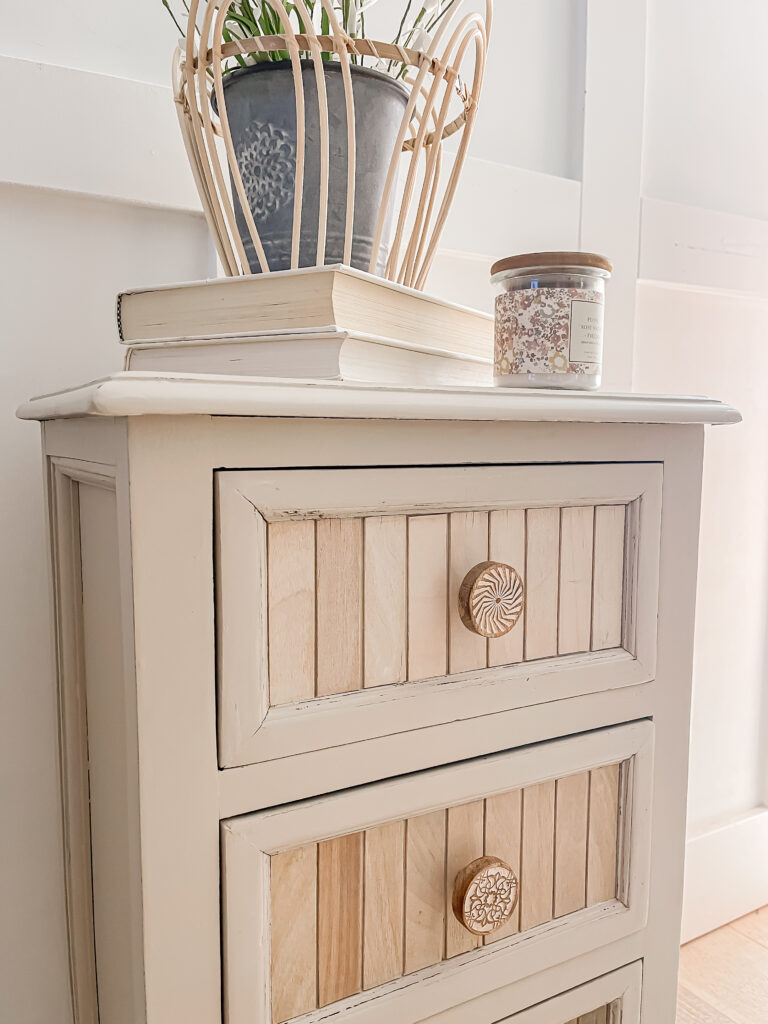
Once the glue was dry I decided to stain them with an ombré effect by applying my stain mix to the bottom drawer, then added mineral spirits to slightly lighten it before applying it to the middle one. The top drawer and base simply got whitewashed. Here is how it turned out!
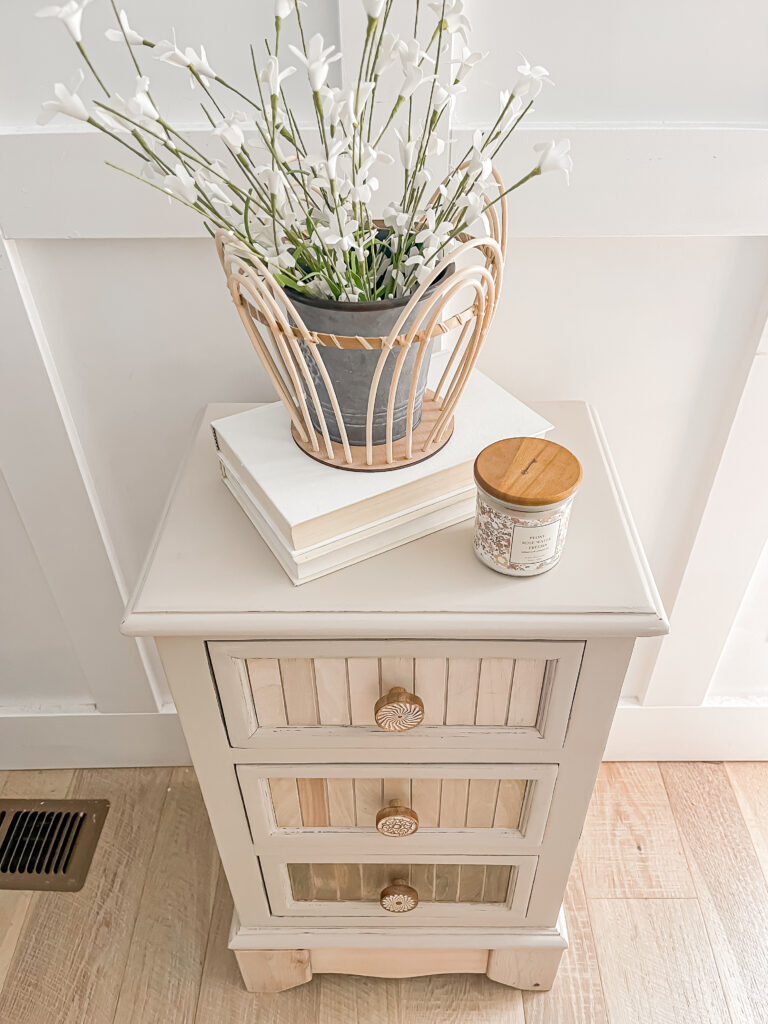
The new base was such an upgrade and I was so happy that I kept that piece of curvy trim—I knew it would come in handy one day!

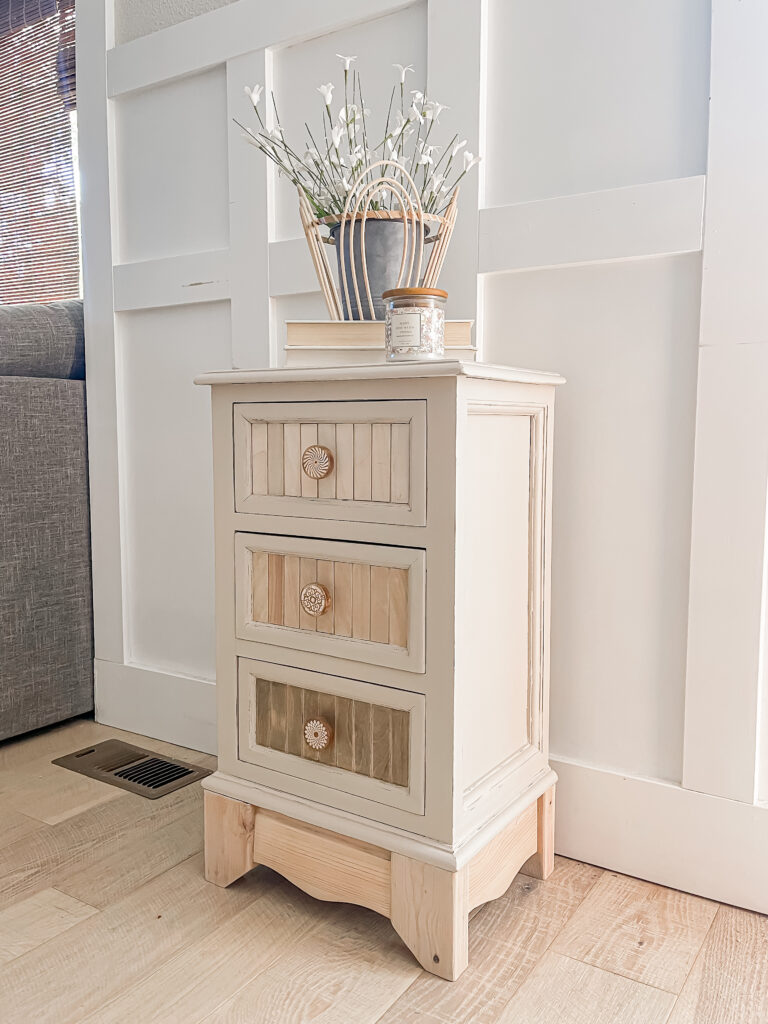
To make it a fun and one of a kind piece I decided to use a different patterned knob on each drawer.
I hope your week is off to a great start, I’ll be back later this week to share another fun one!
PIN FOR LATER!
Linking up to these awesome parties!