Hello friends! I am happy to report that after years of hauling all of my furniture flips inside and setting them up in a mediocre wall, I FINALLY built an official staging wall in the garage.
I put this project off for so long because it seemed daunting, when in reality it wasn’t bad at all. I only wish I would have done it sooner!
Supplies Used:(Affiliate links may be provided for convenience. For more info, see my full disclosure here.)
- 2x4s
- Wall Panels
- Nail Gun
- Spackle
- Caulk
- Paint Sprayer
- 1×6 MDF
- Vinyl Sheet Flooring
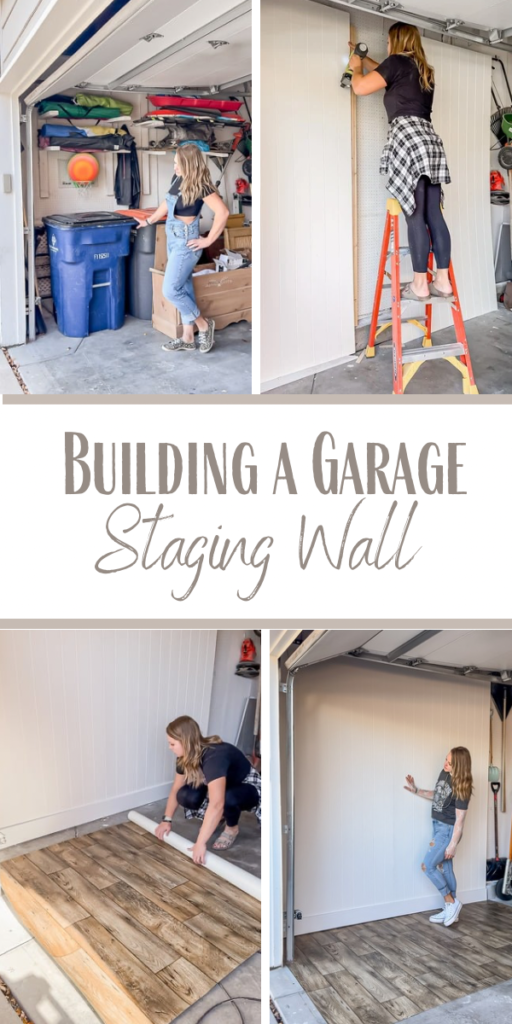
I decided to use this wall because it gets nice lighting and we can easily wheel the garage and recycling bins in and out of the space.
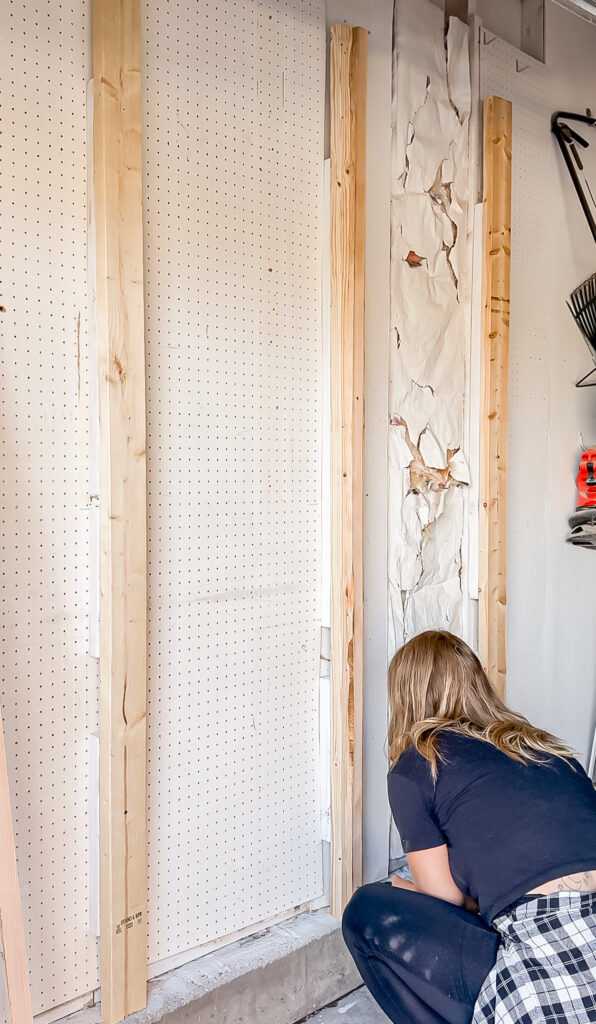
I began by clearing everything out of the area, including the DIY storage racks that I built a couple of years ago. I saved the wood to reuse as you will see in the next step.
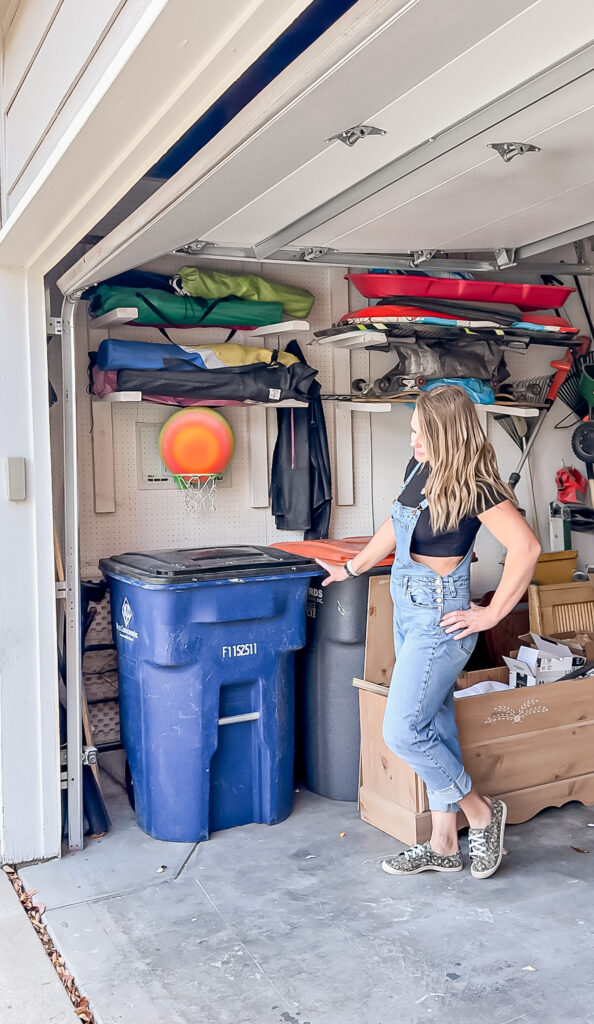
In order to get the wall to sit flush over the concrete ledge on the bottom, I had to build it out. I started with the pieces of 2x4s that I just took down, then added new ones on top.
There was still about a 3/4 gap so I added a 1×2 on to each one, and finally we had a flush surface.
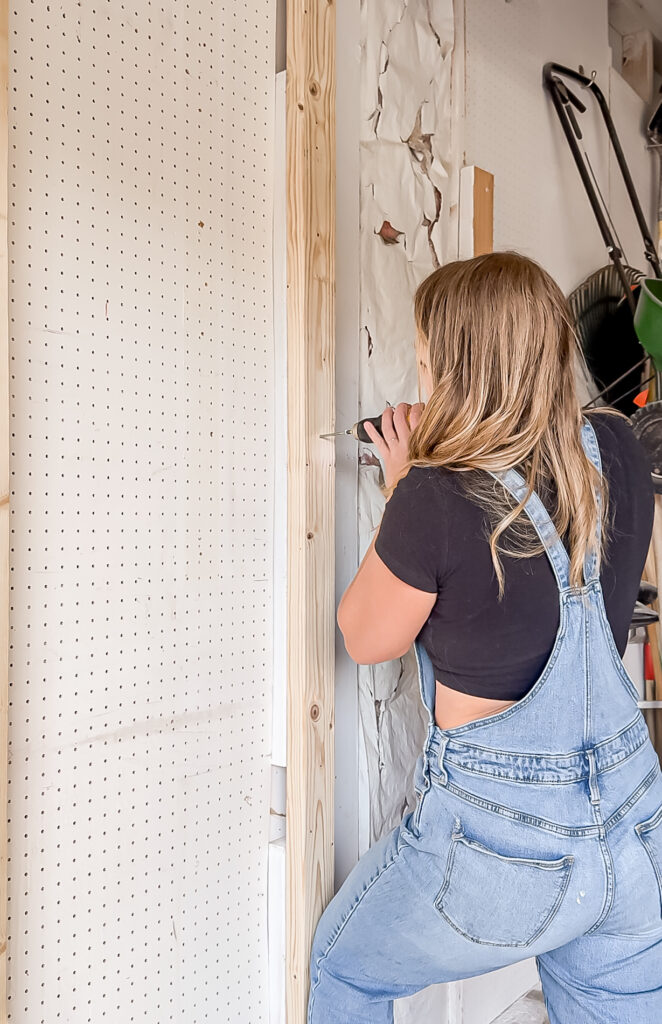
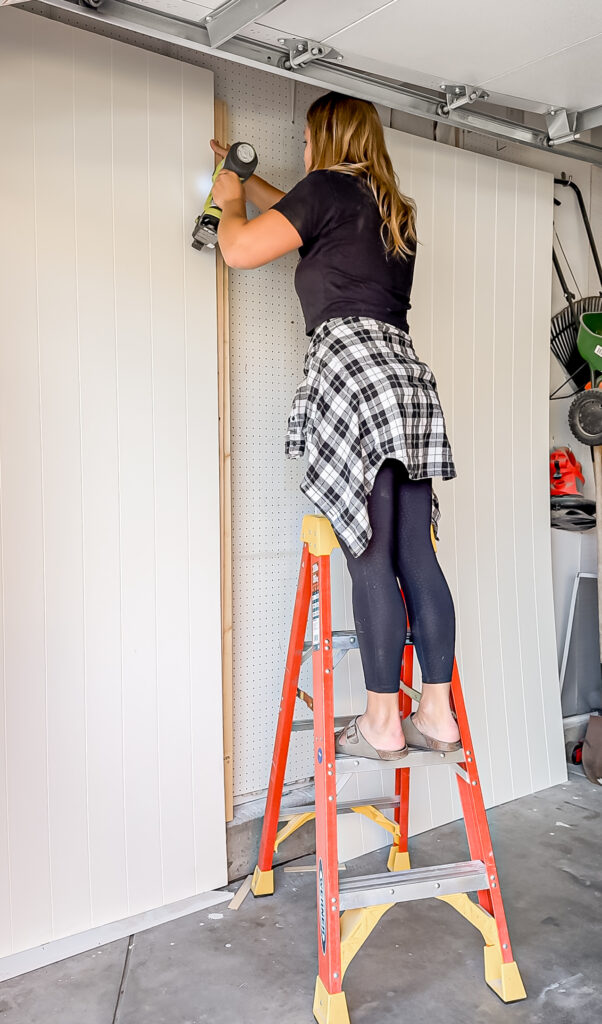
Next it was time to add the wall. When I found these shiplap panels I knew they would be perfect. Rather than going horizontal, I decided to go vertical to make them feel more modern.

Originally I didn’t measure out my supports, so I had to move one over so that it would fall behind the seam between the two panels. I then attached the first panel to the supports using my nail gun.
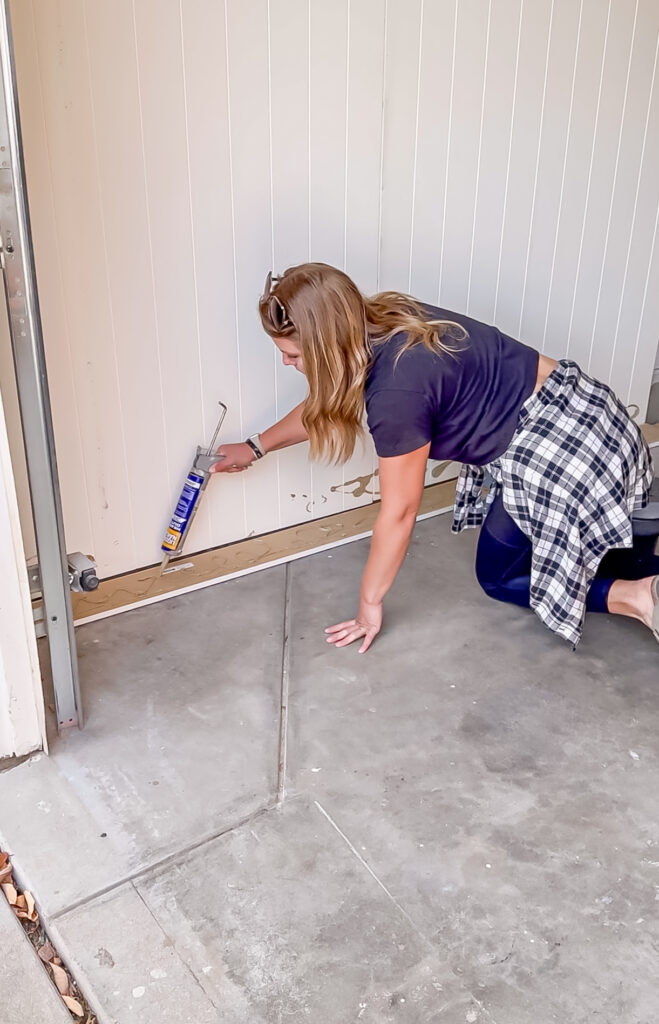
I spackled the nails holes and caulked the seam between the panels for a nice seamless look.
I added a 1×6 MDF board along the bottom as a baseboard and secured it with liquid nails.
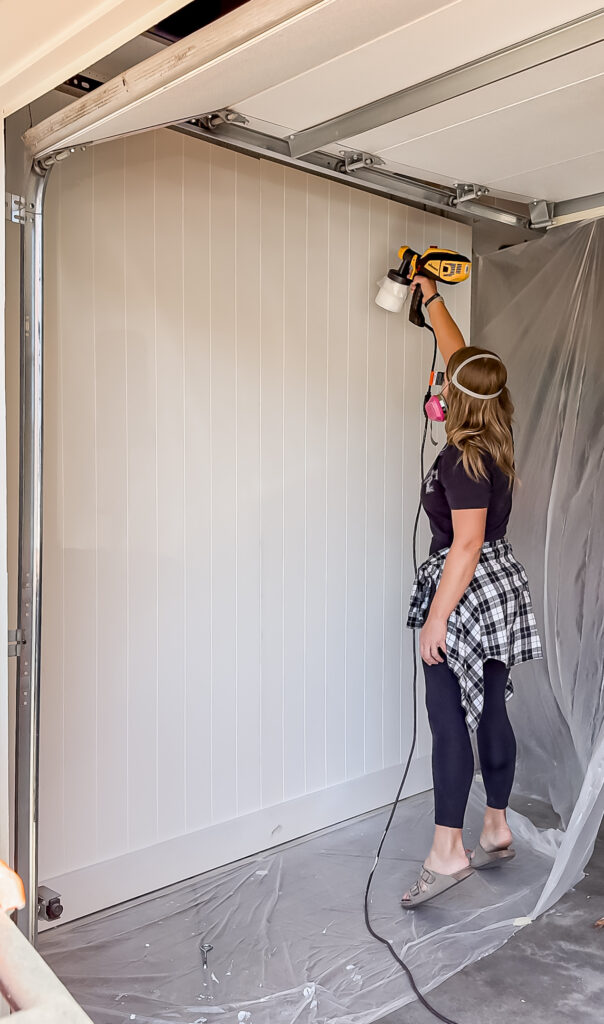
I set weights against it while it dried, and taped off the surrounding area to get my wall ready for paint. I applied two coats of the color Swiss Coffee by Valspar which is a nice clean bright white.
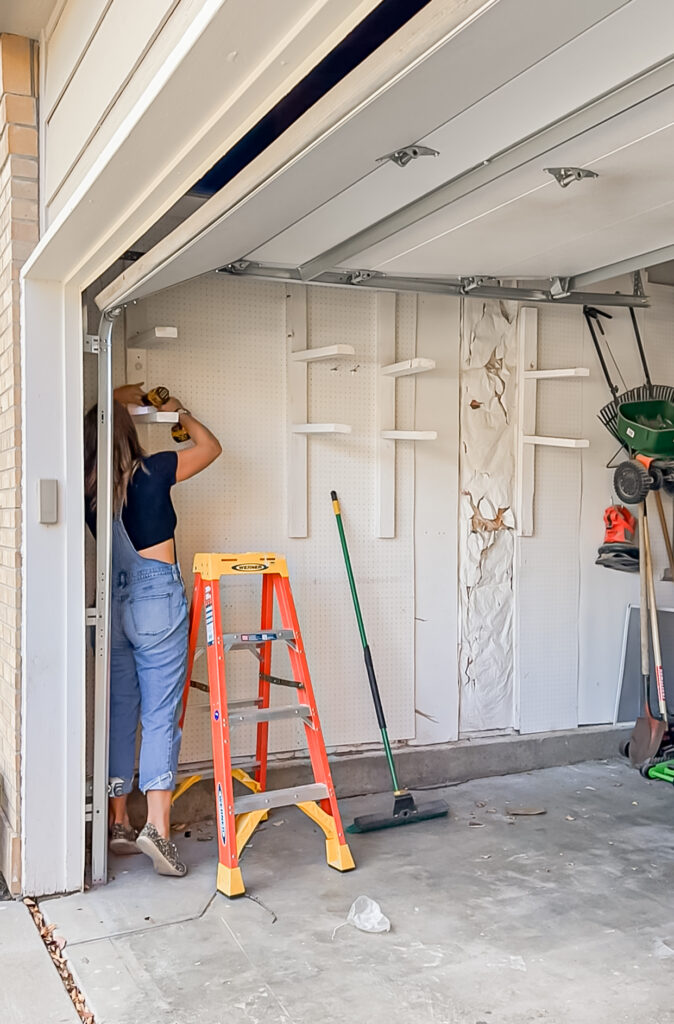
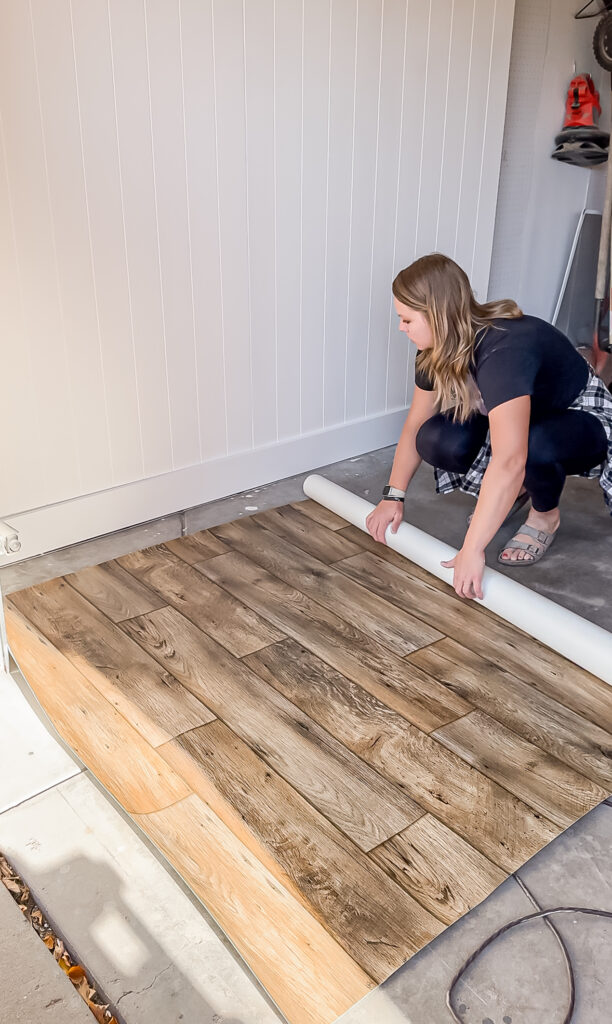
For flooring I simply cut down some vinyl sheet flooring which is easy to clean and replace if I need to.
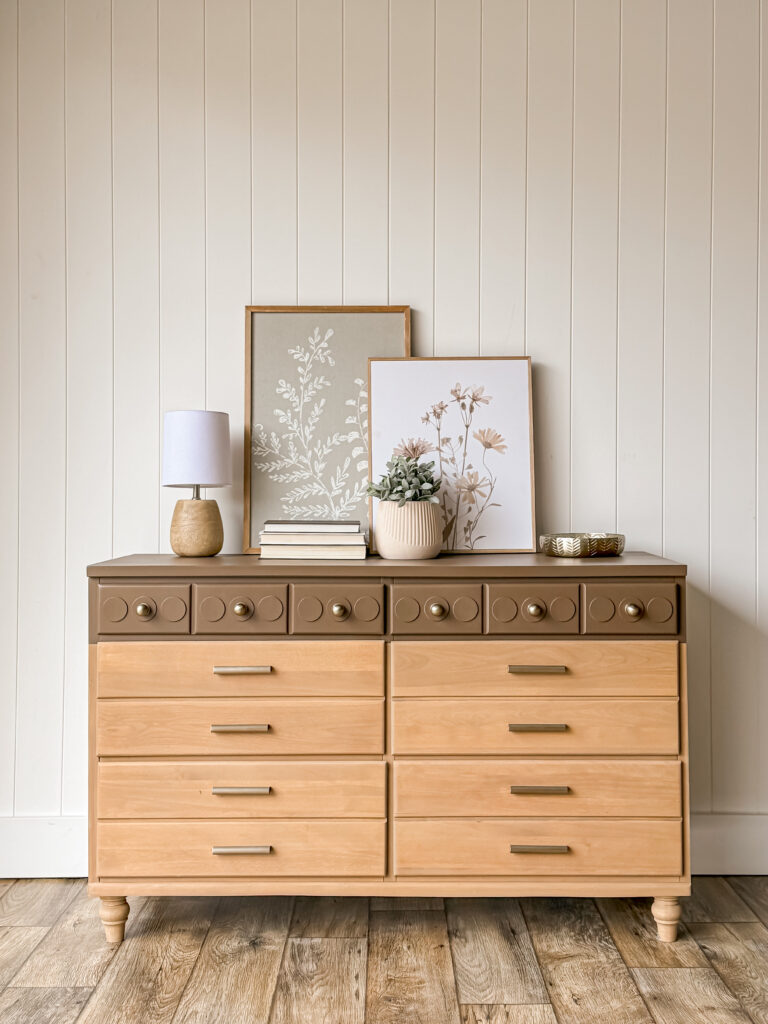
Here is how it turned out!
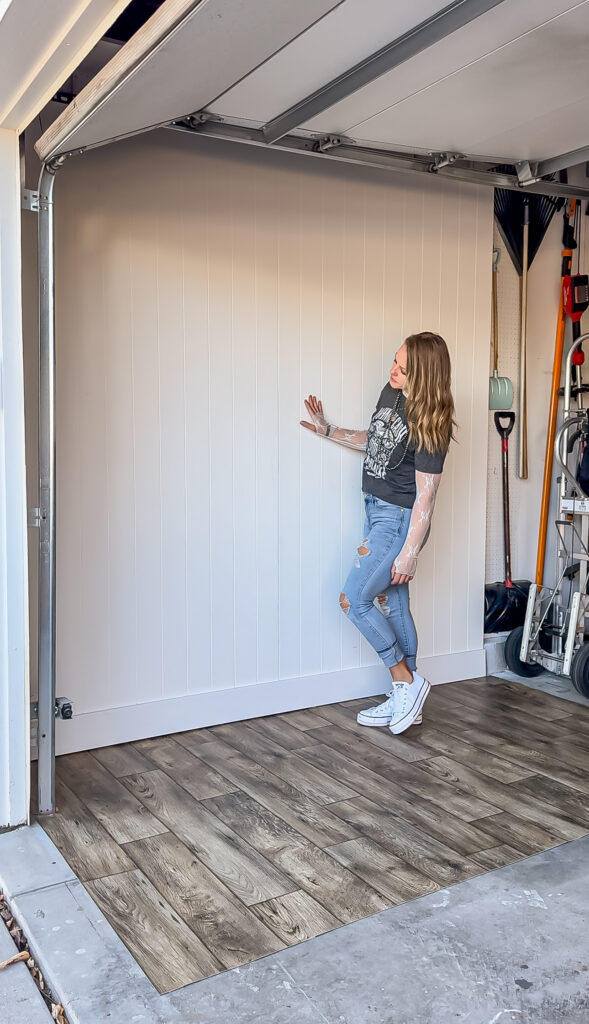
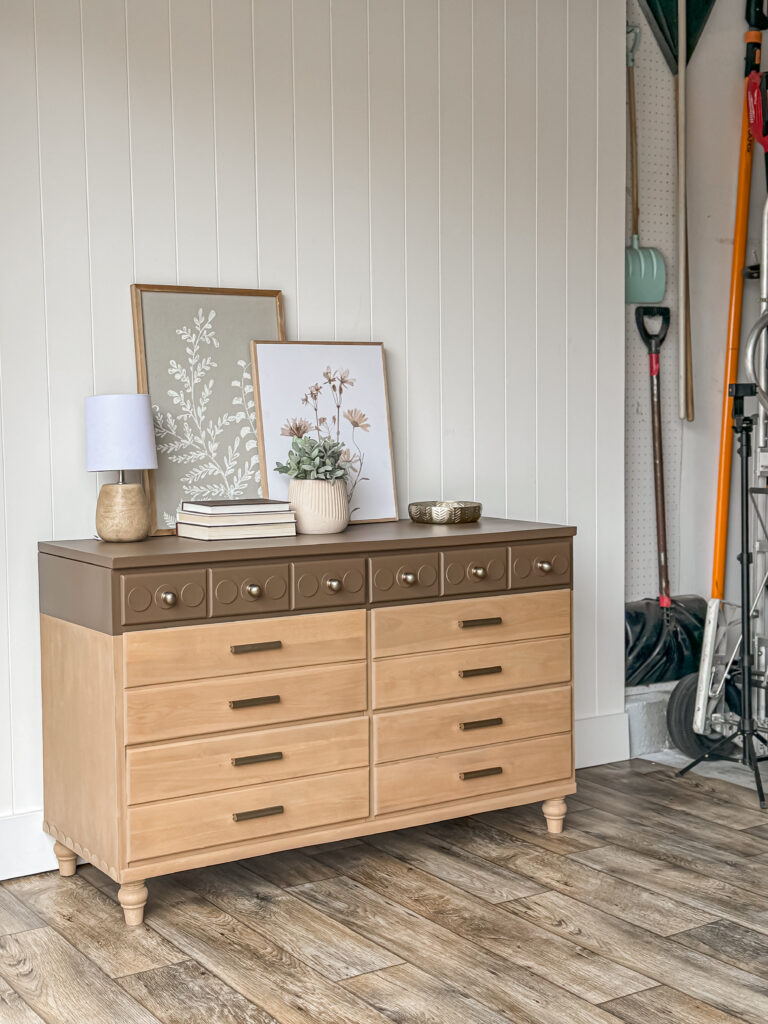
It’s been so awesome not having to haul the pieces in and out of the house, and I feel like the photo quality it better out here as well. Here is what a staged piece now looks like!
It feels like it’s inside the house, but here is what’s really going on around it!
I hope you all have a wonderful weekend!
PIN FOR LATER!