Happy Friday friends! I hope your week has treated you well. The boys have been on spring break, so I took a couple of days off at the beginning of the week and we had such a wonderful time together.


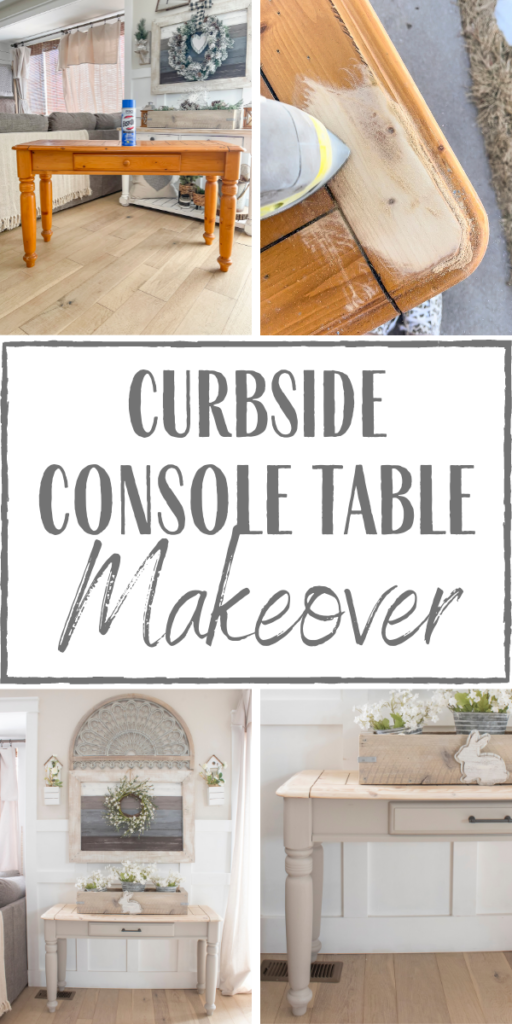
Okay, are you ready to see another fun trash to treasure today? A couple of weeks ago the hubby grabbed this console table that was set out on the curb knowing that I could give it a new life. It sat in our basement while I thought about what I wanted to do with it. A couple weeks ago I finally brought it upstairs to start on it.
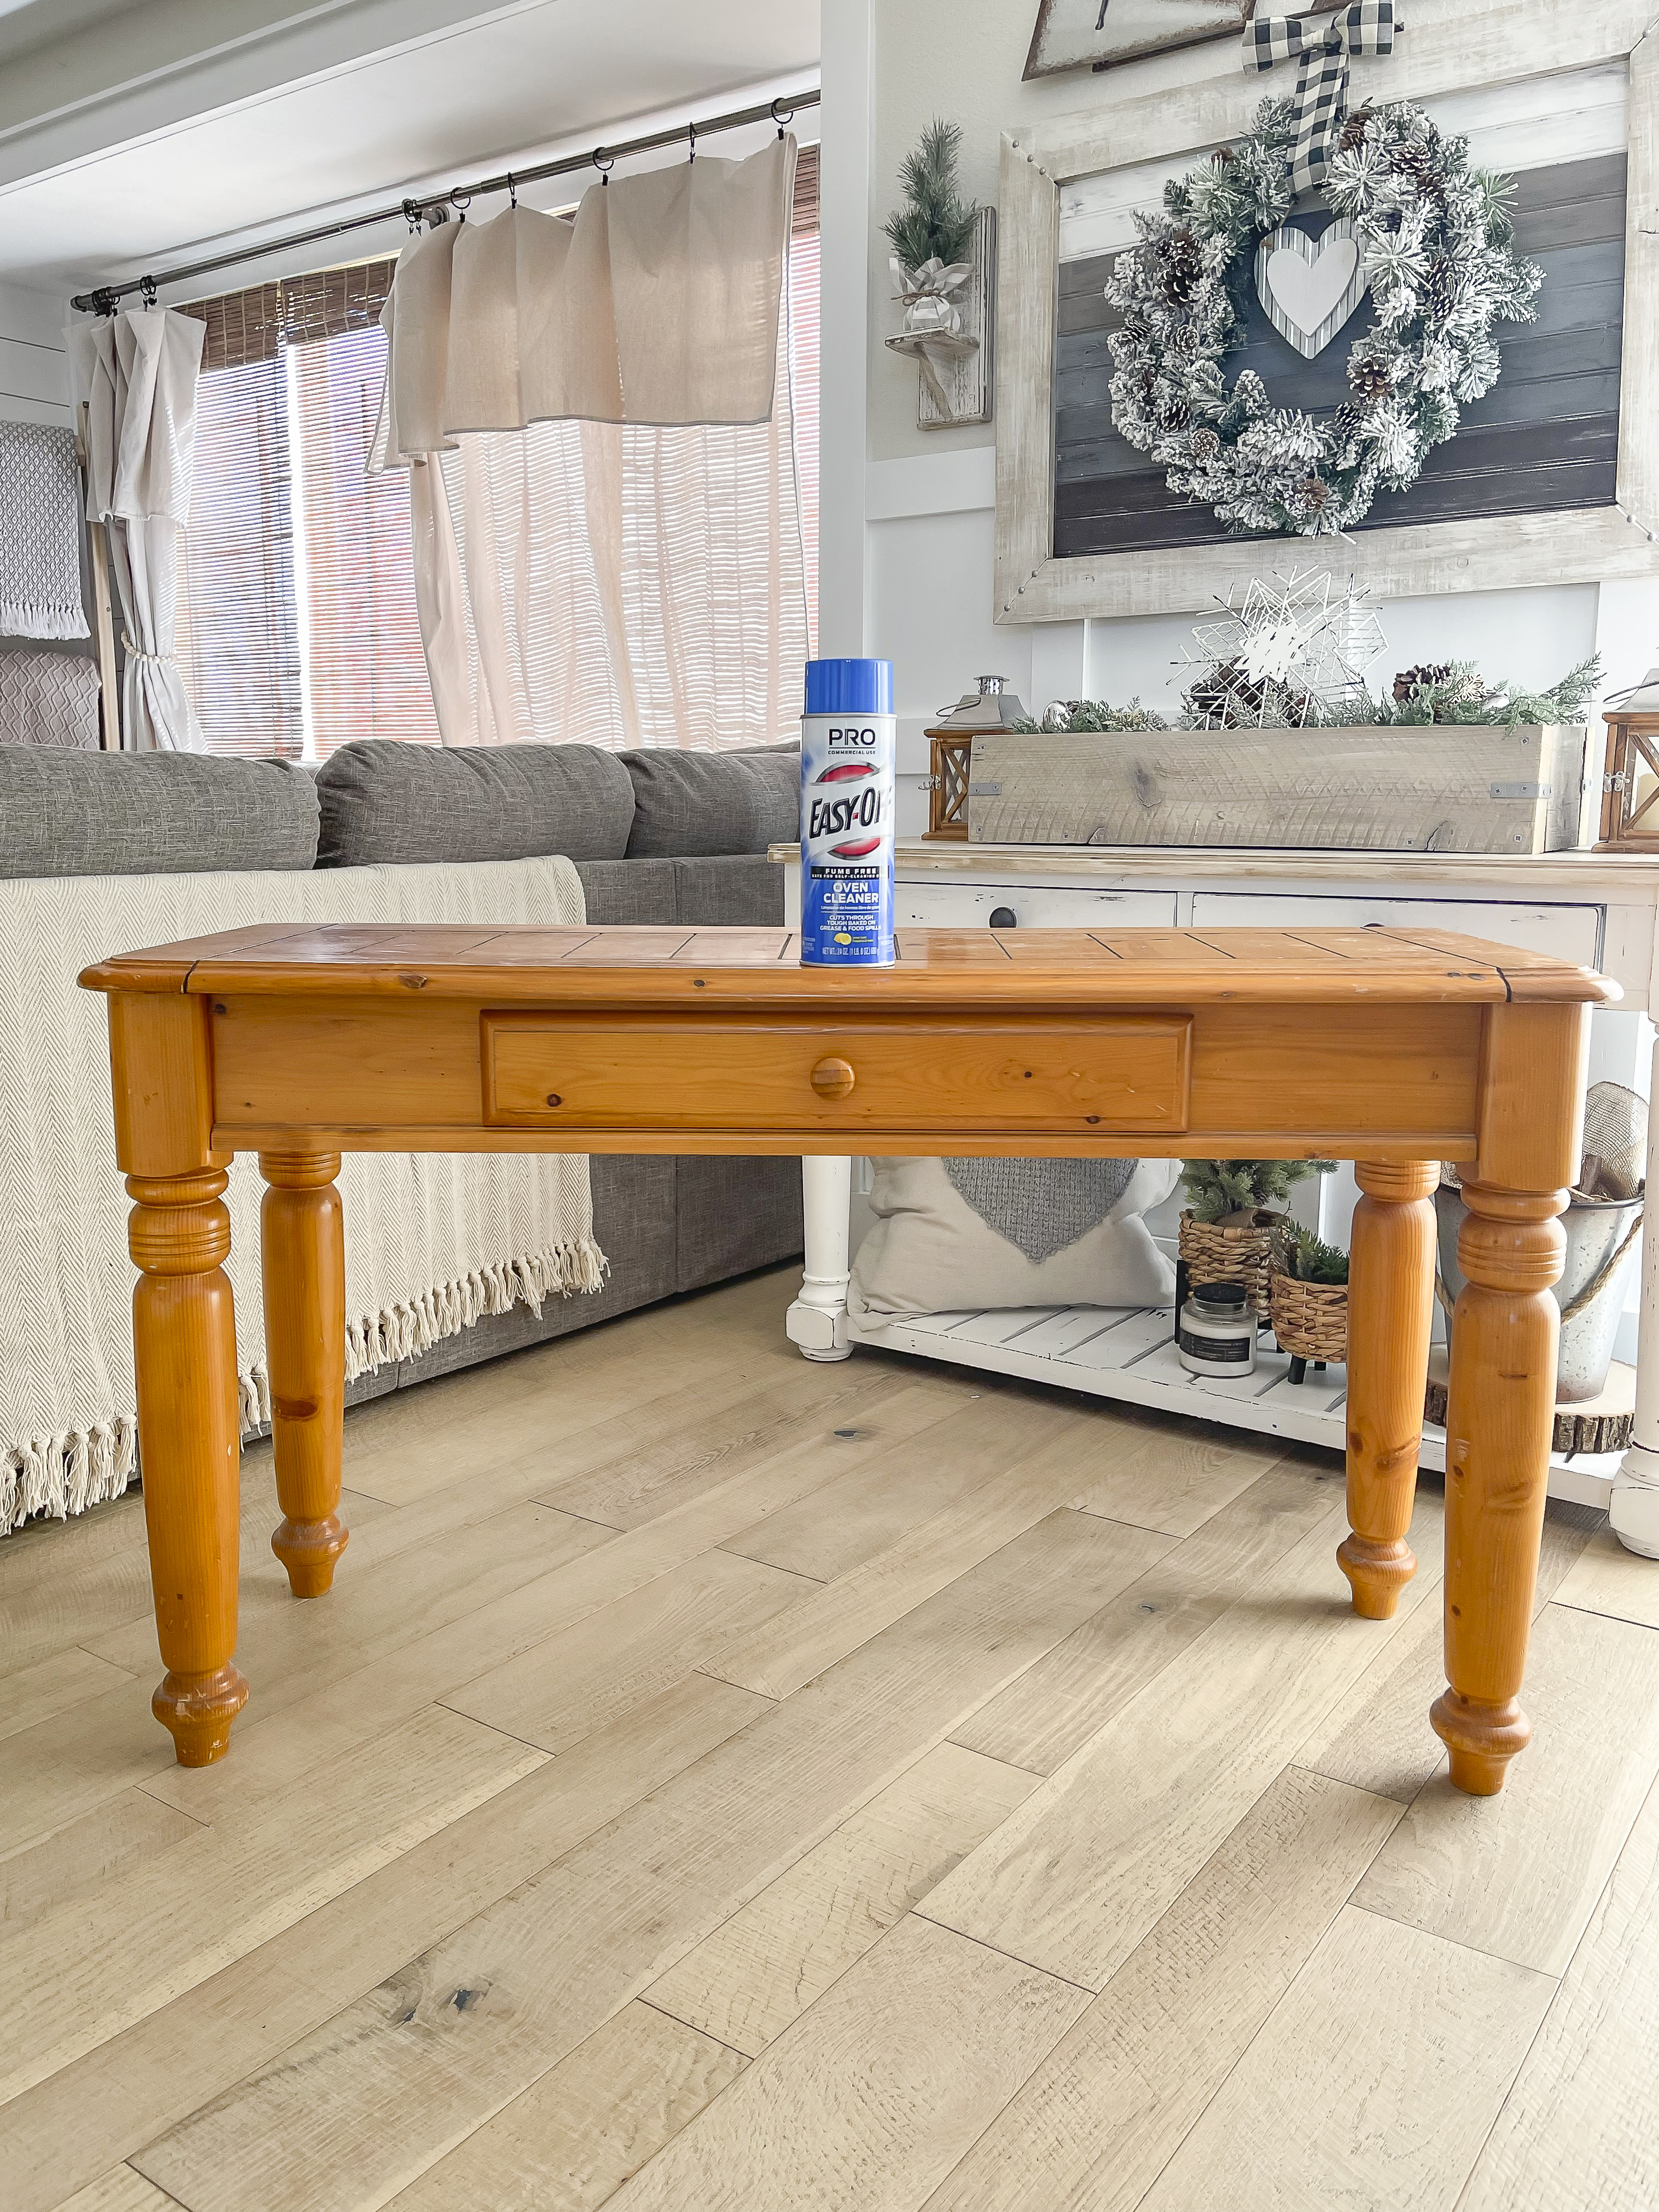
I have been seeing the oven cleaner hack all over Instagram and thought that this would be a good piece to test it out on. Supposedly you spray it on, let it sit and then scrub and rinse. After a few times of this process the stain should be stripped, and you should be left with beautiful natural wood. It actually didn’t work quite as well as I thought it would, but I’ll get to that later on!
Supplies Used:(Affiliate links may be provided for convenience. For more info, see my full disclosure here.)
I sprayed on my first coat of oven cleaner with such high hopes! I have heard some people say that they let it sit for a while and others that say they didn’t, so I only let it sit for a couple of minutes before I went back and started scrubbing.
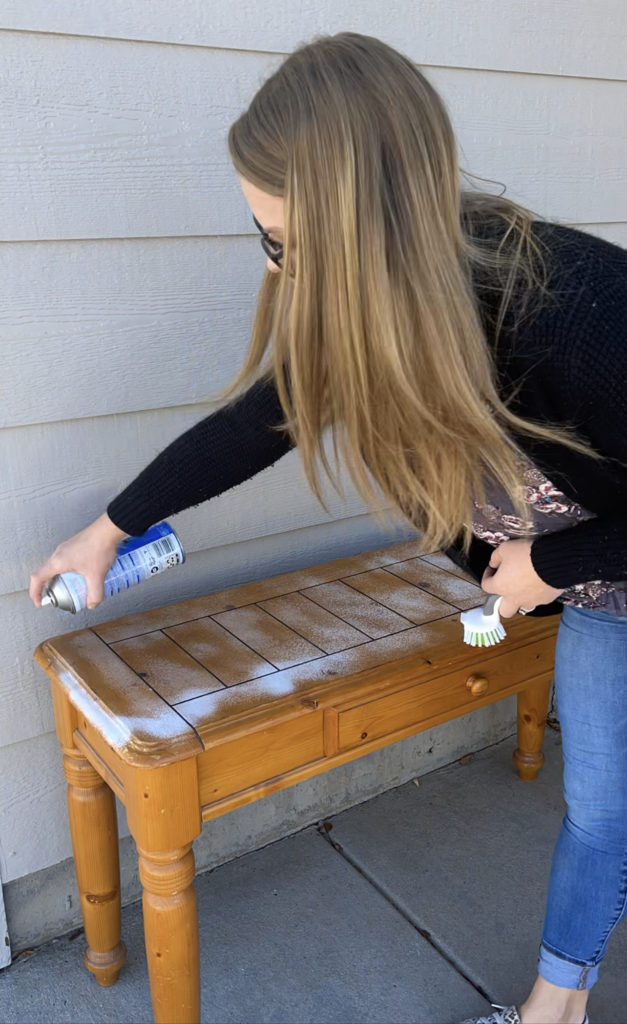
After rinsing it off I was sad to see very little change. I tried two more times, but it really only took the shine off and didn’t even touch the stain. I think the next time that I try this method I am going to let it sit on there for at least an hour. I didn’t have the patience to wait that day, so I broke out my trusty sander!
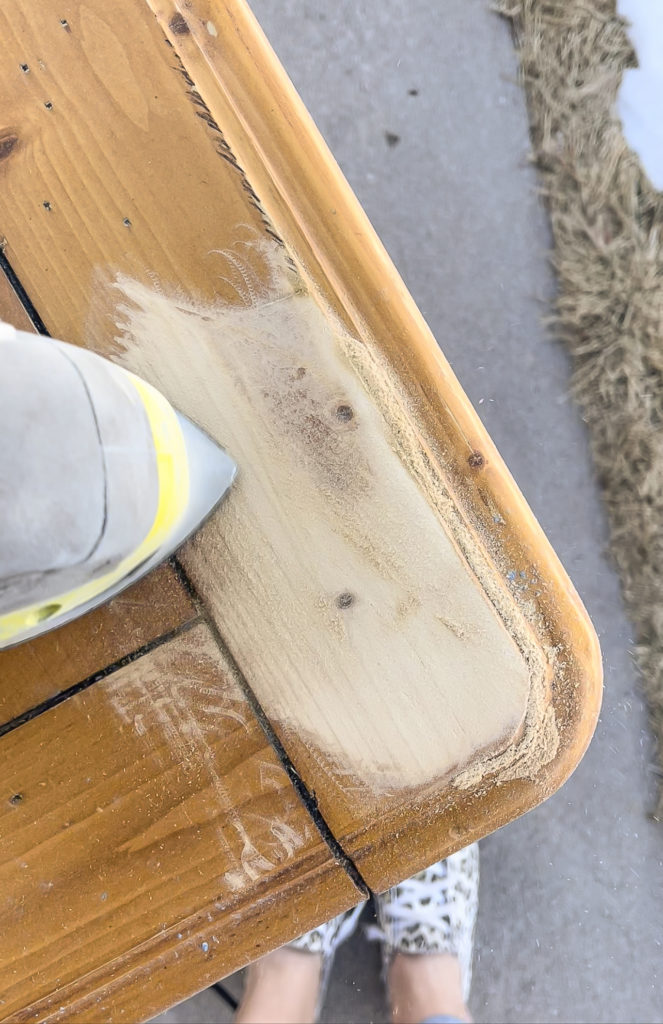
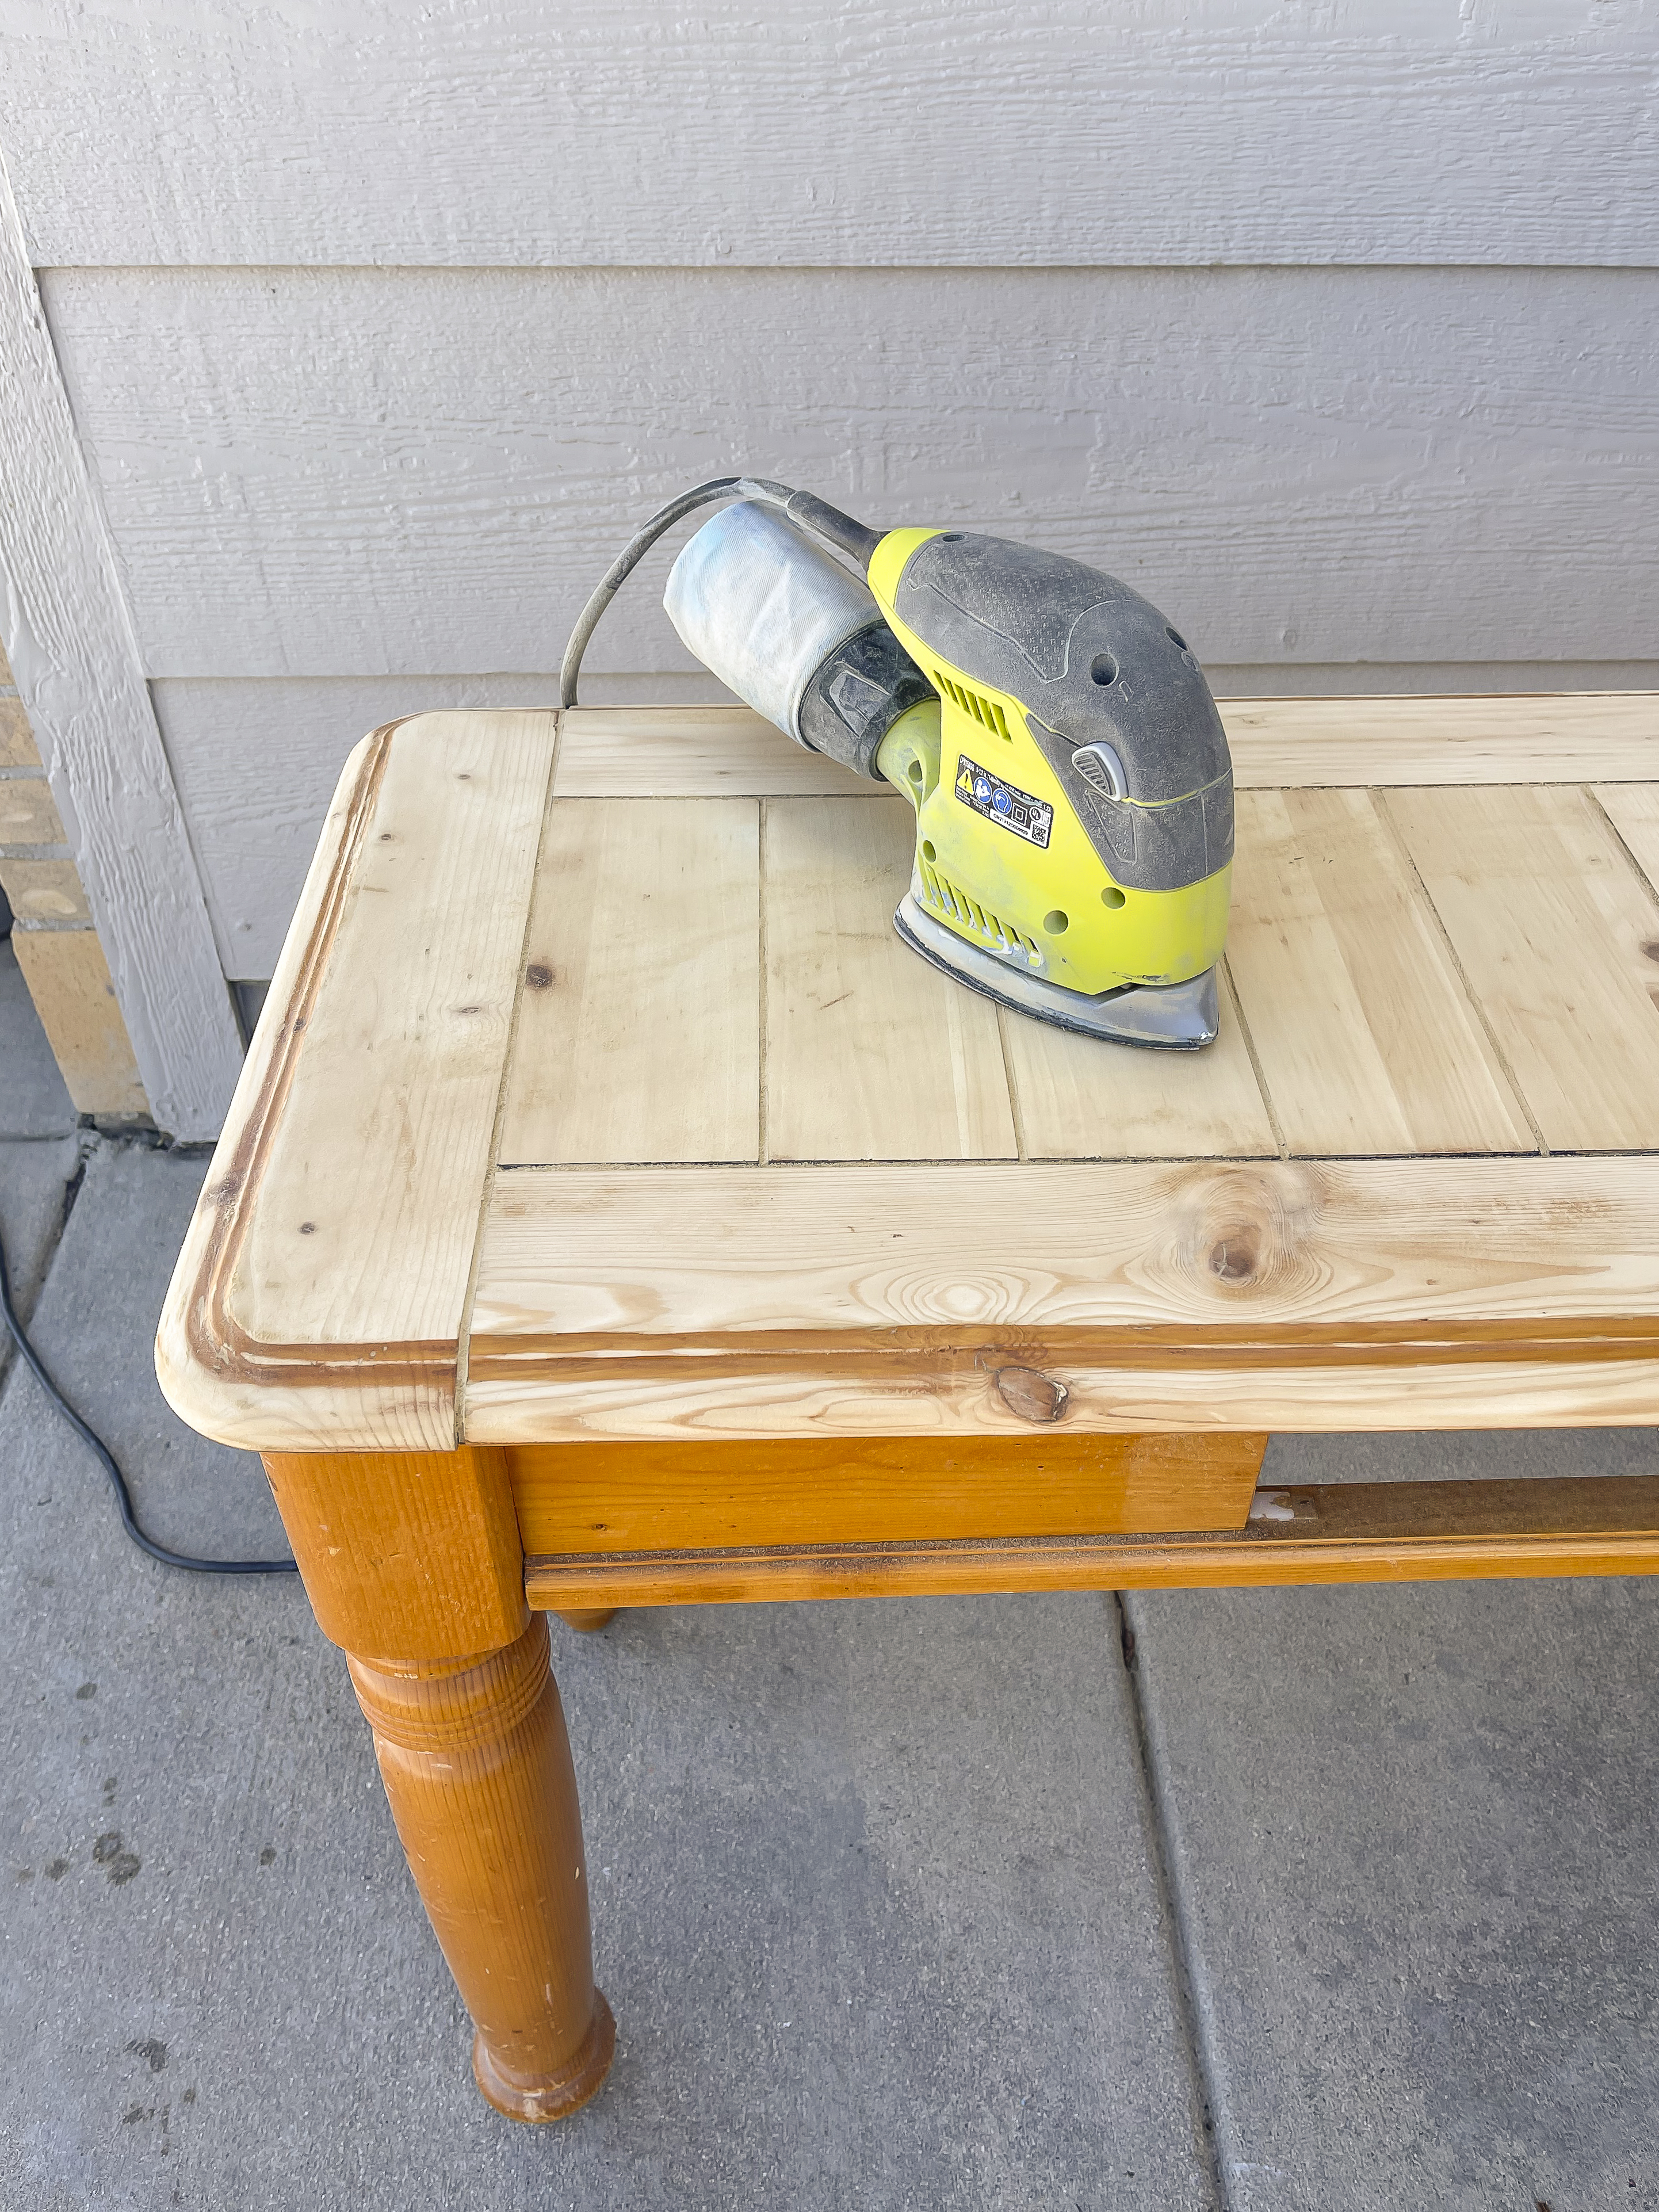
My sander got the job done much more efficiently, especially for a big flat surface like this.

My sander couldn’t get in the smaller detail along the edges, so I debated between hand sanding or trying the oven cleaner again, but I ultimately decided to just use the sander to smooth the wood out entirely.
I then taped off the top and brought out my paint sprayer for the base. I first applied one coat of primer and then I mixed up my own paint color using paint samples that I had on hand.
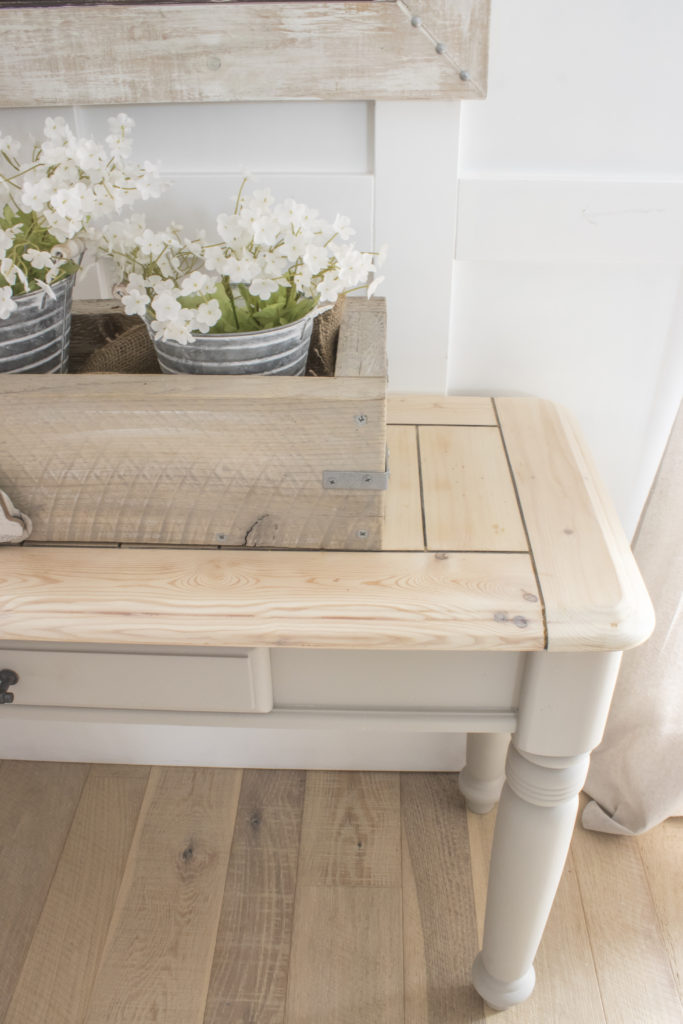
I knew that I wanted the top to stay natural wood, but I have had trouble in the past with the polyacrylic changing the color of the wood. My trick that I recently learned is to apply three coats of whitewash (watered down white paint) first so that when the polyacrylic goes on, it brings it back to the natural wood color. Works like a charm!

After filling the hole from the previous knob and installing a new pull bar, this is how it turned out!

The color of the paint is a soft grayish brown, and it complements the beautiful turned legs perfectly.

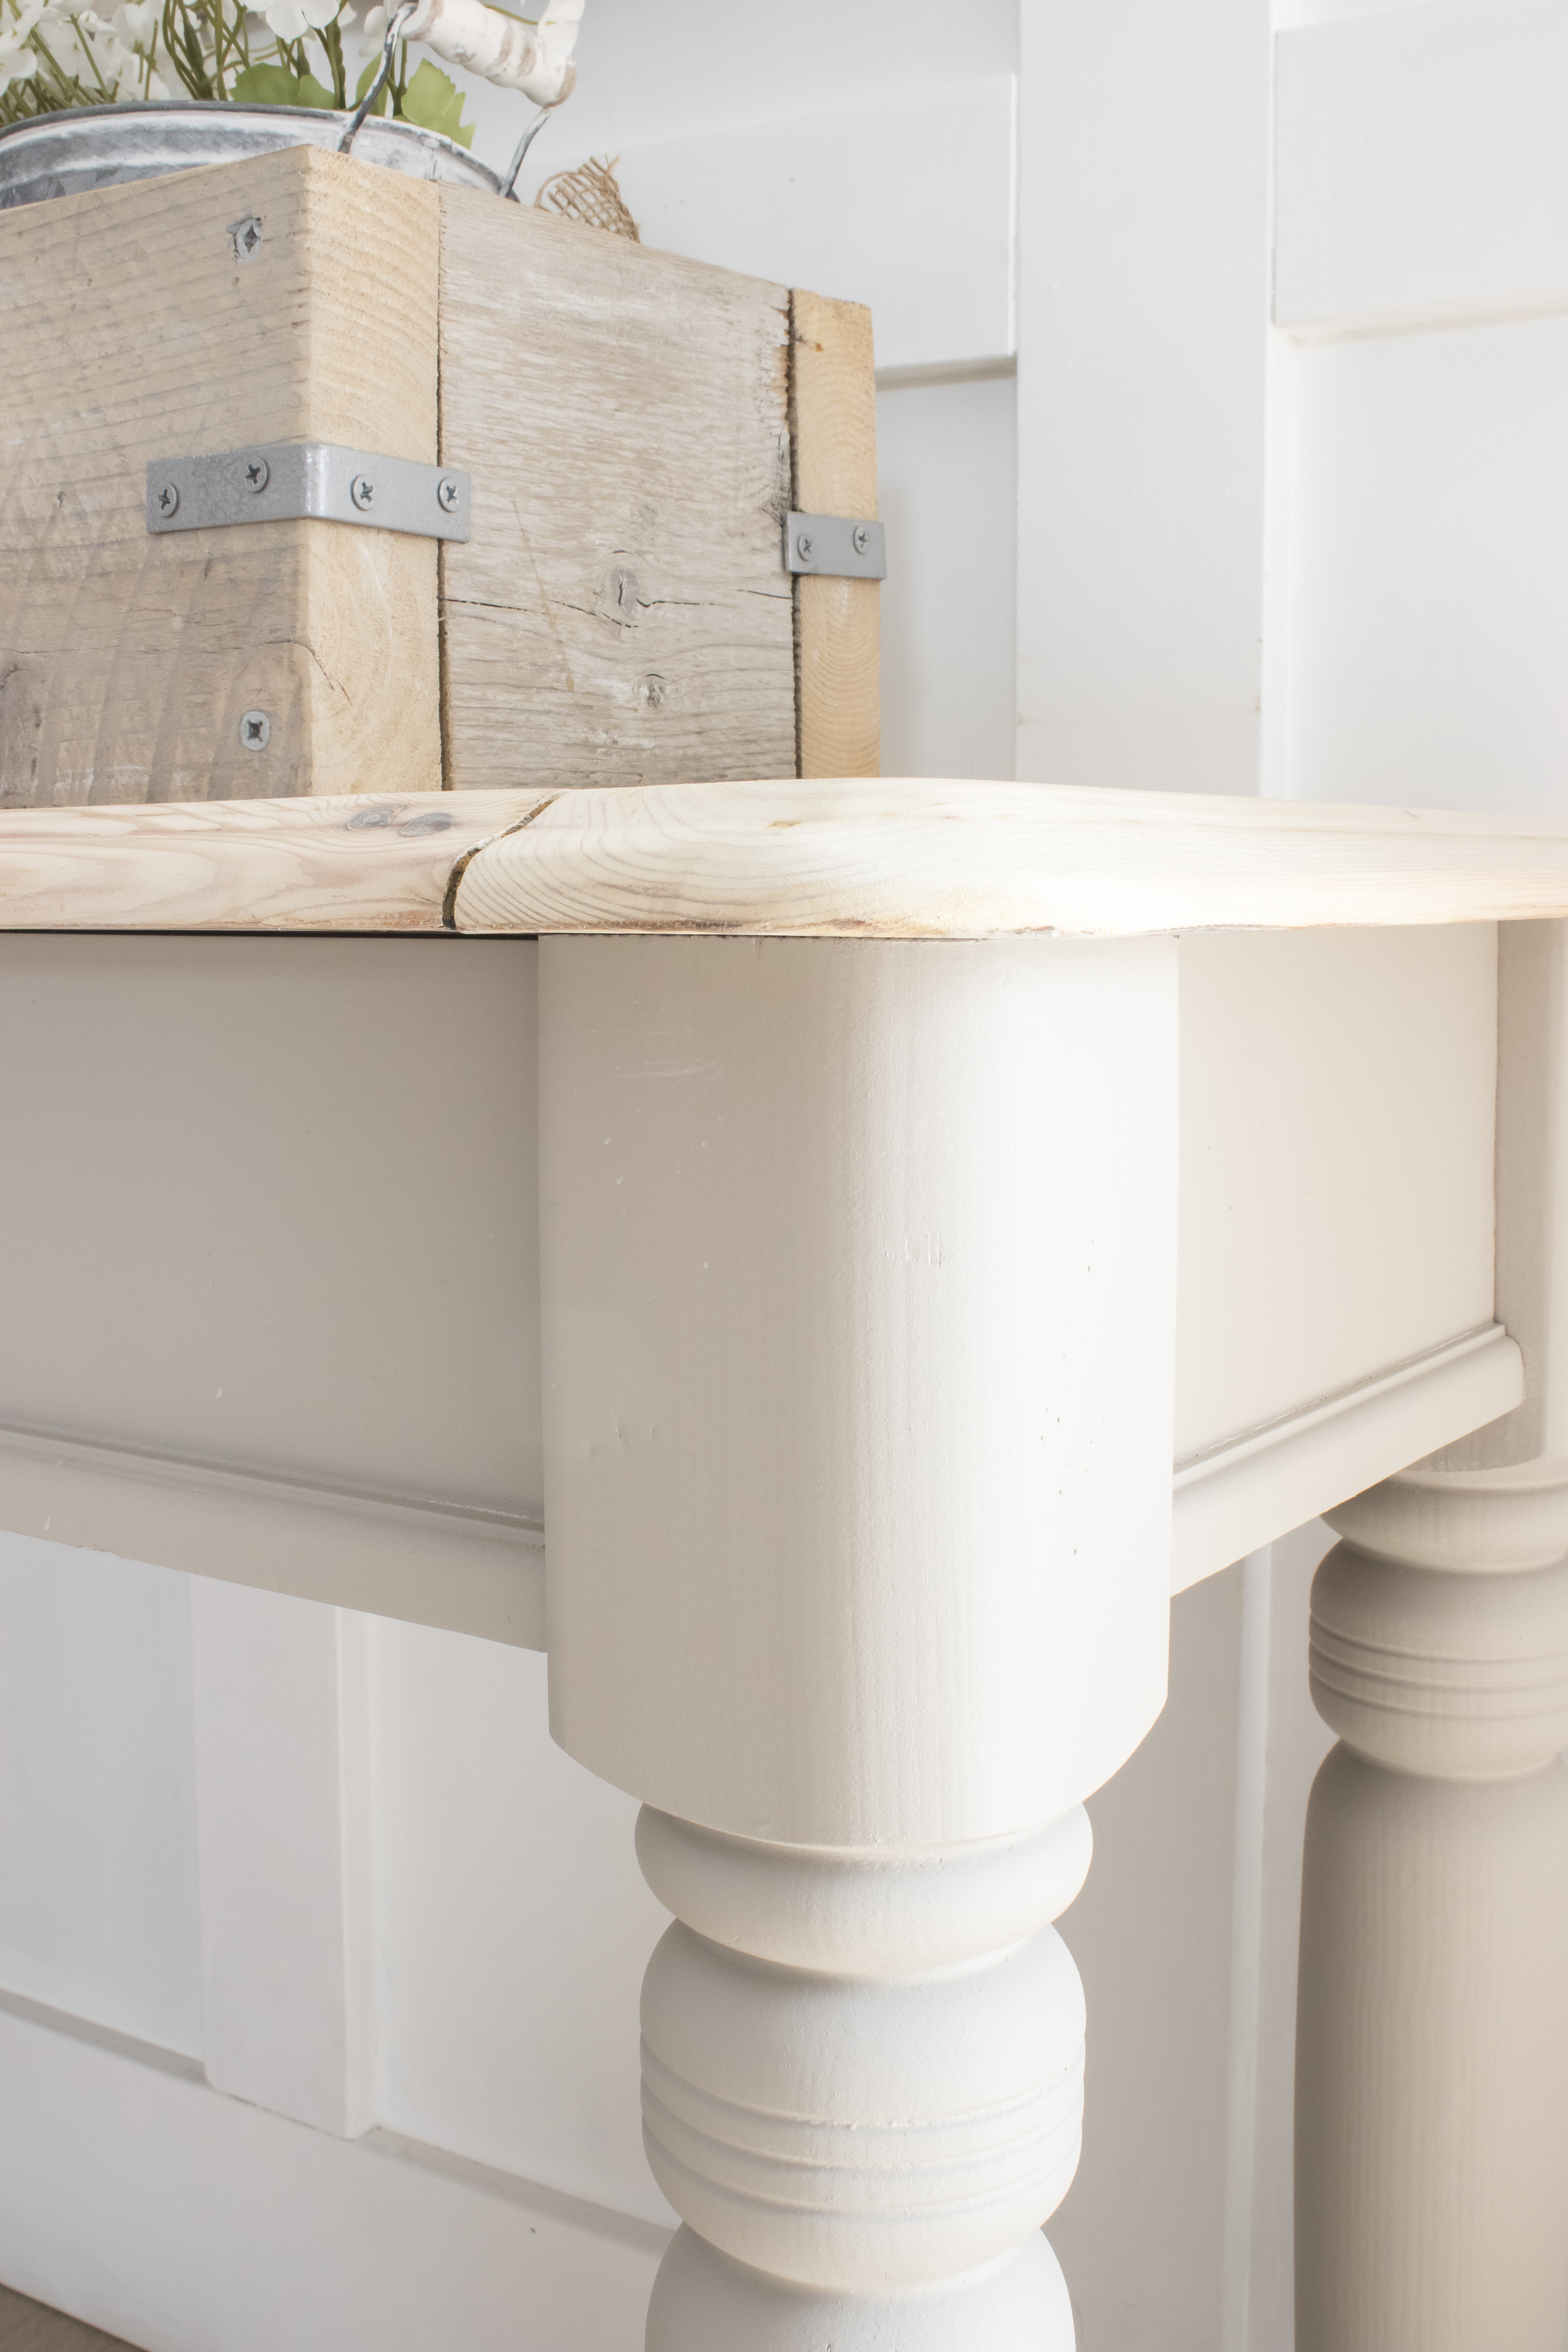
I love the natural wood look on the top.
I actually had the drawer sanded to the natural wood originally, but it didn’t look quite right once it was in, so I decided to paint it.
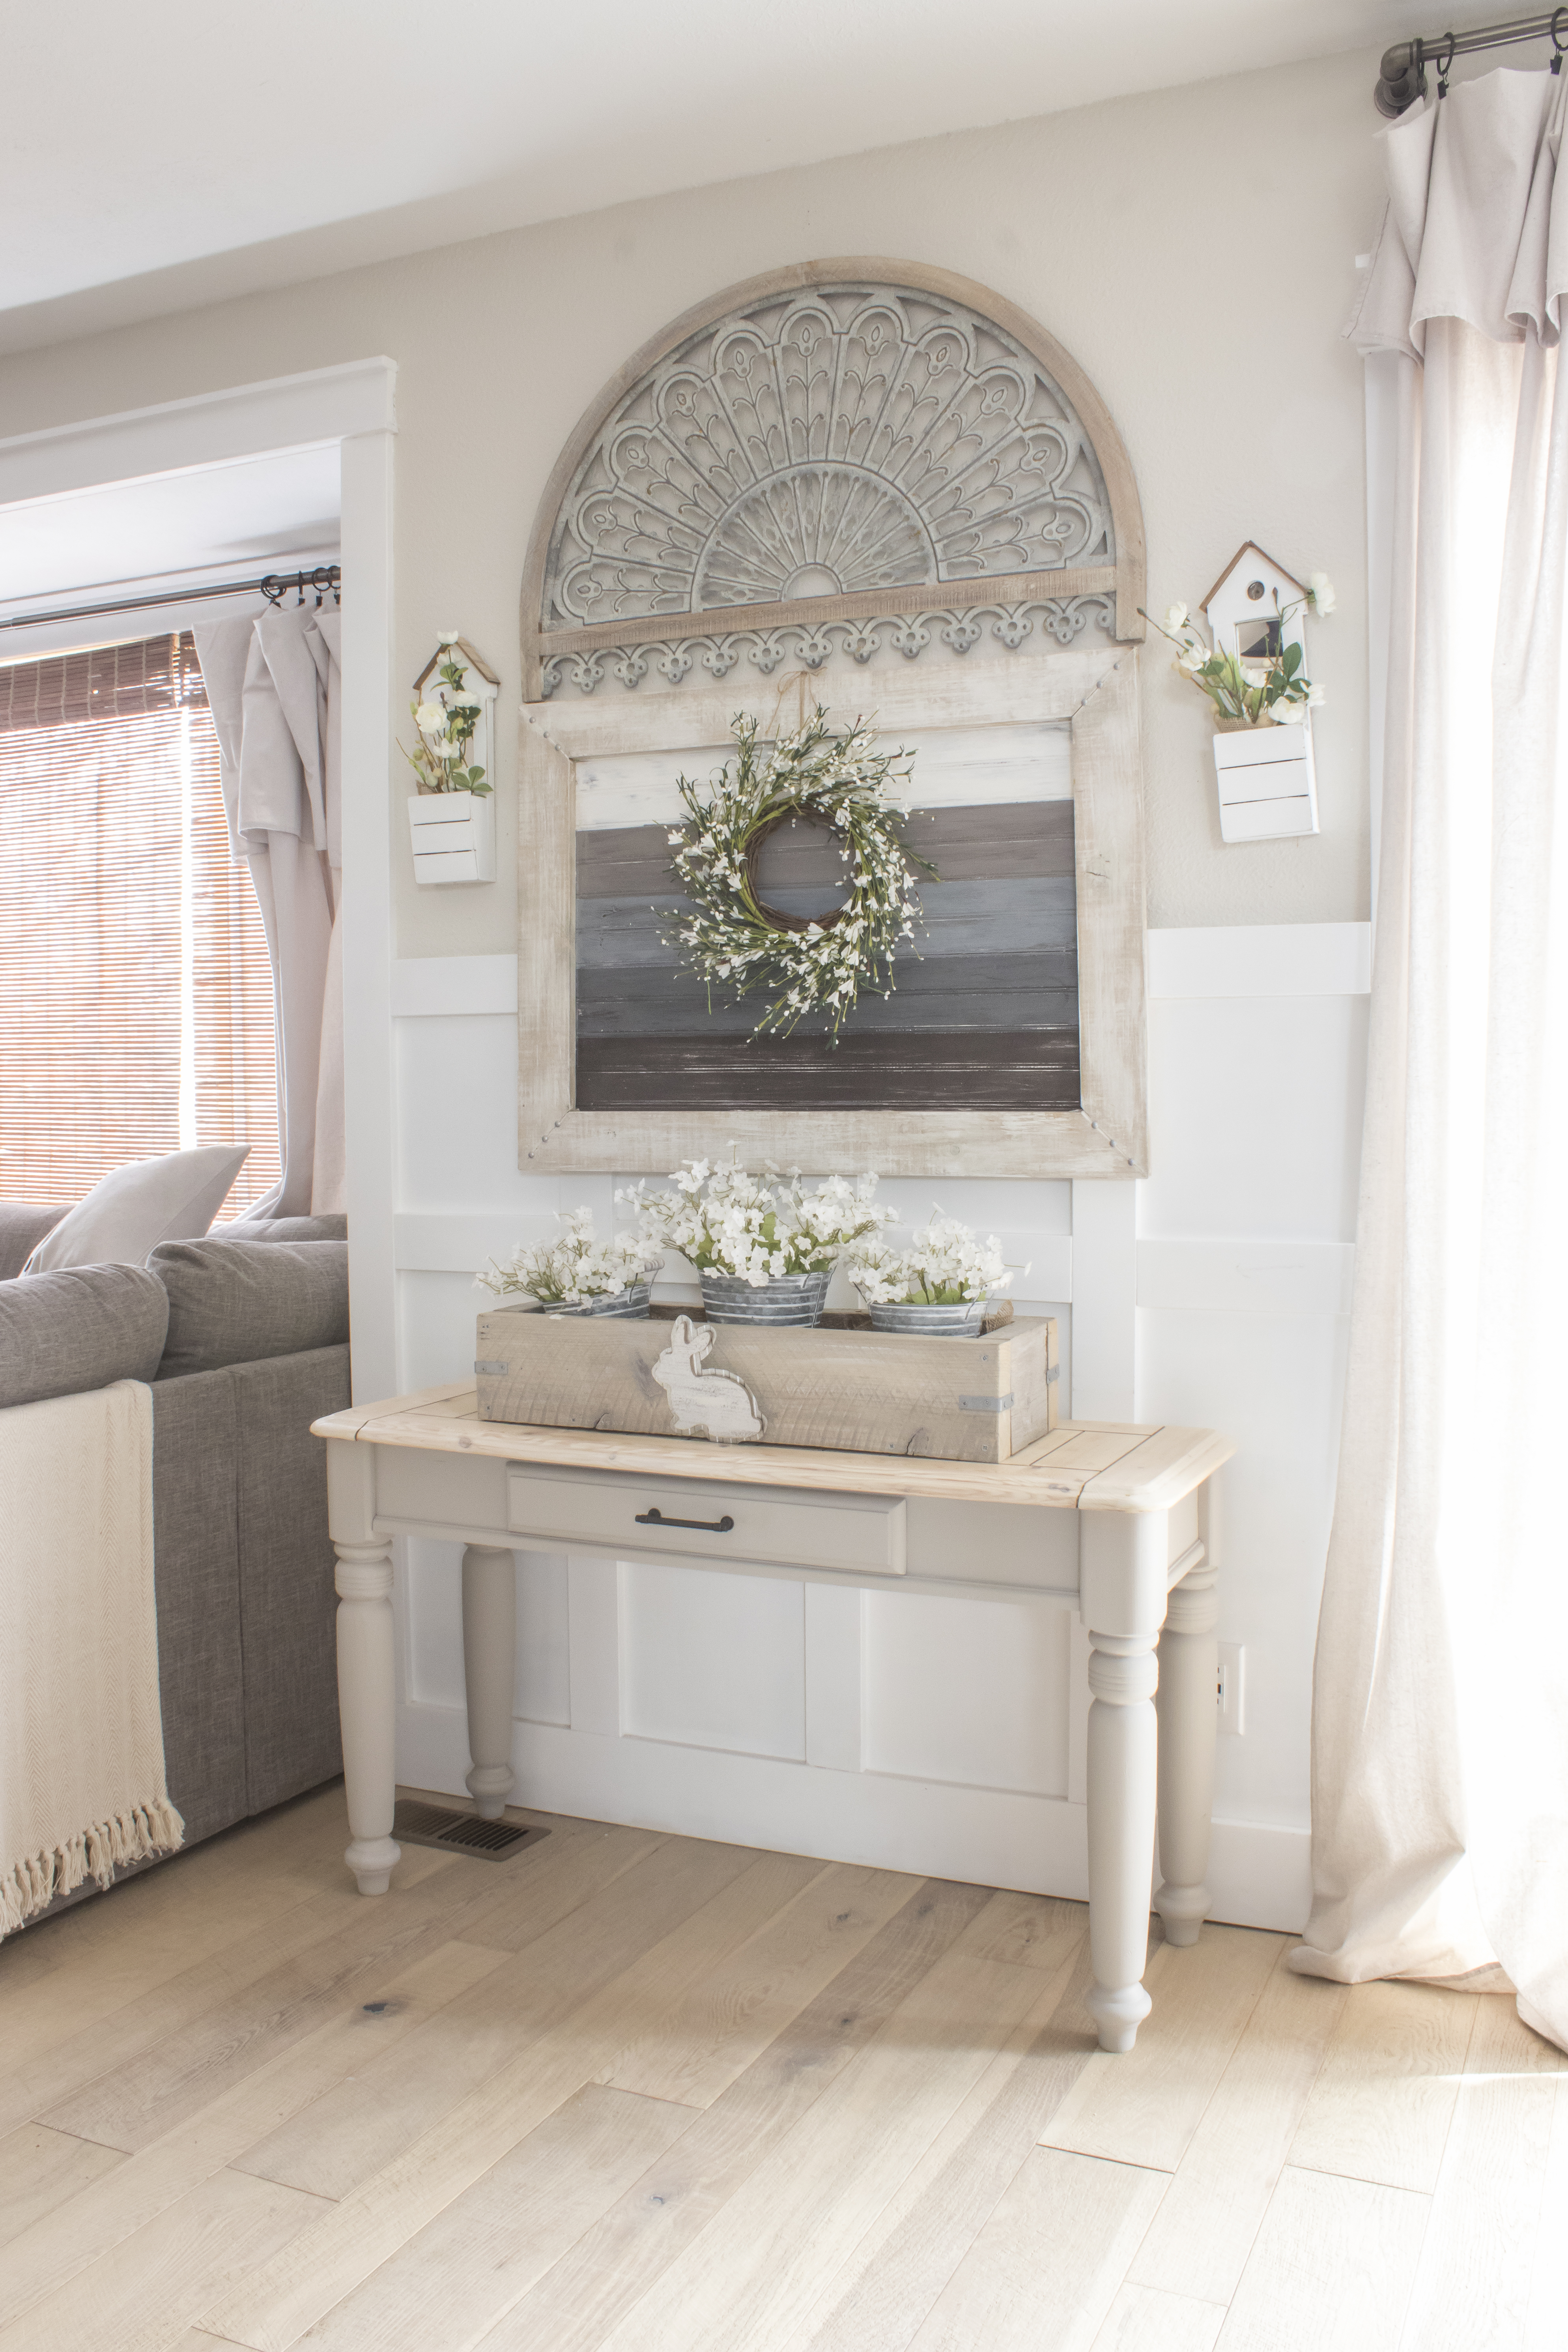
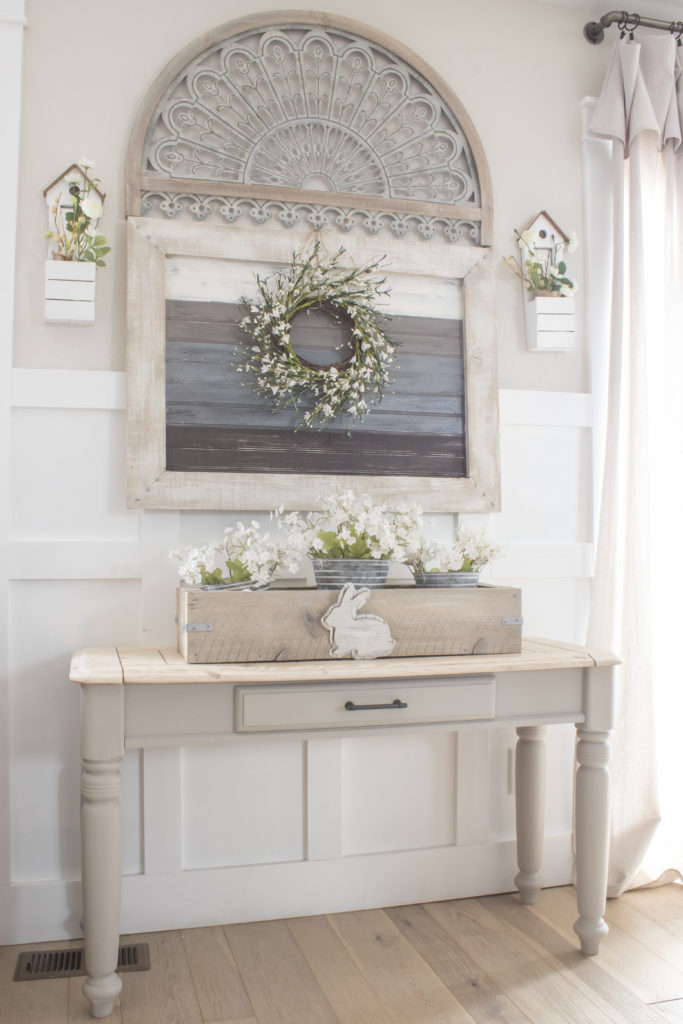
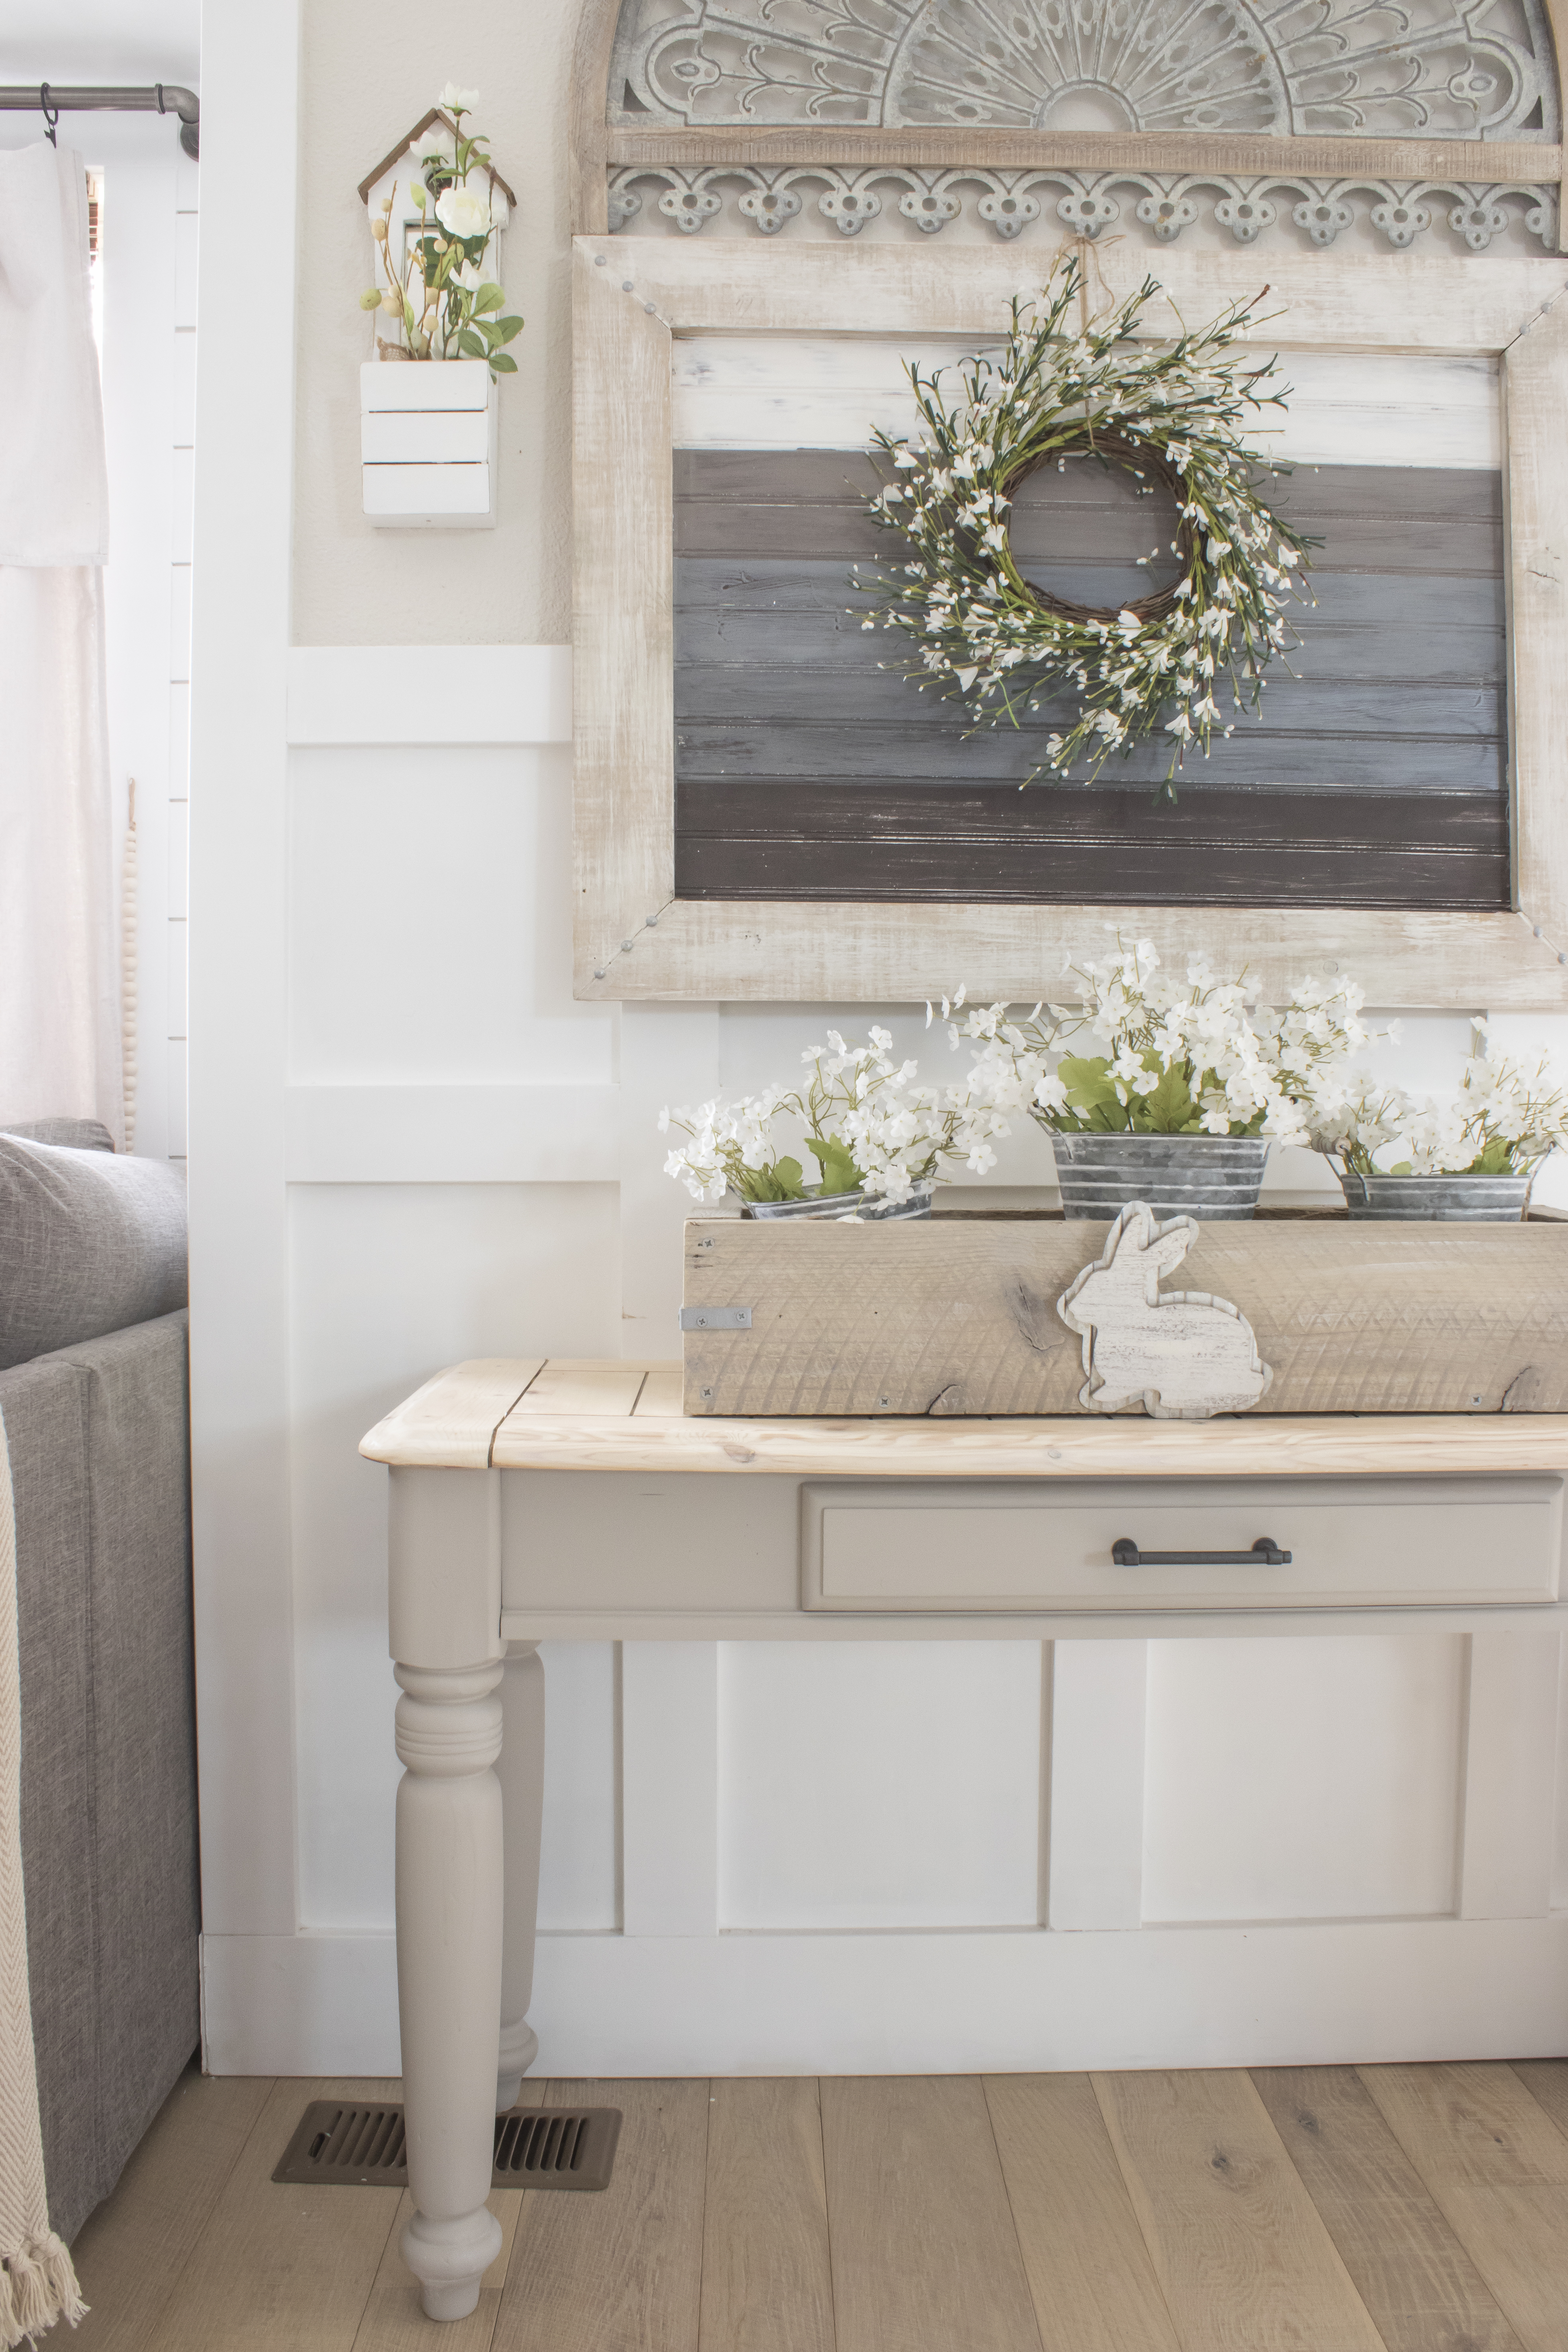
I almost decided to keep it in this spot, but I decided that I liked our old one here instead so this one will be listed to go to a new home.

I had a lot of fun flipping this beauty and hope the new owners love it just as much as I do! Have a wonderful weekend my friends 🙂
PIN FOR LATER!
Linking up to these awesome parties!
(Affiliate links may be provided for convenience. For more info, see my full disclosure here.)