Happy February! It’s hard to believe that the first month of 2024 is already in the books.
This month I plan to finally tackle our coat closet as long as all goes according to plan. I will spend the first couple weeks doing a few more pieces of furniture, and hopefully we will be ready to get started on it before the month is over.
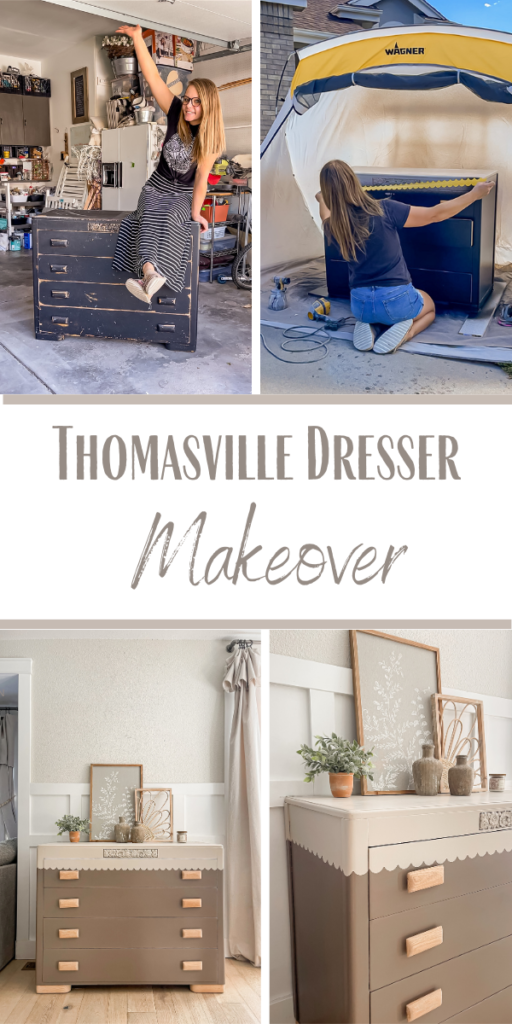
Today’s dresser makeover took three attempts before I finally got it right, but it was a learning experience and the final result was absolutely worth it!
Supplies Used:(Affiliate links may be provided for convenience. For more info, see my full disclosure here.)
I found this beauty on Marketplace for $30 and although the paint job was worn, I knew that I could fix it up and make it beautiful again!
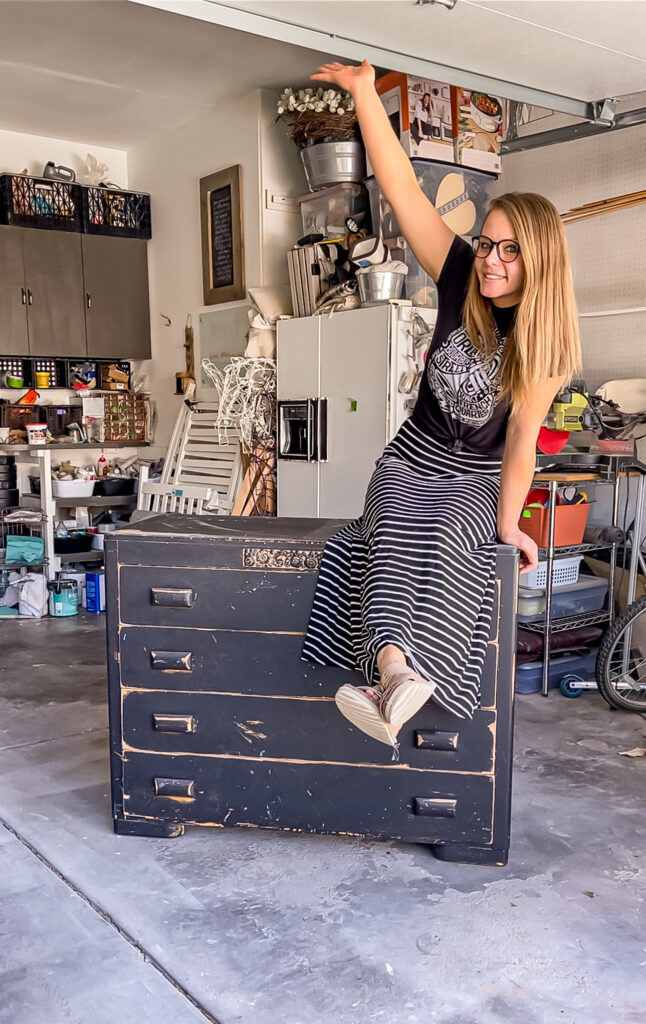
Once we picked it up I realized that it wasn’t any old dresser, it was a Thomasville! This brand is known for its beautiful quality and construction. Upon further inspection I found a date mark from the 1940s which meant that this gorgeous piece was about 80 years old!
I started cleaning the dirt off with Simple Green, and found that one of the drawers was split on the back. Nothing a little wood glue and clamping couldn’t fix!
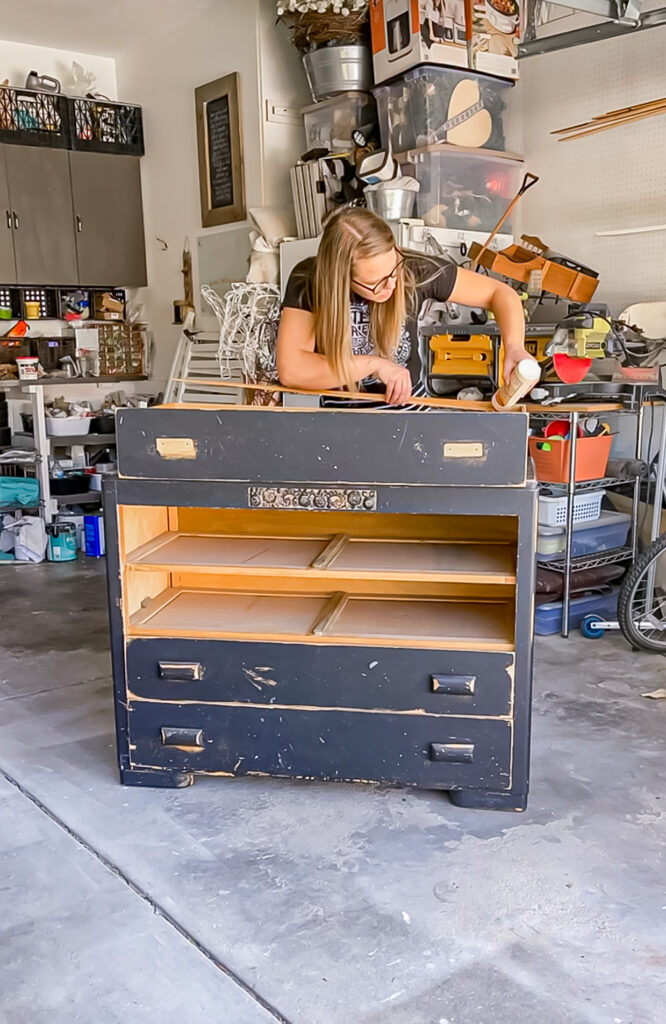
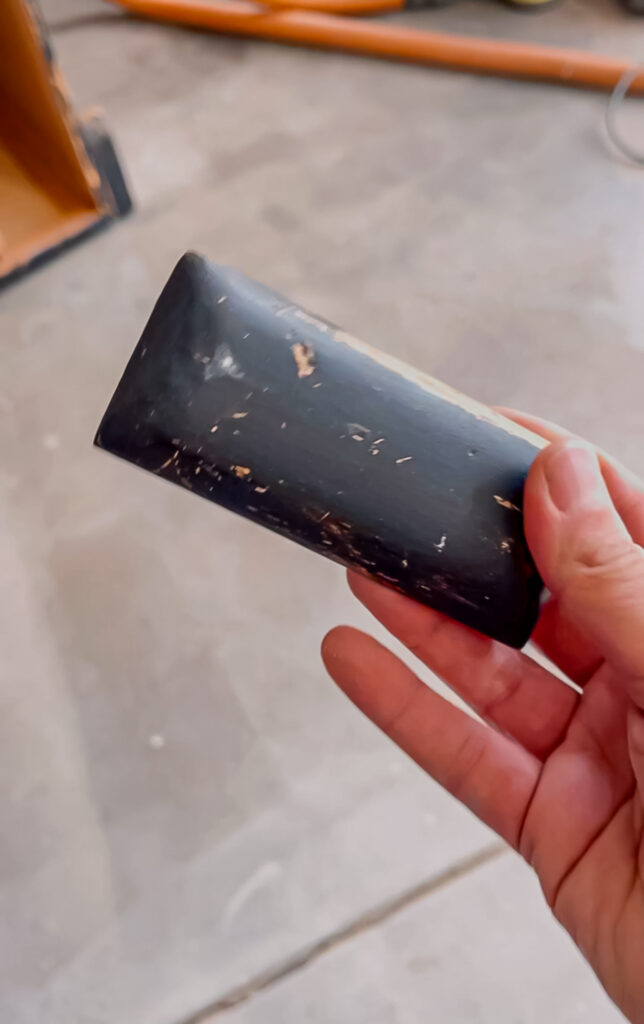
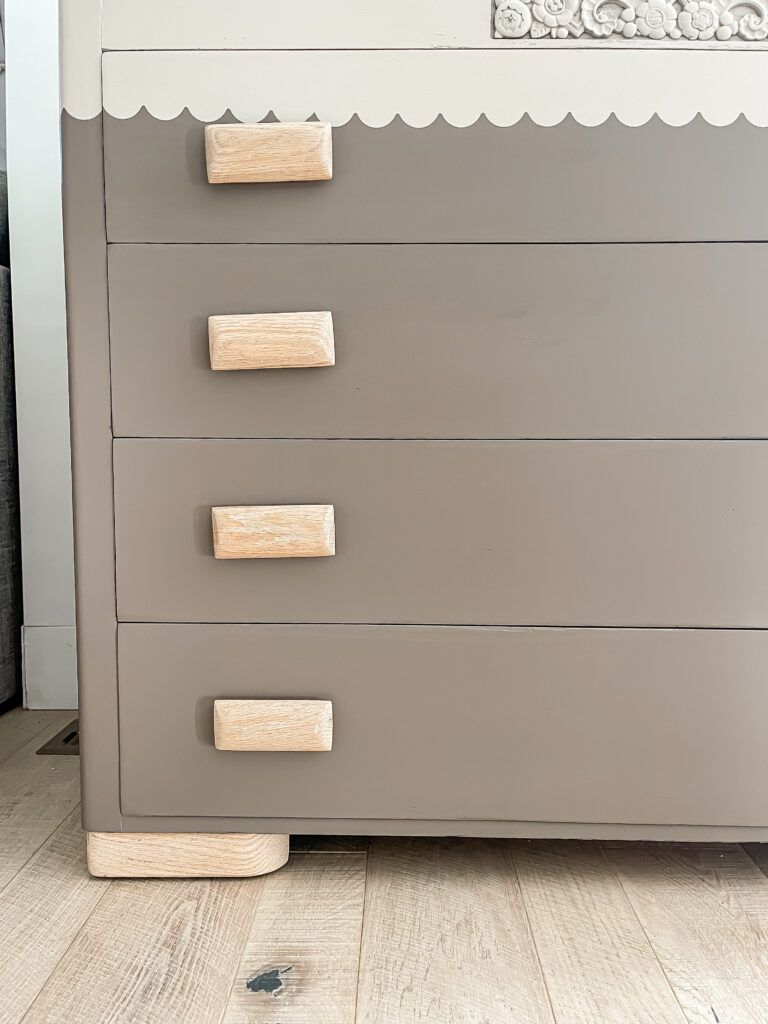
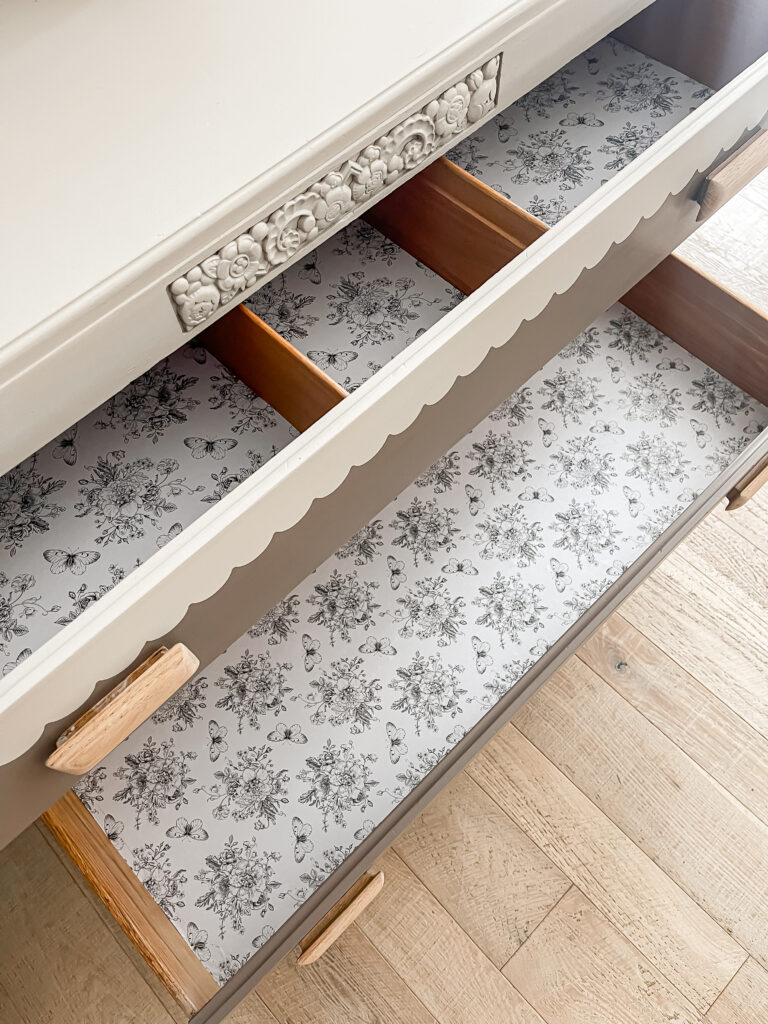
I also removed the handles which I decided to keep since they were solid wood and unique to this piece.
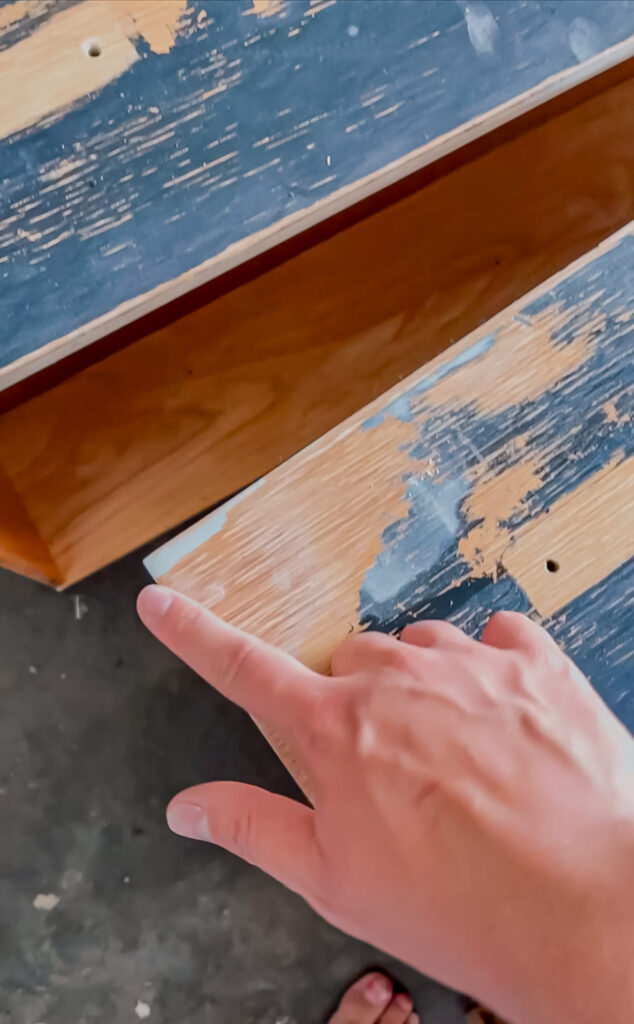
The veneer has started to peel up in a few areas so I glued it back down and then used Bondo to fill in.
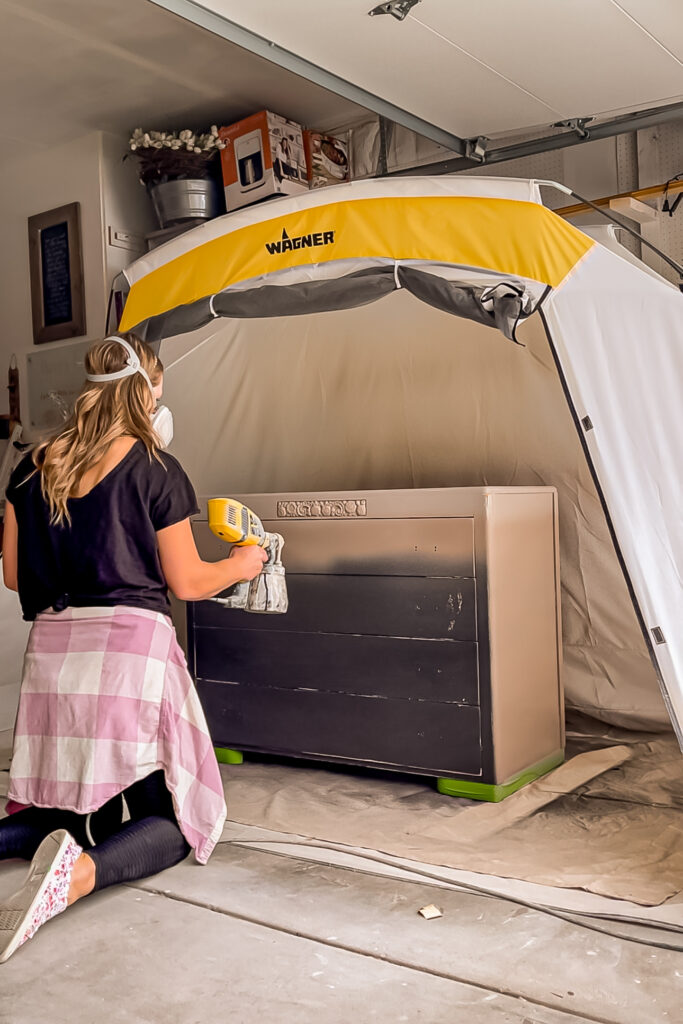
The paint job was fairly decent, so I was able to just remove a few chipping areas and then scuff sand the rest to prep it for primer and paint. I chose to sand the feet and embellishment detailing down to the bare wood, then taped them off before applying a coat of clear shellac primer.
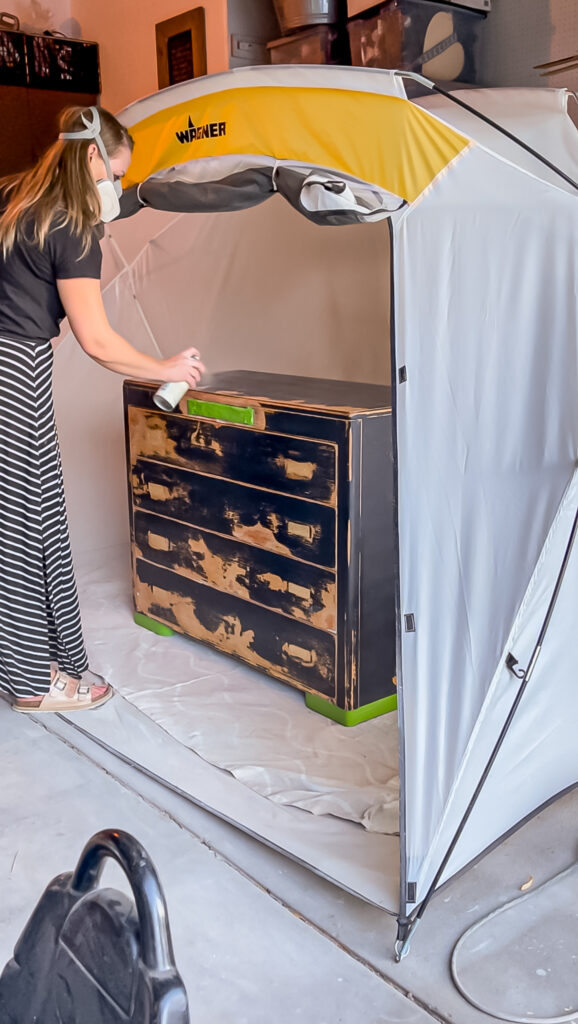
Attempt #1
I used a light paint color and whitewashed the bare wood which got me to here.
I thought that I was pretty happy with the end result…until the buyer arrived to get it. They informed me that they decided to pass since it looked “too unfinished” and I was left feeling embraced and slightly confused.
After staring at it some more decided to try a different look and I went back to the drawing board.
Attempt #2
I did a quick scuff sand to rough up the polyacrylic that I had applied, and then sprayed a couple coats of black paint.
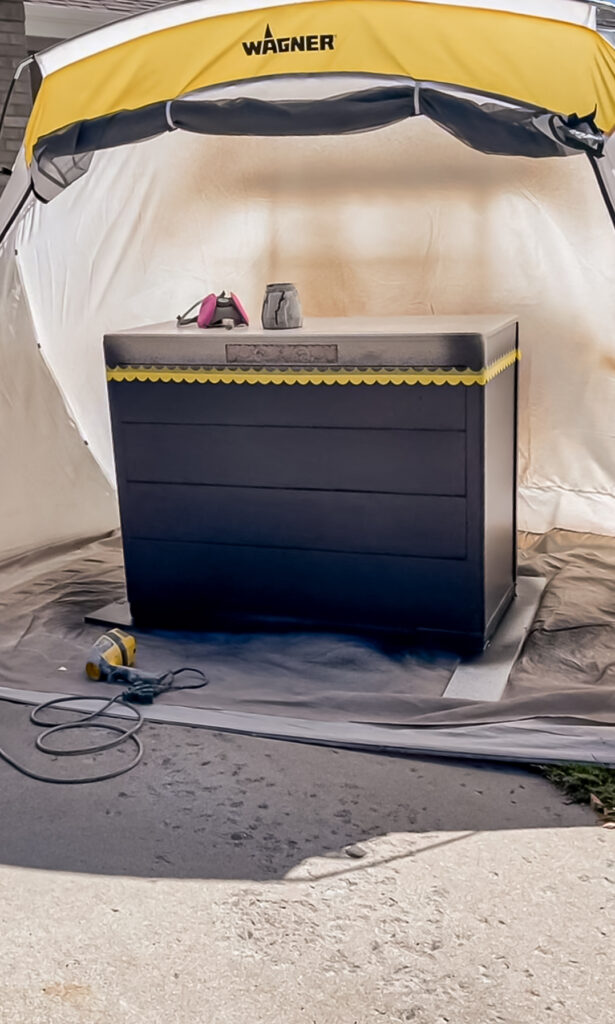
I then added some scalloped tape just above the top drawer.

I stuck a trash bag to the other side of the tape to protect the black paint before spraying the top a light gray.

I spent a decent amount of time fixing areas of paint bleed, but once I got it inside I didn’t even get it staged and photographed again before I realized that I hated this look!
The issue was not with the design, but the dreary colors. So I hauled it back out to the garage again…
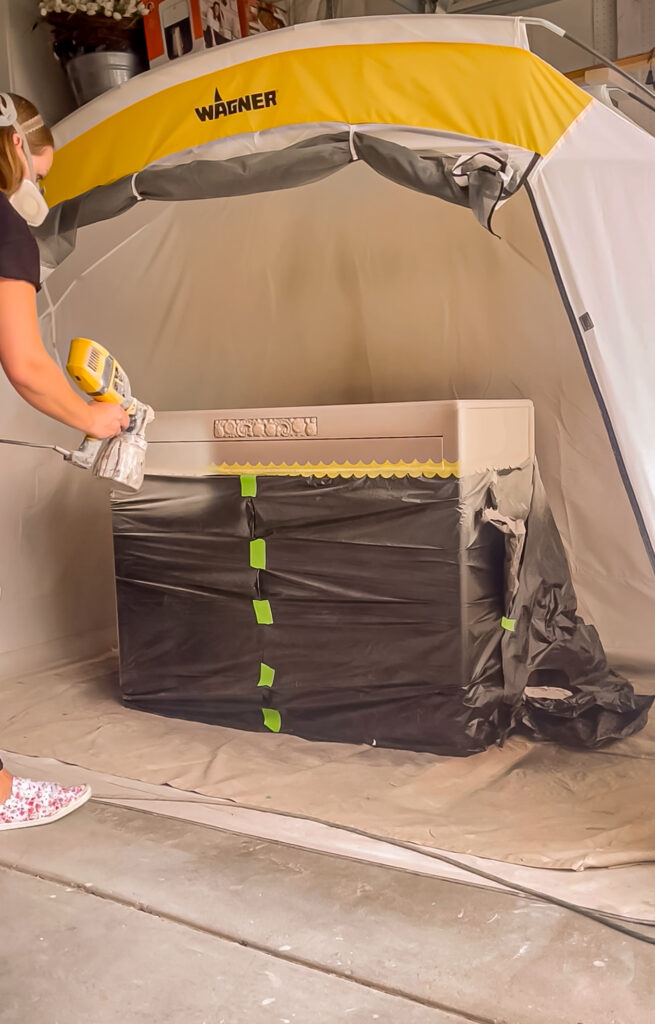
Attempt #3
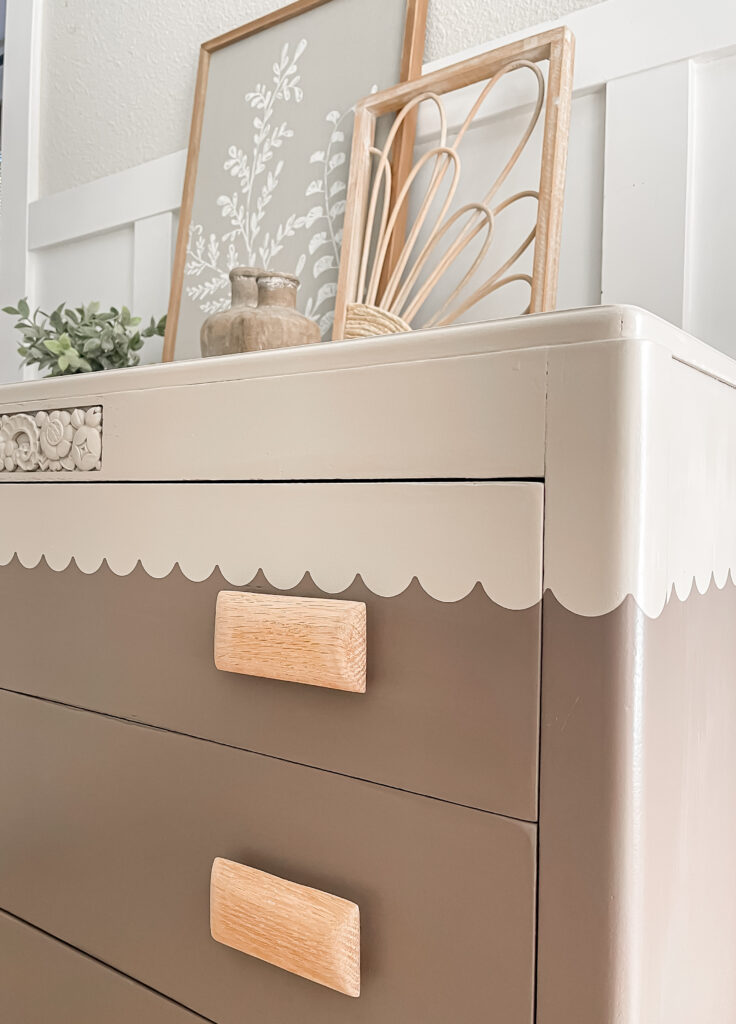
I still wanted to do the scalloped design, so I went ahead and taped it off again.
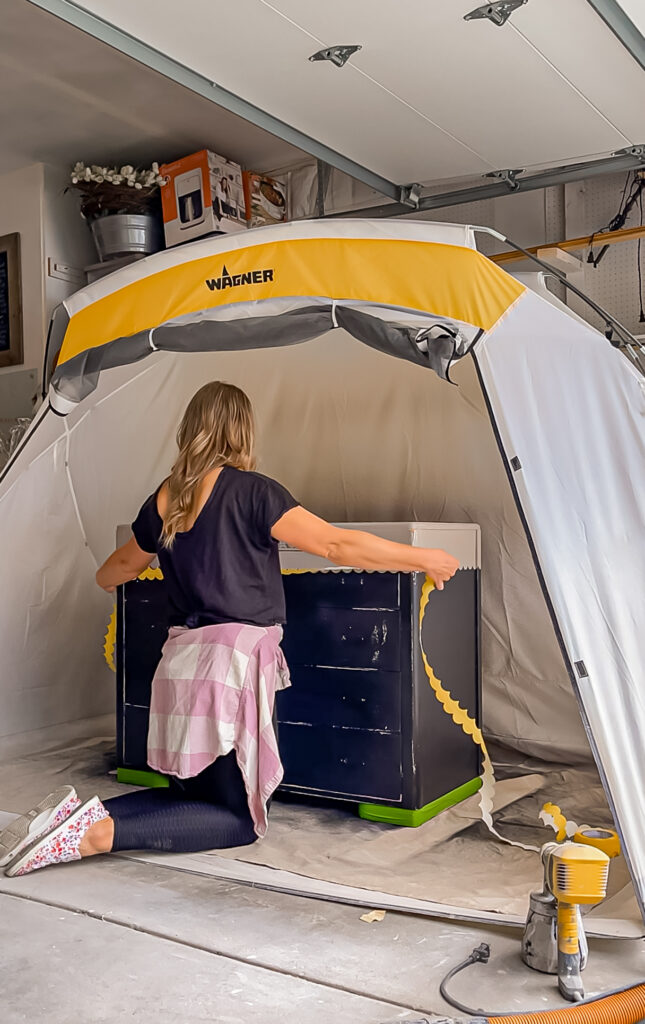
This time I spayed it a rich brown.
After the second coat was dry, I mixed white paint into my sprayer, taped off the bottom and then sprayed that lighter color on top.
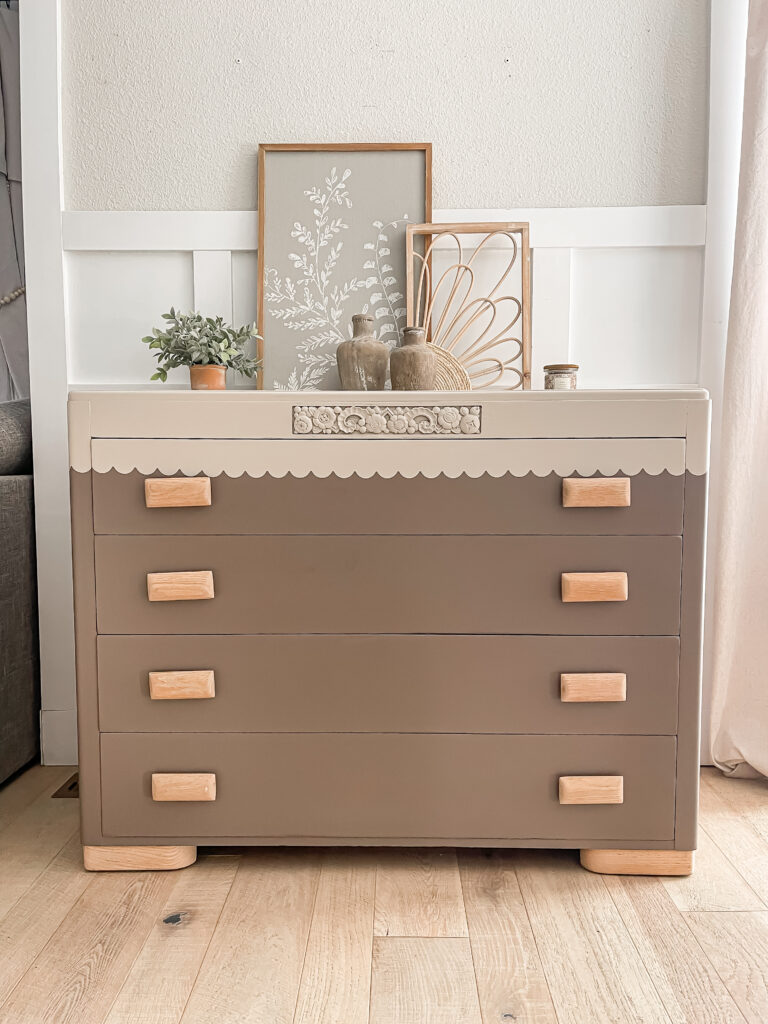
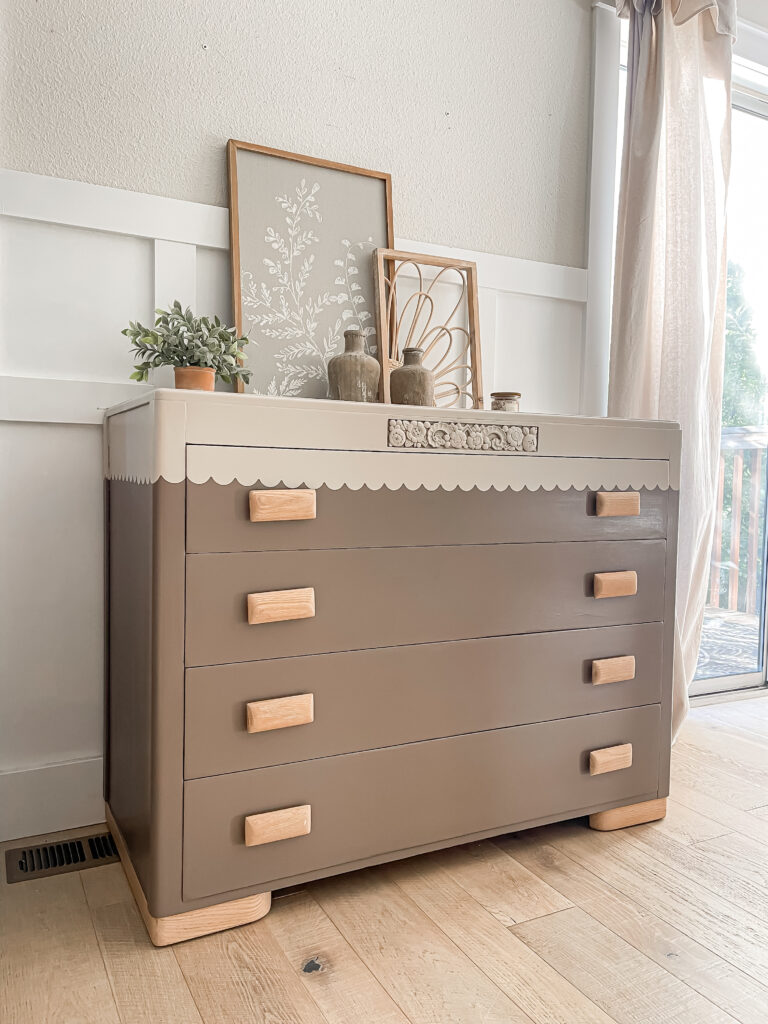
I sanded off the white wash from the feet and handles since I decided to just leave the wood completely natural. I also decided that the embellishment looked better painted.
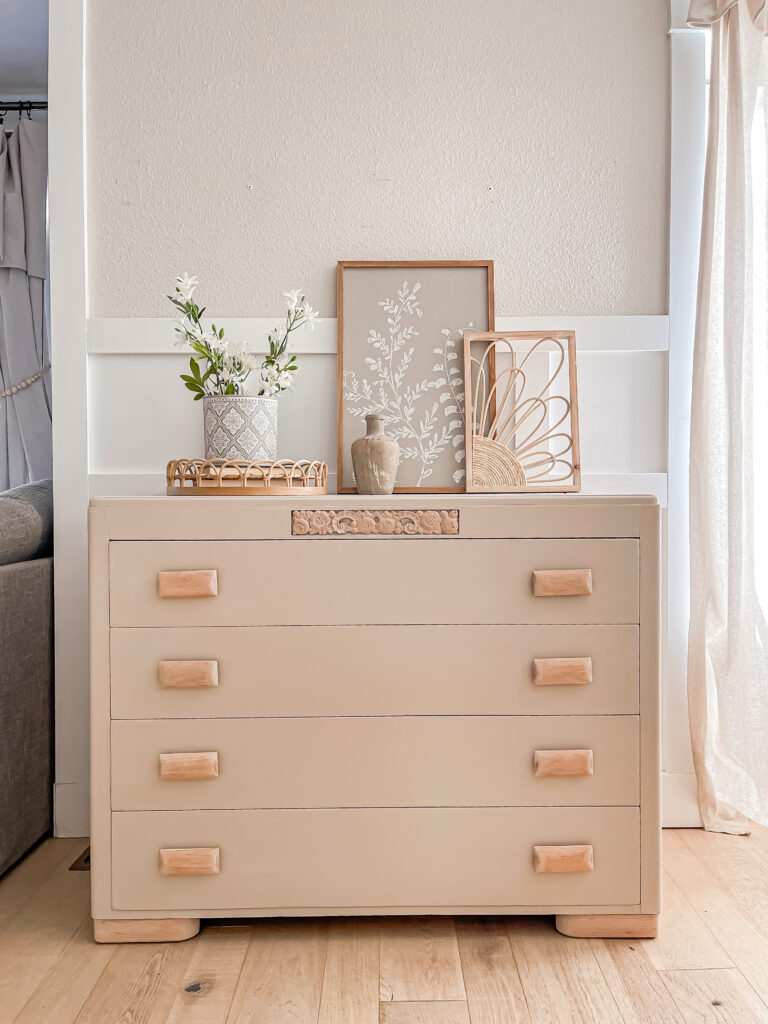
And then finally—after all of that we had a look that I was smitten with!

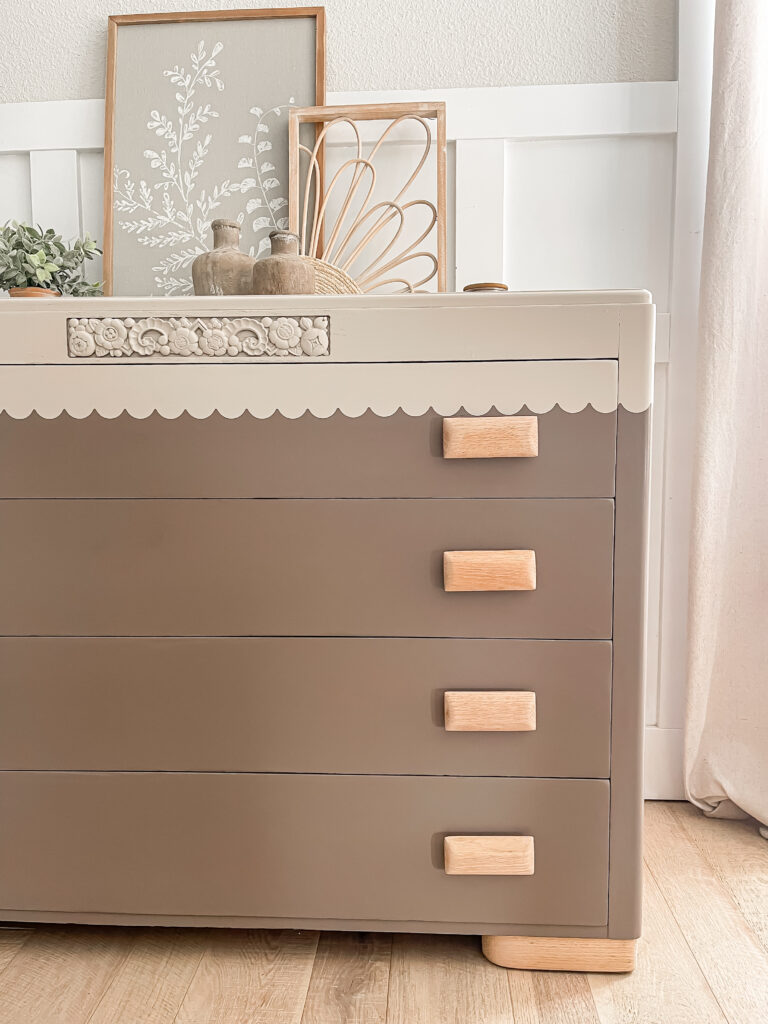
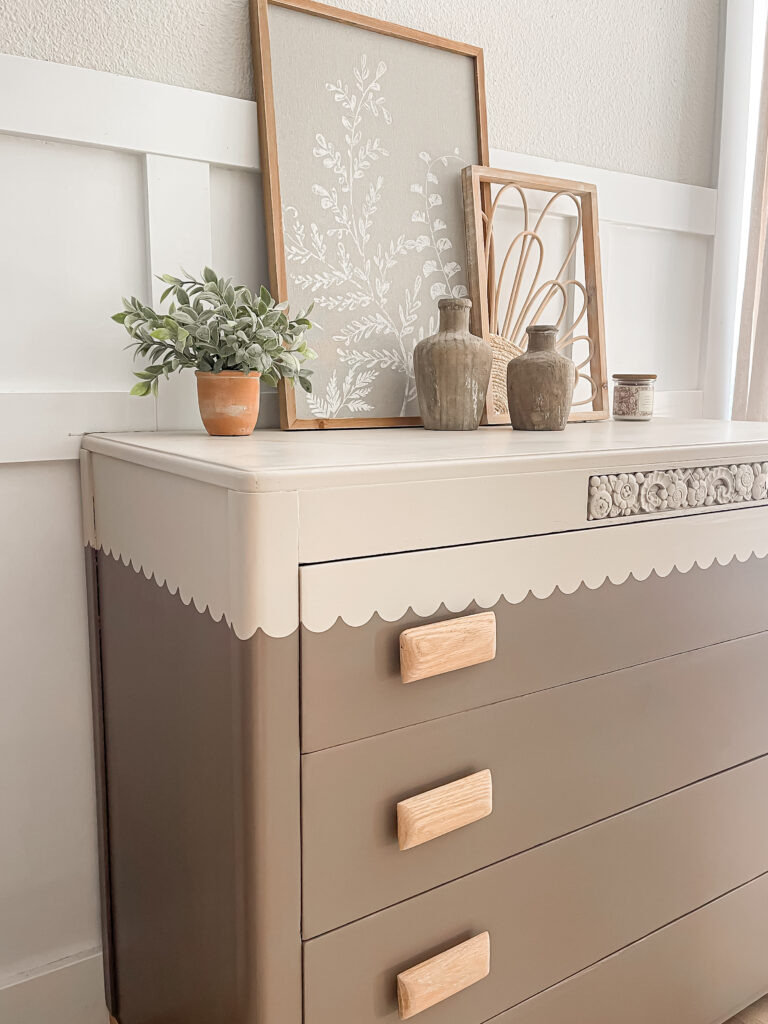
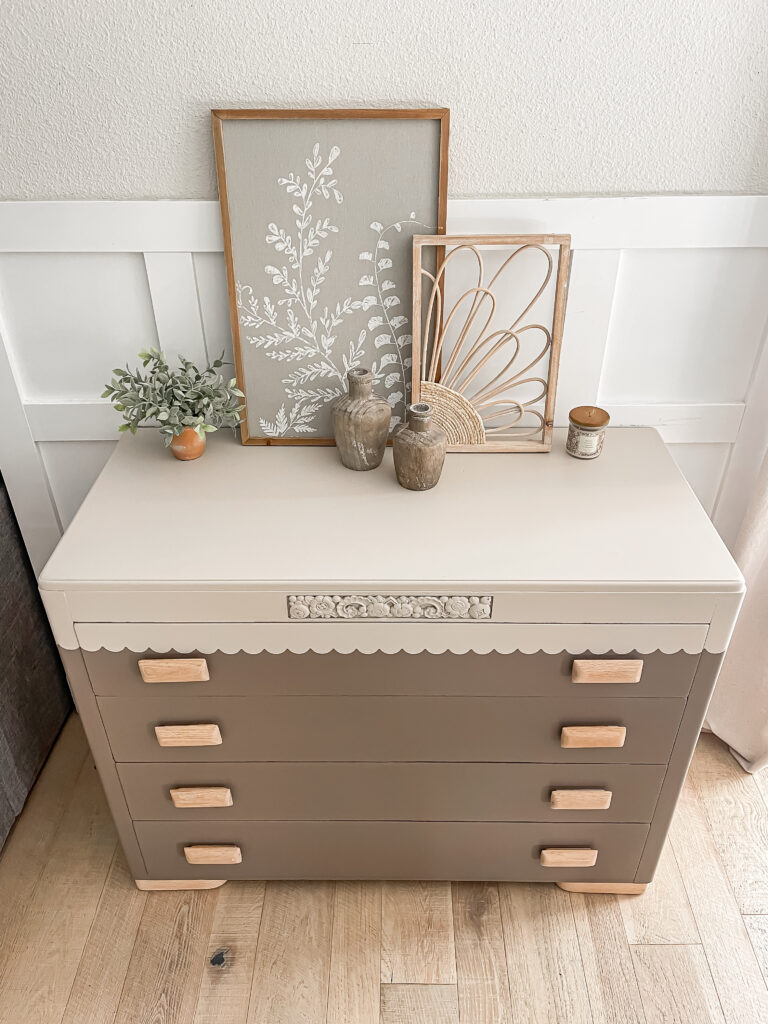
The warm brown tones fit this piece perfectly and really blended with the natural wood color nicely.
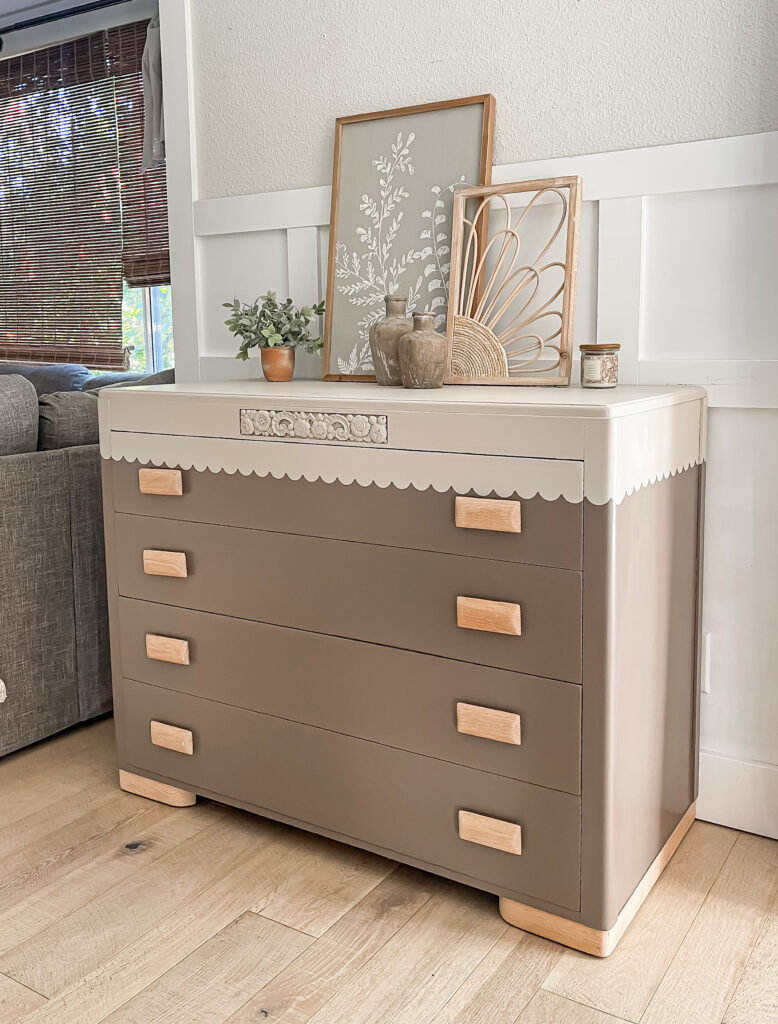
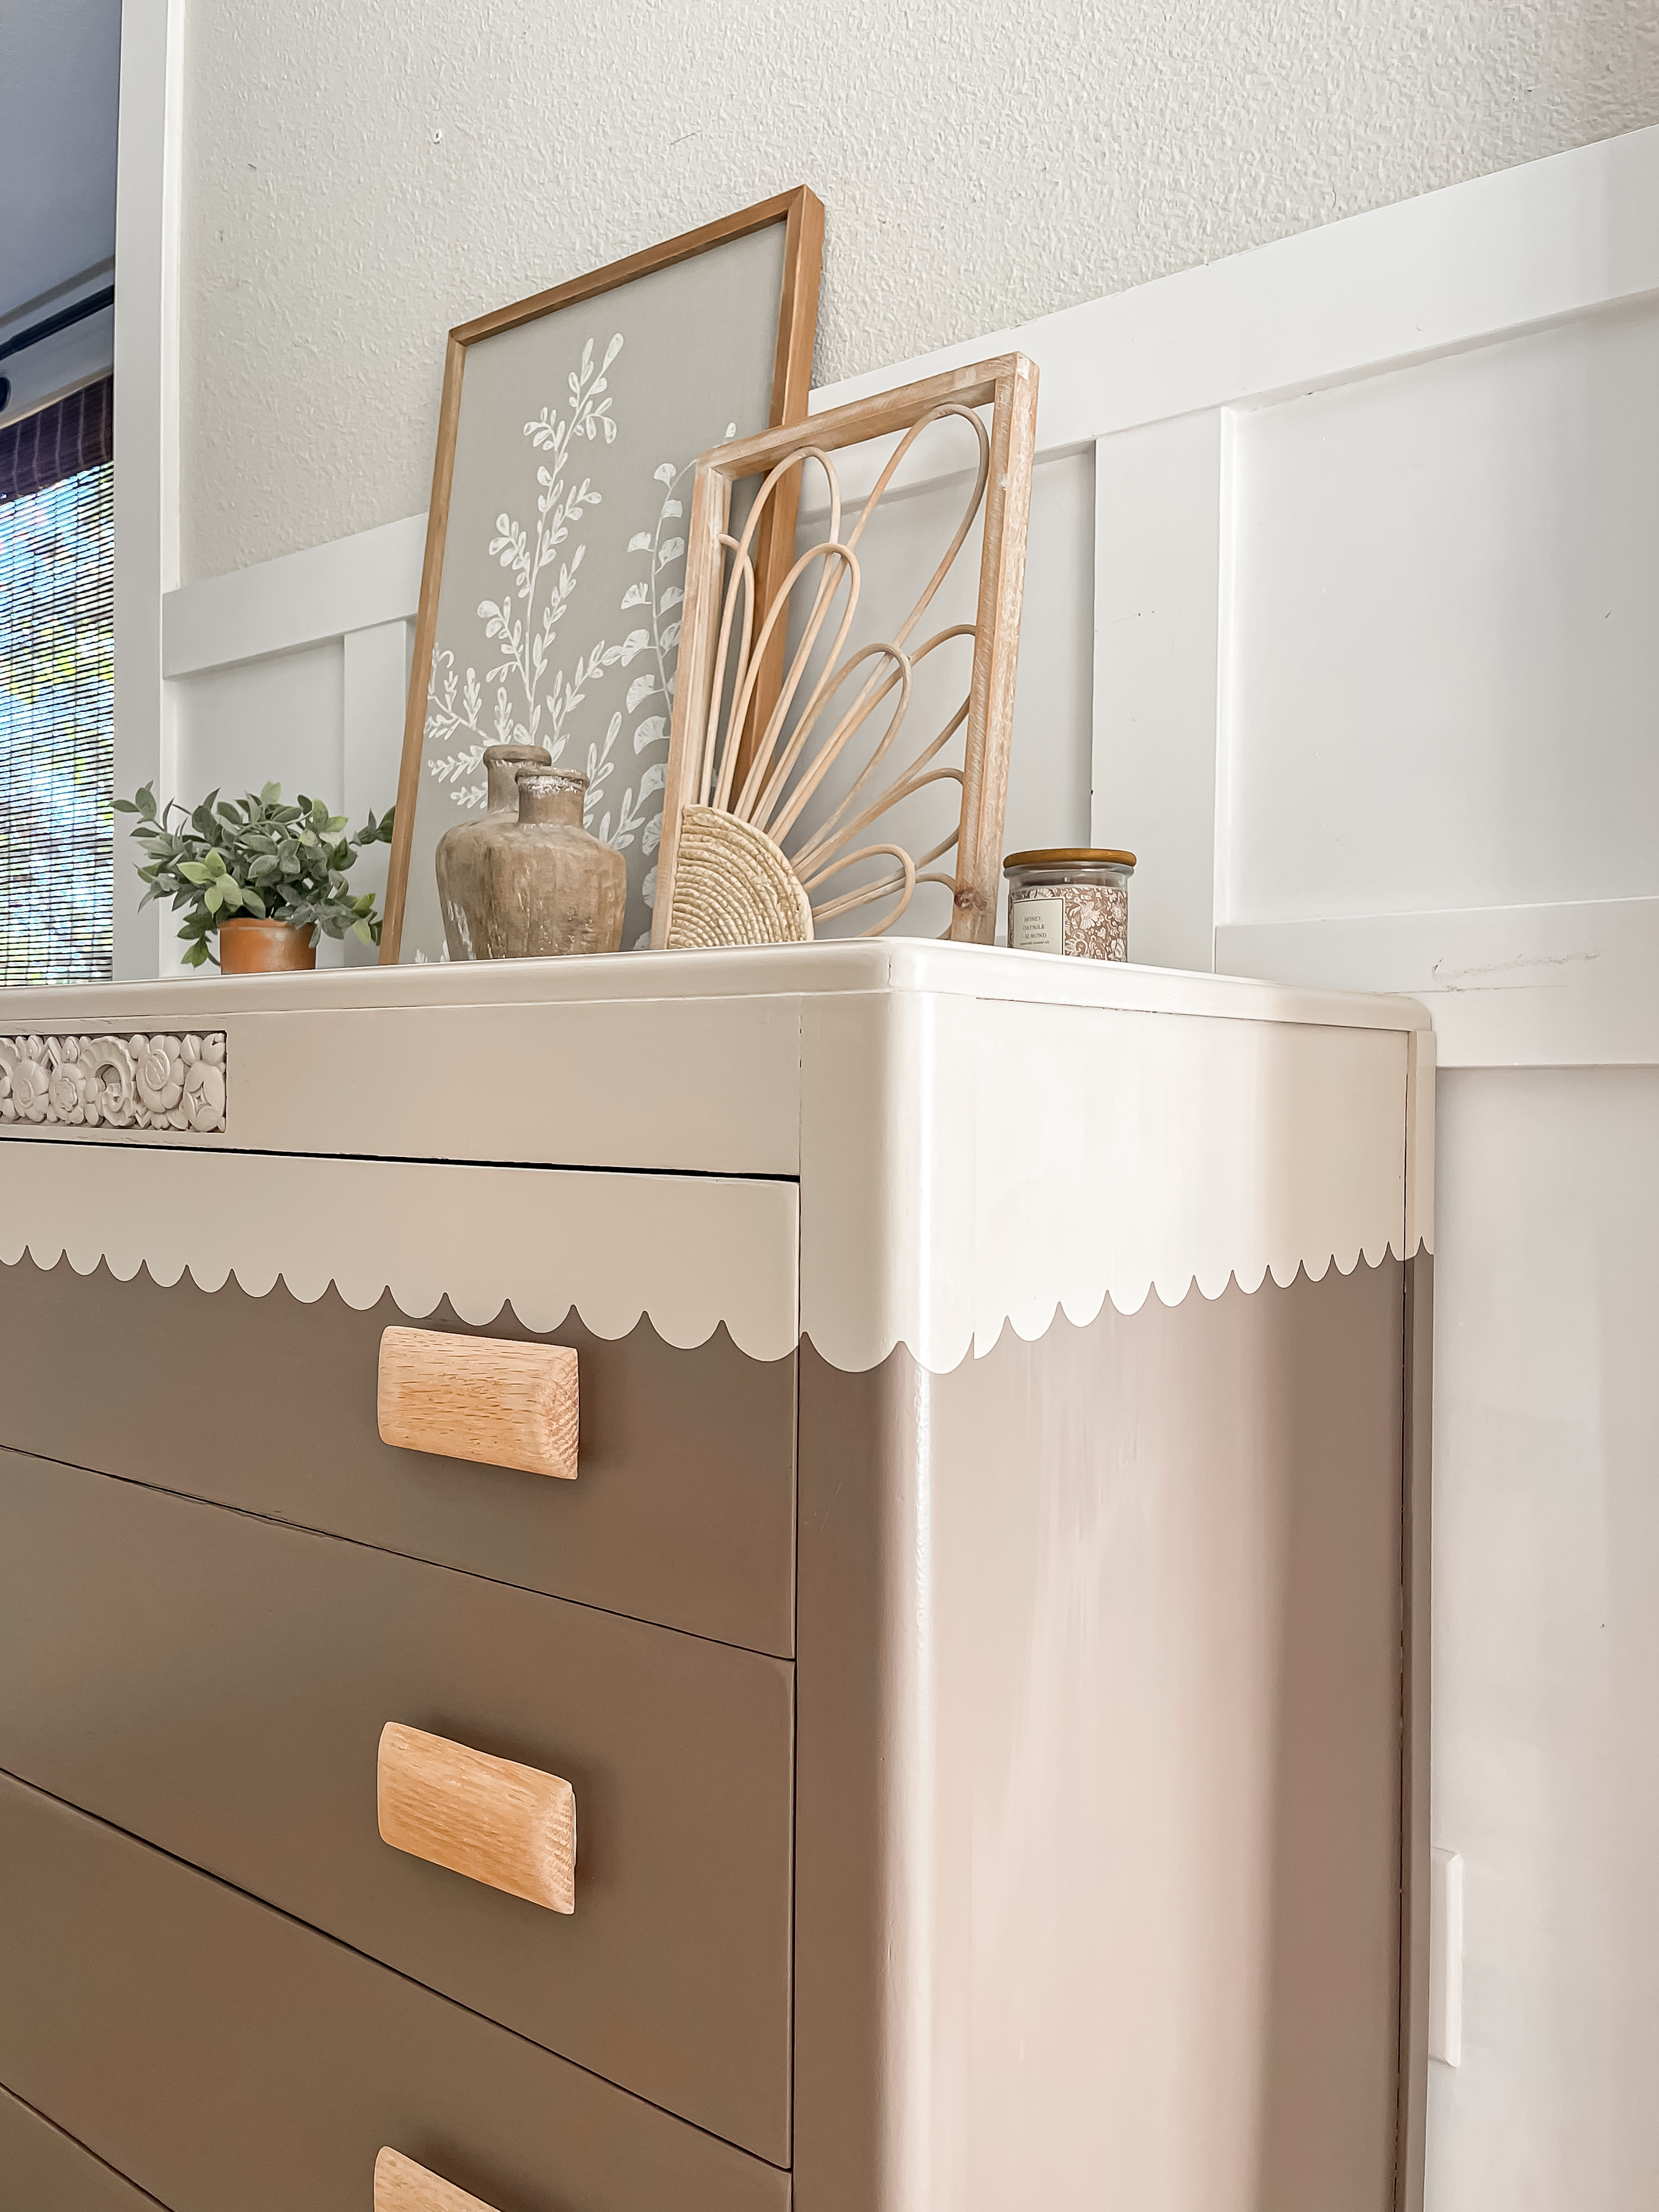
This piece was a true work of love! It took a lot of trial and error, butwe finally got it!
Thanks for swinging by today, I hope you all have a fantastic weekend and I’ll be back next week!
PIN FOR LATER!
Linking up to these awesome parties!