Supplies Used: (Affiliate links may be provided for convenience. For more info, see my full disclosure here.)
- 1/4″ Underlayment
- Medium Grit Sandpaper
- Orbital Sander
- Stud Finder
- Brad Nailer Kit
- Jigsaw
- Compound Miter Saw
- Level
- Wood Filler
- White Paint

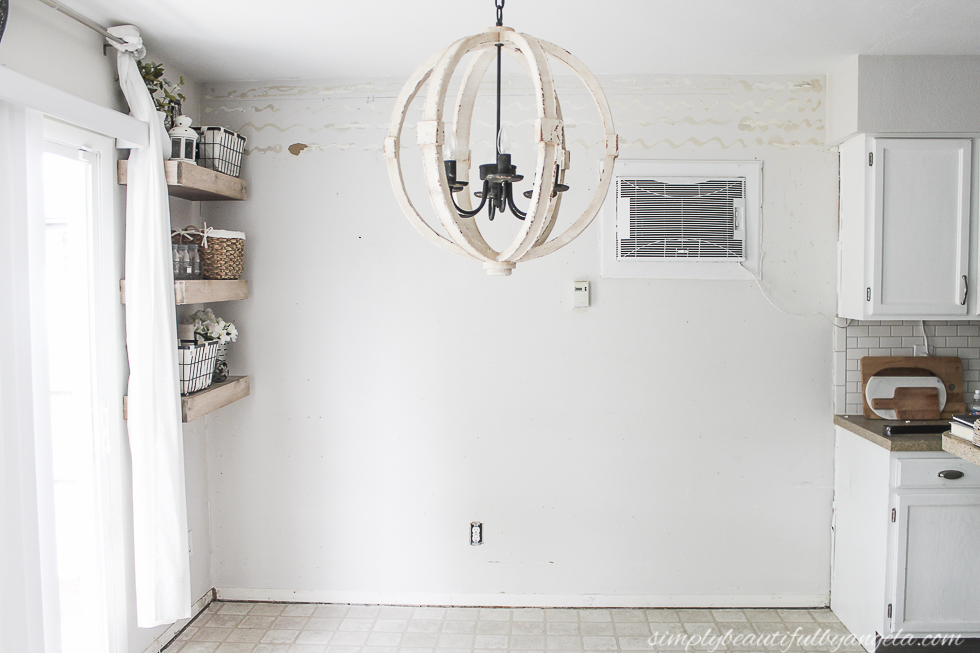
I took it as a sign that it was time to make my vision come to life, so the next day I decided to tear them all off!
I purchased a couple of 4′ x 8′ sheets of 1/4″ underlayment from Lowes and had them rip them down into 8″ strips. Their saw usually leaves the edges pretty jagged so I ran some sandpaper along them to smooth them out.
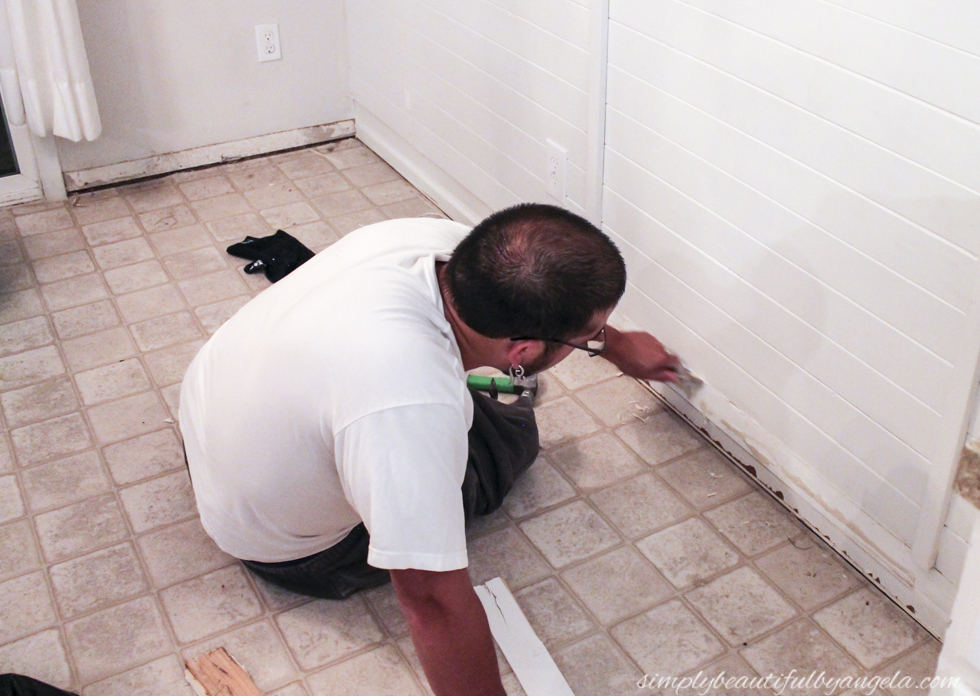
We started at the top and used a level to make sure that the first plank was nice and straigh. Luckily our ceiling line was level, but if you end up with a gap you can just use caulk to hide it later on.
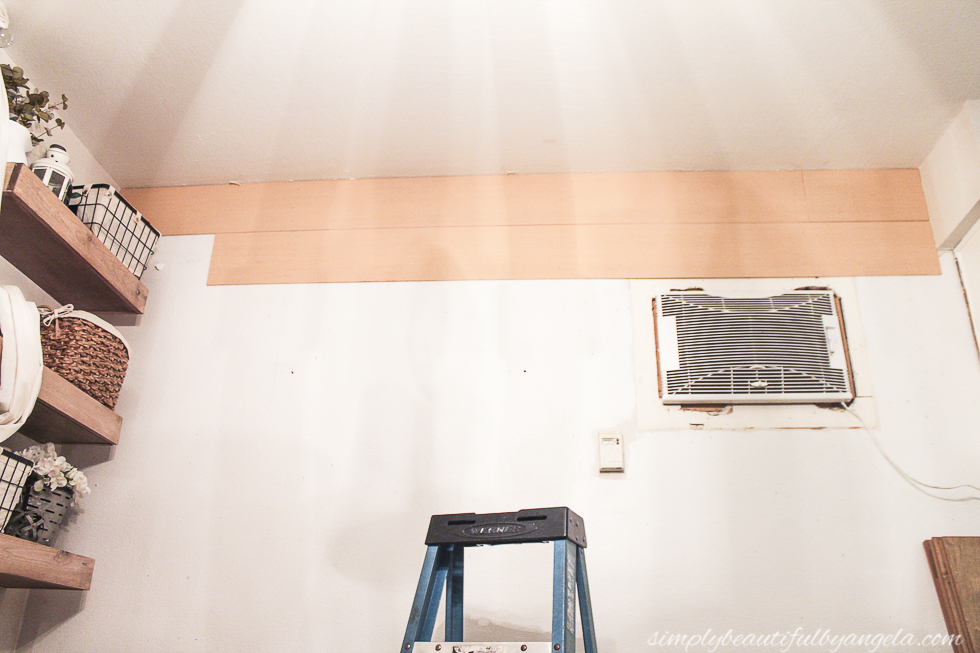
Although you can’t see it in the picture above, we used a stud finder to find the studs before we began and then drew a line all the way down the wall so that we could attach the planks directly to the studs.
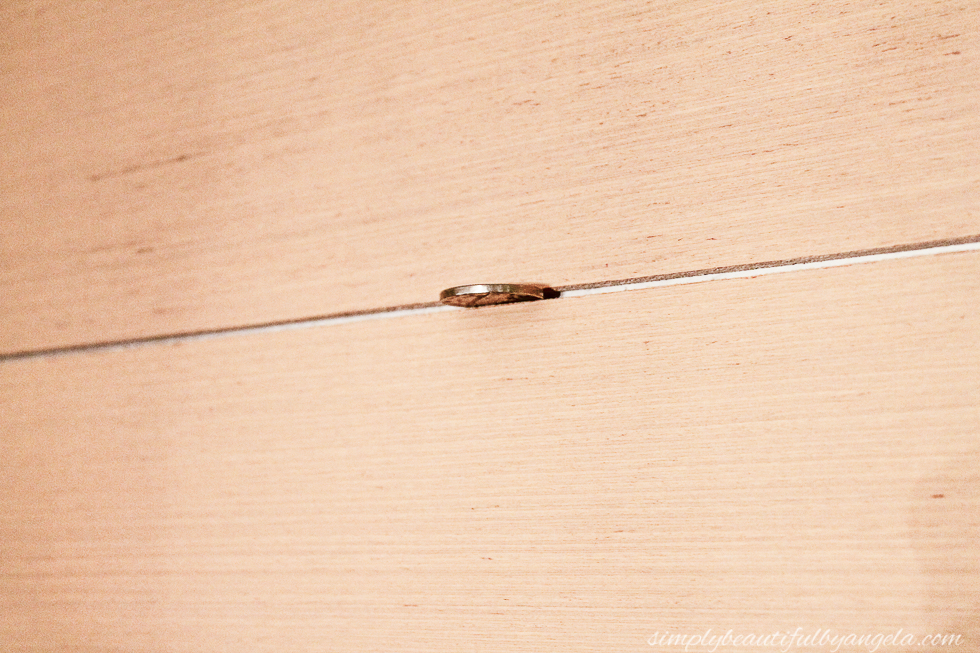
We used a nickel under either side of the plank to space the one below it.
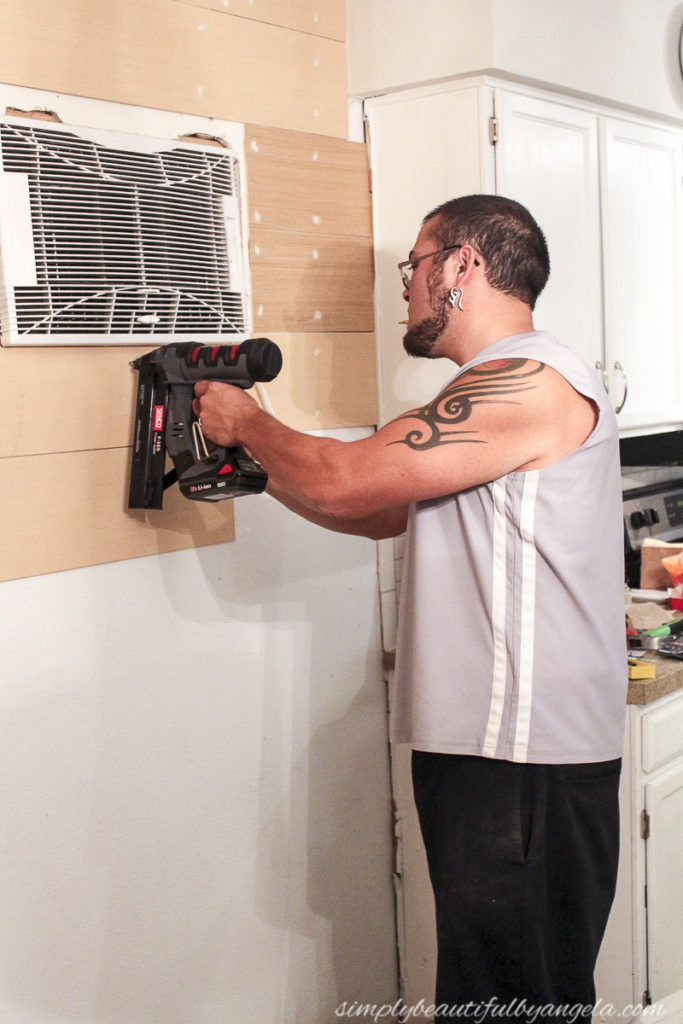
You can go old school and just use a hammer and nails to attach the planks, however we borrowed an electric nail gun from a friend and it definitely made the process much simpler and quicker.
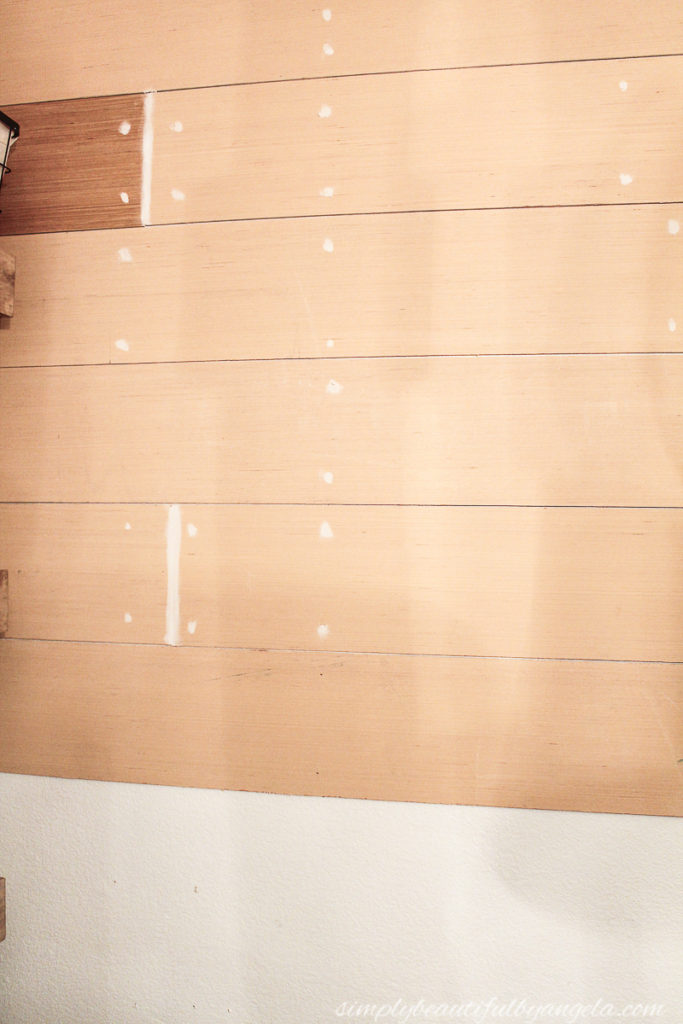
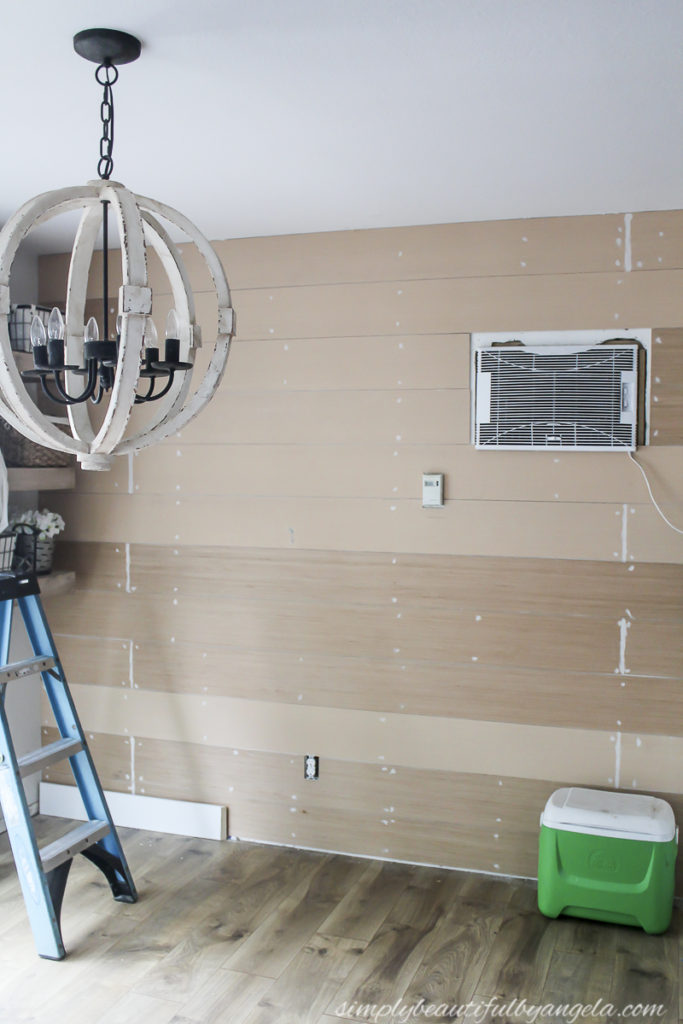
I filled nail holes with wood filler as we went. I also filled the seams from where we had to piece together another plank, hoping that it would disguise them. However as you’ll see later on I decided to just put 1×2 MDF strips over them since they were still pretty visible.
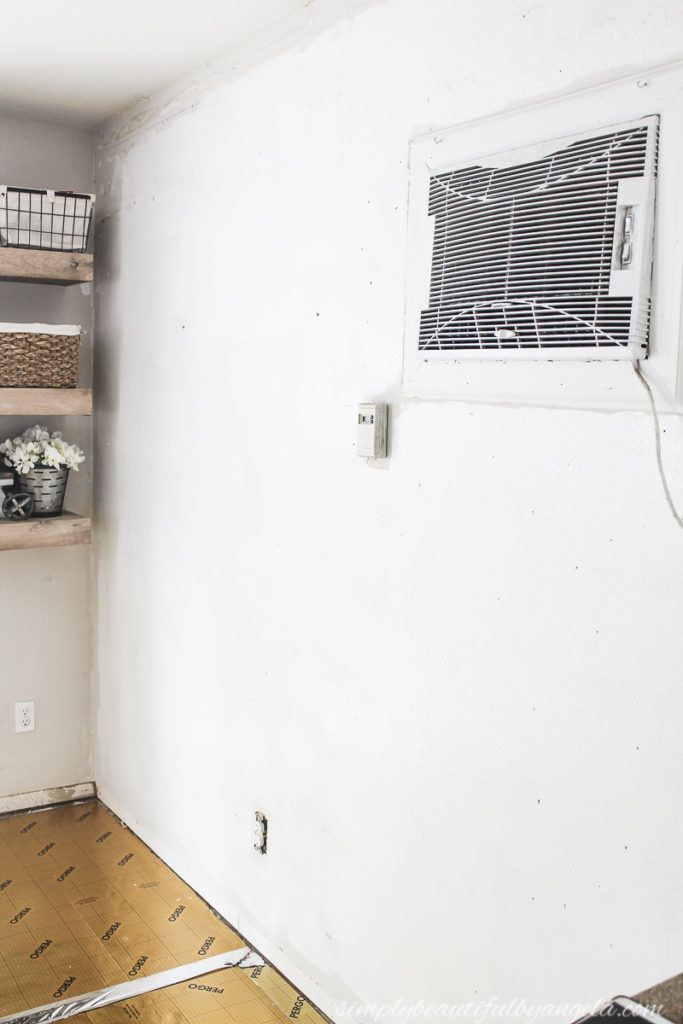
Whenever we encountered an obstacle like the thermostat box we used a jigsaw to measure and cut around it.

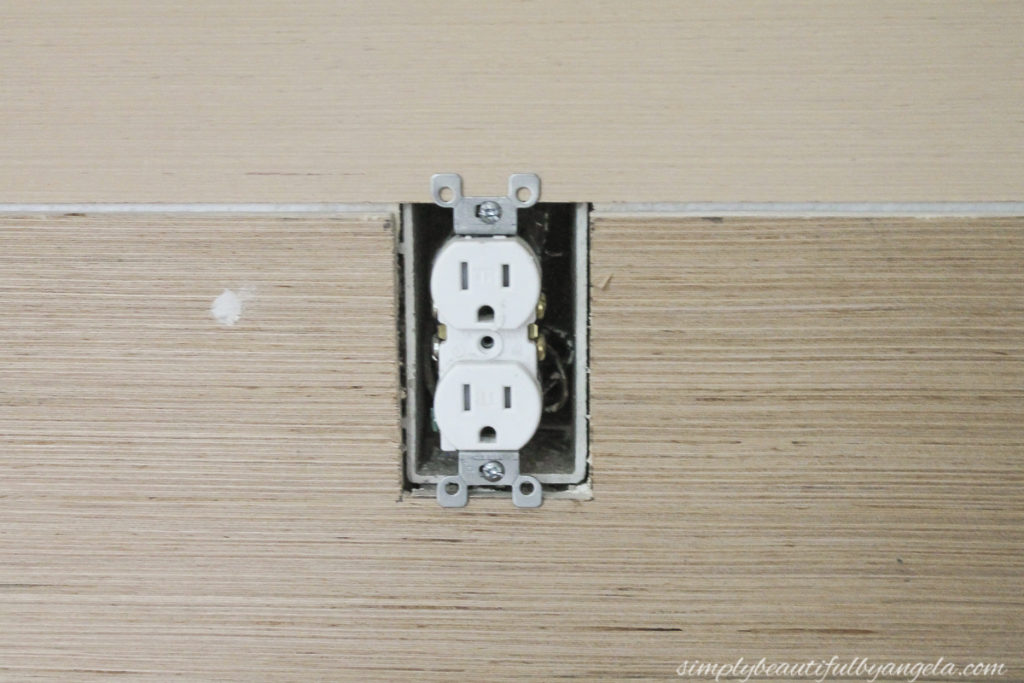
Also, for the outlet we unscrewed it a bit so that we could pull it out and rest the plank behind it like so:
After the wood filler was dry, I used my orbital sander to sand it all down.
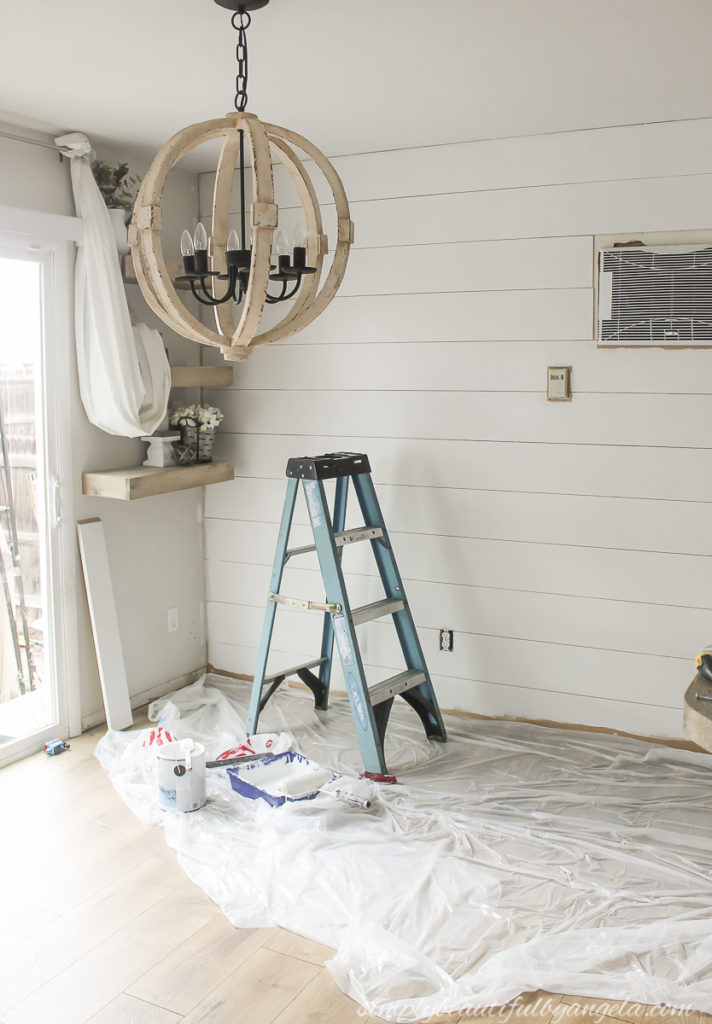
Finally I gave the whole wall 3 coats of white paint.
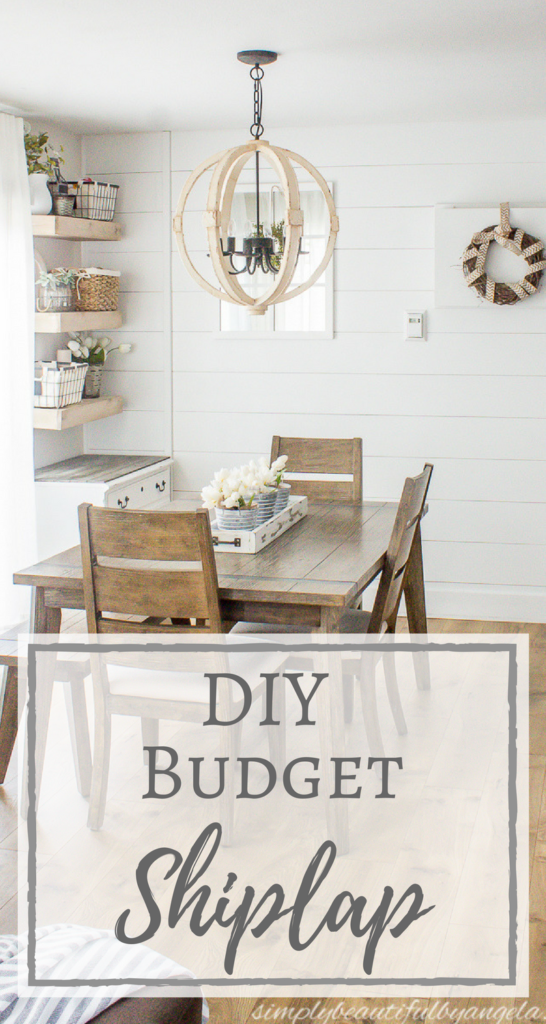
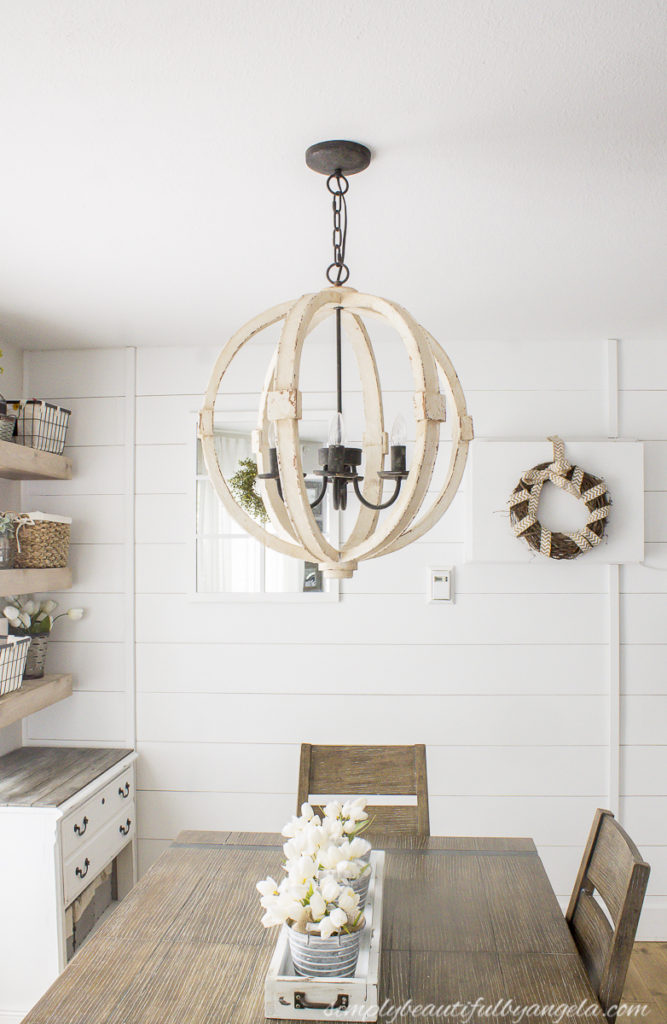
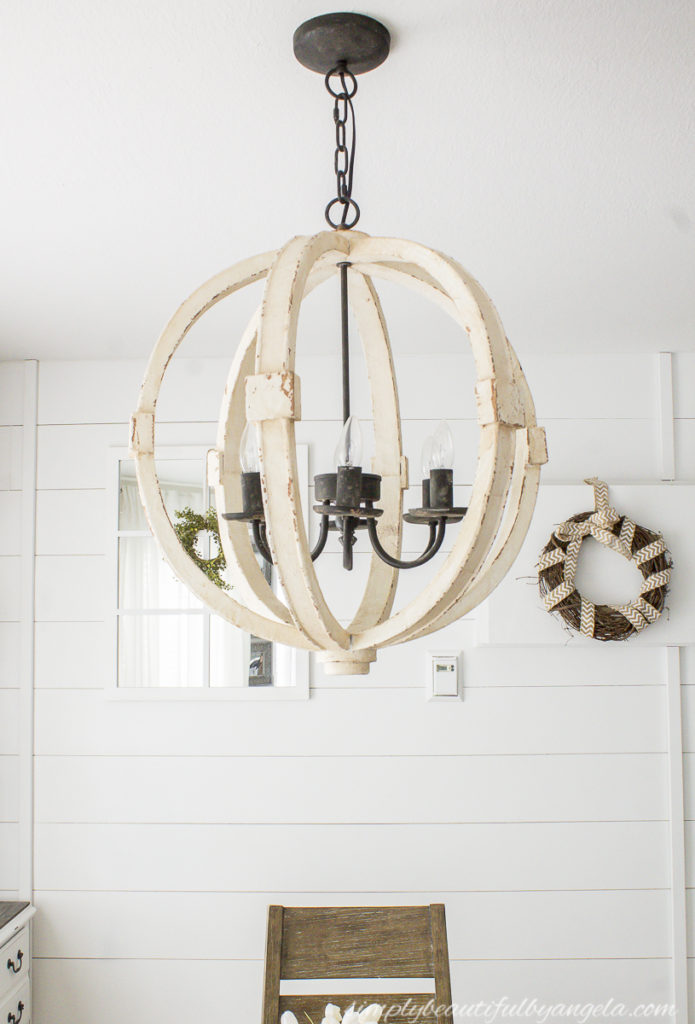
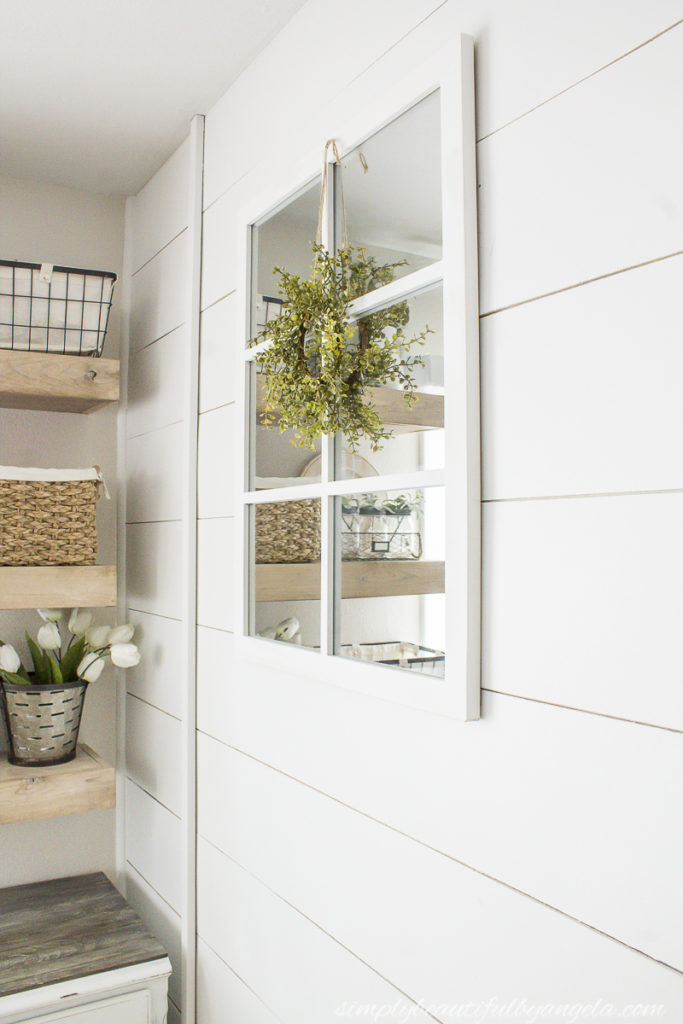
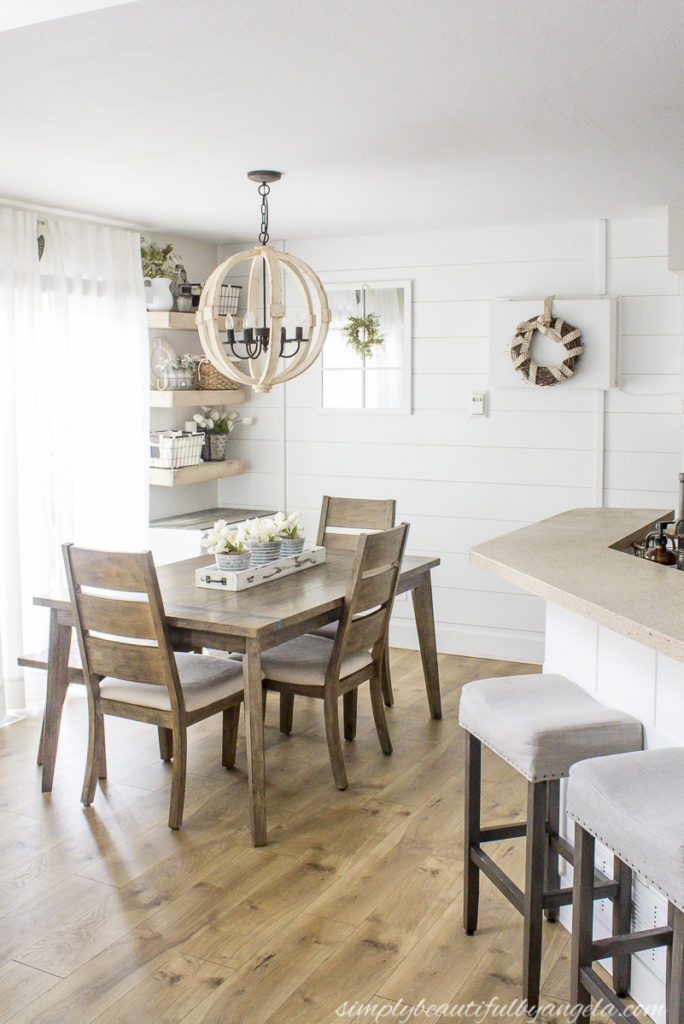
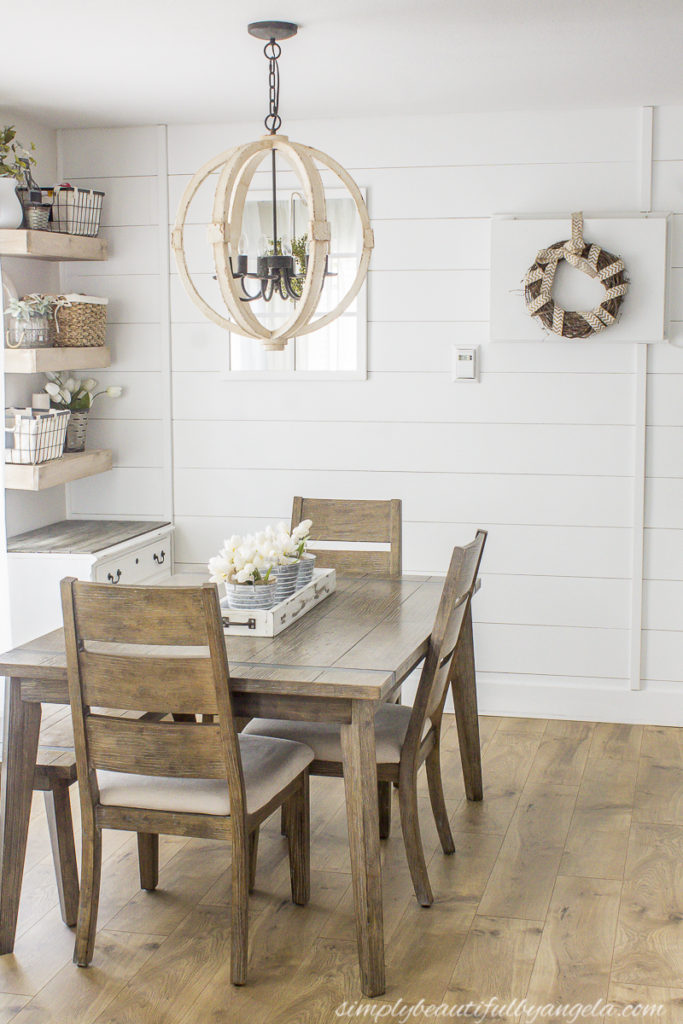
Here is how it looks all finished up!
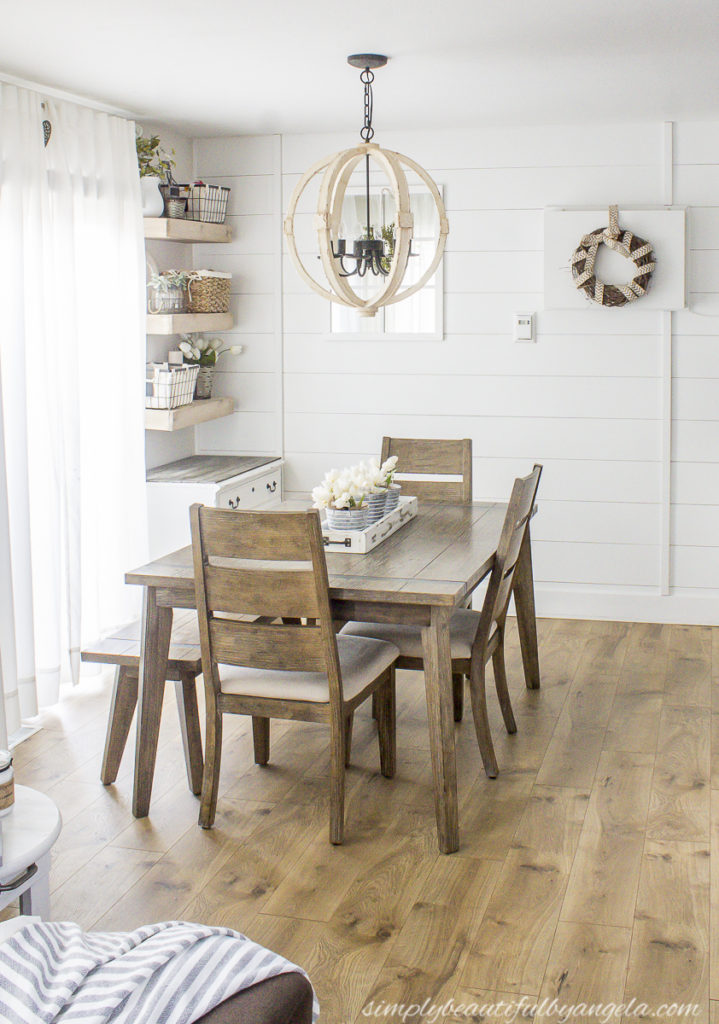
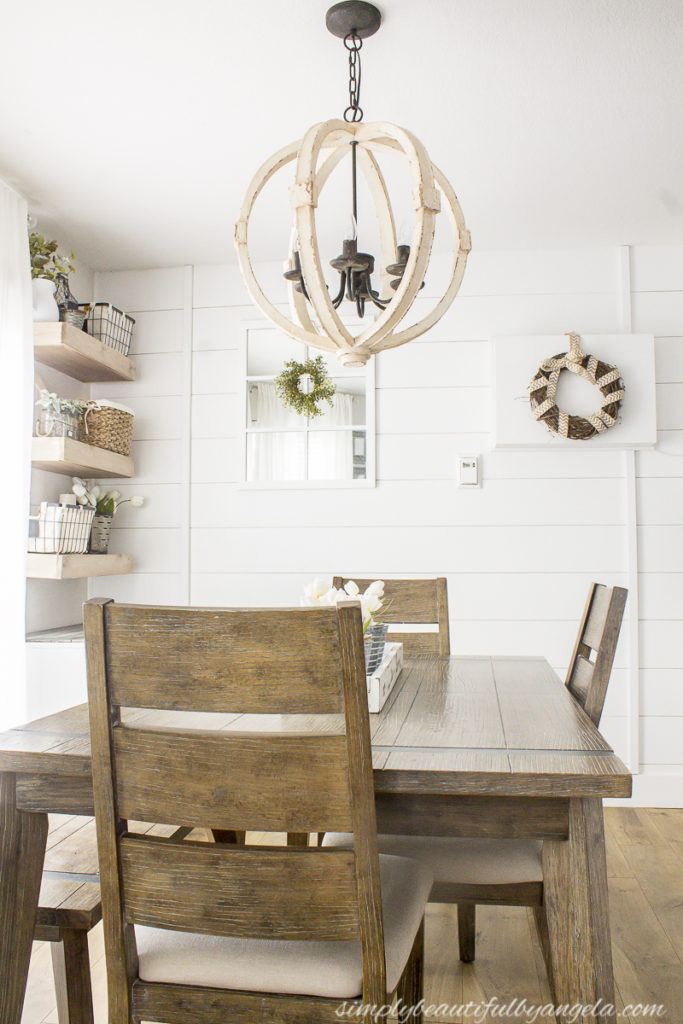
The wood orb chandelier pairs with the shiplap nicely and is still my favorite part about the whole space. Don’t worry, I already plan on buying another one for the new house!
I also framed out the themostat box with quarter round molding and framed the swamp cooler with 1×3 MDF to create a nice clean look.
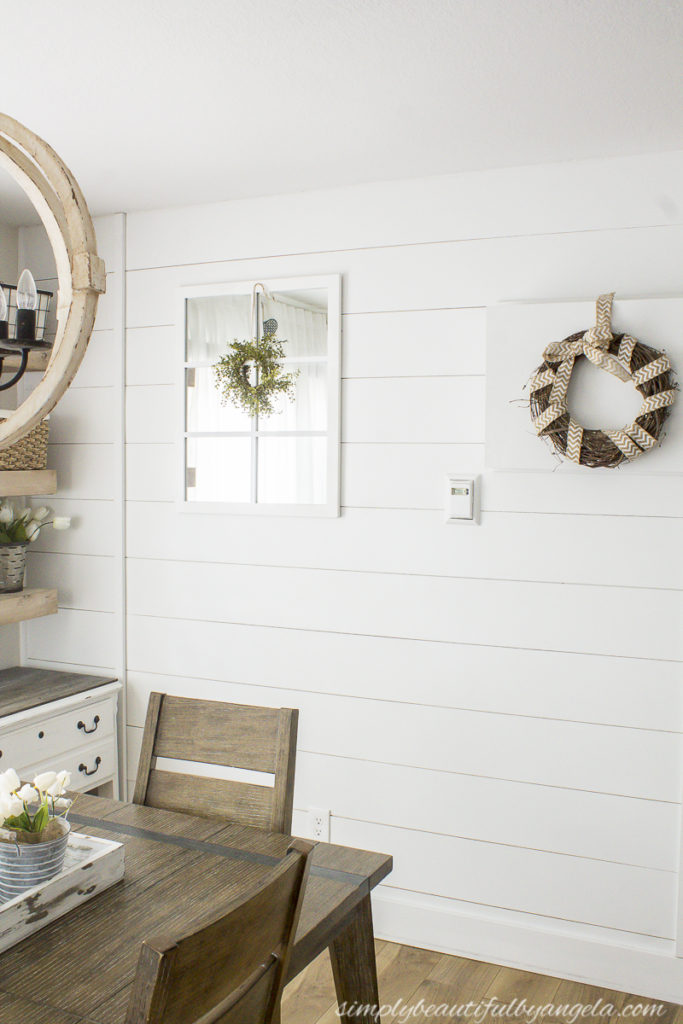
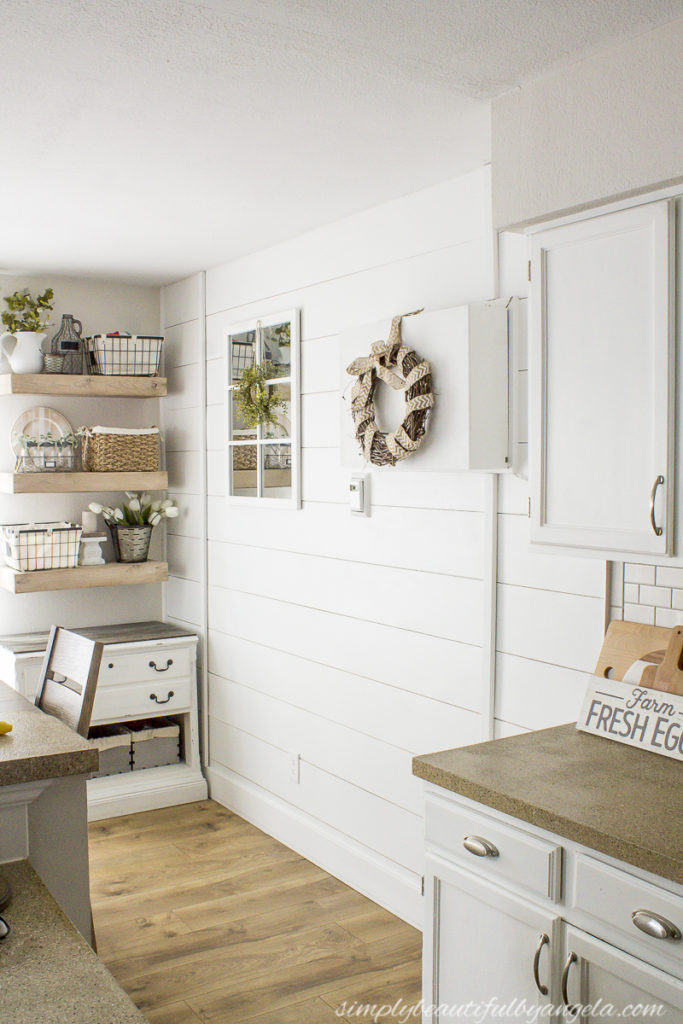
The 1×2 MDF pieces that I added create some dimension to the space and also hide the seams from where we had to piece planks together as I mentioned previously.
Let’s take a look at the difference one more time…
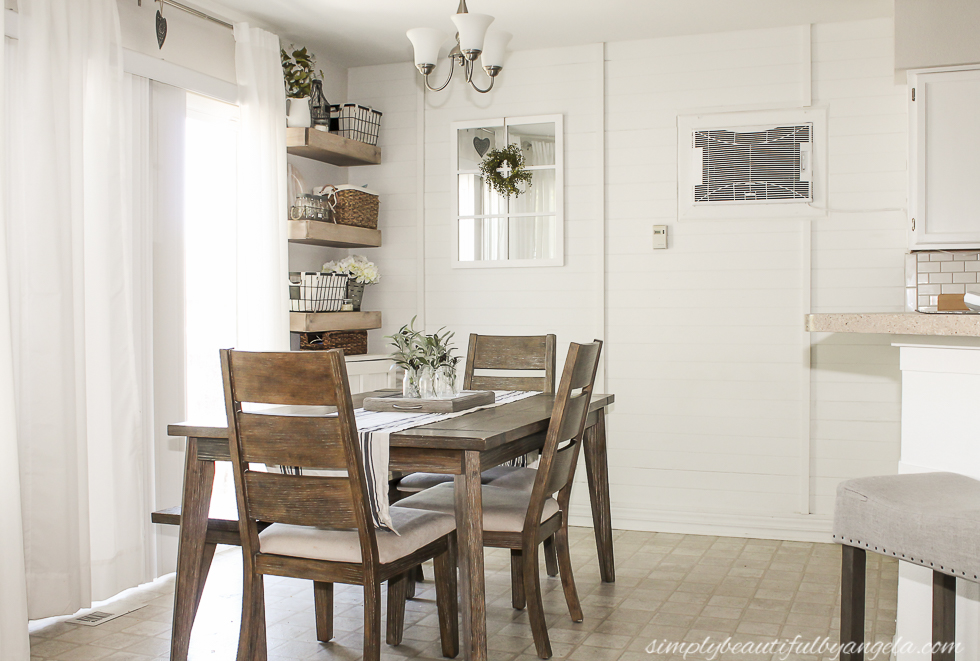
So much better!
Underlayment is super affordable (usually about $13 a sheet depending on where you live). I purchased 3 of them and since I already had all of the other supplies on hand, this whole wall cost under $50.
I already have the perfect wall picked out in the new home to add shiplap to and am just itching to get started on it!
Have a wonderful rest of the week my friends, I’ll be back next week!
Linking up to these awesome parties!