Hello Friends! Sorry for the late post this week. While these 4 day weeks are extra nice, they always throw my groove waaaay off and I feel like I spend the whole week playing catch up!
Supplies Used: (Affiliate links may be provided for convenience. For more info, see my full disclosure here.)
- Orbital Sander
- Medium Grit Sandpaper
- Wood Filler
- Waverly Inspirations Chalk Paint in Mineral
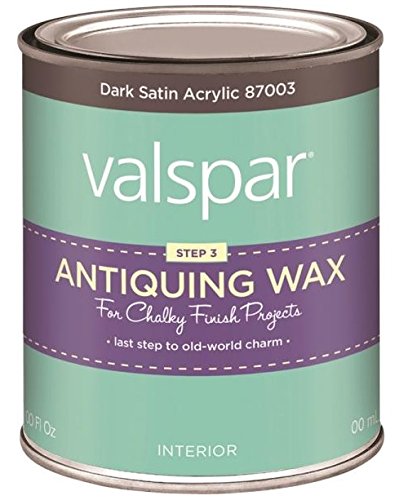
- Valspar Dark Sealing Wax
- Angled 1.5″ Paint Brush
- Chip Brush

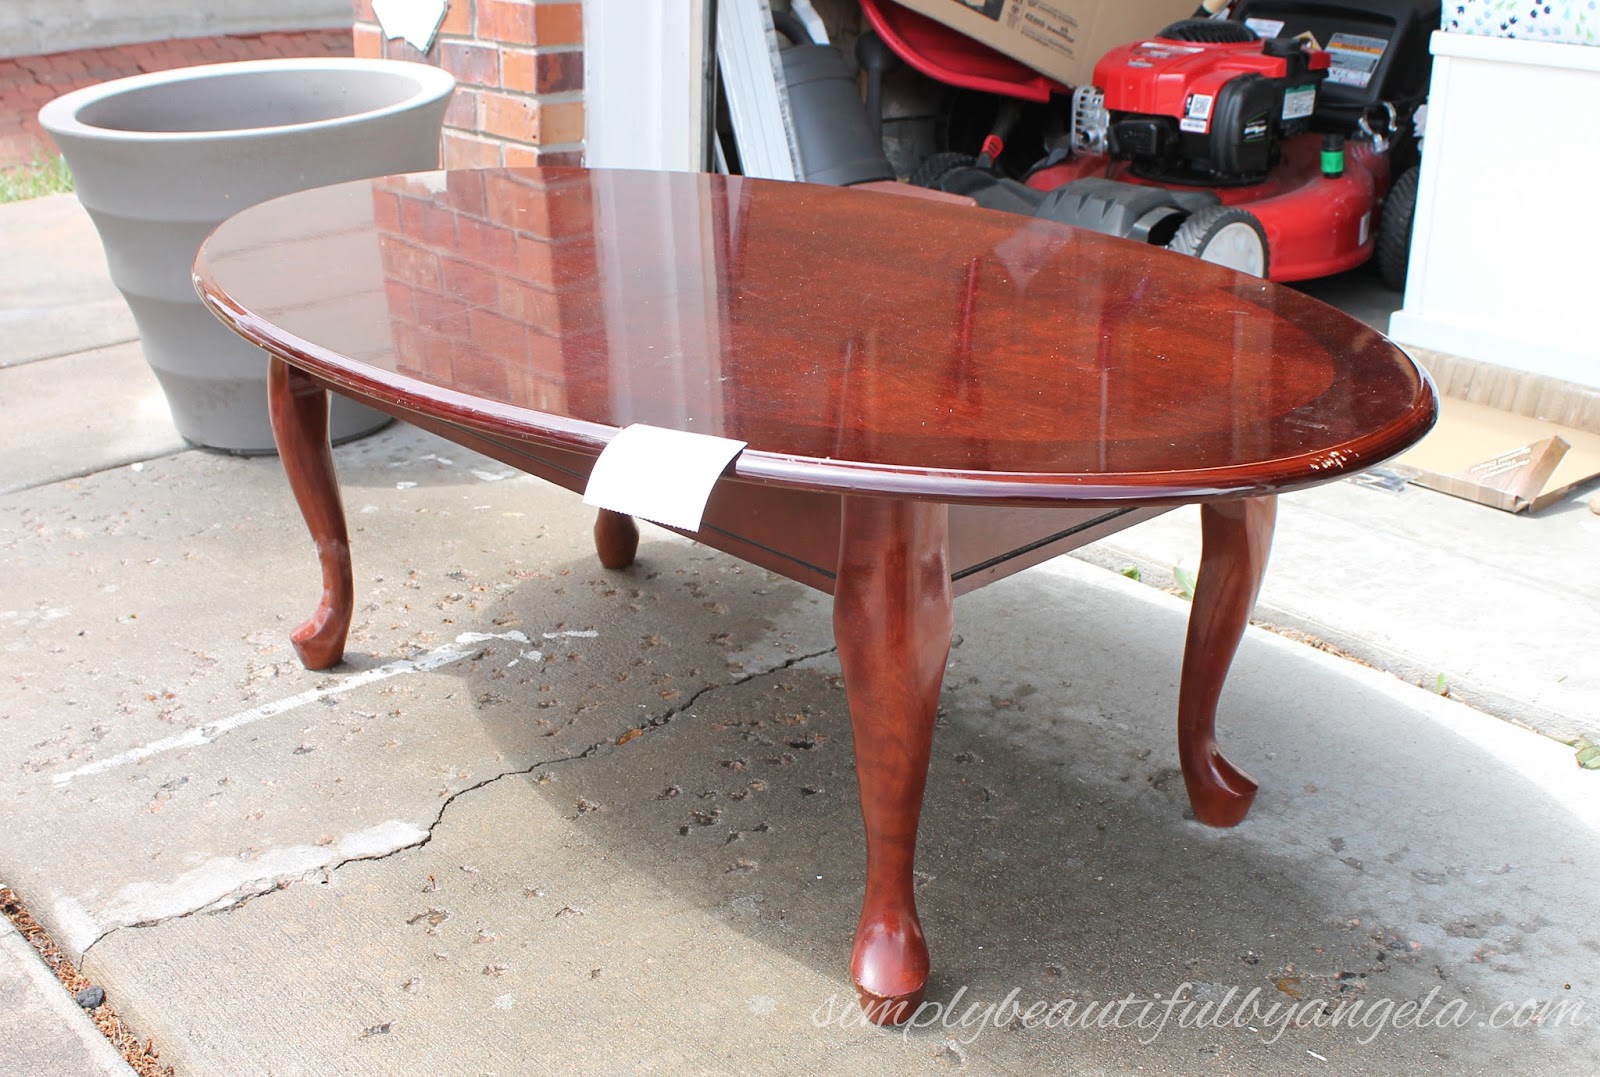
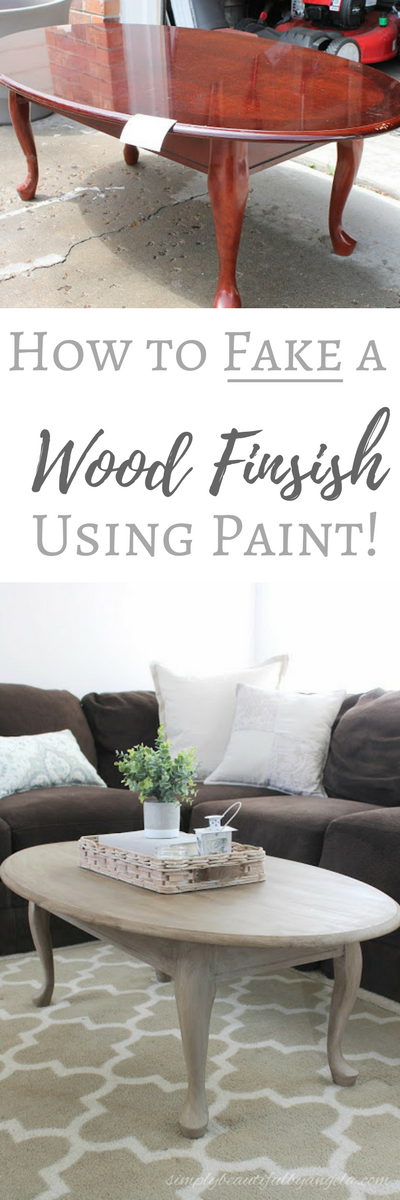
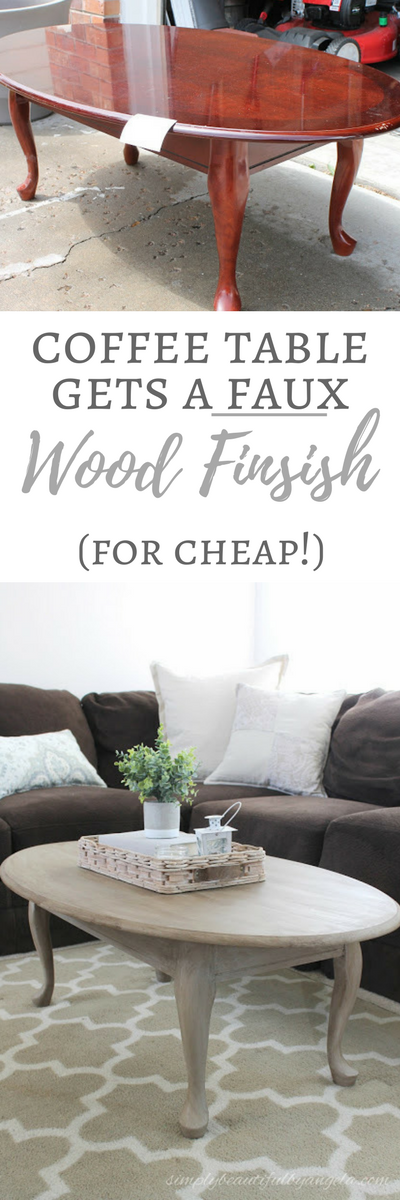
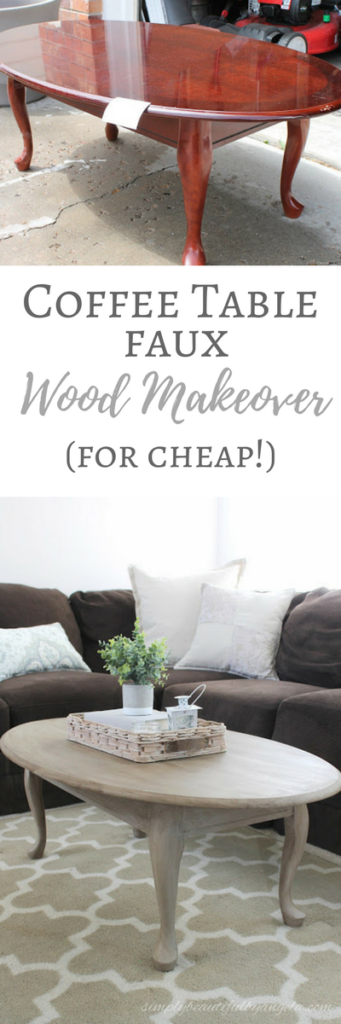
You may be looking at this and thinking “wow– I’m really surprised that it had such a low price tag!”
Well friends, so was I. That is until I looked at the other side. What you can’t see in the picture above is that one of the sides had completely torn off and the legs were hanging on for dear life.

This is probably why the folks at Goodwill only valued it at $5 and why other people may have passed it by. But it was actually a super simple fix! I just cut down a piece of 1×4 MDF that I had and screwed it on.
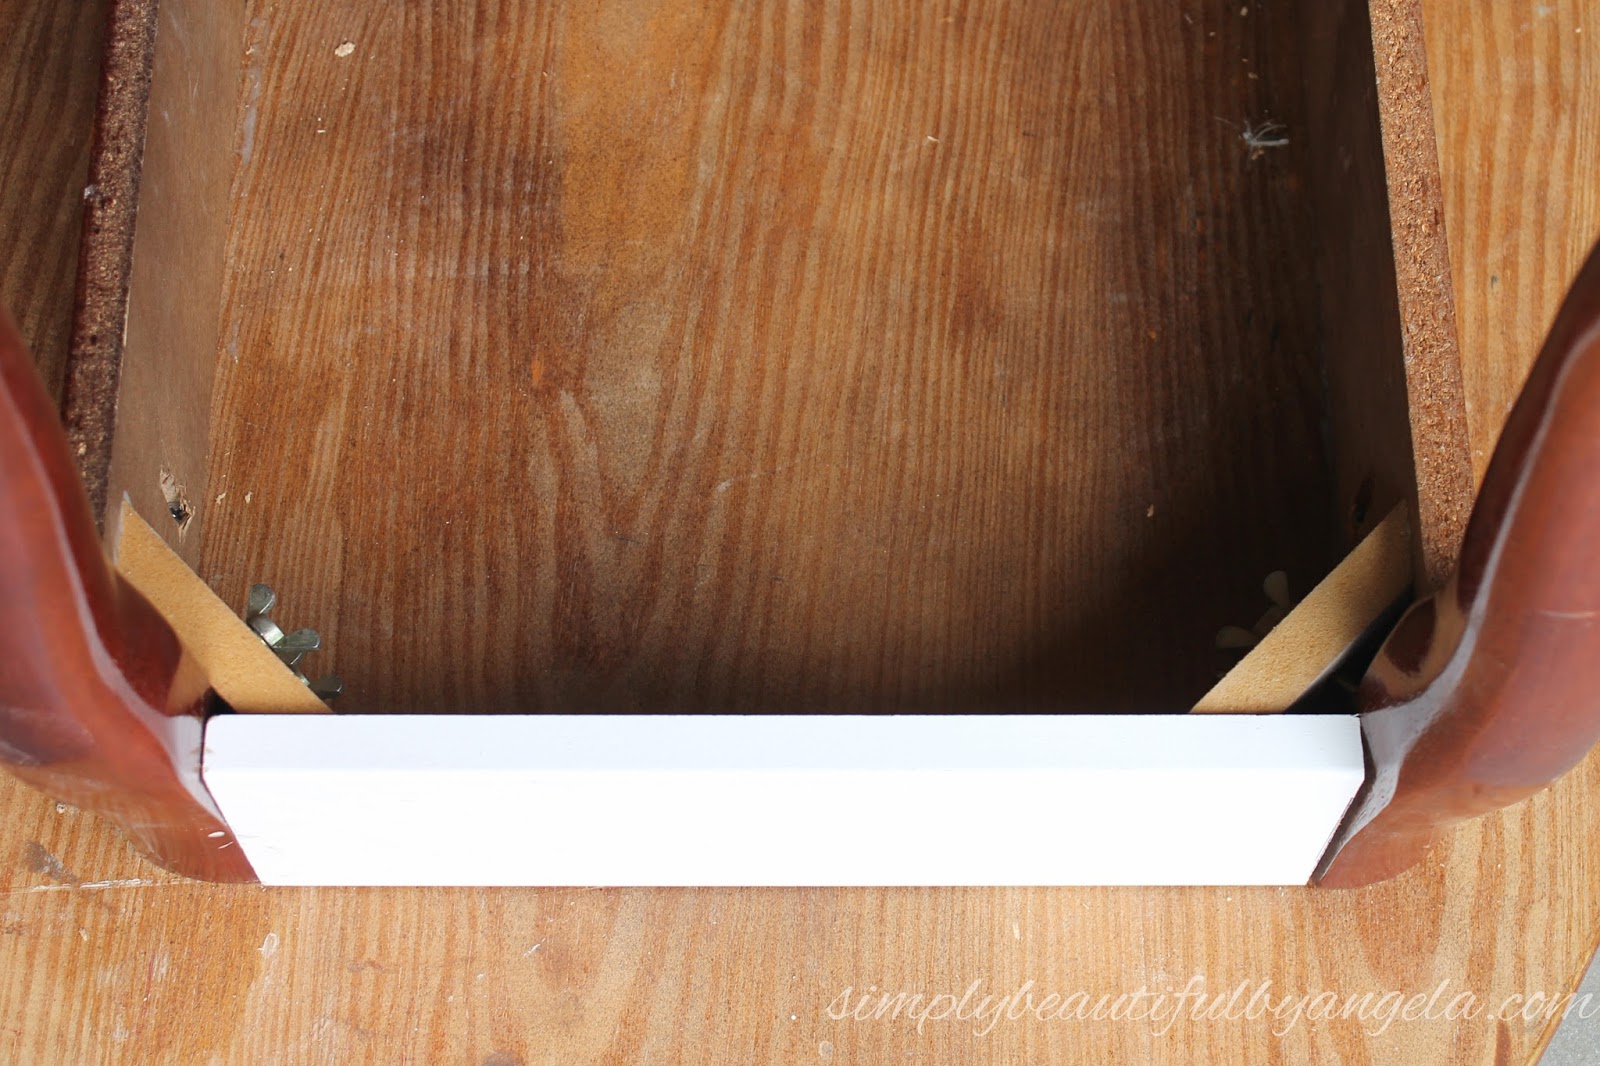
Good as new! Well almost. I still needed to do something about the scuffed up cherry finish and disguise the white MDF that was now sticking out like a sore thumb.
If it was going in our house I probably would have done a chippy white finish. However my parents tend to like wood toned furniture. Sanding it down and re-staining it didn’t sound like a ton of fun, and even if I did the MDF piece would be almost impossible to match.
So I decided to try a weathered wood finish by doing something similar to what Lauren from Bless’er House did here using chalk paint and dark wax.
She used Annie Sloan which is super pretty but sooo expensive! I actually used some different products to make this a little more budget friendly.
I first used my trusty orbital sander to scuff up the surface just enough so that the paint would stick better. I also went over the legs by hand really quick with a sheet of medium grit sandpaper.
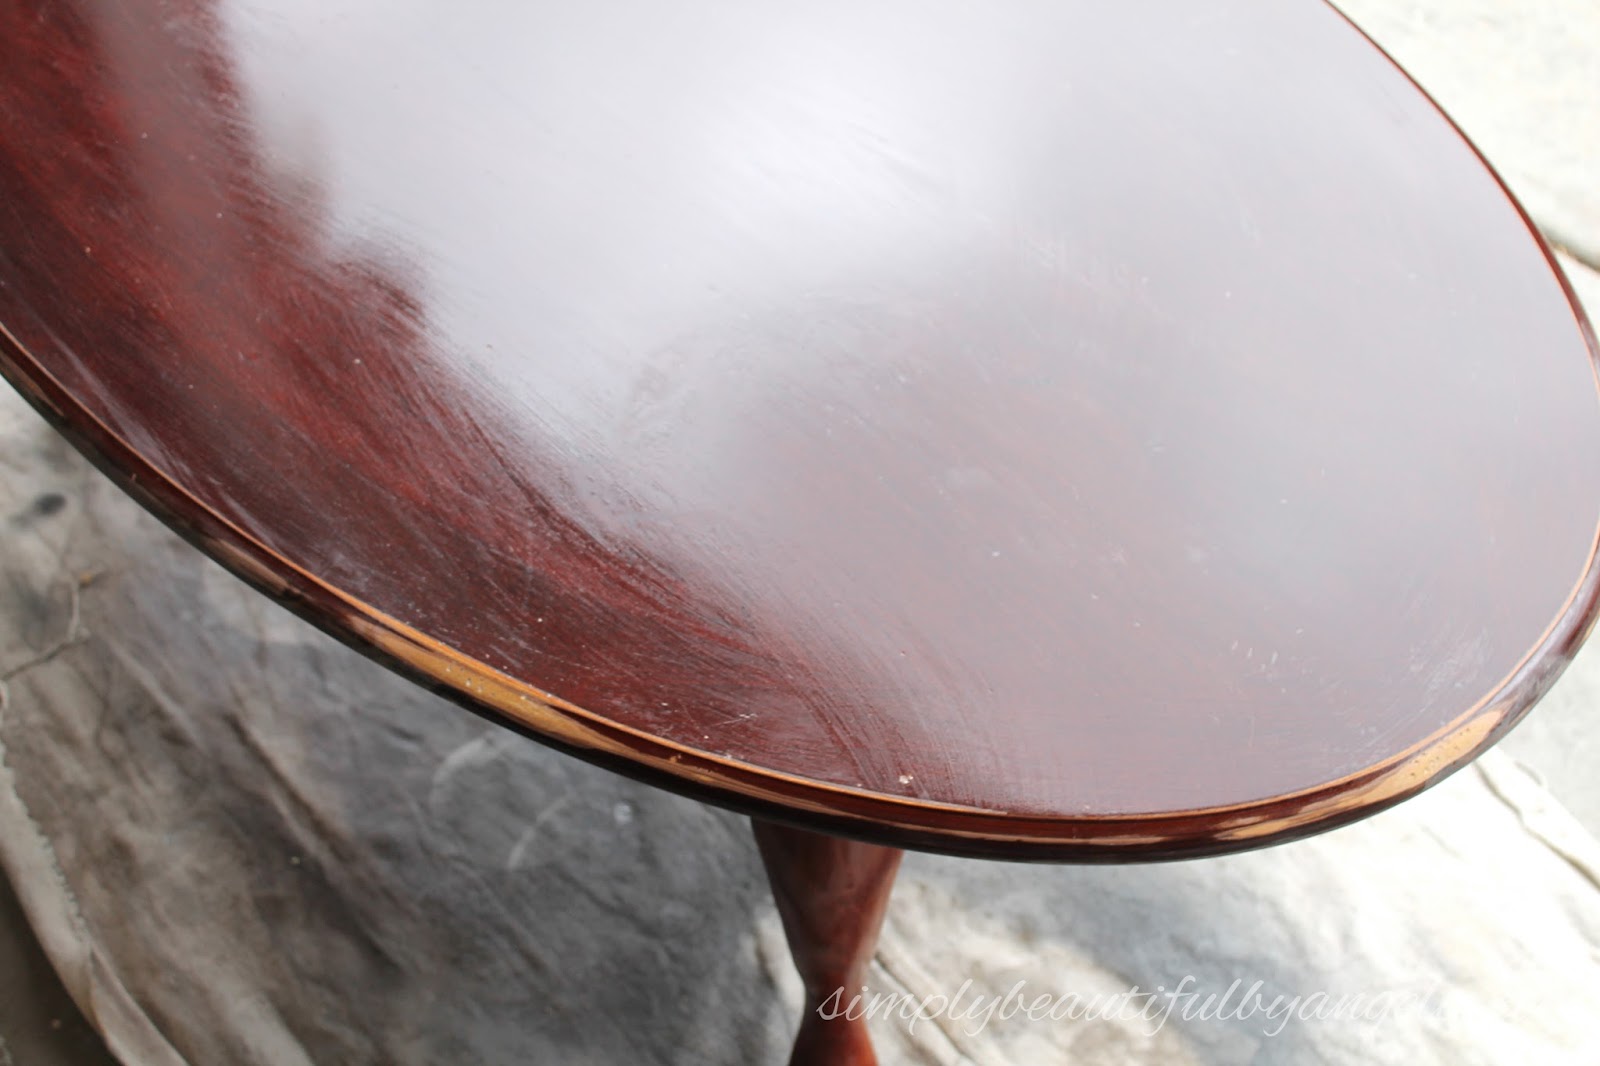
There were some spots on the edge that looked like a little doggie (or kitty??) had once used this table as a chew toy. I just applied a little bit of wood filler to these spots and sanded them down and just like magic they were gone!

I initially mixed up some of my own chalk paint and even applied two coats of it before deciding that it looked more lavender than the light greige I was going for. I will spare you from seeing a picture. Trust me–it was awful.
Then during a trip to Walmart I spotted a line of chalk paint by Waverly Inspirations. They had a ton of pretty colors but “Mineral” really caught my eye since it was the perfect shade of greige. It was only $6 so I thought I would give it a shot.

And it was perfect! Not only did I fall in love with the color, it also had great coverage. I only needed one coat over my previous “purple” paint. Totally my new go-to paint. This isn’t a sponsored post, I just seriously love this stuff 🙂
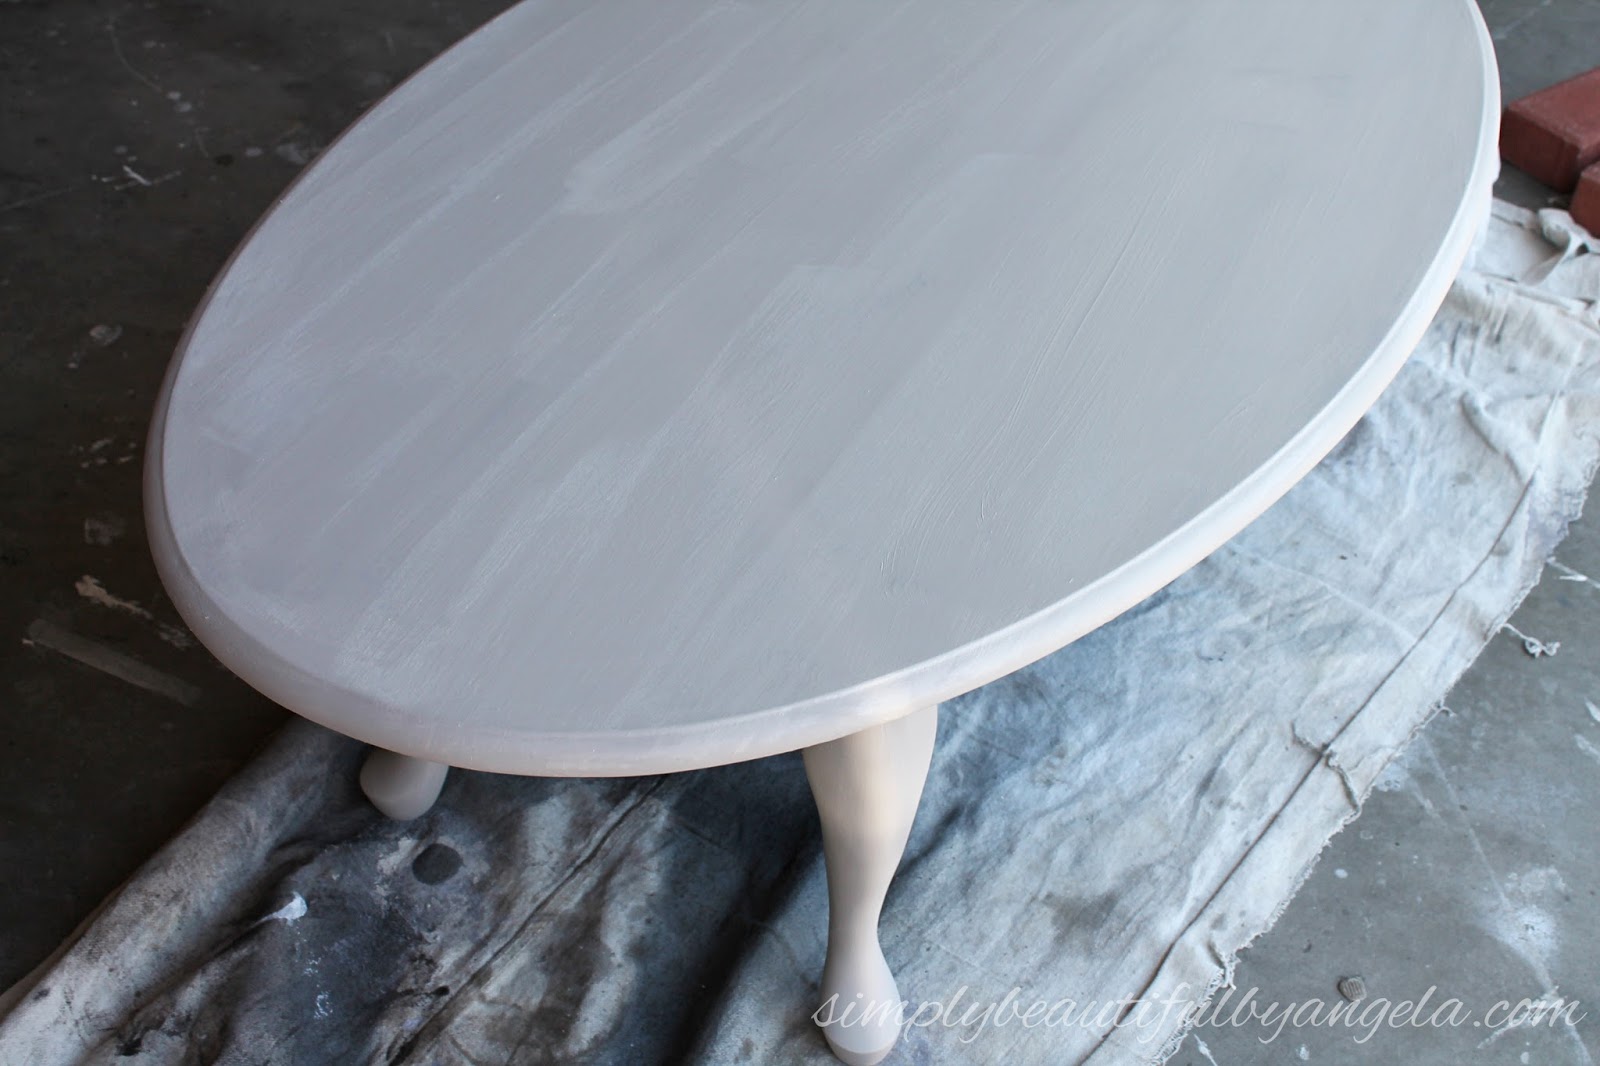
See those brush strokes? As you will see in a minute they are actually a good thing.
Once the paint was dry I was ready for the wax. I found this dark wax at Lowes for about $17 but it can also be purchased on Amazon.
I applied it with a chip brush and then wiped it off with a rag.
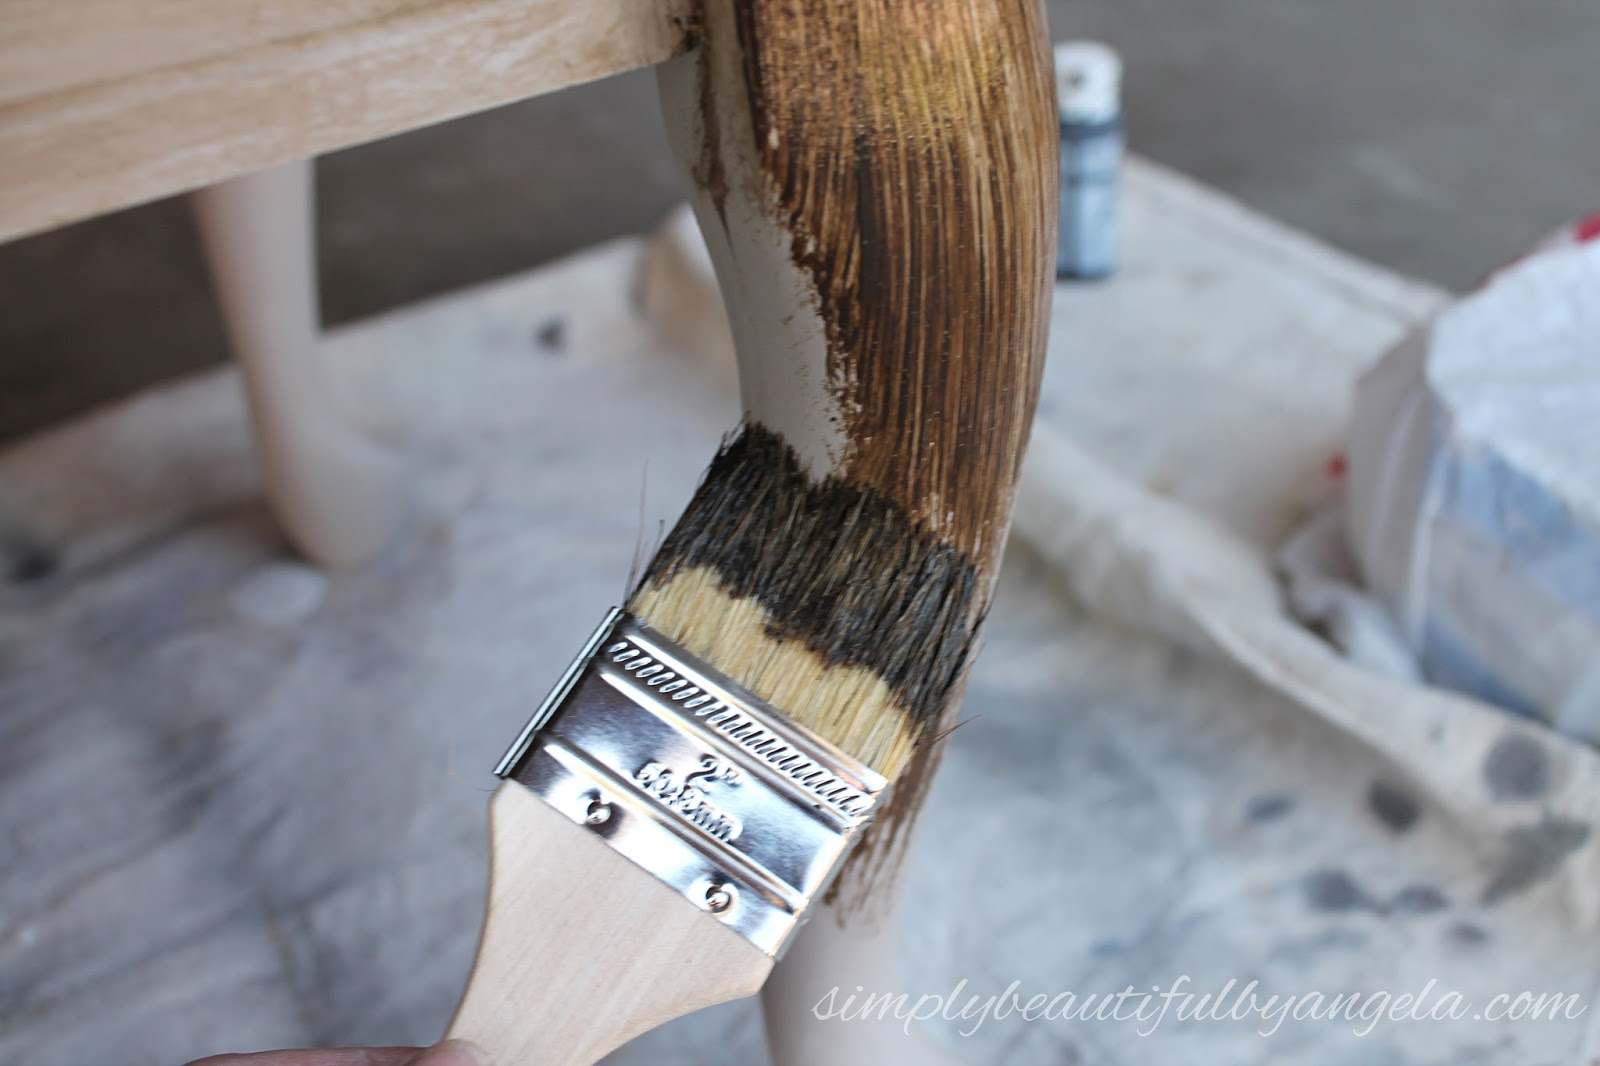

The key is to wipe if off pretty quickly so it’s best to work in small sections.
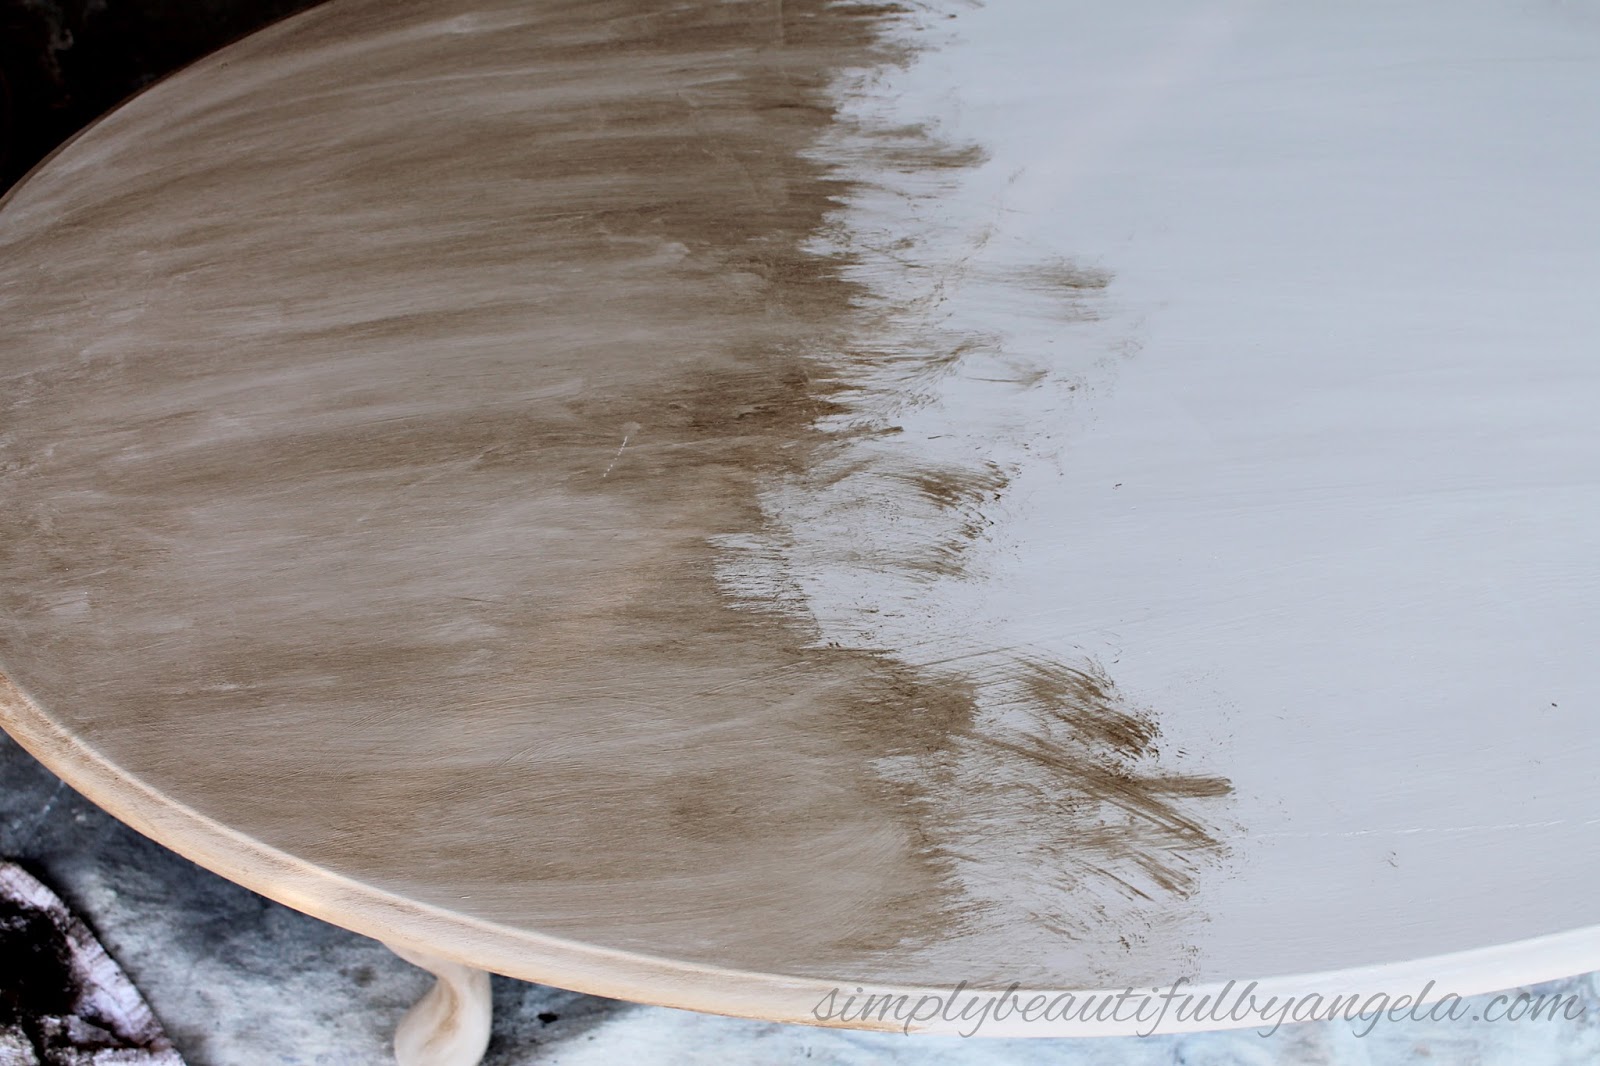
See how those brush strokes are soaking up the wax in such a way that it starts to look like wood? Pretty awesome, right?!
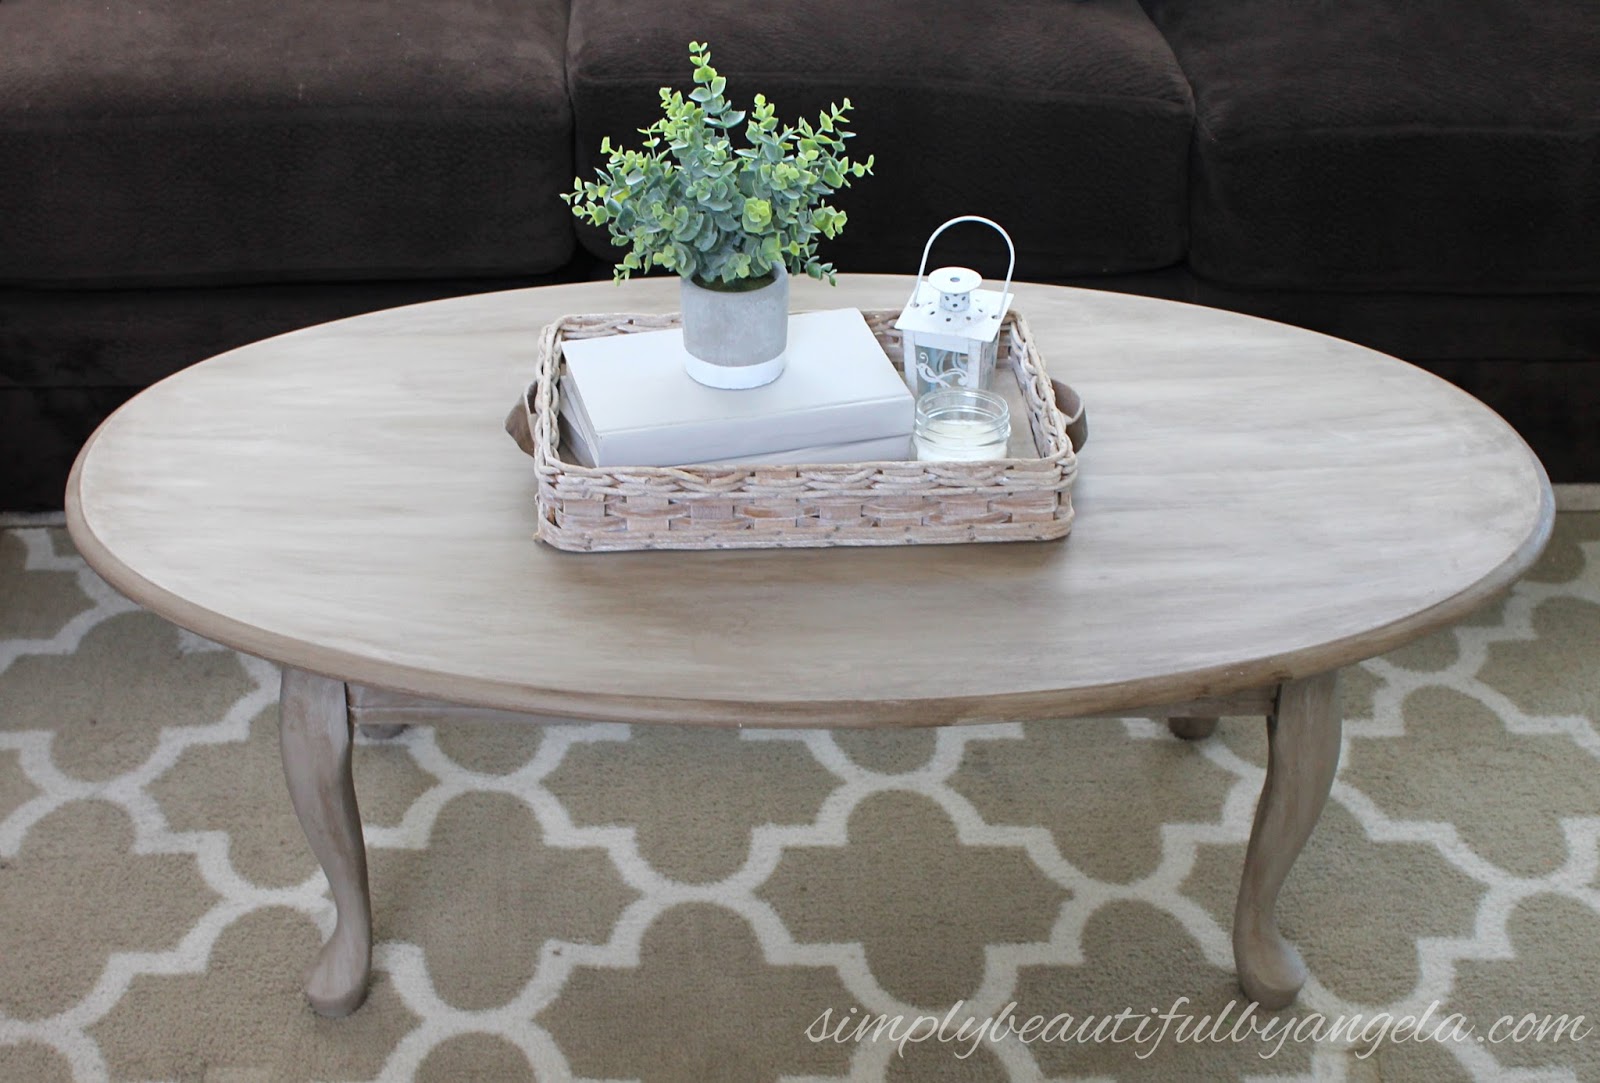
Here she is all finished up.

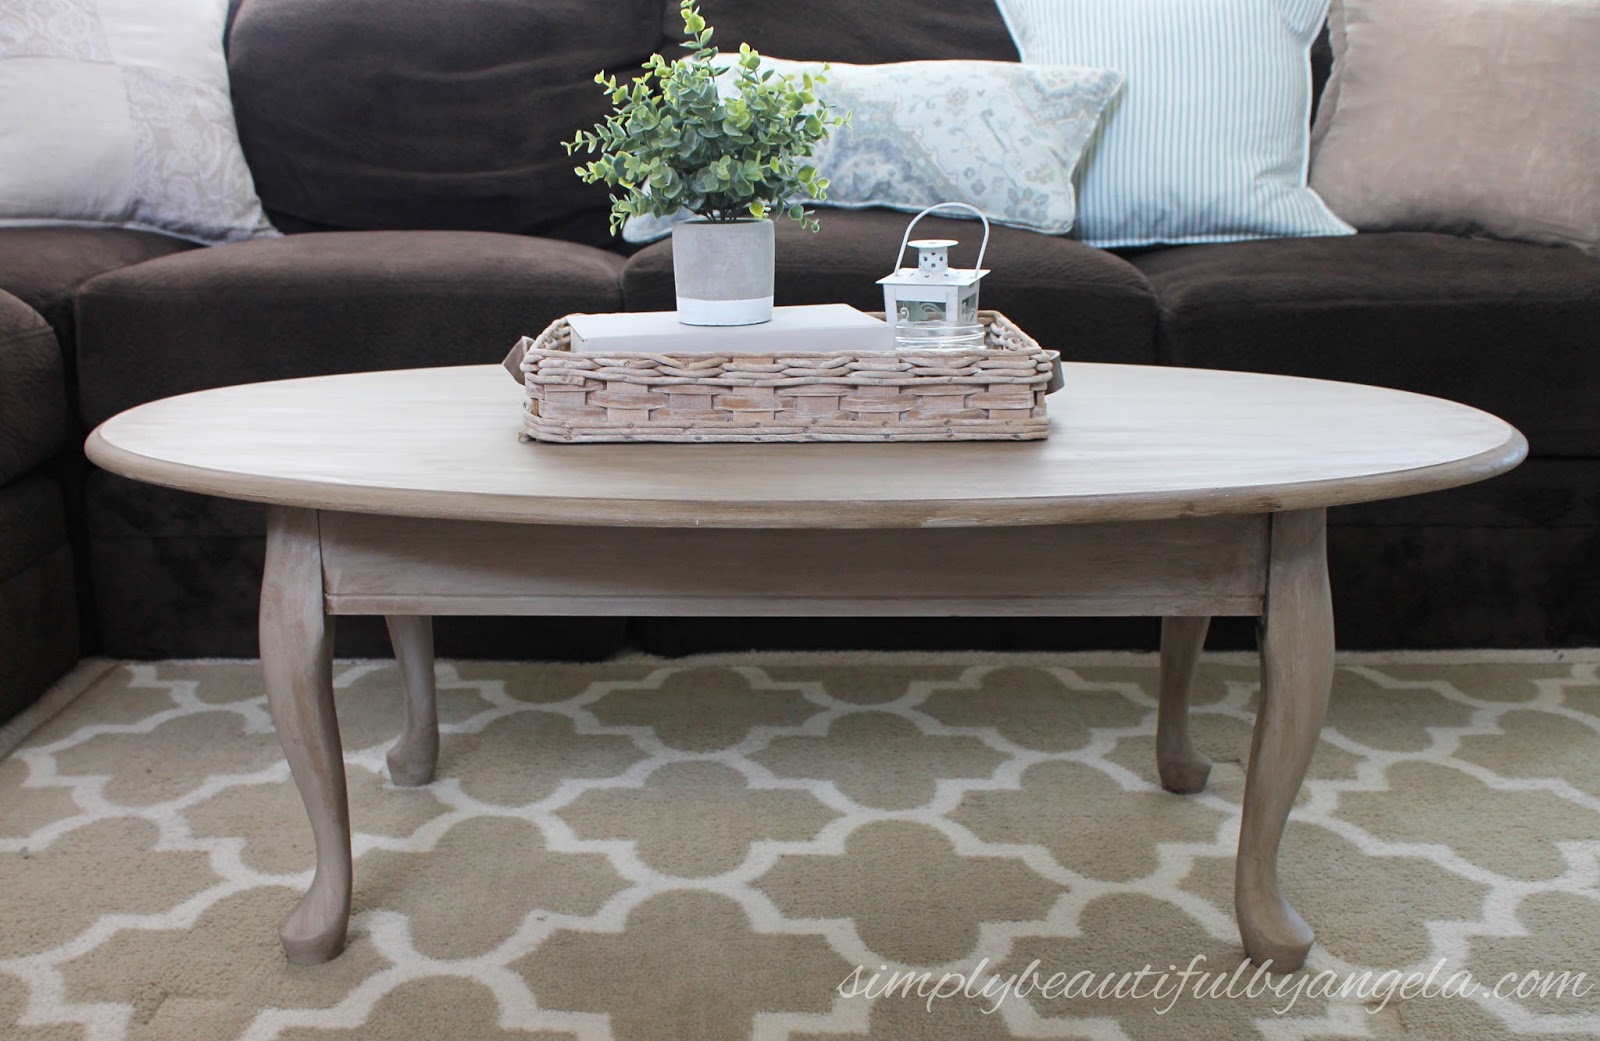
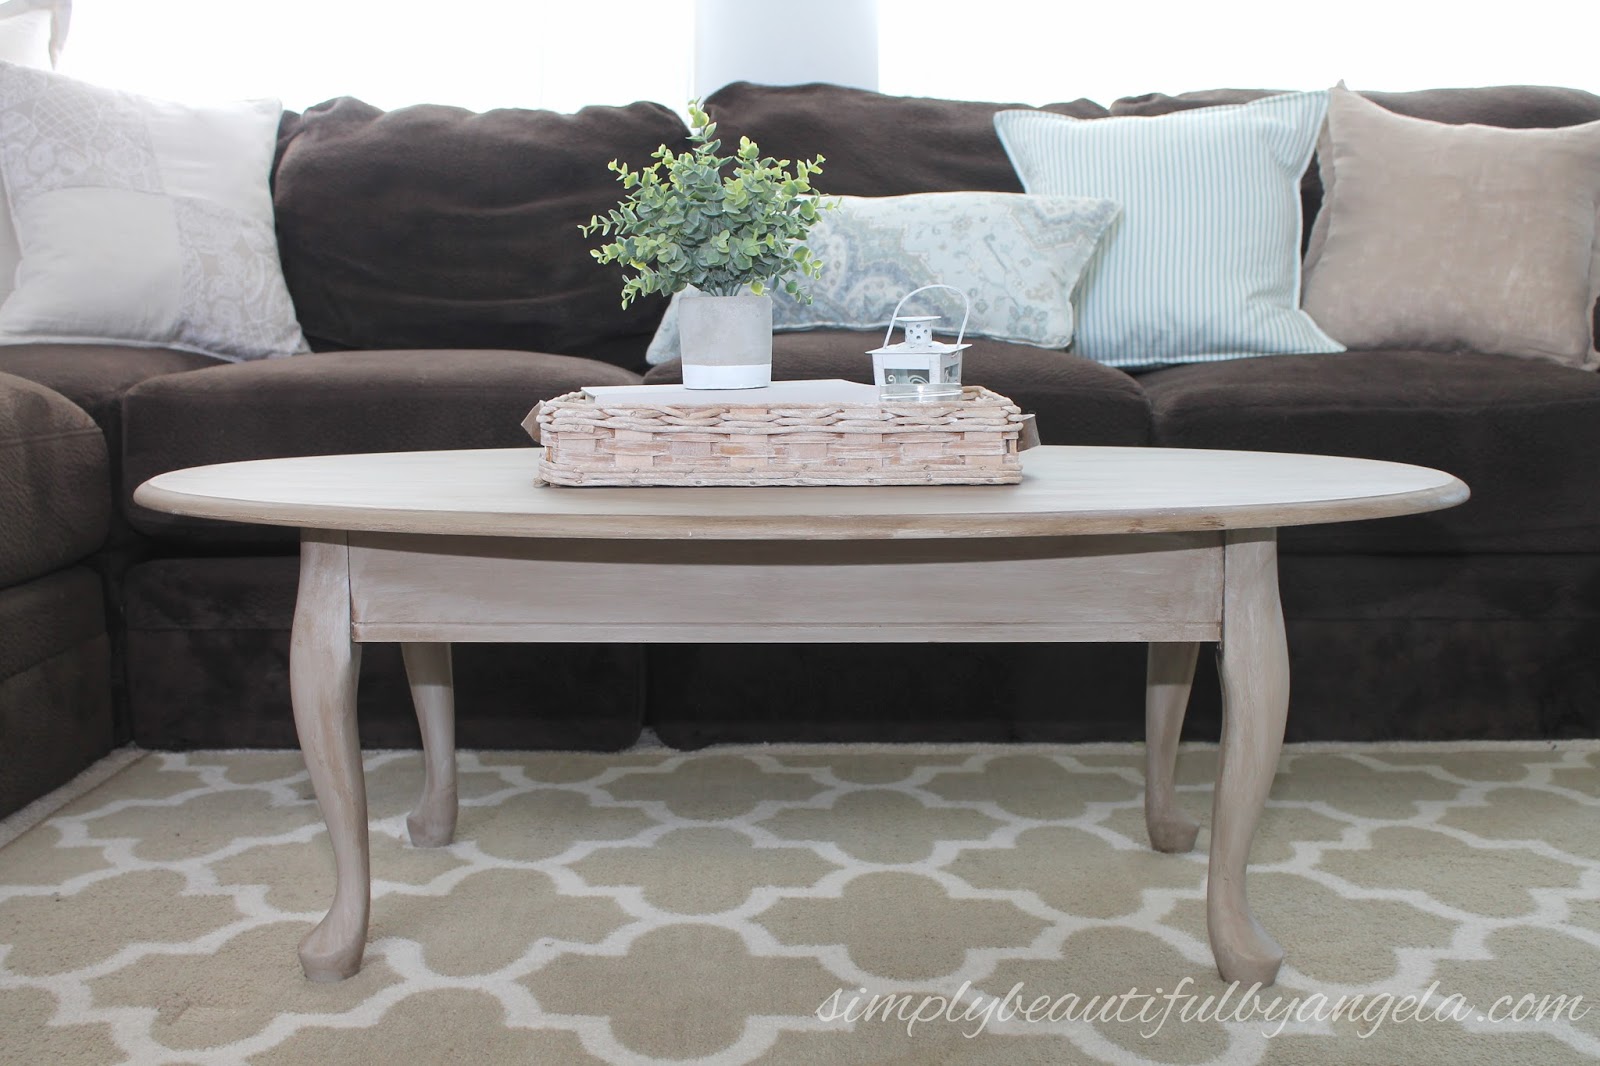
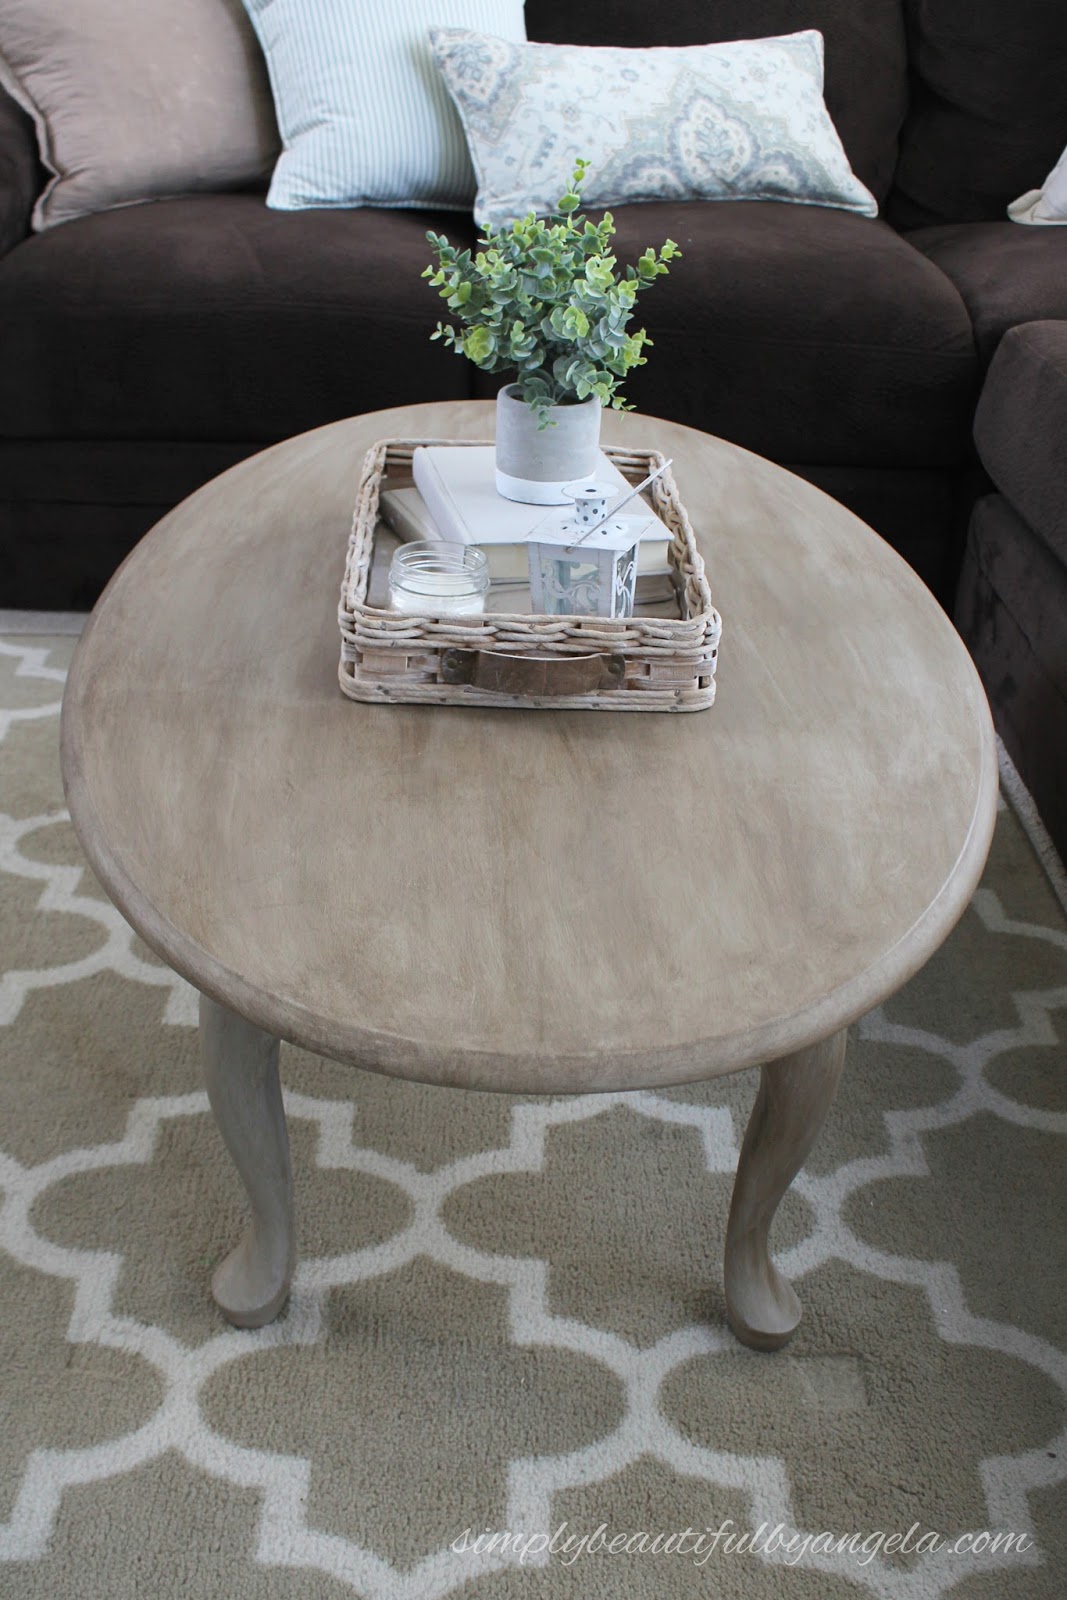


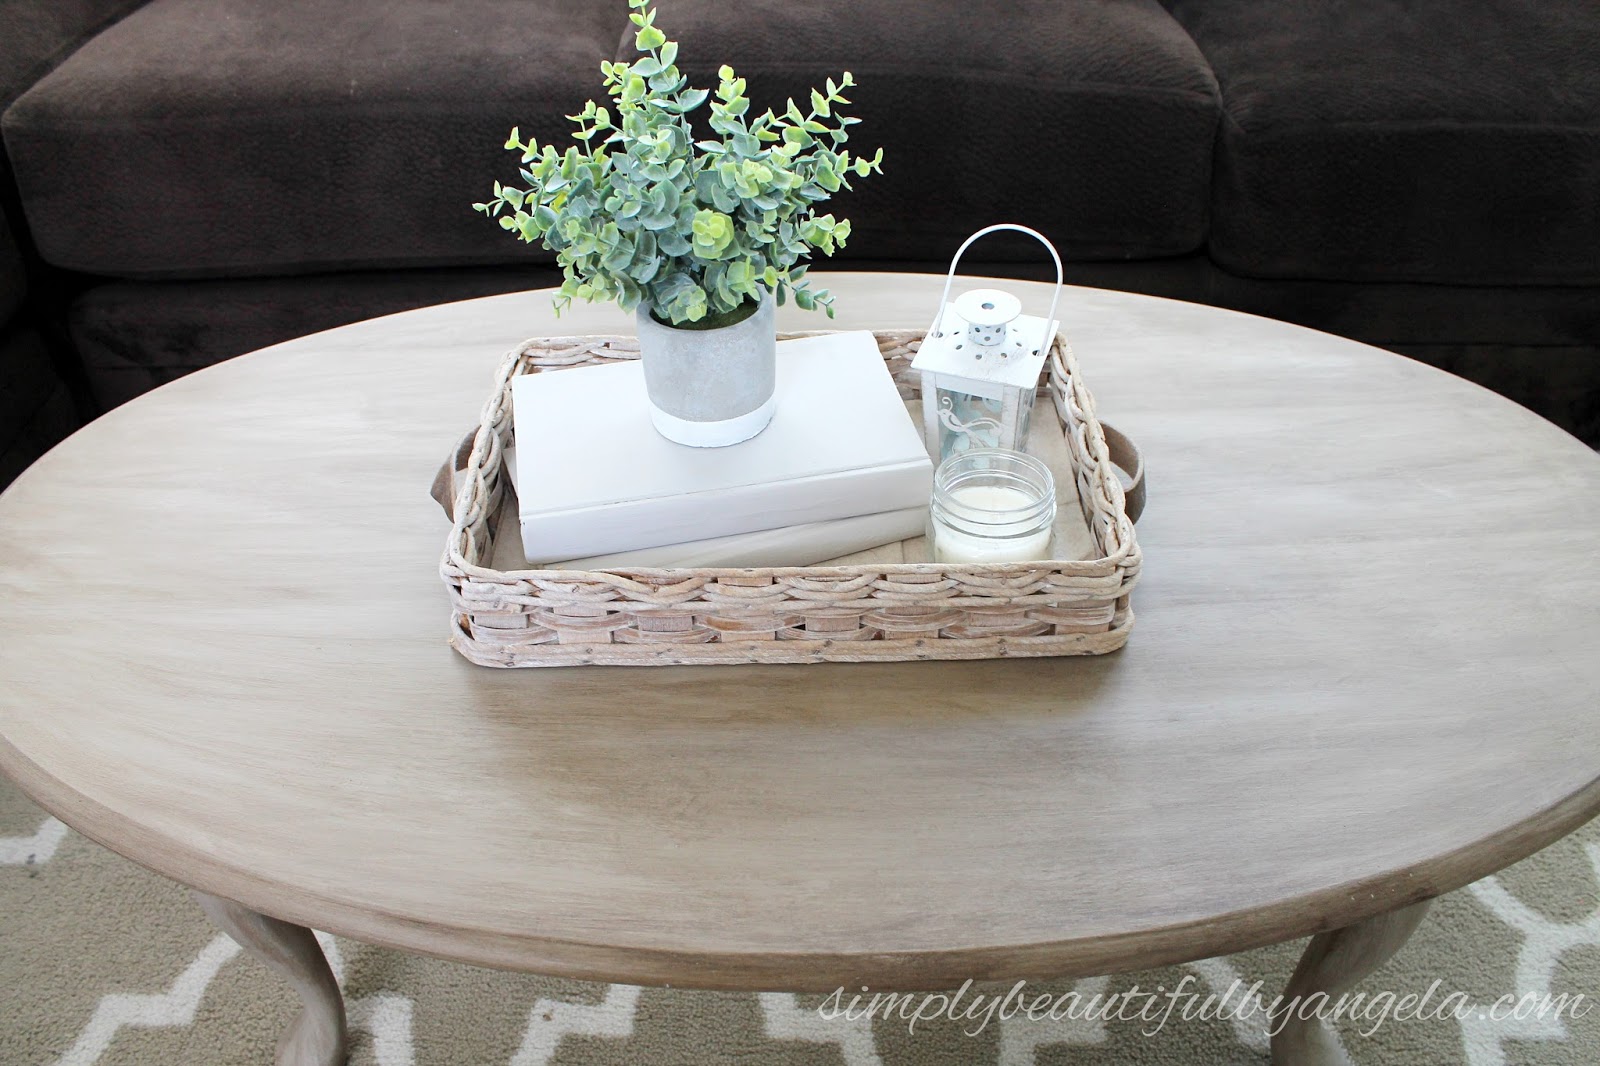

My parents were thrilled with how it turned out and it looks so perfect in their living room. It’s actually way prettier in person, I had some funky lighting going on but I wanted to get these pictures snapped before it got sent on it’s way!
I hope you all have an awesome weekend, I’ll be back next week 🙂