Hello and happy Wednesday my friends!
Sorry for the stretch of silence last week. We were on vacation in Las Vegas which was a TON of fun but now it’s time to get back to the grind. I’m taking it easy on the DIY front since I am preparing for my next One Room Challenge that will begin in a couple of weeks but I have been doing some small projects here and there since I go completely stir crazy if I don’t!
Today I am going to share one of these small projects that literally took me about 20 minutes to make–if that!
When I showed you my Farmhouse Touches in the Kitchen I mentioned that I had a couple of other things planned for the kitchen. One of them was getting a metal drying rack so that I could have my coffee mugs next to the coffee maker. You can see in this photo that I used to have some mugs hanging above the cabinets but they were purely for decoration.
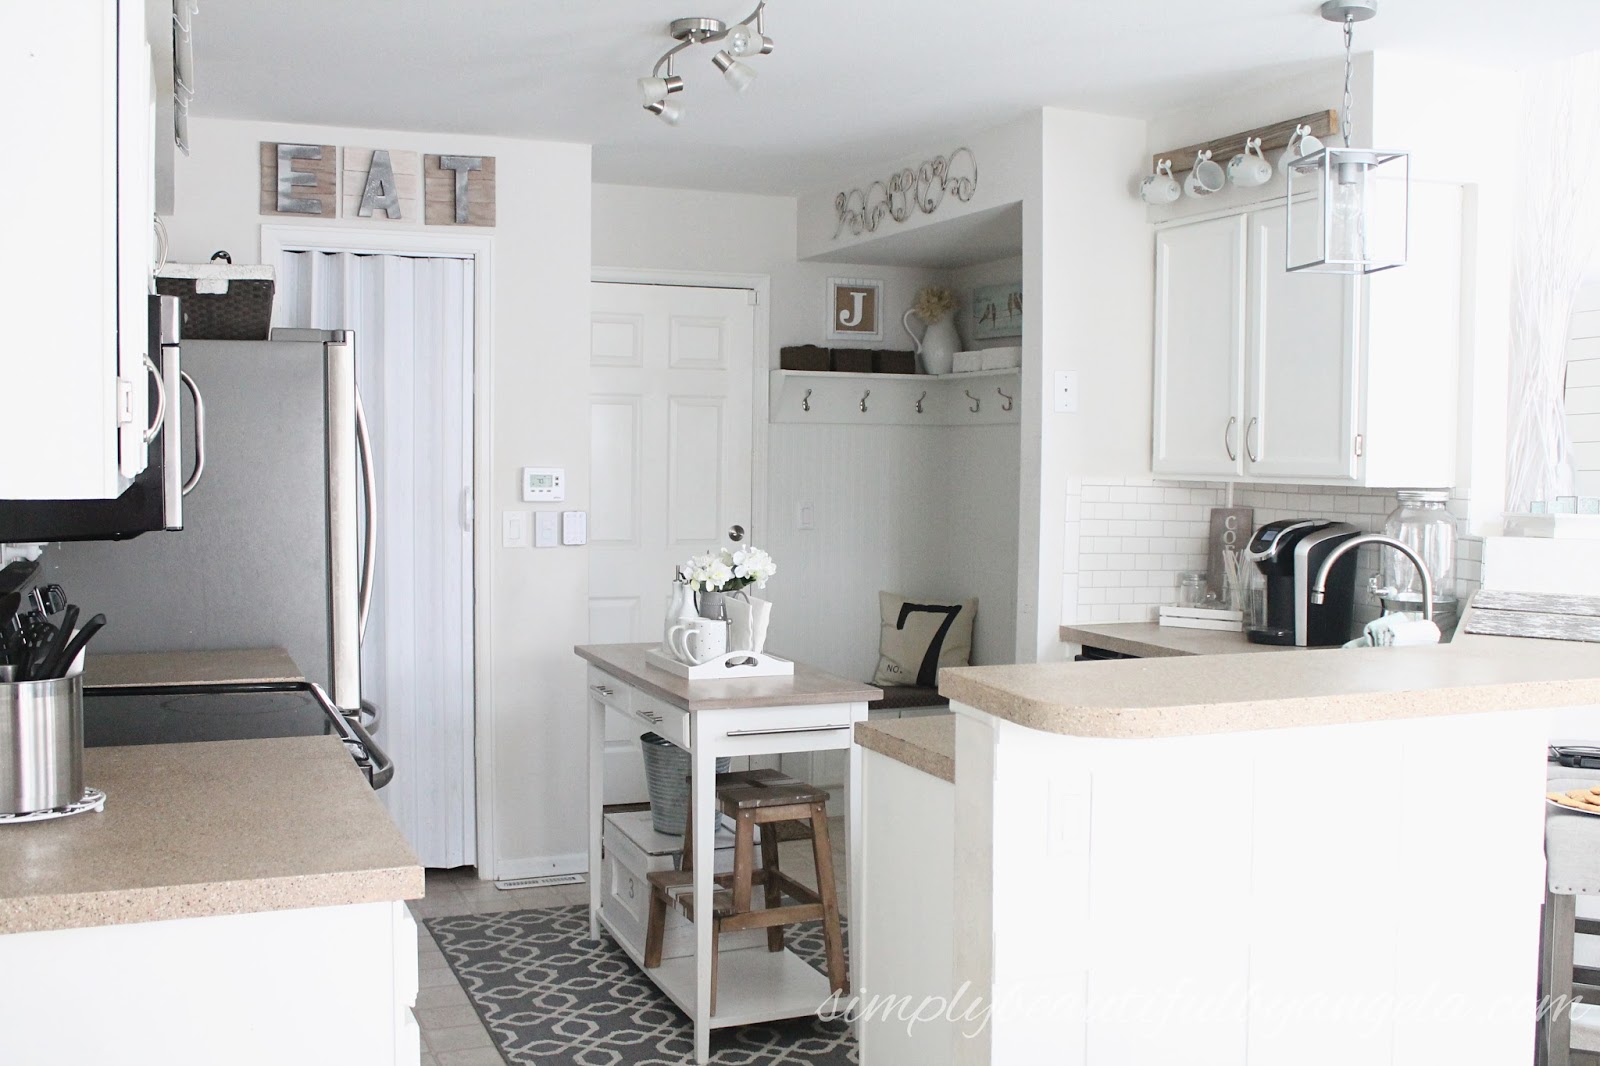
Since I thought it would look silly having mugs up there and on the counter I decided to take the mug rack down and put it in my Etsy shop. Then I went out to the garage to see what I could throw together to put in its place.
Supplies Used: (Affiliate links may be provided for convenience. For more info, see my full disclosure here.)
- 1×6
- Rust-Oleum Wood Stain in Kona
- White paint
- Medium-Grit Sandpaper
- Pen
- Sharpie
- D Ring


I began by staining my 1×6 with Rust-Oleum Wood Stain in Kona. This stain is super dark so whenever I use it by itself I have to go back and throw several coats of white wash over it, but it acts great as a base under paint when you are creating a distressed look.

Once that dried I went over it with two coats of white paint.

I then did some light sanding to distress and pull the dark stain out. I mainly focused on the corners and edges.

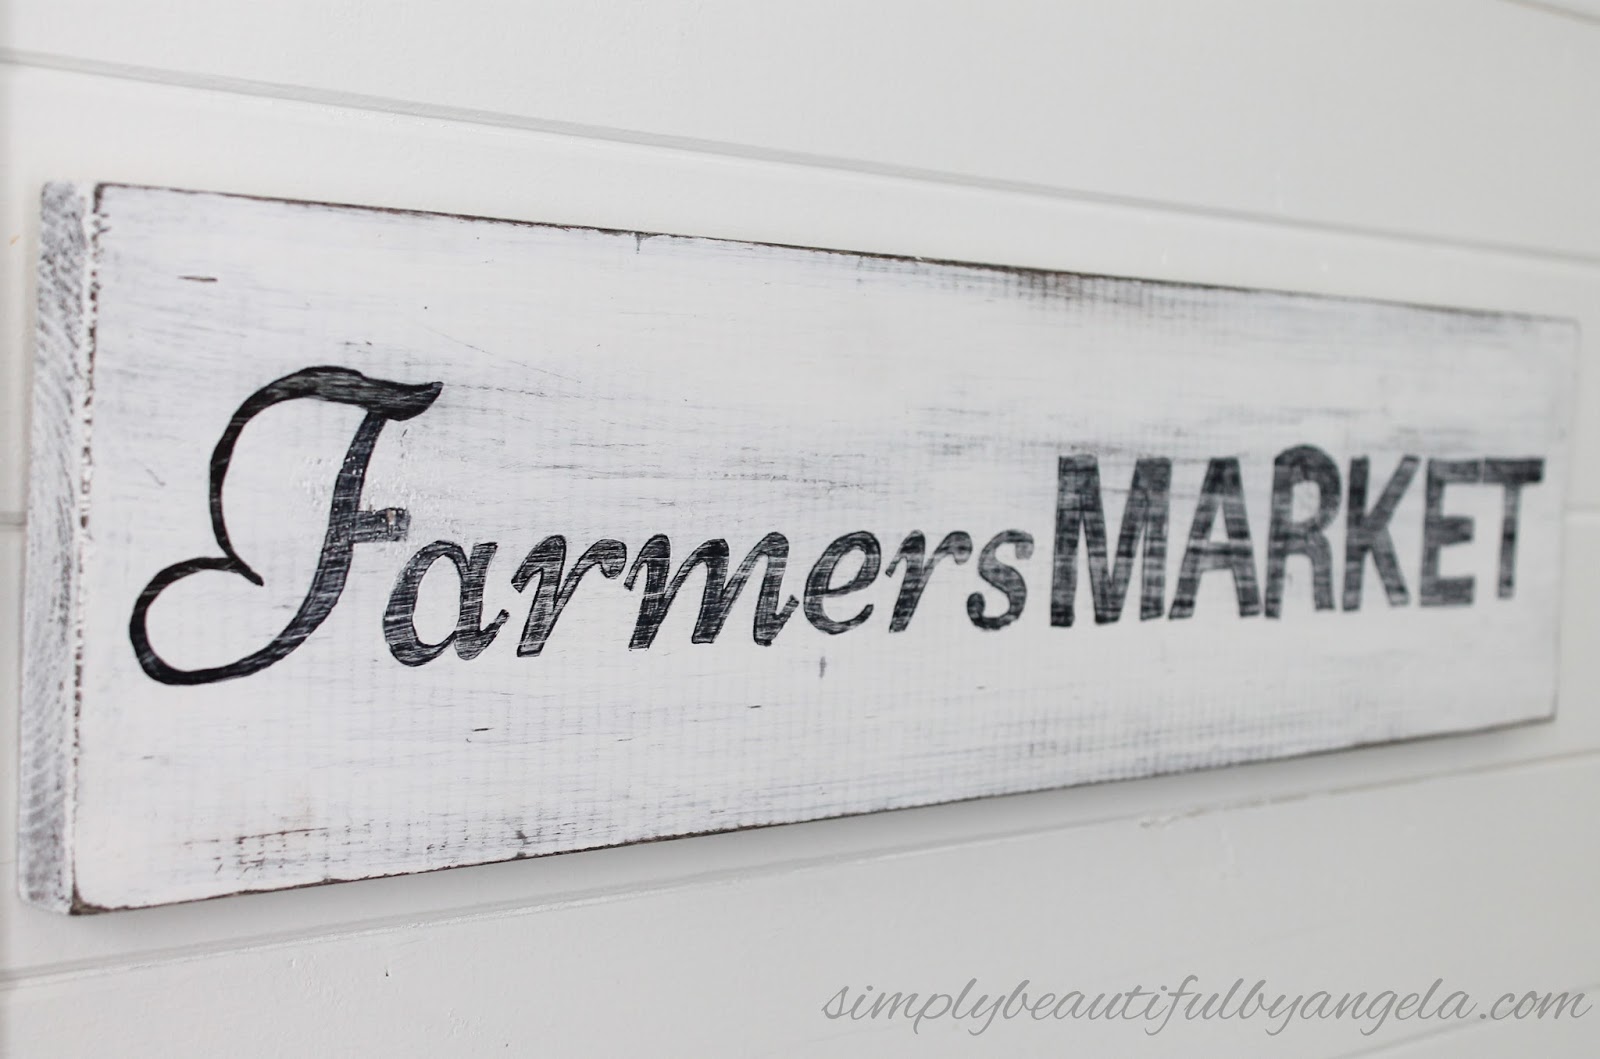
I played around with several fonts on Canva.com to create a Farmers Market logo before printing it out on computer paper. I then taped it to my wood, making sure that it was straight and centered.

Next, I use a ballpoint pen to trace each letter. I made sure to press deeply so that it created a nice impression in the wood
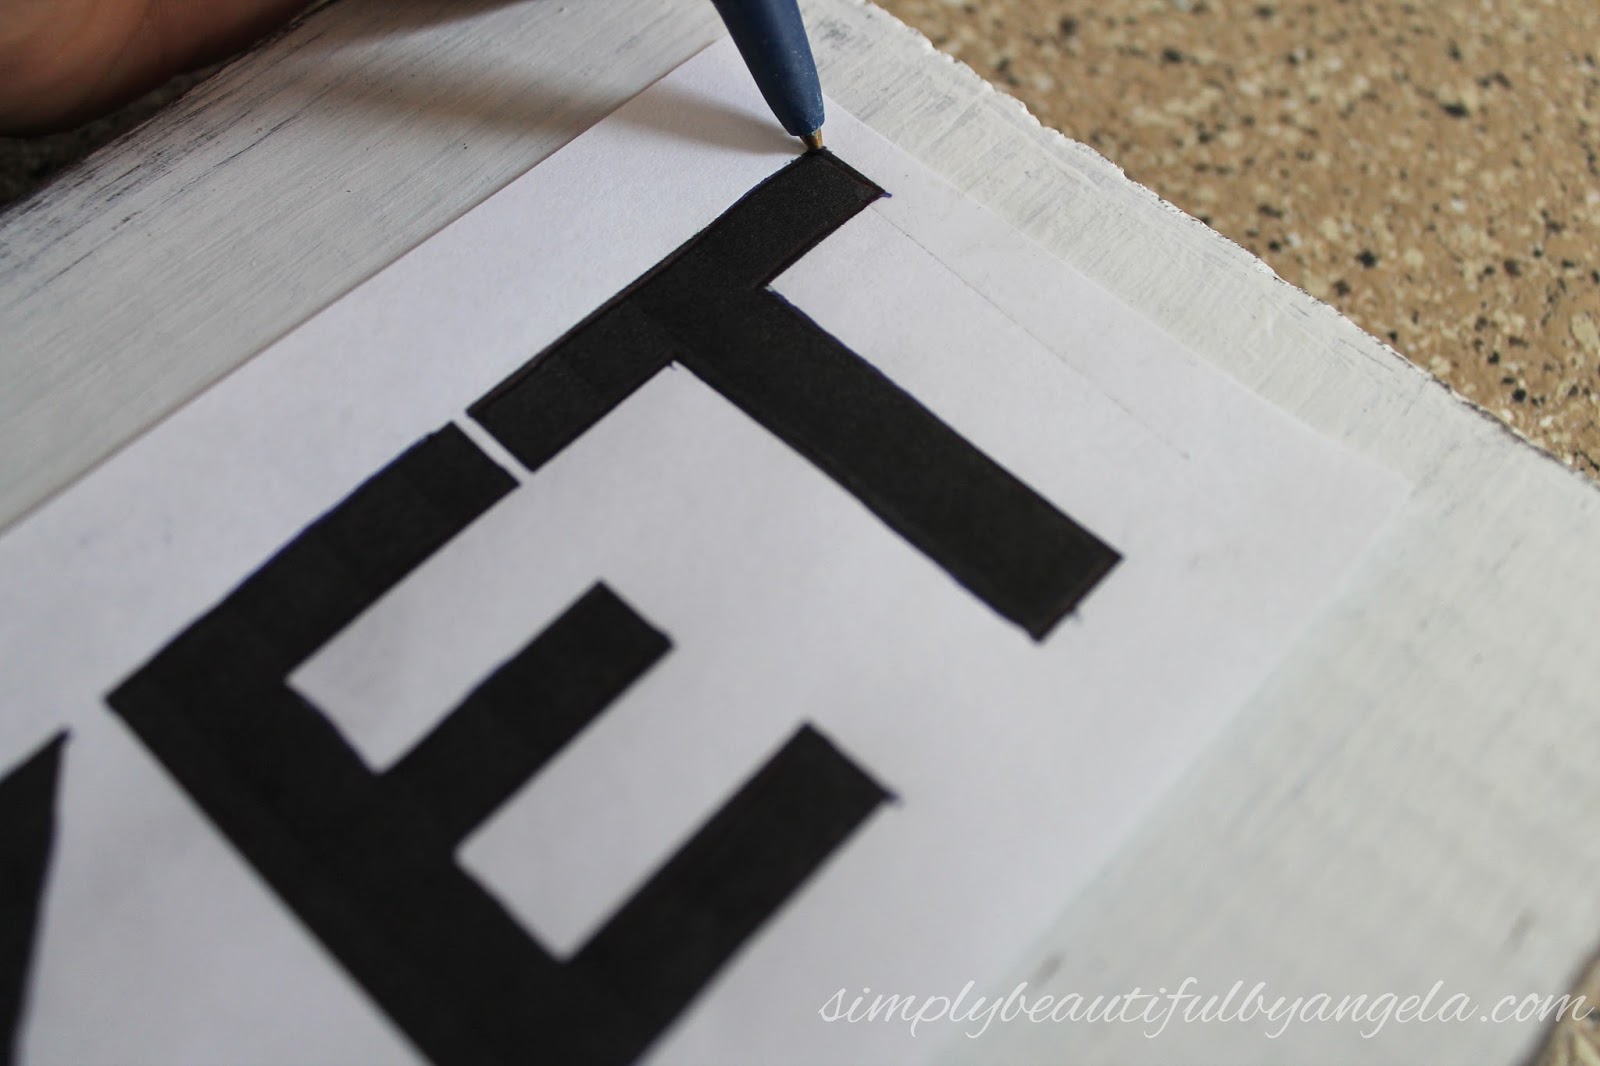
Depending on the color or type of wood I sometimes have to hold my phone flashlight up to see the impression and then trace it with pen to make it stand out better before I fill it in. Since I was going over a really soft wood and white paint I was able to see my impression pretty easily so I was able to start filling it in with my Sharpie right away.

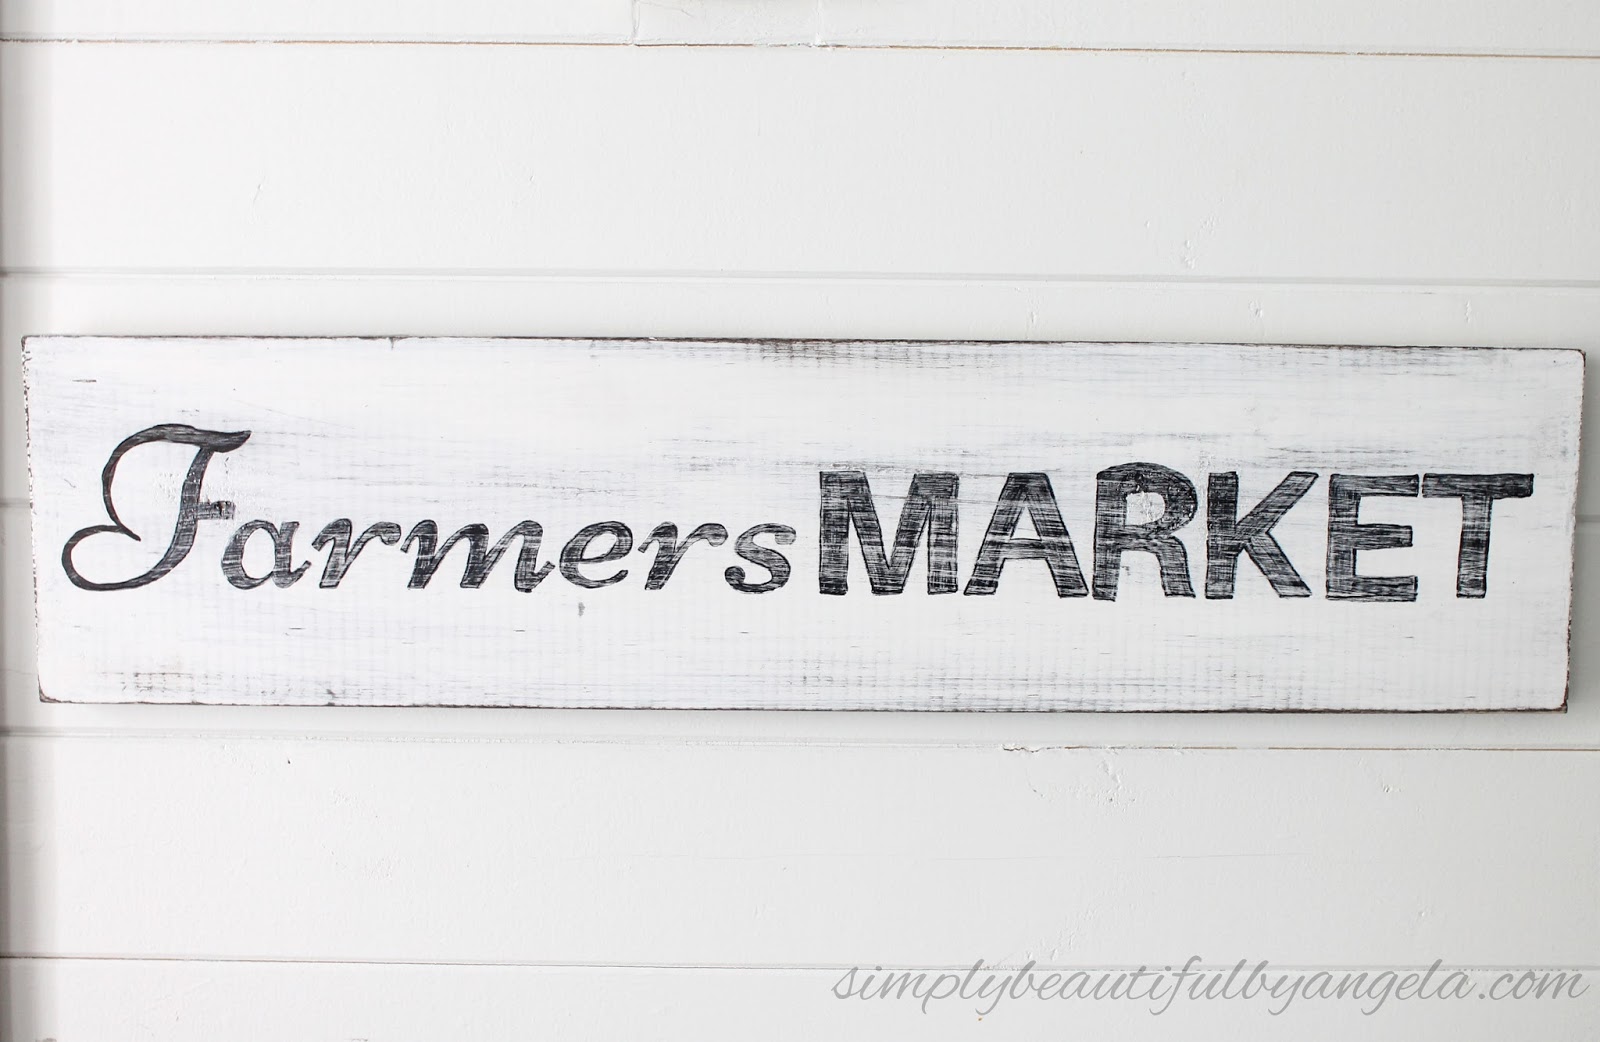
Once I was done I went over the lettering with some sandpaper to make it look a little more worn.

After attaching a D-ring hanger to the middle on the back it was ready to hang!

I have lived with it for a little over a week now and have ultimately decided that it’s a little too small for the space. Womp, womp…
So it will actually be going in my Esty shop and I will be making another one that is just a little bit bigger!
I am still super happy with how it turned out though! I took the close up photos on my planked wall (since the hubby usually frowns against me standing on the countertops with my camera haha…).


I should be back next week with my Spring Home Tour, until then I hope you all have a happy week and a fun weekend!