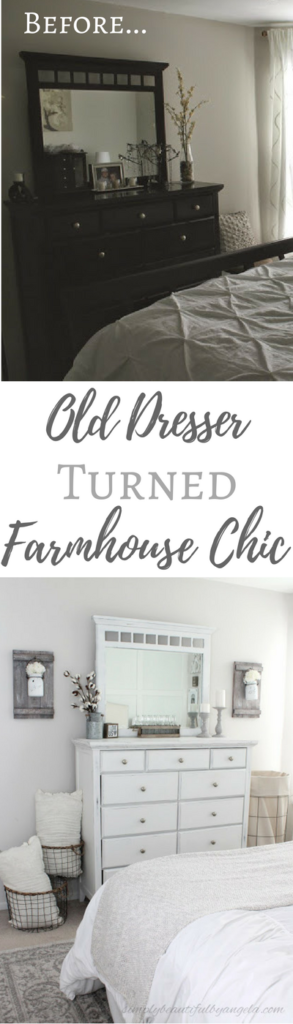
Hello and happy Friday friends! I got hit with a super icky cold this week which has been SO not fun. I hope to get some good rest in this weekend and finally kick this nasty thing!
When I shared our Master Bedroom Makeover with you all last November I promised that I would share the tutorials for the many DIYs that went into this room. I just never promised when haha. It’s taken a few months but today I am finally sharing the last one which is our dresser makeover!
Supplies Used: (Affiliate links may be provided for convenience. For more info, see my full disclosure here.)
- Orbital Sander
- Medium Grit Sandpaper
- My DIY Chalk Paint
- Small Foam Roller
- Paint Brush
- Painter’s Tape
- Garbage bag
- Chalky Spraypaint by Krylon
- Chalky Clear Sealing Wax


I didn’t get a good before picture of the dresser but you can see it in this picture of our room prior to the makeover. (You can’t miss it–it’s the big dark beast looming on the wall!)
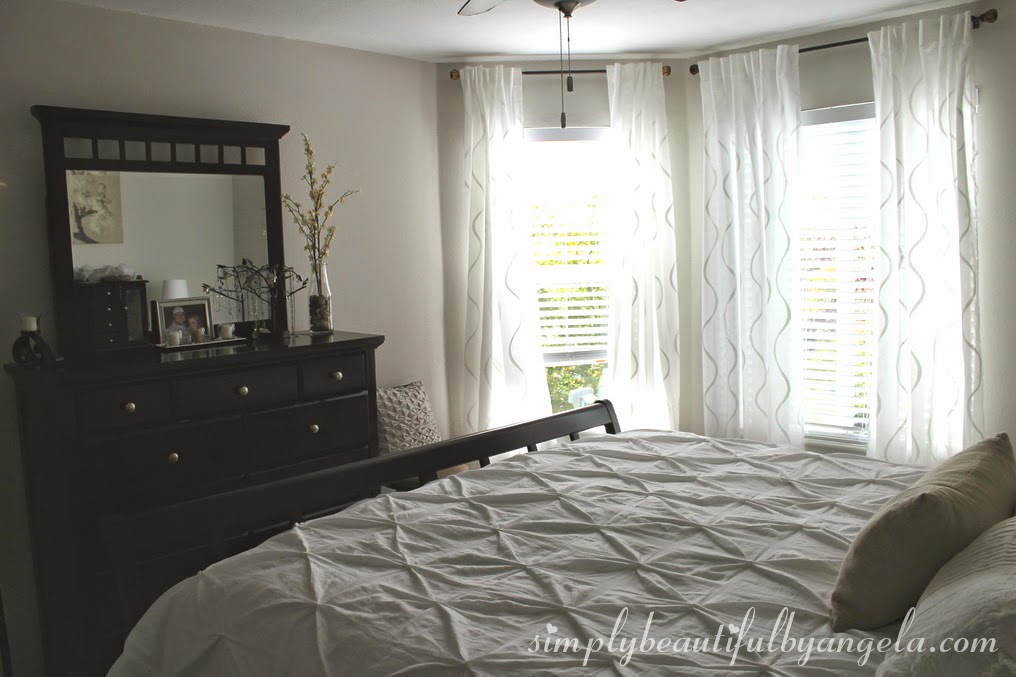
I used to just hand sand anything I painted because most of my projects prior to this have been small. But since this dresser is pretty big I decided to break down and finally buy an electric sander. And I must admit that after using this gem I won’t ever go back to hand sanding furniture again!
I got this one by Black and Decker and I was pleasantly surprised at how well it works despite the low price! It took a task that I used to find daunting into something that gets done quickly and easily.
- 1 cup latex paint
- 2.5 Tablespoons Plaster of Paris
- 1 Tablespoon water
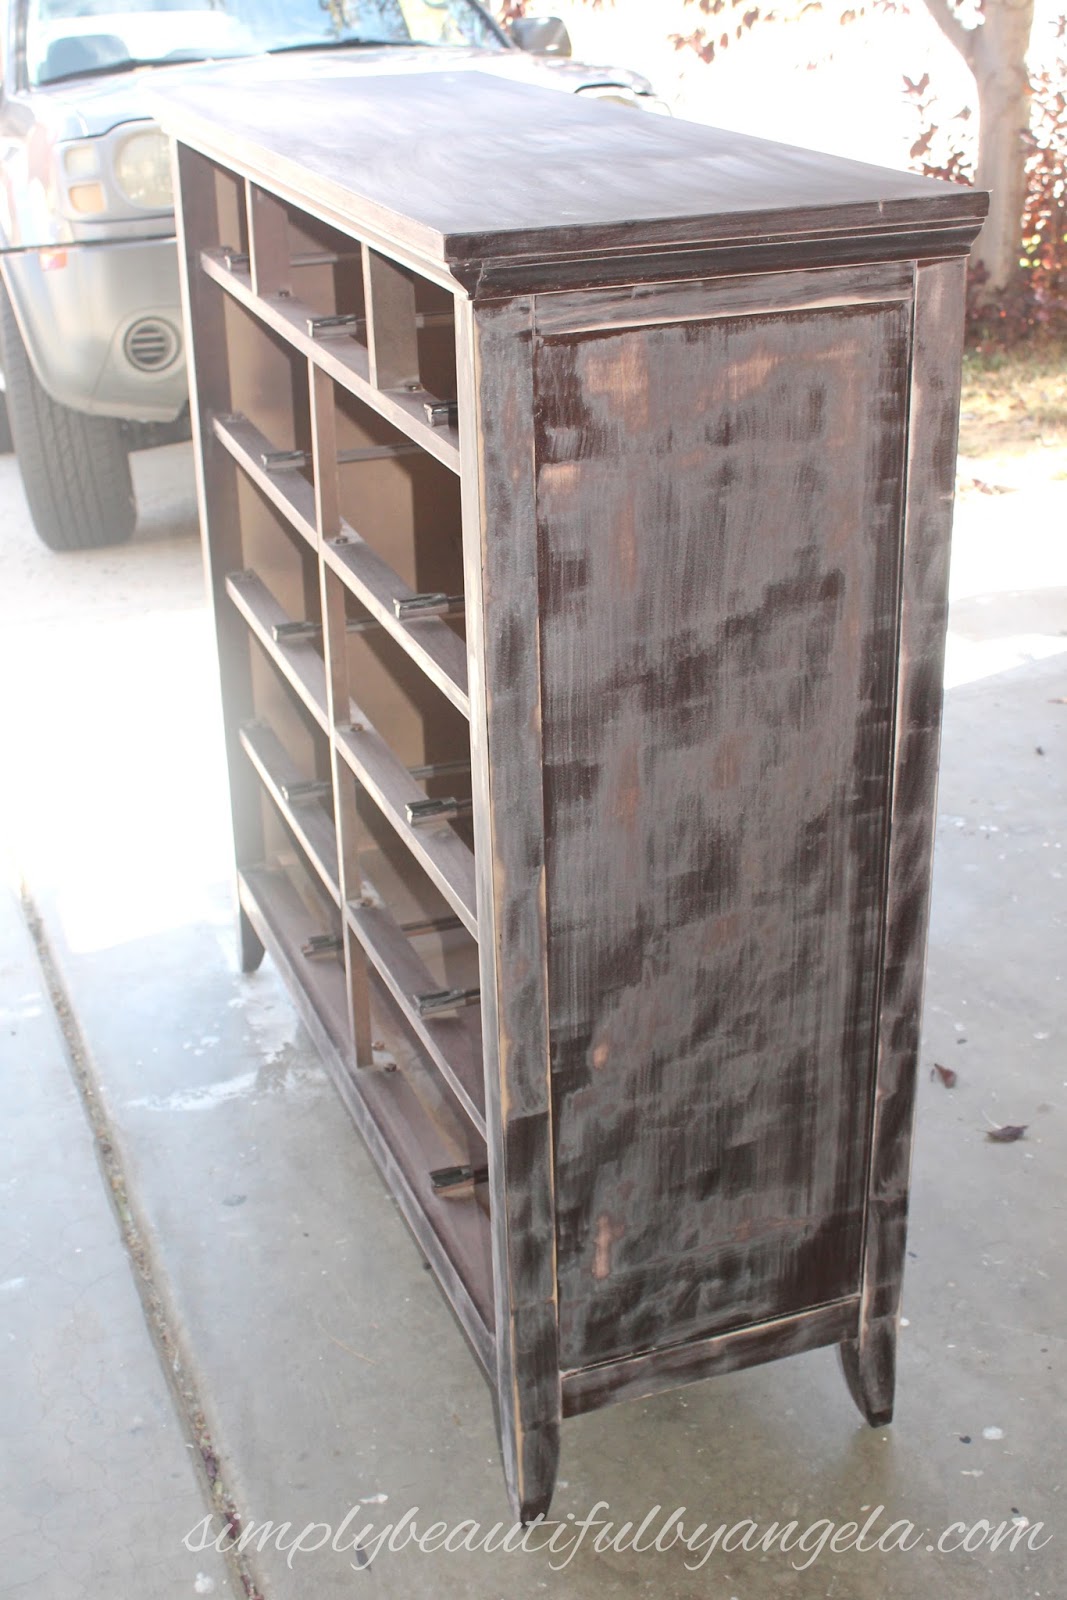
Here is what the dresser looked like after the first coat. I used my small foam roller on the larger areas and then went back with a brush on the tighter spots that the roller couldn’t reach.


I ended up doing a total of 3 coats. This is how the drawers looked after the third coat.
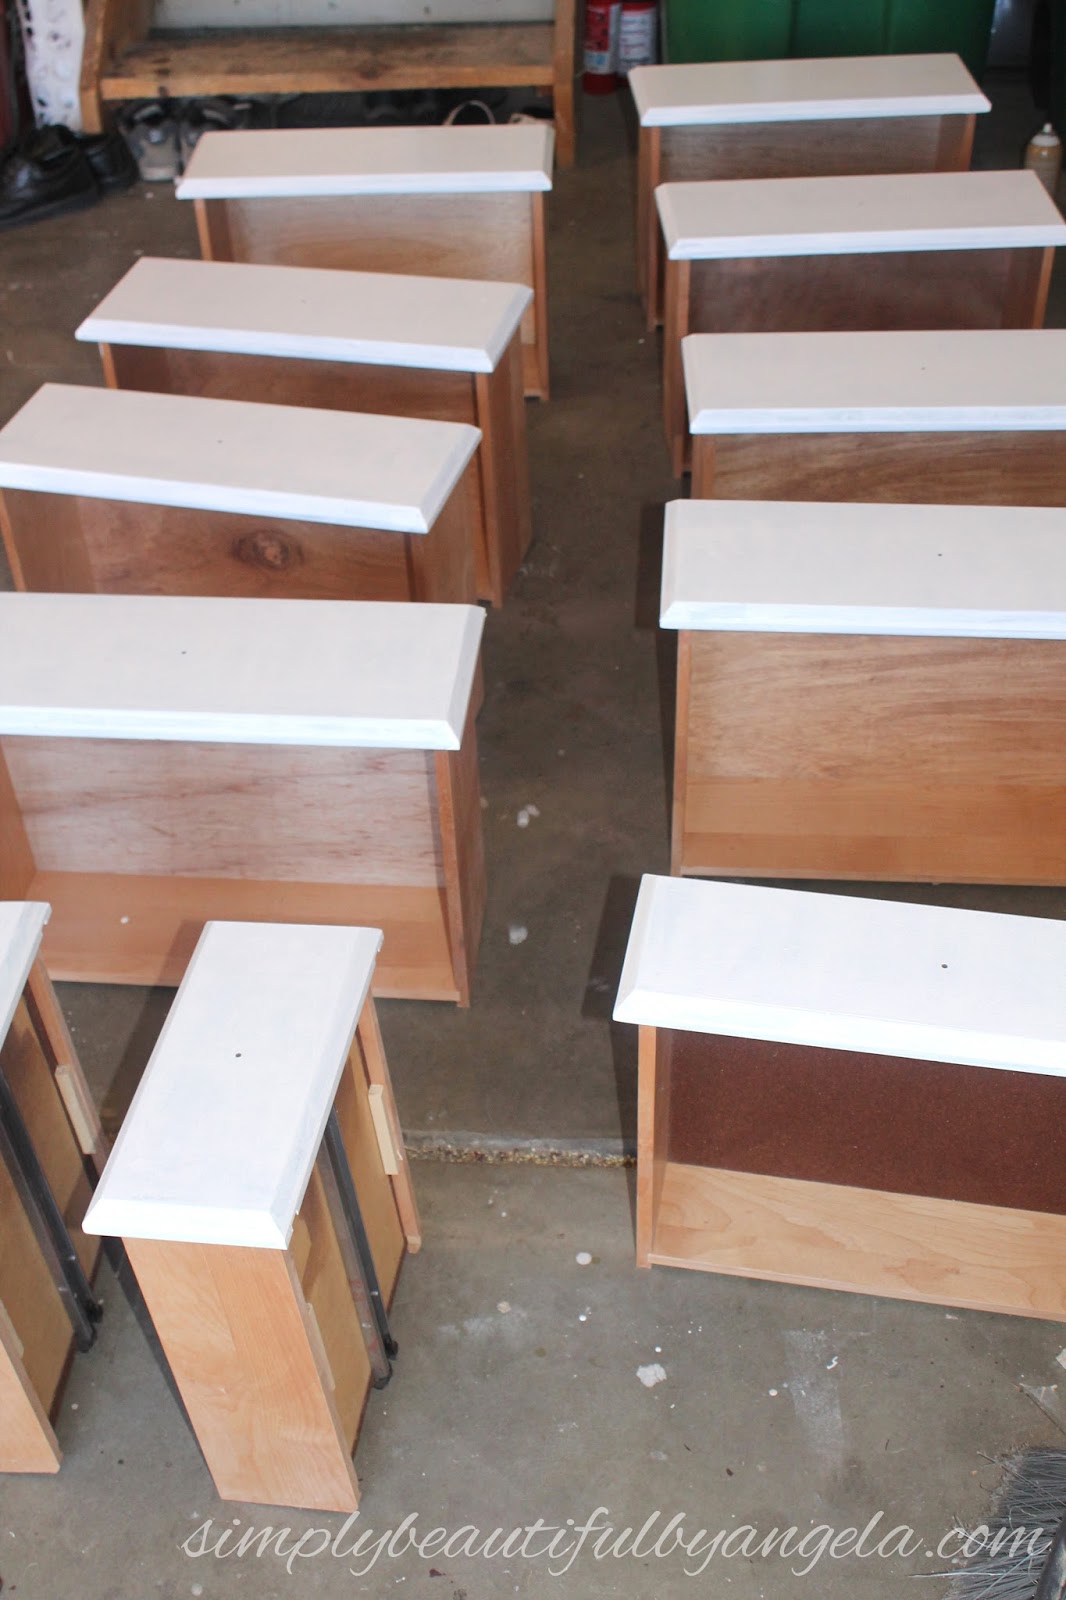

I first just used some flat white spray paint but it didn’t match the dresser like I had hoped. Then I found this Chalky Spraypaint by Krylon
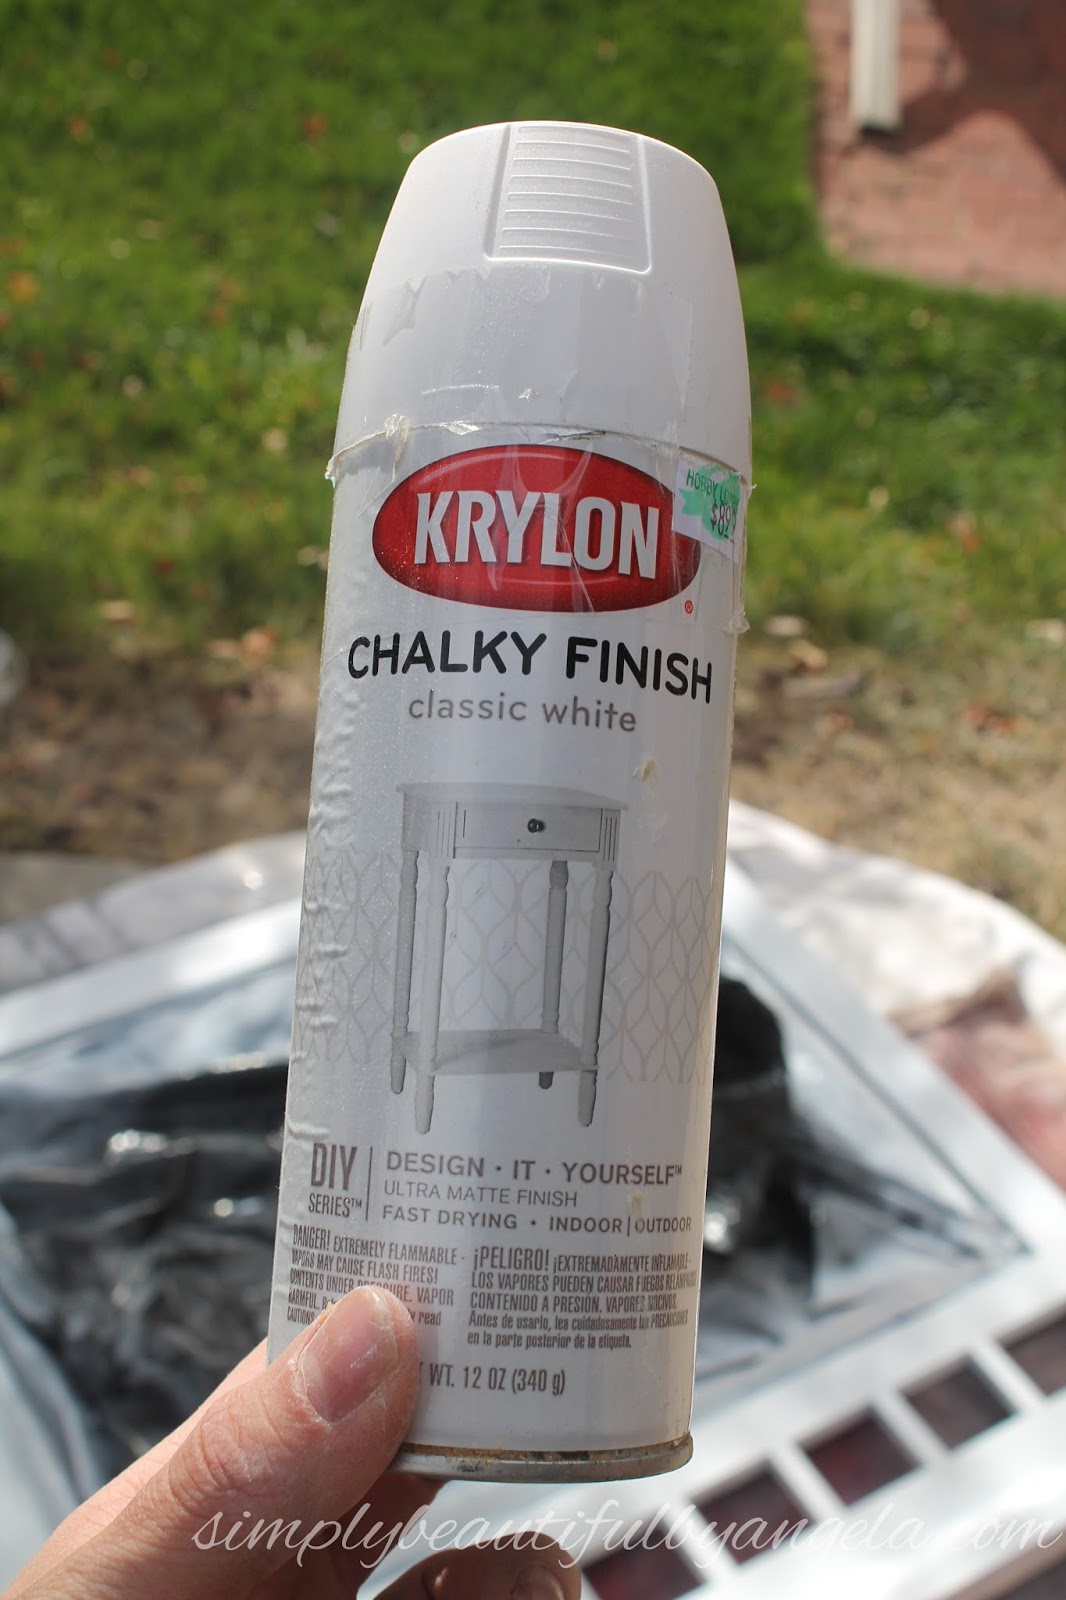
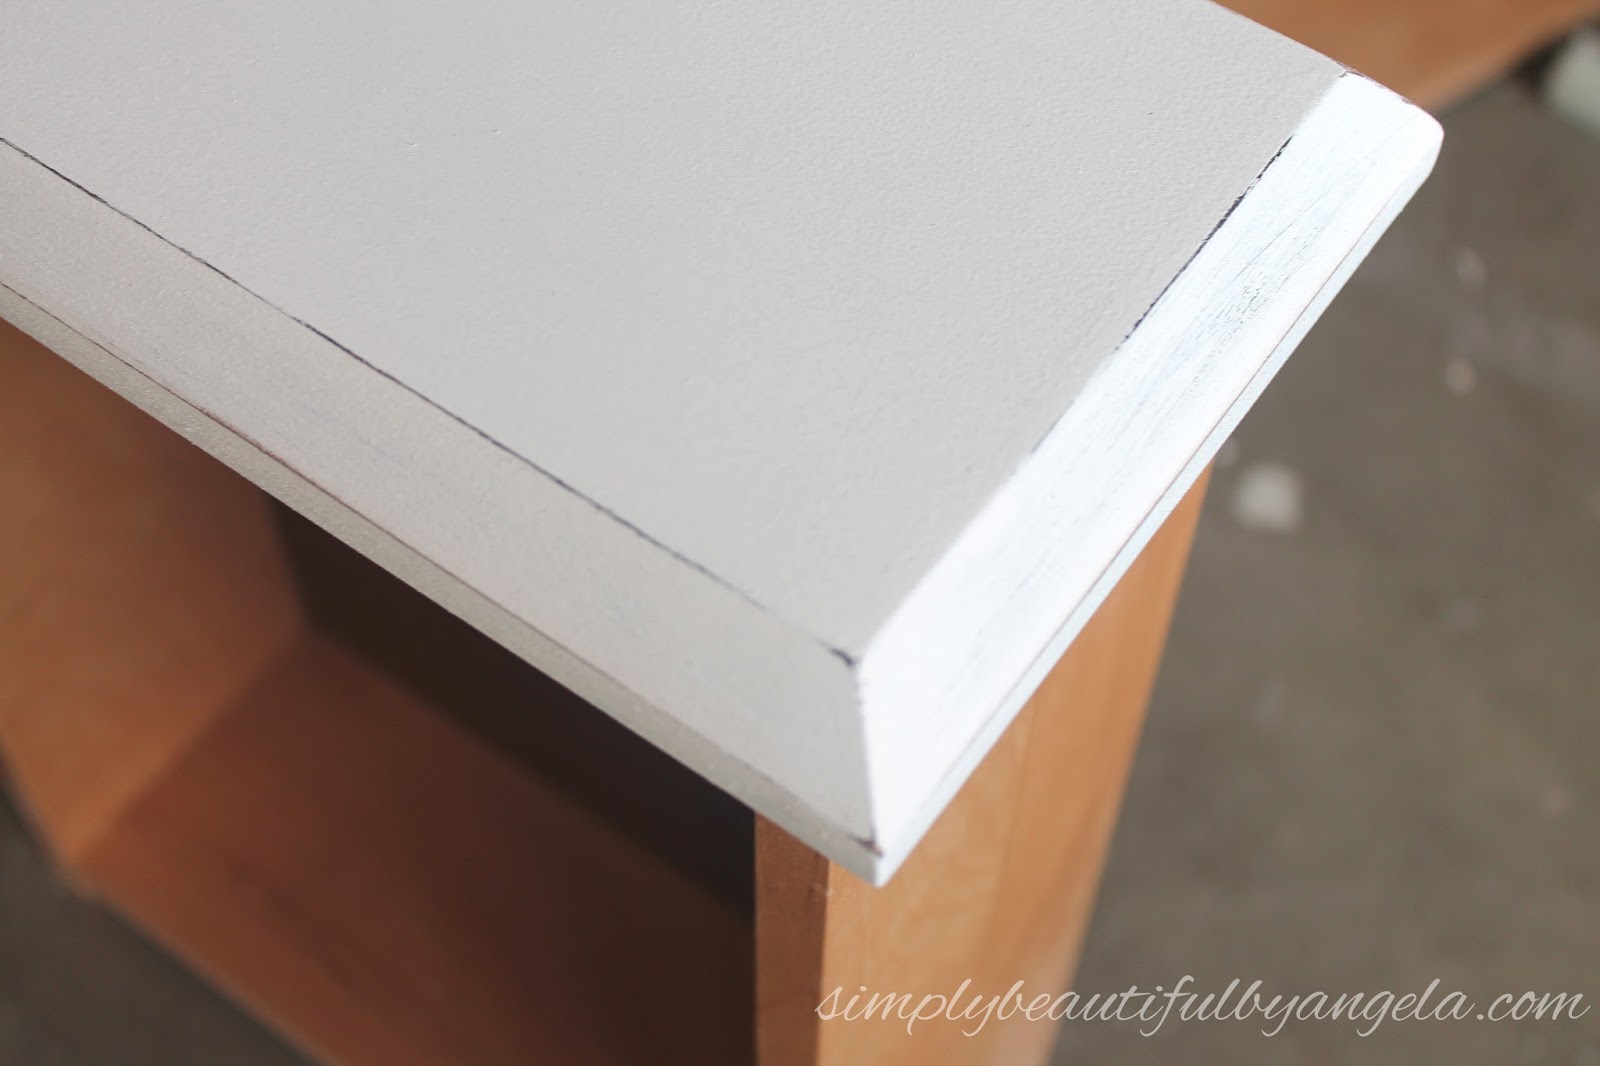
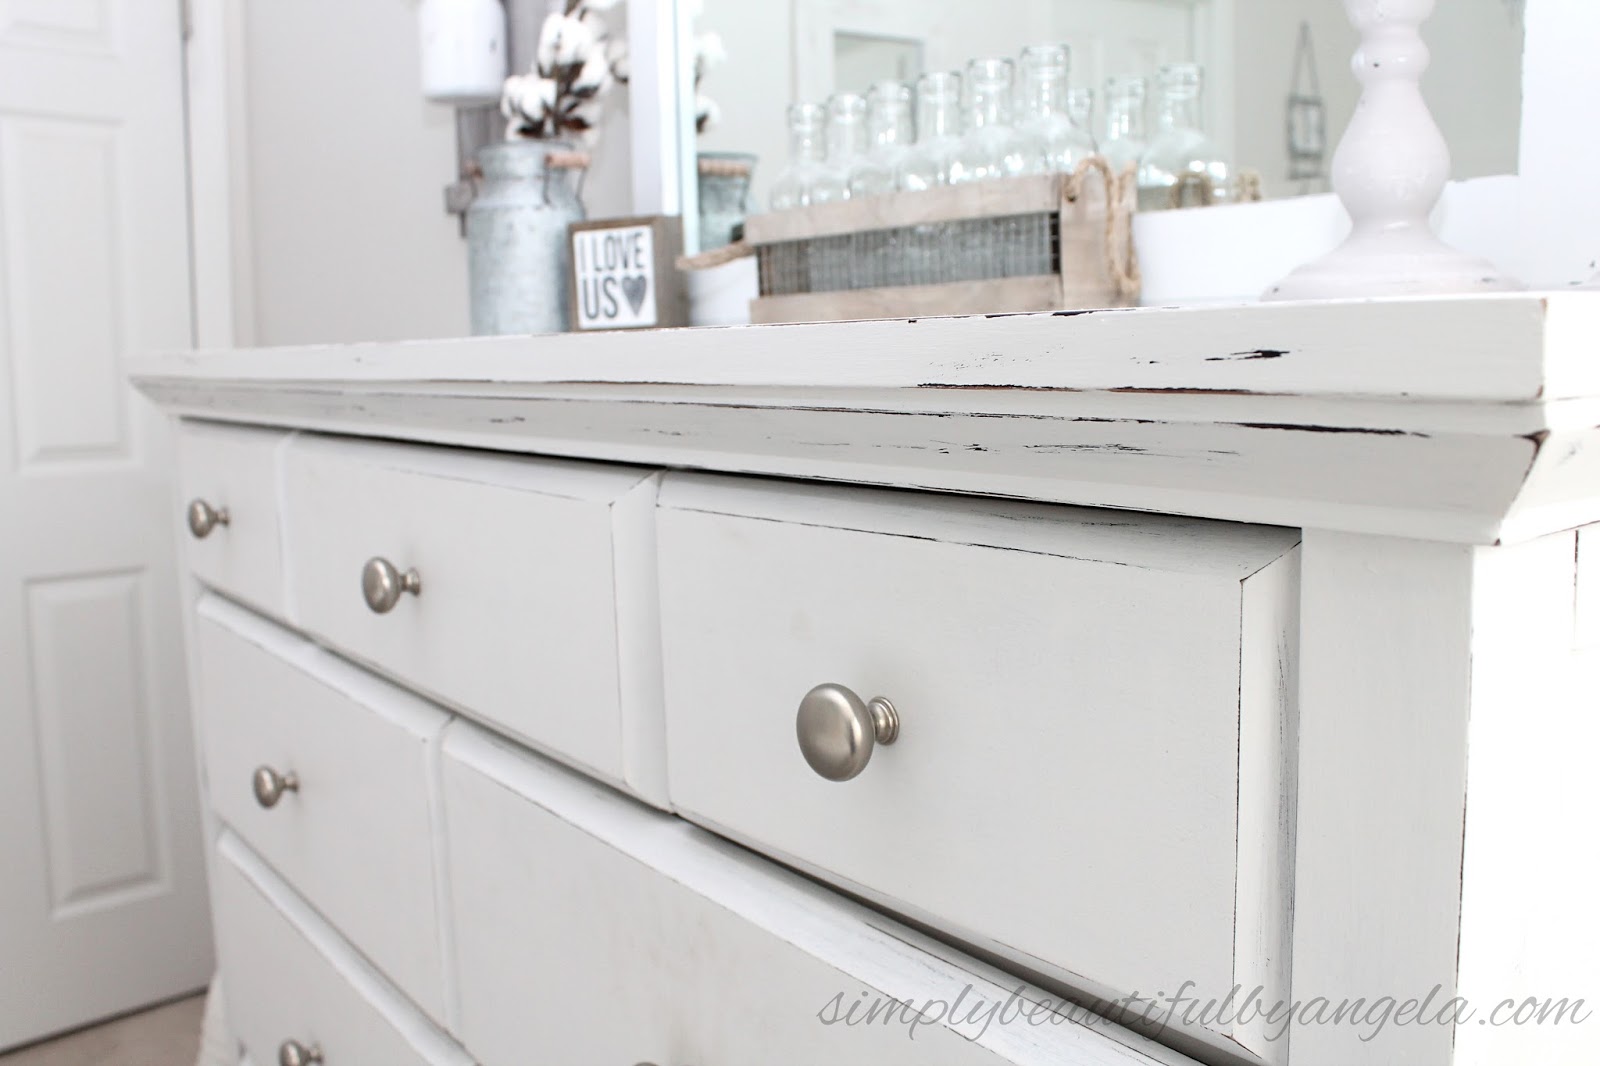
After my paint had dried I went back with the sandpaper and distressed both the dresser and the drawers which is definitely the most fun part!
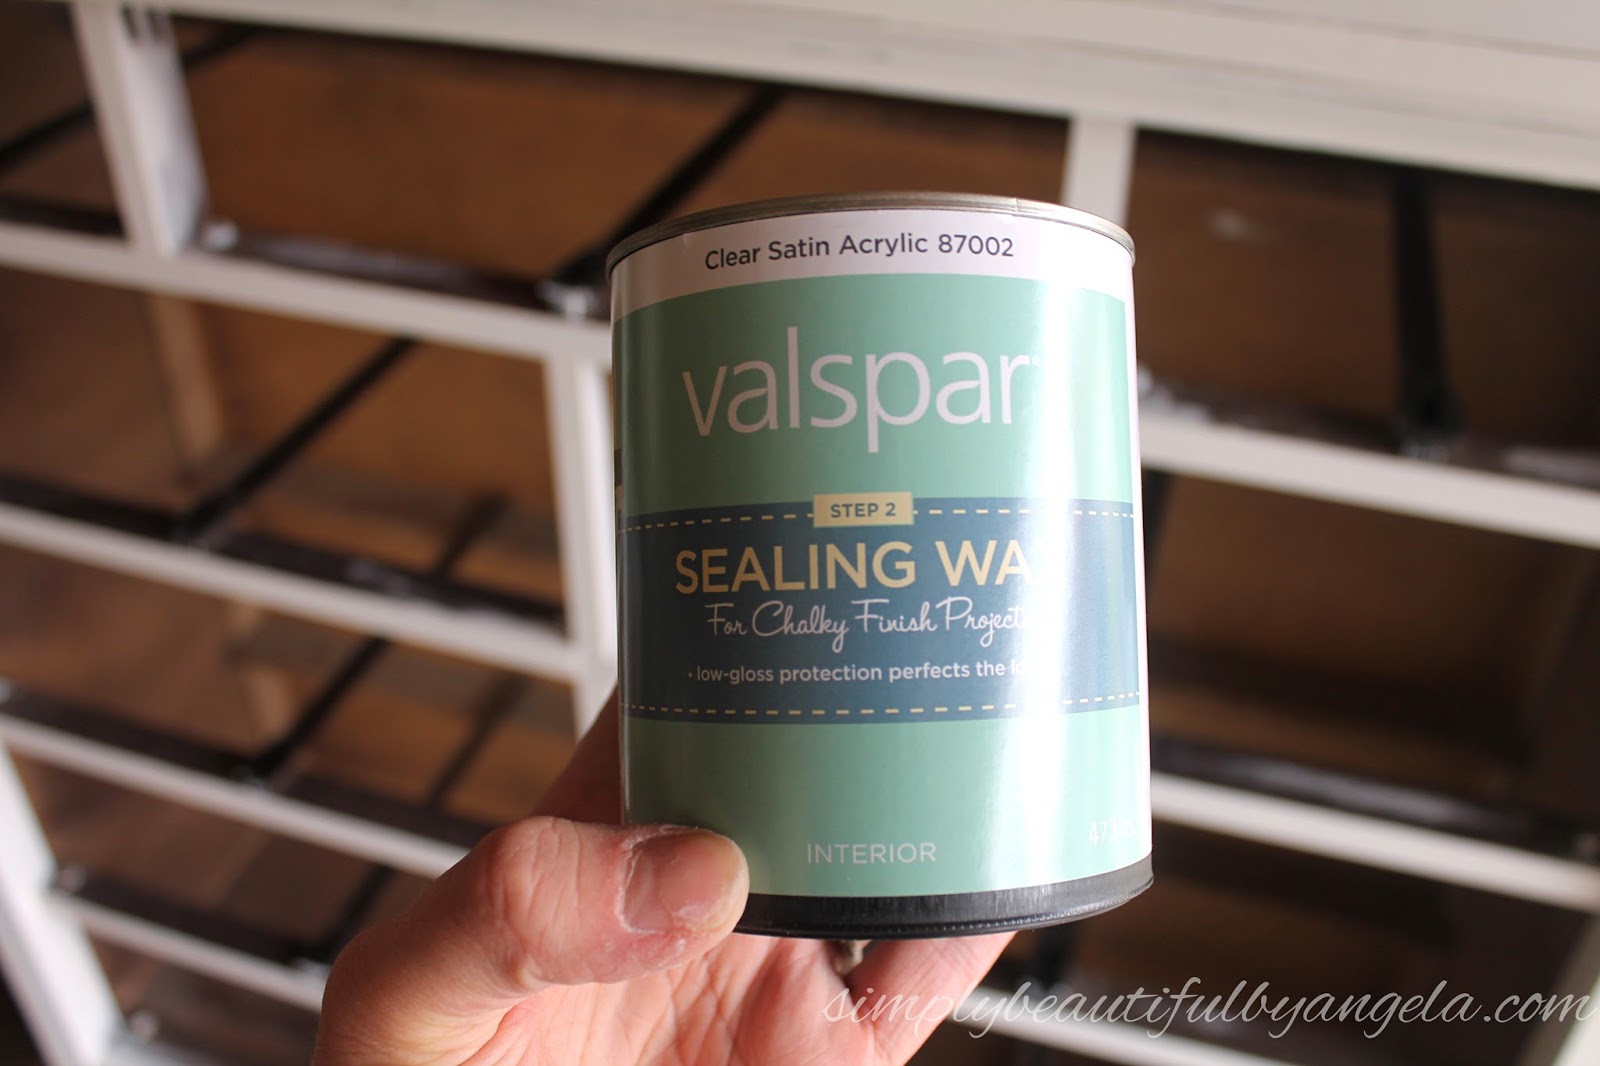
And finally I gave everything a coat of my favorite wax–Chalky Clear Sealing Wax which both protects it and gives it the perfect amount of sheen.
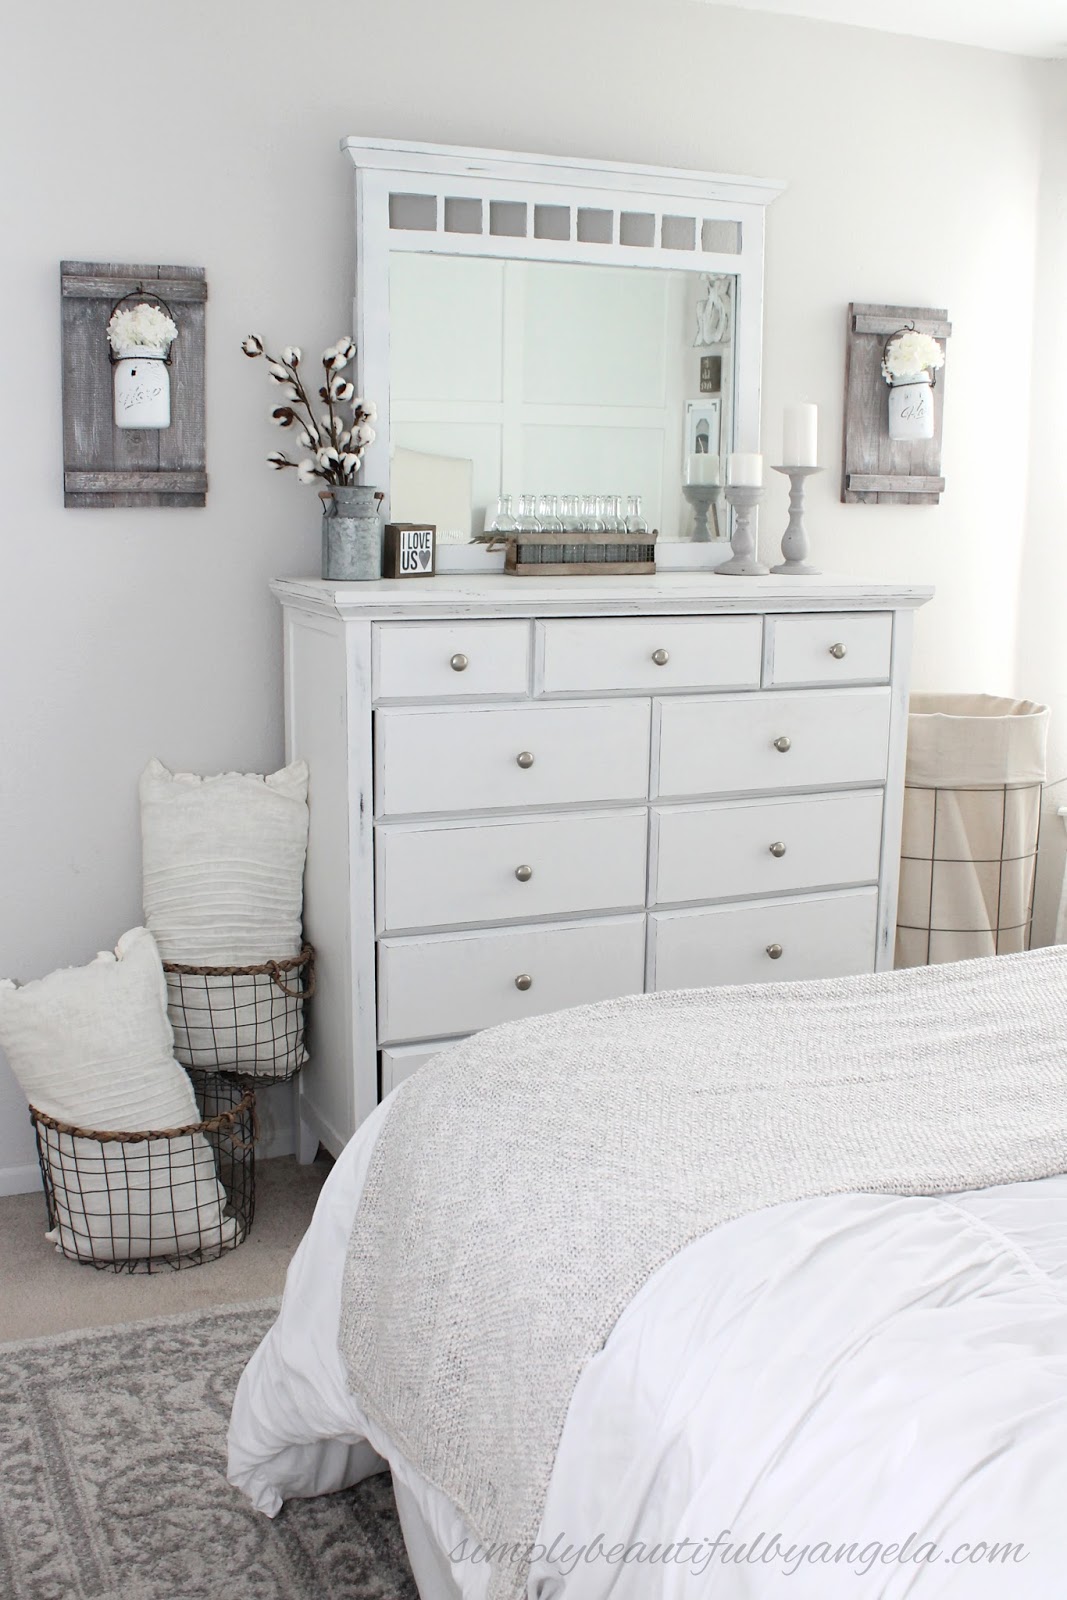
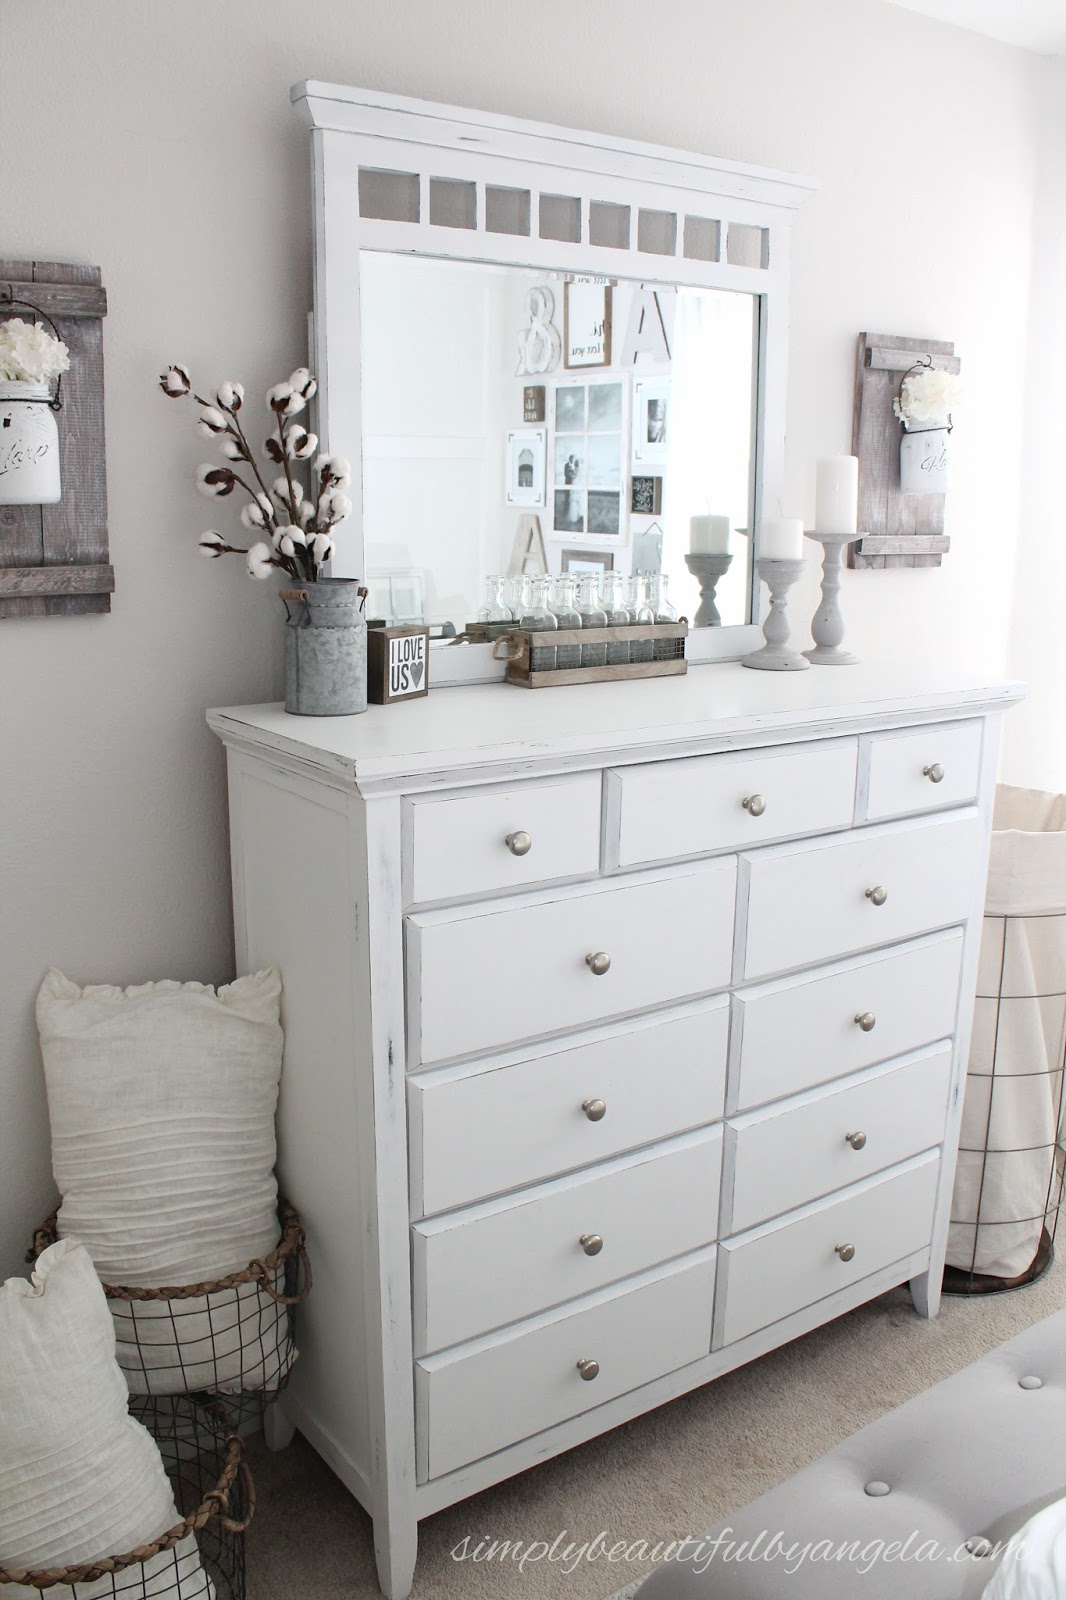
This is how it turned out!
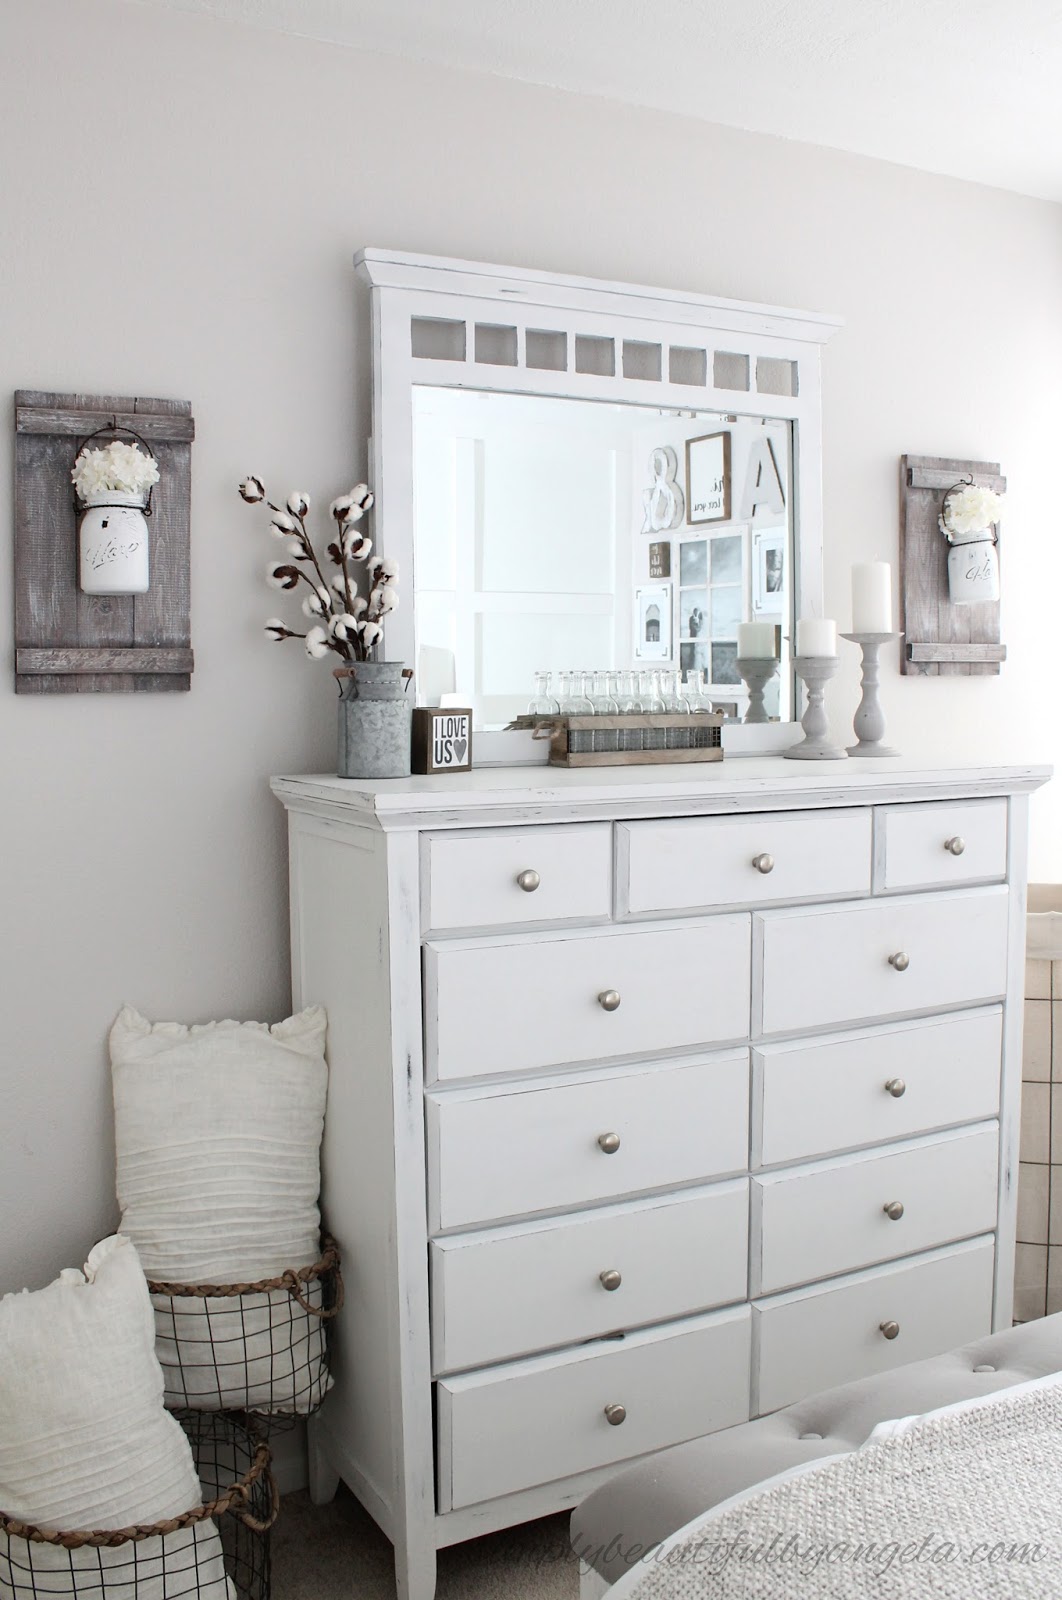

I am really glad that I decided to distress it. It gives it such nice character and really helps achieve the farmhouse feel I was going for in this room.
And it is absolutely amazing how much bigger the room feels!

I hope you all have a fantastic weekend! Thanks for stopping by today 🙂