Simply Beautiful By Angela

creating simple beauty on a budget

  • Home Tours
  • Projects
  • Legal
  • Link Parties
  • Let’s Chat!
  • About Me

IKEA Rast Makeover (Take Two!)

February 15, 2017

Hello!  I hope you all are having a great week so far.  Mine is going slowly but surely–I’m telling you guys, I am starting to get a serious itch for a vacation! I am hoping we will have one in March if all goes well…
Anyways, today I am back with another tutorial from our Master Bedroom Makeover.  A lot of you have asked me about how I created the nightstands and their story actually goes waaaaay back.
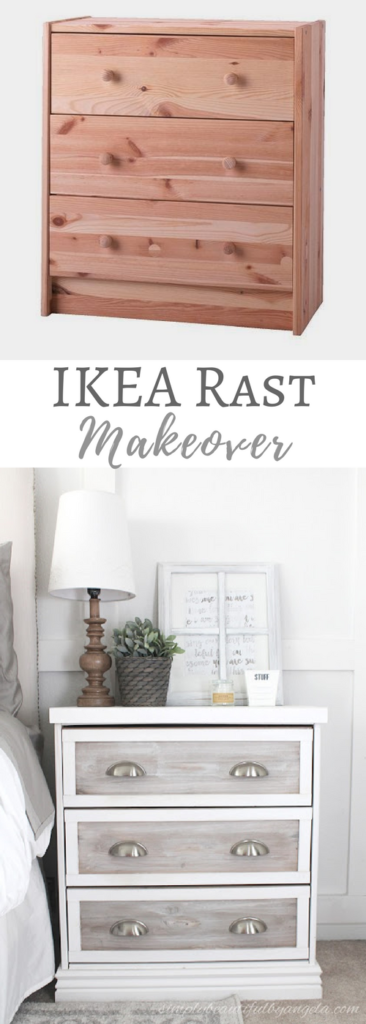
It all started two years ago when I purchased a couple of IKEA Rast dressers.

(source)
I had been searching high and low for some matching “grown up” nightstands to replace our laminate storage cubbies that we were using at the time, but everything was turning up way out of our price range.
The biggest selling point on these was their low price tag of only $35.  I also liked that they were easy to customize with a  little bit of paint, stain and new hardware.  You can read the full tutorial on their first makeover here but to recap I  began by priming and painting the outside white.
I applied two coats of a light white wash on the drawers and then applied some Minwax Wood Stain in Provincial on top once the white wash was dry.

I also painted some lattice white and used it to frame out each drawer and I replaced the two wooden knobs with one nickel one in the center.

This is how they turned out!

Pretty nice, right?  But over the last two years I started having ideas about how I could have made them even better.  So when I decided to give our whole bedroom a makeover for the One Room Challenge I decided to give them a second makeover!

Supplies Used To Make: (Affiliate links may be provided for convenience.  For more info, see my full disclosure here.) 
The wood lengths listed are what’s needed to make one dresser so double it if you are making two!
  • 2- 1x4s @ 24.375″
  • 1- 1×6 @ 24.375″
  • 1×4 scrap plywood and a 1×4 around 2′ (or anything you can find to build up the bottom lip to give the molding something to attach to)
  • Lattice Trim (I used around 6′ per dresser)
  • Moulding (I used around 5′ per dresser)
  • Liquid Nails
  • Wood Filler
  • Orbital Sander
  • Minwax Wood Stain in Provincial
  • White paint
  • White Caulk
  • Chalky Clear Sealing Wax

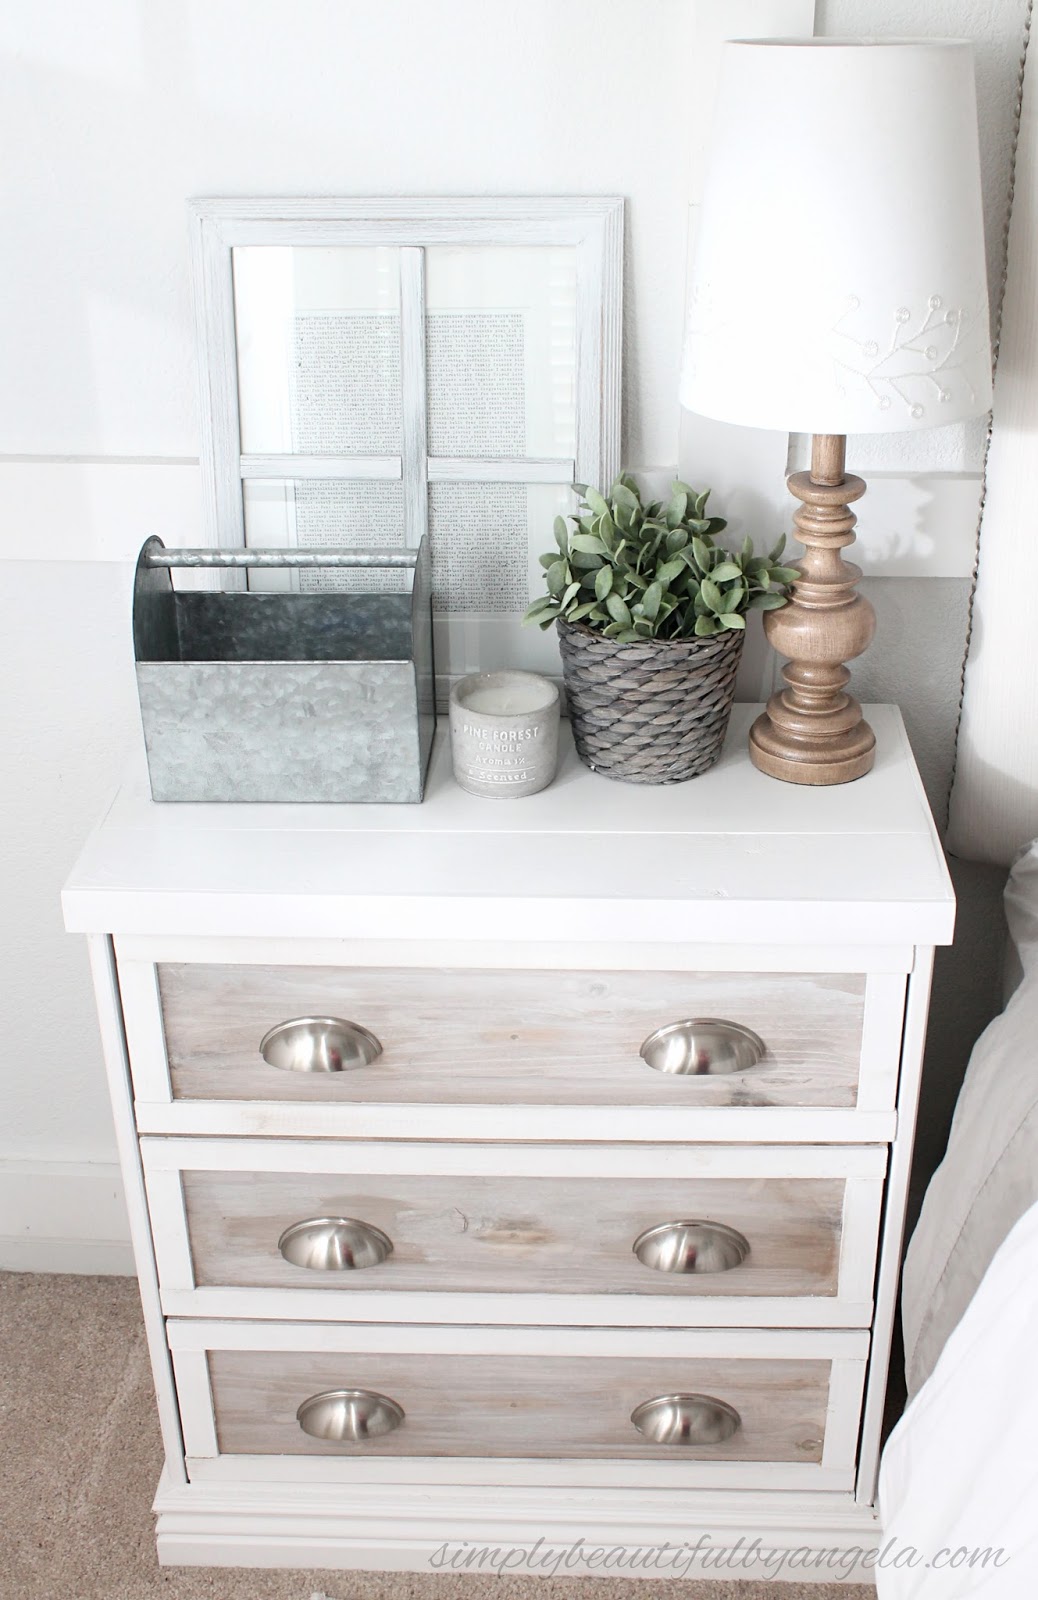
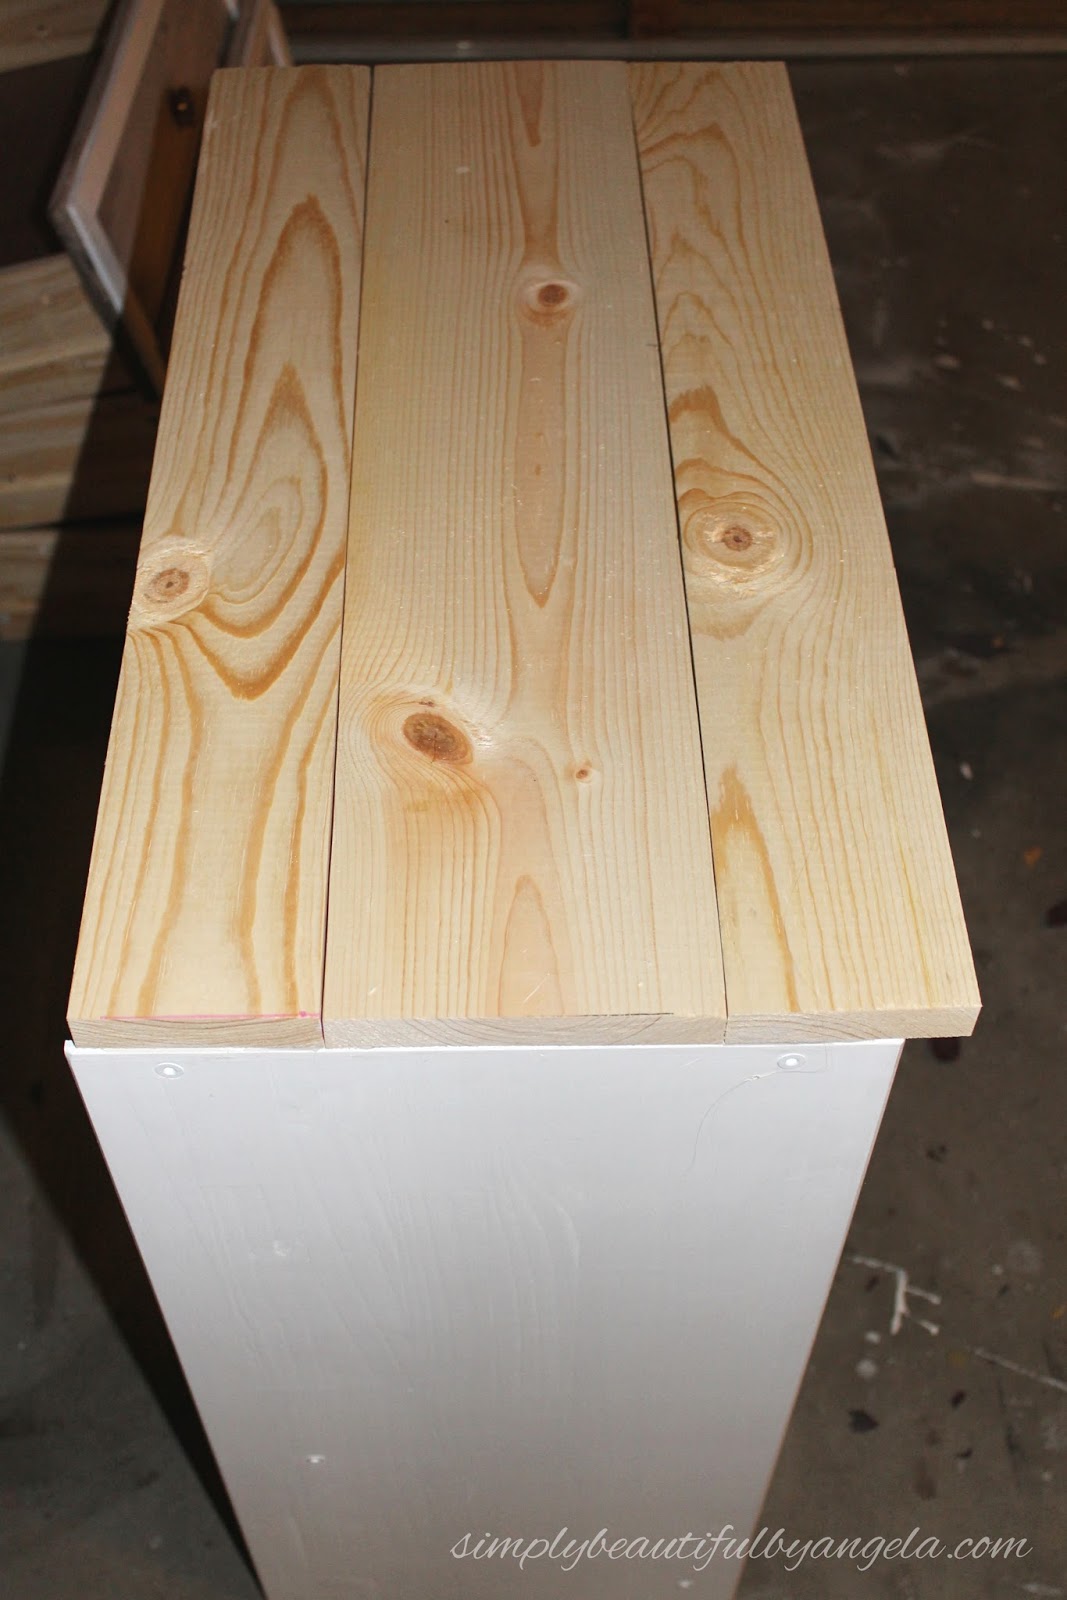
I first wanted to plank the top in order to hide the raised edges that were on either side. To do this, I simply attached two 1x4s and a 1×6 directly to those edges using liquid nails. You can see in the picture below that there will be a little overhang and I chose to place it over the front of the dresser.
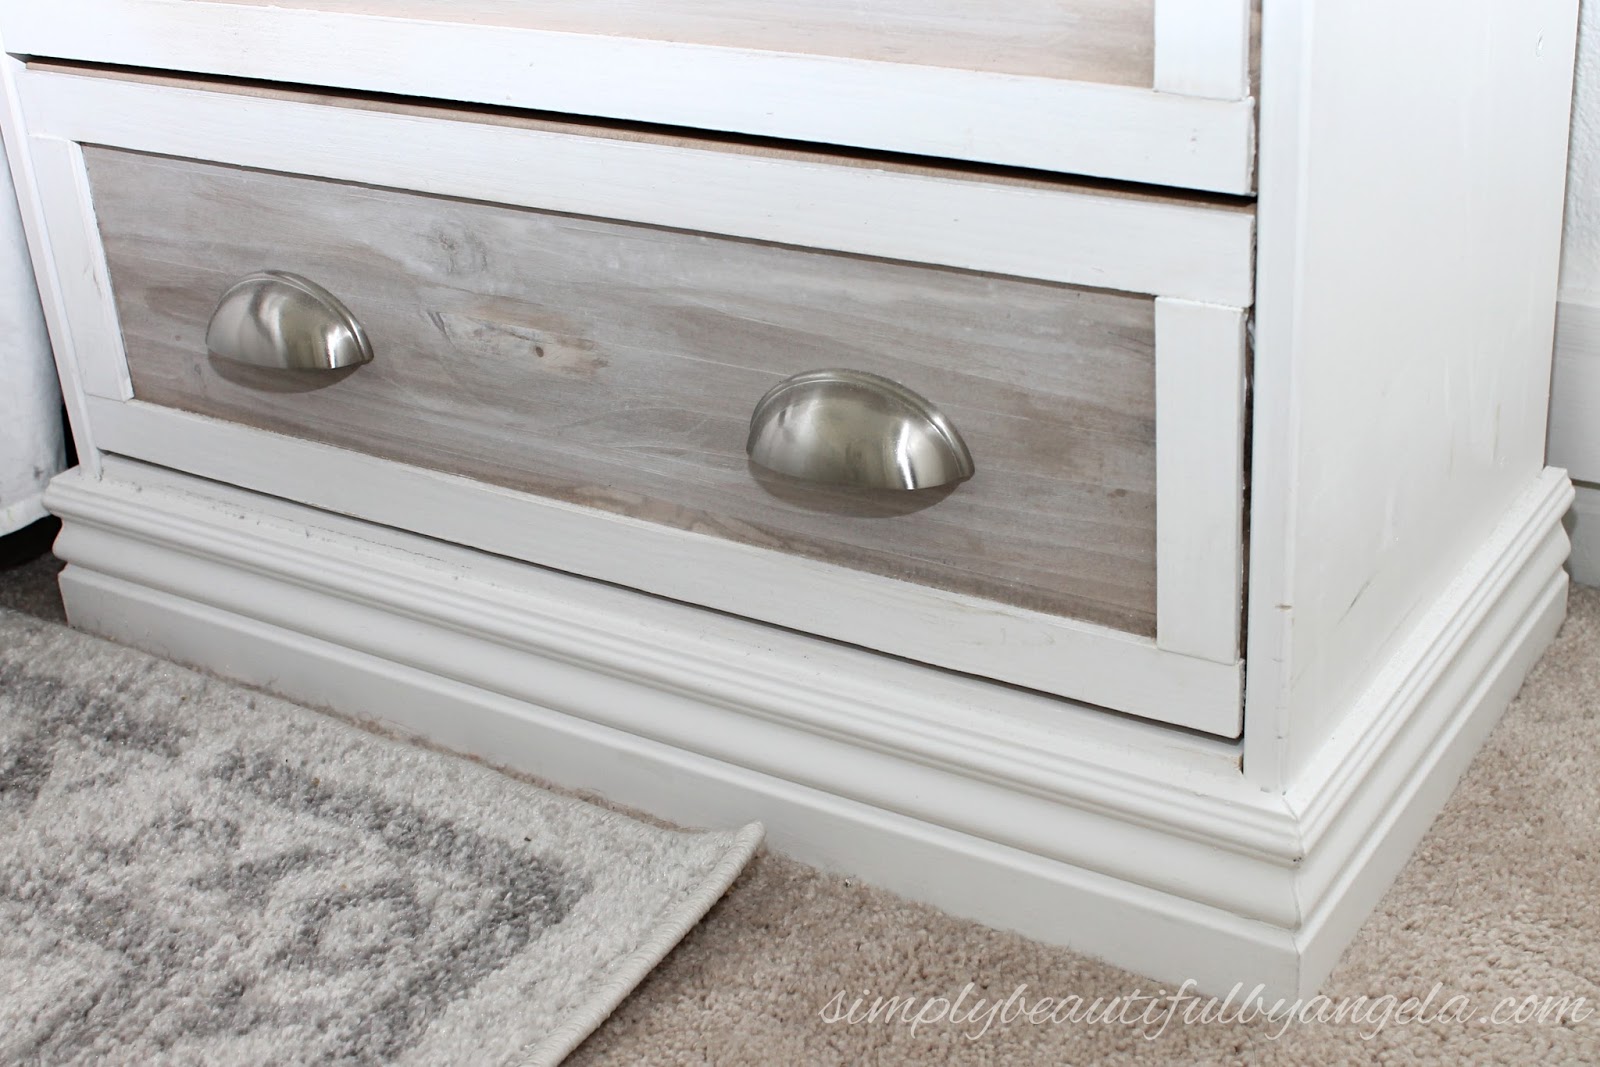
The other thing that bothered me was the funny indentation it had on the bottom.  I decided to disguise it with some moulding but in order to do that I had to first build that space so that the molding had something to attach to.  I first used liquid nails to attach some 1/4″ scrap plywood pieces.

I then attached a 1×4 on top of those. I used a piece of scrap lattice to hold those pieces up while they were drying so that it was almost flush with the top.
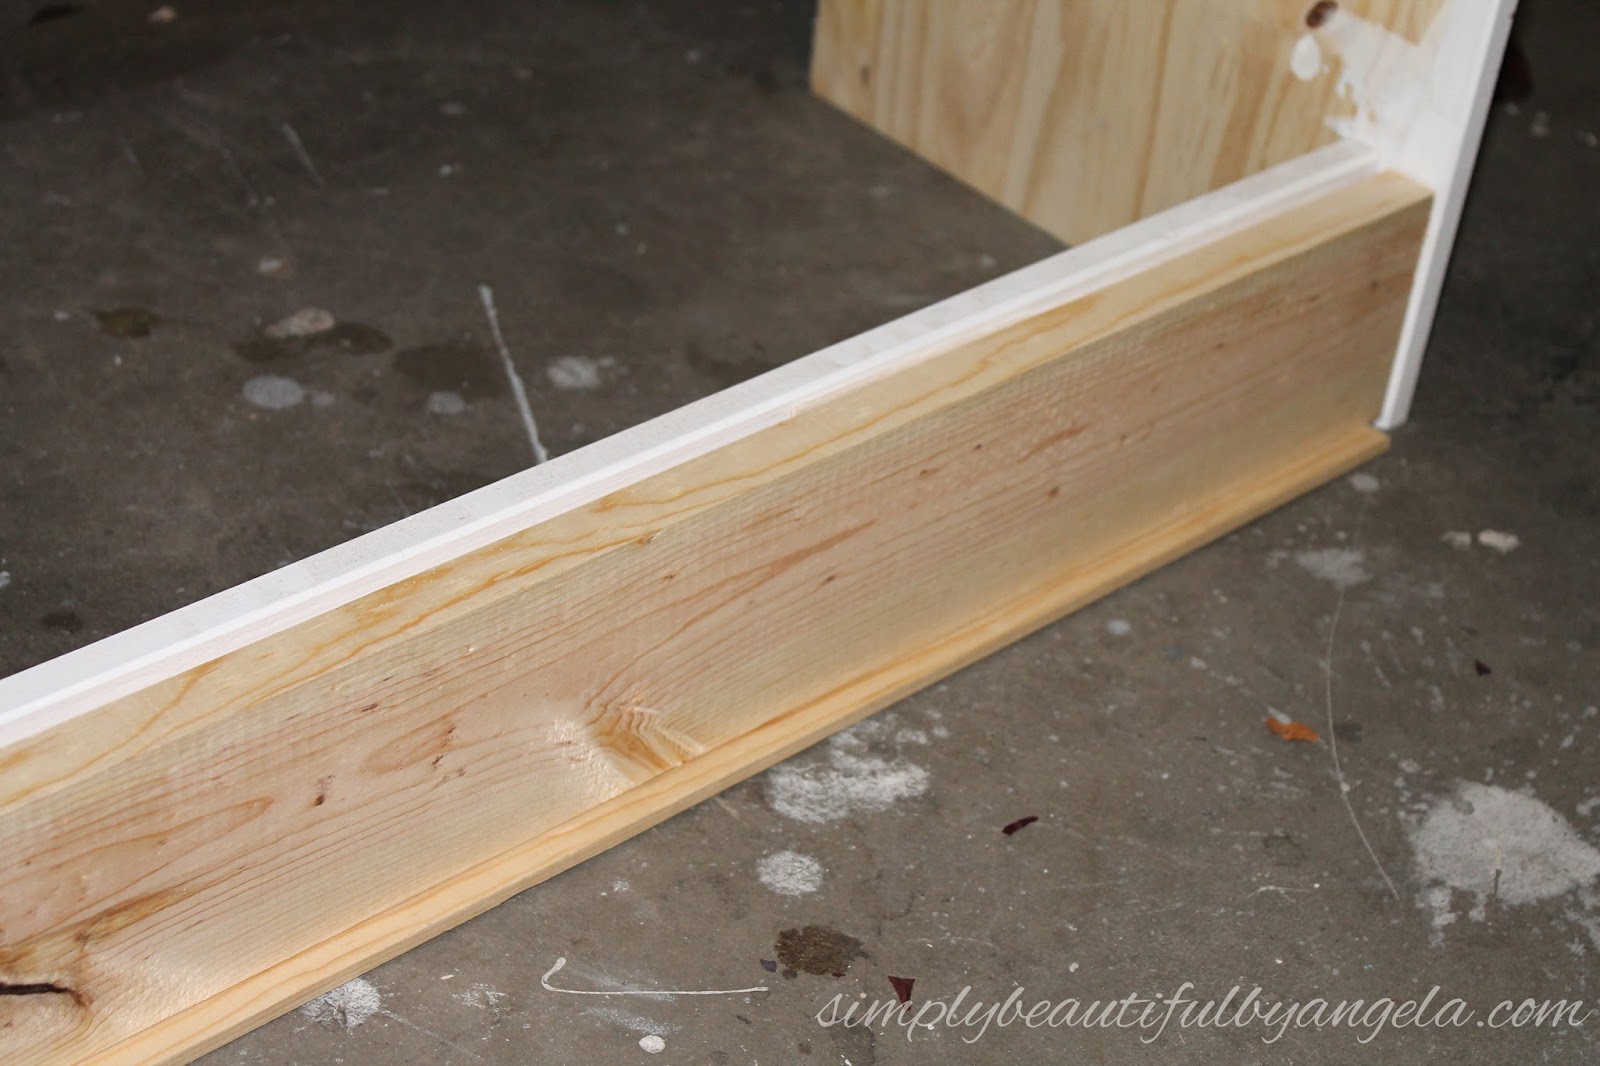
 

The next day I went back with some lattice and framed out the top.  I countersunk my nails by using a large screw to tap them in (perfect solution if you don’t have a nail gun that sinks them for you) and then filled the holes in with wood putty.
 

I used a miter saw to cut my moulding and attached it to the base using liquid nails. As you can see I decided that I only needed to put moulding on the front and the sides. 
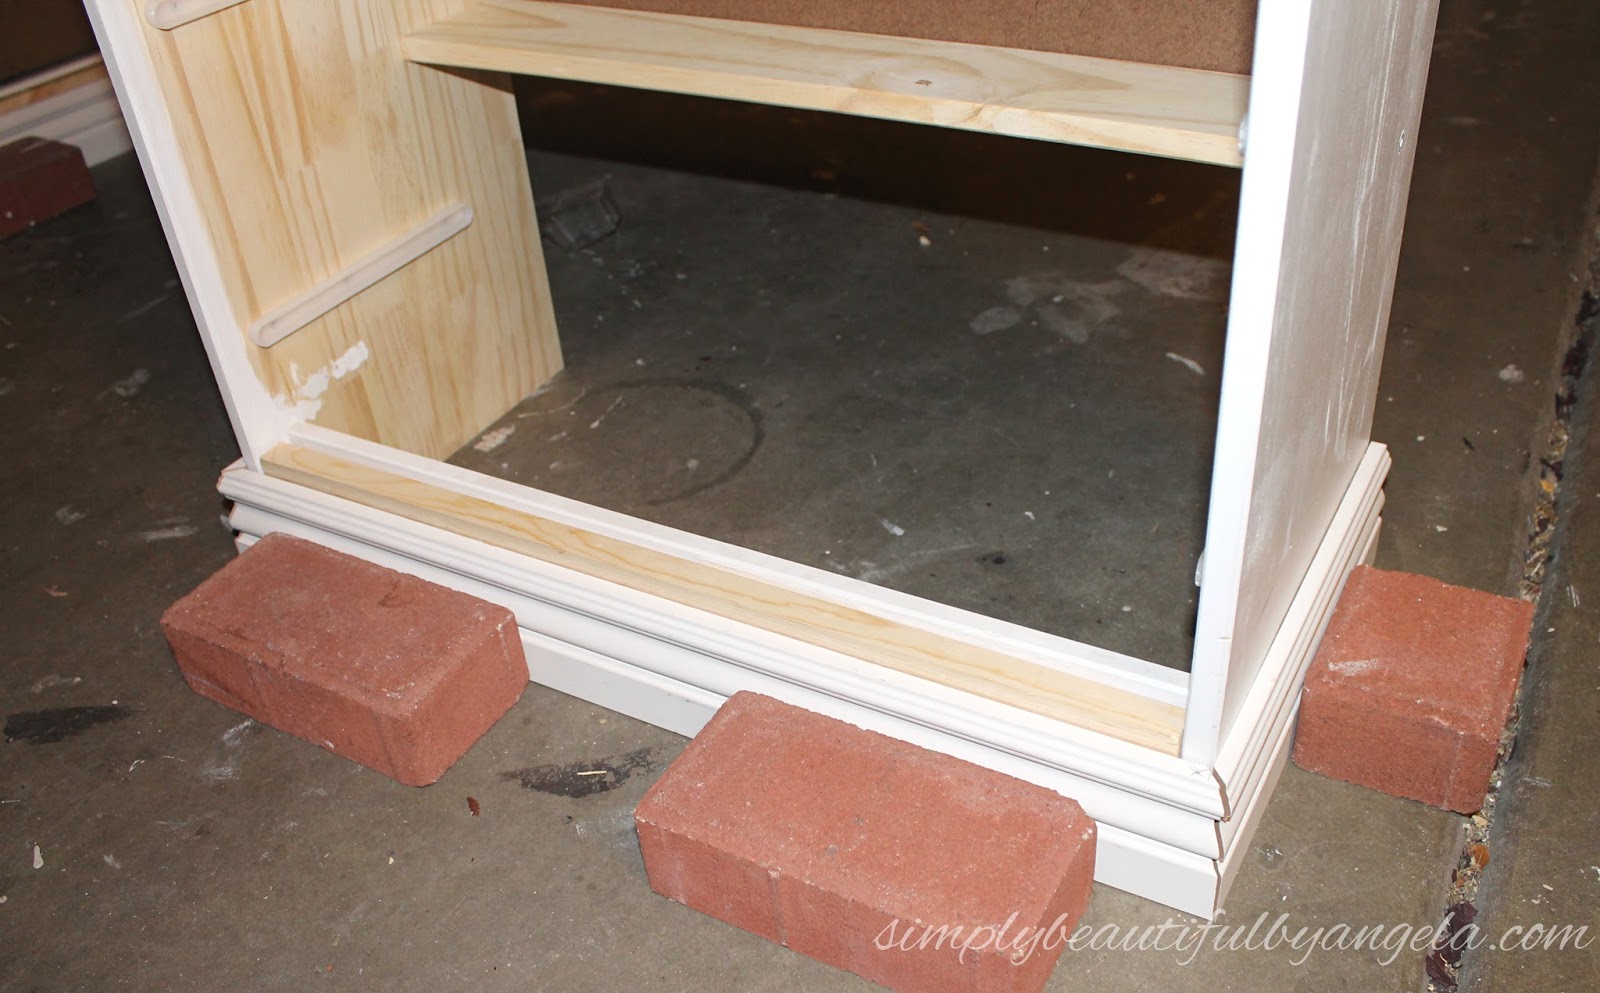
Once it was dry I went back with my trusty caulk gun and disguised the mitered cuts as well as where the molding meets the dresser.
 

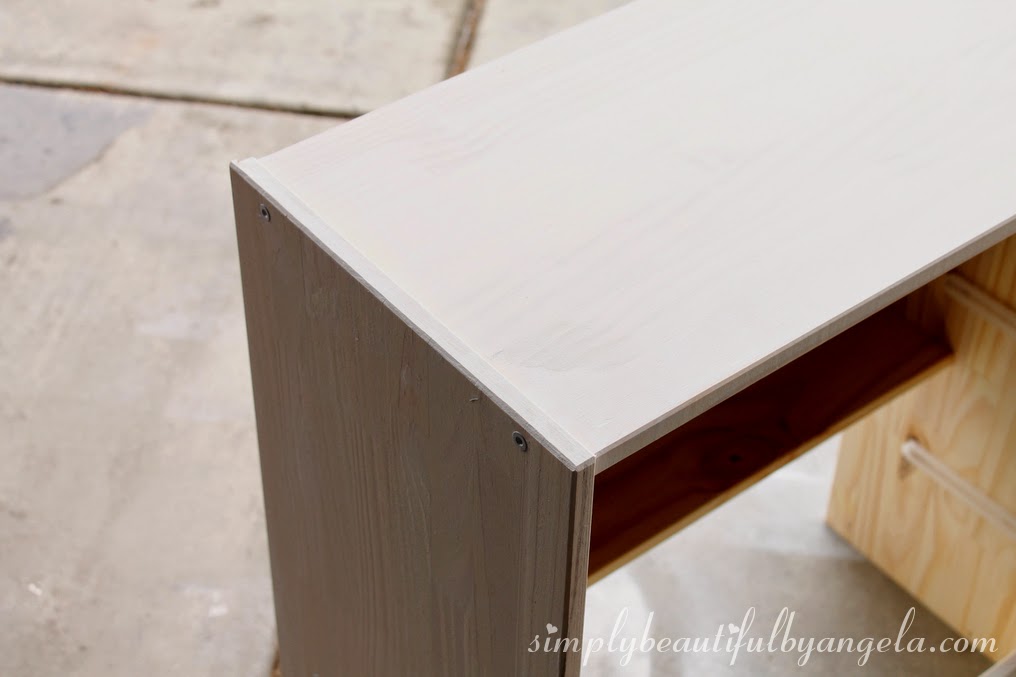
After painting the new top and the molding I gave it all a coat of my Chalky Clear Sealing Wax that I recently discovered and love.
 

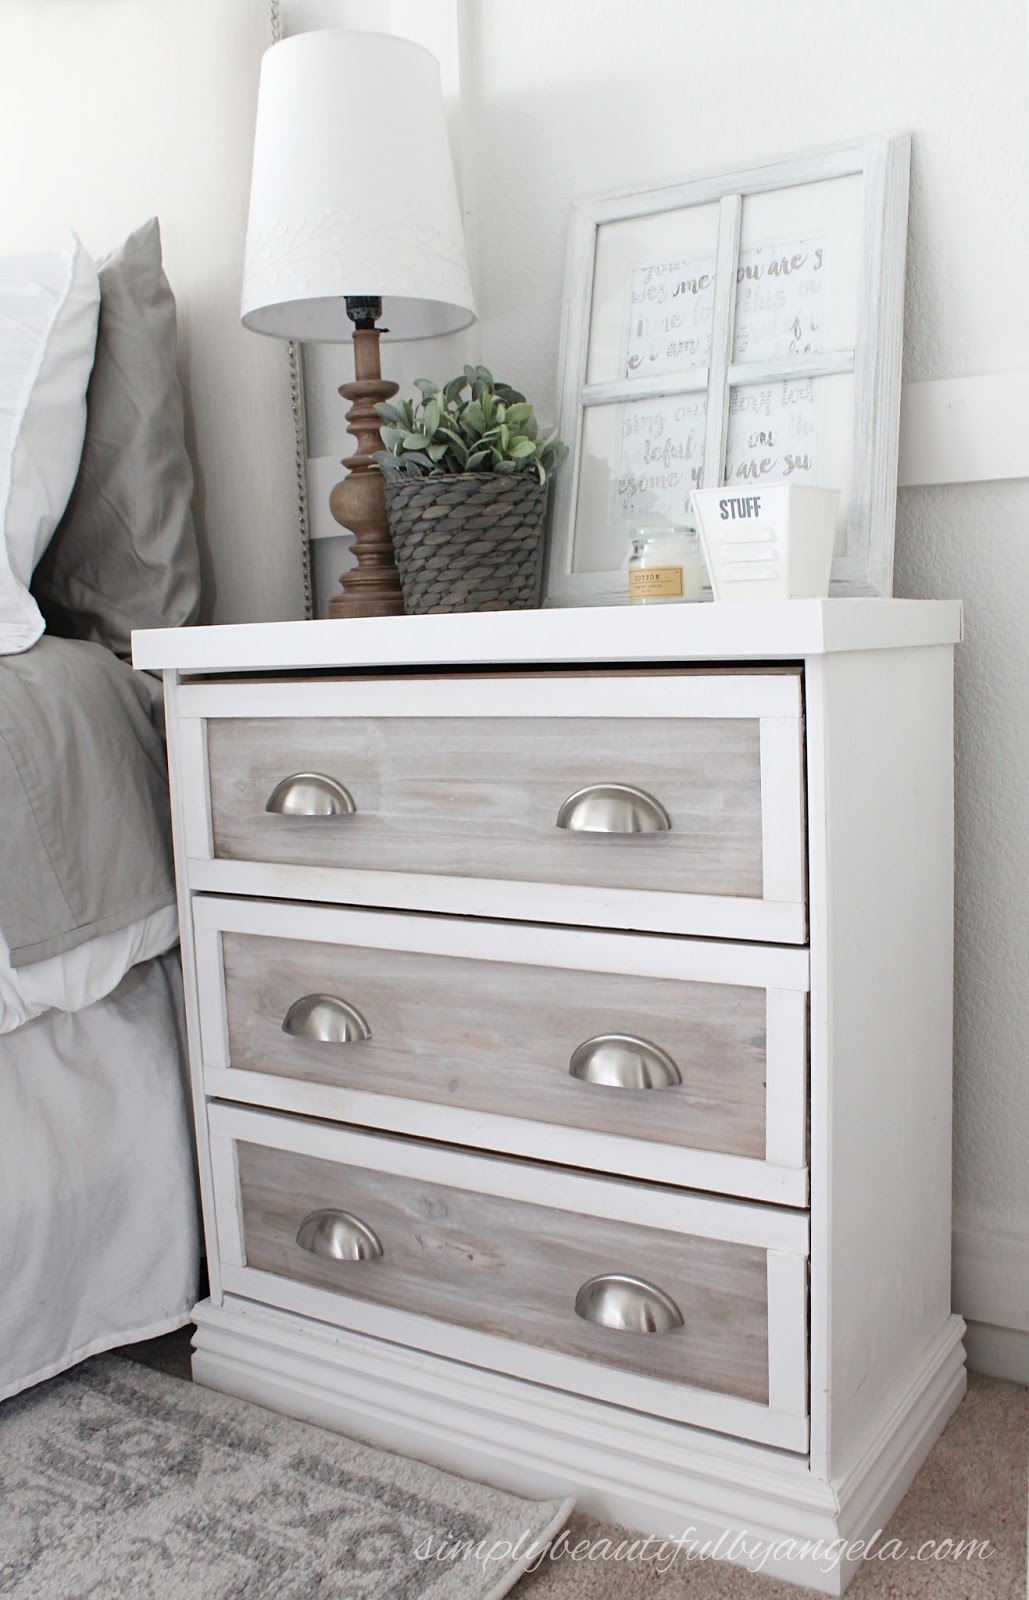
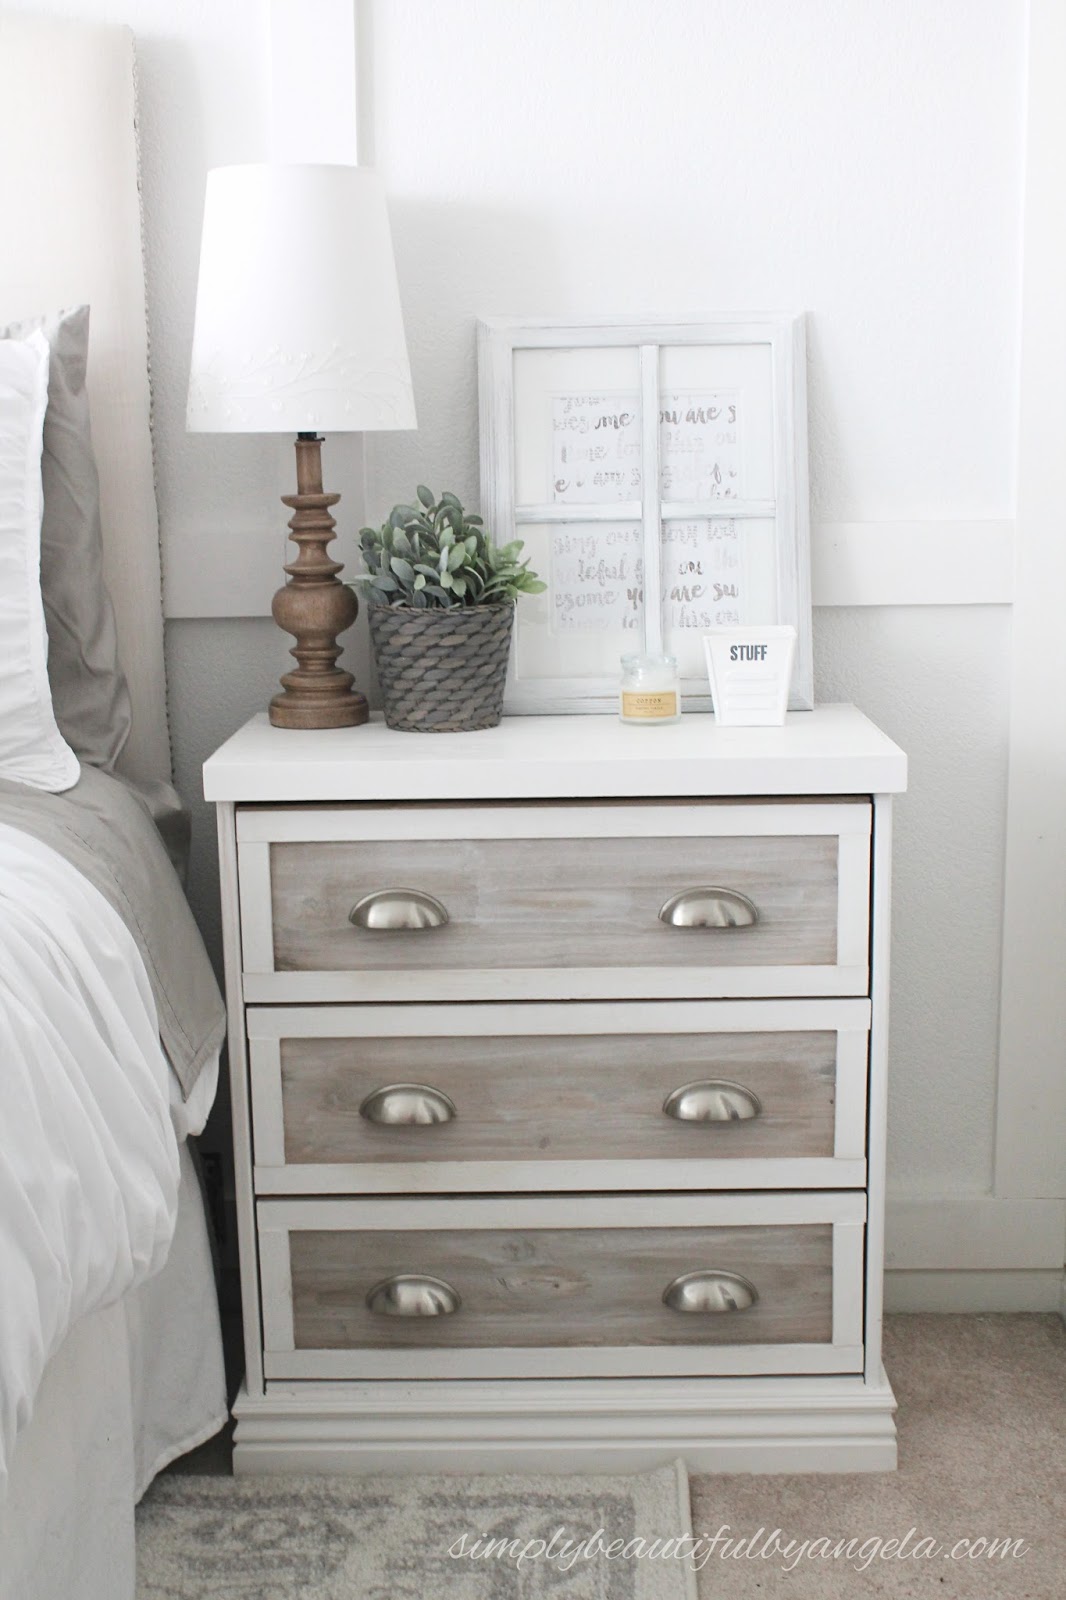
And here it is today!
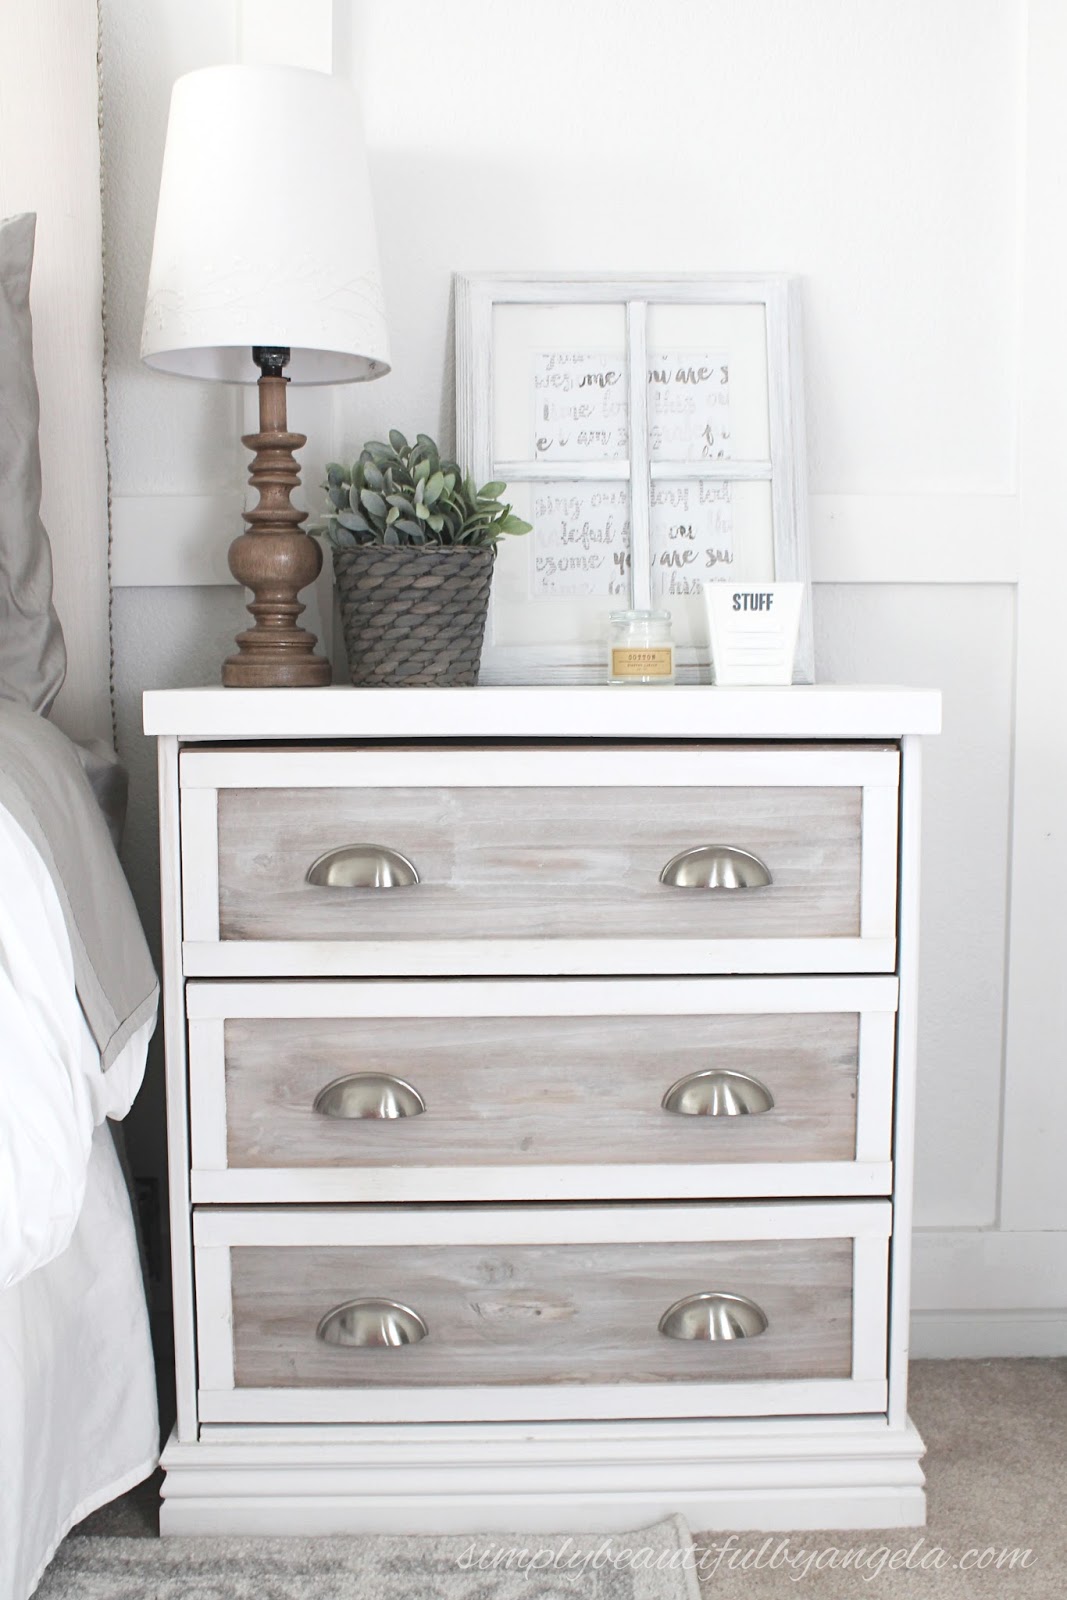
I decided that I wanted two pulls on each drawer so I filled the hole that I had in the center of each  and gave each drawer a heavy whitewash to try to disguise it.  You can still kind of see it but only if you are REALLY looking for it!
  
One more look at how they looked after makeover number one…

Compared to now!
 

So much more polished–don’t you think? 

I love that I no longer have those goofy little raised edges on the top and that I don’t have to look at that awkward indentation at the bottom.
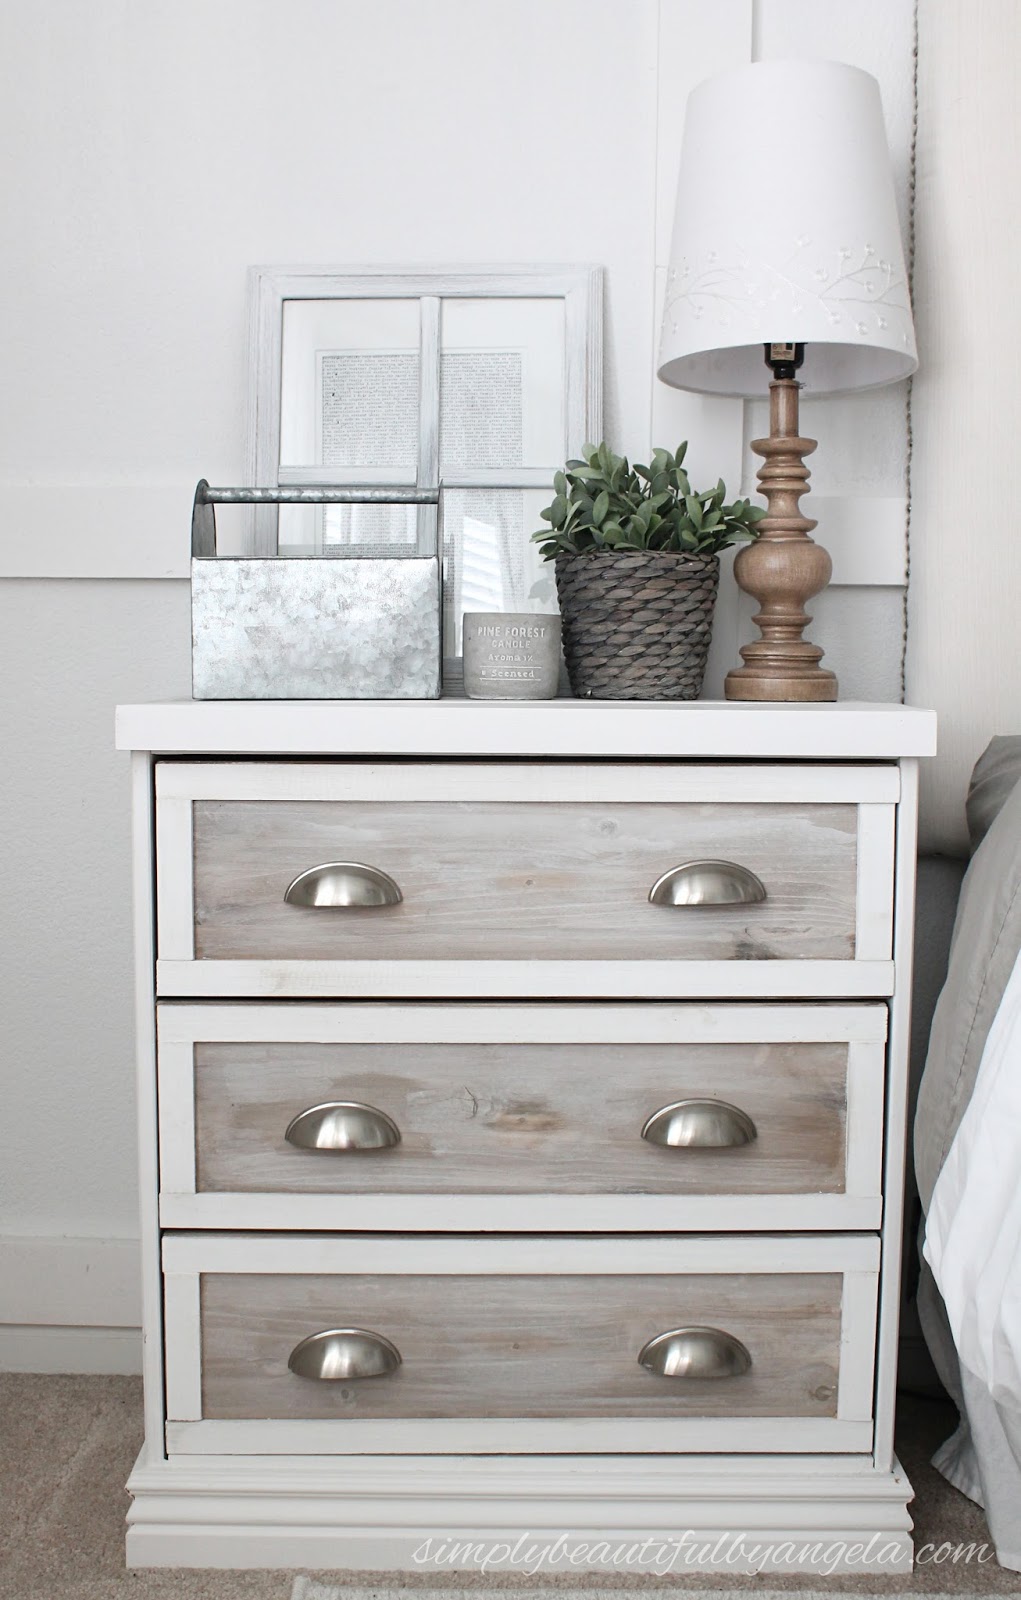
This is what they looked like back in the day before my Master Bedroom Makeover…

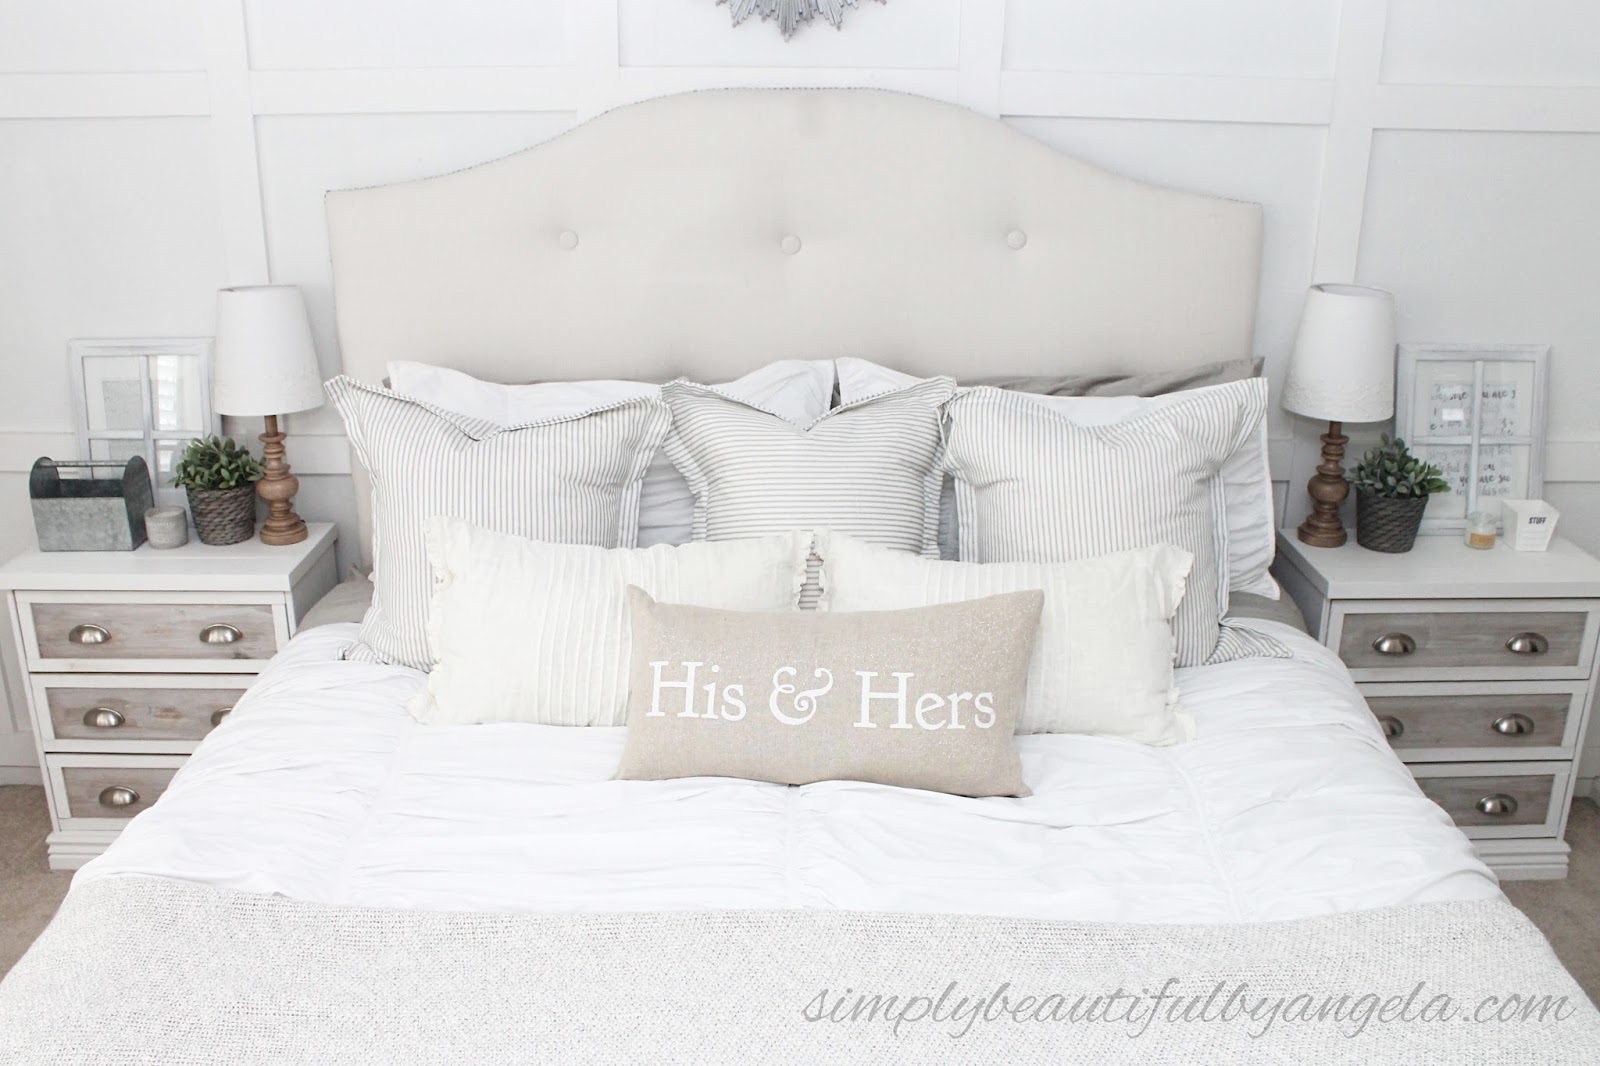
And here they are sitting proudly in the new room!

Alright friends I hope you all have a wonderful rest of the week and a happy weekend!  Thanks for stopping by 🙂

Linking up to these awesome parties.

· Labels: Uncategorized

Newer Entries
Previous Entries

Theme by 17th Avenue · Powered by WordPress & Genesis