So I was all done with Tristan’s room and I thought I had remembered everything when I realized that I needed a spot for his hamper! I used to keep it in his closet, but since the closet is now full with bookshelves that was no longer an option.
I realized that the only empty spot was the wall behind his door and that’s when I thought of it–a hanging hamper!
I knew that I wanted a big opening to make doing laundry easy and just didn’t want a hanging bag, so a nice round embroidery ring worked perfectly. Here is what I used:
- 15″ embroidery ring
- Twin flat sheet (I had this one already but you can find them for $5 at Walmart)
- Thick ribbon
- Wall hook
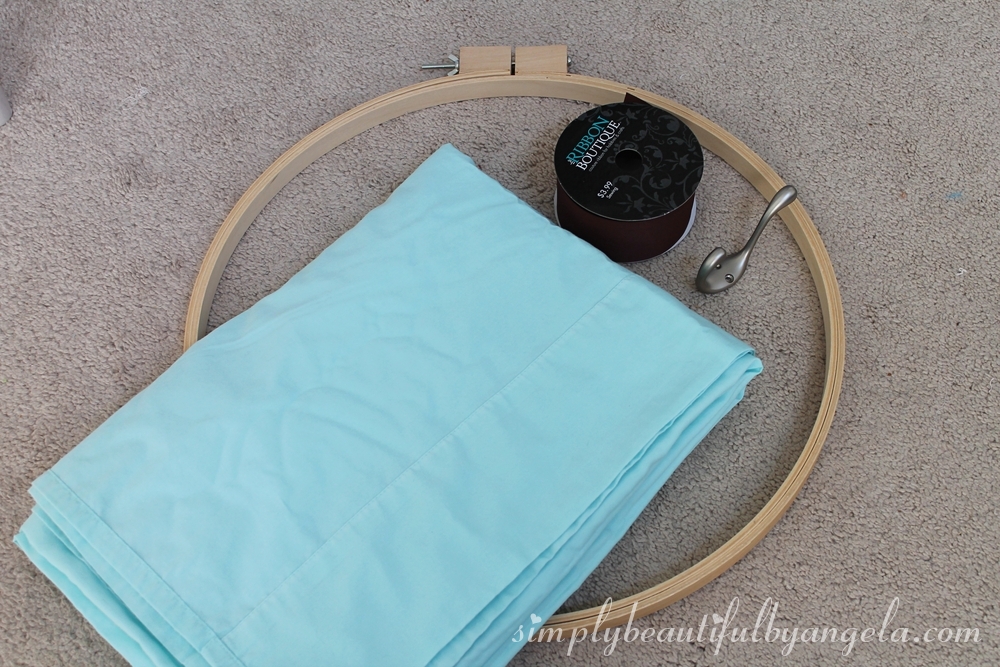
You could also use regular fabric and hem the top so that it looks like a sheet. I liked using a sheet because it was already hemmed and the twin size ended up being the exact size that I needed.
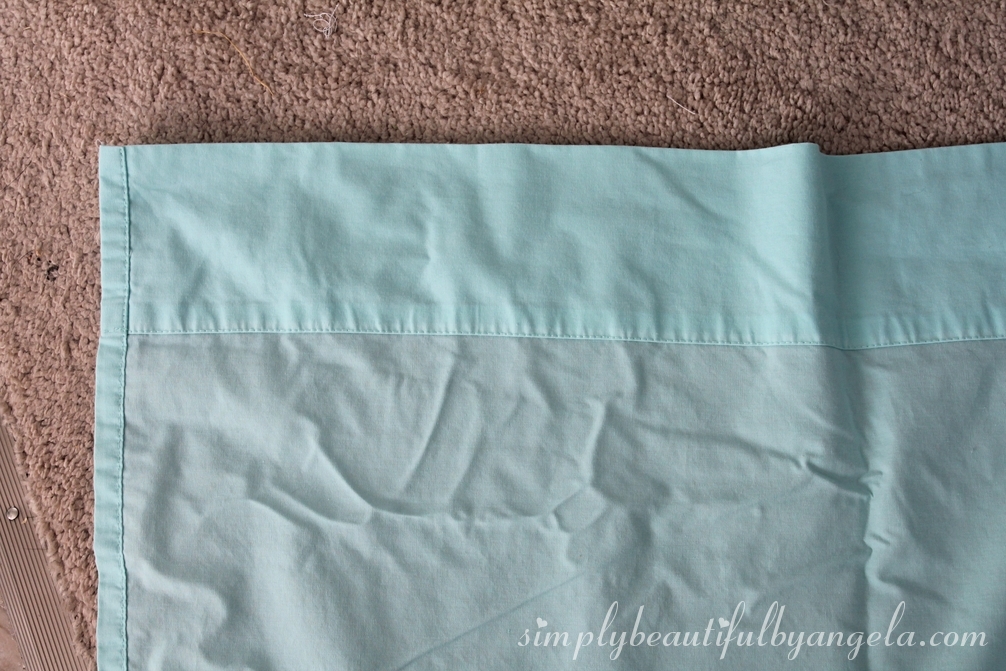
I began by folding the twin sheet in half “hot dog” style with the finished sides touching and the unfinished sides on the outside.

I measured how long I wanted my hamper to hang and cut off the excess from the bottom.
I then sewed the sides and bottom together. I went back over my first stitch a second time to make sure that it was really sturdy.

When I was done, I ended up with what looked like a giant pillowcase.
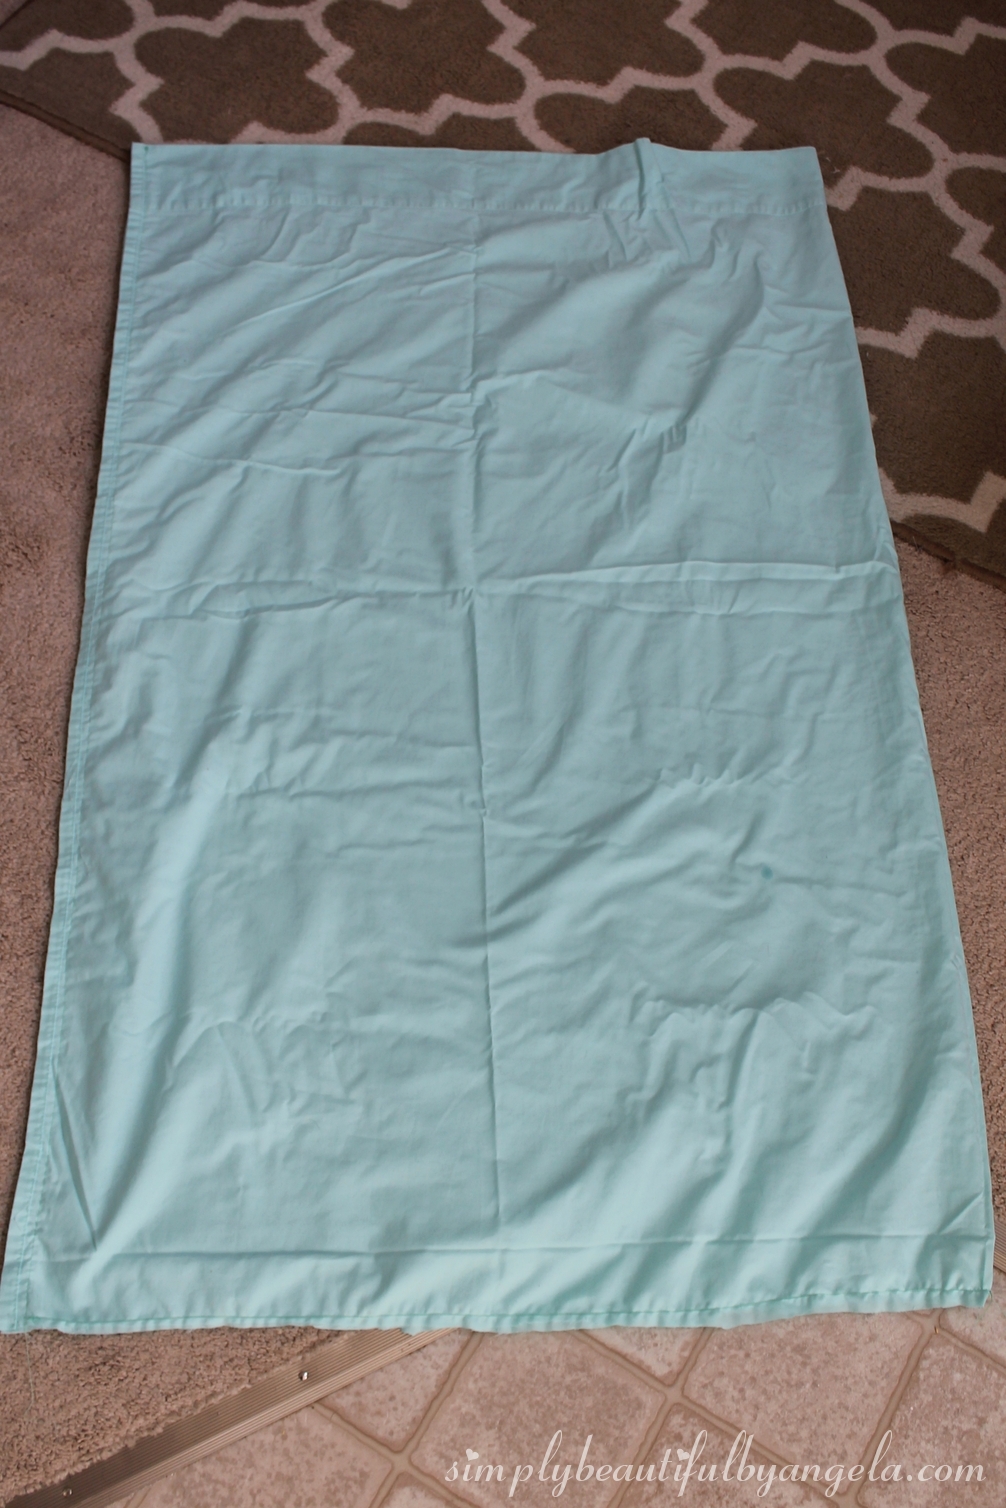
After turning it right side out, I fed my giant pillowcase through the one piece of the embroidery ring so that the hemmed piece fed over the top of it.
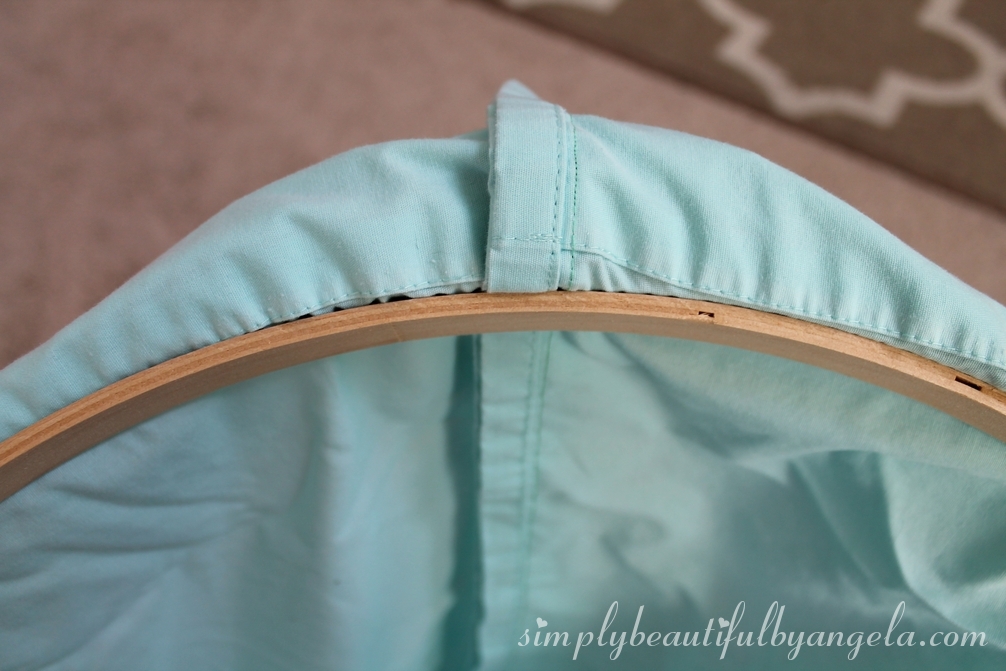
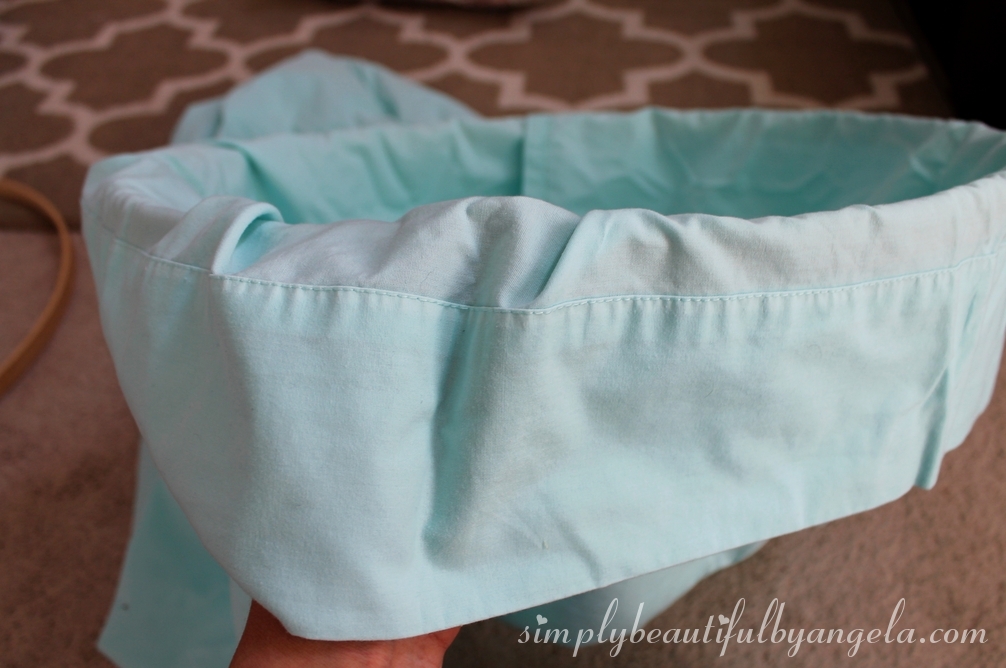
Next, I secured the other piece of the embroidery ring on top. Notice that I made sure to place the sewed hem on the side of the ring so that when it was hung, the folds would be on the sides to make a rectangle. The first time I did this I had the hem at the back up by the embroidery ring screw and it hung super funny!
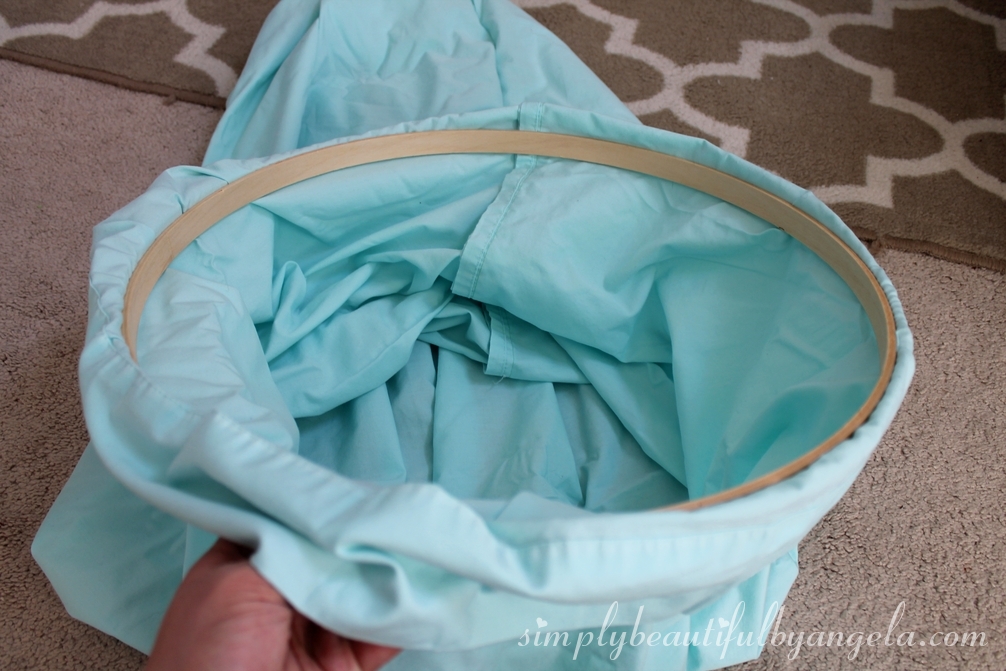
Before I tightened the two pieces of the ring together I slipped a piece of thick ribbon in between and sewed the two ends together, going back over my stitch a few times.


To make it pretty I tied another piece of ribbon in a bow where the two ends were sewn together.
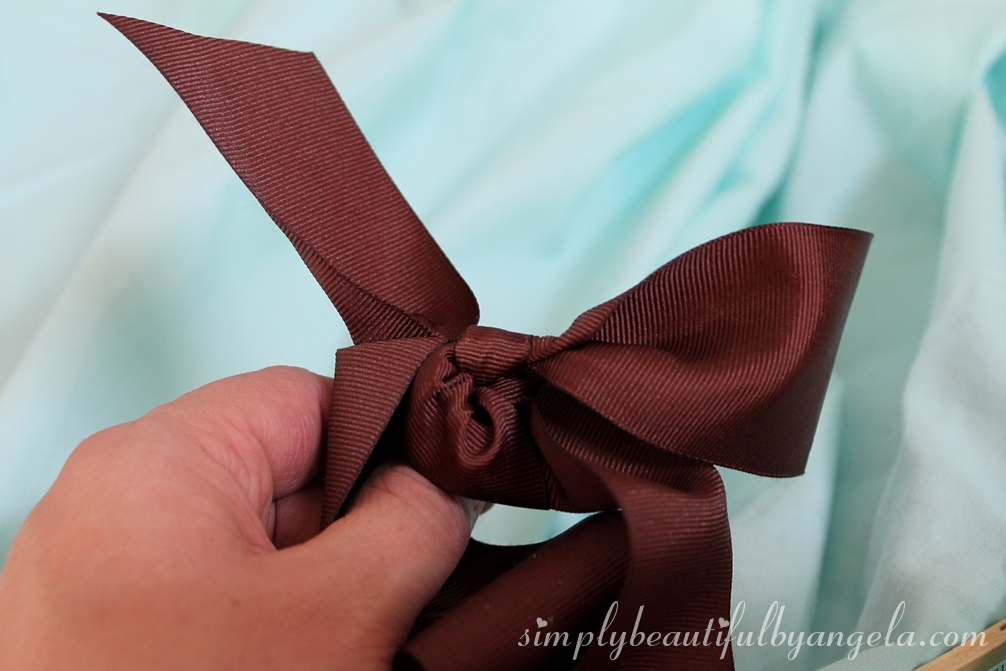
I had the hubby attach my wall hook with drywall anchors.

And BOOM!

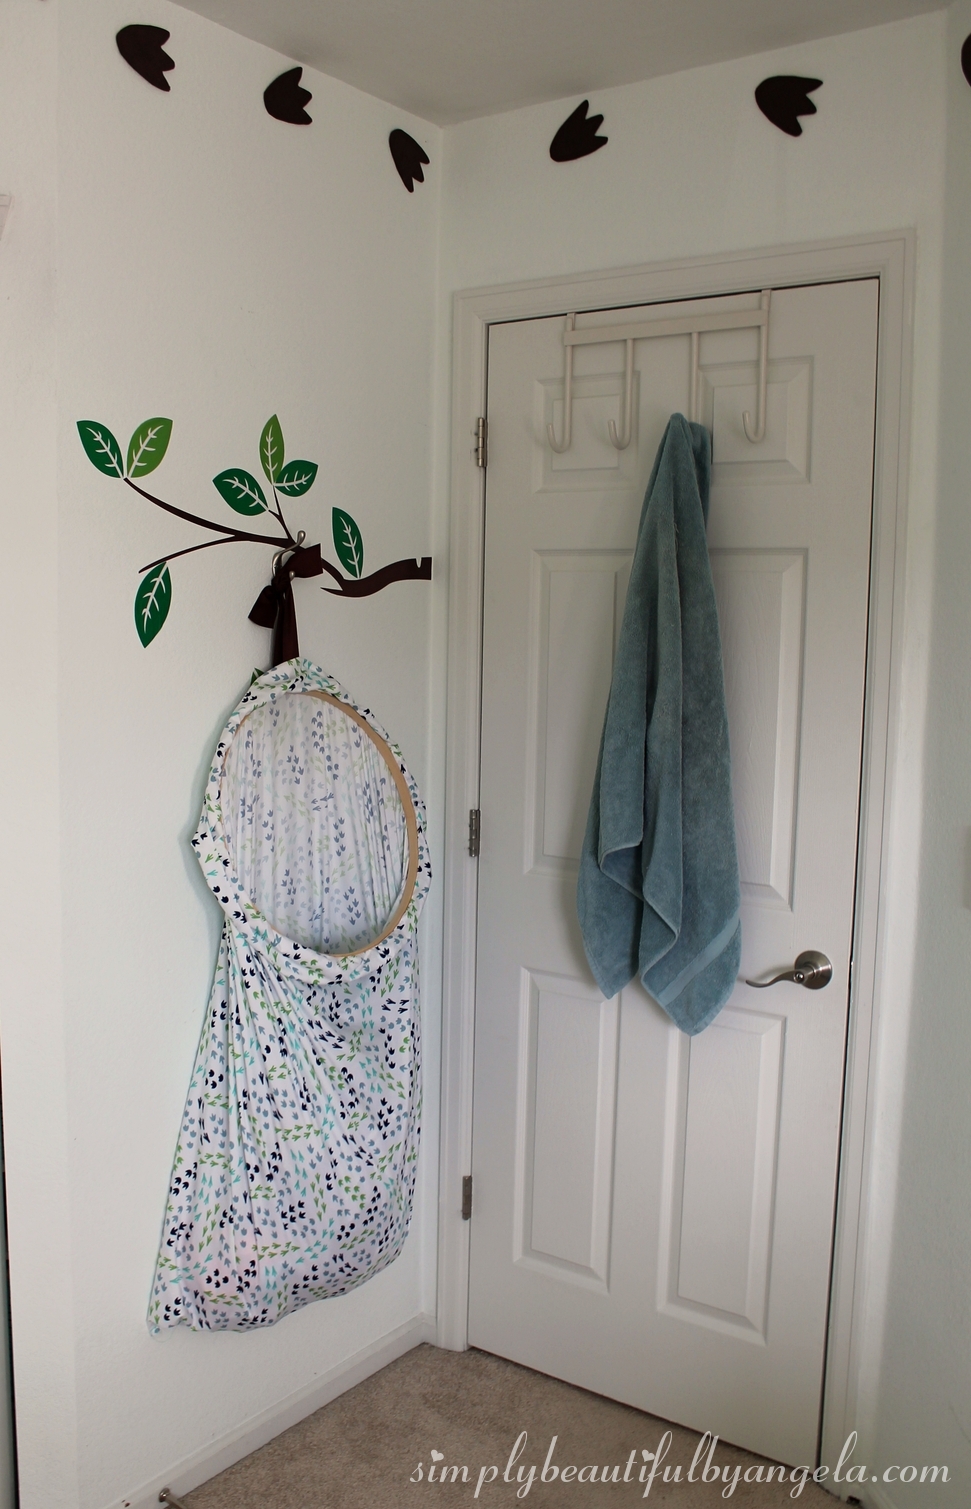
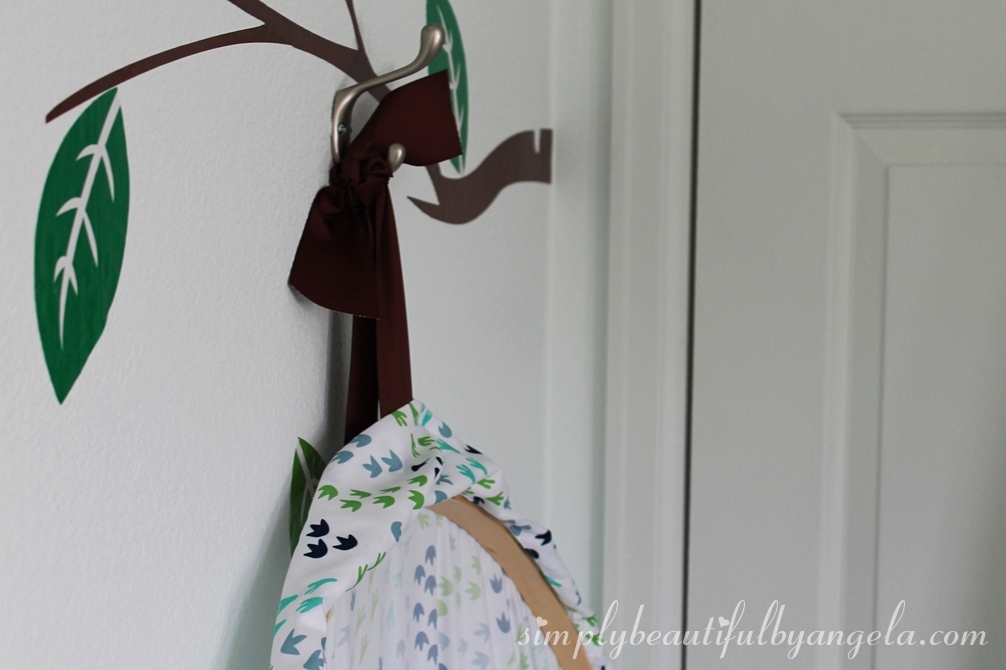
This project was also very budget friendly since I already had the sheet, ribbon and hook. I picked up the embroidery ring at Hobby Lobby with a mobile 40% coupon so it was only about $3.60.
And because I like to remind everyone that nobody is perfect, when I sewed the sheet together I had it right side out so if you look really close you can see the stitch. But it’s just a hamper so I wasn’t about to rip the seam and start over… 😛 Plus that side faces the corner by the door so it’s really not even visible.
Have a safe and happy weekend everyone!
Linking up to these awesome parties!