Hello! I’m back this week to share a couple more DIY Fall décor tutorials, then I promise to move on to sharing Tristan’s big boy room. After months of working on it I’m so excited that it’s finally done and even more so that it turned out exactly as I pictured!
I’ve seen a few tutorials in blogland for making pumpkins out of scrap wood and they always turn out so cute! This year I decided to finally make one.
-
2×4
- 1×2 scrap (any small scrap piece would work)
- Orange Acrylic Paint
-
Foam brush
-
Rag


Using scrap wood from the garage I cut the following:
2 2×4 at 8″
2 2×4 at 6″
1 1×2 at 1″

Next, I painted each piece with orange acrylic paint. I only painted the areas that would be visible once the pieces were stacked.

Once the paint dried, I took some sandpaper and distressed various spots so that the natural wood came through (you’ll see why in the next step).

I then quickly applied my favorite dark wood stain (Provinical by Miniwax) and wiped it off right away.
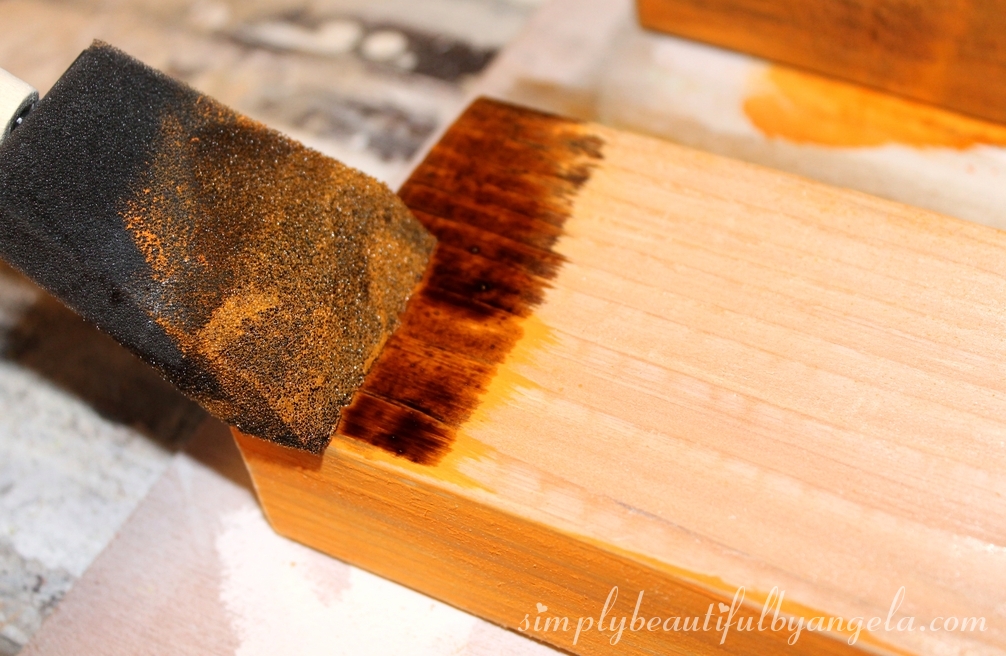
As you can see, it darkened the orange a bit and stained the spots where the natural wood was peeking through to give it a rustic look.

I also applied stain to the 1×2 but let it sit for about 5 minutes before wiping it off since I wanted the stem to have a richer brown stain.

Once everything was dry I stacked the pieces and secured them with liquid nails (wood glue would work too).

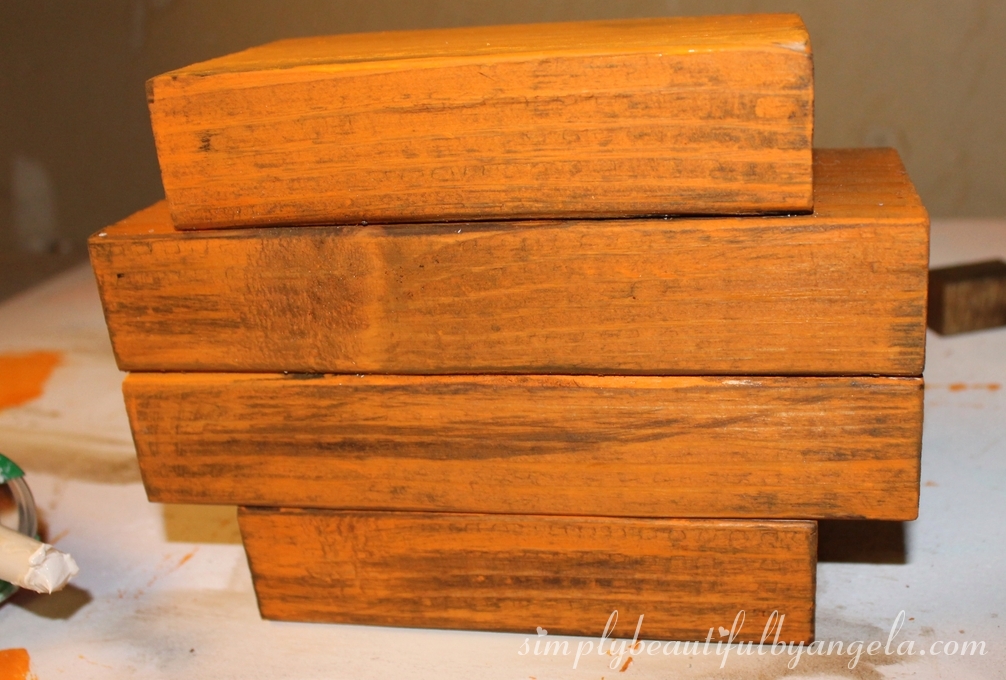
I tied a few pieces of twine around the stem and also rubbed on some white chalk to add a little interest.

It turned out perfectly and looks so cute sitting on our mantle!

It was so easy that I finished the whole thing within an hour (that’s with dry time). Next year I think I’ll make a few in different sizes with a topcoat so that I can put them out on the front porch!
Linking up to these awesome parties!

This post was featured on the Creative Spark Link Party hosted by My Paper Craze and Creative Ways Link Party hosted by Posed Perfection! Click on the images below to take you to the featured posts.
|

|