***To see the updated version click here.***
Well hello there! I’m suffering with some serious sinus problems today, I’m hoping it’s just allergy related and goes away soon. Ugh, the only downside to Spring!
Anyways, I am very very very excited to share my latest project with you today! It was a super simple and quick project, but it was such a transformation.
When we moved into the house we had a tile coffee table that was very Tuscan and totally didn’t go with the vision that I had for the room. I wanted a white one, but we didn’t have much room in the budget for a new table so we ended up getting the Lack from IKEA.
The hubby was NOT happy about it haha. He pouted when I showed it to him in the store, and when we went to find it in the self pickup and he noticed that it was called lack, he didn’t waste any time expressing how well he thought that name fit.
I didn’t think it was that bad, especially for $20!
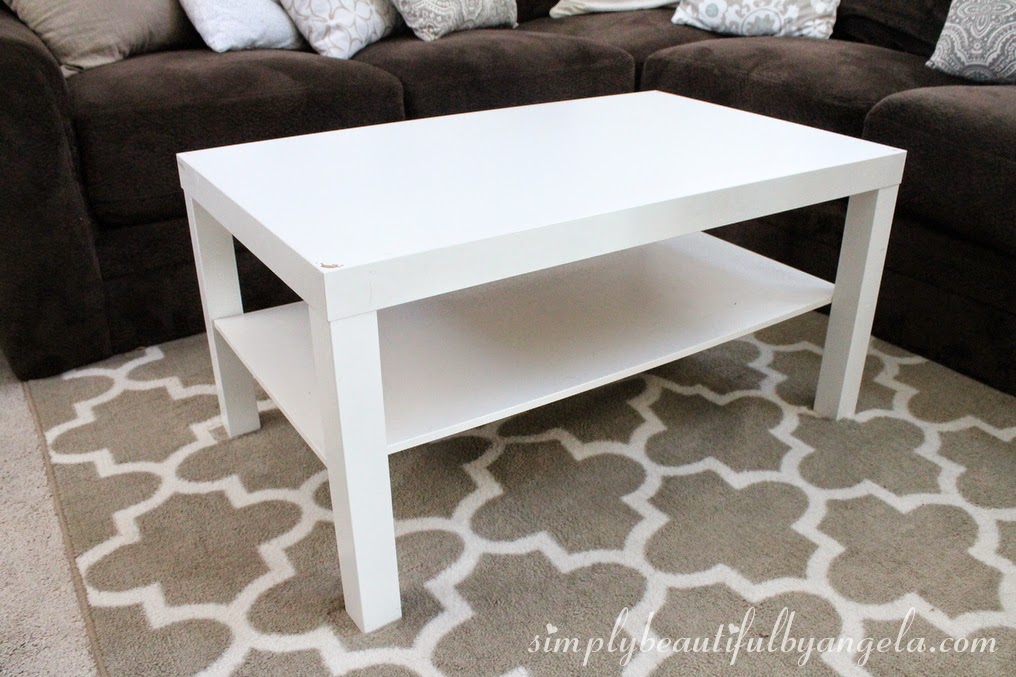
But it definitely needed some TLC. So I decided to plank it!
Supplies Used: (Affiliate links may be provided for convenience. For more info, see my full disclosure here.)
- 4 1x3s @ 6ft
- 2 1x3s @ 8ft
- Miter Box & Saw
- Liquid Nails
- Wood Filler
- Medium Grit Sandpaper
- Rust-Oleum Wood Stain in Driftwood and Weathered Gray
- Minwaxc Polycrylic


I had everything except the wood so my total was $15.
I had everything except the wood so my total was $15.
The width of the table is 21.75″ so since a 1×3 actually measures 2.5″ I used 9 planks. This leaves a total of 3/4″ overhang, or 3/8″ on each side (I’ll get to that later).
Starting with my 1x3s @ 6ft, I cut planks at 35.5″ (the length of the table) which gave me 8 planks, then cut one more out of one of the 8ft 1x3s.
I used my trusty chalk method that I mentioned before in my $12 cottage table post to get my cuts to match as closely as possible.


Next, I applied liquid nails to the back of my first plank.

Now, in order to get an even overhang on both sides, I measured out 3/8″ on the plank and attached it at that mark. Make sure it’s straight!

After all had been glued down, I set a few heavy items on top to apply pressure.
Once dried, I cut the remaining 1x3s to frame the planks, mitering the edges at 45 degrees.
As you can see, my cuts ended up being far from perfect.

And I mean FAR from perfect haha. We even had to cut out smaller pieces to splice in two of the corners.


But not to fear–wood filler came to the resuce! This is my new favorite type of wood filler by the way. You just use a putty knife and spread it on like butter. No more struggling with the tube. It’s pure awesomeness. 🙂

Once it was all nice and sanded down, it was time to stain. I started with two coats of white wash (watered down paint). I’m not going to lie, I almost left it like this because I liked it so much!

But I knew that we needed a little more color in the room. I first applied one coat of Rustoleum Weathered Gray, then followed with two coats of Rustoleum Driftwood.
I had a really hard time deciding between these two, but I think by combining them I came out with the perfect shade that I was looking for.

The left side shows what i tlooked like after one coat of Weathered Gray, and the right side shows what it looked like after the first coat of Drifwood.

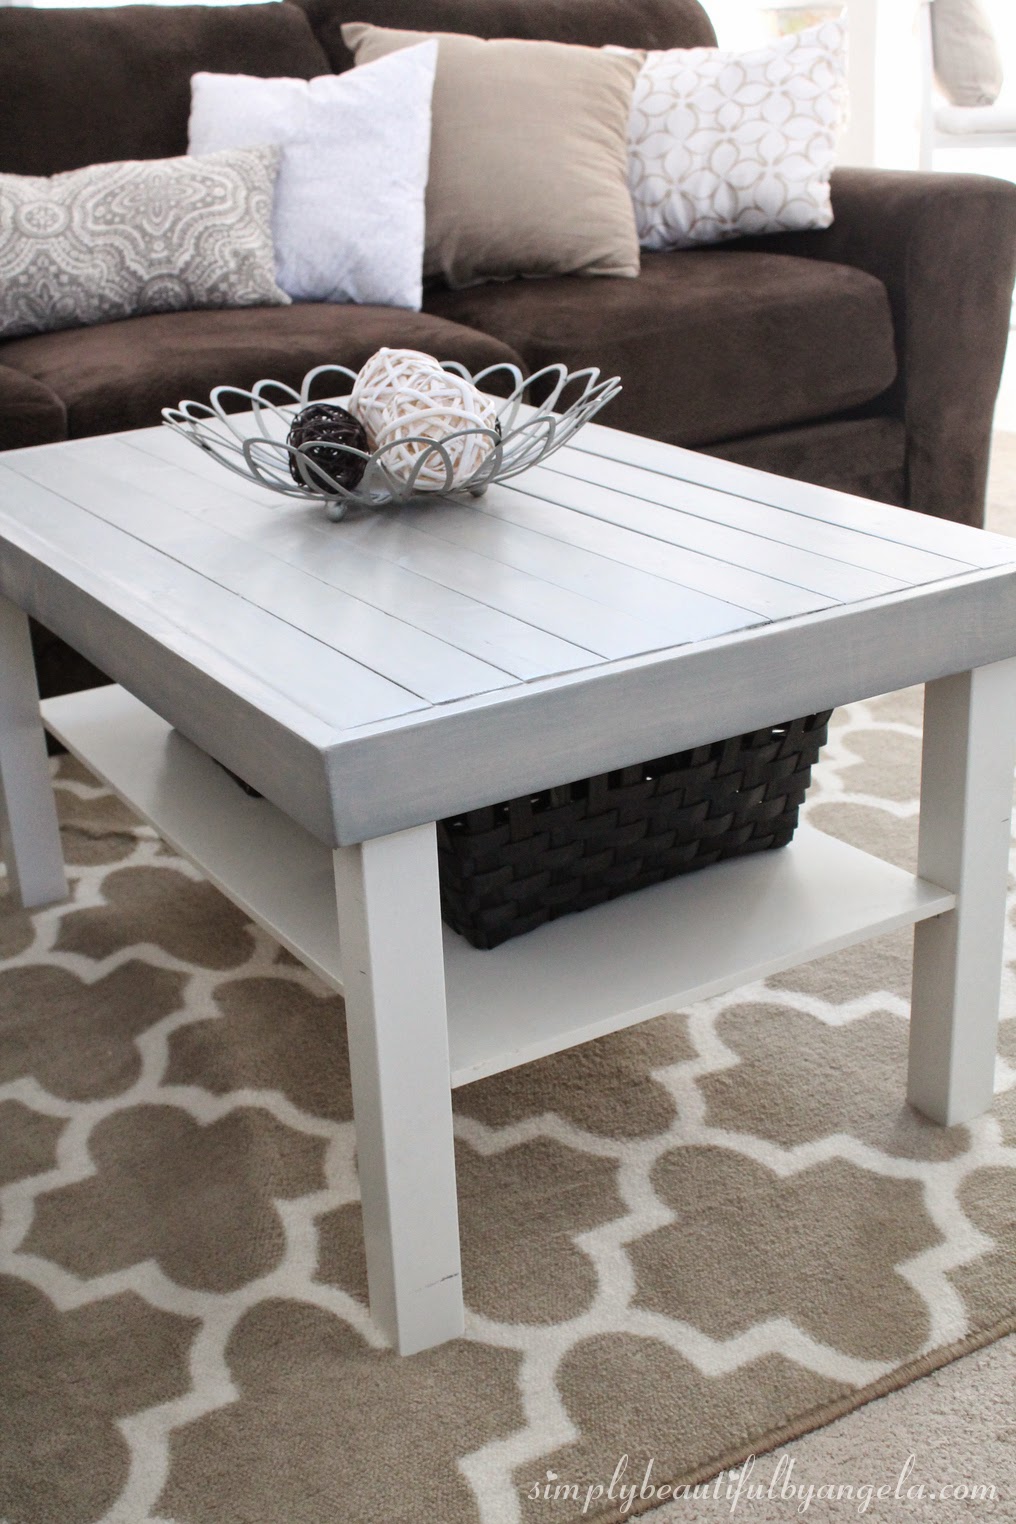
After two coats of polycrylic, here is our fancy new table!

Warning!! I am so in love with this table that I ended up taking waaaay too many pictures to decide on just a few to share, so this post is about to get picture heavy.




Here is what it looked like in the living room before. Not bad, but kind of blah.

And here it is now! It warms up the space so much, don’t you think?


Of course I have to share a few pics of little man since he jumped into a few of the shots haha. This first one sort of shows off his new “scowl face” that he’s perfected.


I’ll leave you with a few more pictures!


Yes, I am fully aware that I am way too excited about a coffee table! But it was a cheap and simple way to update the living room, and I am absolutely in LOVE with it. 🙂
***To see the updated version click here.***
Linking up to these awesome parties!