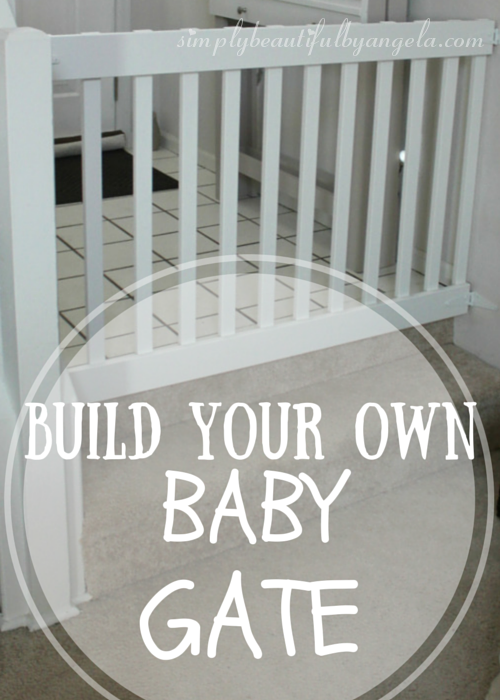
Our temporary solution was to slide the coffee table in front of the stairs during my little bean’s waking hours, but this was neither convenient nor safe since he started attempting to climb over it.
These are the materials I used for my 48″ wide gate. I spent about $30 total, but I could have cut that in half if I went with furring strips as opposed to primed MDF. I totally splurged though!
3 8ft 1×2 primed MDF
1 8ft 1×4 primed MDF
2 gate hinges
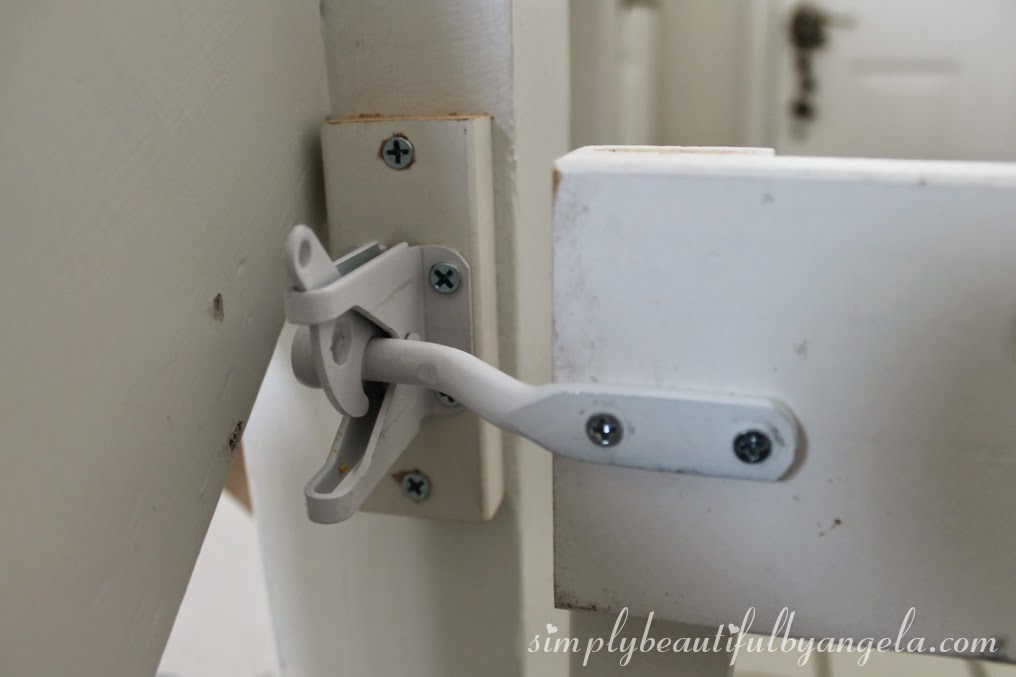
1 gate latch
Ok. So here is the short and sweet version.
I started by cutting the 1×4 in half so that I had two 48″ pieces.
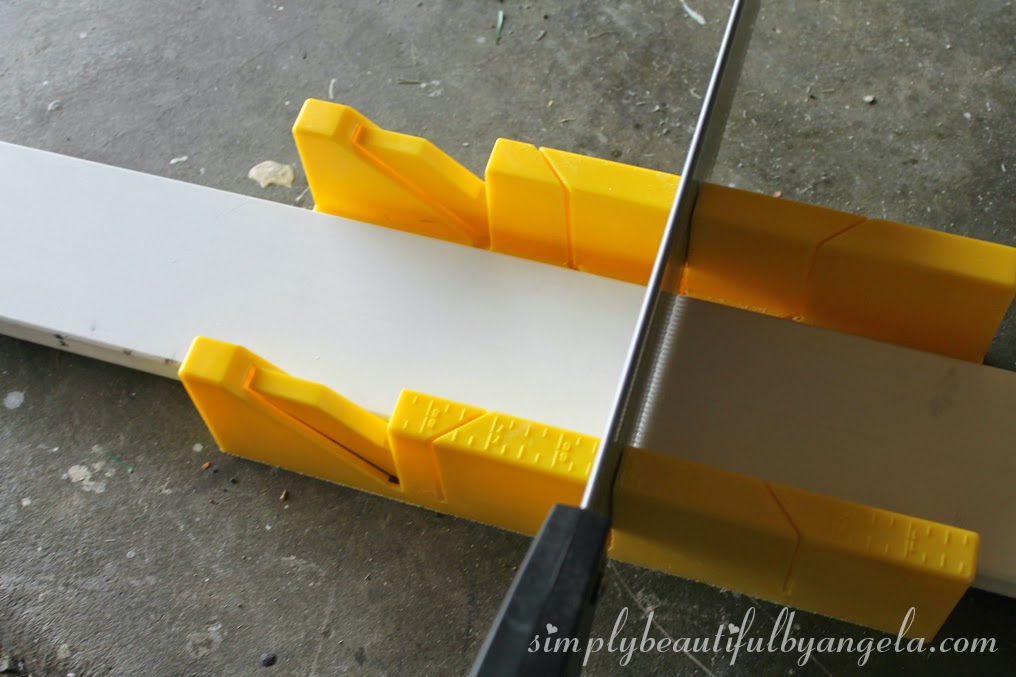
I then cut each 1×2 at 32″ so that I could get three bars from each piece. I laid one on each end of the 1x4s to create a square like so.
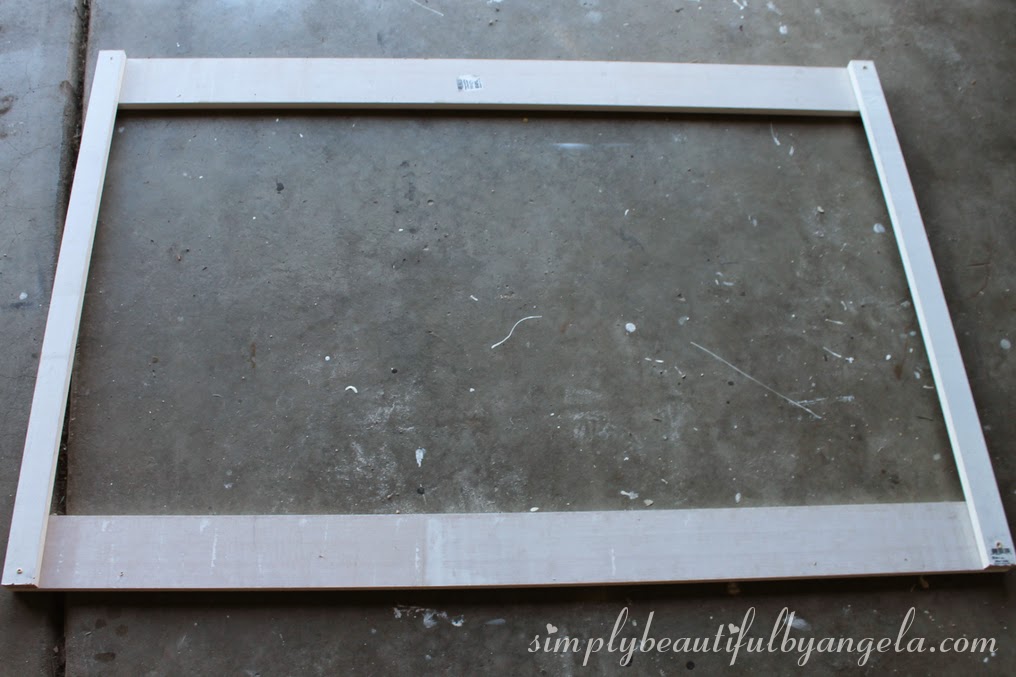
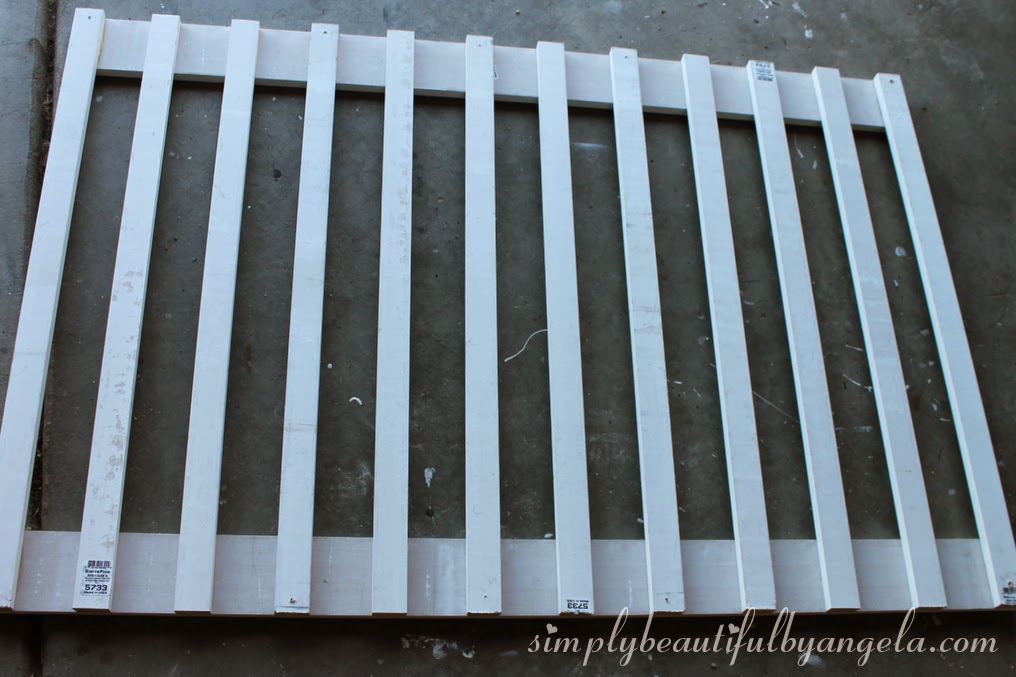
Once they were all set, I took a piece of chalk and ran it along one side of each so that I would be able to place them back in the right spots.
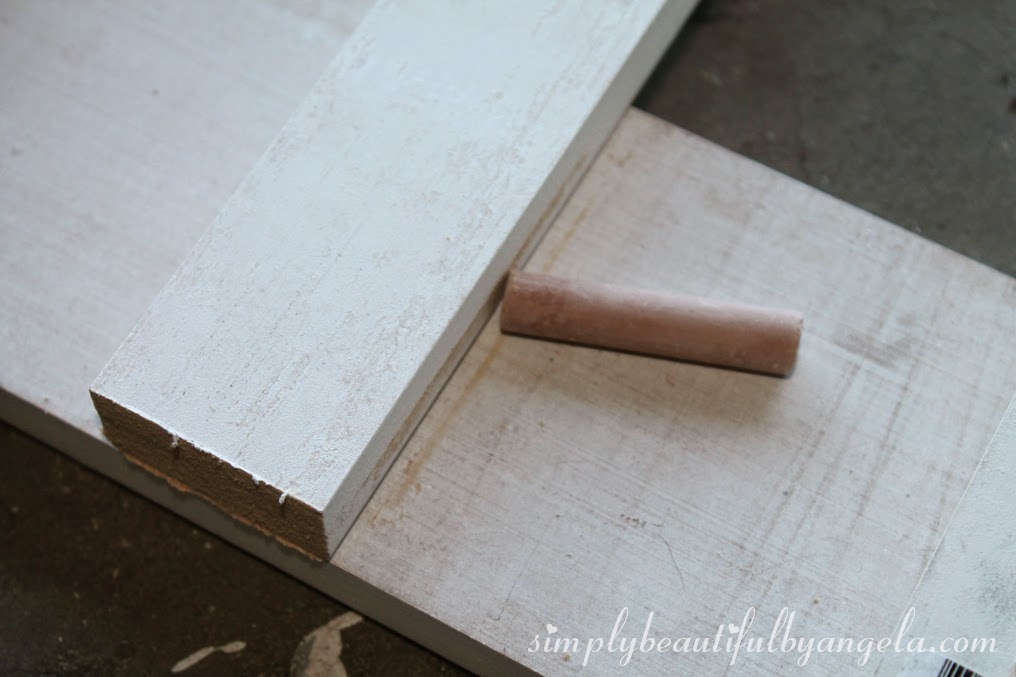
I applied a small amount of liquid nails to the back of each 1×2 and placed them back down according to the chalk lines.
In this picture I tried applying the glue to the 1×4, but I found that it was a lot less messy to put it on the 1x2s instead.
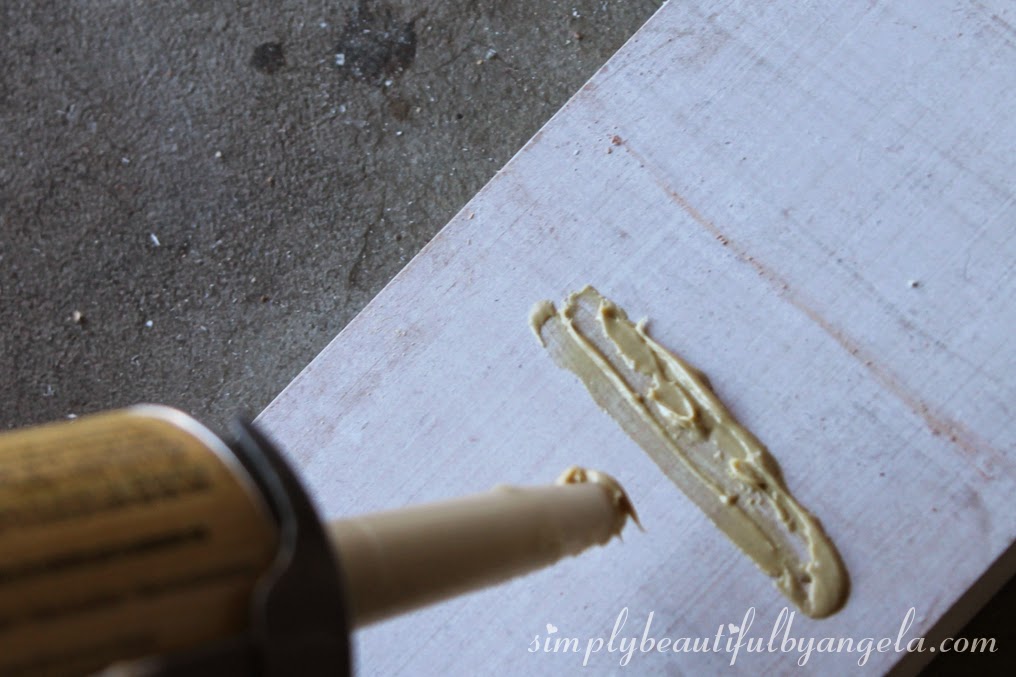
I let it sit overnight and bam–our gate was ready to go!
Remember how I said that was the short and sweet version? What should have only took about 15 minutes to do, actually took me an hour or so.
My first problem is that I started with nails, which completely weren’t holding. I also started by laying my first 1X2 at one end, the next one 3 inches down, and another one 3 inches down, and so on…
This caused two problems–first, I probably wasn’t going to end up with an evenly spaced slat by the time I got to the end and I was also ending up with a very crooked rectangle.
It’s a good thing the nails didn’t really hold because I tore them out and that’s when I started with a 1×2 on each end to make a perfect rectangle.
I tried to use screws instead of the nails, but they weren’t getting my pieces to sit perfectly flush together.
That’s when I decided, liquid nails all the way!
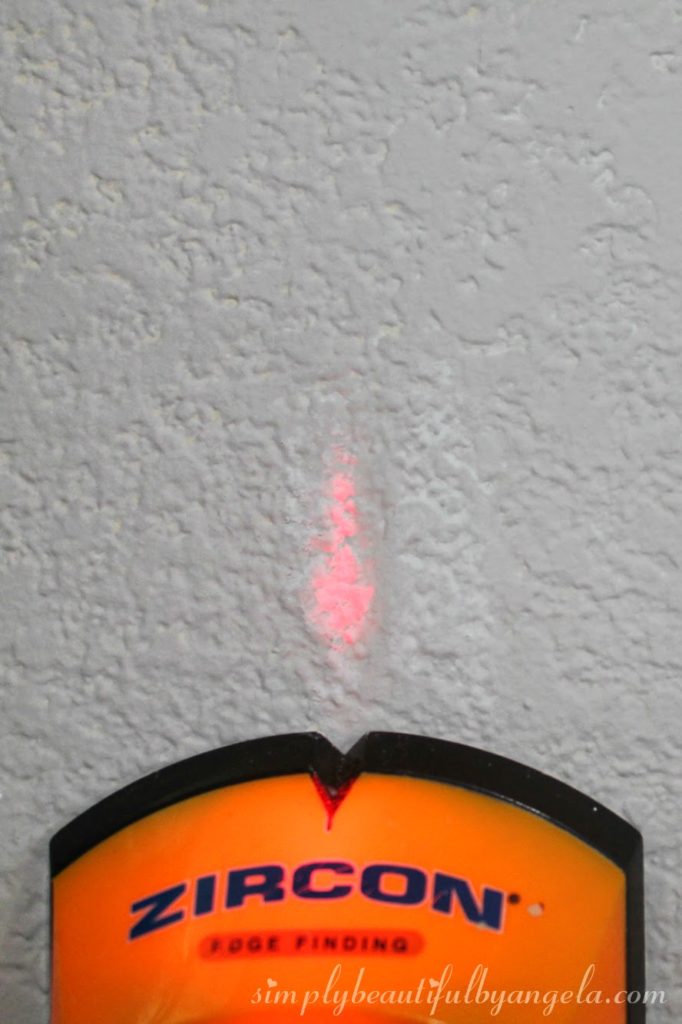
Anyways…let’s get back on track! We used a stud finder and marked where the stud was.
The hubby then marked and drilled the gate hinges first to the gate, then to the wall.
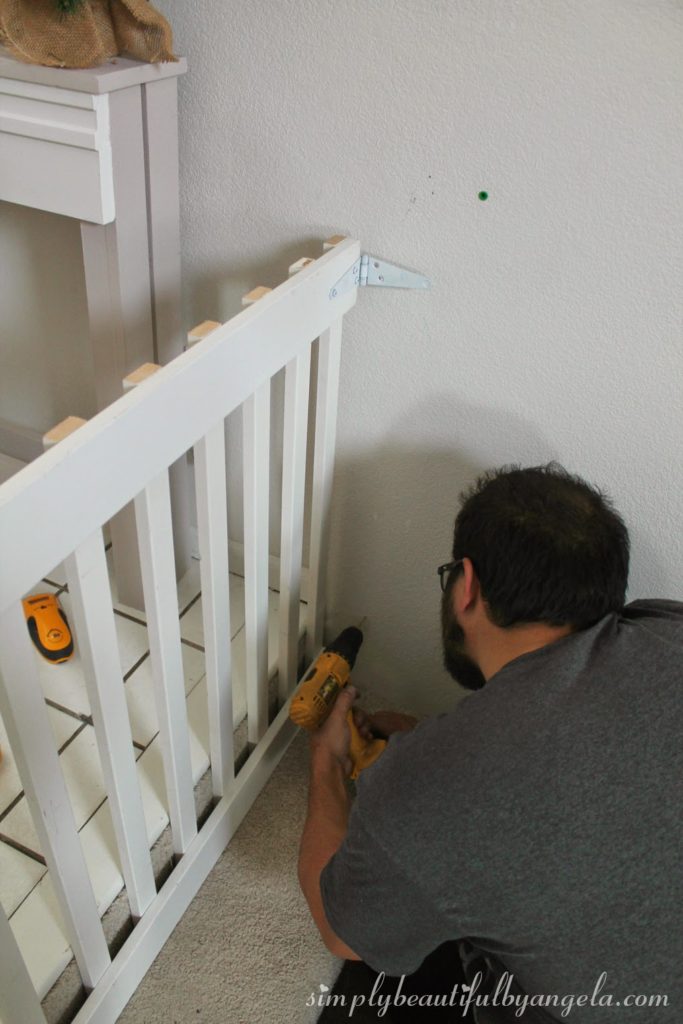
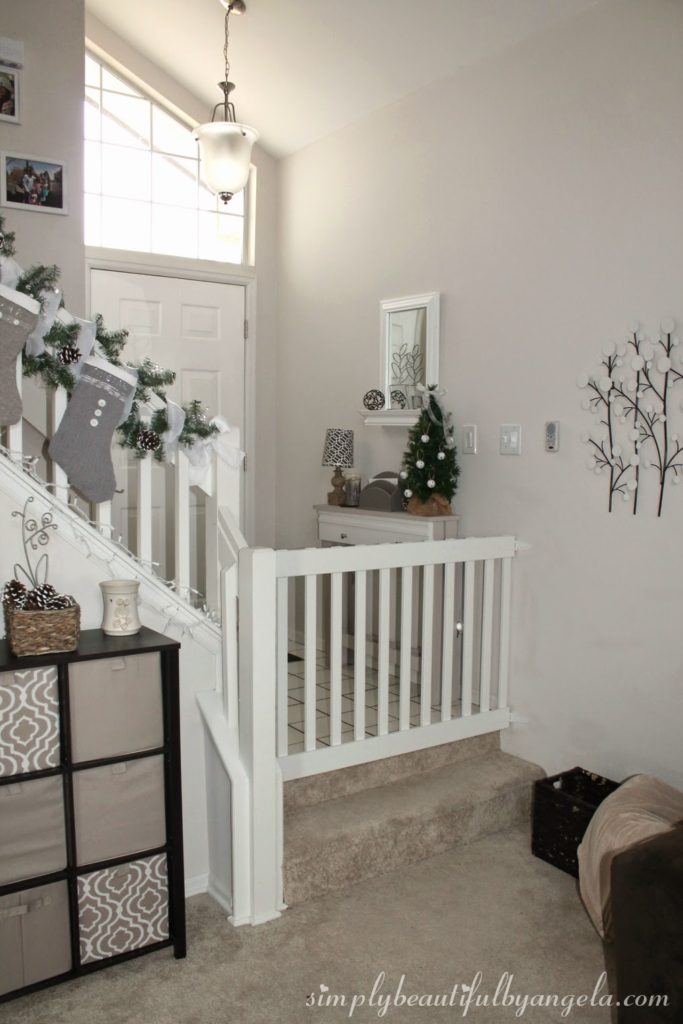
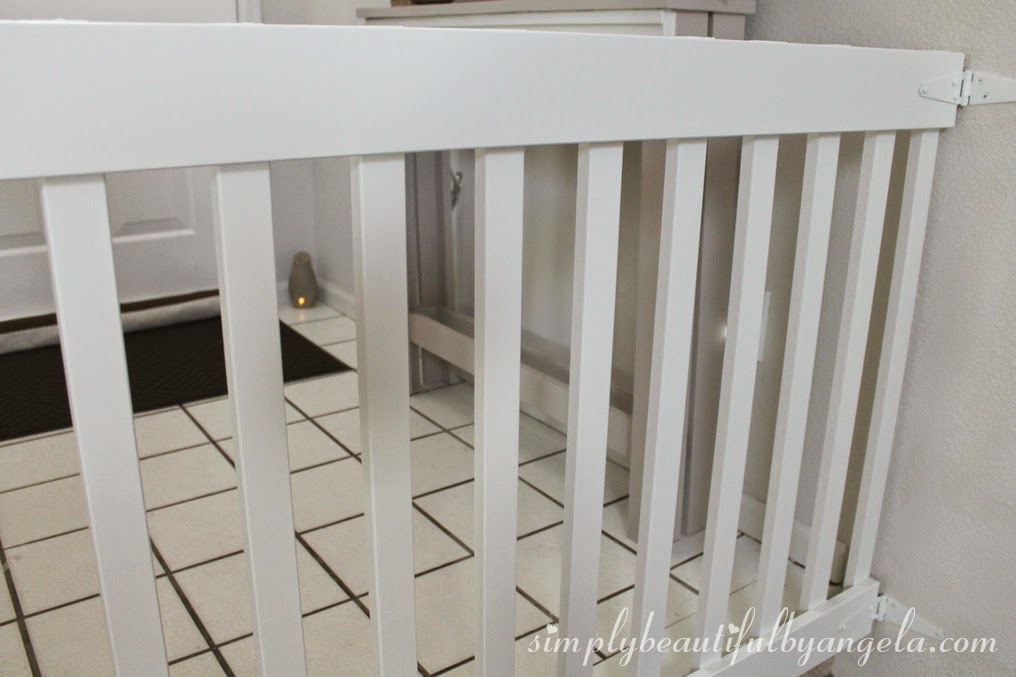
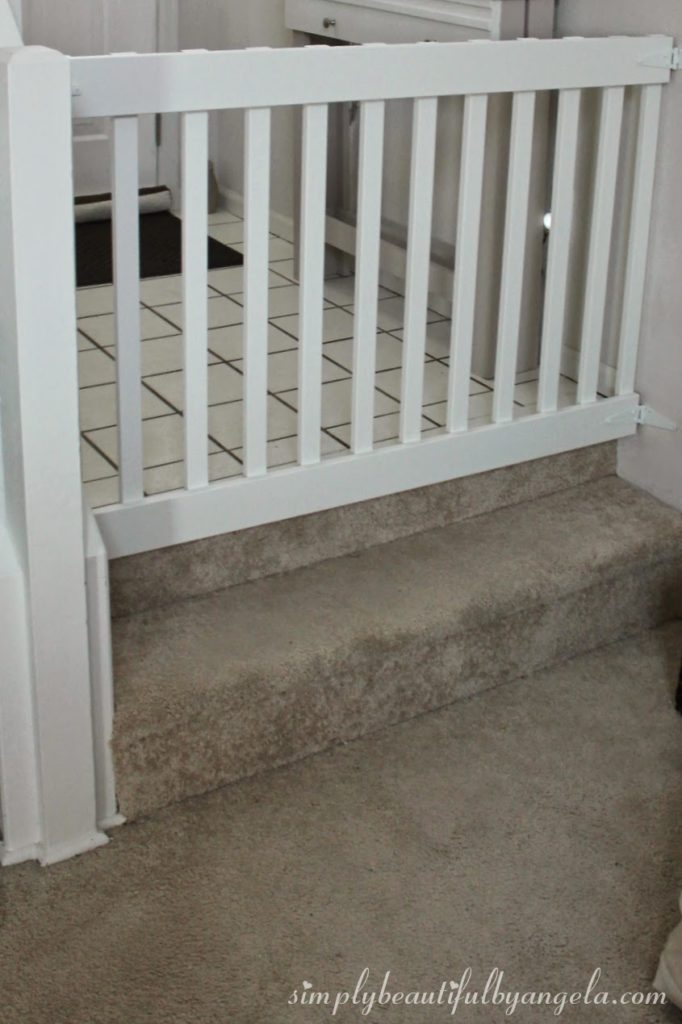
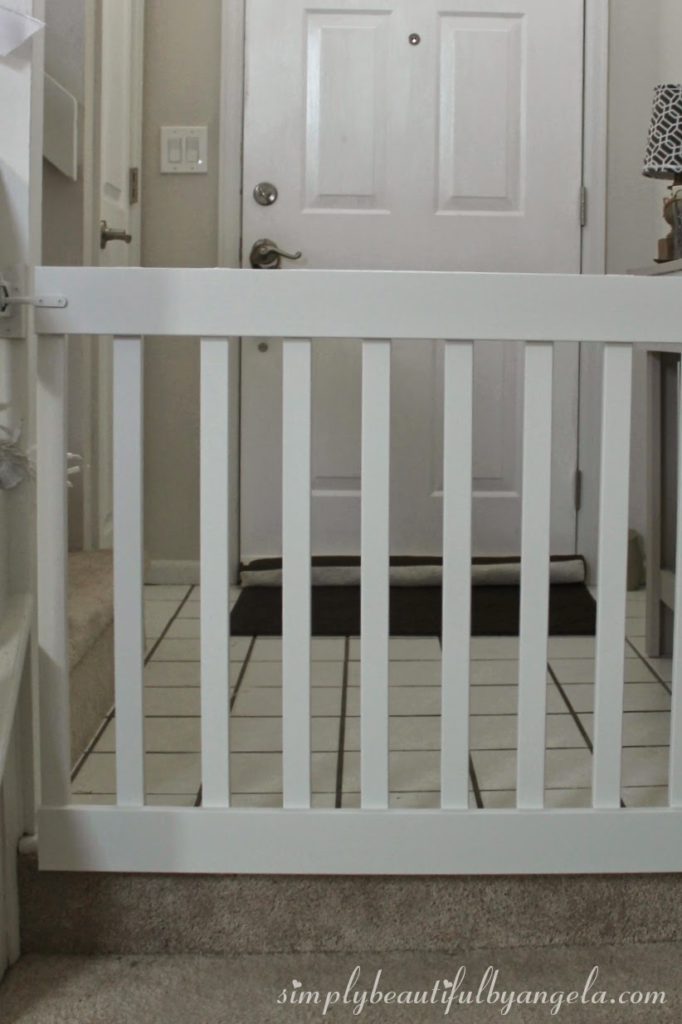
After two coats of paint we had a beautiful and safe gate up!
Here’s what it looks like from the back.
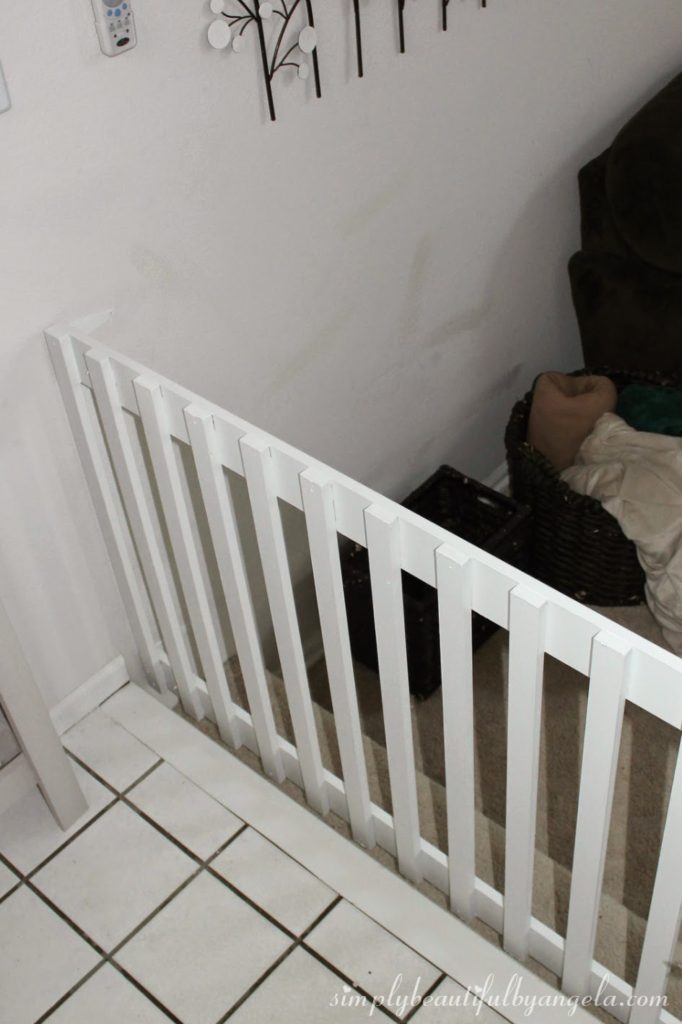
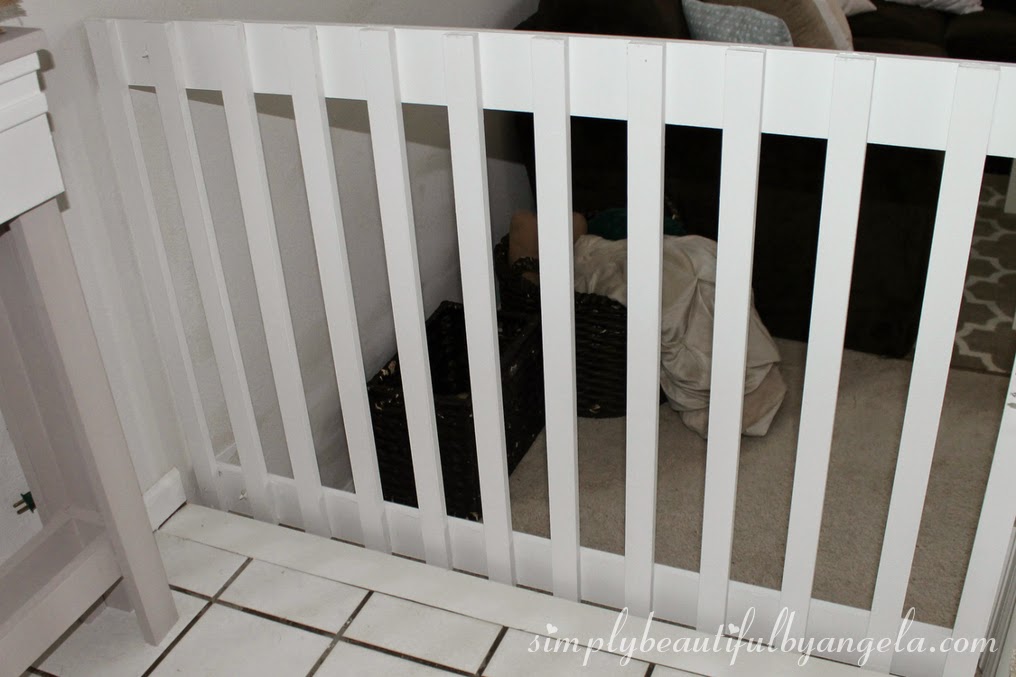
I’m really glad I splurged on the MDF, I love how crisp and clean it looks. It also really blends with our staircase nicely.
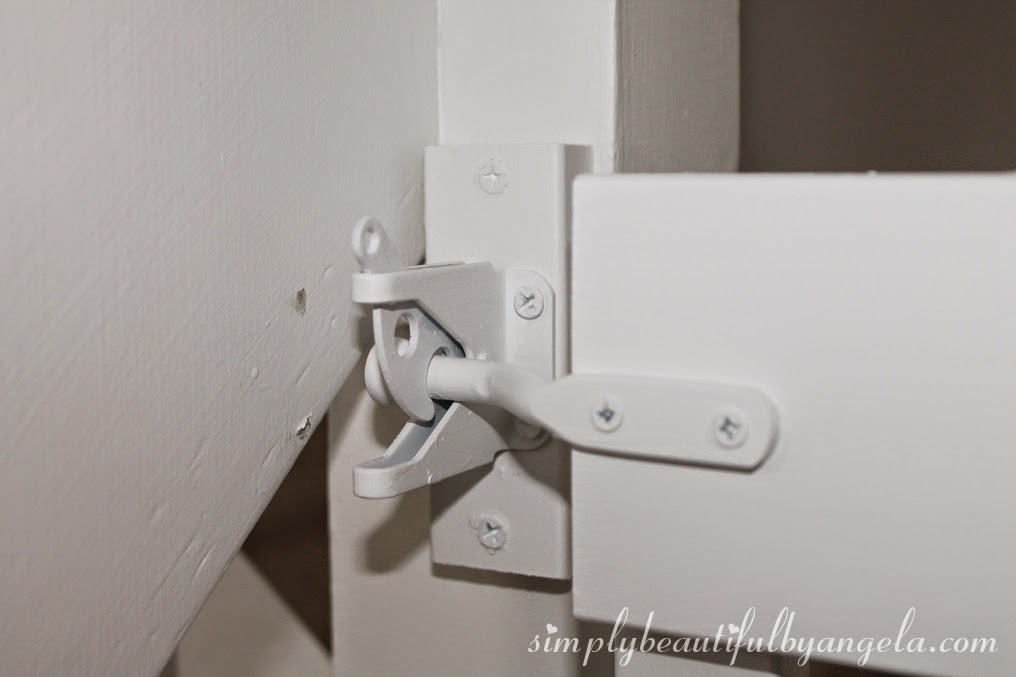
So when I was painting the gate I went over these too. Since they were already spray painted white, it only took two quick coats to make them blend nicely.
I’m so happy that we now have a much more convenient and aesthetically pleasing solution to keep the little bean from climbing the stairs.
Linking up to these awesome parties!
This post was featured on the Before and After Party and Winter Blues Wednesday! Click on the images below to take you to the feature posts.
|