Happy Halloween everyone! We have spent this week doing our favorite traditions such as making cookies, carving pumpkins and driving around to check out decorations with apple cider in hand. It’s one of the boys’ favorite holidays, and they are so excited to get a big candy haul tonight!
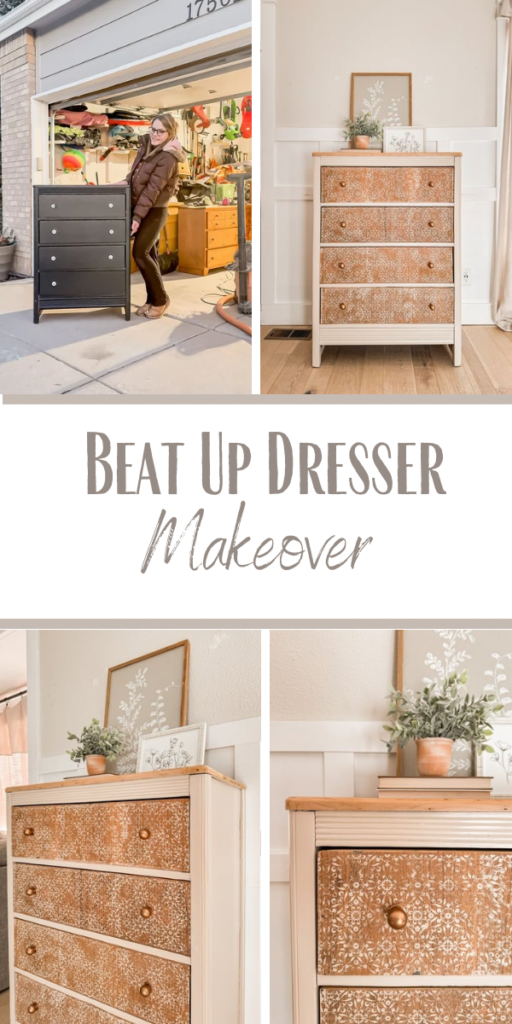
Today I’m sharing how I took on an old beat up dresser earlier this year and gave it a fresh new look.
Supplies Used:(Affiliate links may be provided for convenience. For more info, see my full disclosure here.)
When I first spotted this dresser on Marketplace it looked like it was in pretty good shape.
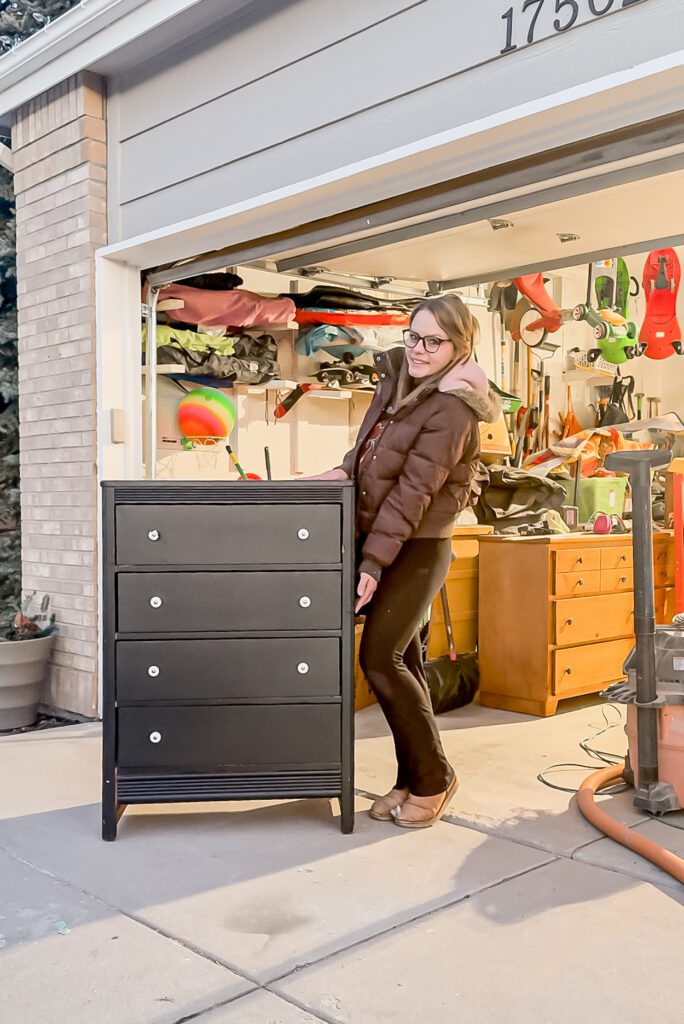
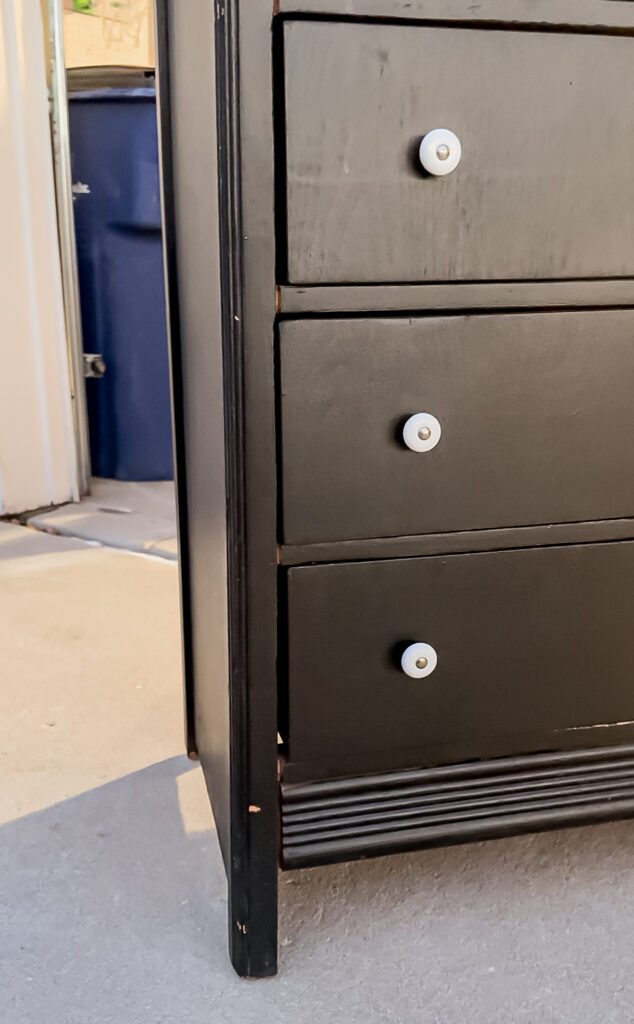
However once Anthony got it home for me and I got a closer look, I realized that it was pretty beat up.
But the drawers all still worked great, so I wasn’t going to give up on it!
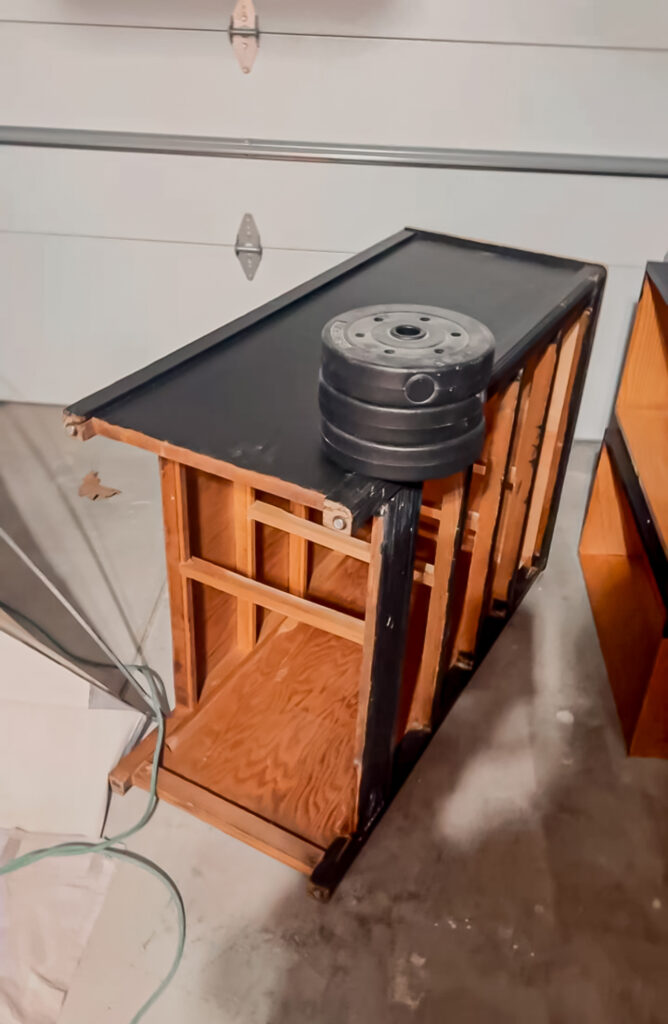
I began by doing some repair. One side had started to pull away, so I applied some wood glue and nails to put it back together, then put some weights on overnight to secure it.
They next day I started sanding.
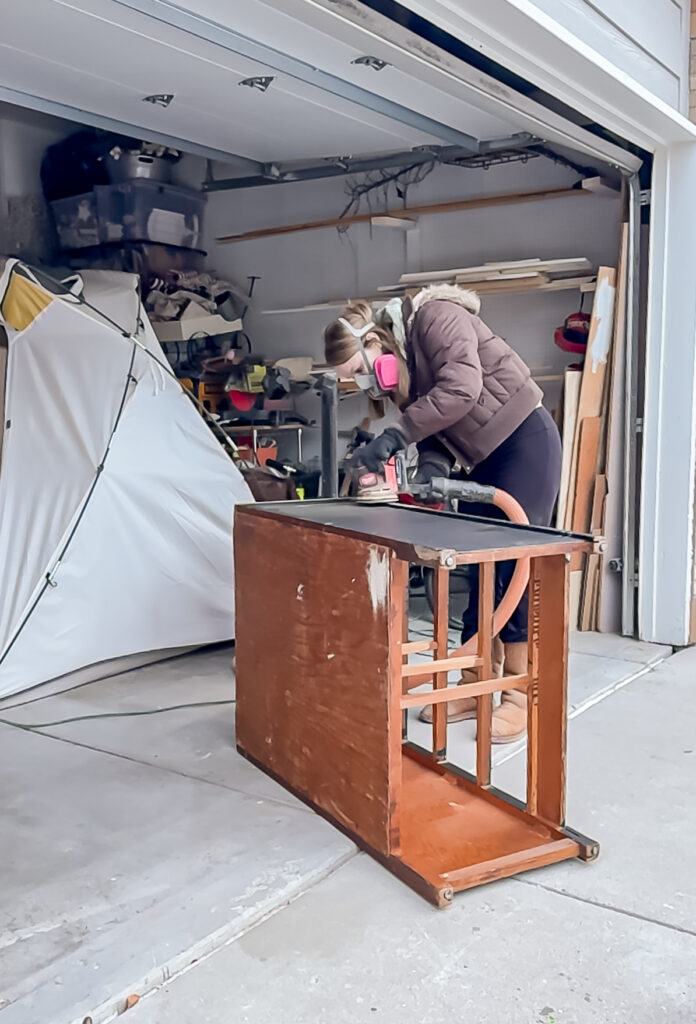
The paint was in good condition on the sides, so it just needed to be gently scuff sanded and slightly smoothed out. The paint on the legs had a lot of chipping and brush strokes, so I went ahead and sanded those all the way down. I also sanded the top all the way down since I knew that I wanted to keep it wood.
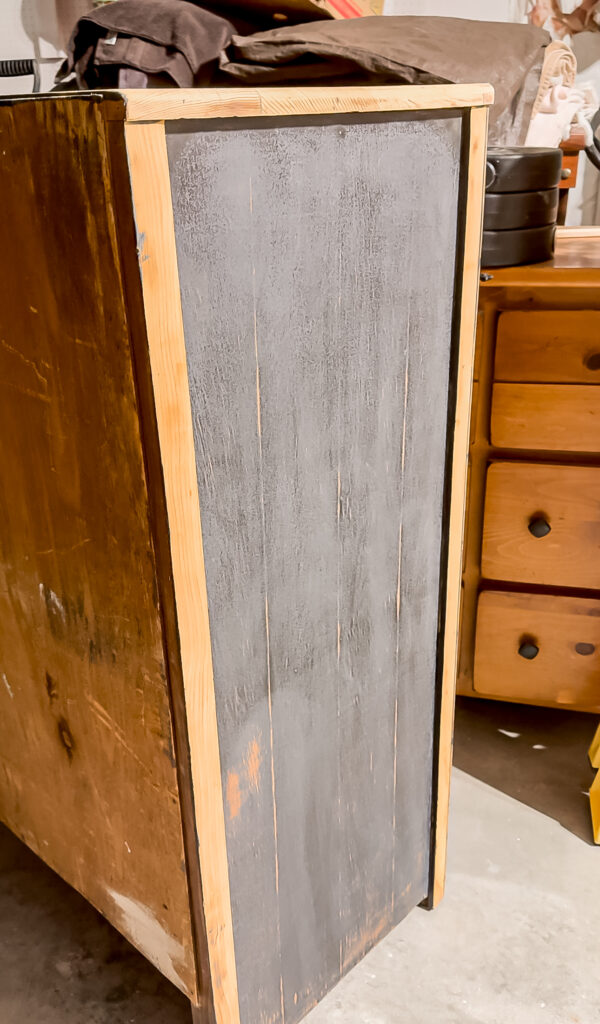
I applied some Bondo spot putty to fill all of the nicks and dings.
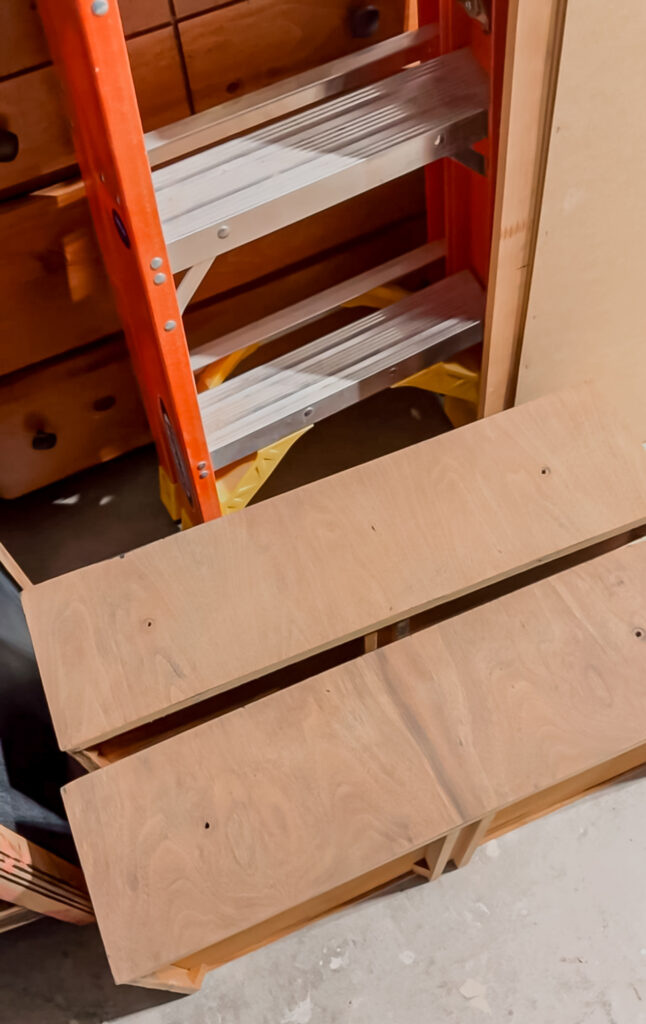
Next it was time for the drawers. I sanded them all the way down to the raw wood and applied a light brown stain.
Even though it looks pretty good in that terribly lit picture, up close there were a lot of damaged veneer areas that needed to be filled with wood filler.

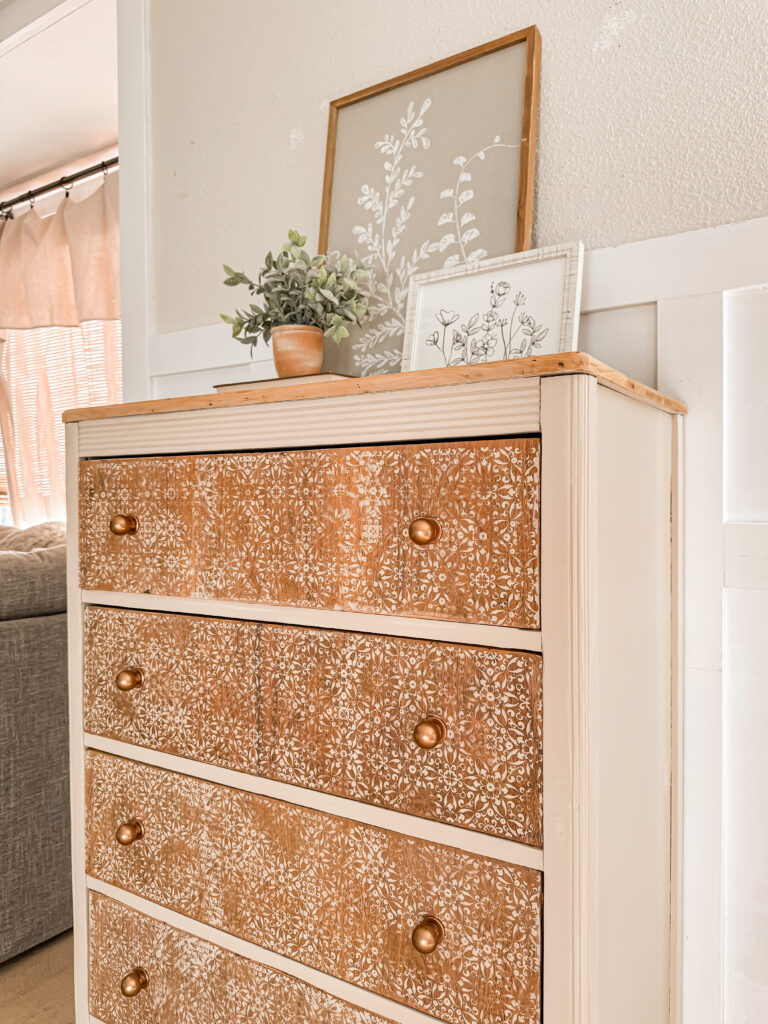
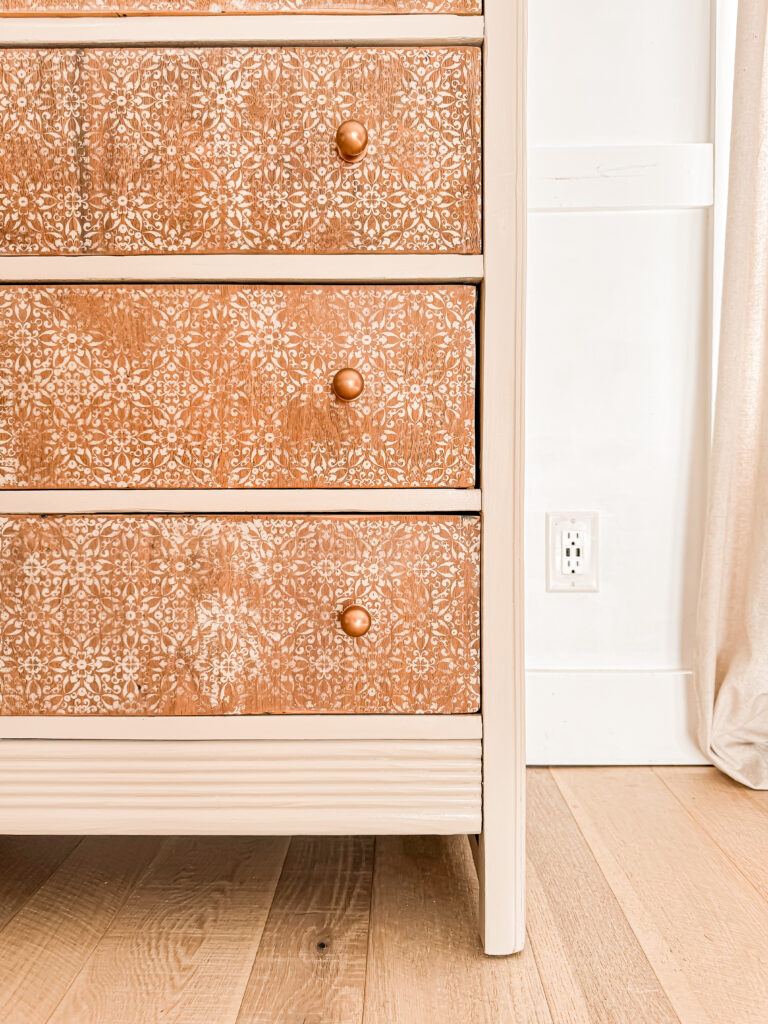
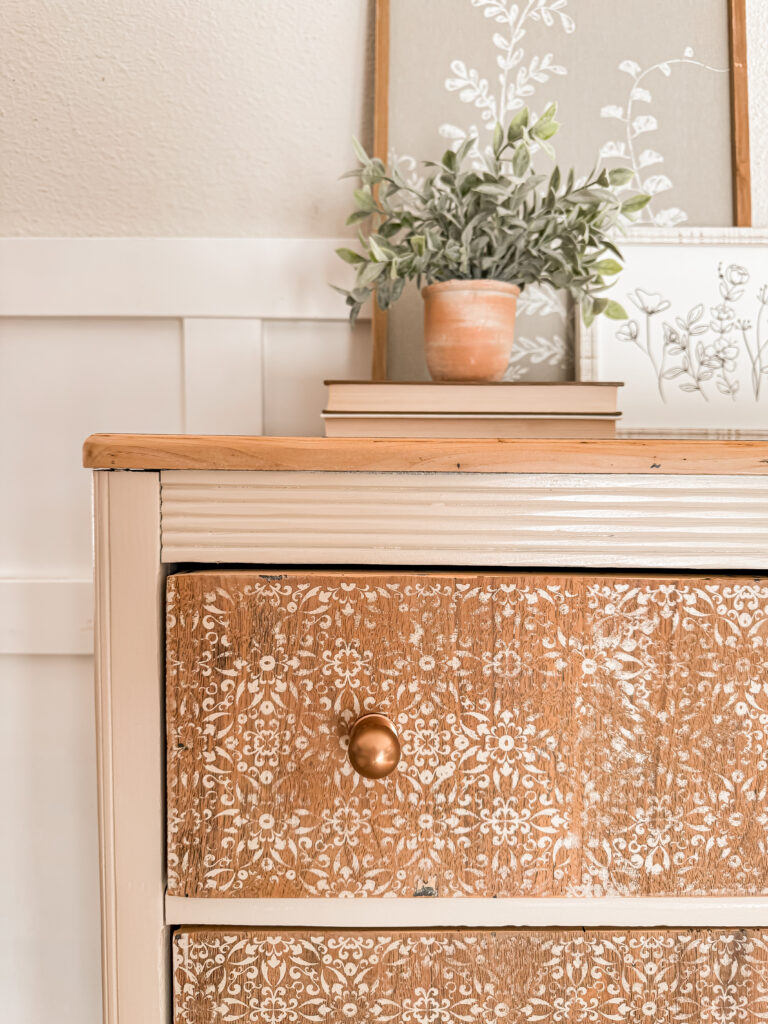
I also didn’t love how much the black paint in the wood grain stood out, so once the filler was dry and sanded, I decided to disguise it all with a pretty screen stencil from Dixie Bell.
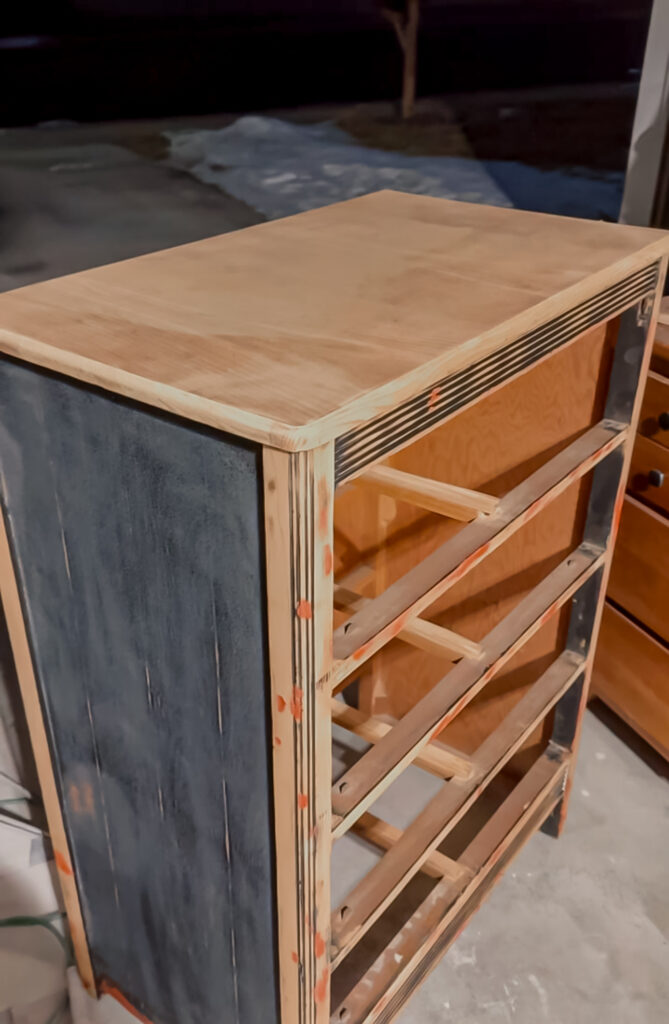
Once it was dry, I went back with sandpaper to slightly distress it. The rest of the dresser got a coat of primer followed by a couple coats of paint.

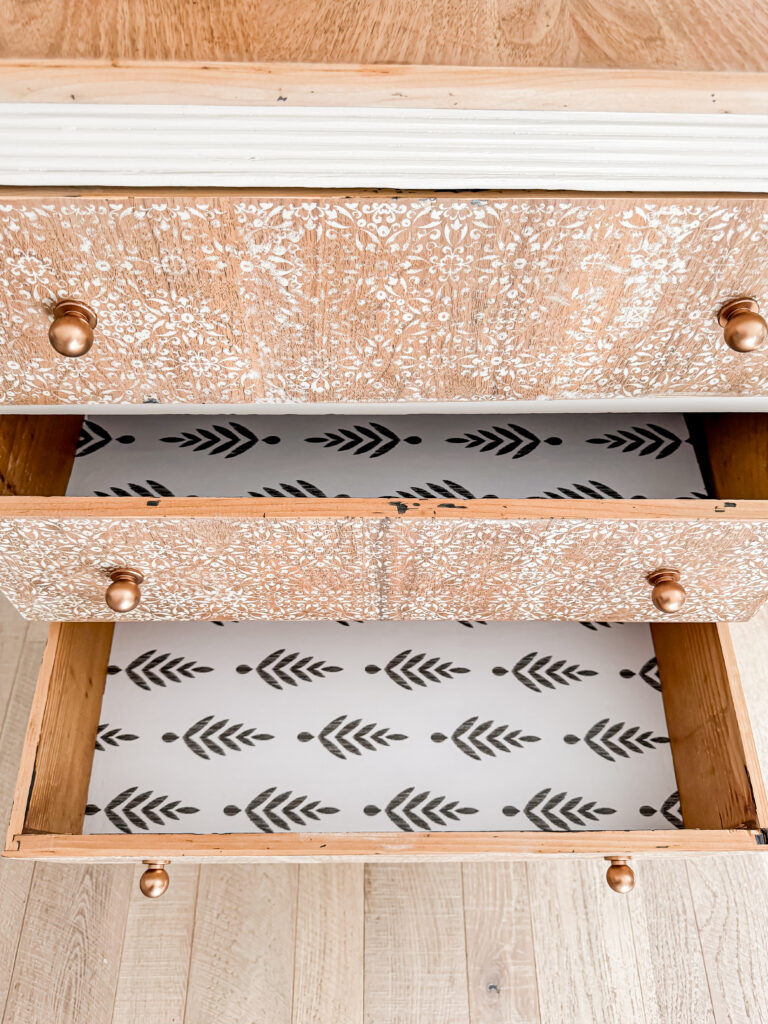
I sealed everything with two coats of poly, then added some new pretty knobs and drawer paper.
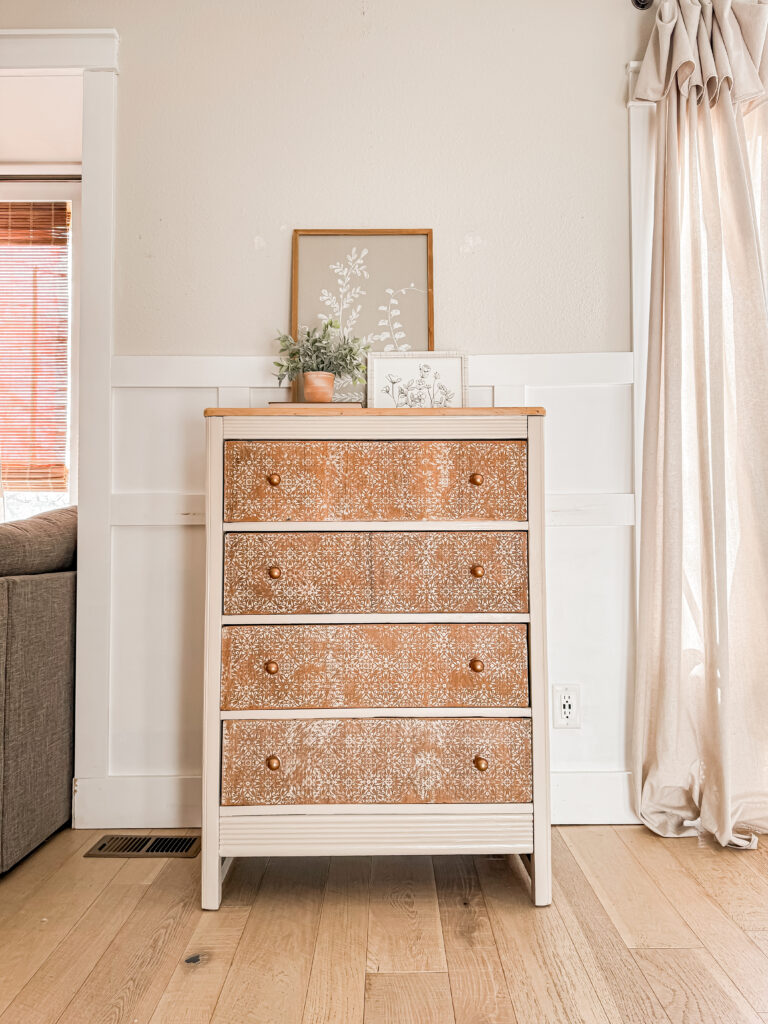
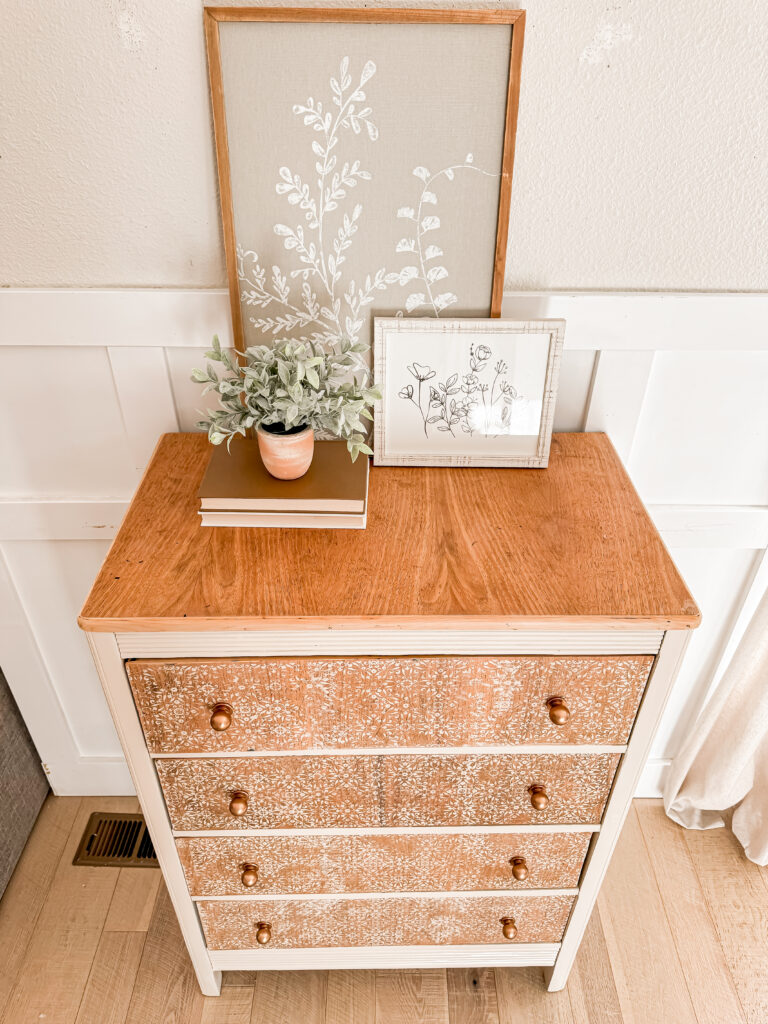
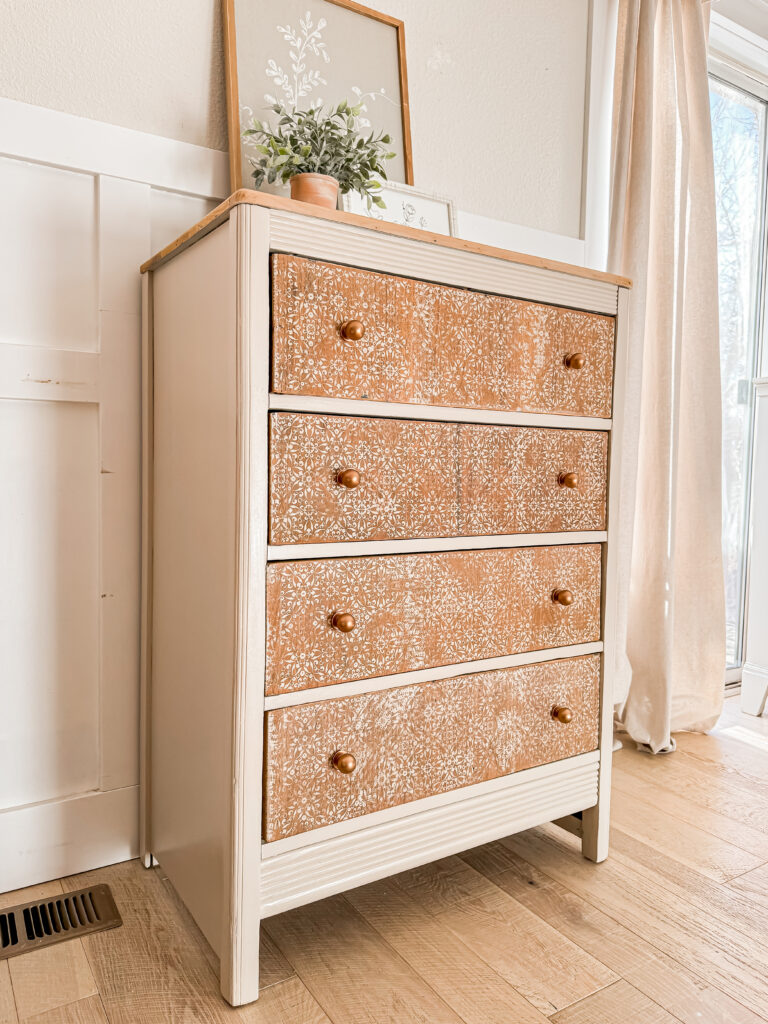
I really enjoy how the wood contrasts with the light paint.

It’s almost hard to believe that this is the same old beat up dresser!

Thanks for swinging by today, I hope you all have a happy Halloween and a wonderful weekend!
PIN FOR LATER!