***UPDATE***
Please check out my updated tutorial on how to build the base of this bench here
So remember waaaaay back when I shared our Master Bedroom Makeover with you all? It seems like that was ages ago, right? Well first the holidays happened and then Lucas’ first birthday so alas, here I am almost 3 months later to finally get back to sharing some of the tutorials for the many DIY projects that went into this room.
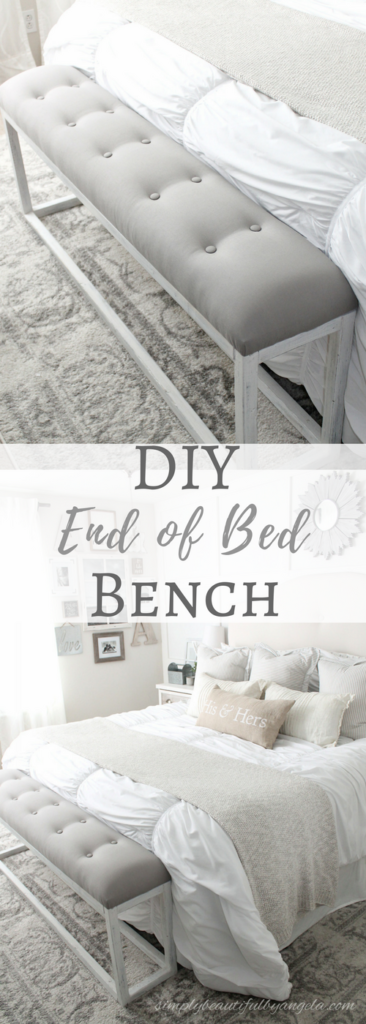
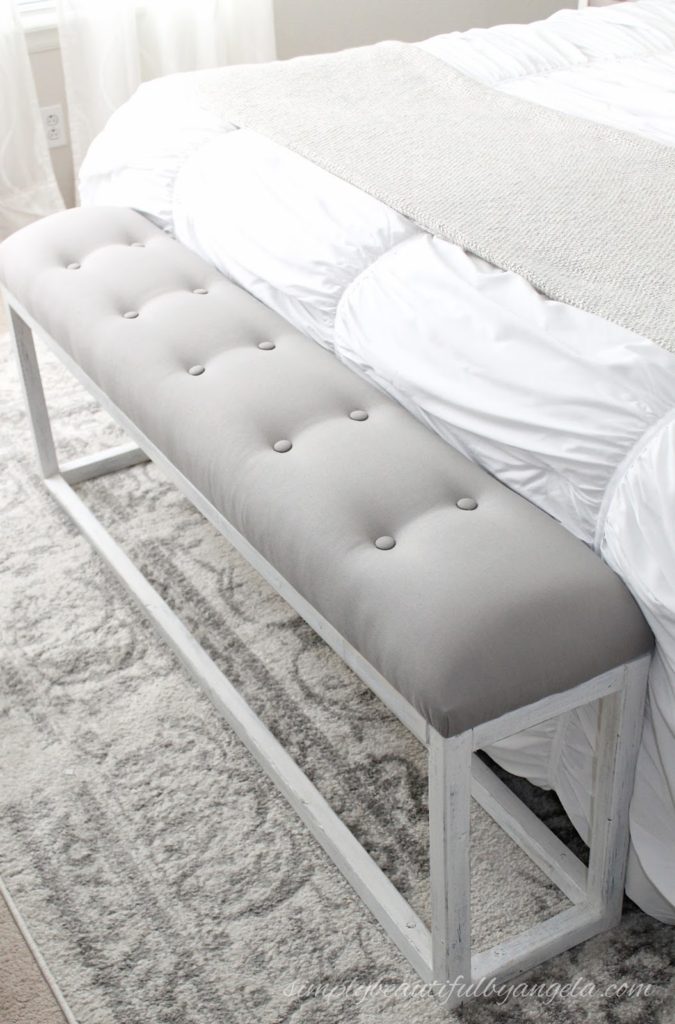
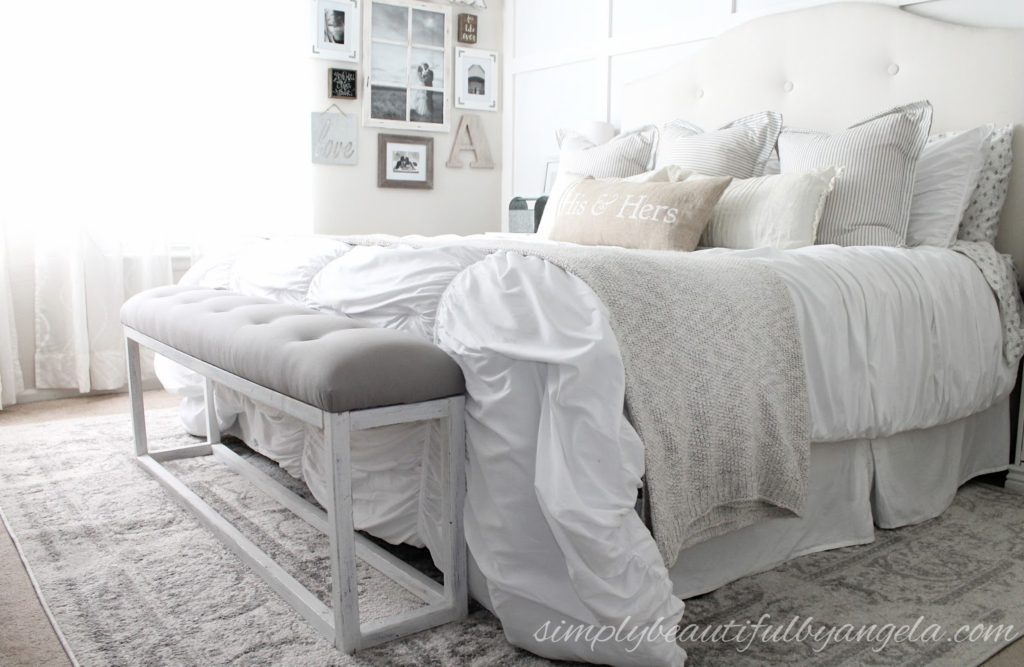
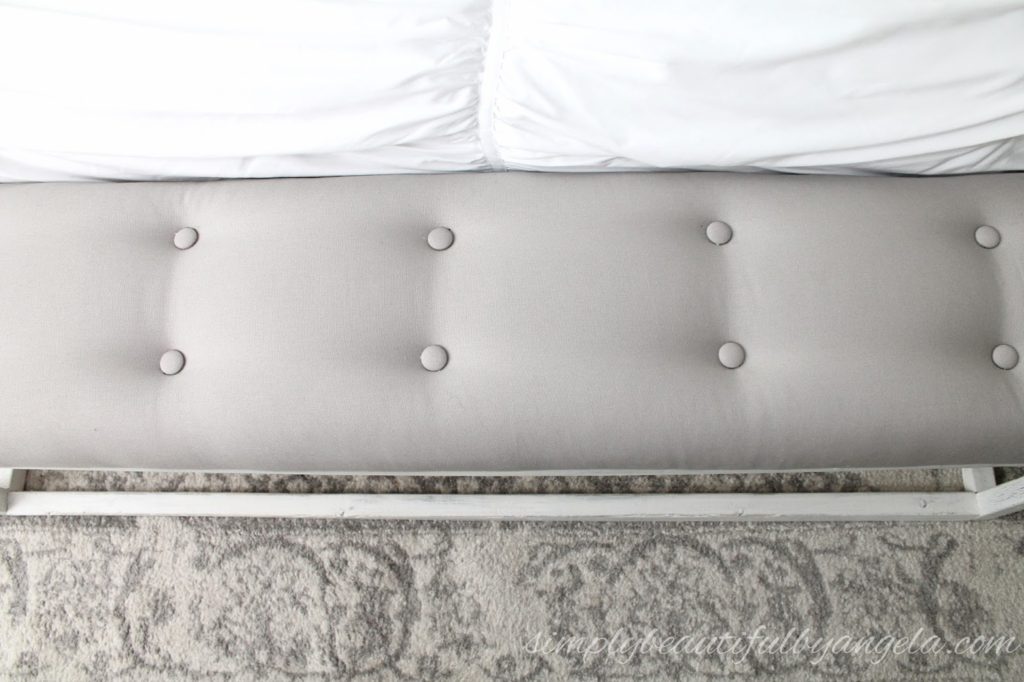
Up today is the bench at the end of the bed!
During my original design process for the One Room Challenge I hadn’t even thought about putting a bench at the end of our bed. If you may recall, that area between our giant sleigh bed and the dresser was really cramped and the dark furniture made it even worse.
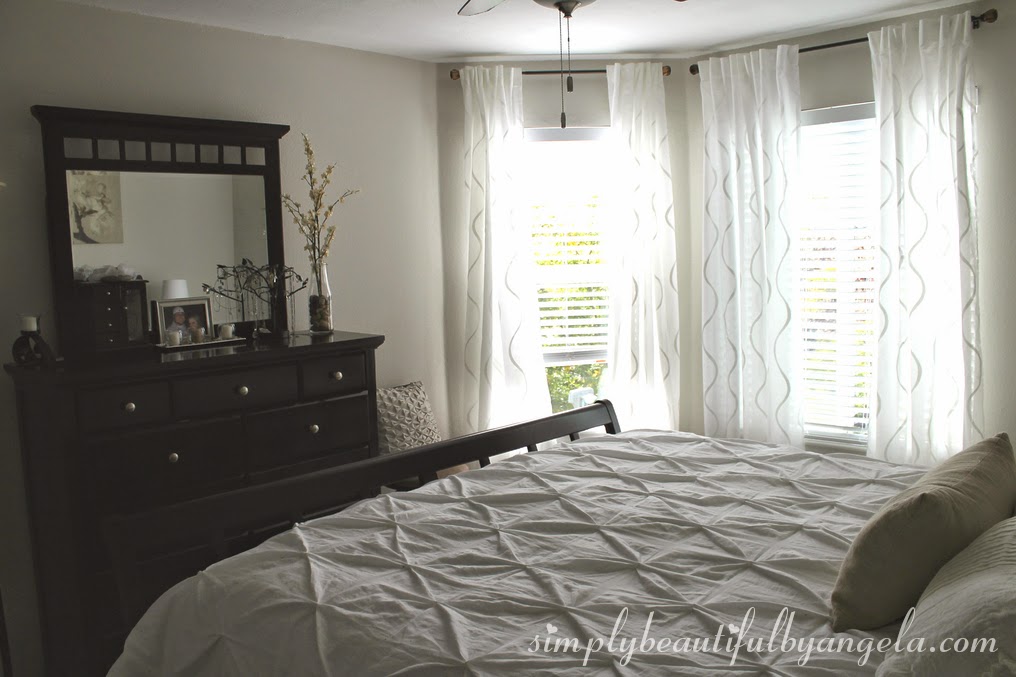
However, when we took out the huge bed frame and replaced it with our DIY Upholstered Headboard we all of the sudden had soooo much space! It’s hard to tell in this picture but it’s the best that I’ve got to show you the difference.

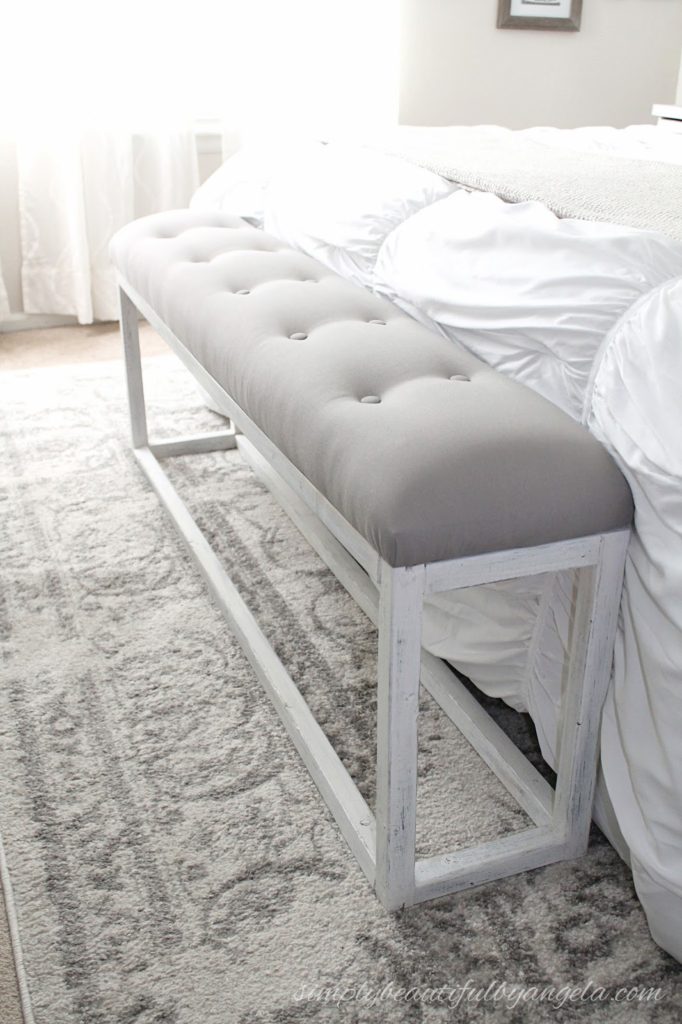
I have always loved the way that a bench looks at the end of the bed. I feel like it sort of ties the whole space together and serves as a focal point for the room.
Since I didn’t plan for a bench in the budget I didn’t have much money to work with. And after not being able to find anything long and skinny enough online, I got creative and start dreaming up plans to make one myself. And luckily it turned out to be exactly what I envisioned!
- 1- 10ft 2×6
- 5- 8ft 2×2 Furring Strips
- Wood Screws
- Wood Filler
- Orbital Sander
- Liquid Nails
- Paint
- Medium Grit Sandpaper
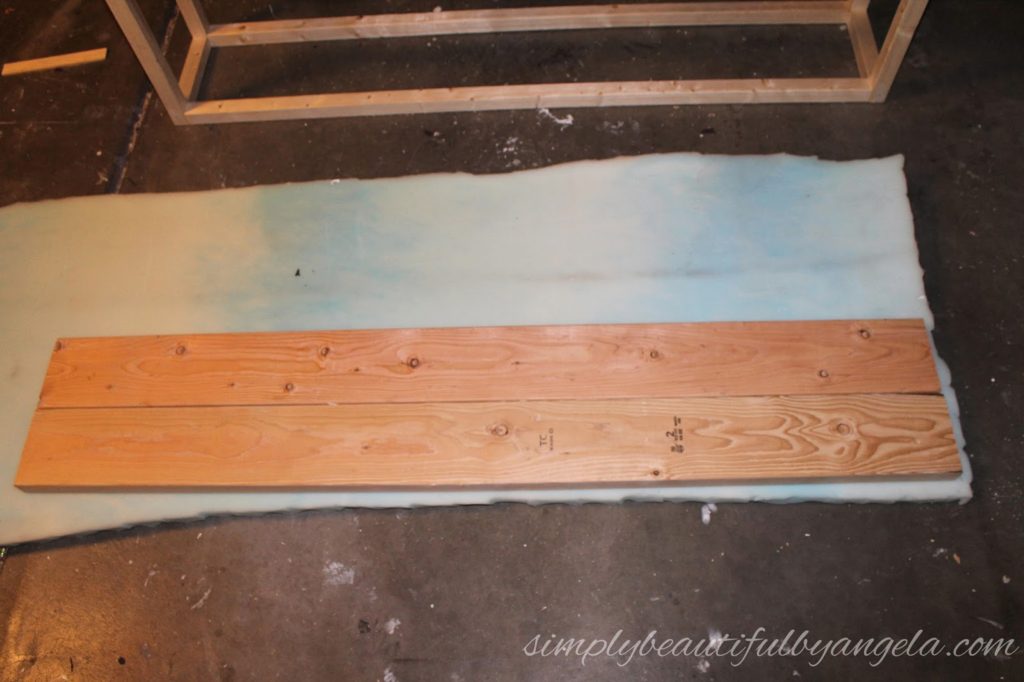
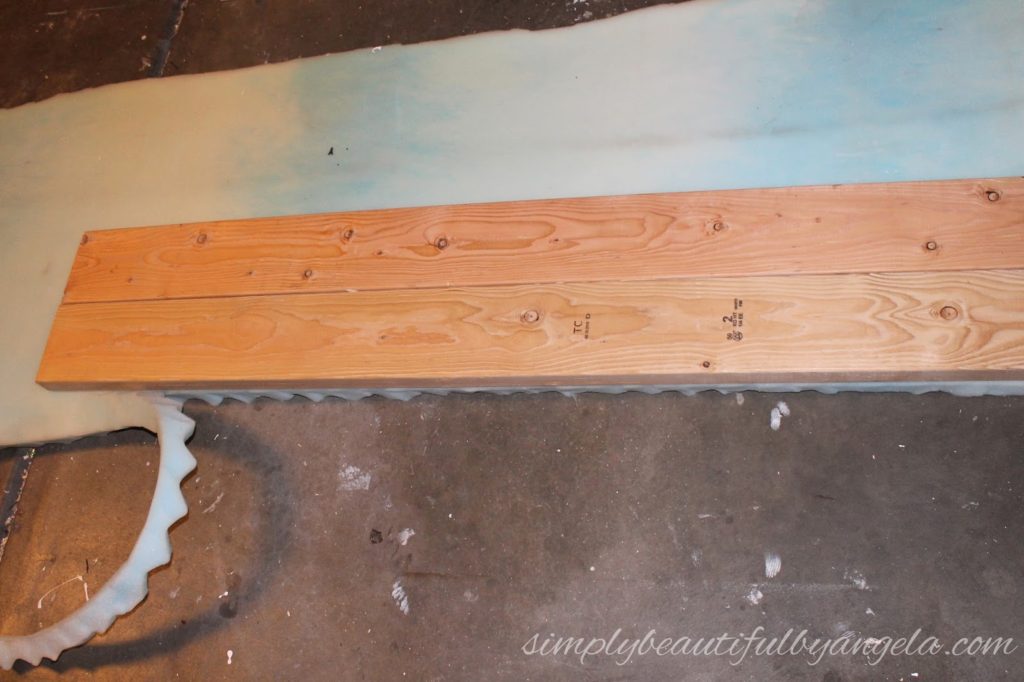
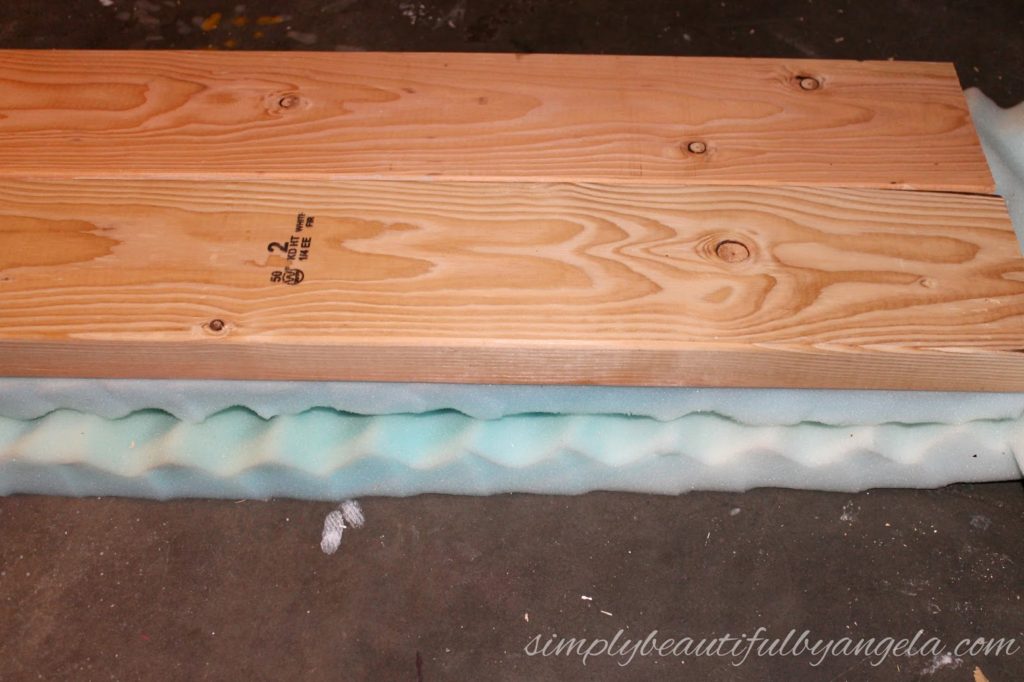
- Foam Mattress Topper
- Tacky Adhesive Spray
- Extra-Loft Batting
- Staple Gun
- Fabric
- Cover Button Kit
- Upholstery Needle
- Waxed Thread
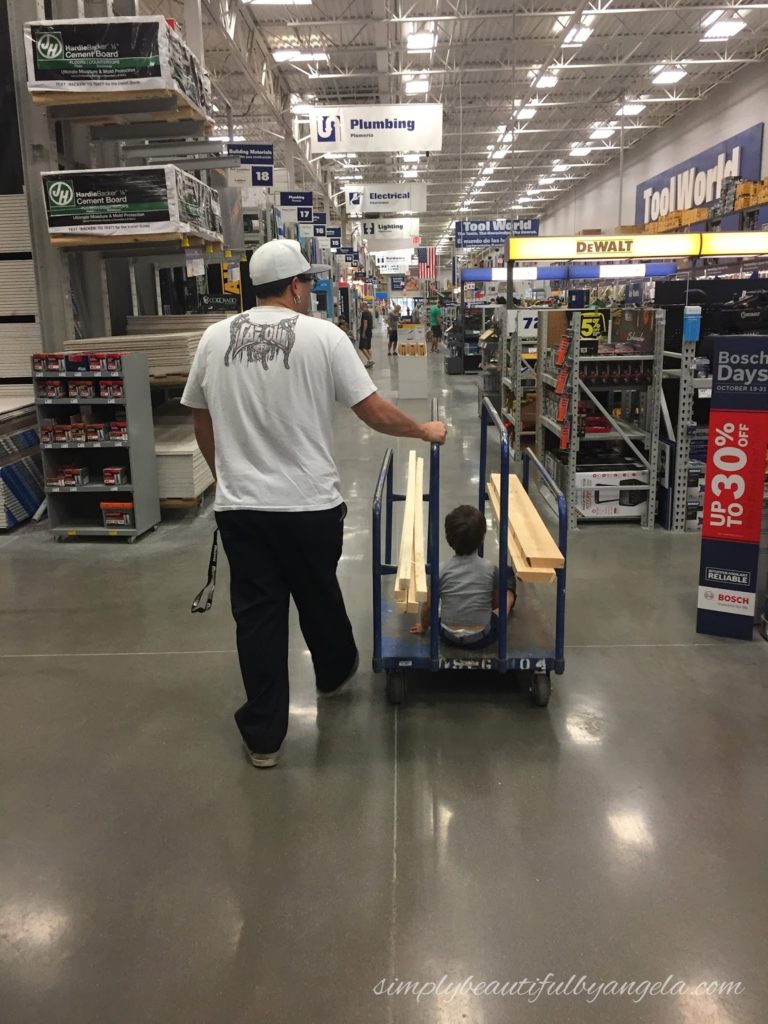
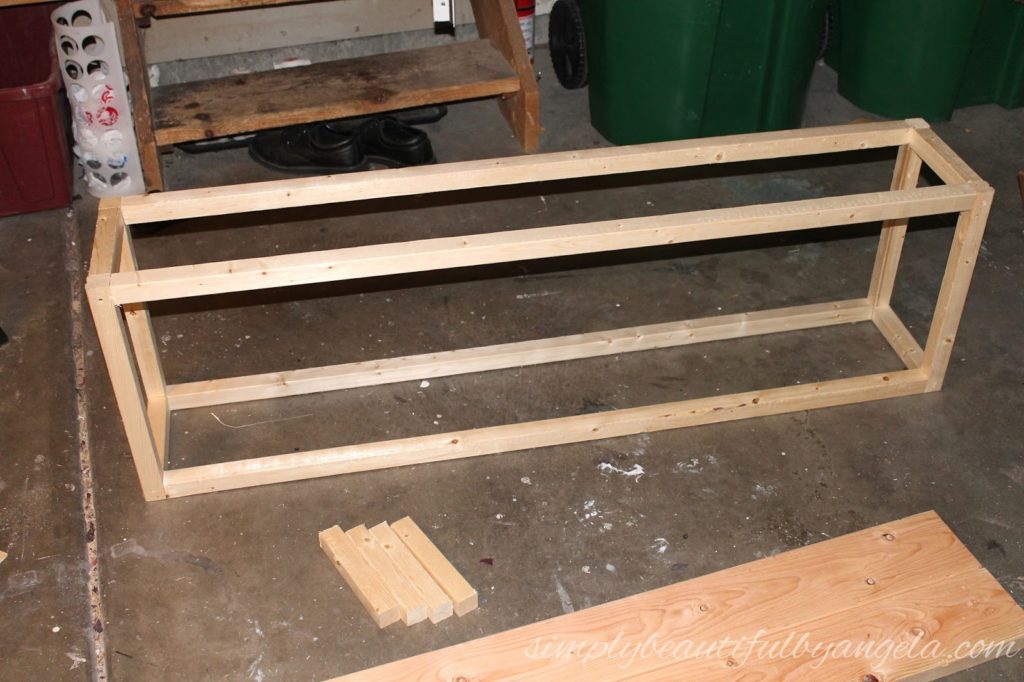
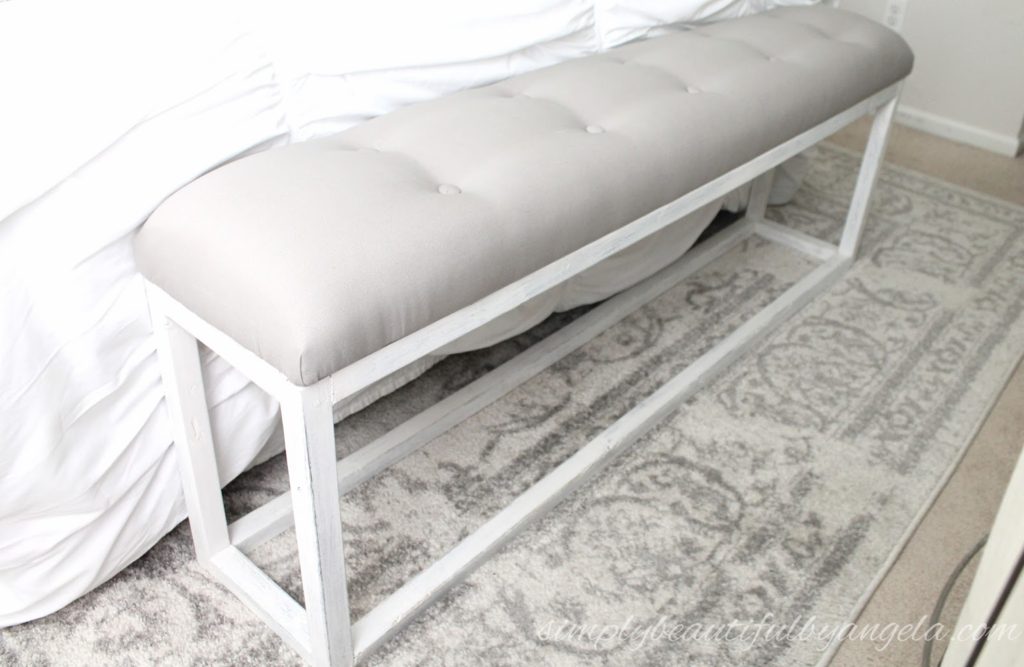
The amount of wood needed for this bench is minimal which is really nice! Just a few 2×2 furring strips which are around $2 a piece and a 2×6 which is around $6 (we had it cut down into two 5 foot pieces).

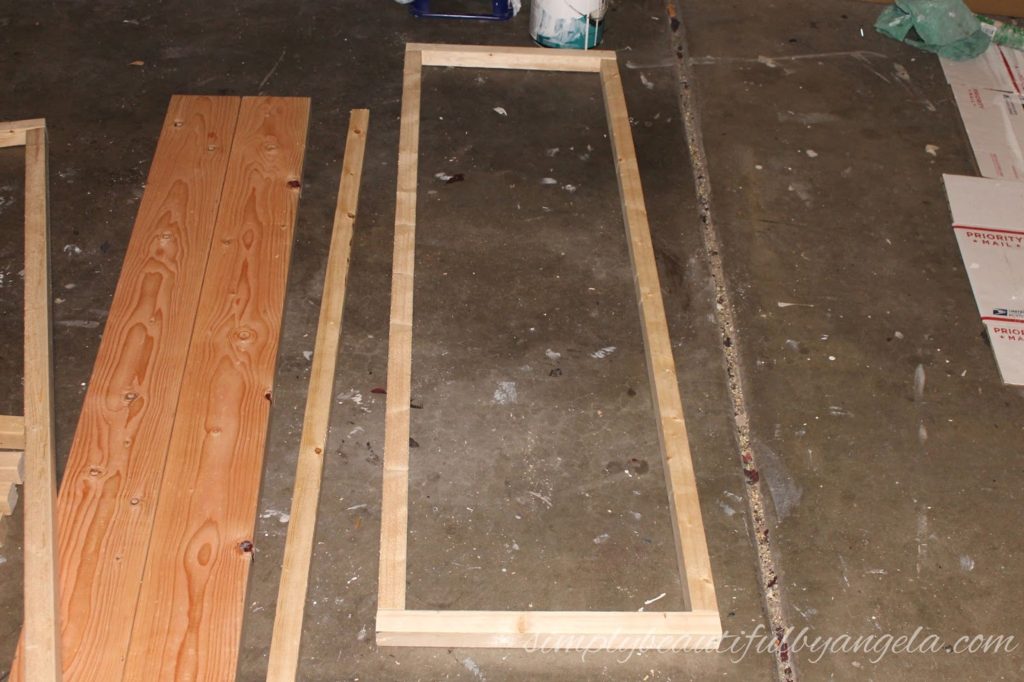

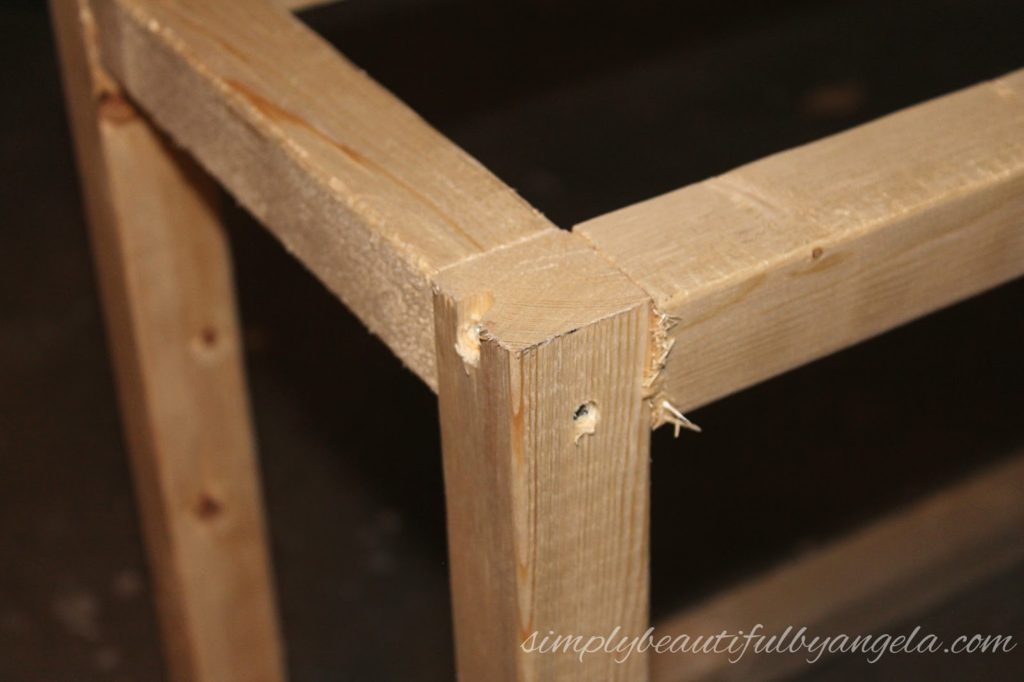

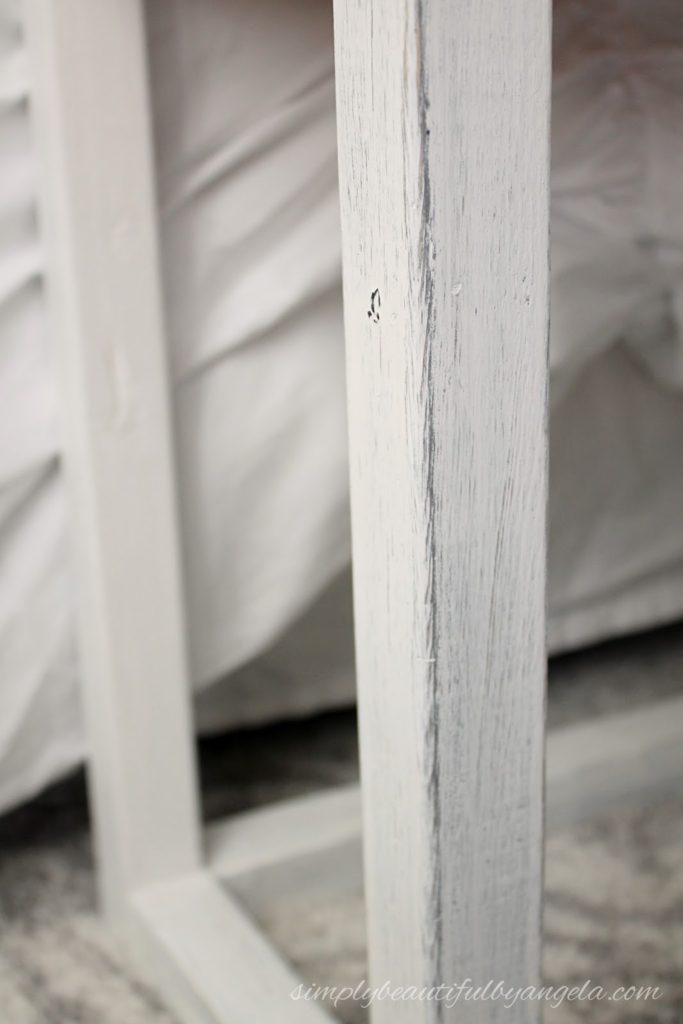
Then it was time for me to take over! I went around and filled all of the holes with wood filler.


***UPDATE***
Please check out my updated tutorial on how to build the base of this bench here
My garage is the most hideous place in my house too. LOL I love how the bench turned out and it is now on my to do list for my own house. You and your husband remind me a lot of myself and my husband. Very cute blog! Definitely going to be following from now on. =)
You can check out my blog (just getting started) at http://www.firesidecreekhome.com
Hi Krista! Thank you so much! I just hopped over to your blog and love it! We have really similar styles and that entry table that you built is soooo pretty. I've been blogging for over 2 years and still feel like I'm just getting started–there's so much to learn!
That is a beautiful piece of furniture. Very nice job. And thank you for sharing such a detailed tutorial. I can't wait to try building y own bench.
Thank you so much Rebecca!
This is so classy!
Thanks Sandra!!
Awsome job, Angela! A bench at the end of my bed is something I totally need. Saving your instructions. thanks!
Thank you Christina! I will say it has been so nice having one!
Love Love Love this! Your bedroom is beautiful!
Thanks Charlene! I appreciate it 🙂
I love the bench and appreciate you posting it as I have been thinking of building a frame like you did. As for your garage, oh let's not go there. Yours looks great compared to mine.
Thank you Debra I am glad I could help!
Nice job! Your bench looks great. I love your blog!
Thank you so much, I appreciate that!
that looks excellent, i looove how slim it is!
b
Thank you! We didn't have a ton of room to work with so building was definitely better than buying!
Angela, it the bench and your whole bedroom is absolutely gorgeous and bright! I pinning the idea, because very soon we need to create something similar for our master bathroom! thank you for sharing at Fantastic Friday!
Thank you so much Nadia! It is such a simple build I'm sure you will love it! 🙂
This is beautiful! I'd love to have one at the end of our bed, but I'm certain that the dog or cat would claim it as their own. 🙂
Thanks Donella, I appreciate it! And yes I could easily see a fur baby being quite comfortable here!
Angela, I really loved your unique creativity in all blogs. Thanks or sharing. You really make use of this wooden bench in the Home Decor. I am looking forward to use your idea.
Thanks so much Lindsey!!
Your DIY turned out so amazing. It looks just like expensive ones you see in the store. Thanks for sharing at the Inspiration Spotlight party. Pinned & Shared.
Thank you so much Theresa!! I was pleasantly surprised how expensive it looked as well 🙂
You outdid yourself on this project! Your bench is just gorgeous. And I'm thankful for the tutorial; I think I see some bench-making in my future. 🙂
Thank you for joining the Grace at Home party at Imparting Grace. I'm featuring you this week!
Thank you so much Richella, I really appreciate that!
Wow! That bench is amazing!! I've tufted an ottoman and it can be challenging to get it lined up – and yours turned out beautifully!! I remember your room from the ORC and have loved seeing the changes. This is like the icing on the already perfect cake!!
Thank you so much Jennifer! It was definitely a struggle to get them lined up. It marking it helped a lot! 🙂
Hi just wondering – I am trying this on the weekend and wanted to know if the dimensions you gave were for a queen size bed?
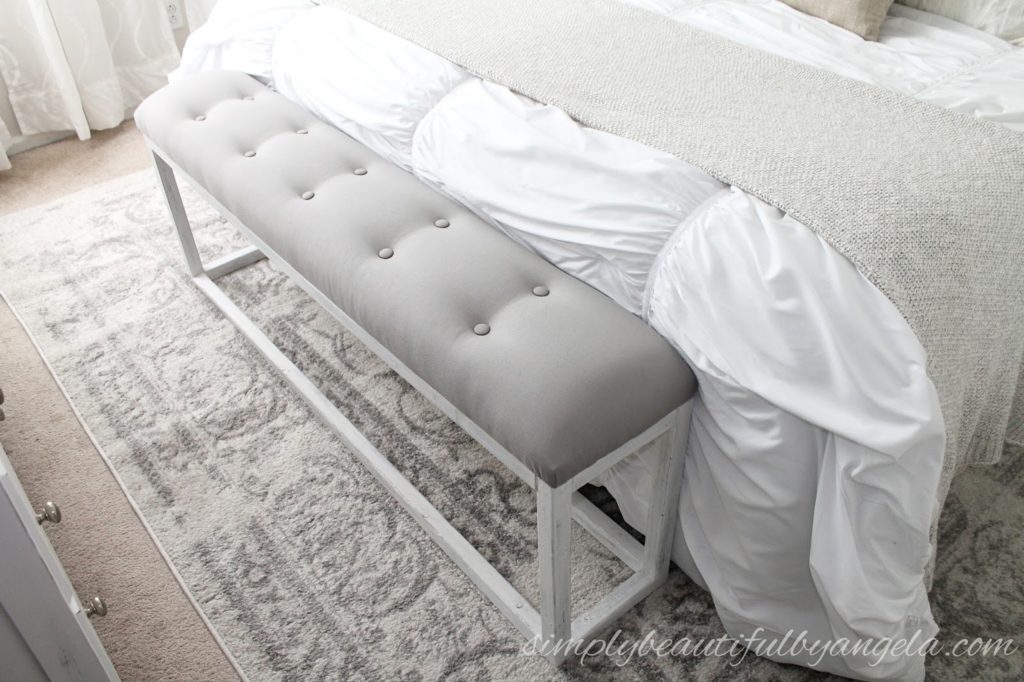
Hi Grace! No we have a king size so our bench is 6' long. If you want to make one for a queen I would say make it about 45" long which means that would would cut your top at 45" and the 2 2x2s that run the length at 42" 🙂
Sorry it's early–ours is 5' not 6' haha!
And the FOUR 2x2s that run the length (not 2!) Gah I really need some more coffee!
beautiful! love your style and color choice. i really like the area rug underneath your bed. what is it and where did you get it?
Thank you so much! I got it from Amazon–if you go to the botttom of this post under the source list it is the third item down 🙂 http://www.simplybeautifulbyangela.com/2016/11/one-room-challenge-week-6-farmhouse.html?m=1
(The bottom of the post I linked, not this one 🙂 )
nice
You will discover brilliant examples of Bombay coloring bed sheets in the two choices, so first you have to choose what sort of style you need. 5 Best Bamboo Sheets Reviews: The Perfect Buyer’s Guide (2017)
Thank you for your easy to follow tutorial. The pictures were perfect and I was able to make my daughter one in no time, and tufting wasn't as scary as I thought, so I am going to make tufted headboard squares to match!
I am so happy to hear this Debby! Stories like this put a smile on my face 🙂
This is amazing! It has perfect place to hold your bed materials.
Just what I was searching for – our bathroom is huge and definitely needs a nice seat like this. Great post
romantic love quotes for wife to impress with this bathroom gift disine. also if wife wants to impress his husband than take this romantic love quotes for husband
100% cotton gives the most lavish feel when joined with a string check more noteworthy than 250.blue double duvet set
My husband and I are following your tutorial and making the bench this weekend! We love the way it looks. I do have a question about the buttons and how you attached them, did you drill holes through the 2×6 boards like you did with your headboard? And then threading the buttons through the fabric you would try to line up with the drilled holes?
I've tufted an ottoman and it can be challenging to get it lined up – and yours turned out beautifully. wood heaters is very used in these days to maximize heat in all homes.
The fact is that most people who sell fakes Breitling – no matter how shady they may appear – are very open with the fact that their goods are fake. Why? Because they are catering to people looking for Breitling watches are not difficult to find if you are looking for them. More and more search engines are being pressured to remove or reduce the relevancy of websites that offer Valentino handbags in favor of legitimate retailers. I've also personally seen a welcome reduction in the amount of spam e-mail I've received trying sell me Replica Valentino Handbags (which again were clearly labeled as such).
This particular is usually apparently essential and moreover outstanding truth along with for sure fair-minded and moreover admittedly useful My business is looking to find in advance designed for this specific useful stuffs… Best Wooden Bed Frames Review