Hey guys, happy Friday! I hope you all had a nice week and are getting ready to enjoy a nice Labor Day weekend. I had all intentions of getting this post up earlier in the week but I got sidetracked on another project–better late than never, right?!
A few weeks ago I got the urge to paint all of the walls in our master bedroom. In that post I mentioned that I was starting to consider reupholstering the bench. That’s usually how it works around here, once I switch up one thing I find myself wanting to switch up more!
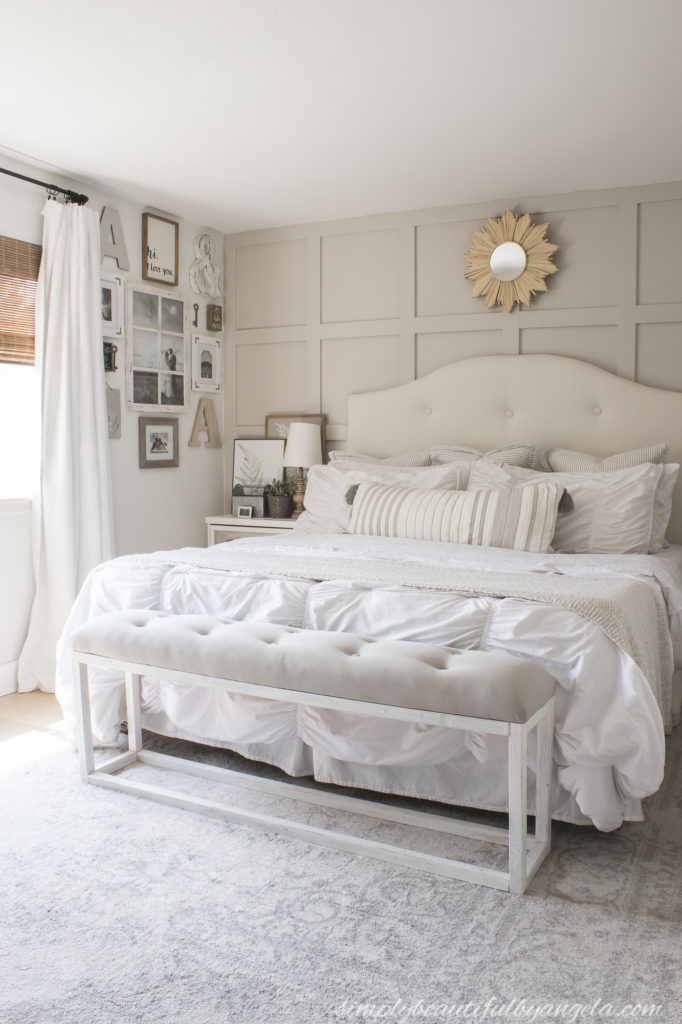
We made the bench several years ago (tutorial here) when we were still at our old house since we needed one that was skinny enough to fit in our small bedroom. It’s held up great over the years and even though our new bedroom could accommodate a larger one, one I still prefer this size. I have been transitioning away from white and enjoying more natural wood tones so I decided that instead of just reupholstering it I wanted to sand it down.
I took it outside and worked on sanding it down for a very long time. It turned out that the paint was REALLY on there and with all of the small nooks and crannies that I would need to do I decided to move to plan B which was building a new bench entirely. Don’t worry, I didn’t trash the old one! I painted over it with dark gray paint that I had on hand and plan to list it for sale so that someone else can enjoy it.
Even though lumber prices are insane right now, the amount for this bench is minimal and it was well worth my sanity to go this route! Since the hubby assembled the last one for me I didn’t have stellar directions so I decided to write an updated tutorial to show you guys how simple this is to build.
Supplies Used: (Affiliate links may be provided for convenience. For more info, see my full disclosure here.)
- 4- 8′ 2x2s
- 2- 8′ 2x6s
- Miter Saw
- Wood Glue
- 2 1/2″ Trim Head Screws
- Drill
- Electric Sander
- Stainable Wood Filler
- Weathered Oak Stain
1. Cut 2x2s
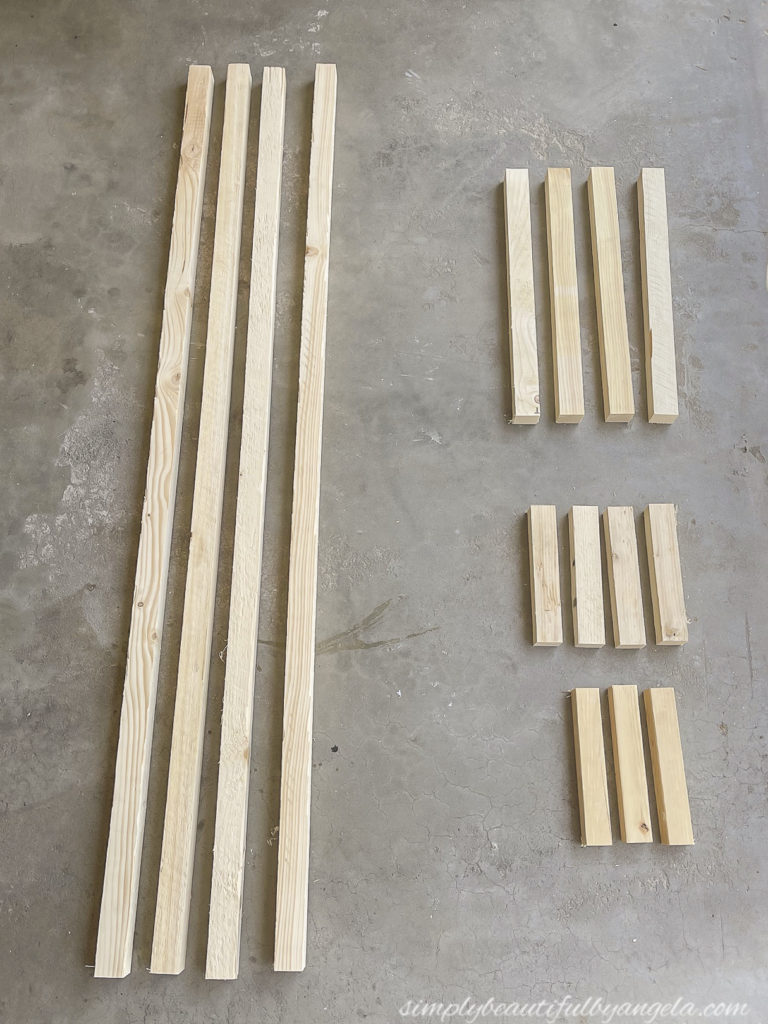
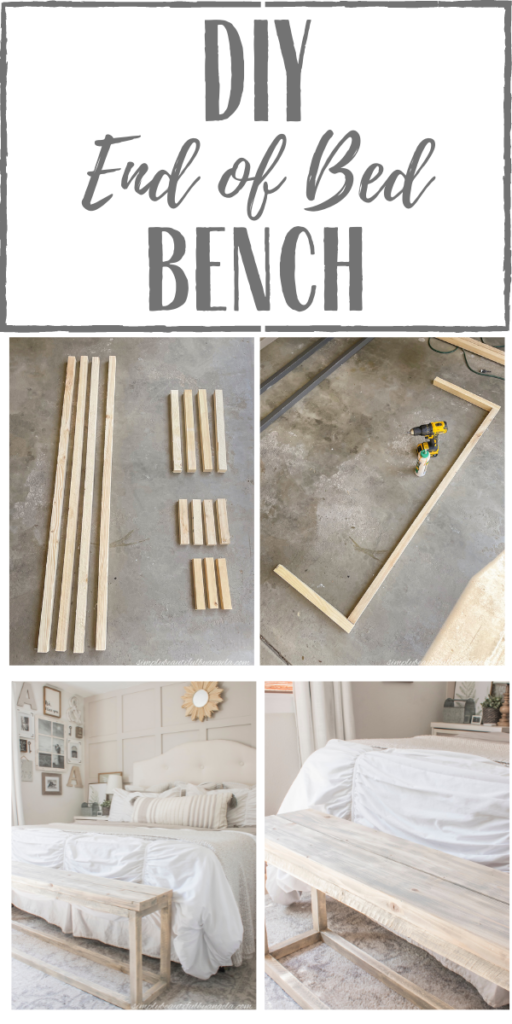
When picking out 2x2s, try to pick out the straightest ones possible. Since I purchase the cheap furring ones, I usually have to pick through them quite a bit to find some good ones. They don’t have to be absolutely perfect, but try the best you can! I used the miter saw on each one to get these 4 cuts: 57″ 18″ 8″ and 8″
When you are done you should have:
- 4- 57″ Long Sides
- 4- 18″ Legs
- 4- 8″ Short Sides
- 3- 8″ Supports (I only used 3 but you could add more)
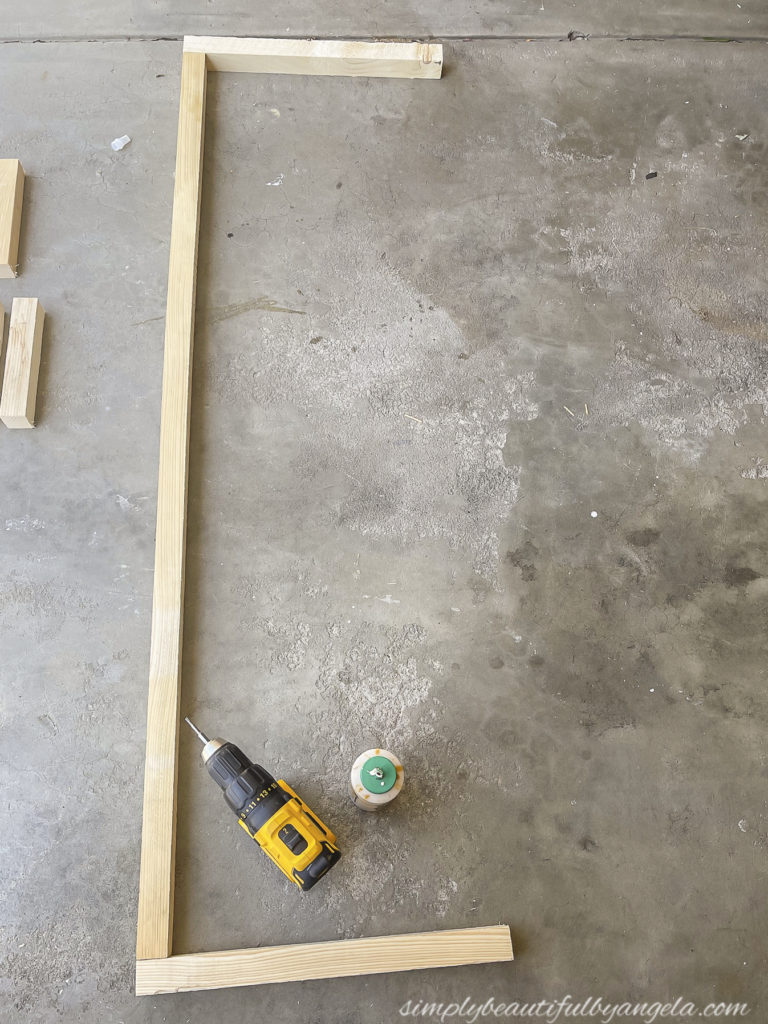
2. Secure 2 Legs to a Long Side & Repeat
I applied some wood glue to the ends of one 57″ long side and then drilled two trim head screws through an 18″ leg on either side. I like using trim head screws since they countersink and leave a small hole to fill. I did the same thing with another 57″ long side and two 18″ legs.
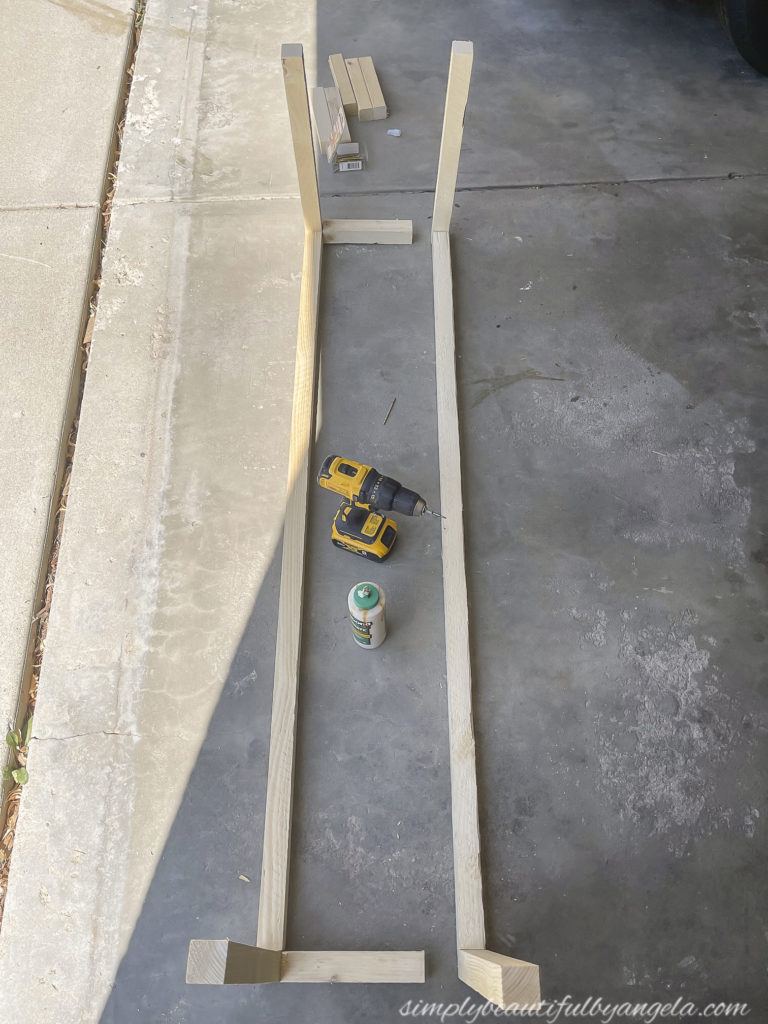
3. Attach the Short Sides
Once both sides are assembled with the legs it’s time to attach them together with 4 of the 8″ short sides. I used wood glue and two trim head screws at each point.
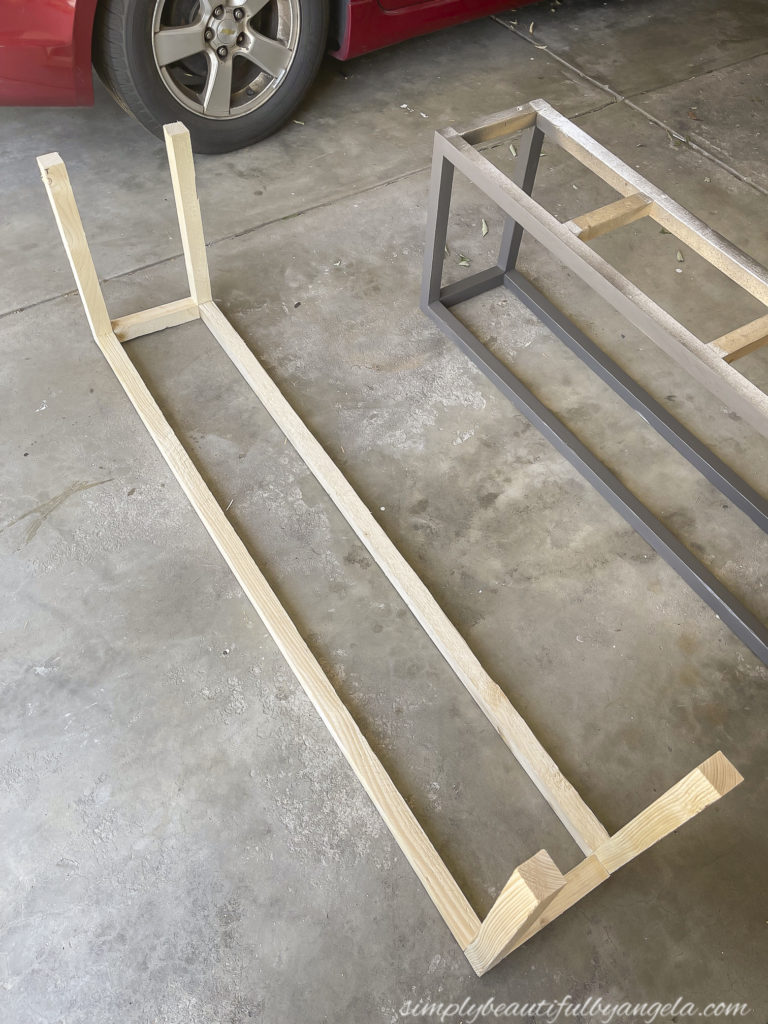
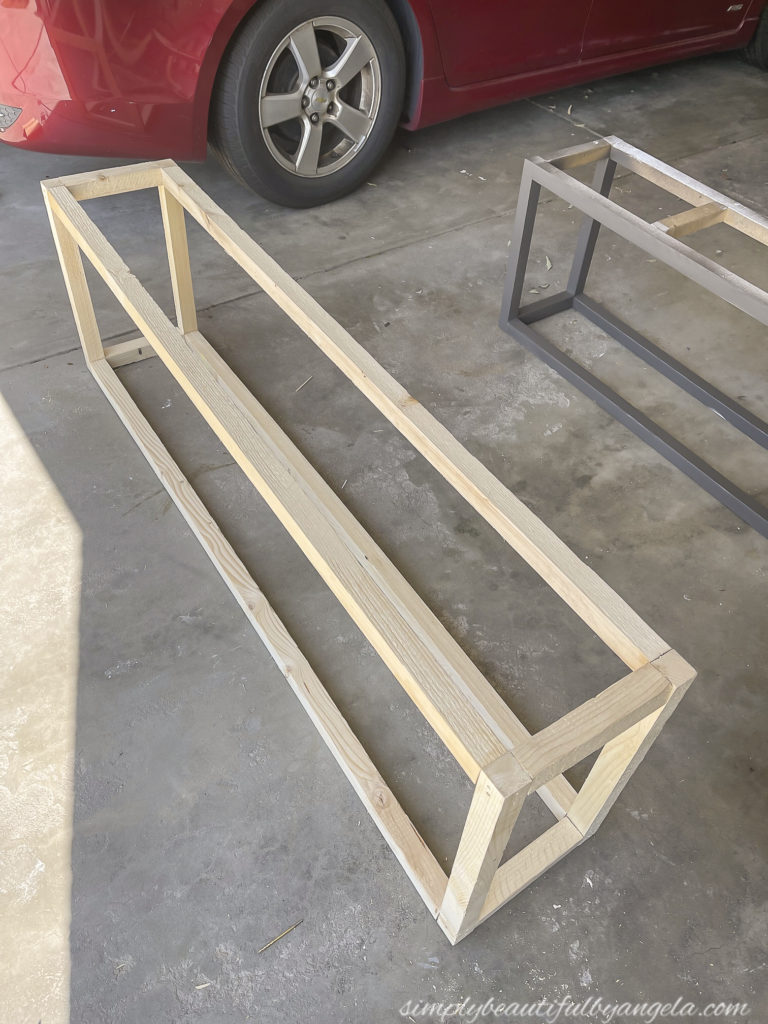
4. Attach the Supports
Finally, attach the four supports using wood glue and a trim head screw through the long sides so that it’s more stable and resistant to shifting. I found that I only needed 3 but you could use more.
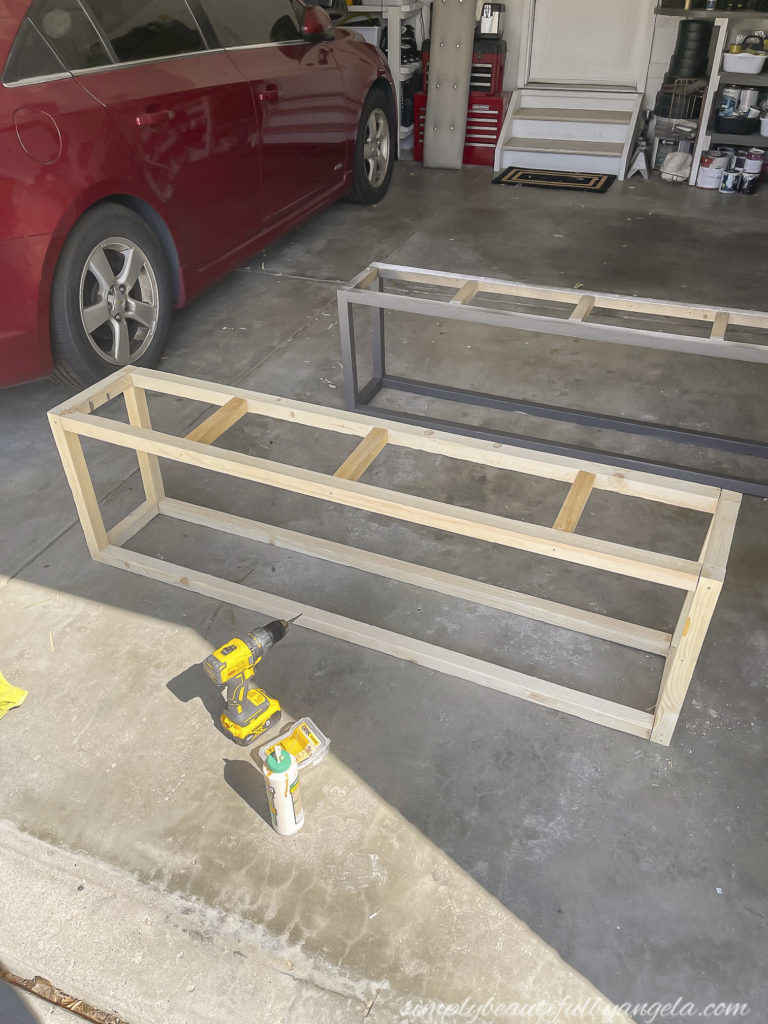
5. Attach 2x6s to the Top
I got lazy and stopped taking pictures, but you simply cut down the 2x6s to match the length plus 2″ for a 1″ overhang on either side. Make sure you measure since it can vary slightly depending on your wood! Secure it using wood glue and trim head screws.
I then filled all of the holes with stainable wood putty, sanded the whole thing down, applied a coat of my favorite stain and voilà!

I still need to go back and add a coat of polyacrylic to it to protect it.

I love the raw natural look of it, but you could of course add an upholstered top like I had done previously.
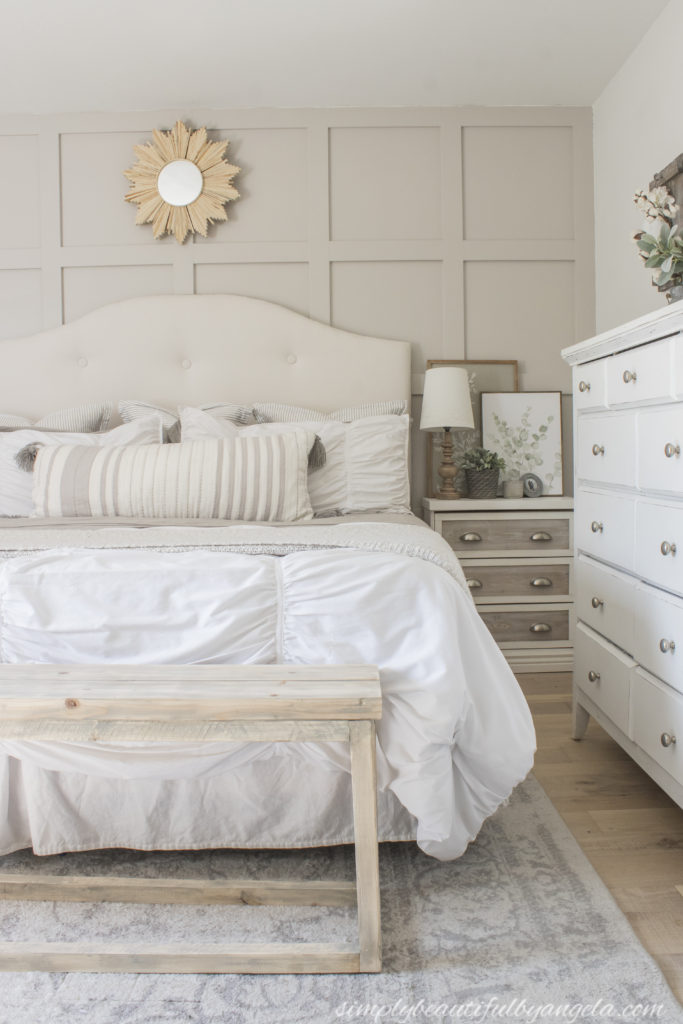
I used the new sunburst mirror that I recently made as my inspiration since it was made out of pine wood shims that had slight graying on them. I actually went over a few spots and sanded the stain off to bring more of that natural wood color back out.
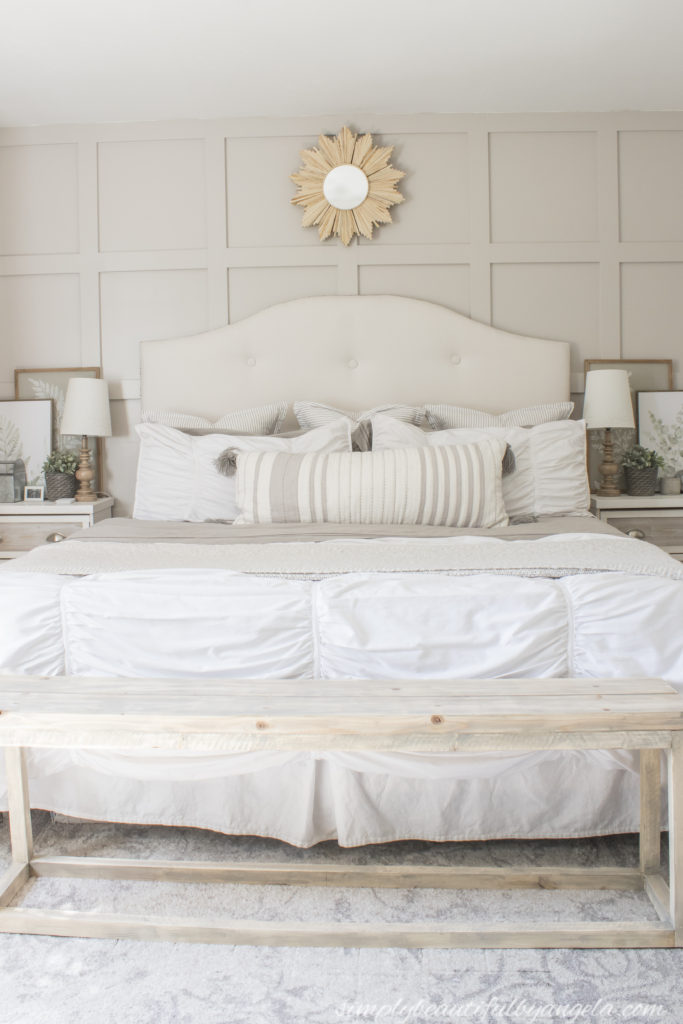
It’s funny to watch my style change, a few years ago when I wanted to painted everything and anything white I never would have dreamed of wanting to use so much natural wood haha!
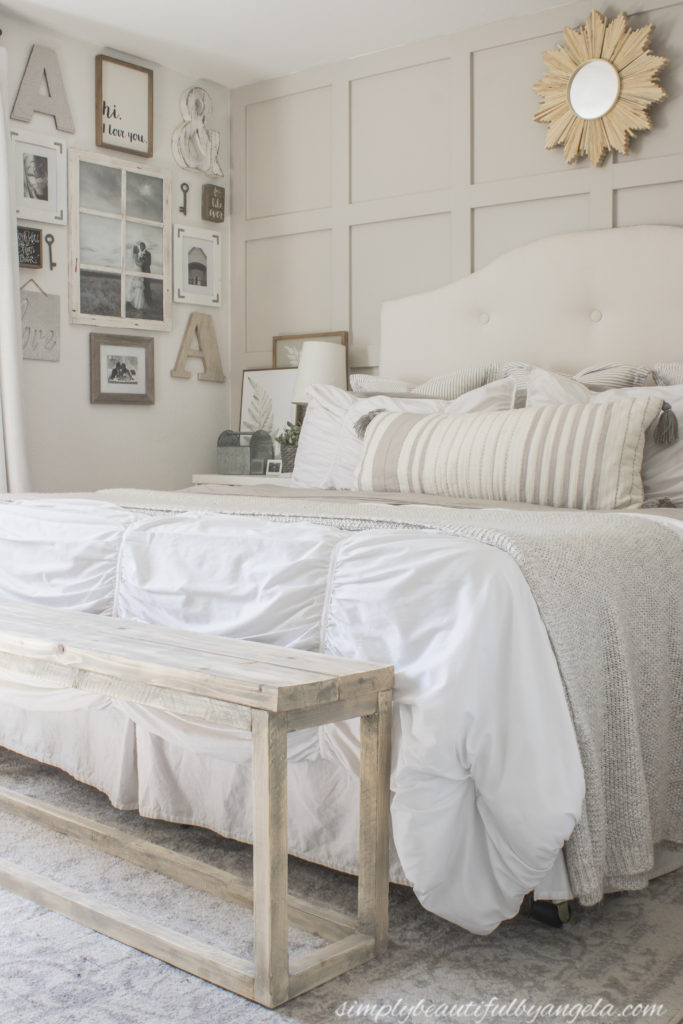
I will admit that I did do a little bit of browsing online for bench options before I decided to replace our old one, but nothing was quite the right size, price or style. DIYing is usually the best way to go for me!
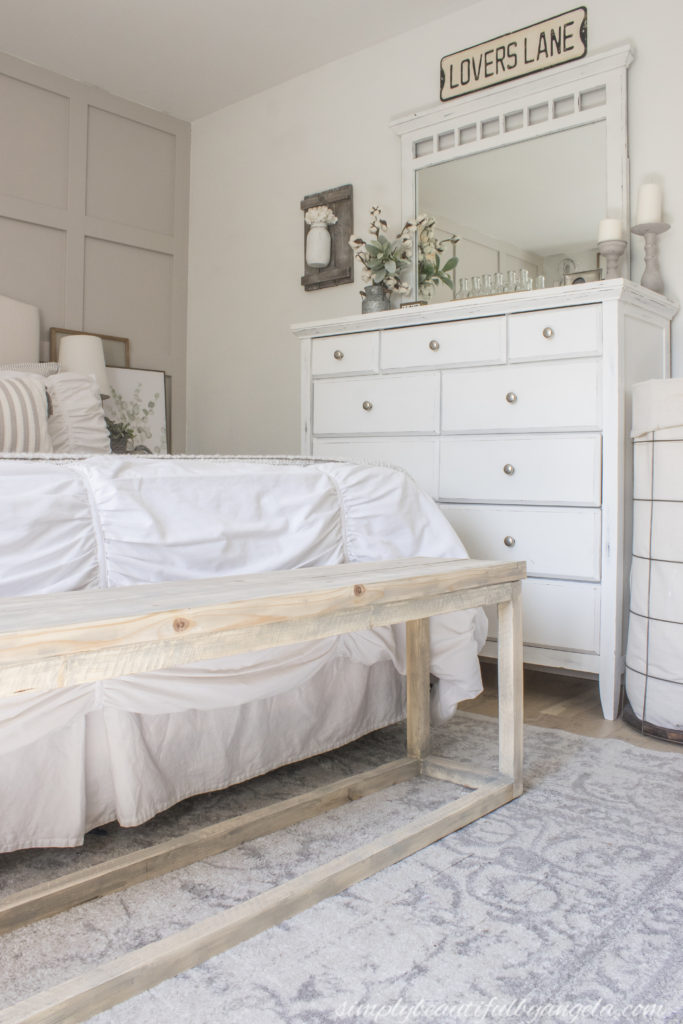
I hope you all have a wonderful end to your week and I will be back next week to chat with you guys about the project that had me so tied up this week 🙂

PIN FOR LATER!
Linking up to these awesome parties
Cute bench. I also like how your wall has the squares on it. Thinking about doing that technique to accent a wall in my house.
This is the perfect piece. The raw wood look goes well.
Nice bench for the end of the bed. It is perfect for putting on shoes.