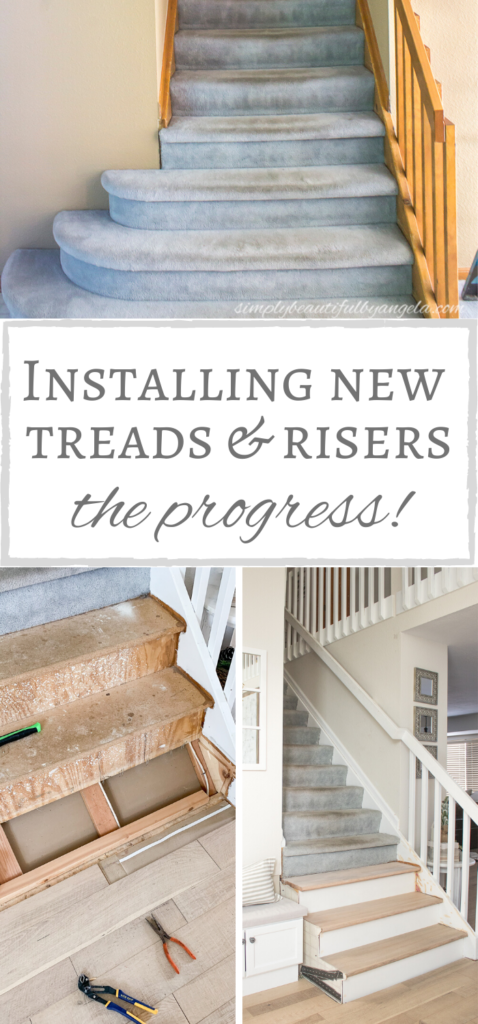
Hello friends! I hope your week has been treating you well. Mine has been sailing along pretty smoothly, although I am 110% over the snow. We’ve been getting slammed with snowstorm after snowstorm and we must be hitting some sort of record for February here in Colorado. We are all hoping for some more mild weather very soon!
Last week I mentioned that after weeks of being in a slump, I picked up a paint roller to paint the inside of our DIY range hood cover and it caused me to finally start feeling ready to get back into the DIY game. It motivated me to start on a project that we’ve been dreading since day one in this house…the stairs.
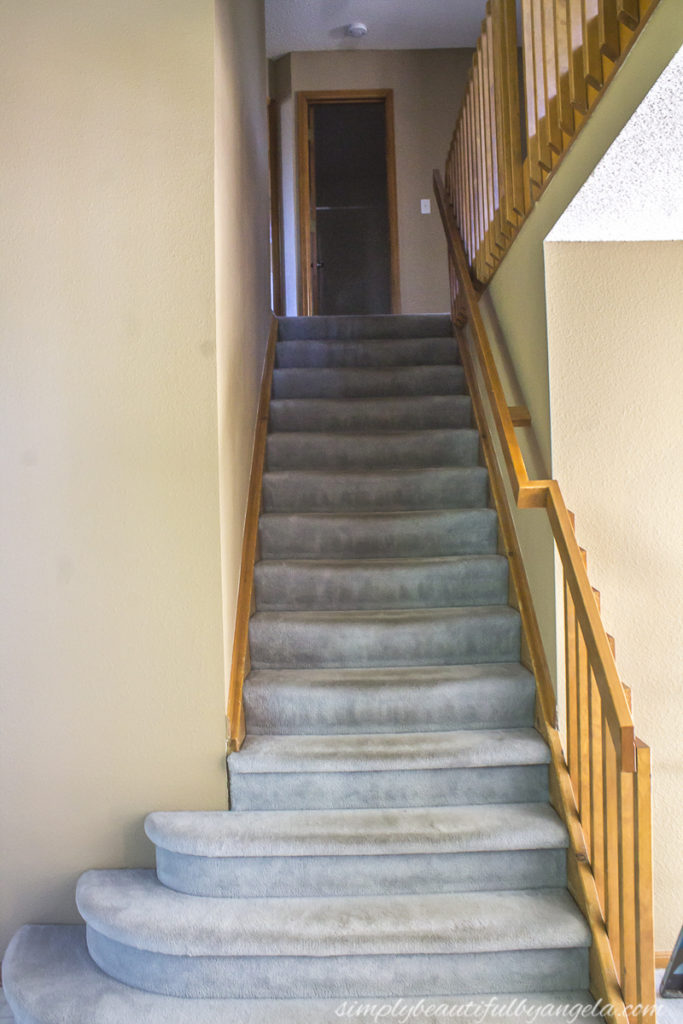
As a quick recap, when we moved in to our fixer upper two summers ago the stairs looked like this.
UGH.
I admit that I wouldn’t mind living with carpeted stairs for awhile longer if it were nice carpet. But this carpet is original with the house and is so worn that no amount of cleaning does it any good. Not to mention the blue totally doesn’t mesh with my neutral farmhouse style!
So it’s safe to say, we’ve wanted this carpet gone for awhile. However, rebuilding stairs is something that we’ve never done so we were intimidated and kept putting it off. We honestly had no idea where to begin. I’ve seen tons of tutorials of people ripping up their carpeted stairs to reveal glorious wood underneath. Unfortunately ours are made out of a particle board type material, so we need to buy new treads.
We knew that that the rounded steps would be an issue since they would require custom fabrication. So in order to avoid that, we decided that we would just cut them down while we were installing the hardwood flooring on the main level.
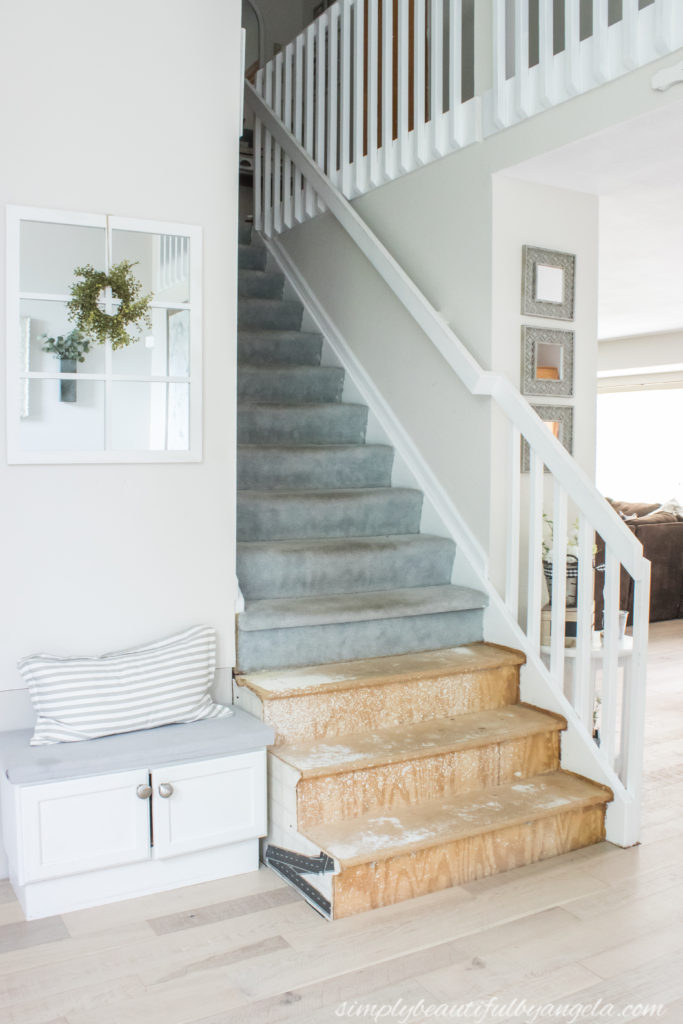
We screwed a piece of the old linoleum flooring (complete with Tristan’s road stickers) to the side to prevent things from falling in to the basement. And then it sat like this for a very loooooong time!
A couple of weeks ago I decided to pick up a red oak engineered tread to start testing out a few different stain combos.
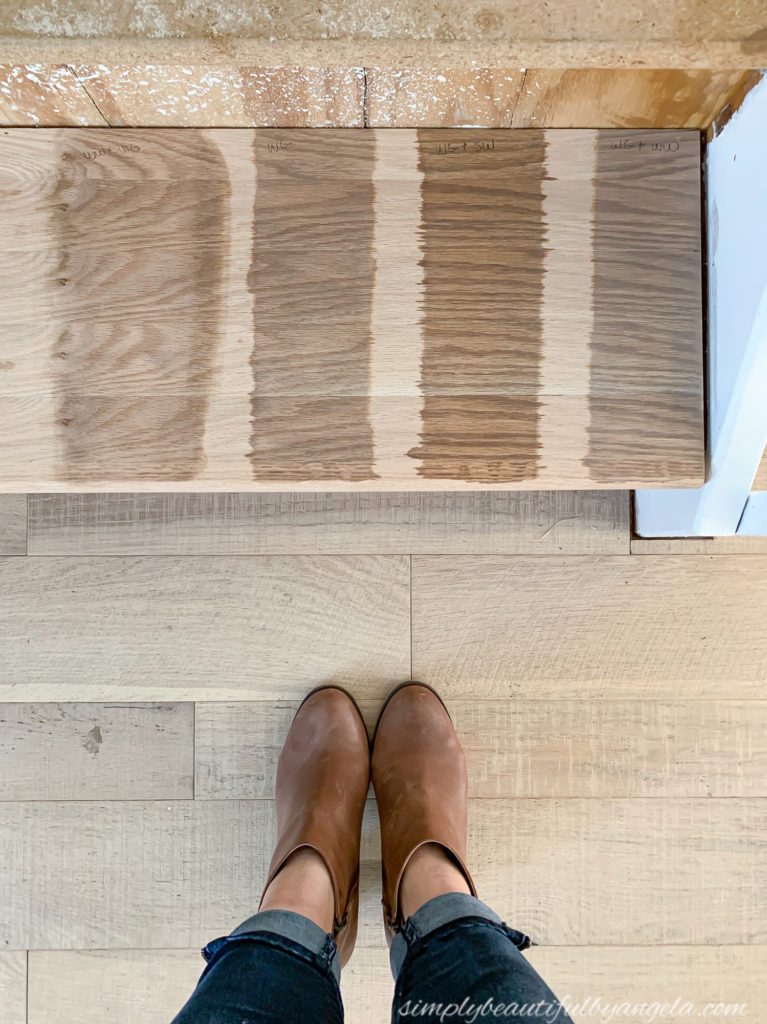
The goal was to match our French Oak Seacliff floors as closely as possible. I posted the picture above on Instagram and the majority of you said that you liked the first option which was a coat of white wash followed by Weathered Oak. Sidenote–I just noticed I was calling it weathered gray, but it is actually called weathered oak!
While I was trying to decide, we got started on demoing the first step to get a feel for what we were getting ourselves into.
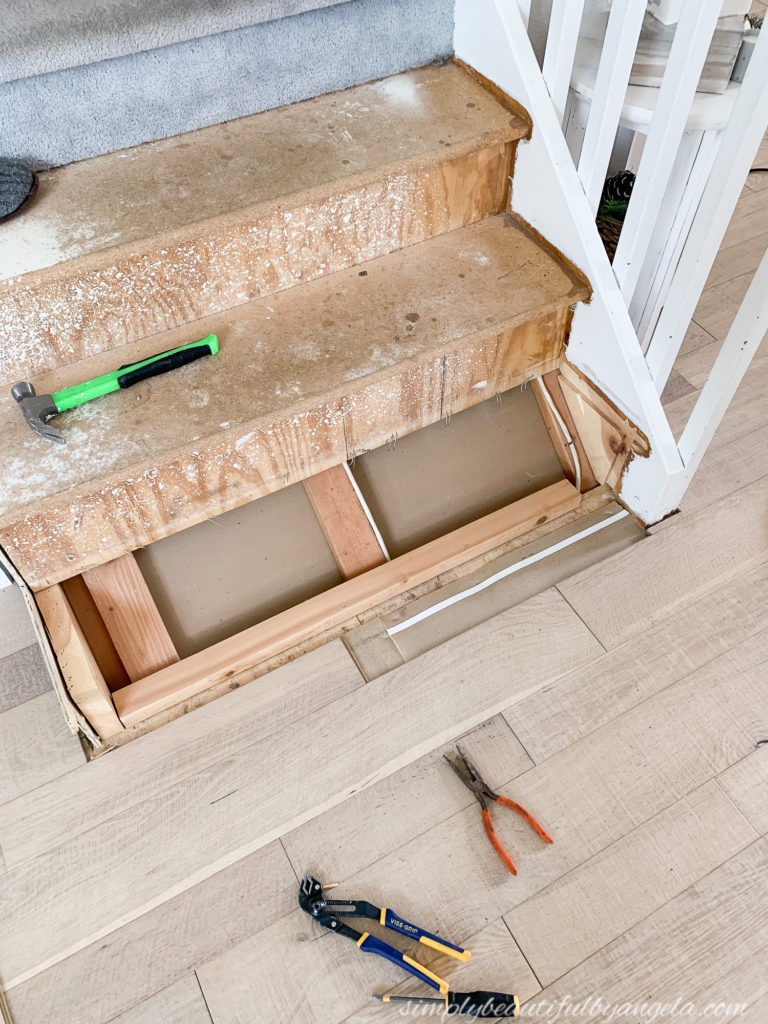
With the help of a strong prybar and a hammer we popped both the tread and the riser off and then went in with VISE-GRIP pliers to remove all of the staples and nails. I then set the sample tread down until we could get back to it.
Fast forward to this past Saturday. We removed the next tread and riser, and then we cut the first new riser out of 1/2″ plywood.
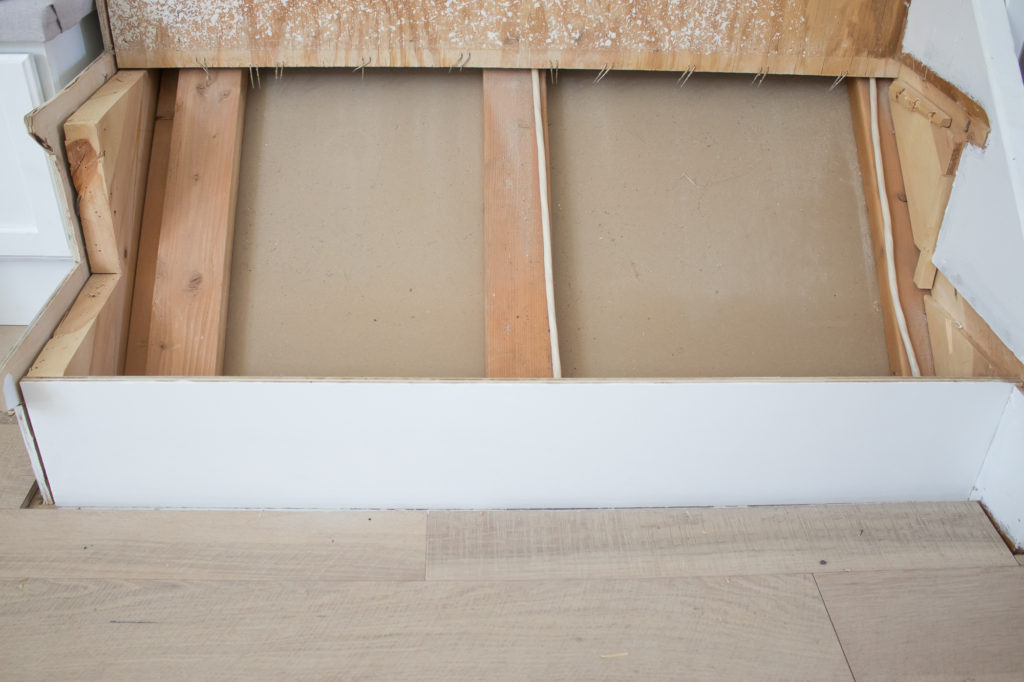
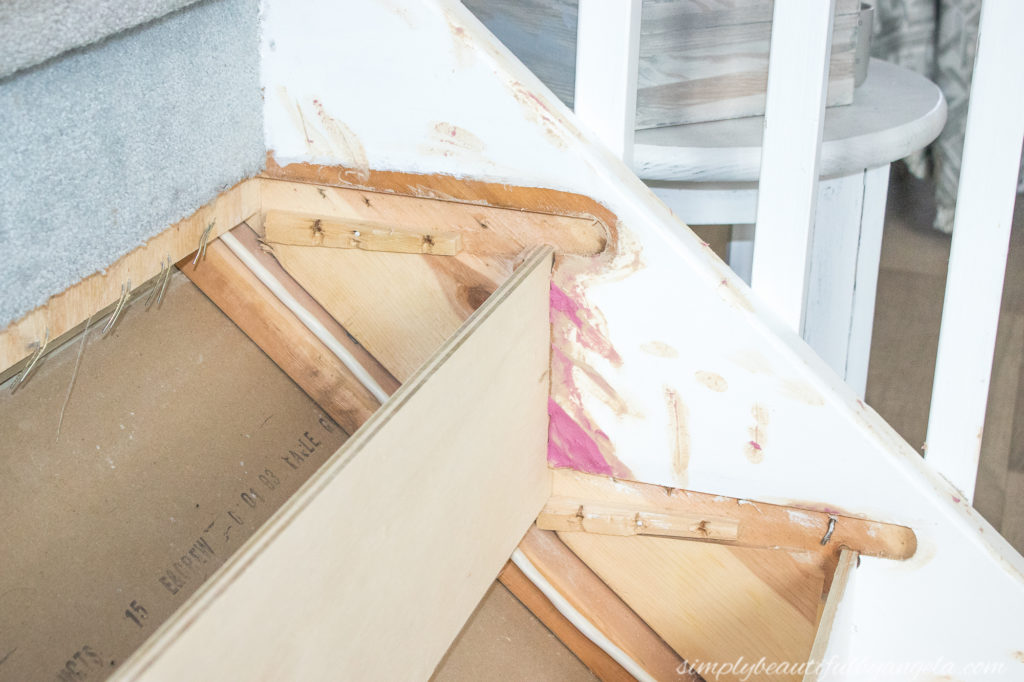
When we removed the old pieces, we found that there were little pieces of scrap wood to hold the tread and riser in place. We nailed these in place to make sure that they don’t go anywhere.
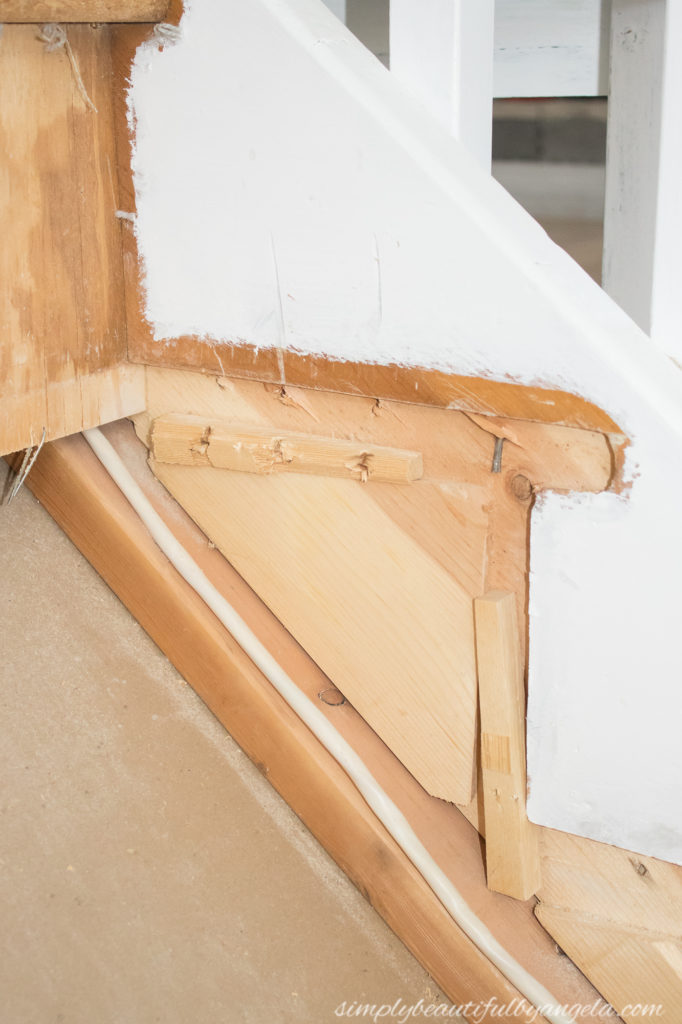
The scraps that were holding the first riser in place were in rough shape so we actually replaced them with wood shims.
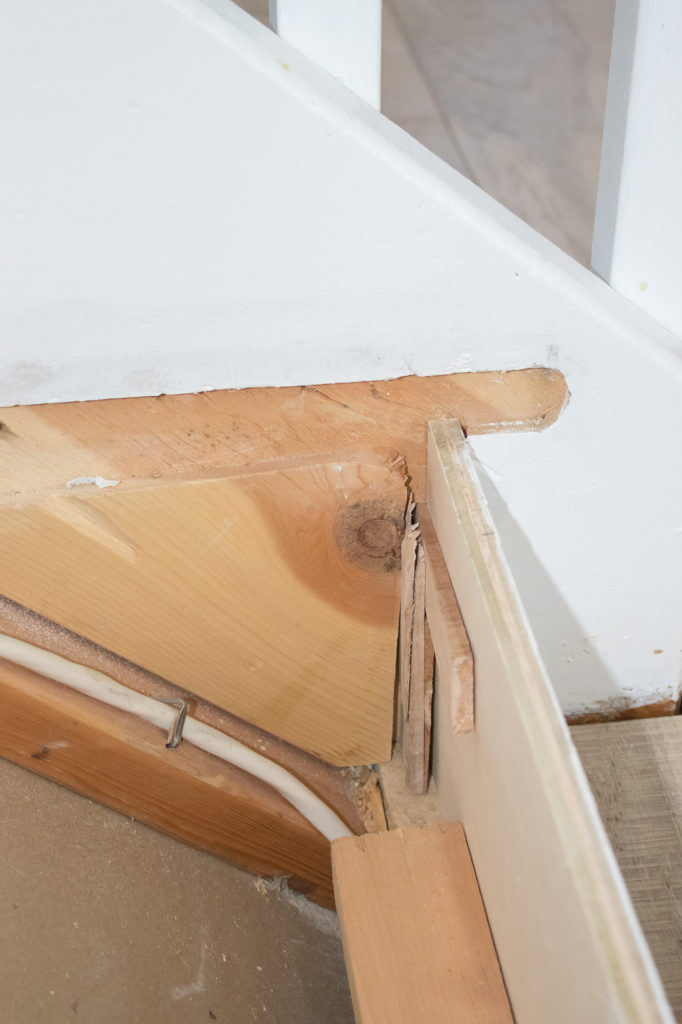
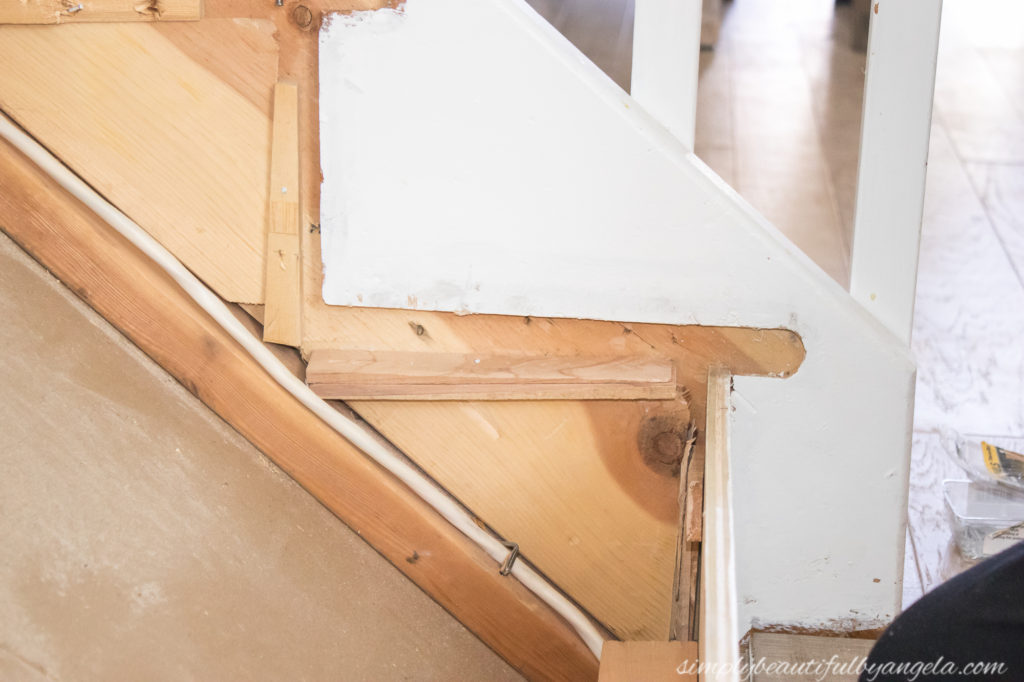
The other side was set up a little differently since it’s where the rounded step was. We were able to secure each riser to the front of the stringer (piece of wood on the side) with countersunk wood screws. I went back and filled them with spackle before priming and painting the riser.
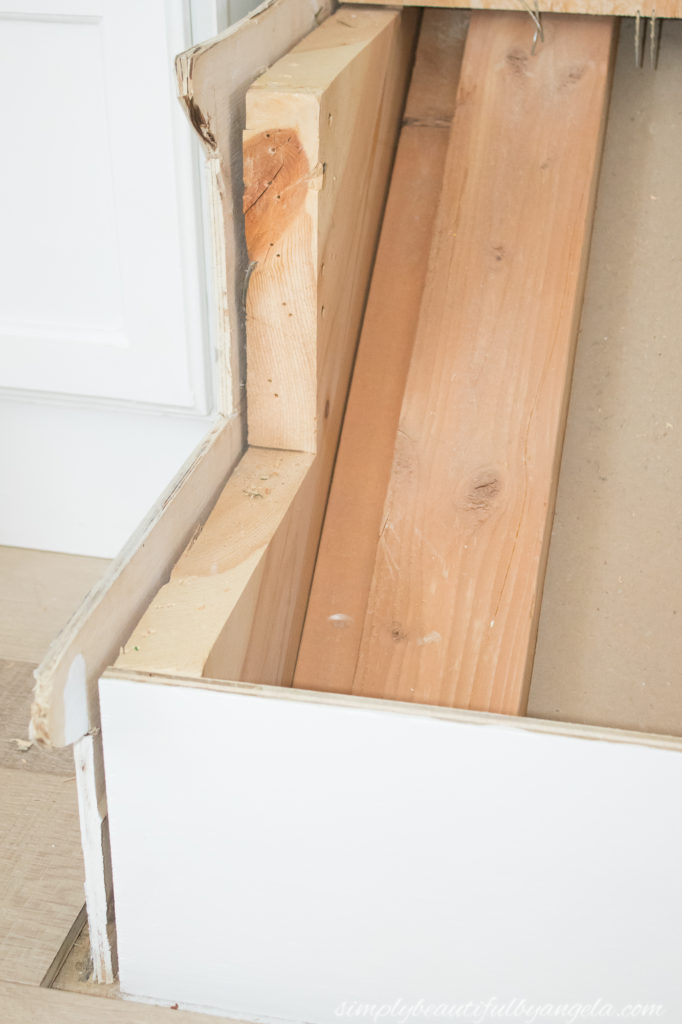
We did the same thing for the next riser.
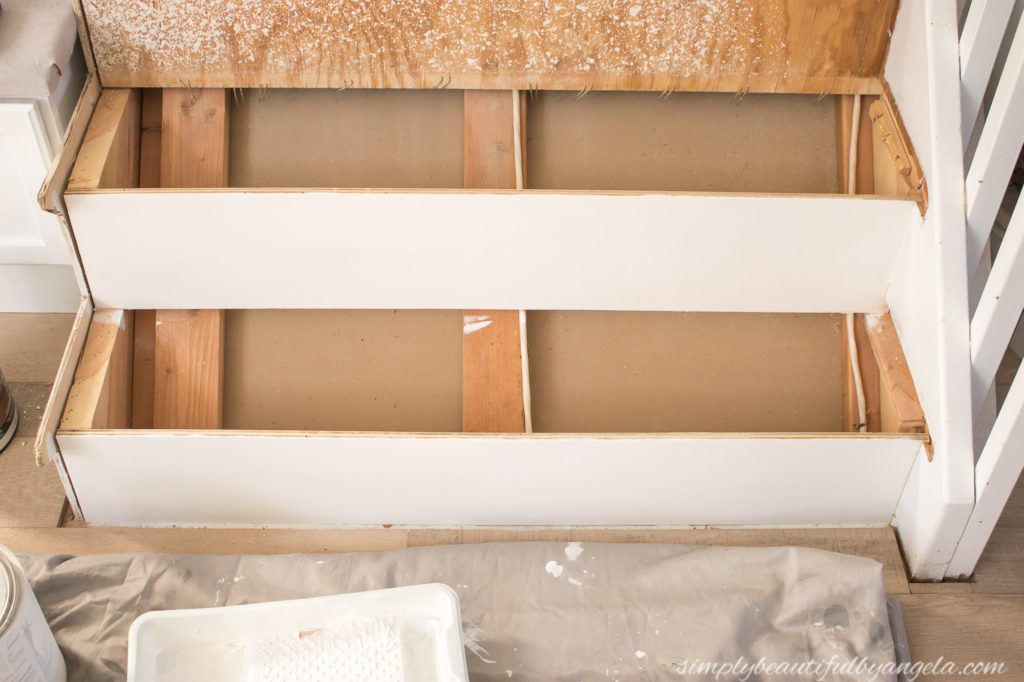
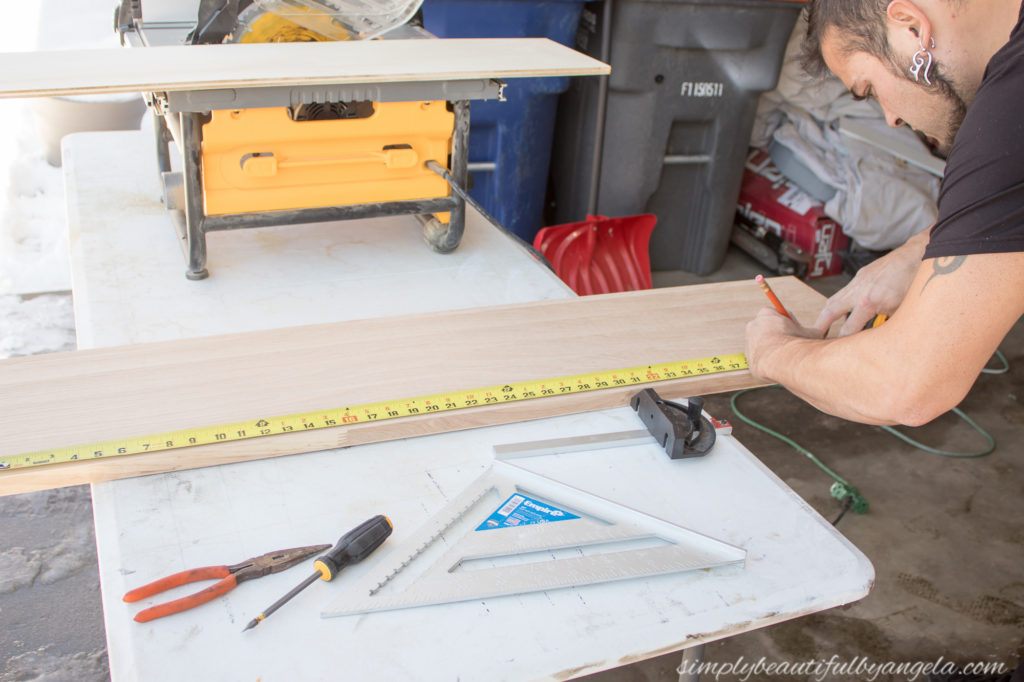
Now we were ready for treads. Anthony used the measurements from the old tread and cut them down to size on the table saw.
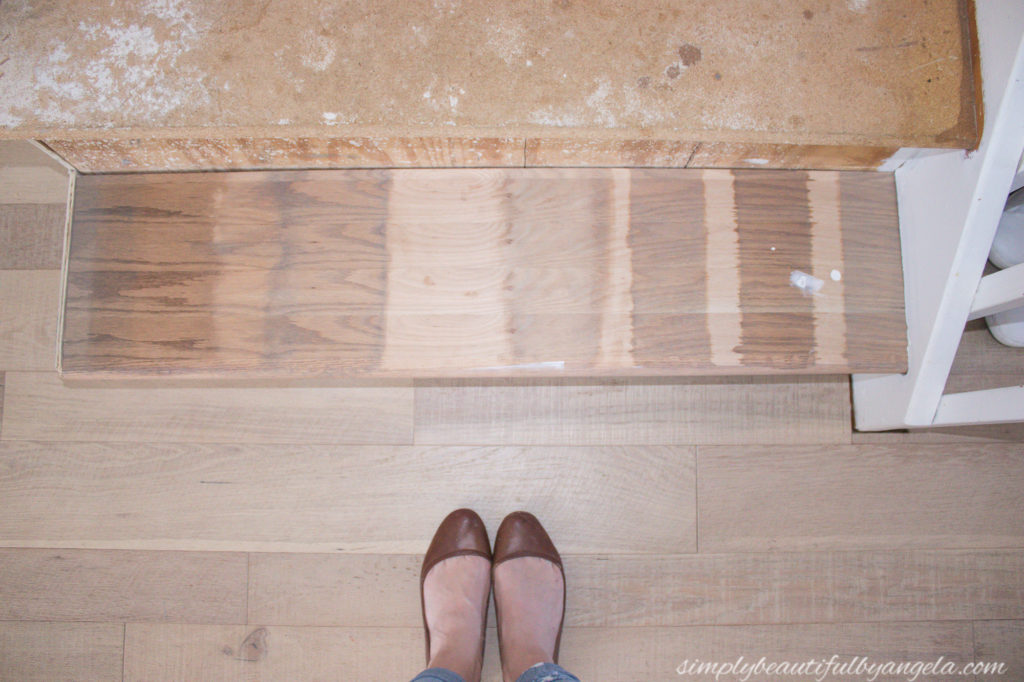
Once they were cut, it was my turn to make them pretty! I’ll start by telling you about my little “whoops” moment. Whenever I stain, I always start with a wood stain conditioner to achieve an even stain. Turns out it was a bad idea in this instance. It essentially set in the wood and brought out all of the red. Even after multiple coats of the stain and white wash, this is how it turned out.
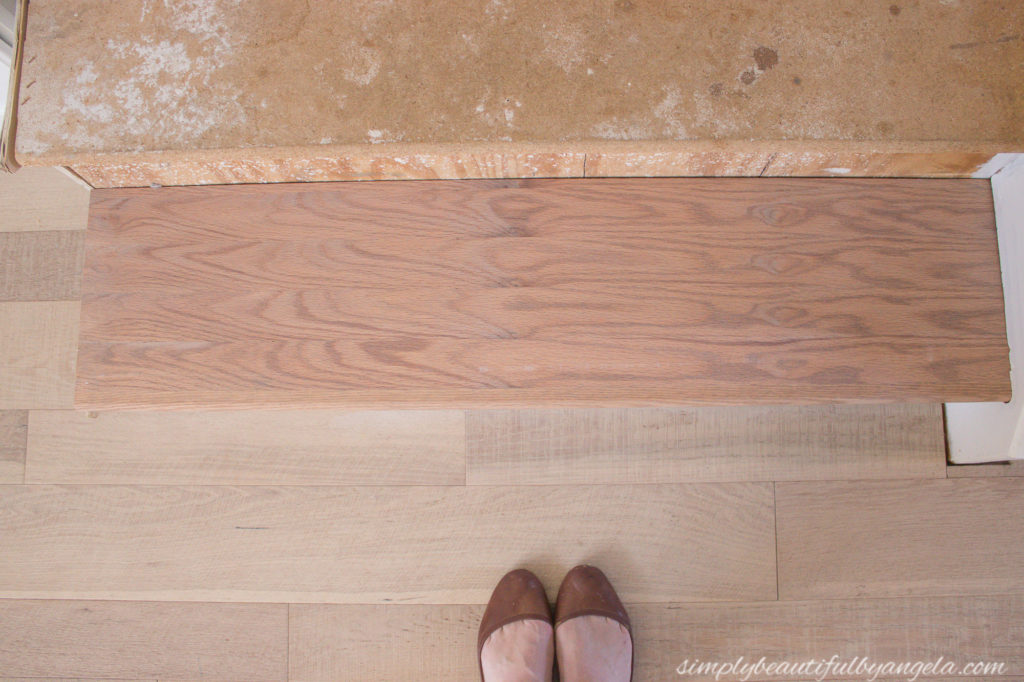
NOT what I had in mind! Had the other side been untouched, I could have just flipped it and started over, but unfortunately this was the backside of the sample tread so the whole thing was useless. Lesson learned!
Before starting on the new tread, I decided to do another test on a scrap piece without the pre-stain to see if I could get it as pretty as I had on the sample tread. I had a moment of panic when saw that it was turning out almost as red as the tread that I pre-stained!
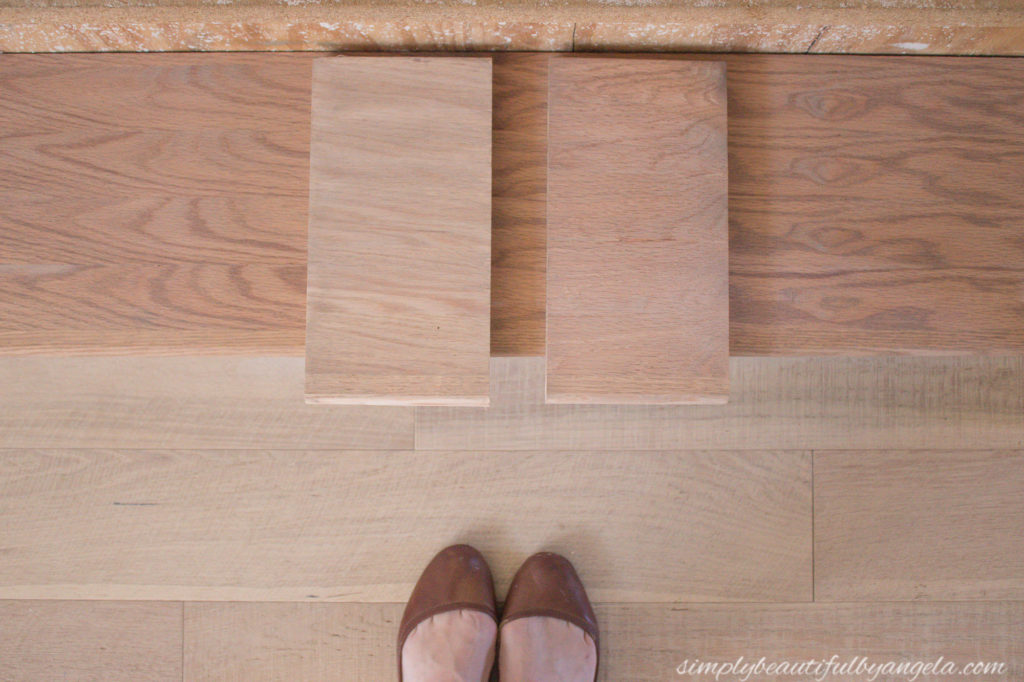
After scratching my head for a bit trying to figure out how I was able to get such a gorgeous shade on the sample board, I learned that because the water in the white wash makes the wood wet, it looks very red until it dries–almost as red as the pre-stain made it! In the picture above, the scrap on the right shows what it looks like before dried, the one on the left is after.
Here’s another comparison between a freshly coated, still wet tread on the left compared to the dried ones on the right.
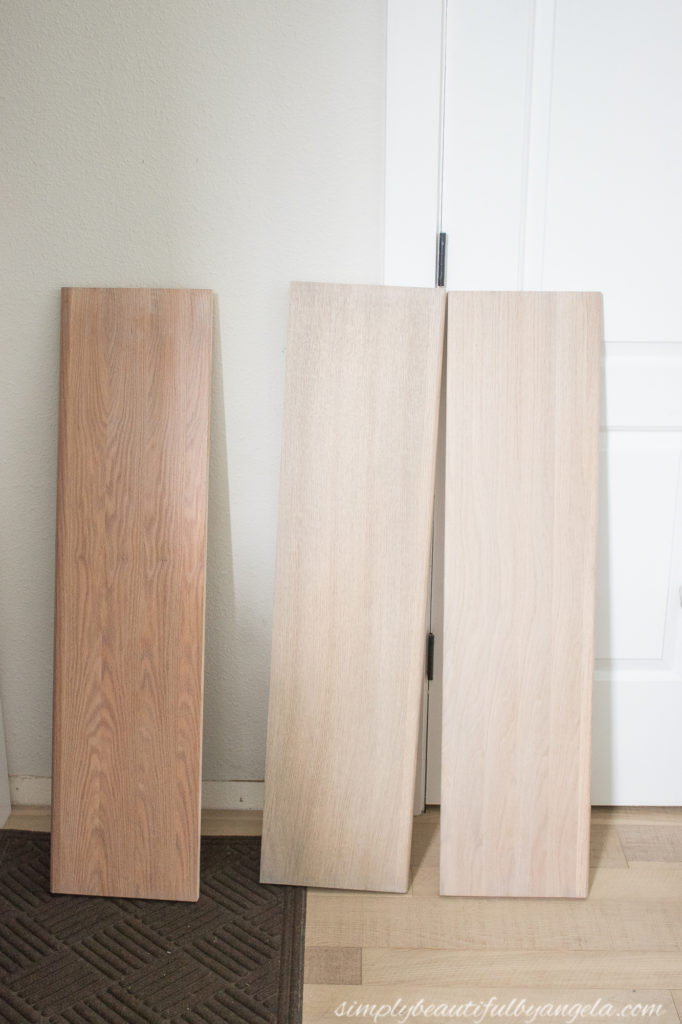
Ahhh, relief! I lightly sanded them down once they were dry, and then gave each tread 3 coats of Varathane Water-Based Polyurethane.
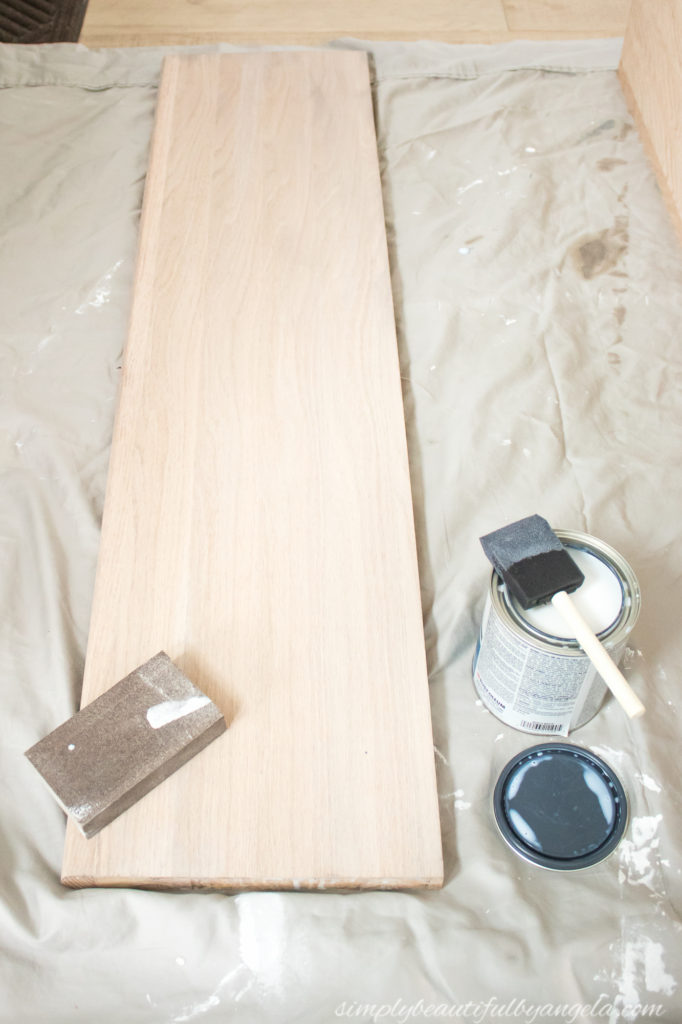
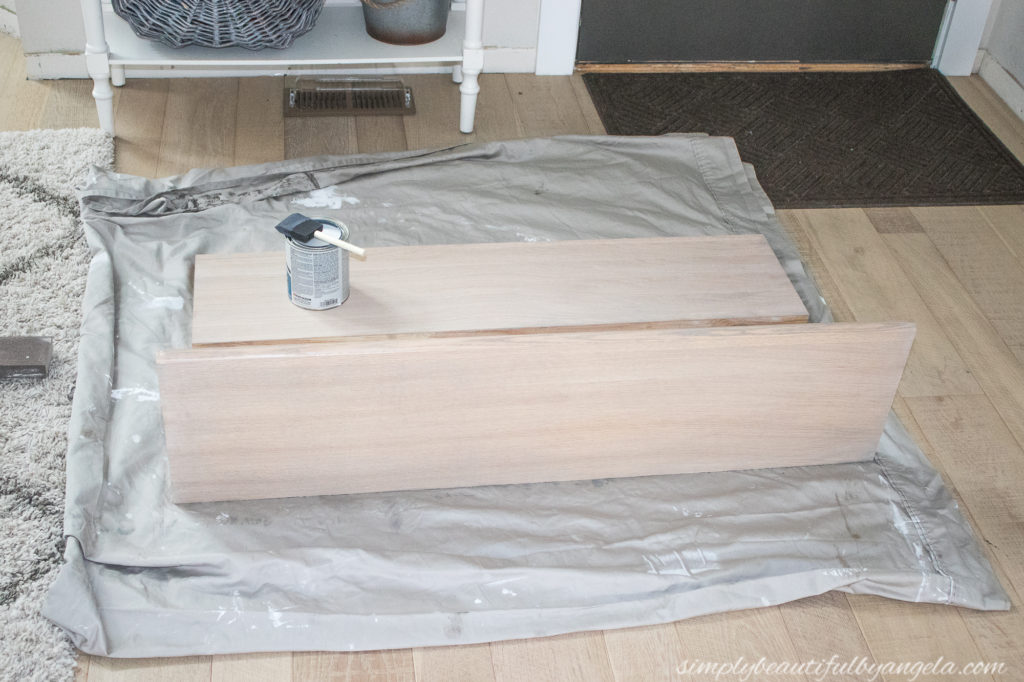
I like that the water based formula hardly had any odor. Since it’s been so frigid in the garage, I was able to set up a sheet and work on them right in the living room.
While the treads were off, I used some spackle on the dents in the wood skirting before running a coat of paint over them.
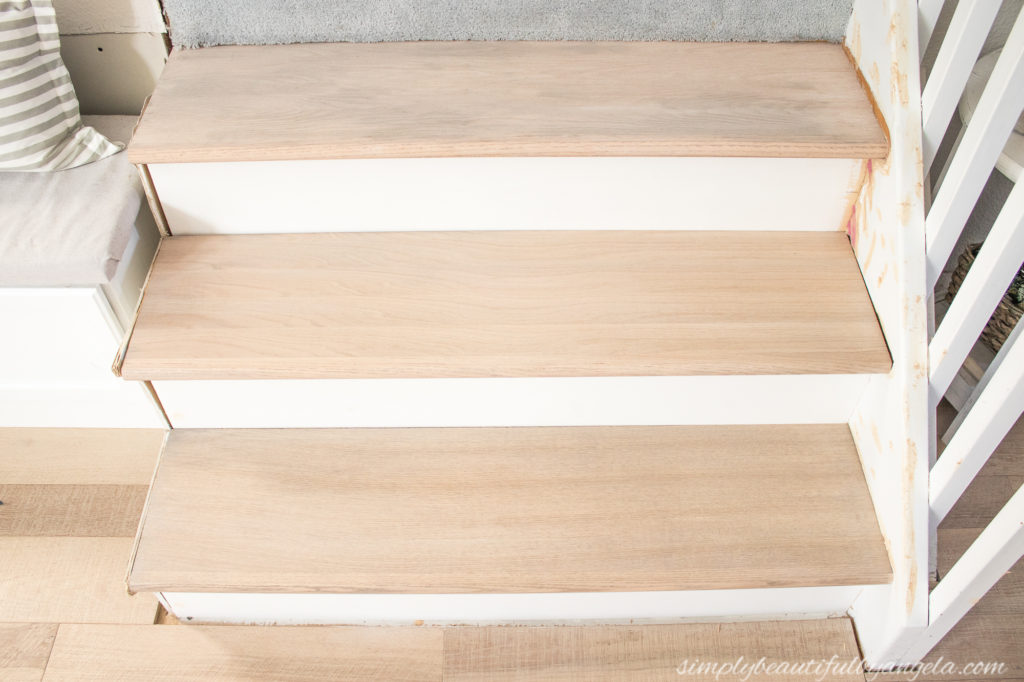
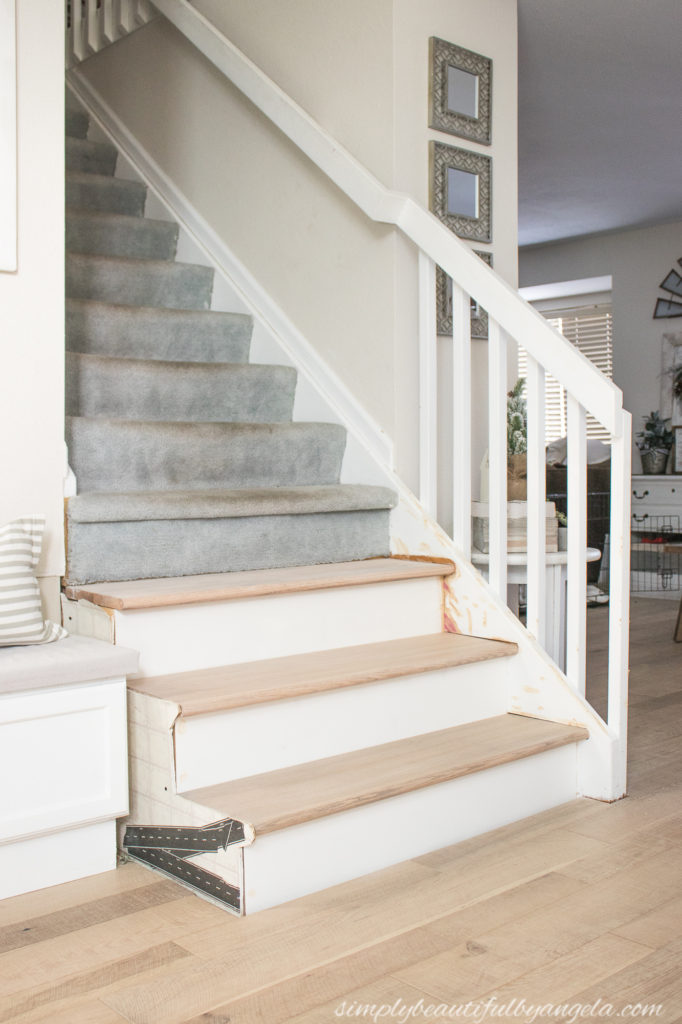
Alright, ready to see where we are at??!
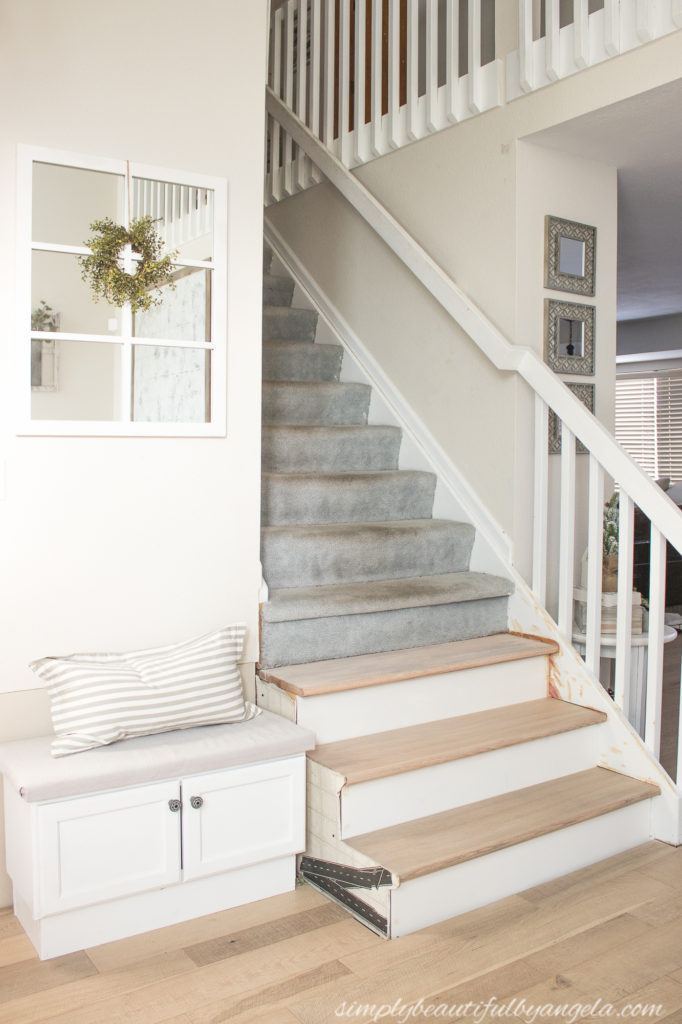
If you can look past the old linoleum that’s still attached to one side and the spackle on the other, it’s looking mighty good!
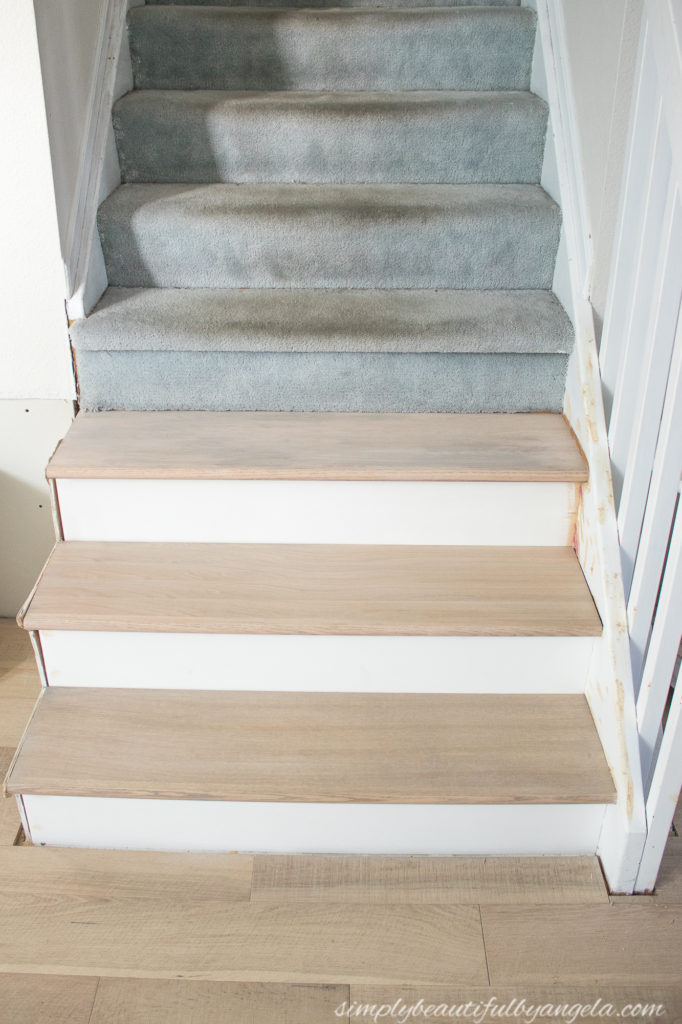
I’m still so amazed that I was able to create such a close match to the hardwood floors.
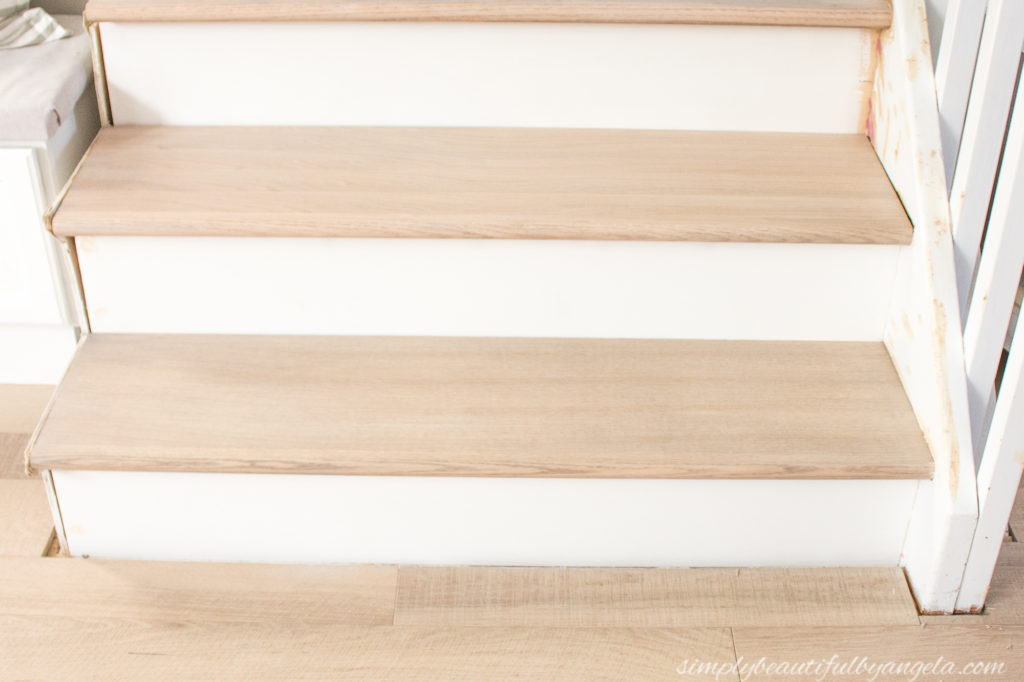
Here’s the view from the top of the stairs. The third step was still slightly wet which is why it’s a little darker.
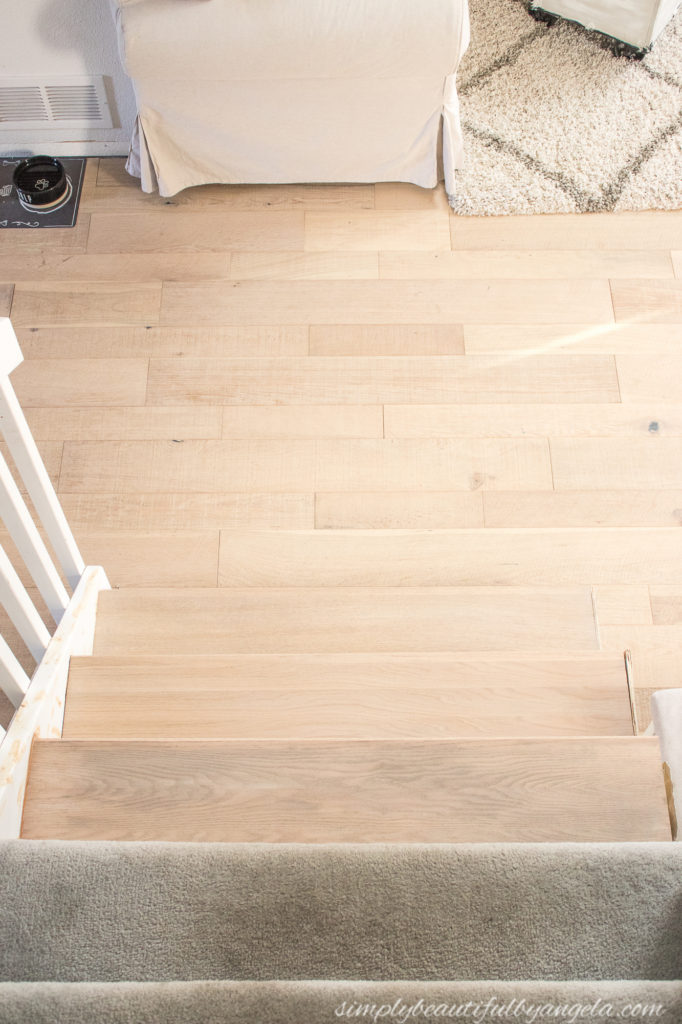
The lighting is a little funky here since I took these as the sun was starting to set through the front window, but in person the gray tone comes through beautifully.
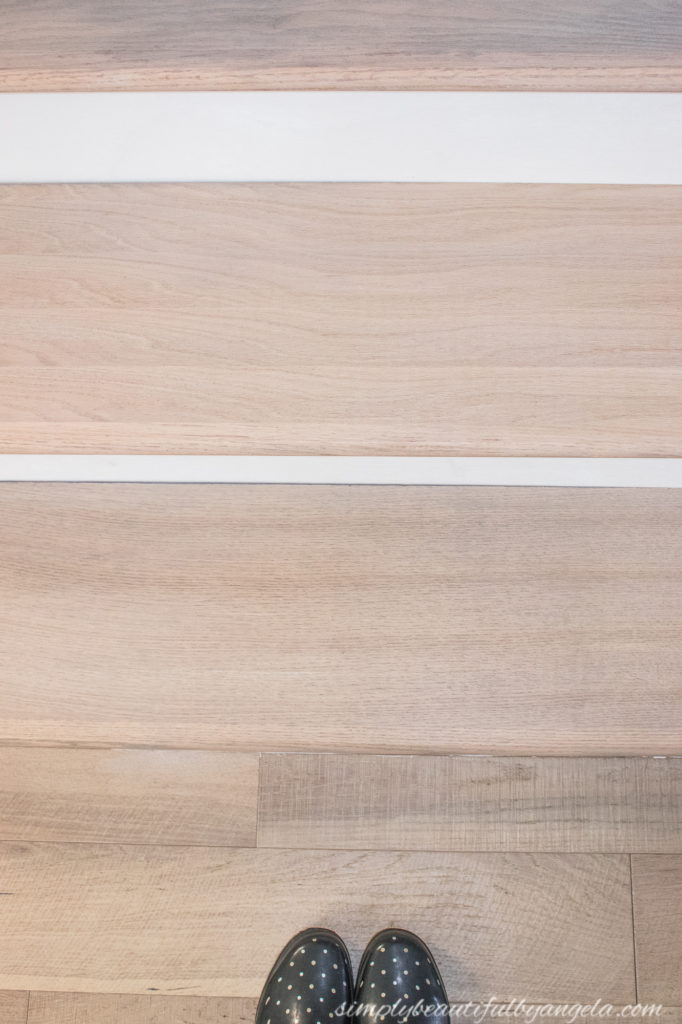
We haven’t yet decided how we want to attach the treads, so for now they are just resting in place. Anthony wants to screw them in from the top, but I feel like even after filling the holes with wood putty and staining them they will be eyesore. I want to try to find a way to use L-brackets underneath, but that may involve removing the newly installed risers which we’re not thrilled about.
The goal is to tackle 3 steps every two weeks. Besides the fact that it’s pretty dang time consuming, this will allow us to pay for it a little bit at a time. The treads are $26 a pop so 3 a paycheck works out perfectly!
I cannot wait until they are all done!
I’m so glad you could stop by today, I hope you all have a wonderful Valentine’s Day. We have a couple of parties that we are hosing over the weekend and then Monday we are headed to the Great Wolf Lodge with the kiddos. I’ll catch up with you guys next week!
(Affiliate links may be provided for convenience. For more info, see my full disclosure here.)
Linking up to these awesome parties!
I feel for you!! We just finished doing ours, too. What a job! Worth it in the end, though. Yours look amazing!
Oh that’s so awesome Jamie! I’m glad to hear that you think it’s worth it!! 🙂
Wow! What a difference it makes already, looks fantastic!
Thank you Sarah!