.png)
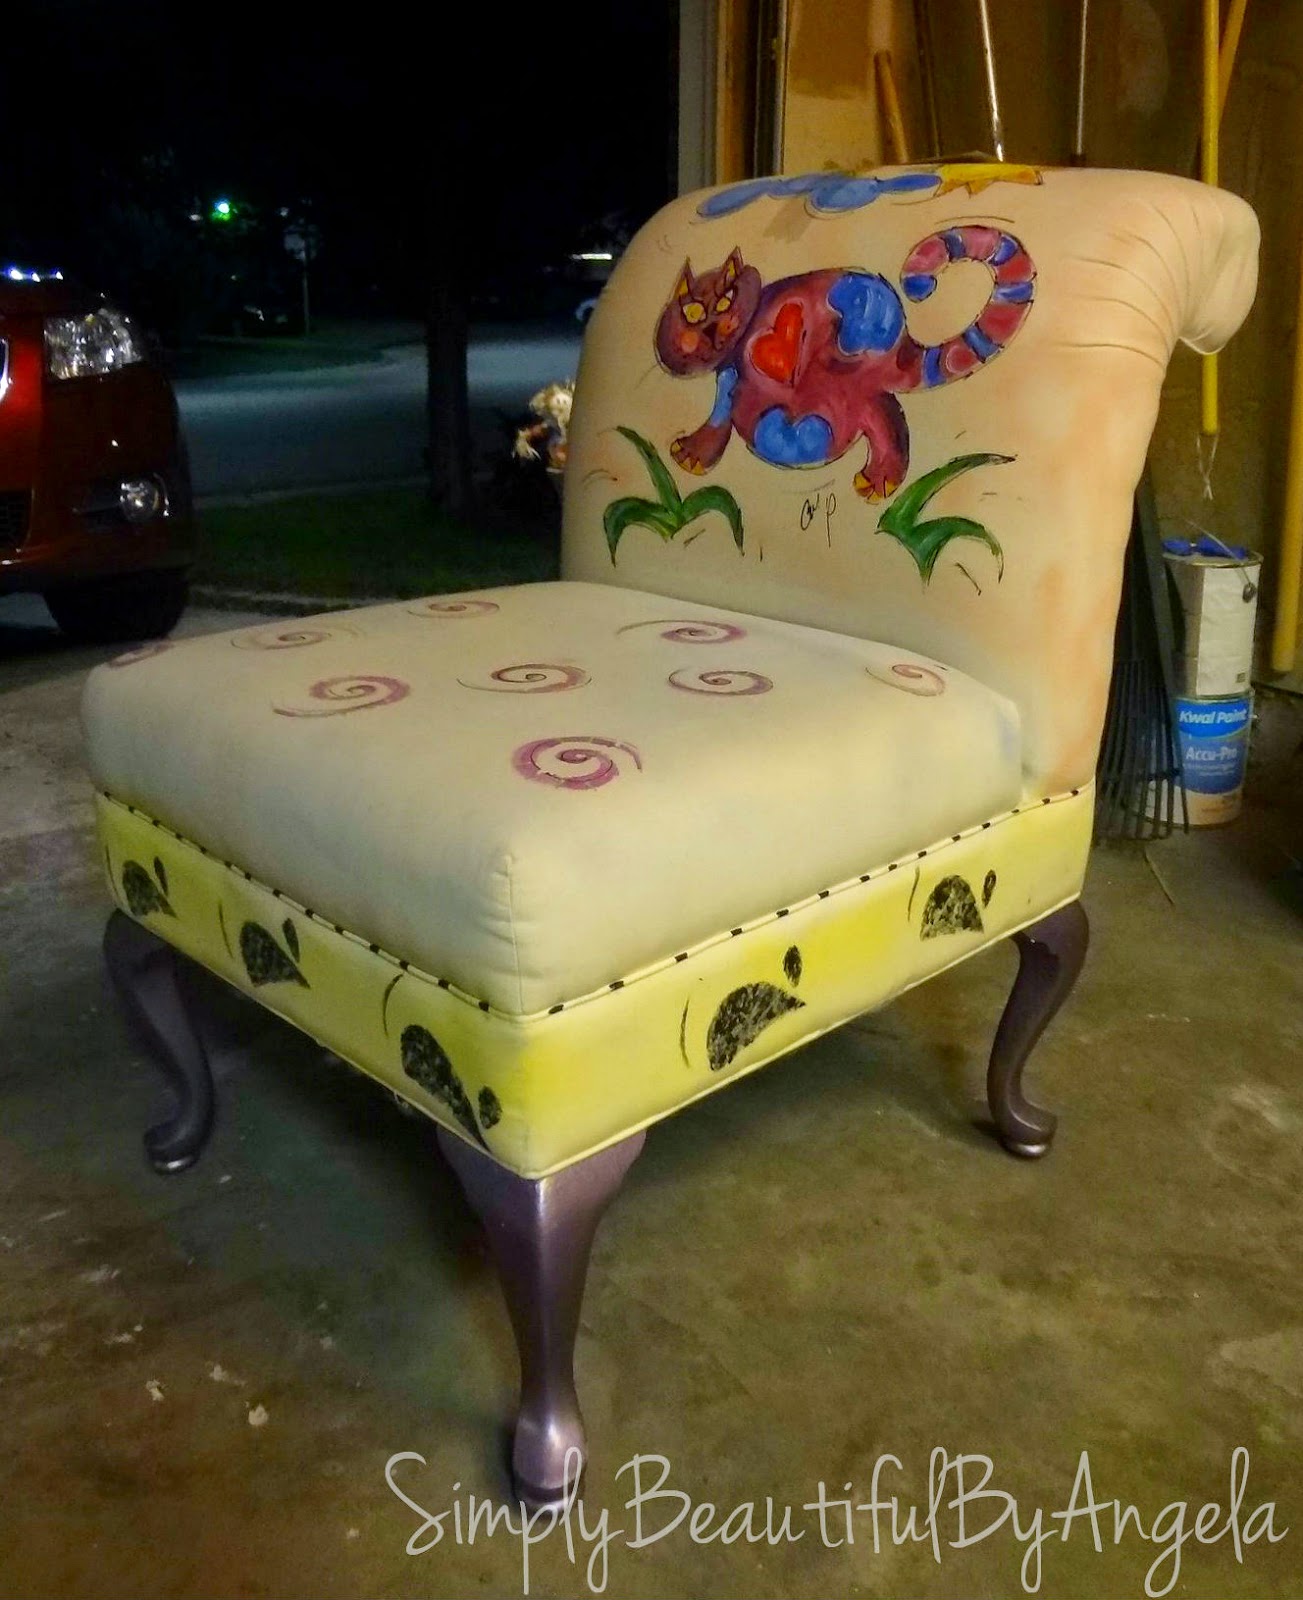
I had decided awhile back that I wanted to tackle refinishing a couple of chairs for our sitting area in the basement. My original inspiration came from Thrifty and Chic in her post here.
I began by taking a screwdriver and pulling out the tack strips that went up the back. It was so easy that I began to think–I’ll be able to finish this in no time! I was soooo wrong.
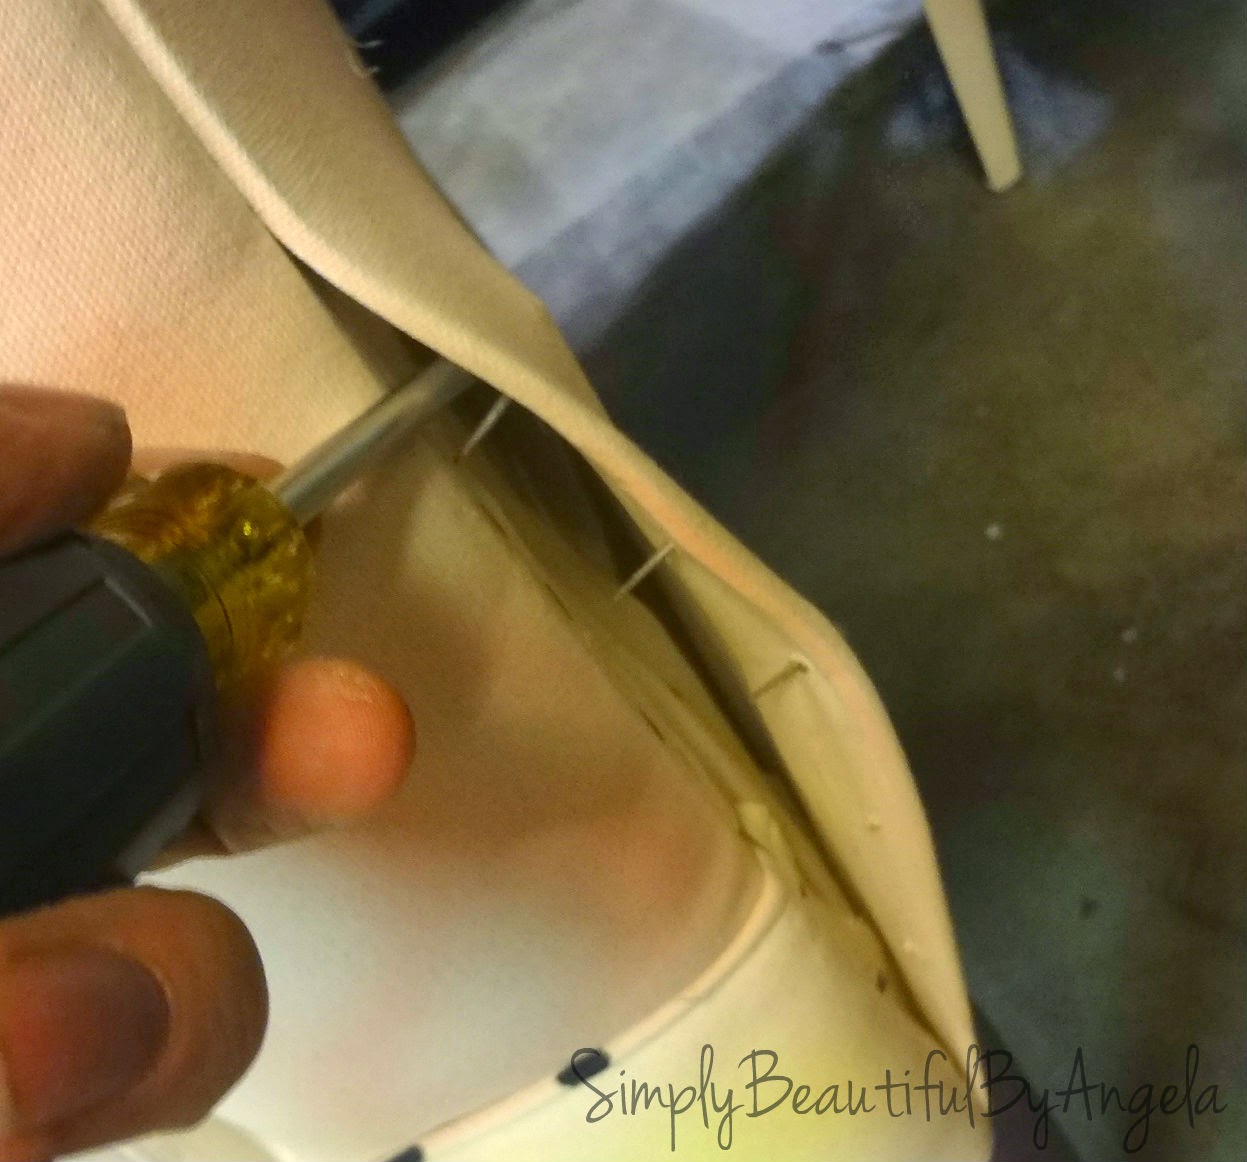
Taking the staples out was a little trickier and it took me awhile to get my technique down. I used a flathead screwriver to pull up on the staple, pulling one end out.
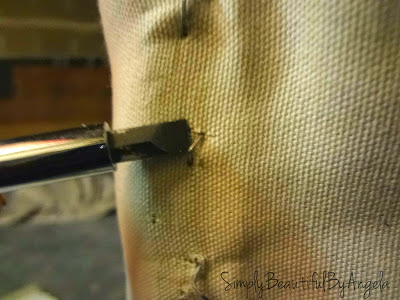

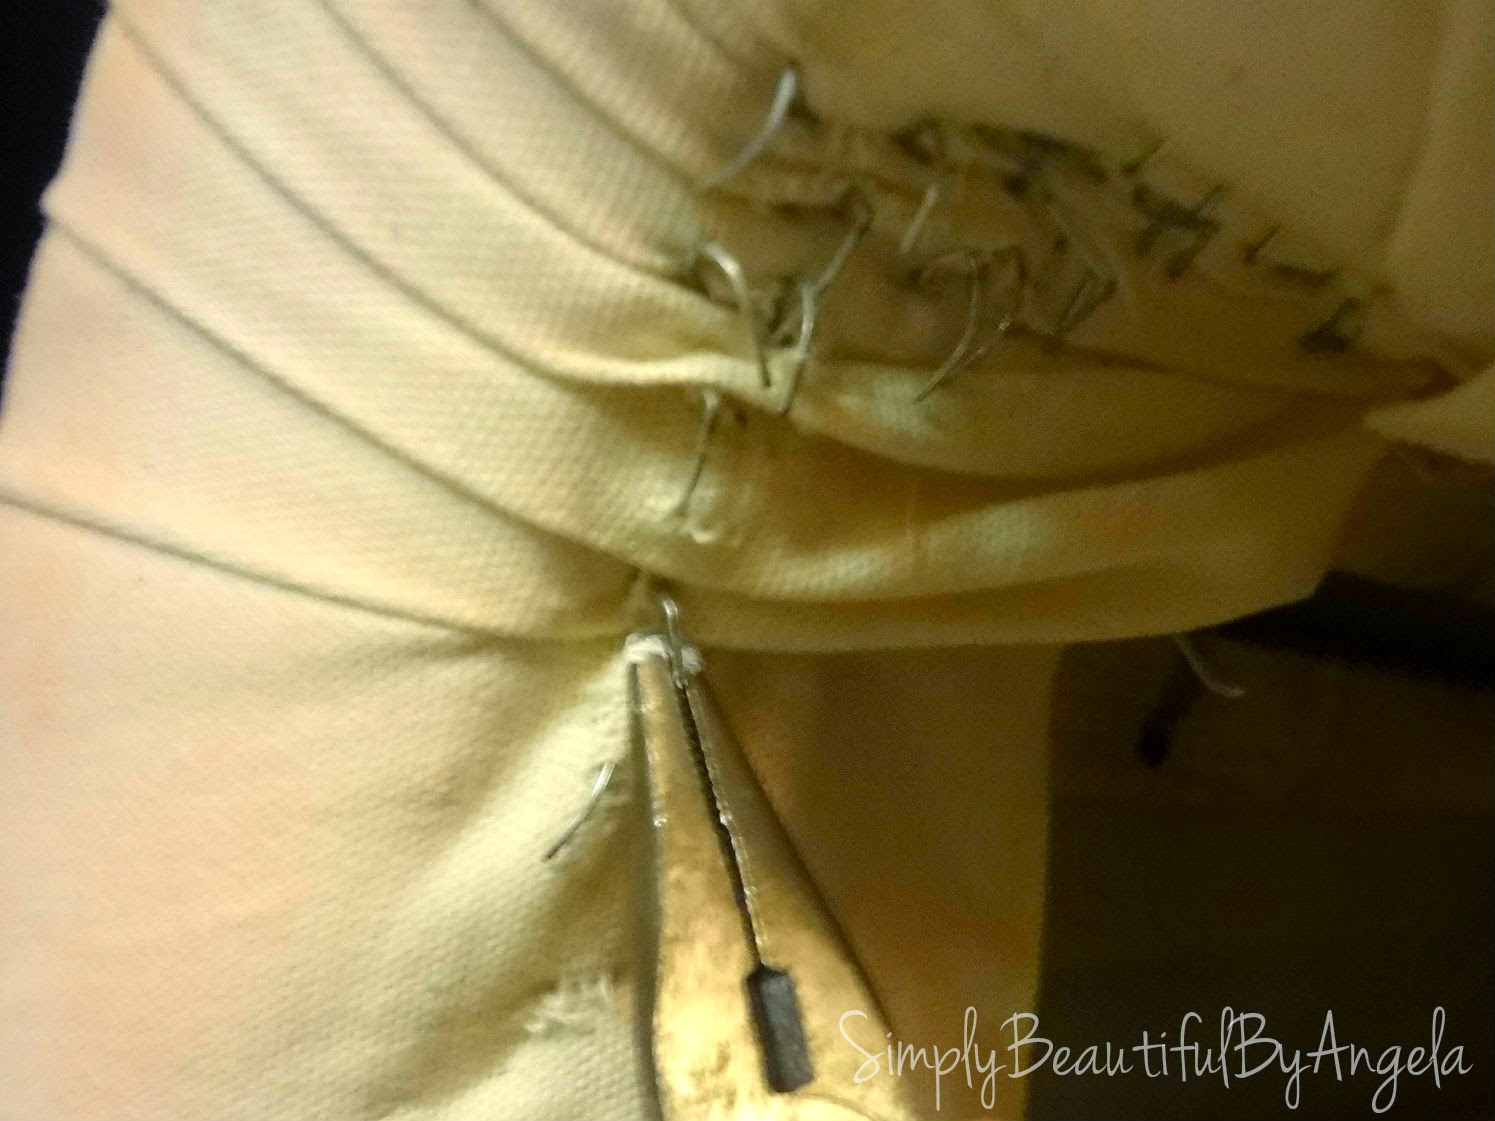
In the spots that were looooaded with staples I got frustrated and just began to aggressively carefully tear the fabric off. As long as you have a general outline for your new fabric that’s all you really need.
I also just cut that strip underneath the bottom cushion.

After I found the perfect fabric (with my indecisivness this was a real process!) I laid out all of the old pieces and traced them with chalk (works great!). As you can see I just barely squeezed them all on there and it’s a good thing because that was all they had left of that fabric at Joanns.

The most difficult part of this was getting the creases on the cushion corners. The “L” shape was cut out from the old one. I placed this piece on the chair, folded the two edges underneath and pinned them together in the back. Then I ran a quick seam on the sewing machine to mend them together. I actually had to rip it apart and re-do it a couple of times.


Covering the cushions was simple, I just draped on the fabric making sure that I had enough coverage and that my pattern was straight, then I pushed them through to the back of the chair and began to staple just like the old pieces were.
The key here is starting with the last piece you took off, and ending with the first one you took off.
(my garage has a tendancy to get a little messy when I have 4 projects going on at a time!)


By the time the fabric was all on it was looking pretty good! But I still needed to cover up all my staples. So I got some coordinating fabric (you could also use the same fabric) and made some double welt piping. I followed this awsome tutorial from Thifty and Chic.
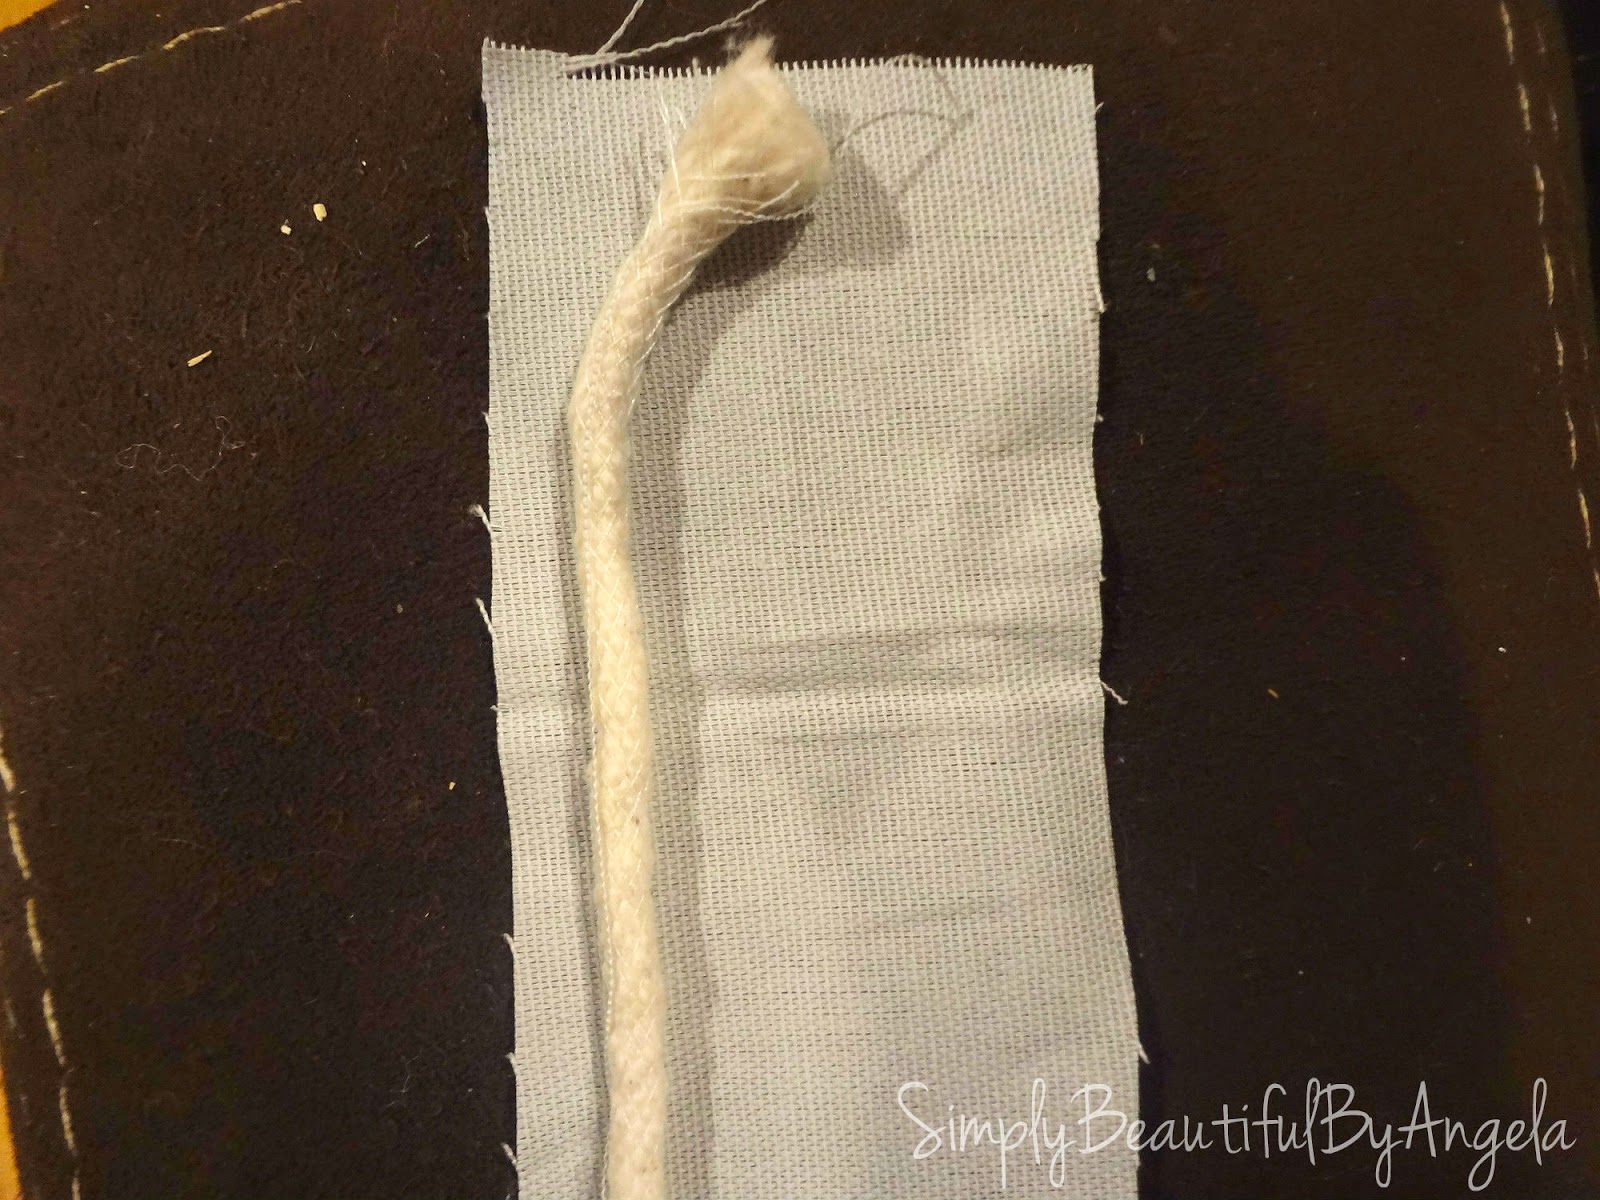
First you measure out how long you need your piping strips to be. Then you cut out strips of fabric (mine were about 2.5 inches wide) and sew them together as needed. Next, you lay one piece of piping on the strip, fold over the fabric, lay the other piece of piping right next to it (it should be touching it!) and then run it through the sewing machine to sew a stitch in between the two ropes.
Mine didn’t turn out super straight but I’m sure only I can notice. They make a special foot to run the piping that may be worth it if you want to get it perfect.


Then I hot glued the piping to the seams of the chair to cover the staples. It’s amazing how much extra this added to the chair, I’m really glad I went with a solid color because it really makes it pop.
Spots where they meet, you can just fold up and glue the end in like a pocket.

I finished it up by covering the purple legs with my trusty white satin paint. It took me 4 coats to cover that stuff up!
And I made a new throw pillow to dress it up a little.
Unfortunately I have a cat that has taken up to peeing on E.V.E.R.Y.T.H.I.N.G!!!! Curtains, baskets, rugs, couches…his toys! Probably even more that I just haven’t found yet. So I have hide it under a plastic drop cloth. Sure enough when I went to remove it to take this picture there was pee dripping off the plastic. Haha! I outsmarted you, you little fur brat! (for once…)

Linking up to these awesome parties!

Xbox is best gaming platform.