
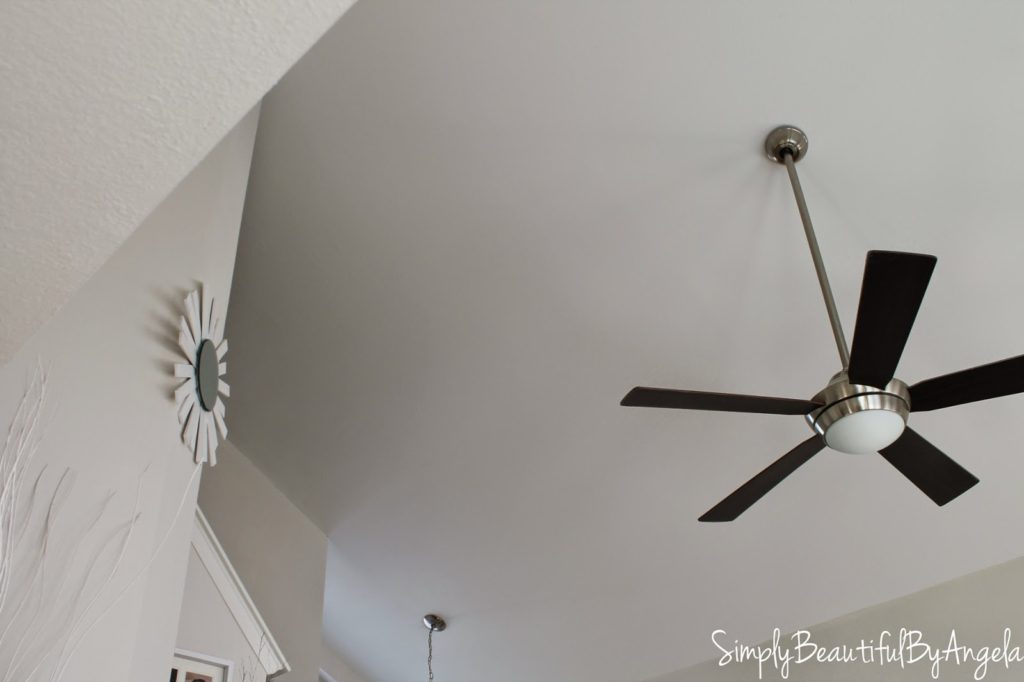
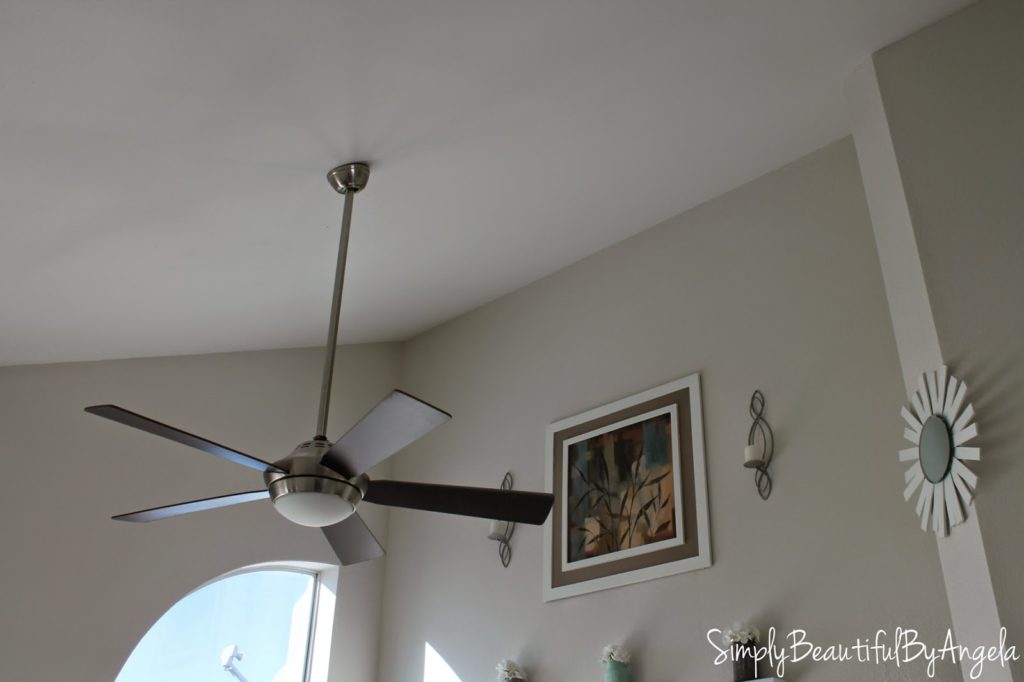
Popcorn ceilings are also known to suck up light in a room because it gets trapped in the little pieces. After removing it I noticed what a drastic difference in lighting there was. It felt like the entire ceiling had been lifted way up!
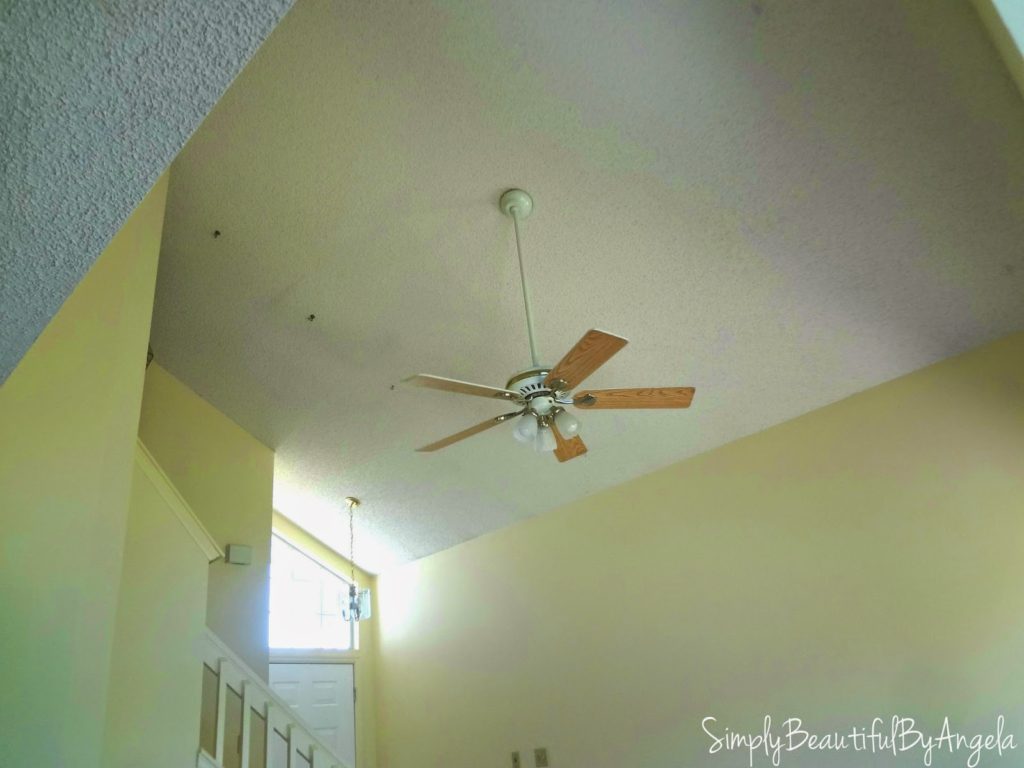
In the picture above, you can see the shadows that it created across the ceiling. (You can also see our lovely banana painted everything haha…)
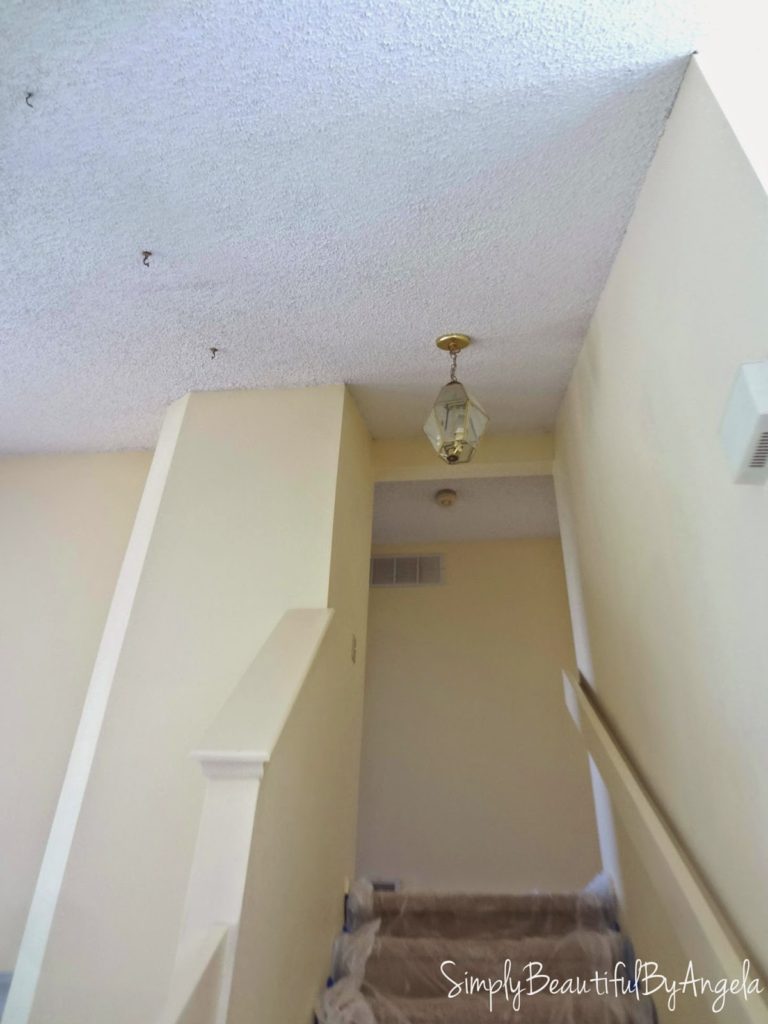
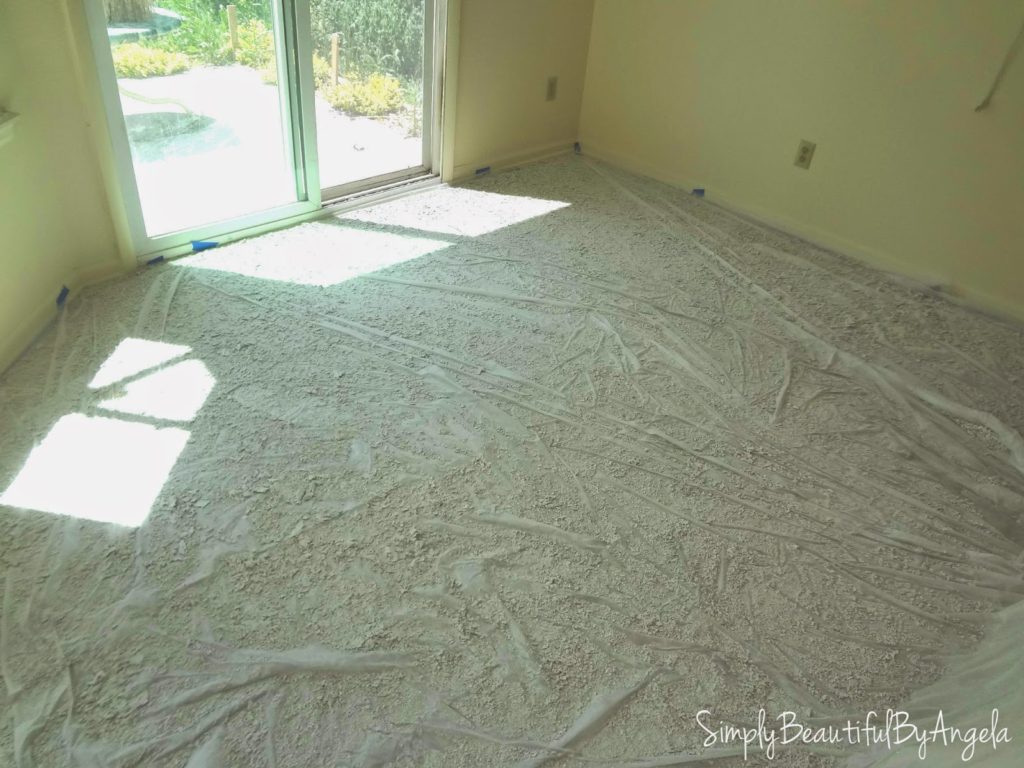
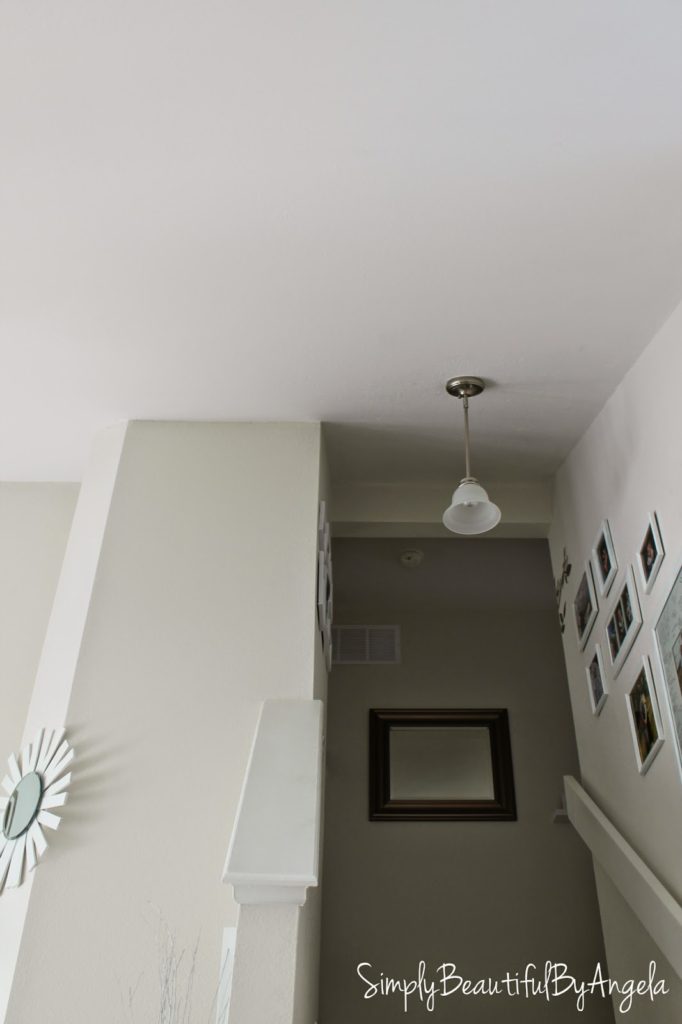
In the picture below you can see how heavy it made the place feel.
UGGGGHH my trypophobia goes into overdrive just looking this picture!!!
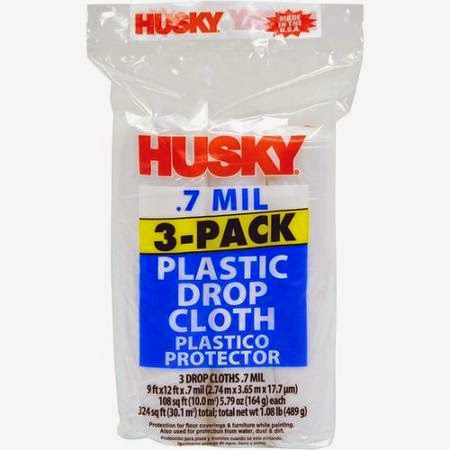
Here is all you’ll need to remove icky stuff:
- Plastic drop cloths
- Masking or painters tape
- 6″ drywall knife
- Spray bottle

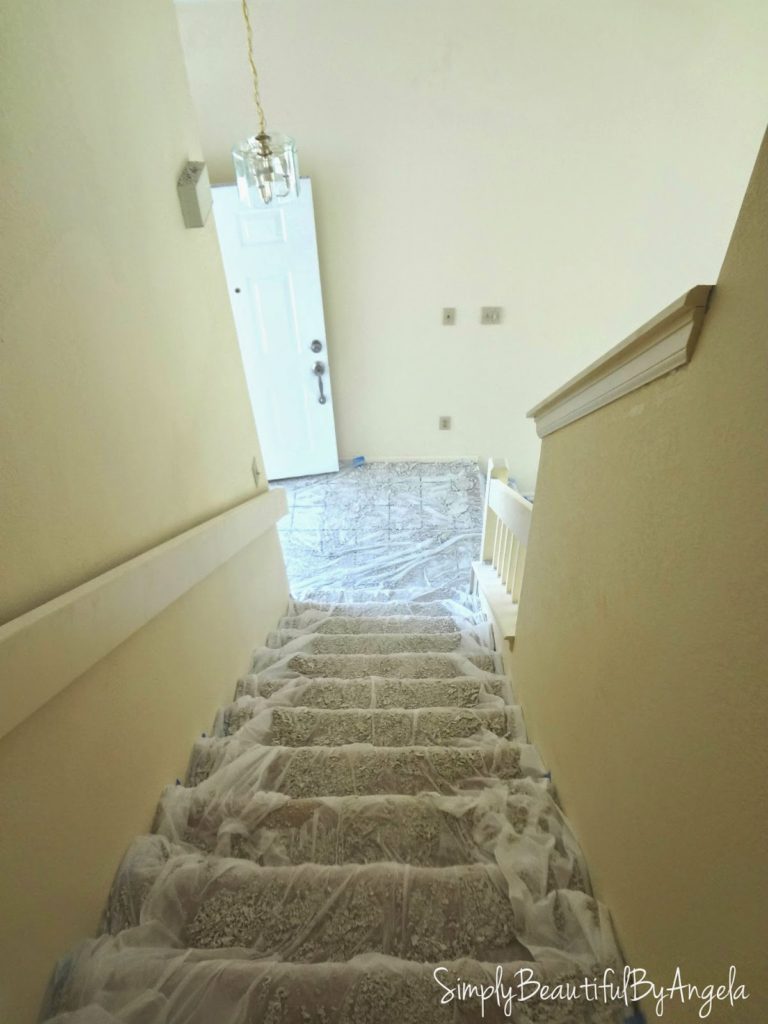
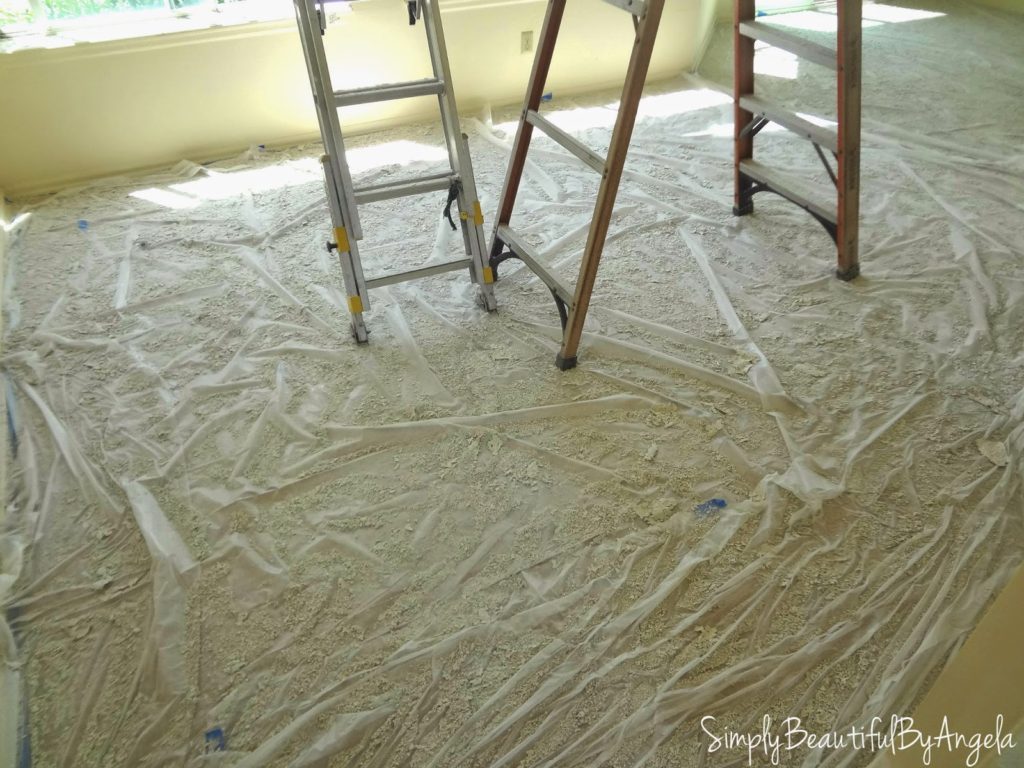
The prepwork on this project is a must and will save you so much hassle later on. We didn’t have any furniture moved in yet, but try to move all of the furniture out of the room you are working on because even if you cover it, some popcorn will probably still find its way in your stuff.
Lay down plastic drop cloths and secure to the wall with tape. We used painters tape but I think masking tape would end up sticking better. We had to keep adjusting it because as people walked it pulled away from the wall. We found the cheapest price at Walmart, they sold a three pack for $2.67. For the living room we splurged a little and got a super-sized one since it was such a large space.
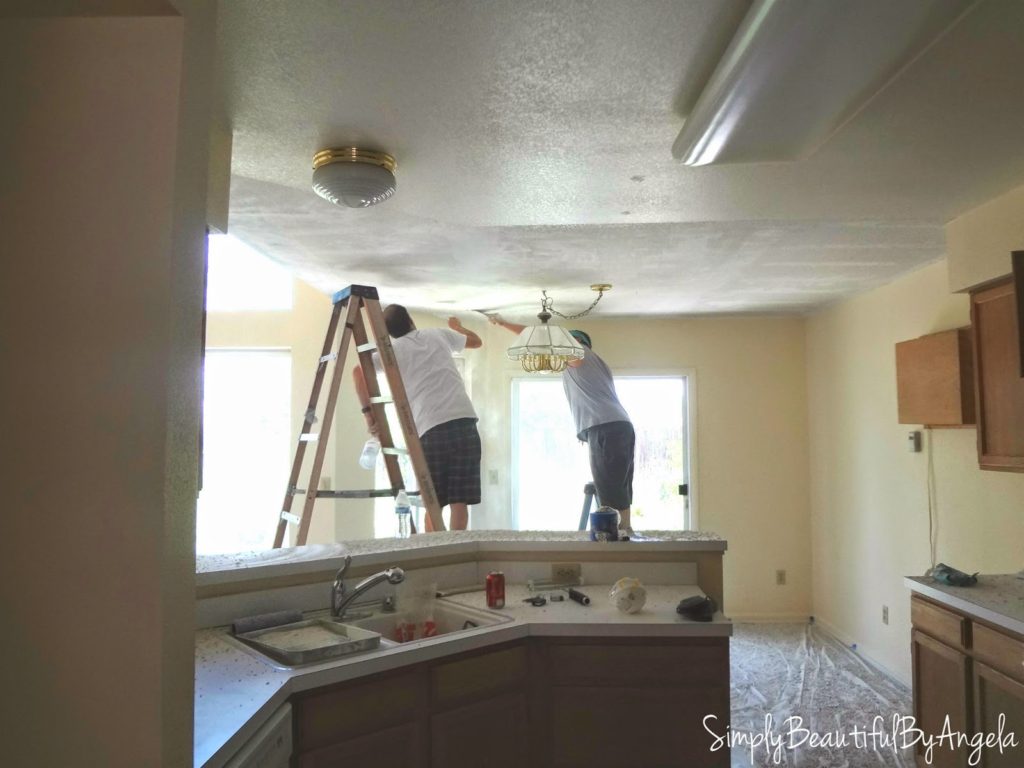
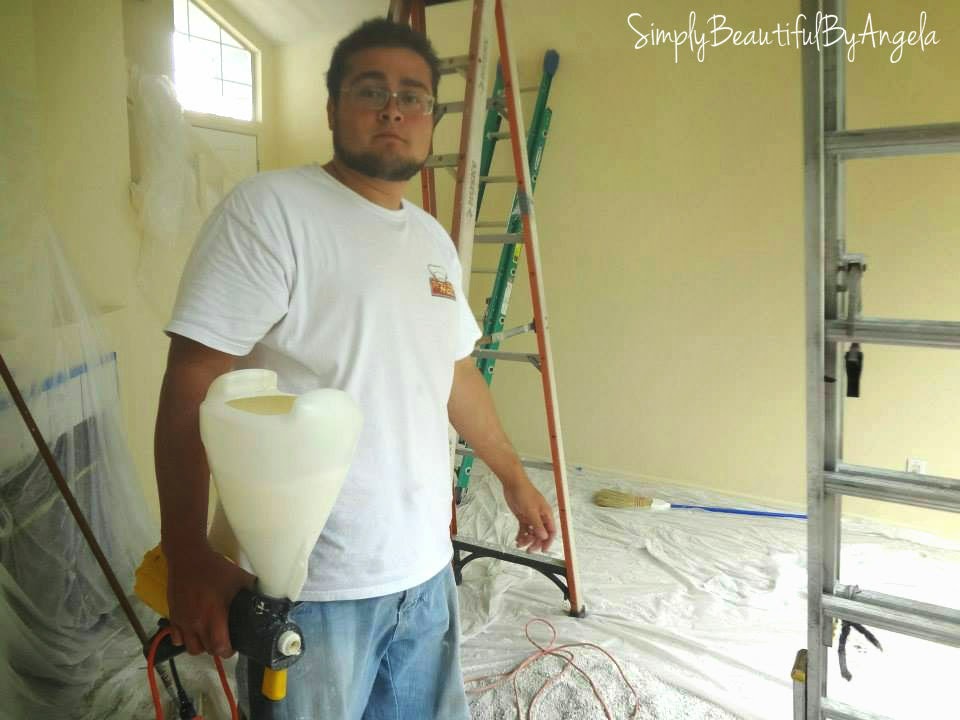
We picked up 3 drywall knives/spray bottles so that we could have multiple people working at a time. We began by spraying down the popcorn with a squirt bottle. You want to spray enough so that it appears wet, but be careful not to go so overboard that you soak the drywall. It will be easier to scrape if you let it soak for a couple of minutes.
Here is the hubby getting started!
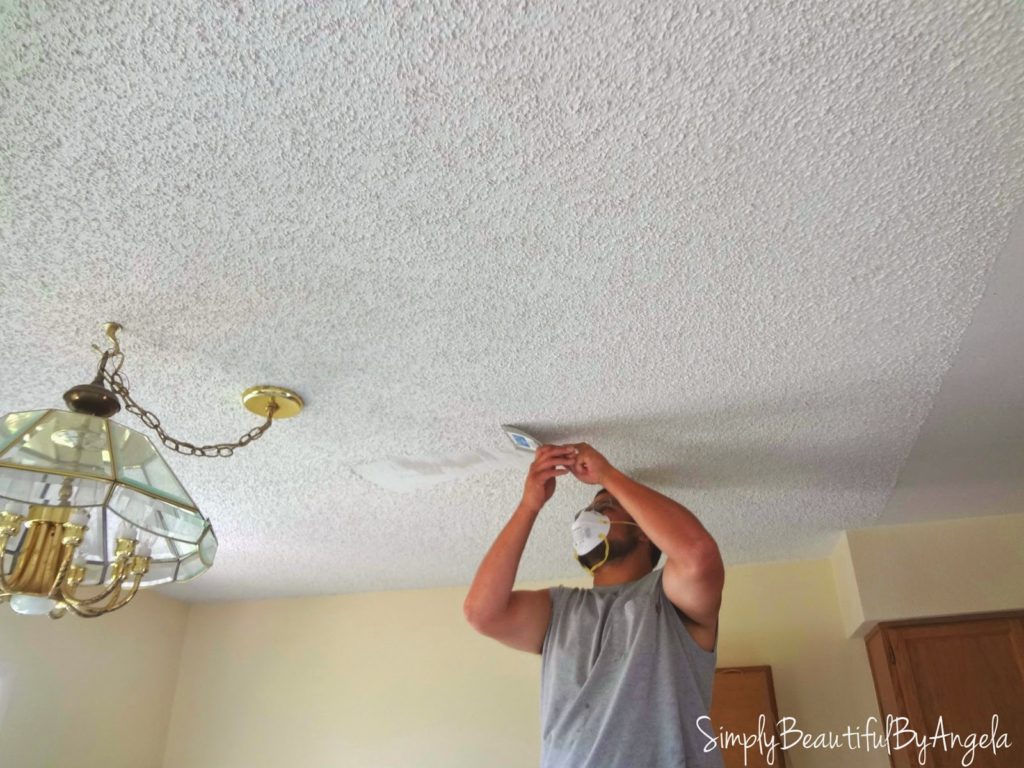

My father-in-law and brother-in-law were nice enough to help, and between the 3 guys they had the entire house completely stripped in 2 hours.
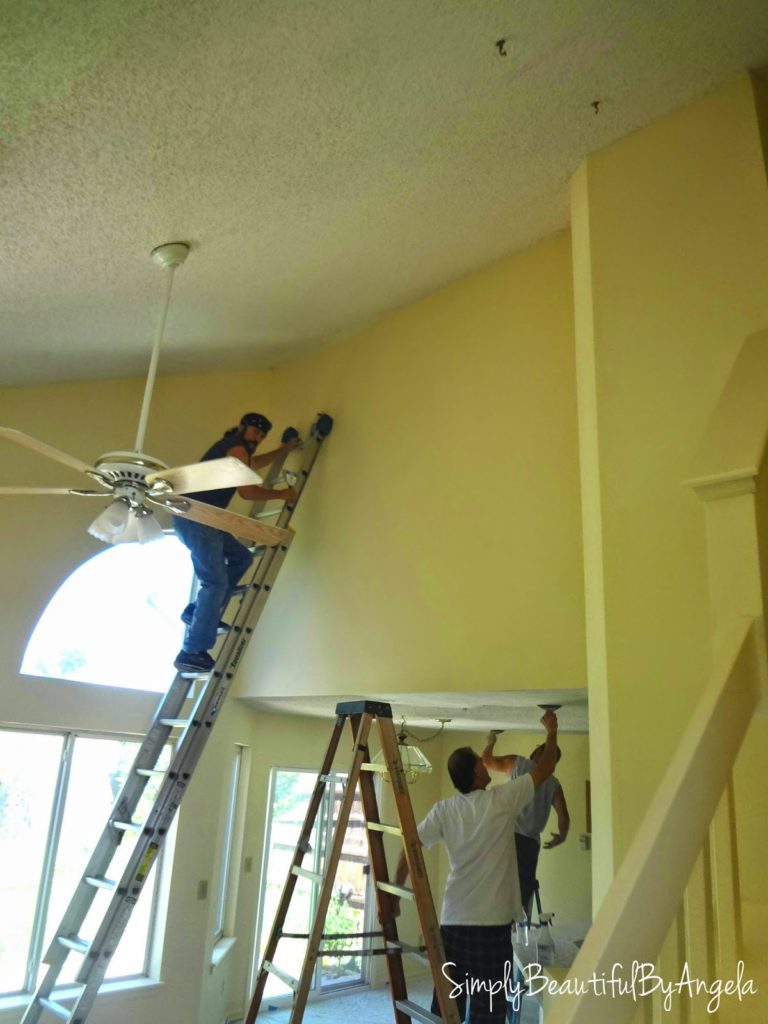
(my goodness, looking at the yellow almost makes my eyes hurt!)
We thought, “Hey that didn’t take nearly as long as we were thinking! Finishing up the ceiling should be a breeze!” Oh we were so so sooooo wrong.
The mess wasn’t pretty. It looked like we had gravel all over the house and it felt like you were on a playground when you walked over it.
After the popcorn was removed we had to figure out how to finish the ceilings. This is something that very few resources go over. Most of the blogs and articles that I read stopped at this point. Even the ones that did go on to talk about finishing the ceilings, not a single one that I found ran into any difficulties (or at least failed to talk about them).
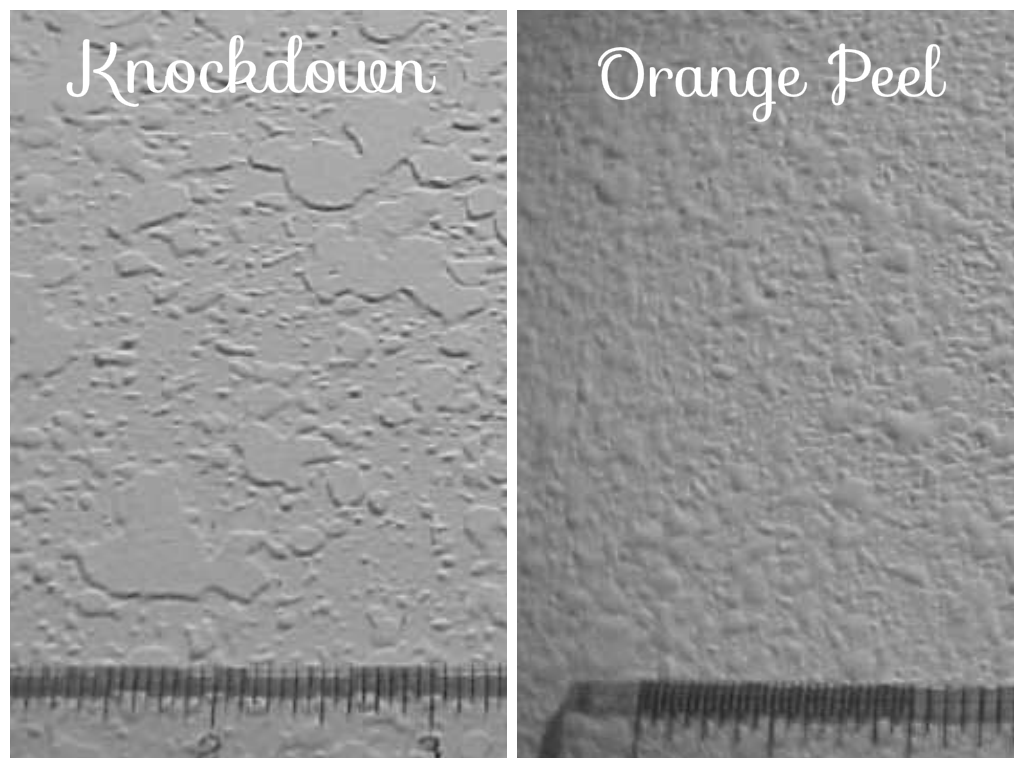
There are basically 3 options that are the most simple to DIY: orange peel, knockdown or smooth. This site is awesome at describing and showing different texture options in case you’re like I was and have no idea what these mean.
(source)
A lot of people think that going smooth is the easiest, and I admit that at one point I was ready to throw in the towel and go this route. But the texture is meant to disguise imperfections. So if you try to go smooth you will be sanding and sanding away and will probably never get it perfect. Every little divot in the drywall will be super noticeable.
We decided to do knockdown texture since that is what we have on our walls. In the end we came out with more of an orange peel, but I think it still looks great.
Fail #1–We began by purchasing a box of wall texture. According to the box, you could use this to do popcorn, knockdown or orange peel and a hopper gun is optional.
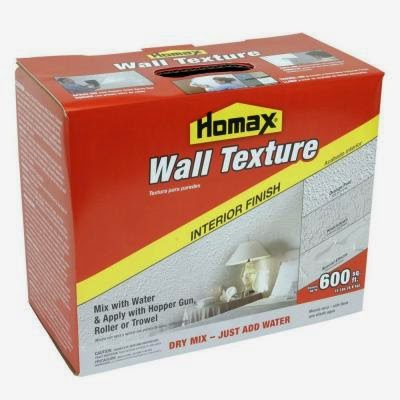
Then I realized that in order to do knockdown texture you need to drag a large drywall knife along the texture after it has sat for about 5 minutes to “knock it down.” You’ll want to use the biggest knife you can find to cover as much space at a time as possible.
Made sense. Not.
No matter what we did it looked awful.

(source)
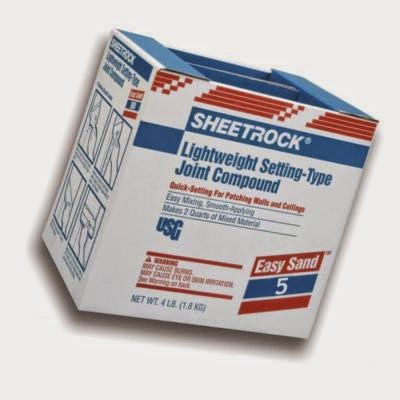
and also some Sheetrock joint compound. I read online that this is the best stuff to use for knockdown texture since it comes premixed. The other stuff was really difficult to get the right consistency with. And wouldn’t you know it, months later when the contractor was finishing our basement guess what he brought over to do the wall texture–yep this stuff! 🙂
(source)
Fail #2–So we thought we were almost there. Wrong again. The gun is supposed to come with 3 sized nozzles. The one I purchased ended up being one that someone returned because A.) it still had texture all over it from the last person who used it and B.) it only came with the middle sized nozzle. I thought we would be okay using that one but the texture didn’t spray on thick enough to “knock down.”
Success!!–So we took it back to the store and returned it for an unopened one. We popped on the largest nozzle and FINALLY we were texturing masters!!
Hubby would spray (this thing is heavy!) and I would go back over to knock it down after 5-10 minutes of letting it sit. If you go to scrap it and it turns into one big smear, then you haven’t waited long enough.
Once you start getting the hang of what it should look like when it’s ready to knock down it’s pretty easy.
Here is the texture spraying master himself haha!
The whole process of figuring out what the heck we were doing took a total of about 3 weeks since we only had weekends and a few hours on weeknights after work. Once we had the hang of it we finished the whole house in a weekend.
Also, you could tape up plastic on the walls to prevent overspray on them. We tried but it kept falling down. So since we were painting the walls anyways, we just went back over it with the drywall knife once it was dried to knock it down and it totally blended in with our existing texture.
After getting all of the texture on, sand any rough areas, roll on an oil-based primer (I like KILZ) and then your ceiling paint.
I reeeeeally wish I could have read something about how someone textured their ceilings post popcorn and it may have saved us all of the hassles that we went through.
- Make sure you cover as much as possible in plastic.
- Get the texture spray gun and Sheetrock joint compound! Seriously, you need this gun to get a good texture and this compound is awesome.
- Work as a team. The pressure to knock down the spray before it dries too much can be stressful and it helps to have another person working at it.
- With that being said, make sure you don’t spray too large of an area at a time.
- Get ALL of the popcorn off when you’re scraping. I forgot to mention that some areas weren’t scraped off completely because we were thinking that the texture would cover it up—but it doesn’t. That popcorn is stubborn and shows right through! We had to go back and get the drywall totally bare before applying our texture.
- Don’t get too aggressive with your scraping, you don’t want to tear the drywall tape. If you do, just patch it up with a little bit of the joint compound.
Linking up to these awesome parties!
This post was featured on the Before and After Party! Click on the image below to take you to the feature.
|


Thanks so much for your tutorial! I can't believe what a difference the ceilings make! We have popcorn ceilings too, and I'm not looking forward to dealing with them. But your post inspired me!
The removal was honestly not bad, and if I had read my own tutuorial about what to do after, it would have been a breeze. Good luck! 🙂
The ceilings look great. What is the name of your new wall color? Its so pretty.
Thanks Jennifer! The walls are Polished Smoky Pearl by Glidden (found it at Walmart). Thanks for stopping by 🙂
We have a crack in our ceiling that we are going to need to repair too. Do you think that the joint compound would be good to use to cover that up as well? And you are def right!!! Nobody shows you what to do after you take off the popcorn. Did you use a flat paint? Our walls are knock down so that's what we'll be using too.
I would think so, I've used the joint compound to repair a few areas of drywall damage around the house. The ceiling paint that we chose was flat. We went with the most affordable which was Glidden from Walmart. I wish you luck in your texturing adventures, let me know if you have any questions along the way! 🙂
Hey Angela – Great detailed post!!! Thank you!!! I think each popcorn ceiling is different. For the basement ceiling, we didn't need to do anything after scraping the popcorn off. We just need to paint it. For our bedroom however, we can't scrap it off without ALOT of work so we might try to sand that off with a hand sander. This one is still in progress! It's funny that it was so commonly used in house building!
What's in the spray bottles? Just water?
Yep that's it! It wets the popcorn so that it can scrape off 🙂
It was a sheer pleasure to see a completely transformed look of damp ceiling in my bedroom after allowing Willem Jacobs and his team of waterproofing specialists to carry out roof repairing, and replacing drain pipe to assure that there will be no accumulation of rain water on the roof.
However, this is not the same as the trans fatty acids that you get from fast foods or hydrogenated oils. These are the real health concerns.popcorn machines review
It was an excellent experience to get waterproofing tips from Carl Jacobs because he has been offering roof repairing, damp proofing, and guttering services in Johannesburg since years.
This is lovely. I loved how you put them.
Home Security Cameras