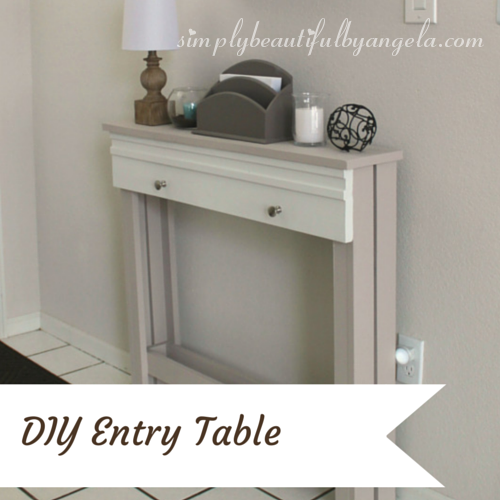
One lazy Saturday afternoon I decided I was bored. So what did I do? I decided that I was going to build another table! Haha story of my life.
I used a similar design to my cottage table that I modified from Thrifty and Chic’s design but this time I added a faux drawer.
This is a super simple table to make and is much cheaper than buying one–I think I spent about $40 total, including the hardware. And the best part is that you can totally customize it to any size you’d like!
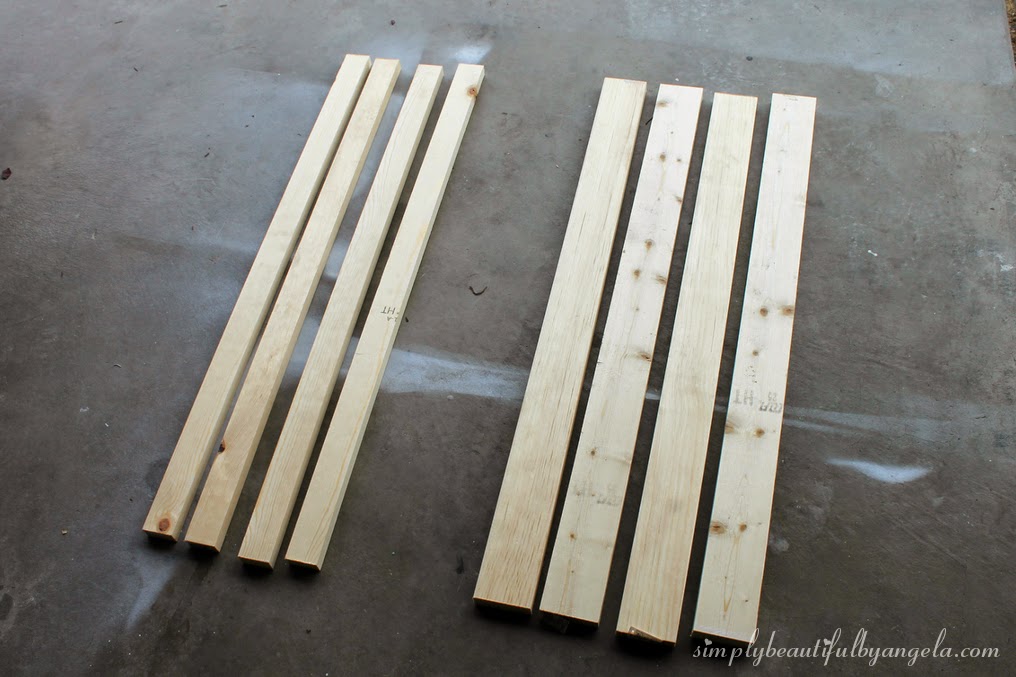
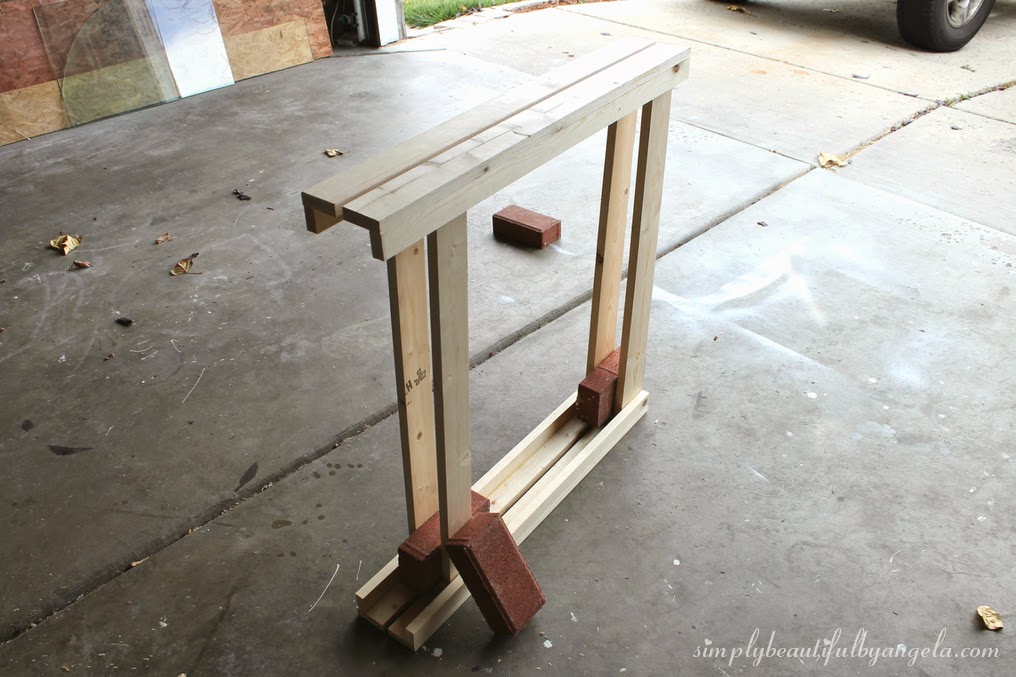
You will start by building the legs. To do this, cut four 1x2s and four 1x3s to the height that you want.
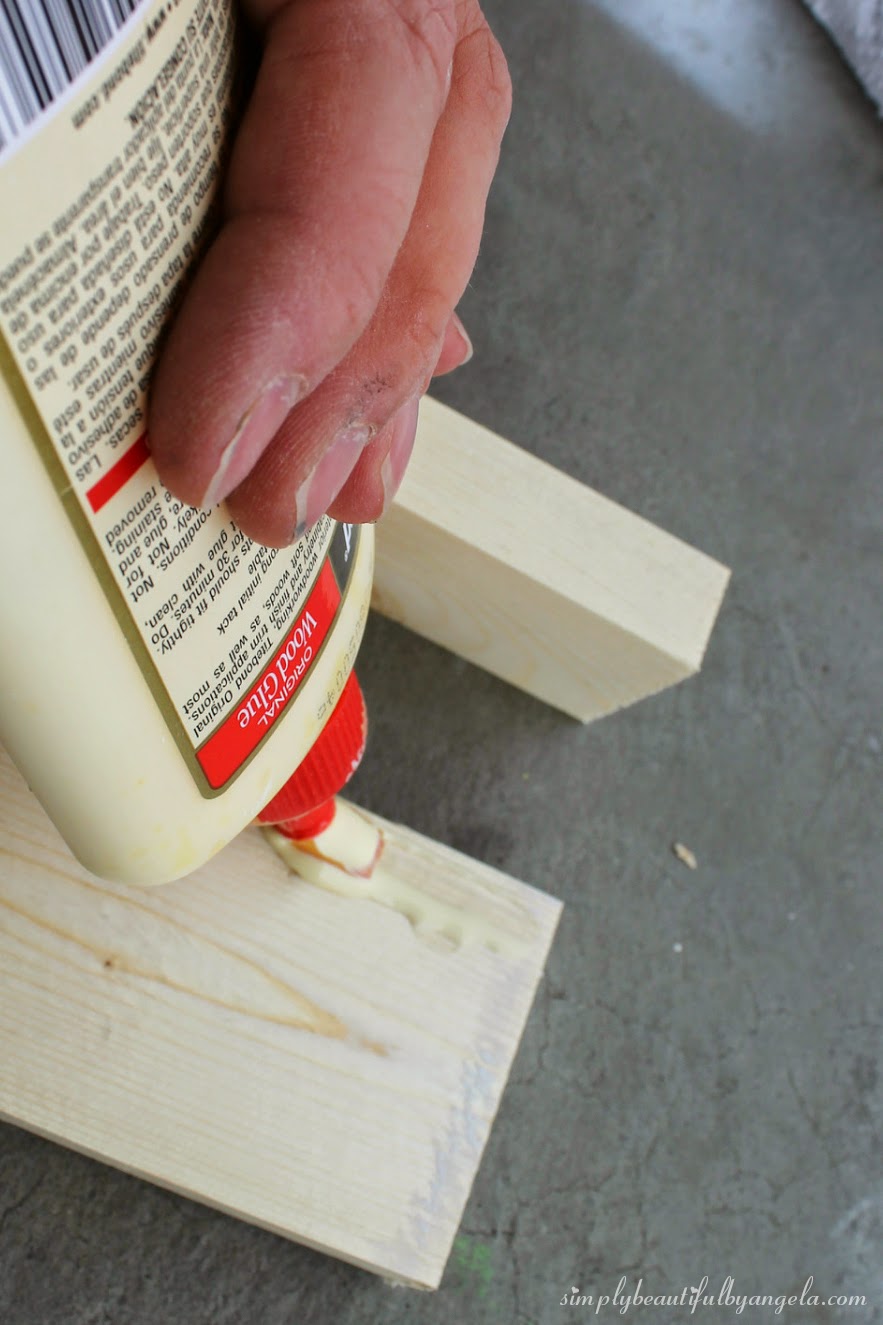
Using wood glue, secure the 1×2 to the 1×3, making an L shape.
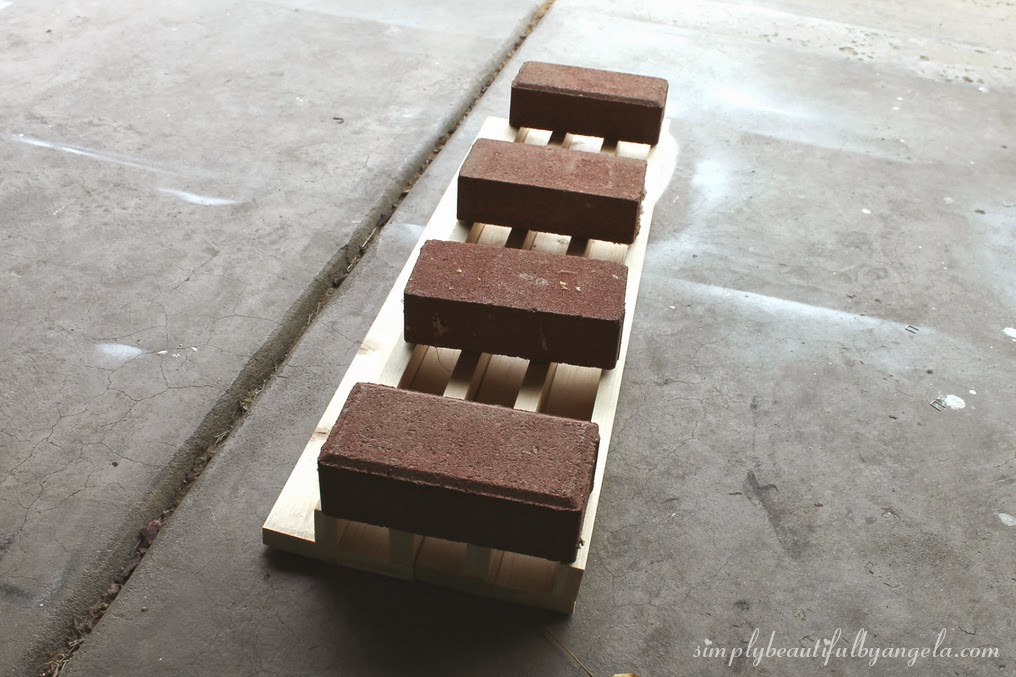
Let them dry for at least 30 minutes. I put bricks on top for a stronger bond.
Next, cut out a 1×3 and a 1×4 to the width that you want for the table. I wanted it super narrow since it was going behind our front door so I got a 1×8 for the tabletop. I then figured out how wide the sides needed to be, keeping in mind that I wanted the tabletop to overhang 1/2″ on each side. This step can get kind of tricky so make sure you pay close attention to measurements and math!
Use the 1×4 to connect the top and the 1×3 to connect the bottom. Make sure that you measure how far up you place the 1×3 on the first set of legs so that you can match it on the other set.

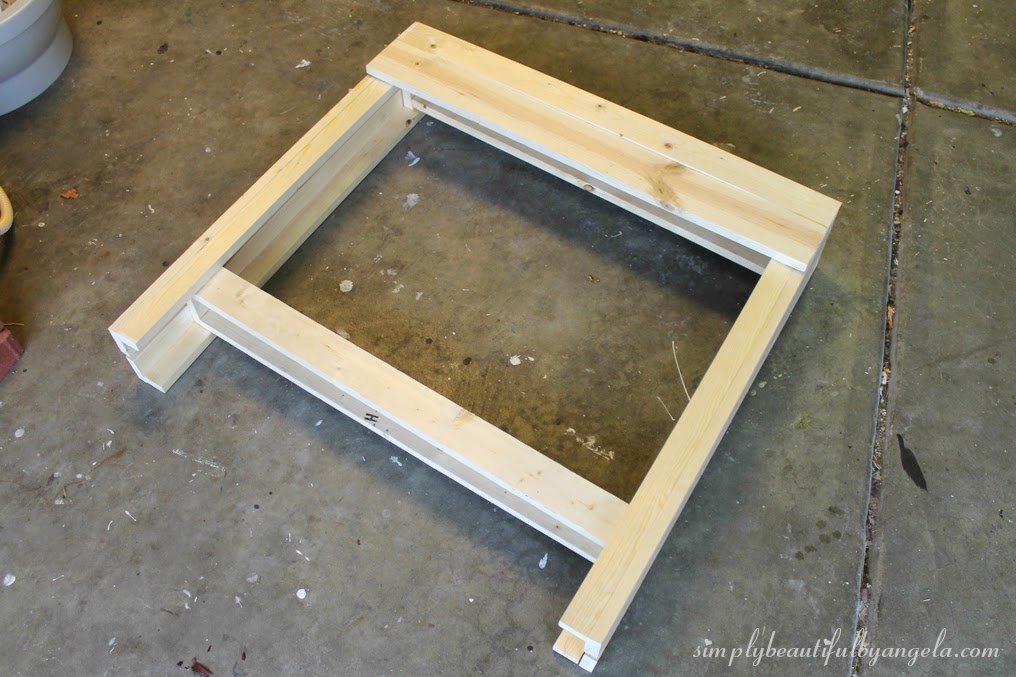
After these have dried for 30 minutes it is now time to connect the two sets of legs together using a 1×4 and a 1×3 cut to the length that you want for your table.
I used a lot of bricks on this step to hold things together!
Once those have dried, you can now add a faux drawer. I used a 1×3 and a 1×4 laid side by side because those were the scraps that I had laying around.
The problem with this was that because the pieces weren’t perfectly straight, they weren’t perfectly flush. I sanded and sanded and couldn’t get them as flush as I wanted.
However, I’m very glad that this happened because I took some molding and laid it across the seam to hide it. Then for fun, I added another piece along the top. I couldn’t be happier with how much character this added!
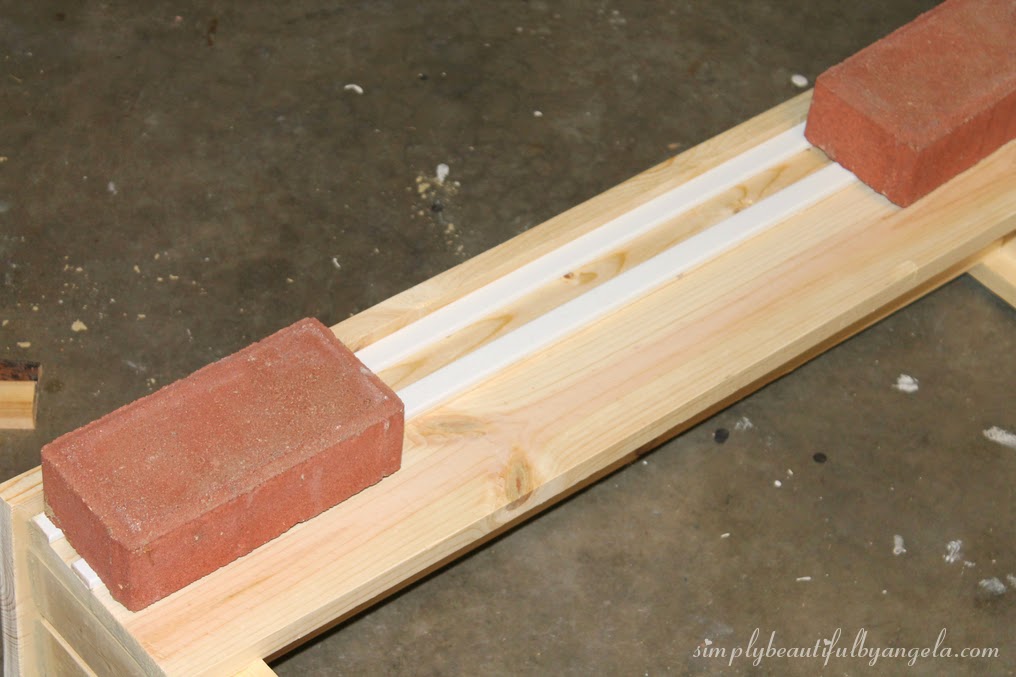
I went back around and used wood filler in areas that had gaps and sanded it all down once dried.

After a coat of primer and 5 coats of paint (yes–FIVE because I’m sooooo indecisive!!!) we now have a beautiful addition to our little foyer.
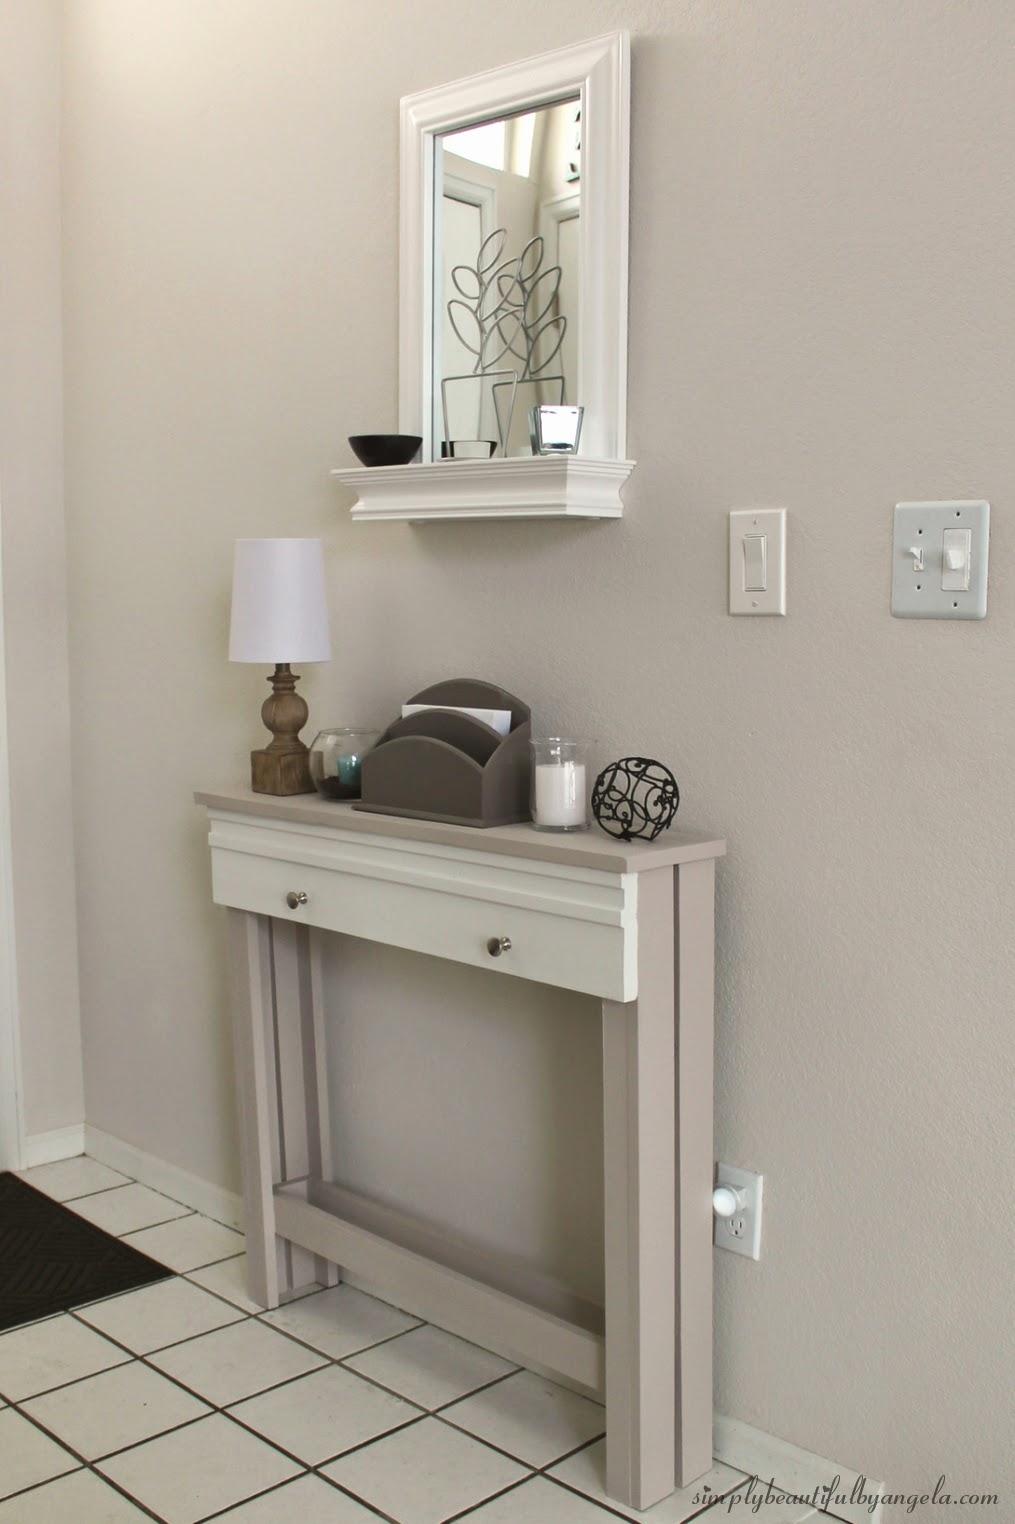
I’m still toying around with how to decorate it, I have a lot of cute ideas for the holidays.
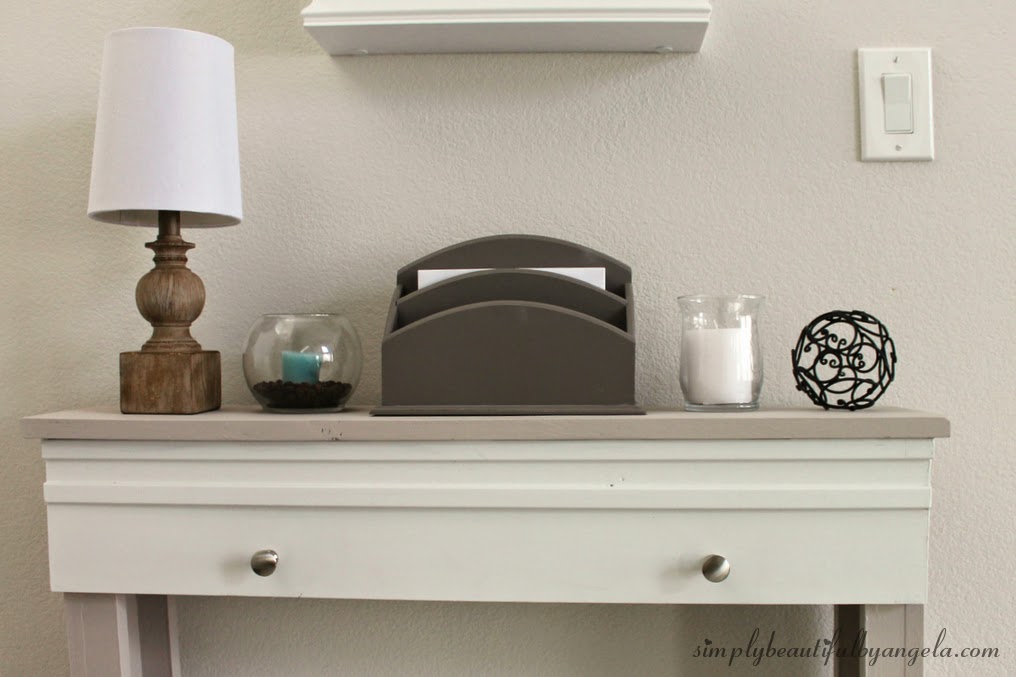
But for now I’m pretty in love with how my new little lamp looks here.

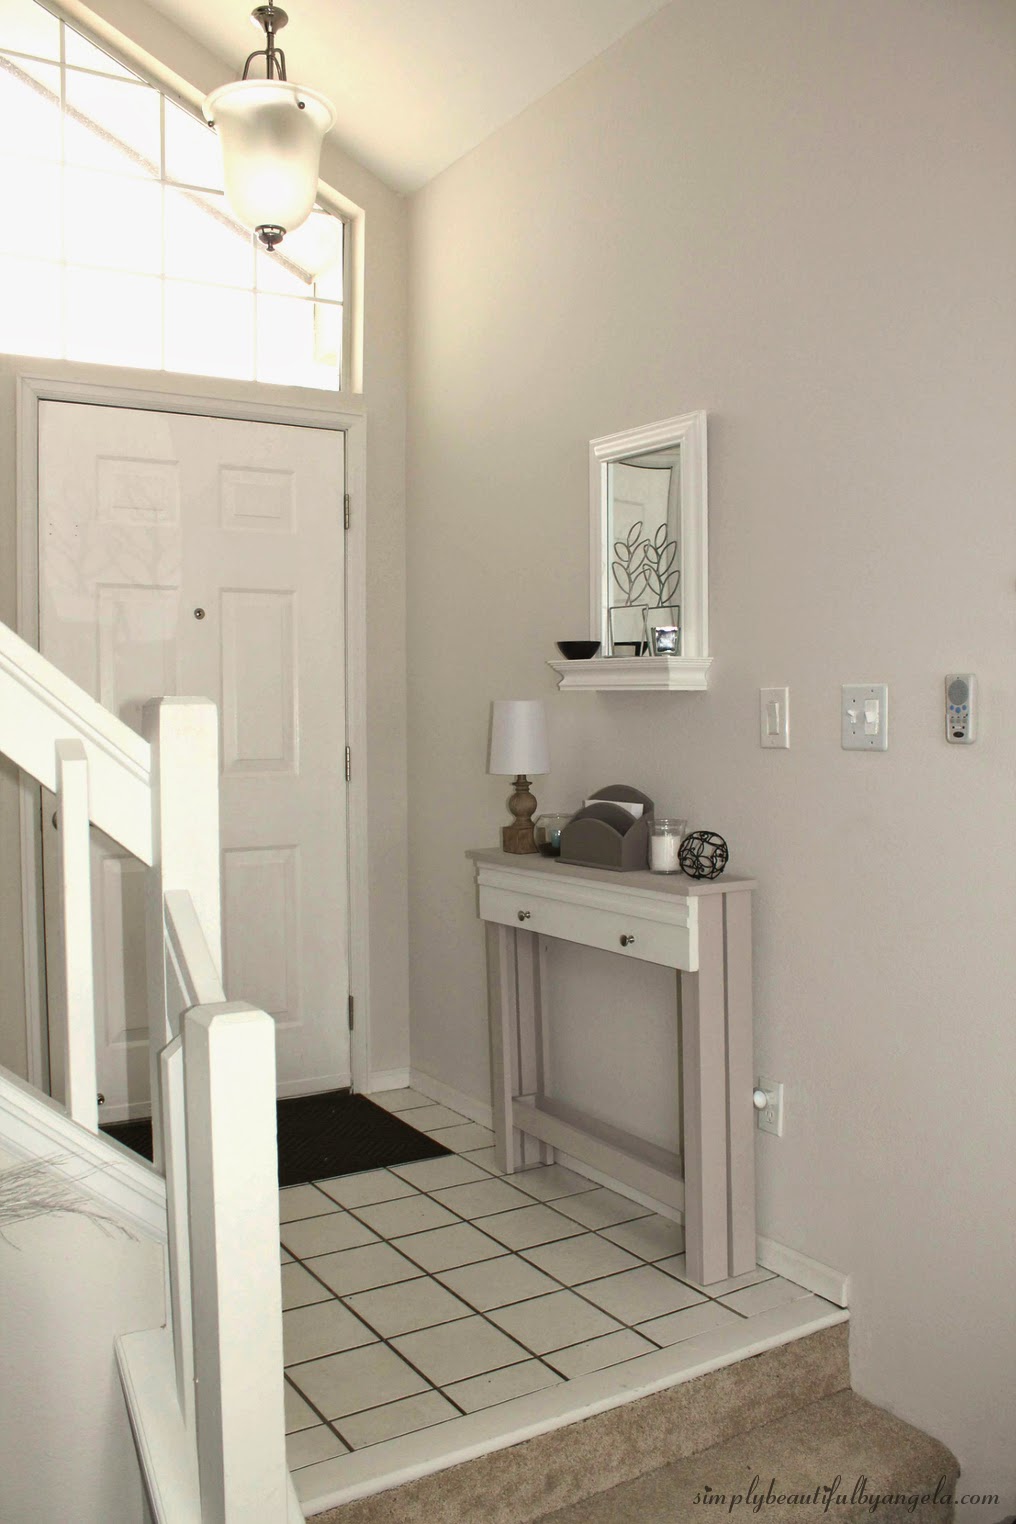
As a recap, this is what our foyer used to look like. When I kicked the shelves out of our now mudroom, I put them here. Now they are used for garage storage 🙂
.jpg)
And here it is now!
I already have a few ideas brewing for more table projects. They are so easy and so much fun!
This post was featured at Fridays Unfolded

Linking up to these awesome parties!
This post was featured on Friday’s Unfolded! Click on the image below to take you to the feature post.
|


Oooh this sounds like the story of my life! I've made several tables "just because", and I definitely have a space that a table this size would work really well in. I think I'll have to try this out!
I really like your blog too! Definitely one I'll be coming back to 🙂
Awwww thank you!
Wow, what a great idea! I hope you will share it tonight at the Found & Foraged Linky Party! The party starts at 8PM CST! Hope to see you there http://www.thebigrevealblog.com