These blankets have been around for years but I’ve never actually gotten around to making one.
One day I was at the sewing counter at Walmart and saw some kits in a bin. It’s been getting really cold lately so I’ve been planning to get my son a bigger blanket to snuggle with in his crib. When I showed him the package, he squeaked with glee and rubbed his face into the material. It was too adorable!
The kit from Walmart was $8.97 and came with two coordinating fleece materials.
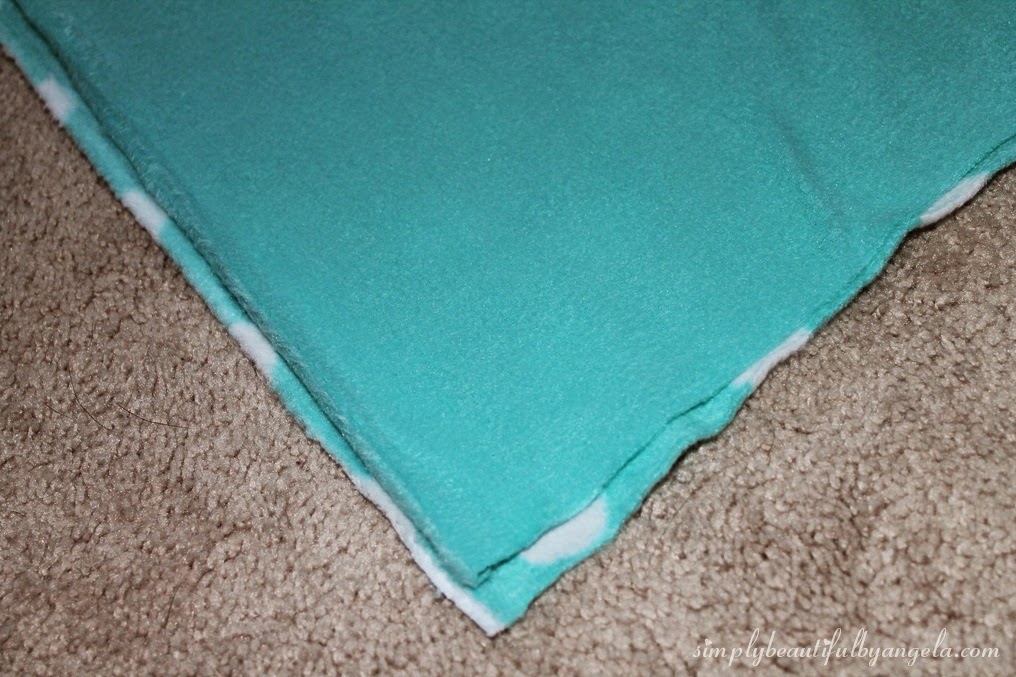
The first step is to lay them on top of each other, with the more finished sides facing out. My pieces didn’t align perfectly but it didn’t matter.
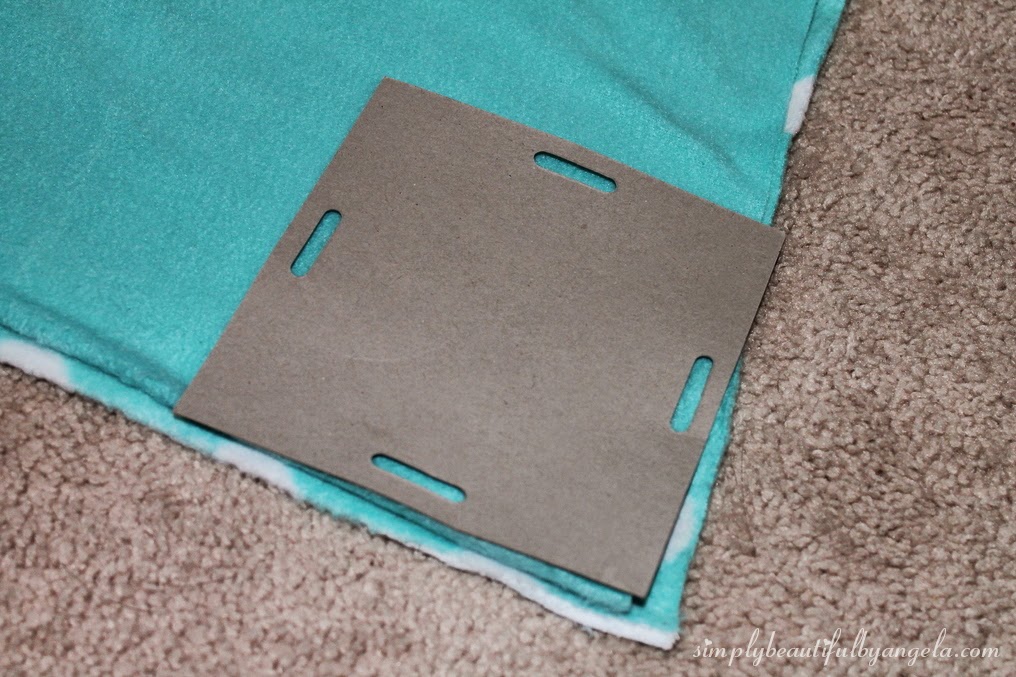
Next, cut out a 5″ x 5″ square. The kit came with a piece of cardboard to use as a guide, but you can just measure it out with a ruler and pencil.
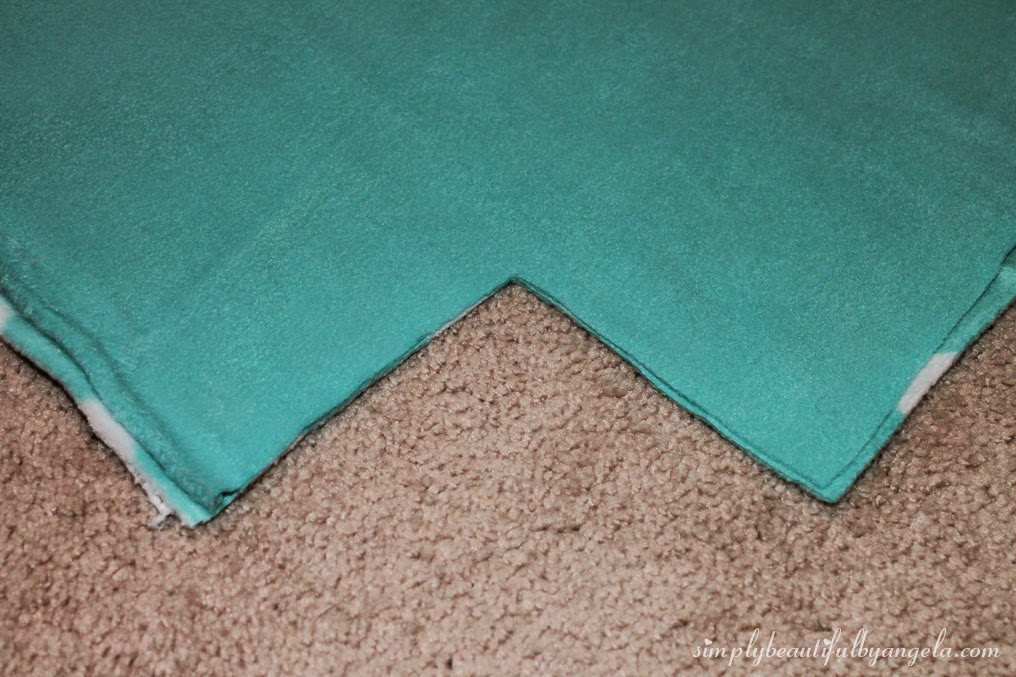
Now it’s time to start making the cuts. You will want to ensure that you are using some quality scissors to make clean cuts (and to save your sanity!). I just eyeballed each one but if you want to get real perfect you can measure and make marks 5 inches high, 1 inch apart.
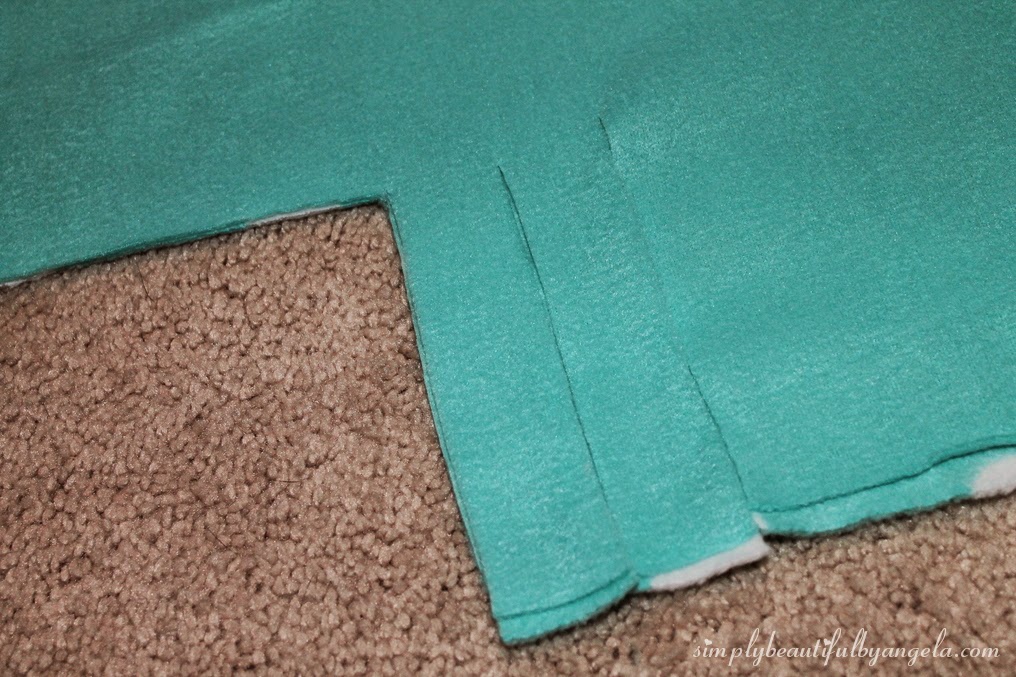
It takes a while to get around all four sides and your hand may get a little sore–but you’re almost done!

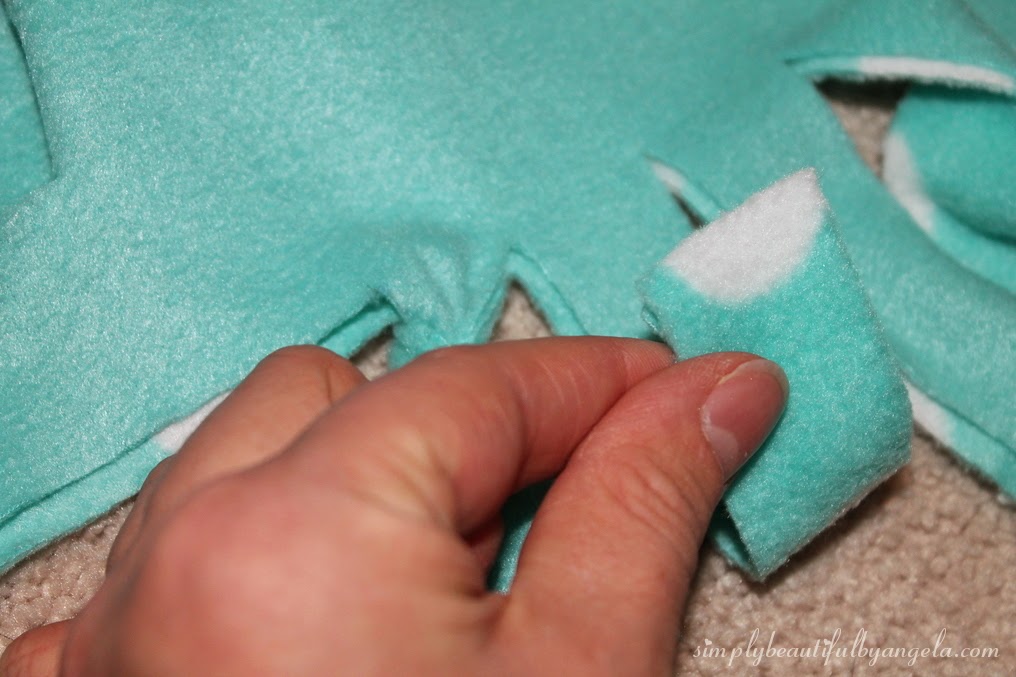
There are two methods for making the knots. To do the first method, you just grab both pieces and knot them together like you’re tying a shoe.
However, I like the second method better–I feel like it’s easier and cleaner.
You take both pieces in one hand, fold them upward to make a loop:
and then pull the ends through the loop:
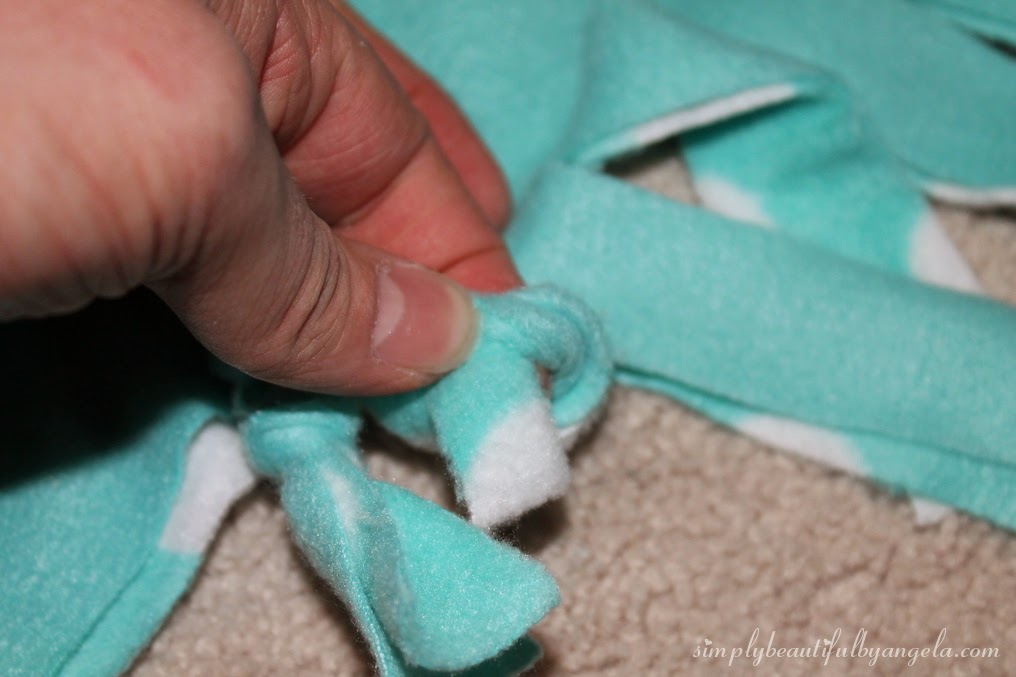
The knot makes the fabic ends shoot straight down as opposed to out to the side like the first method. It’s all about preference but I think this is much cuter!
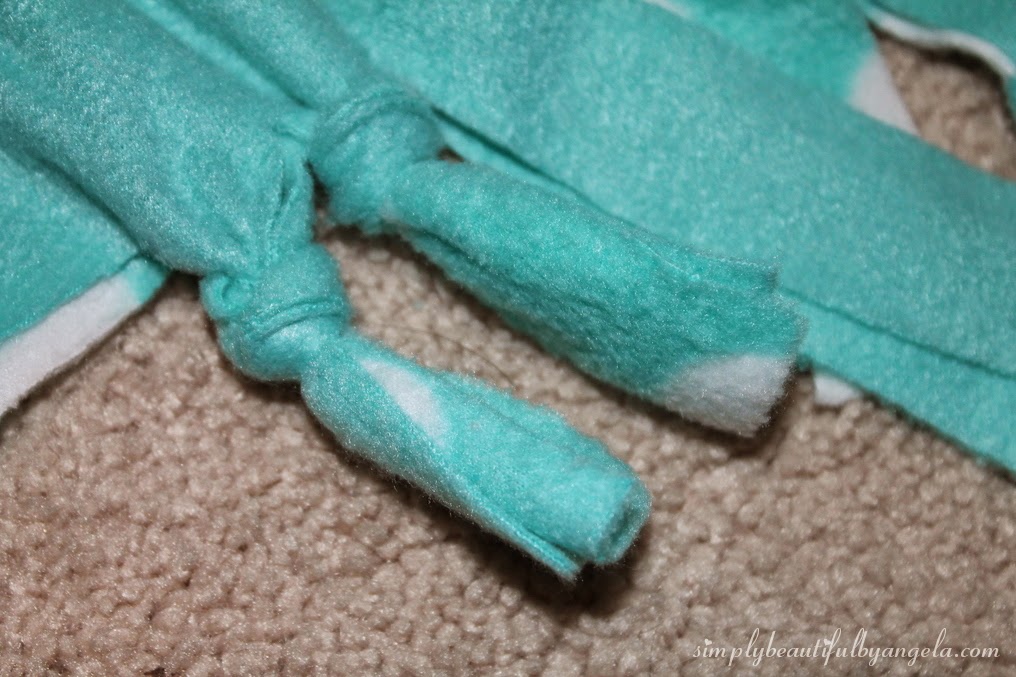
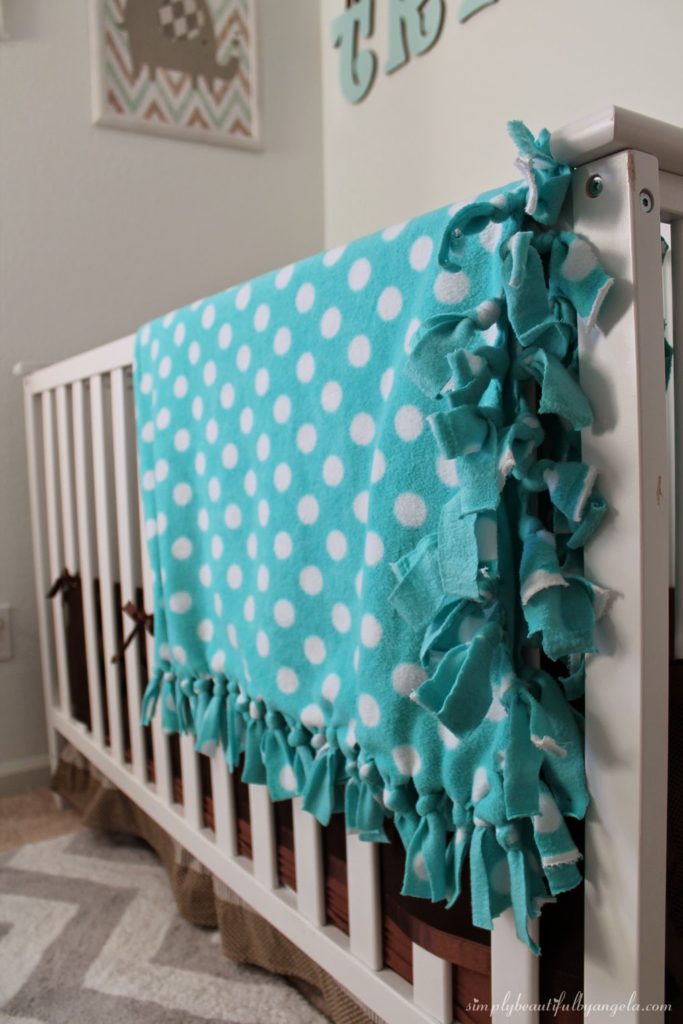
Go all the way around and alas you will have your finished product!
My son loooooooves his new blanket and gets so excited every night when I cover him up with it. Oh and it matches his room perfectly 🙂
Linking up to these awesome parties!
This post was featured on City of Links! Click on the image below to take you to the feature post.
|


good idea!!!