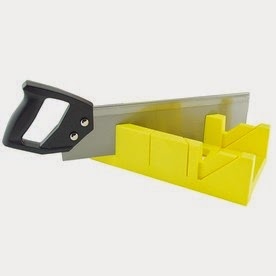
The only reason I kept putting it off is because I was nervous about cutting the molding. But I purchased this doodad (also known as a miter box)from Lowes and found out that this actually was a super easy project that made a huge impact on our bathrooms!
(source)
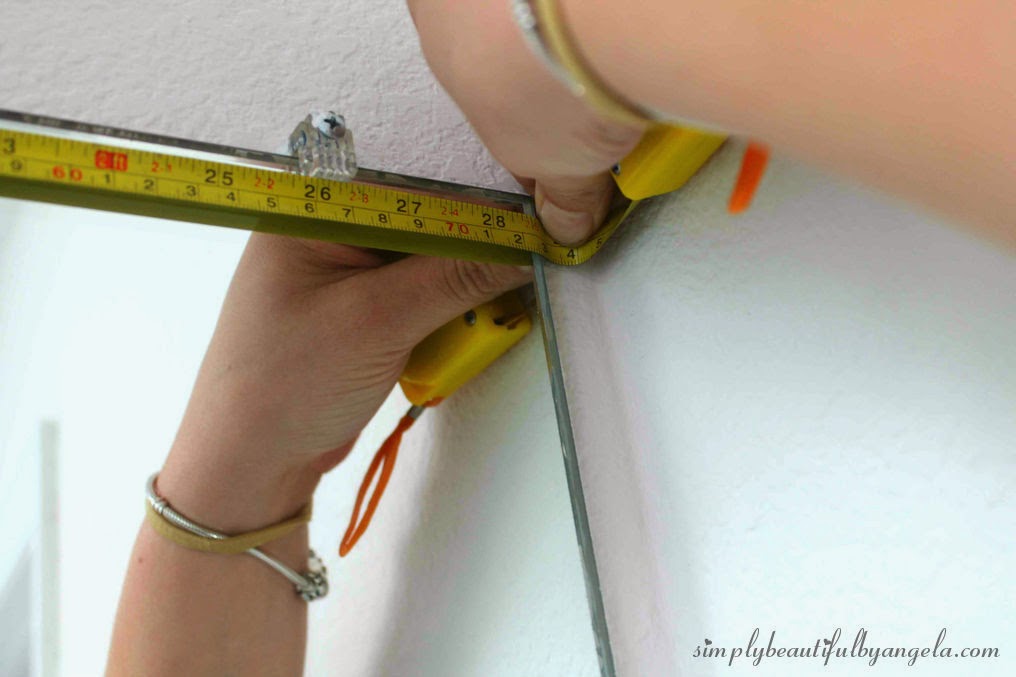
The first thing you will need to do is measure how much molding you will need to purchase by measuring your mirror length and width. You will want to get a little extra because when you make one 45 degree angle cut you can’t just pick up off that same cut for the next piece (I’ll get to that). So you’ll need an extra 6inches or so per side.
I’m a very visual person so I drew myself a picture so that I knew exactly how my cuts should be made. I actually drew a sloppy sketch on my workbench but here is a nice pretty version.
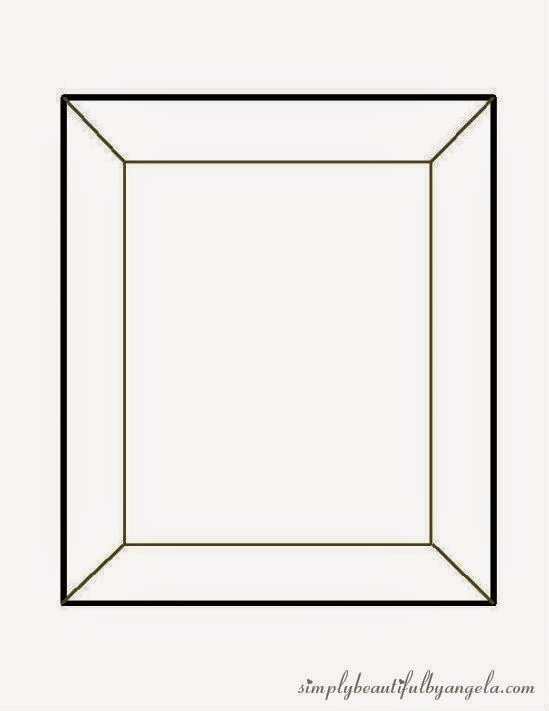
Using the miter box, cut a 45 degree angle at the edge of your first piece of molding. Molding will typically taper in thickness, so make sure you are cutting so that the thicker part is at the edge of your mirror. Then measure out the length that you need and mark. At this mark cut your angle according to the picture. This sounds easy but it actually takes a lot of concentration!
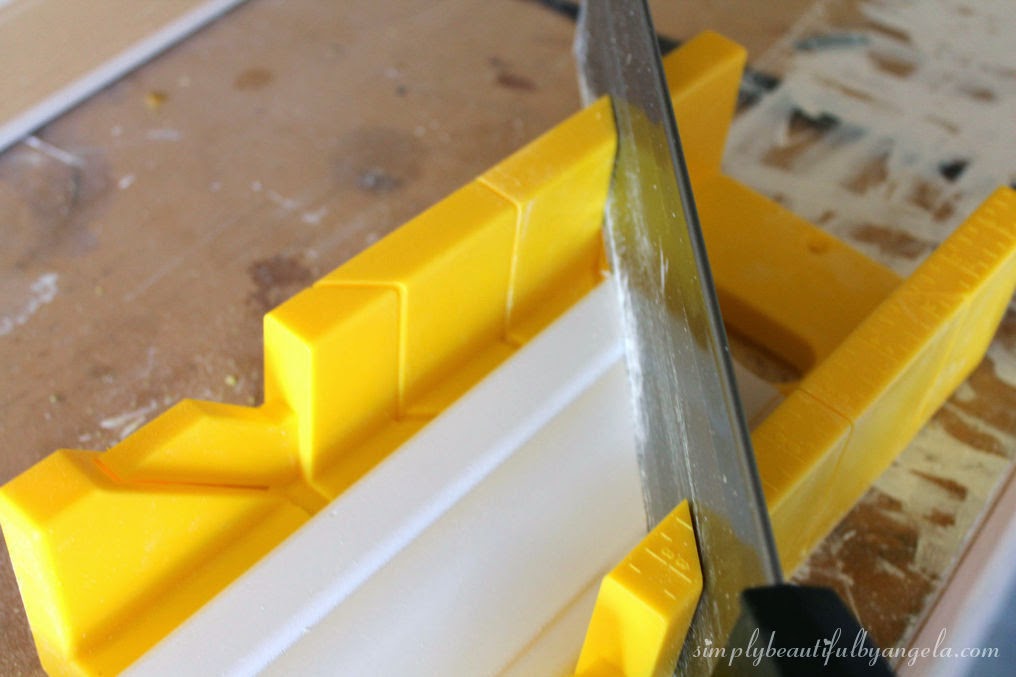
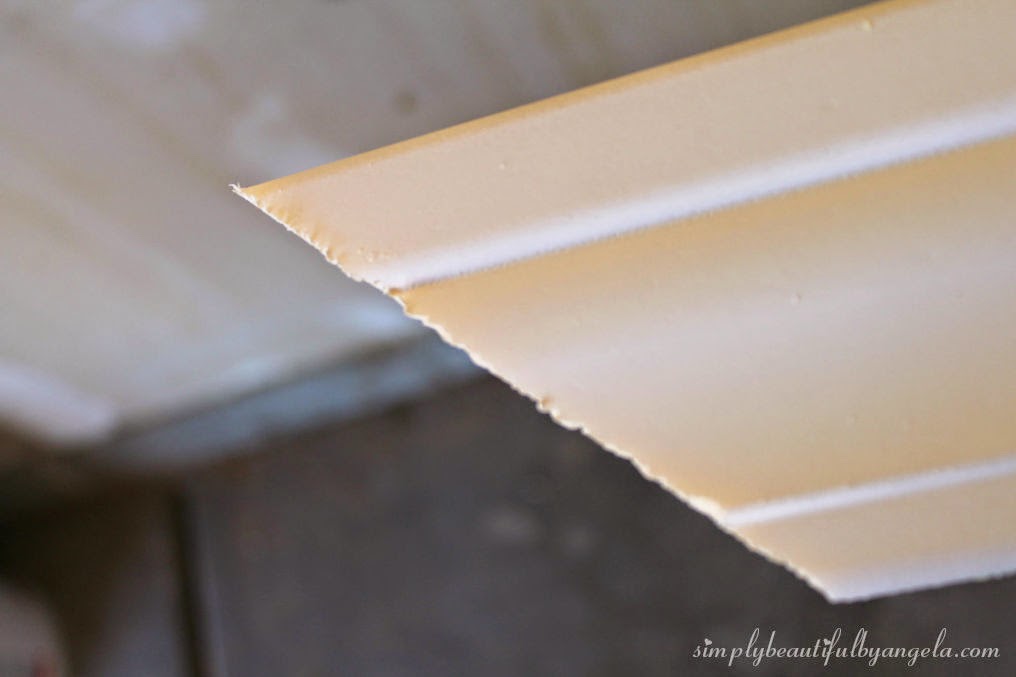
As a sidenote, make sure you have the finished side of the molding facing up while you are cutting. My first cut I had the unfinished side up and it came out all rigid like this. A quick sanding smoothed it out but save yourself the hassel!
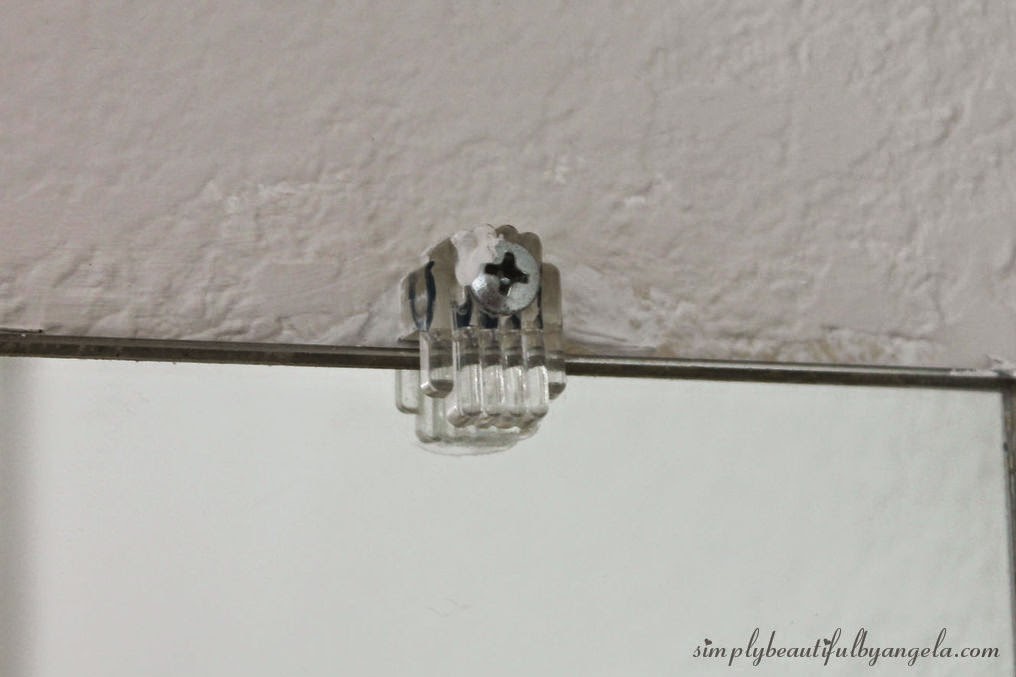
So to solve this, I went to Lowes and got flat mirror clips instead. (Don’t mind the fact that I have the plastic anchor on the same side of the clip instead of behind it–I’m still learning haha!)
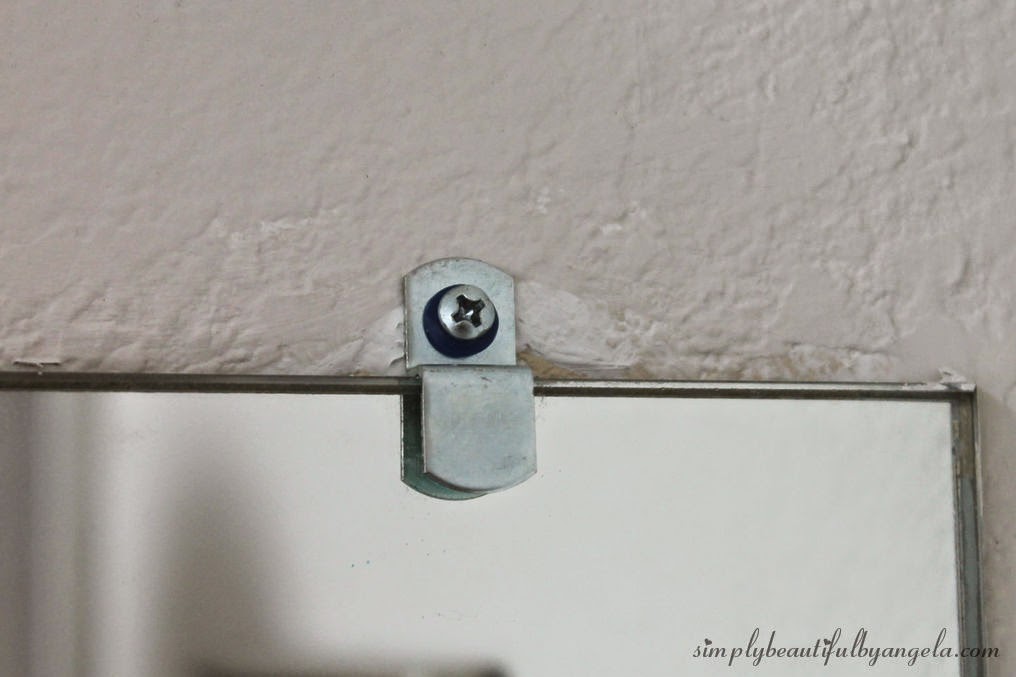
One thing I totally didn’t even think of is that the clip would still show at the top of the mirror. All this beautiful work and I would end up seeing that when it was finished?? I don’t think so…
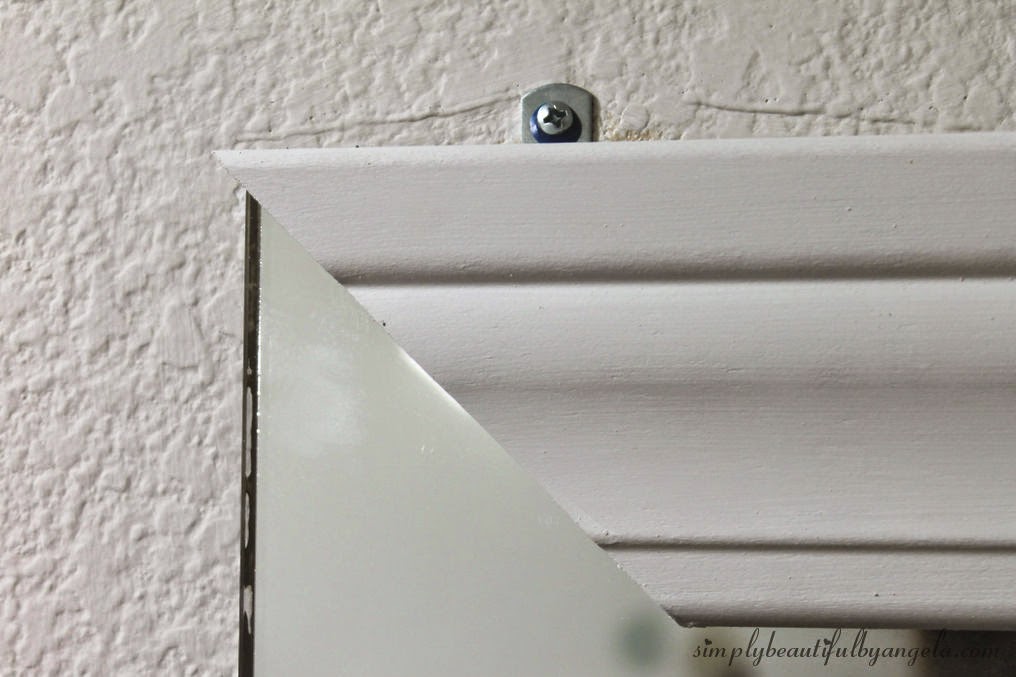
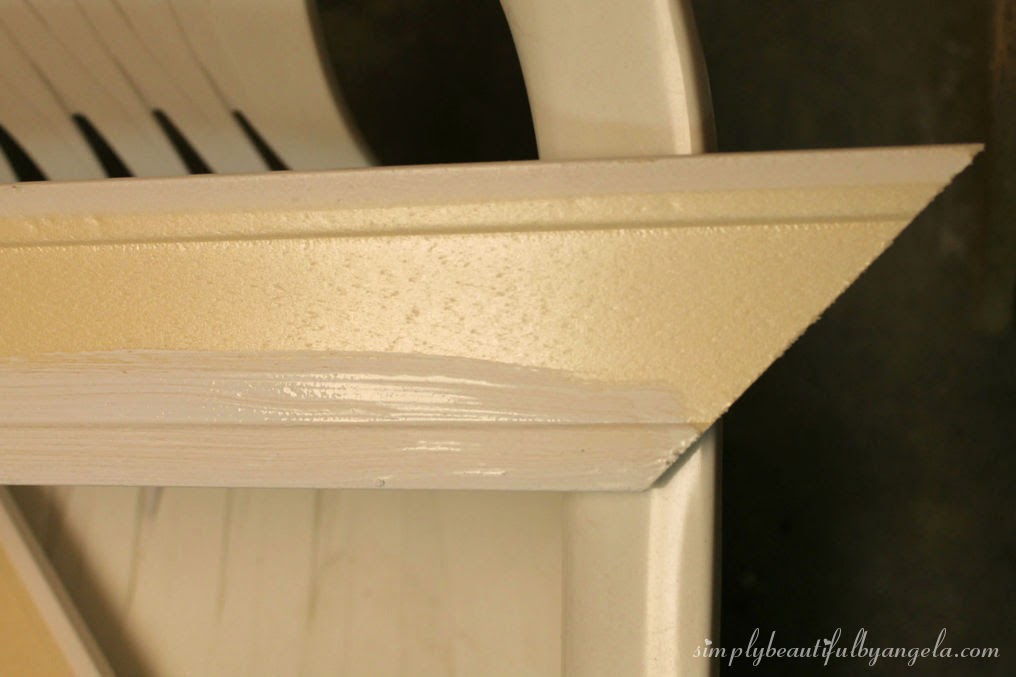
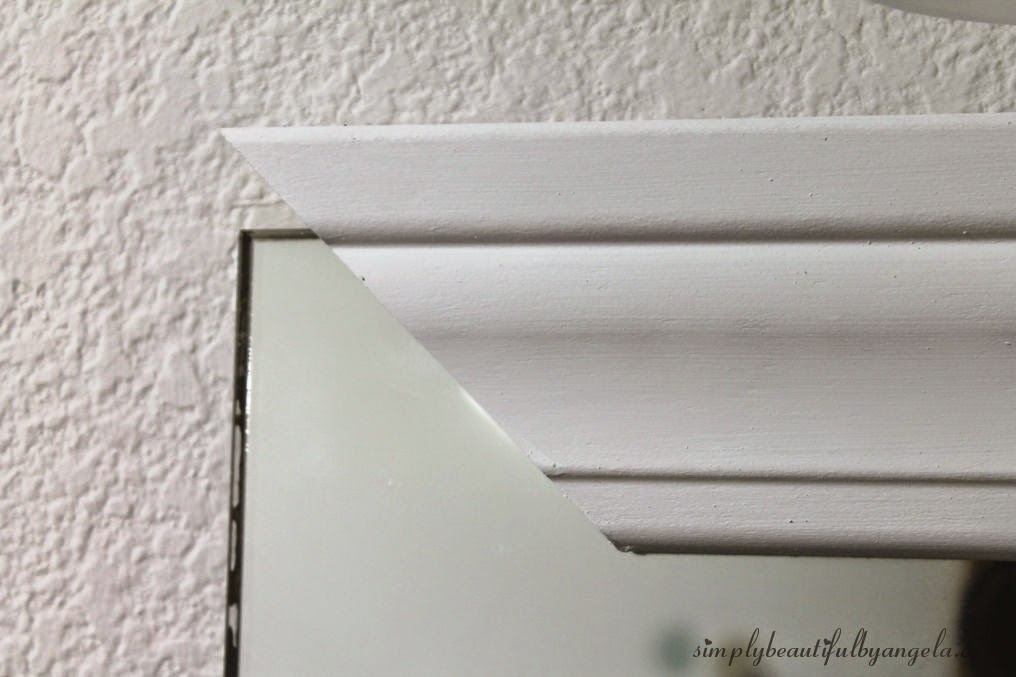
Luckily, I found that the molding had the perfect indentation to sit on top of the mirror.
.jpg)
After setting that little indentation on top of the mirror, it covered up the clip up and looked like this 🙂
So I painted the mirror the same color as the wall. I’m not sure how well it will hold up, but I can always add a small strip of wood or vinyl there in the future if it doesn’t. For now this was the perfect fix!
To adhere the molding to the mirror I purchased some mirror adhesive which is applied using a caulking gun.
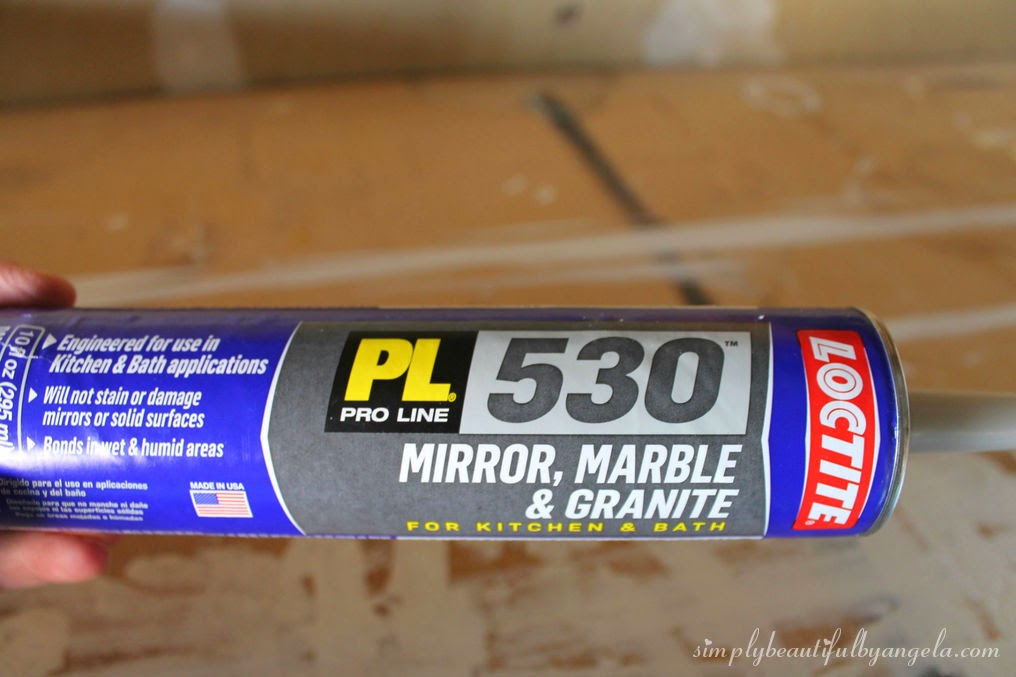
I applied a generous amount, making sure that I didn’t get too close to the edge (the last thing you want is to see it in the reflection of the mirror, so as long as you stay about an inch away from the edge you should be good).
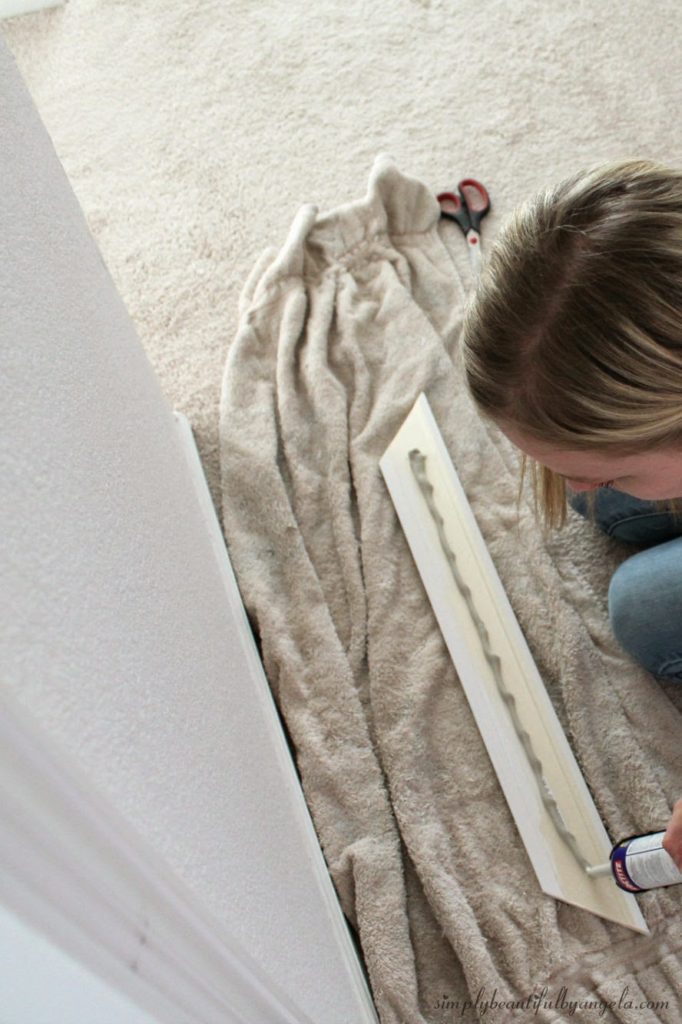
Then you stick it right up onto the mirror! It’s that easy 🙂
The hubby was going picture crazy with the camera haha–here’s another action shot:
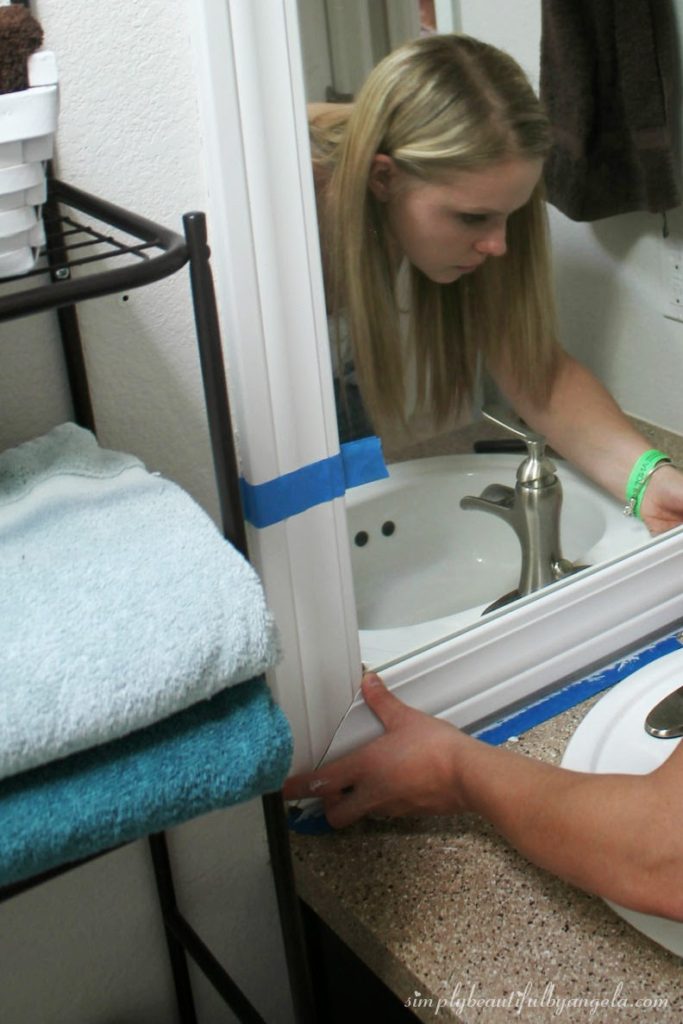
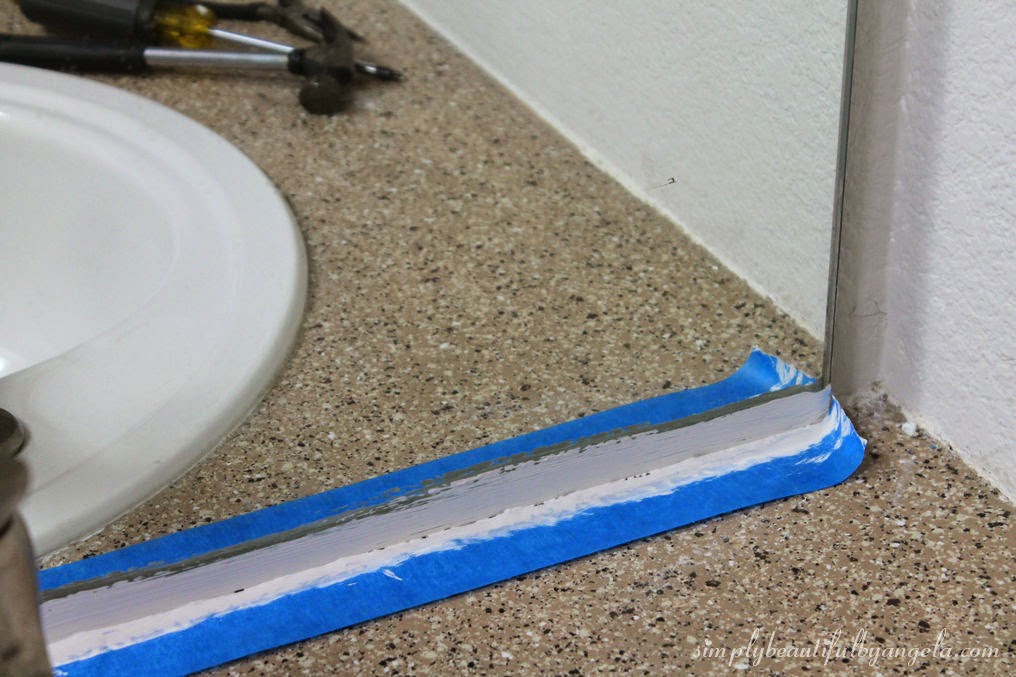
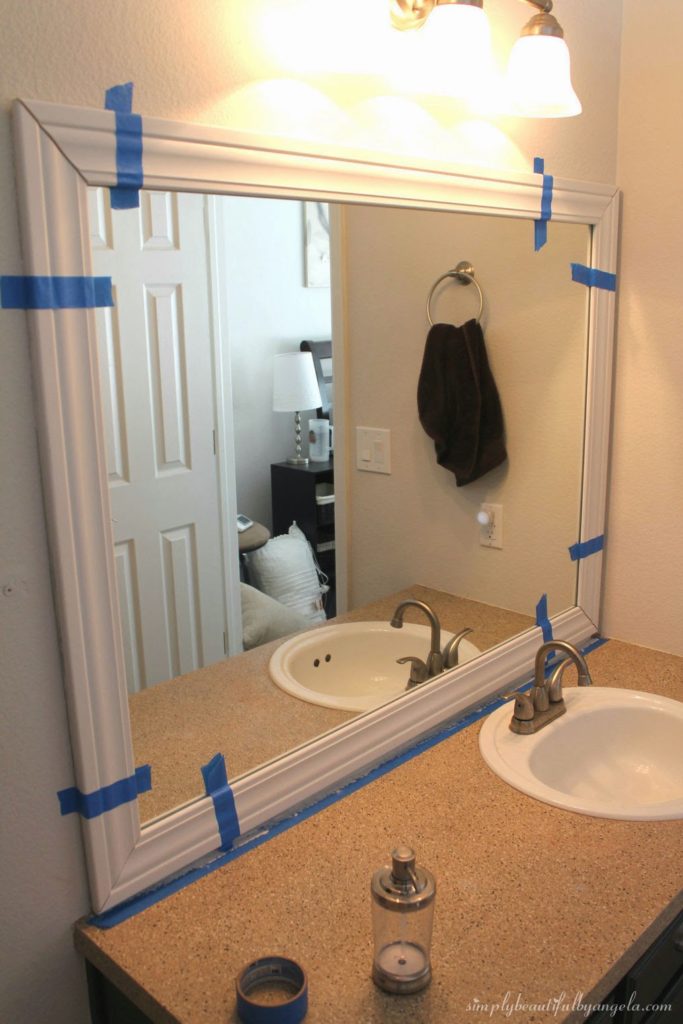
As you place each piece, use some painters tape to secure it in place while it dries. It does kind of slip around so it’s a good idea to go back and check on it every few minutes until it seems really secure. I let it dry for a full 24 hours before continuing.
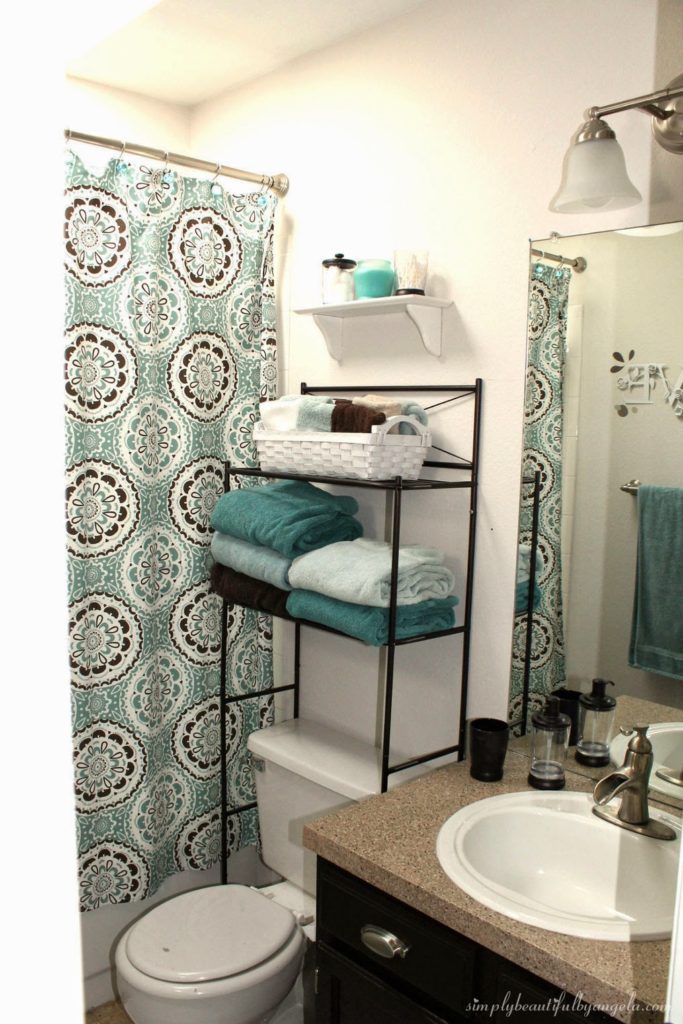
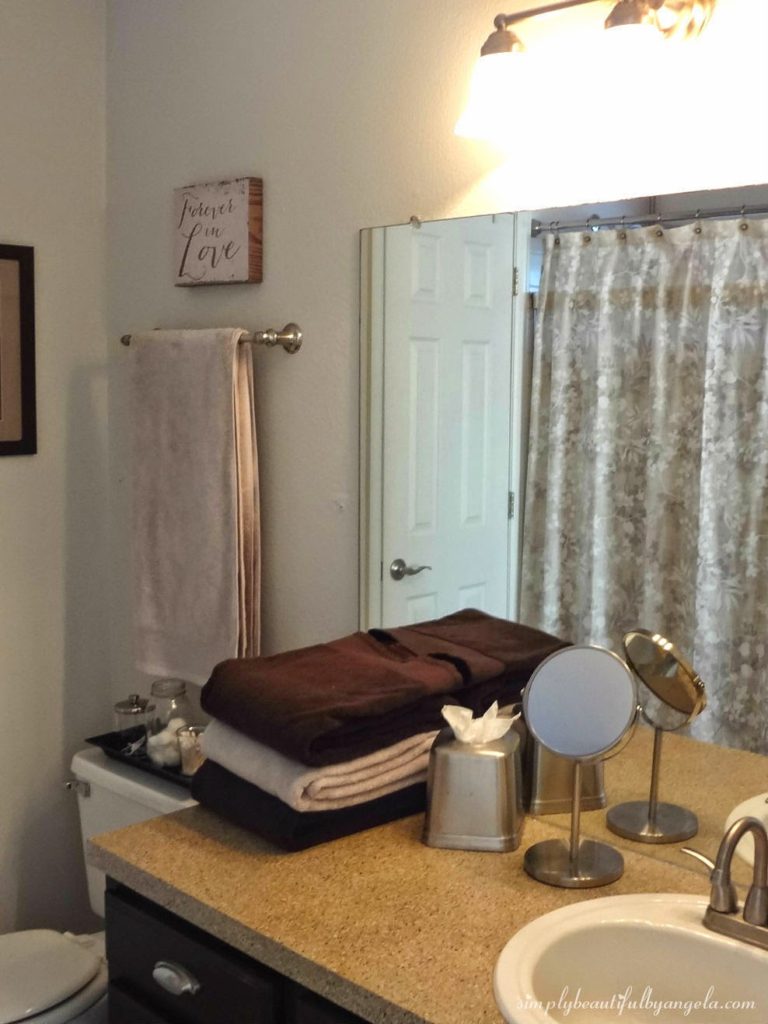
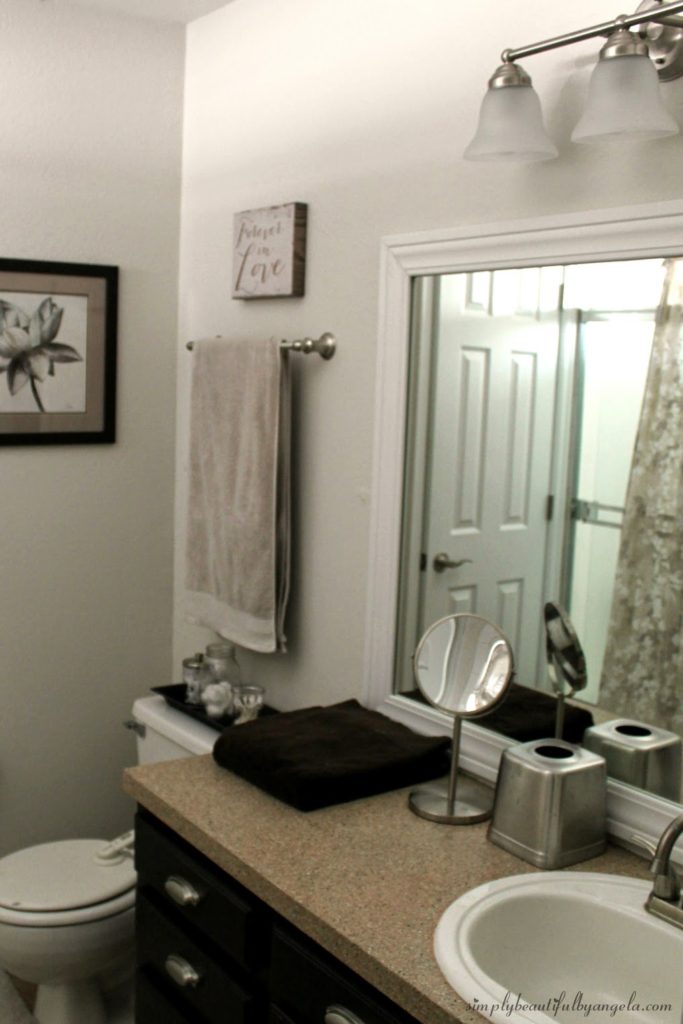
I decided to tackle both our master and the guest bathrooms. Here is our bathroom all set and waiting to dry.
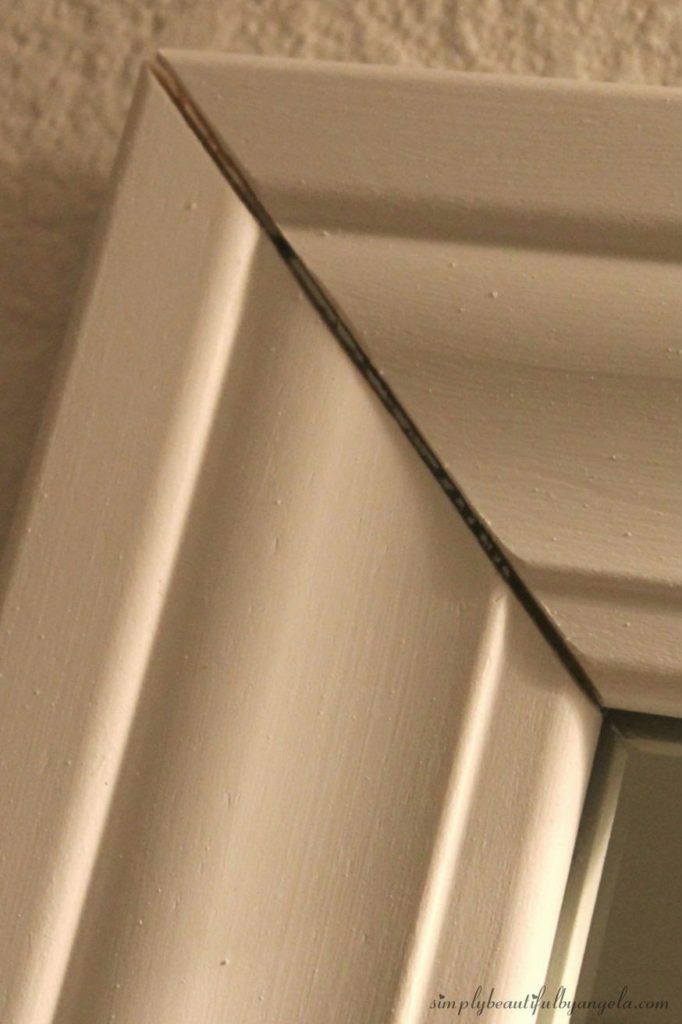
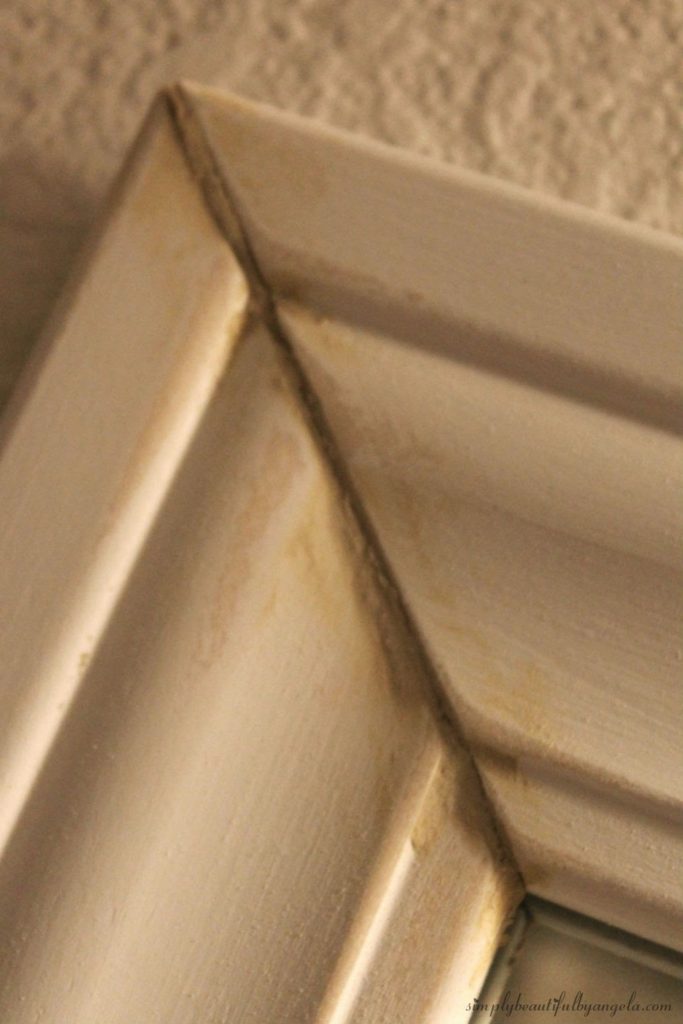
More than likely you will have gaps between your pieces so don’t fret! Just fill them with a little wood filler, allow it to dry and then sand. Then I had the hubby go back over the seams with caulk. I also had him caulk the left side to hide where you could see the molding sitting ontop of the mirror.
Once the caulking has dried, go back over it with paint to touch it up and you’re all done!
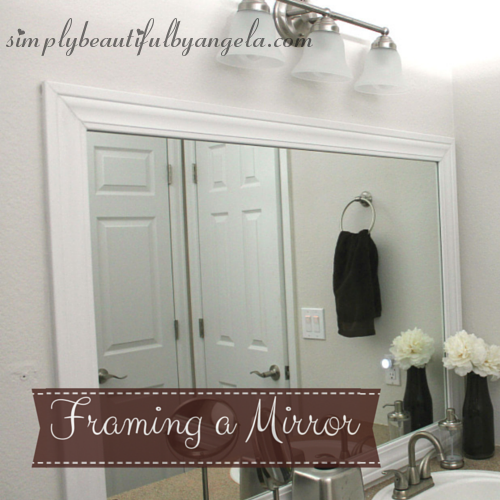
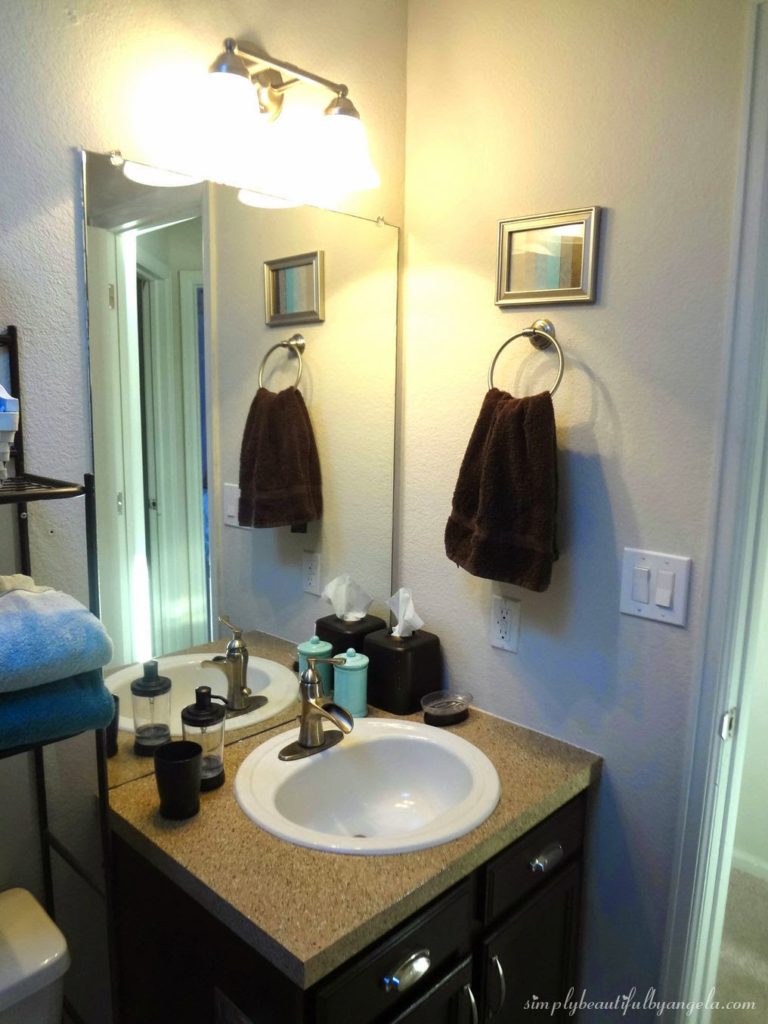
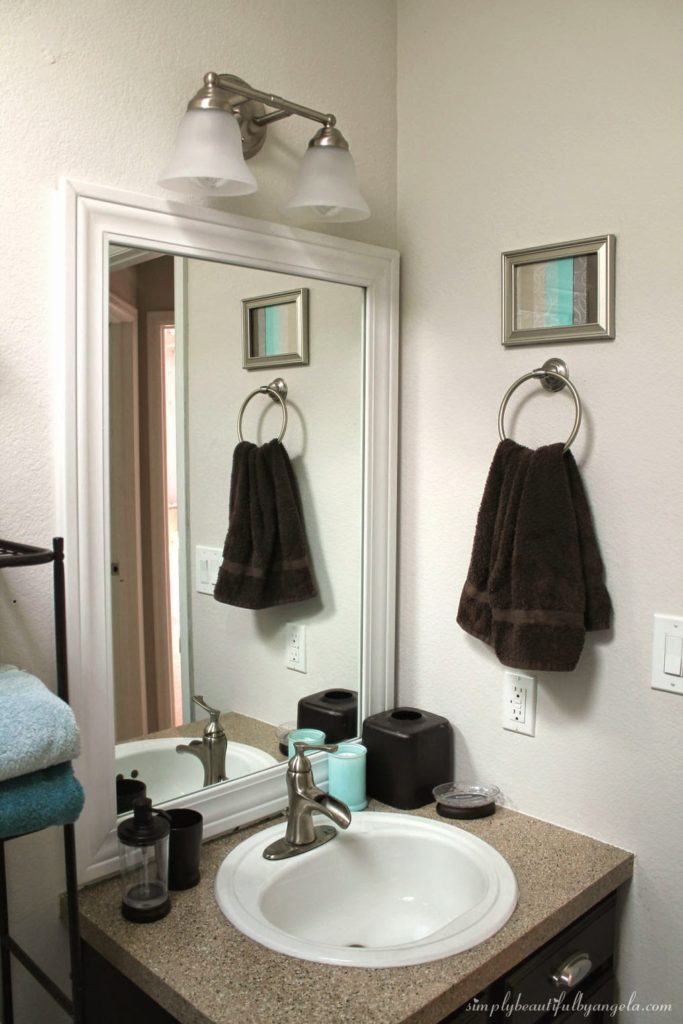
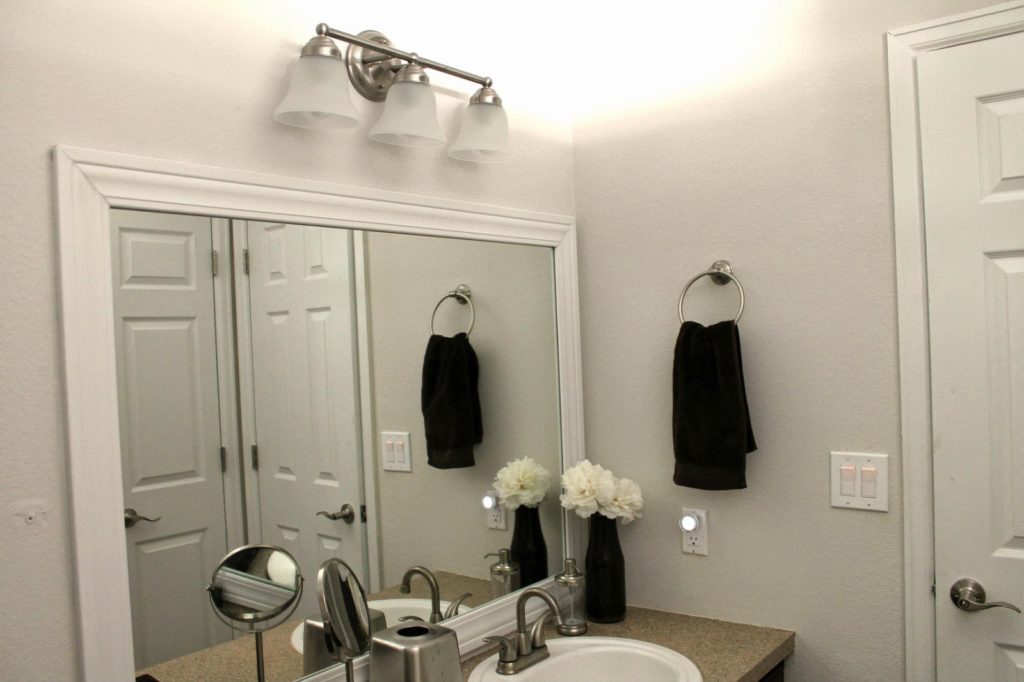
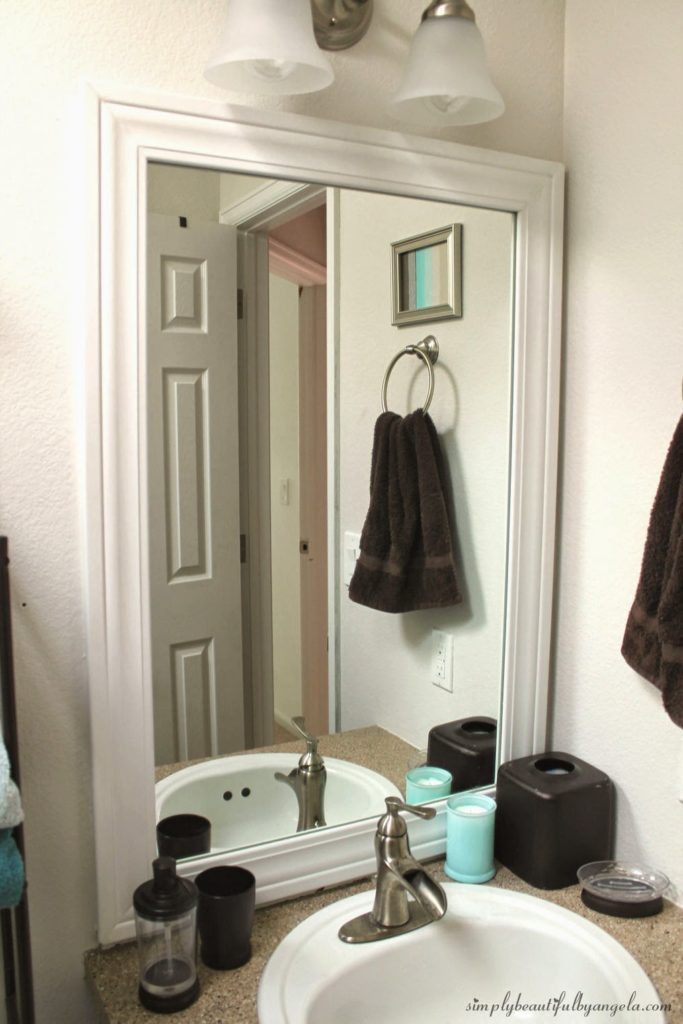
Here are a few before and afters…
Linking up to these awesome parties!

What a difference! The frame looks amazing, and really gives your bathroom a lot of character and elegant classiness 🙂
Great job! I finally got around to doing this in our bathroom this year too!! It makes such a big difference for just a little time and cost! Thanks for sharing at Fridays Unfolded!
Nice knowledge gaining article