
Happy Friday everyone! As promised, I’m going to share a tutorial on how I made my holiday mudroom art.
I was never really a fan for the distressed wood look until recently. It’s like overnight I became obsessed with it and I’m not really sure why! I just LOVE the look.
I was worried that it was going to take a lot of experimenting to get the look that I wanted but I was pleasantly surprised to find out that it was super easy. It just requires multiple layers of paint and sanding–that’s it!
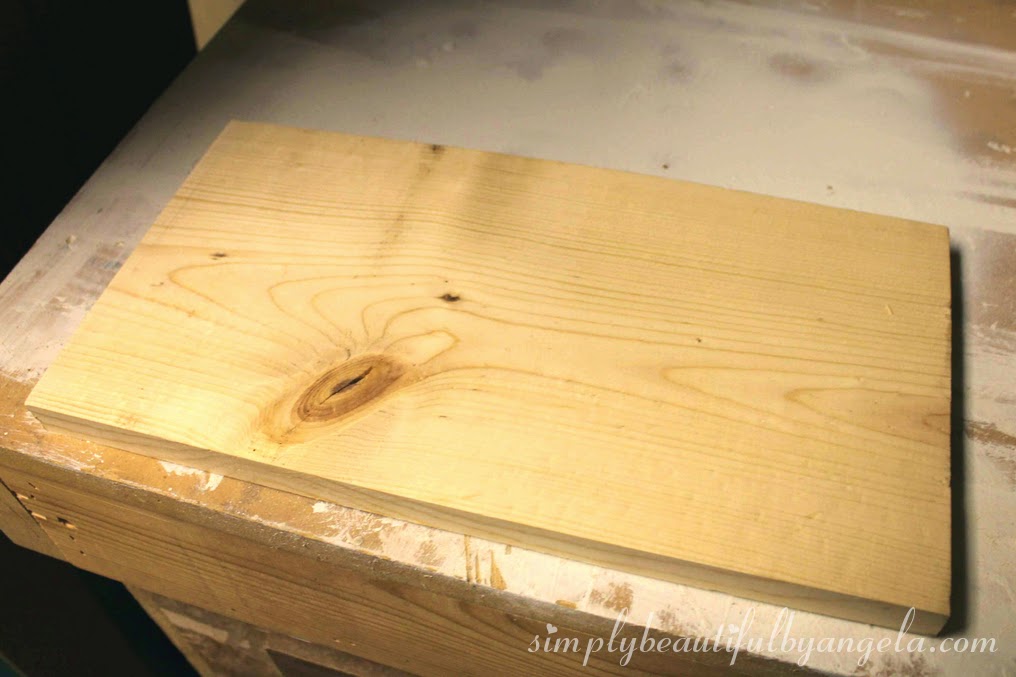
I started with a piece of scrap wood from the garage that ended up being the perfect size.
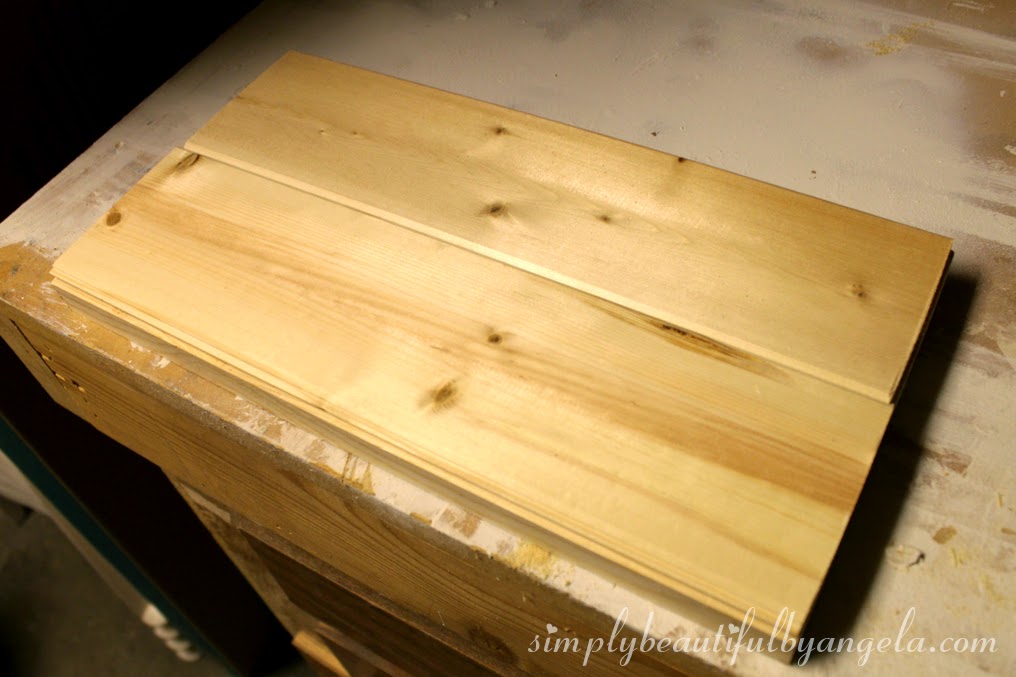
I then glued down two planks that were left over from my planked wall project. You could also just use a couple more pieces of wood if you didn’t have these on hand.
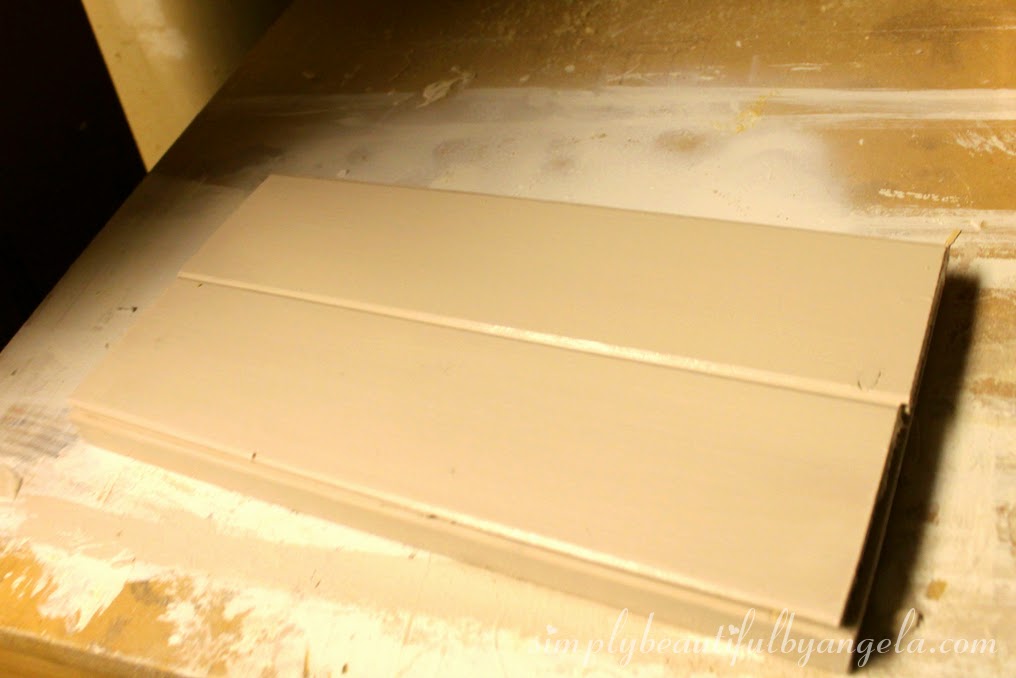
I used a grayish brown paint for my first coat. I took this picture at night so the lighting doesn’t really do the color much justice. It’s the same color I used on my DIY entry table.
I let that dry for about 30 minutes and then put on a coat of espresso, just barely grazing the edges.
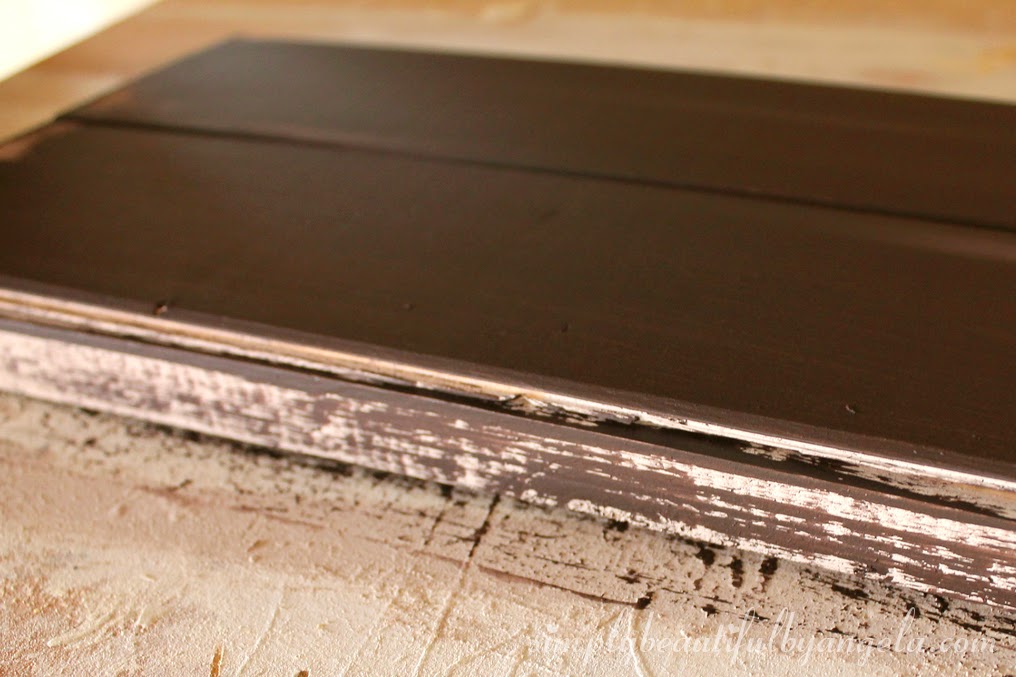
Once that was dry, I put on a coat of white.

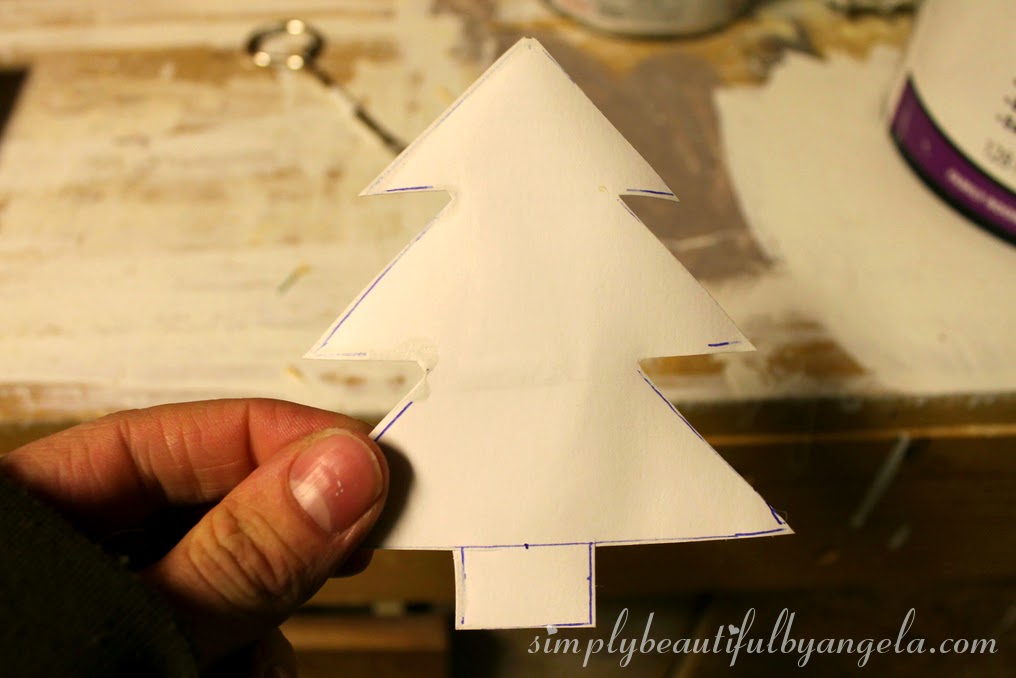
I used a ruler to draw out a Christmas tree on some paper and then cut it out to use it as my stencil. I knew that I wanted simplicity for this project, but you could also easily find an image or letters online if you wanted to go that route.
I didnt’ take a picture, but before adding the stencil I applied another coat of the espresso and let it dry.
I then firmly held down the stencil and put on another coat of white paint.

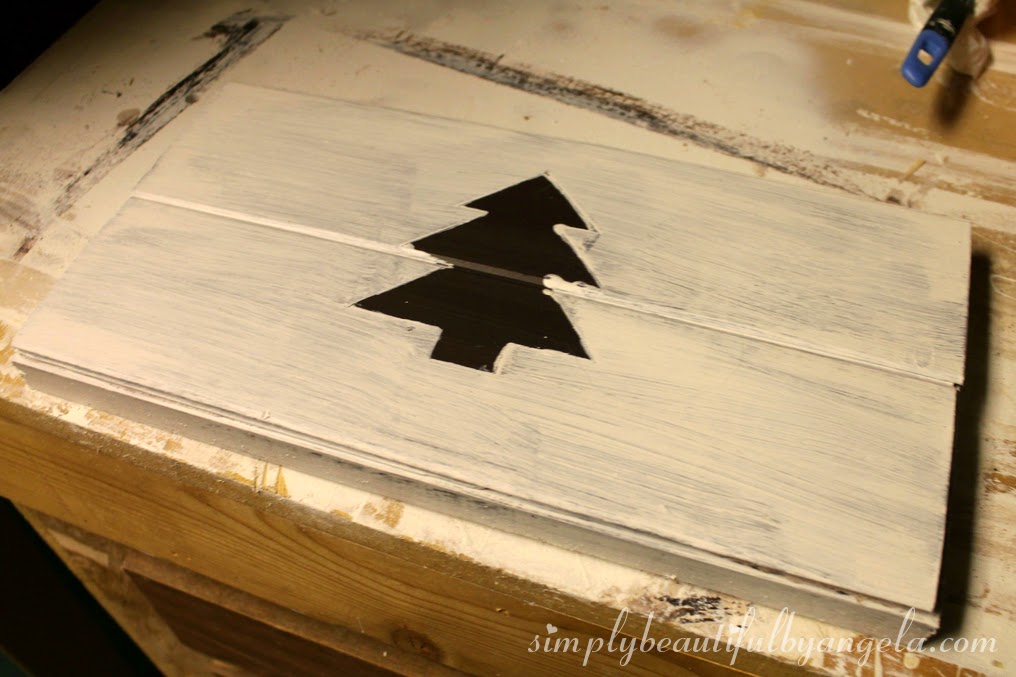
The multiple paint layers is key to achieving the perfect distressed look. I ended up with a total of 5: light brown, espresso, white, espresso and white.
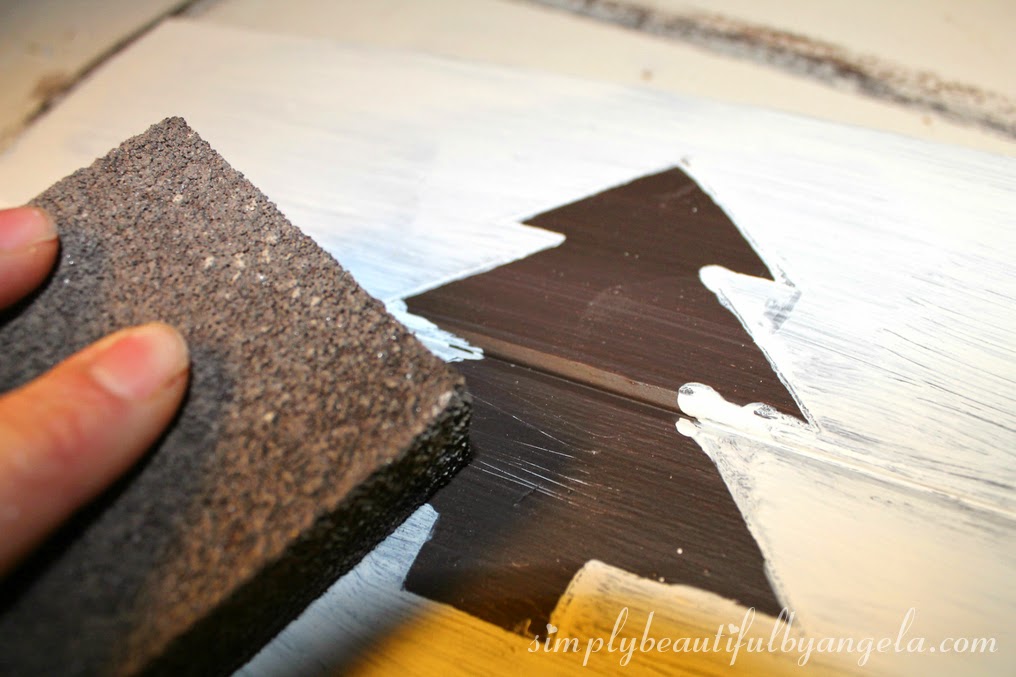
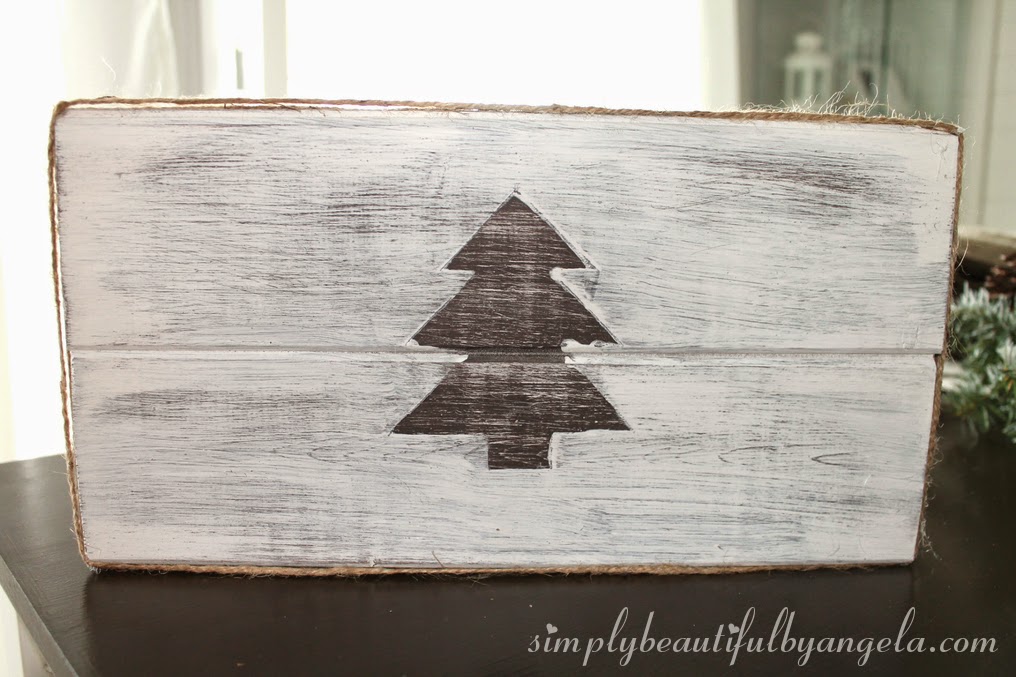
Once my final coat dried, I took a rough sanding block to the tree. I really wanted to pull out a lot of the paint layers on this part since it is the focal point.
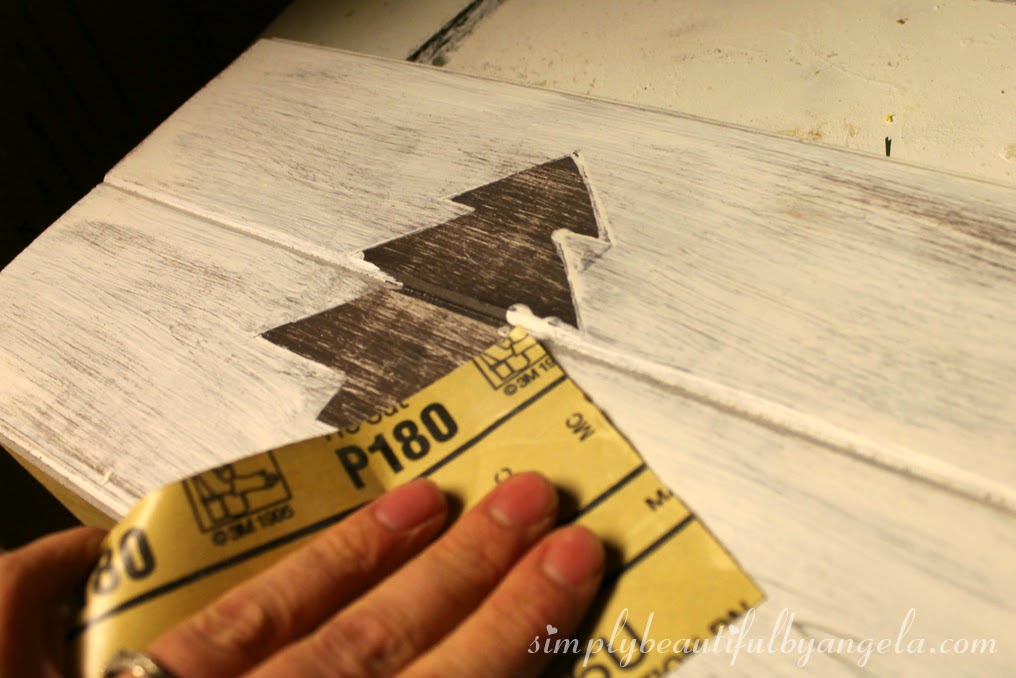
I then went back over the entire piece with a finer piece of sanding paper, applying a light pressure to softly scuff it up.
I finished it off by hot gluing some twine around the edges.

I couldn’t be happier with how it turned out!
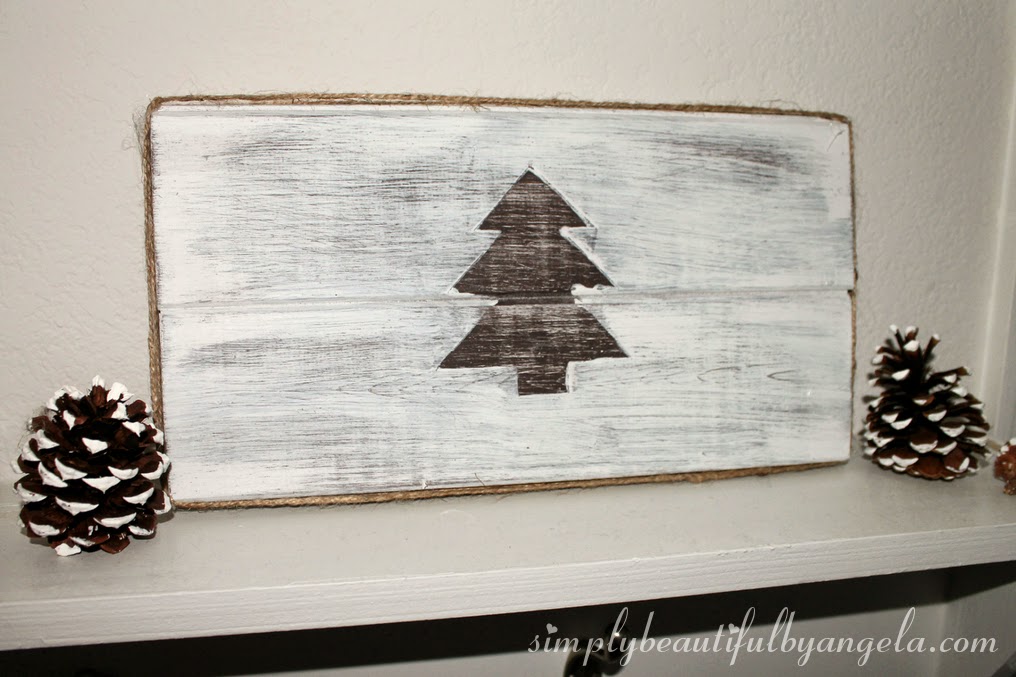
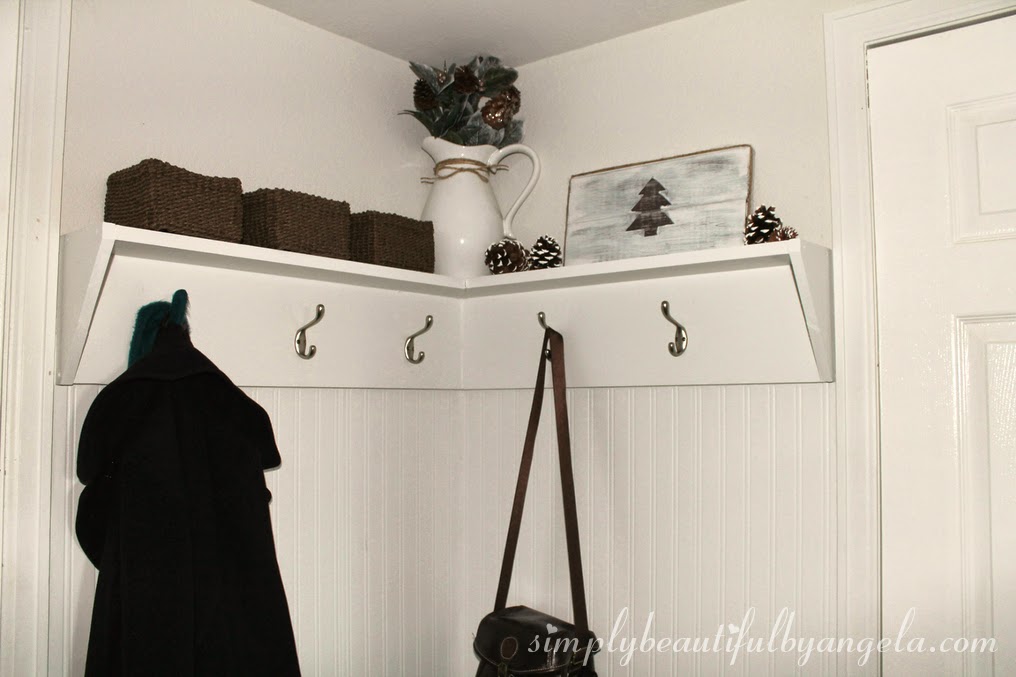
It makes the perfect holiday addition to our mudroom. Without the drying time for the paint, this seriously took about 10 minutes to make. It was so easy! 🙂
Linking up to these awesome parties!

Love it and the wee shelf that you put it on. Very simple and rustic,,,,perfect!!
website designing company in Delhi
travel company