It seems like almost everyone in blogland has tried their hand at the IKEA Rast hack, and since we were in desperate need of actual nightstands I decided that I absolutely needed to get some.
For starters, you can’t beat the price at only $35. And since it comes in unfinished pine, you can totally customize it to look any way you want. The possibilities are endless!

One word of caution on these though–your car will smell like pine for a very long time! I got them last Friday and the smell is still lingering in my car. In my opinion it’s not a bad smell, but it’s pretty crazy at how potent these little things are.
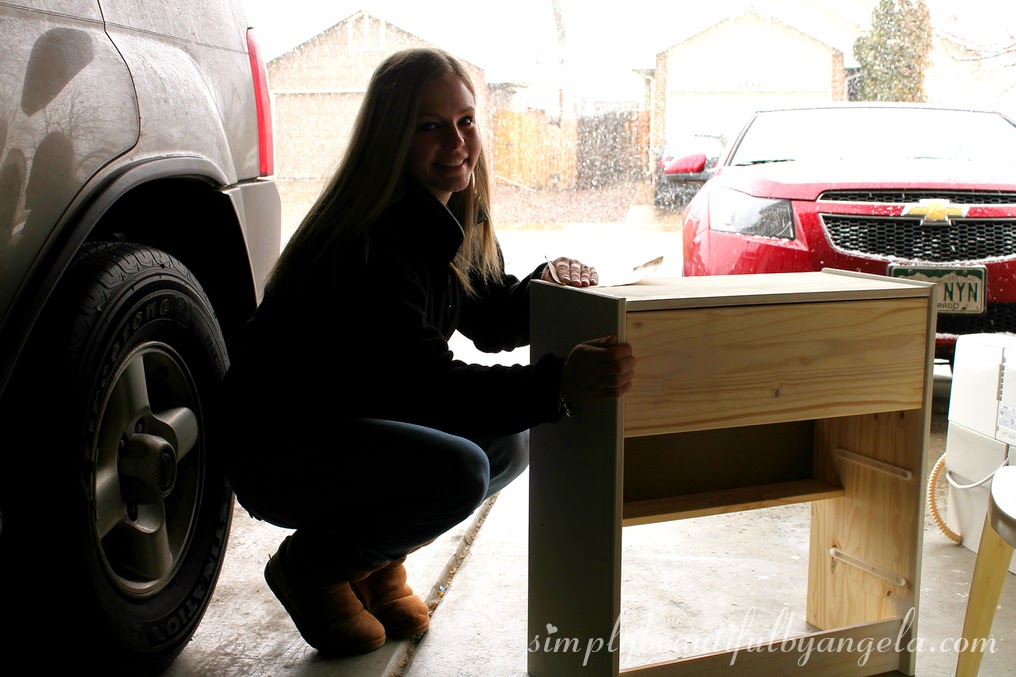
Also, according to the hubby these were not easy to assemble. But he’s my hero and he fought and struggled half of Saturday morning to get these ready for me to have fun with:)
Here’s the hero in action.

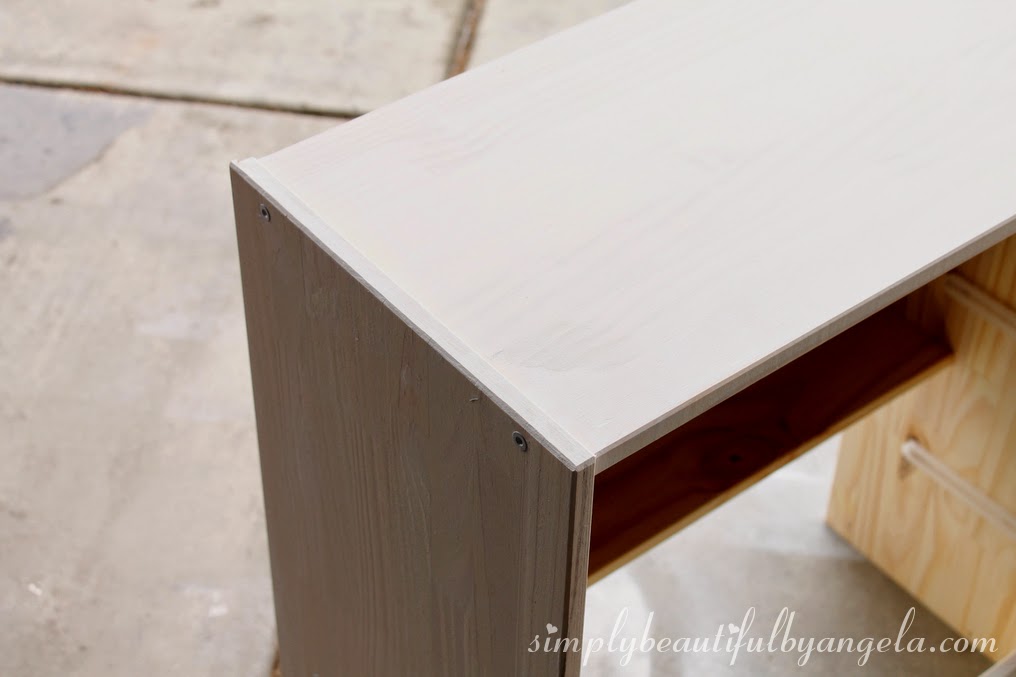
The first thing I did was fill the predrilled holes since I just wanted one pretty knob in the center as opposed to the two wooden ones that came in the box.

I used my trusty nail hole filler but completely didn’t even think about the fact that this wouldn’t take wood stain. Whoops! So you can still kind of see them, but I’ll eventually go back over with wood filler and re-stain. Keyword eventually haha. It’s not enough to really bother me for now.

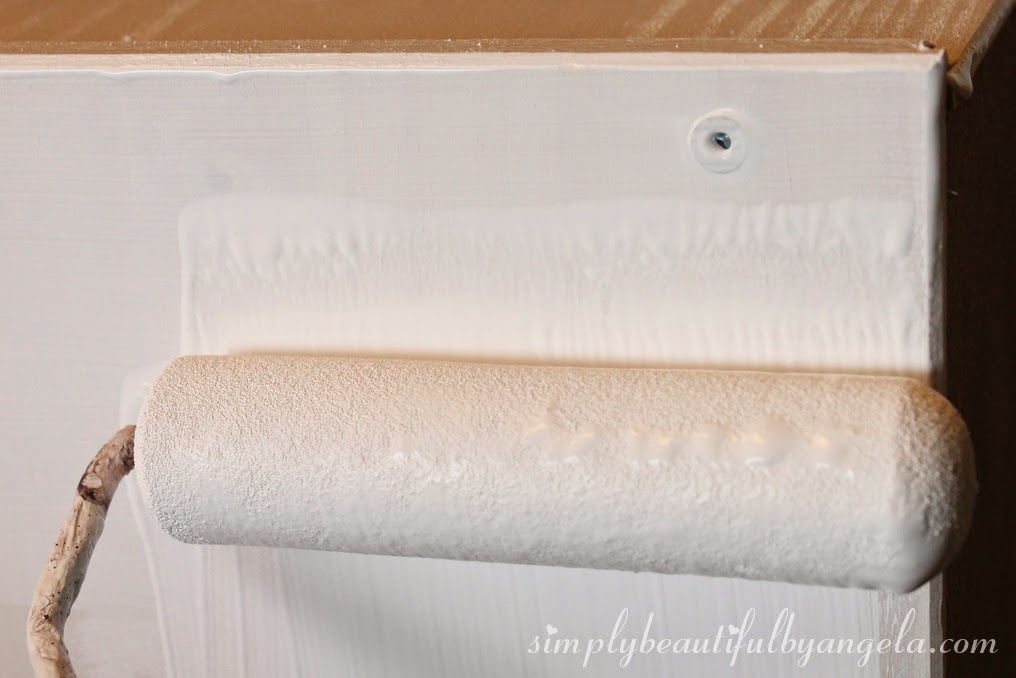
Next, I applied one coat of Zinsser primer with a foam roller to the outside.
I lightly sanded before applying my first coat of paint. As you can see, there was a mini blizzard begining outside during all of this 🙂
It took me three coats of paint to fully cover up the pine. I’m also using a really cheap paint, so it may take only two with a higher quality paint.
I plan on doing a white board and batten feature wall behind the bed, so I knew that I didn’t want the whole thing to be white. I decided to attempt a weathered wood on the drawers by following Alicia’s tutorial that can be found here.
The first step was to whitewash the wood. I created a watered down paint mixture in a cup and applied two coats.
This picture shows what it looked like at each step.

I used a foam brush to quickly apply a dark stain. I used Miniwax Provincial like Alicia did.

I didn’t let it sit, I immediately wiped it off with a rag.

And I ended up with the most beautiful shade of wood. I’m so in love!

To finish it up, I painted some lattice pieces white and used them to trim the drawers. I also applied one coat of Polycrylic over the entire thing and installed some cute nickel knobs.

And now we have actual nightstands–I can hardly believe it!

Isn’t this wood color gorgeous? Sorry, I can’t get over it! I know, I know–I get crazy excited over the little things.


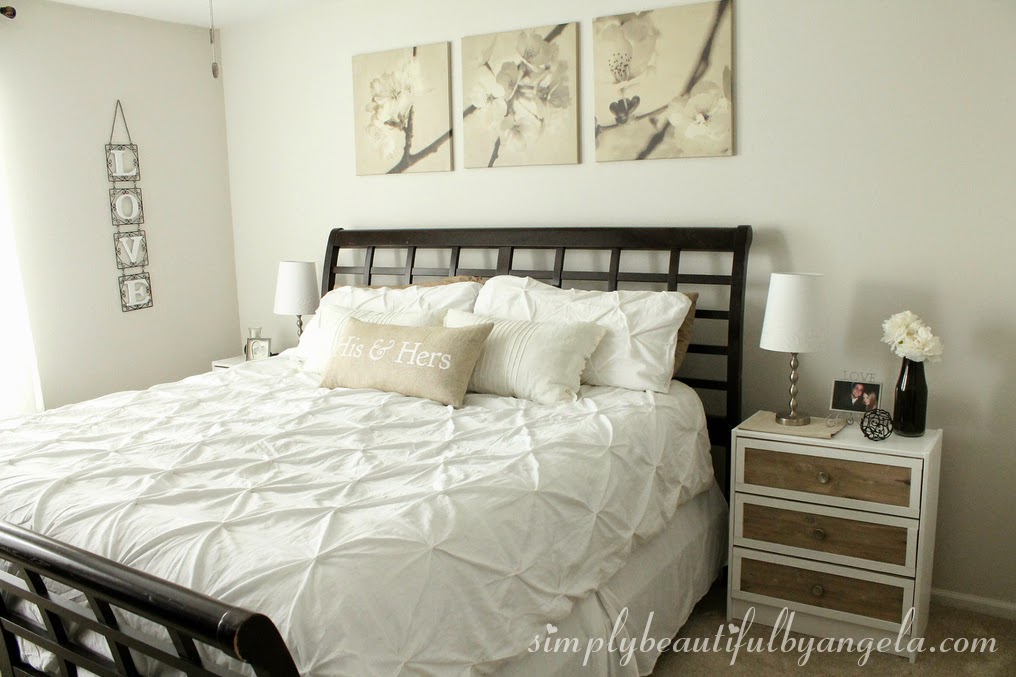
We used to just have some cheap fiberwood storage cubes. They were super dark and had no storage what so ever. You can kind of see them in this old pic.

It’s nuts that even though these are twice the size as the old stands, they make the room feel so much bigger just because they are light in color.

Now I’m super pumped to get started on the feature wall and I’ve even decided that the bedframe needs to go. I’ve been oogling over tufted headboards and I think I finally have the guts to attempt DIYing one.
I have big plans for this room, peeps! Hope you all have a fantastic Wednesday and stay warm wherever you are. We are expecting more snow today so I’ll be avoiding the outdoors as much as I can!
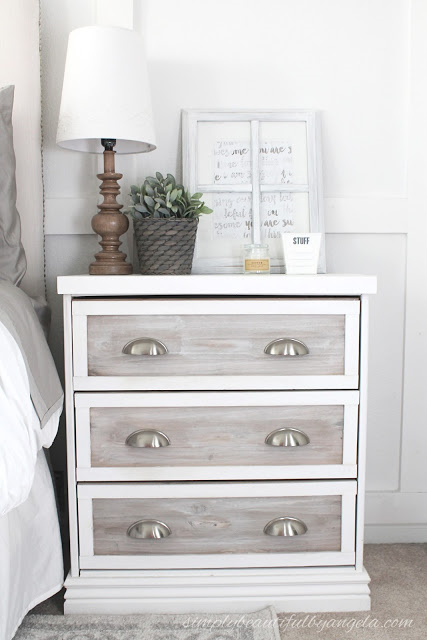
UPDATE!! I gave these a second makeover and they now look like this! Tutorial found here.
Linking up to these awesome parties!
This post was featured on All Things Thursday, Create Link Inspire, Work it Wednesday and Inspire me Wednesday! Click on the images below to take you to the feature posts.
|

|

|

|