UPDATE! Click here to see the big reveal.
Is it really Monday already?! I fee like this weekend just flew right by.
As you may recall, I mentioned last week that I wanted to ditch this glass display case for the safety of my little man and put some floating shelves here instead.
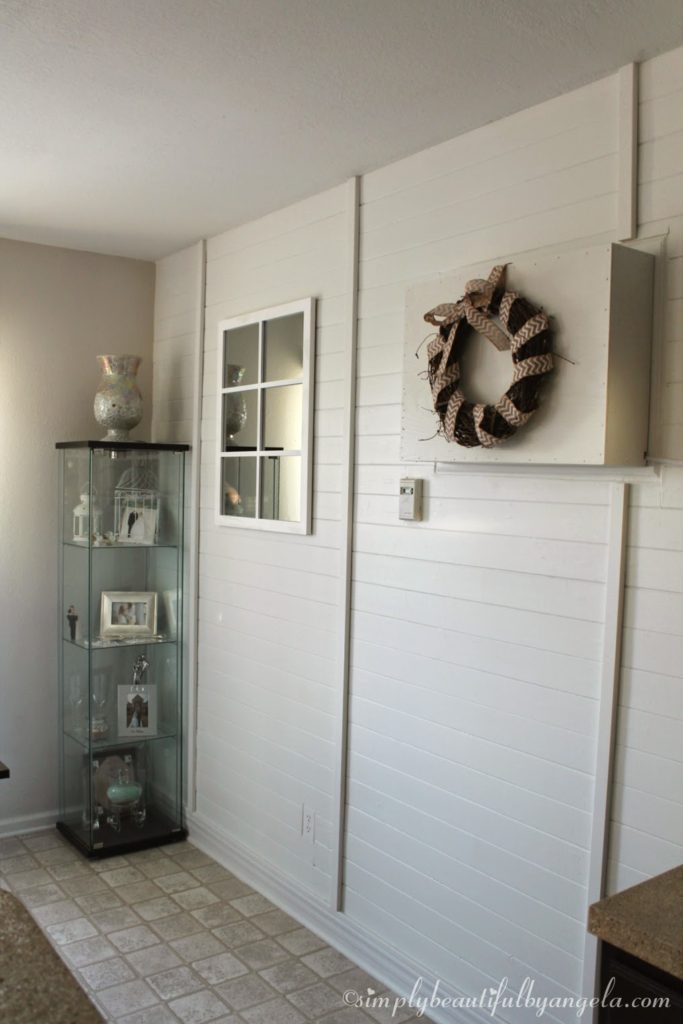
I listed it on Craigslist on Thursday and it was gone by Saturday morning. The $45 that we made on it was more than enough to purchase the lumber needed to make the shelves (score!).
I’ll go through a supply list at the final reveal, but I basically followed Whitney’s tutorial at Shanty 2 Chic that can be found here.
I had to make a few adjustments for two reasons. One, we don’t have a nail gun or a Kreg Jig. And two, I want the edge to be pretty close to the wall, so we’ll need to build them before attaching them to the wall (Whitney pretty much built them on the wall).
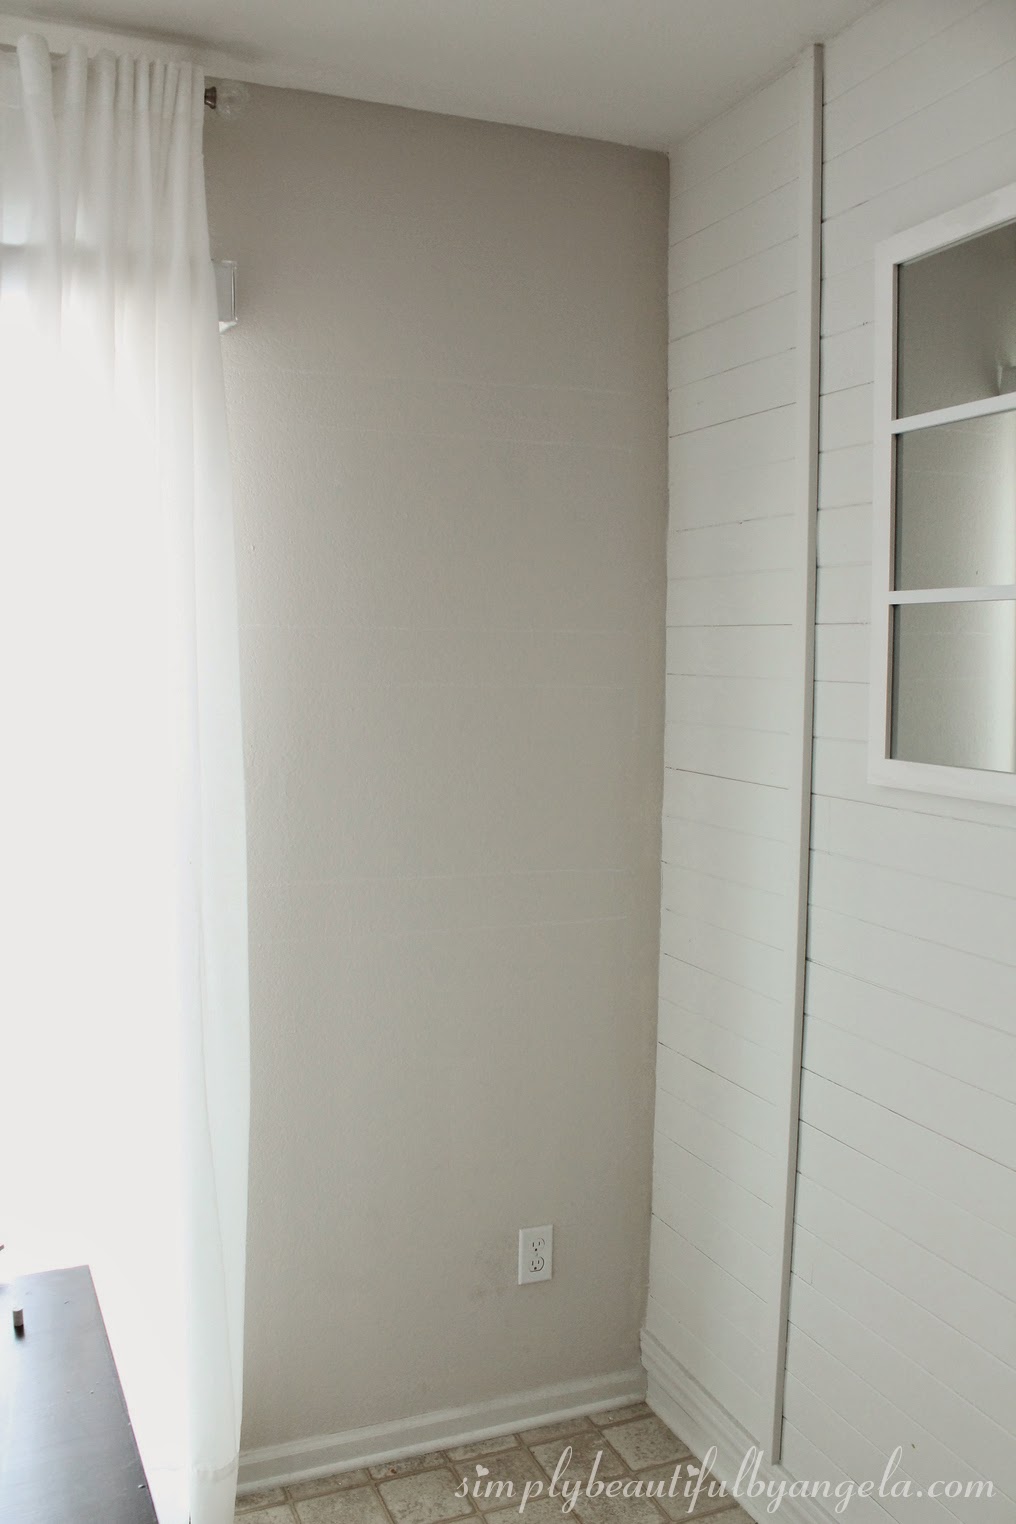
I began by using chalk and a measuring tape to draw an outline of where the shelves would go.
It’s kind of impossible to see in this picture without hurting your eyes haha, but I started with the top one and them spaced them 13″ apart.
The base is created with 1 2×3 and 3 smaller 2×3’s to create an “E.”
My shelf length is 29″ so the long 2×3 is cut at 27.5″ (subtract 1.5″ because of the side trim) and the smaller ones are cut at 7.75″ (the shelf top minus the width of the first 2×3).

Since we don’t have a Kreg Jig to make pocket holes, I just used 3″ screws from the back. I was worried about them sitting flush but I used flat head screws and it worked out perfectly.

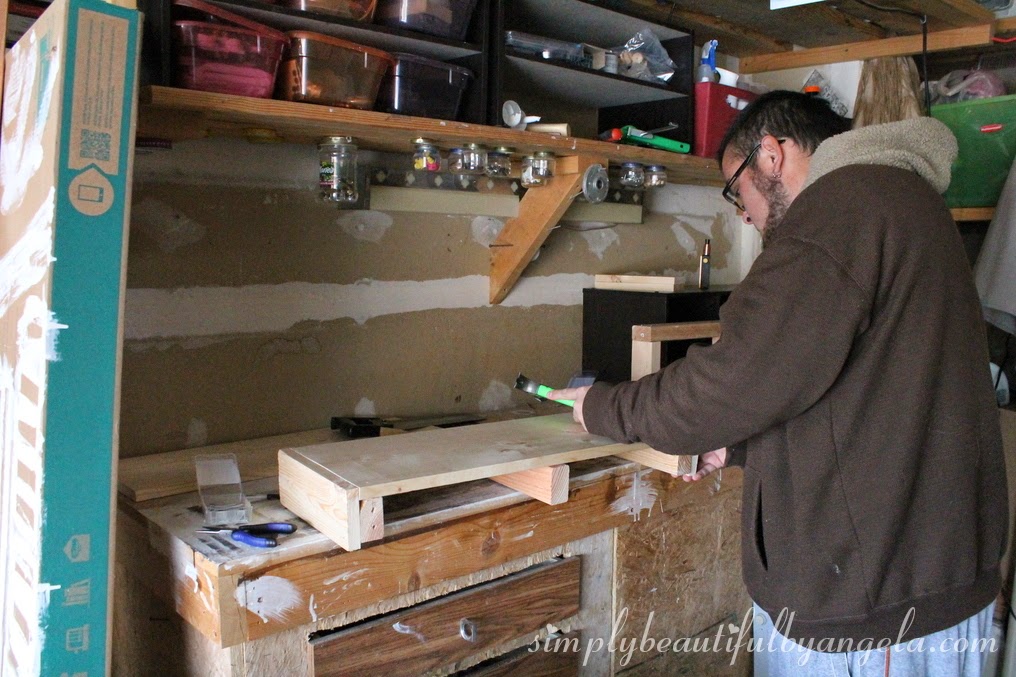
And here’s the hubby securing the shelf top (1×10) and trim (1x4s) with nails. It’s funny, some projects he just has to be a part of, and this was one of them.
Here is what it looked like from the underside. You’ll notice that the trim is flush with the top, but there’s a little bit of overhang when you look at it from this side. That’s because we will be securing the shelf bottom (1/4″ plywood) once they are attached to the wall.

And here is a glimpse of what the shelf looks like from the top.
Eeek! I’m so excited to get these babies on the wall 🙂
Hopefully we’ll have them on the wall and all prettied up by next week. Hopefully. 🙂


Utilizing a coasting rack as a mantelpiece can likewise be an efficient decision. In any case, in spite of the fact that they are very a la mode, they are not as solid and can't bolster as much weight the same number of other mantelpiece choices. floating shelf with drawer
This is such a great resource that you are providing and you give it away for free. I love seeing blog that understand the value of providing a quality resource for free. floating shelf with drawer