Happy Wednesday peeps! We are almost half way through the week and the weather here has been gorgeous. Definitely my favorite season 🙂
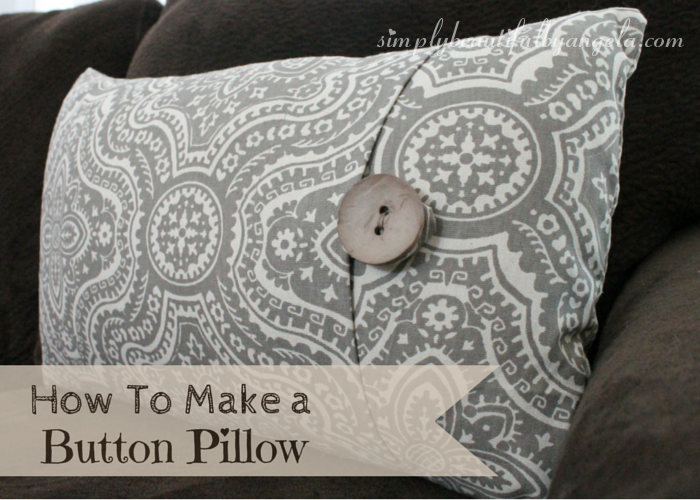
As you may have noticed, I’m somewhat obsessed with throw pillows. Okay, not somewhat obsessed I am obsessed with throw pillows haha. I’m constantly driving the hubby nuts with how many we have. But I just love how much they add to a space for cheap!
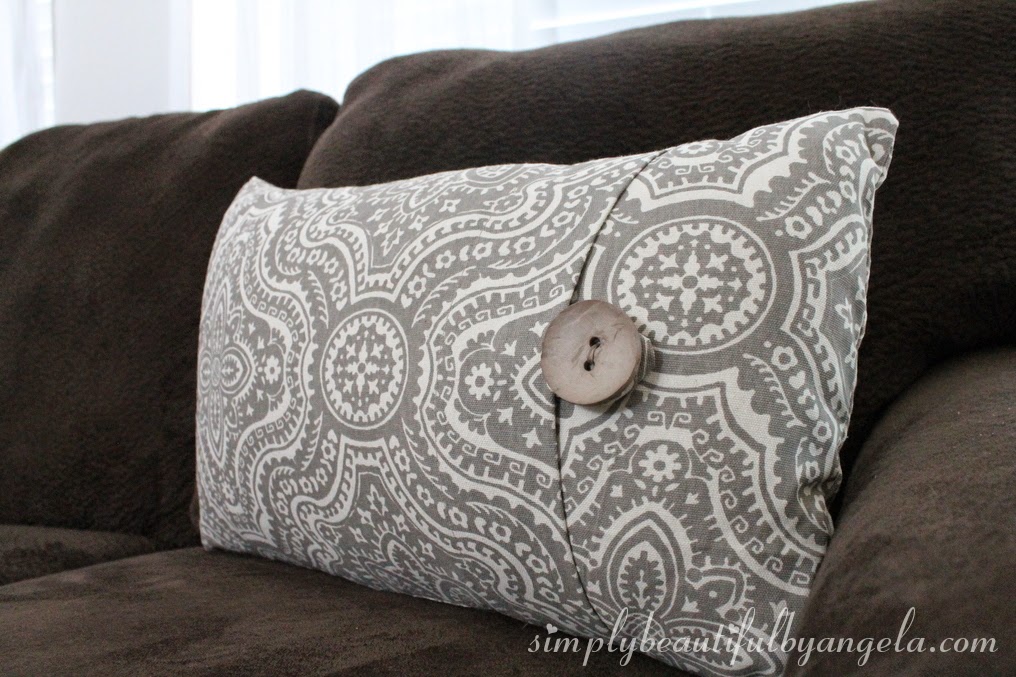
I fell in love with some fabric at Hobby Lobby awhile back that I planned to use on the barstools before I realized that it clashed with the “Wendy’s frosty” color that I painted them. (I kid you not on the color! You can check them out here.) So I used it to make some new Spring pillows instead!
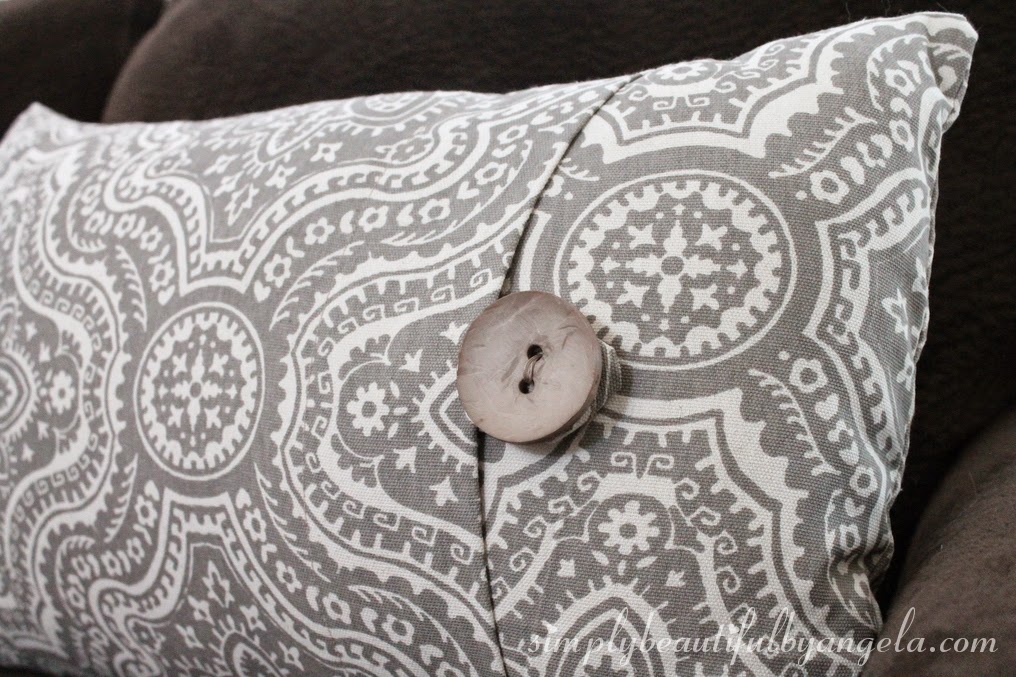
I’ve shared my simple envelope pillow design here which is basically what I did. Only instead of having it open in the back, I had it open in the front and added a button closure.
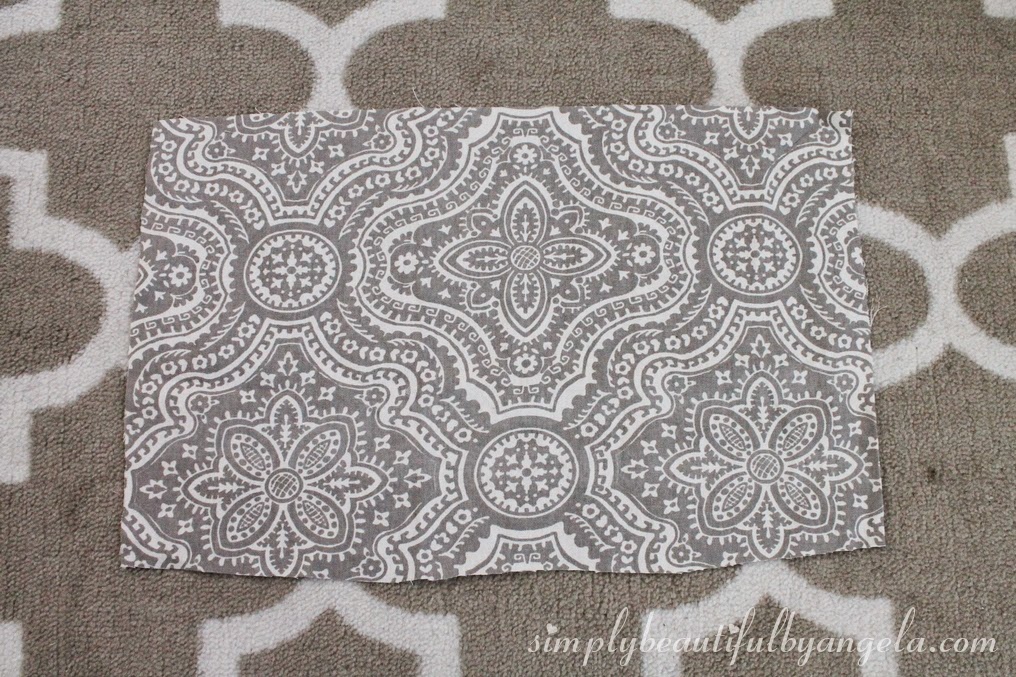
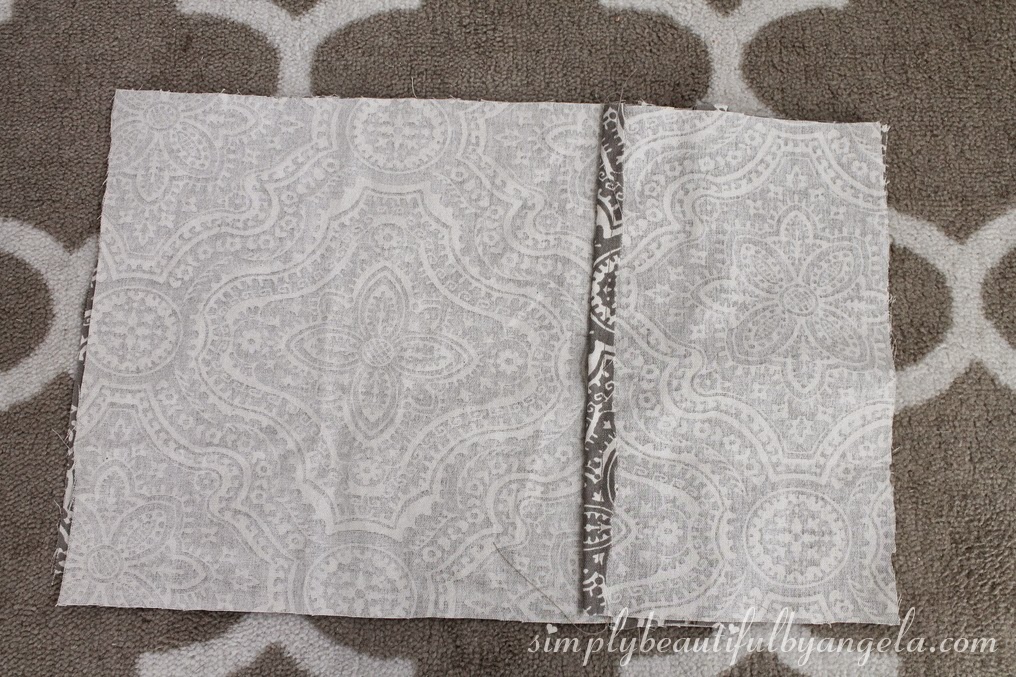
Step 1. Cut the back piece
I started by cutting out the back to the same size as the pillow insert. I didn’t leave a seam allowance since I wanted these pillows to be nice and plump.
Step 2. Cut the long front piece
For the long front piece, I left a lot of room to hem since I knew that I would be sewing on my loop to this piece.
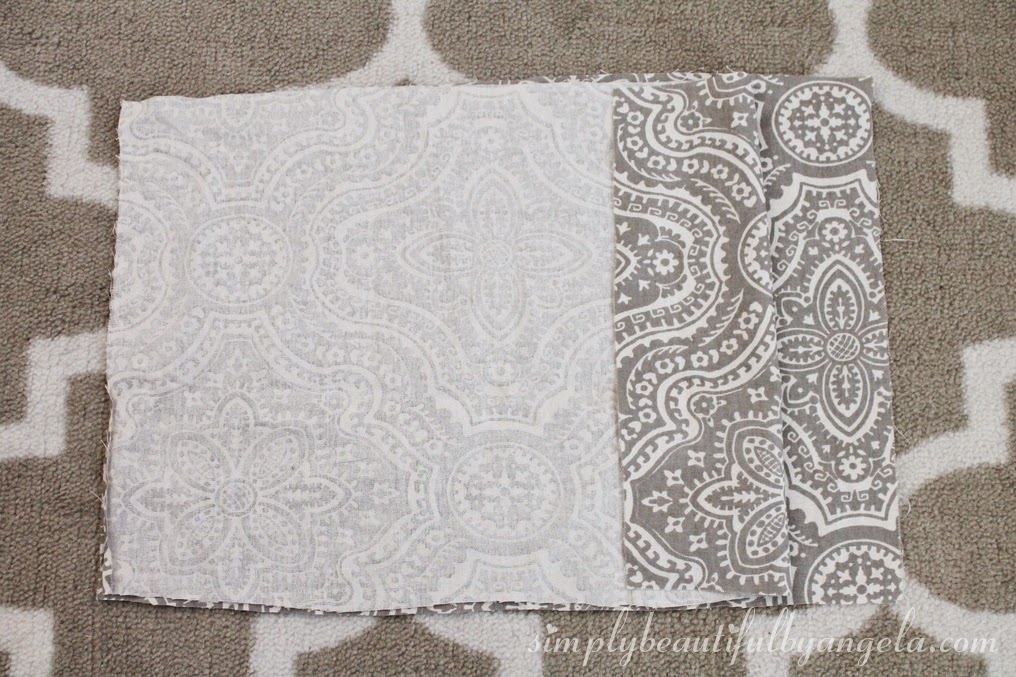
Step 3. Cut the short front piece
You will want to make sure you have enough to hem and for it to tuck under the long piece.
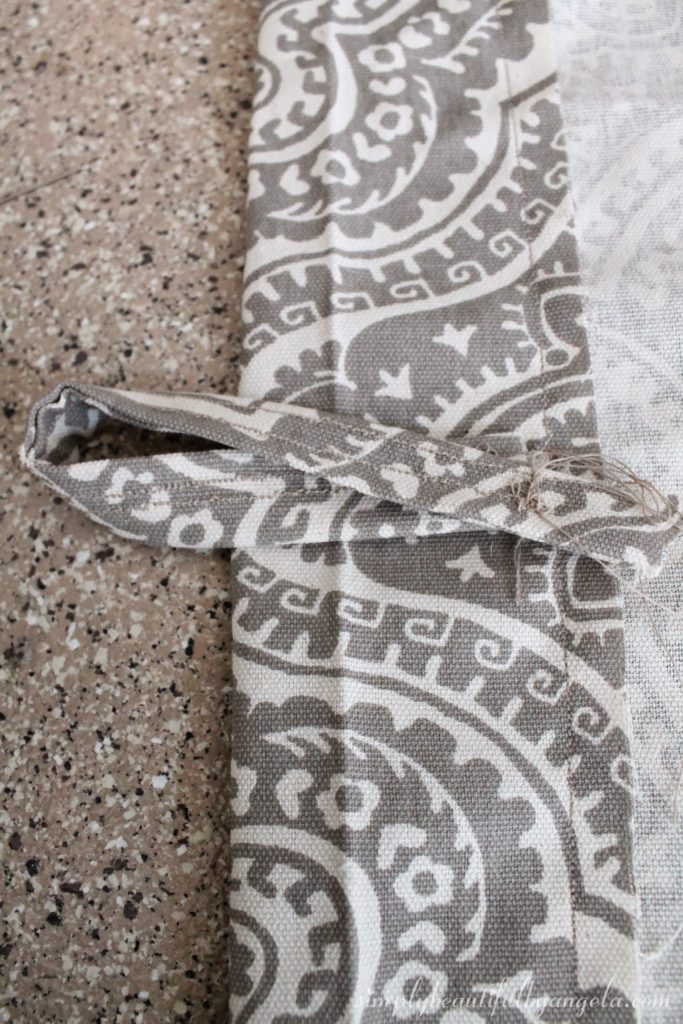
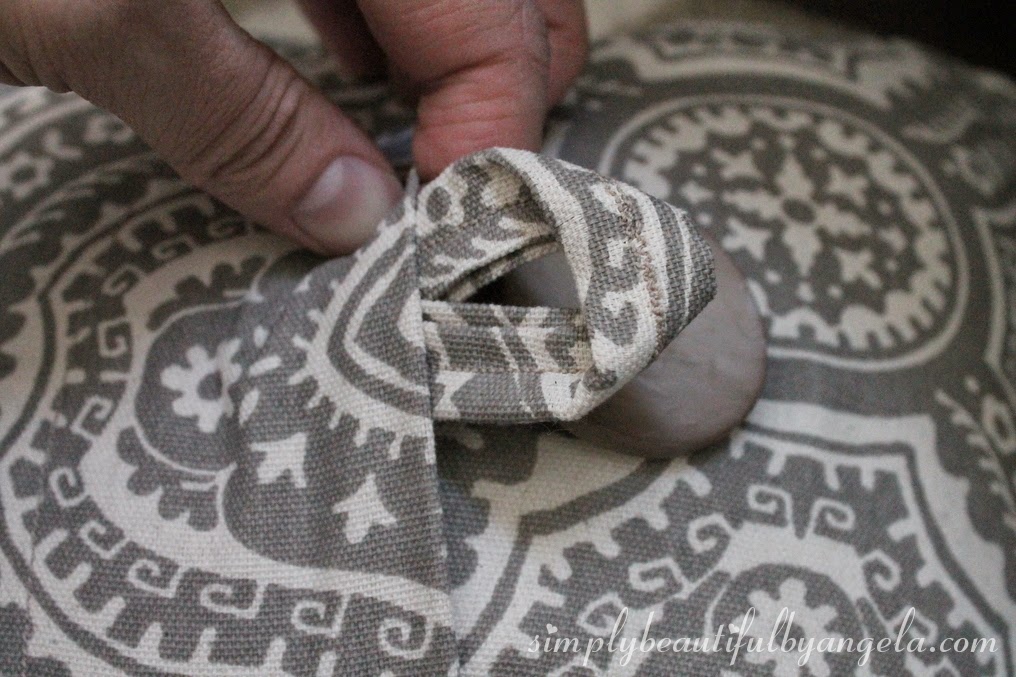
Step 4. Create and sew on the loop
To create the loop, I cut out a small rectangle of fabric, sewed a hem on one side, rolled it and sewed it shut.
***This part is very important!***
I say this, because I did it right on the first one but forgot and messed up the second one. Sew the loop on the long front piece before hemming it. This way, when you fold the fabric to hem the front piece, the stitches will not be seen from the front.
If you forget and hem the front piece before attaching the loop, you will just have to hand sew the loop on, making sure that you are only stitching through the back of the fold. No biggie–just more time consuming.
Step 5. Sew a hem on both front pieces
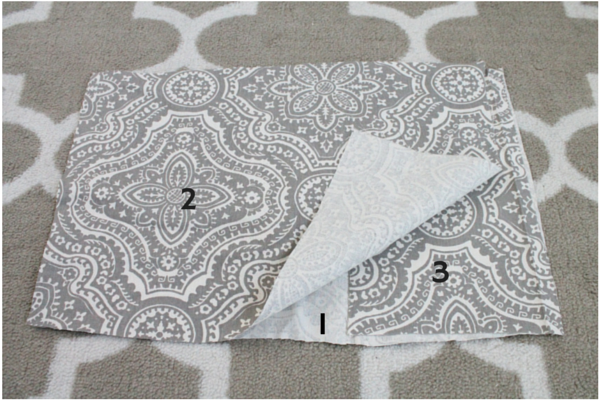
Step 6. Lay out your 3 pieces
Start with the back piece face up and the long front piece face down on top of it (you can see that my little assistant found this part to be the most amusing haha)
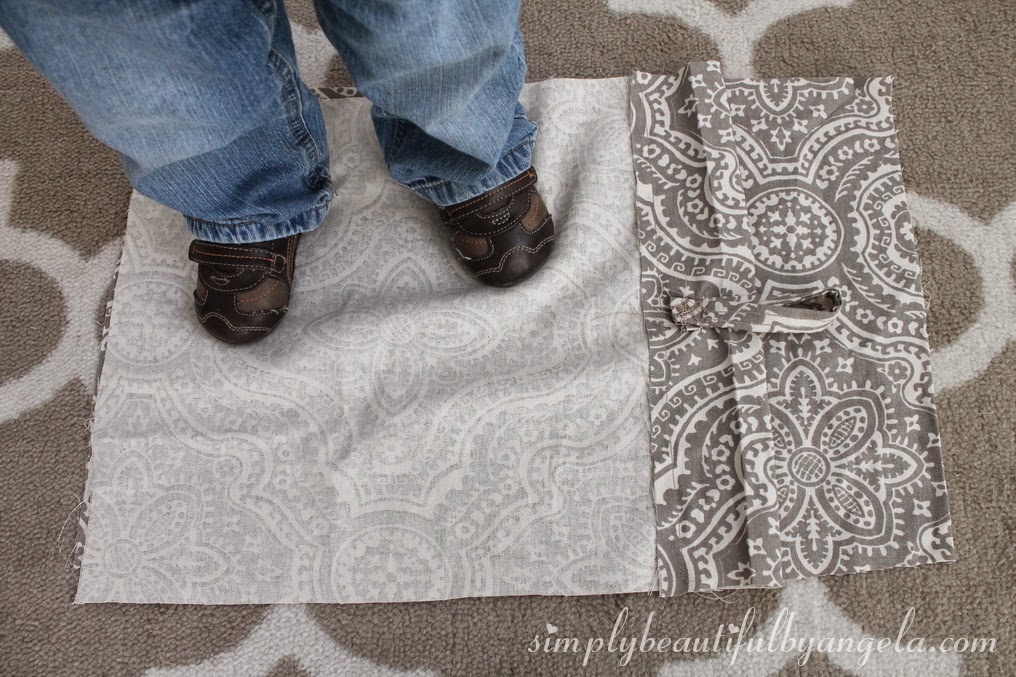
Then place the short piece on top and pin around all four sides.
Step 7. Sew all four sides
Step 8. Turn inside out and put pillow in
You can then sew on the button and put the loop over it!
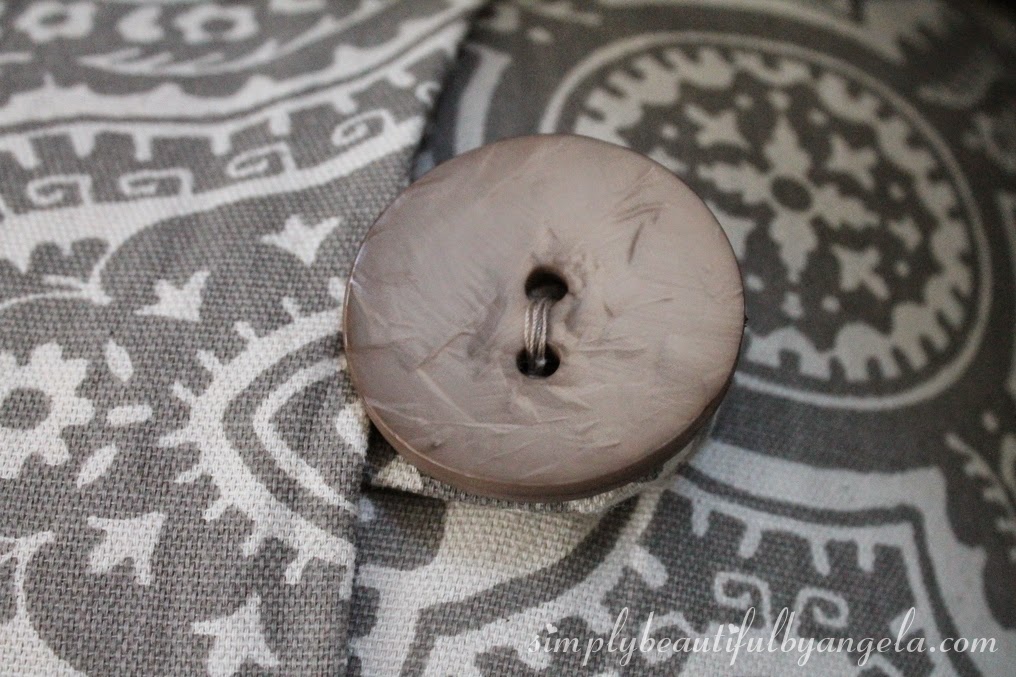
I just love how it turned out! I found the perfect button at Hobby Lobby in the aisle that has curtain tassels and things to decorate lampshades with. The buttons in the sewing area were all too small for the look I wanted.
I made two pillows for $11.50.
- 1 yard of fabric: $6 (40% off coupon on my phone at Hobby Lobby
- pillow insert: $0 (already had, but you can get them at IKEA for $3)
- 2 large buttons: $4
- coordinationg thread: $1.50
I replaced the sweater pillows that I made with these so it’s starting to feel so much more like Spring in the house!
Have a happy day everyone!
Linking up to these awesome parties!
This post was featured on Fridays Unfolded and Tutorial Tuesday! Click on the images below to take you to the feature posts.
|

|


Wow! This is super cute!!!
Thank you Hollie!! 🙂
Your pillow turned out so pretty! You make it look really easy too.
Thanks! It is really easy, I'm so glad that my days of buying overpriced pillows from the store are over 🙂
This pillow looks smashing! The button makes a simple envelope pillow look so finished. (I really dread zippers!) Thanks for sharing. Now I feel a little more motivated to try this.
Thank you! I have to agree, this is much easier than zippers! Thanks for stopping by 🙂
Very cute! Visiting from Cookin and Craftin 🙂
Thanks Kerby! And thanks for stopping by 🙂
Love the look of this easy pillow! Nice job 🙂
Thanks Angie! It was super easy and quick 🙂 Thanks for stopping by!
Thanks or sharing on My 2 Favorite Things On Thursday!! Hope you come back!! love having!! Pinned!
Thanks Elaine! Have a great weekend 🙂
Such a cute pillow! And a great tutorial!! Thanks for sharing at Fridays Unfolded!! Featuring you this week 🙂
Thank you so much for the feature, I really appreciate it! Have a great weekend 🙂
So pretty! This is a great tutorial. I really want to make one for my couches now! Pinning! Thanks for sharing this at Totally Terrific Tuesday last week. I can't wait to see what you have lined up this week.
Sharon
Her Organized Chaos
Thanks Sharon–I really appreciate it! 🙂