Hello and happy Monday! I feel like the weekend flew by entirely too fast. Maybe that’s because I was working hard on painting the kitchen cabinets 🙂
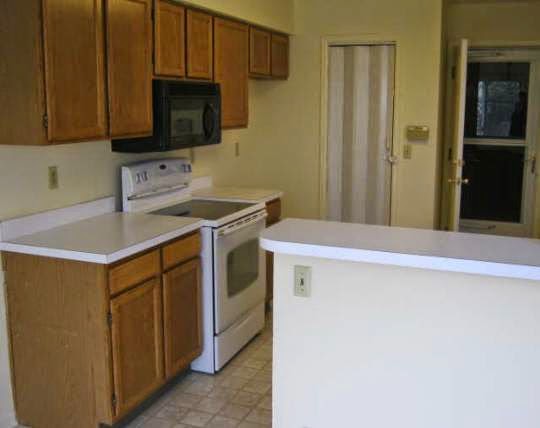
Before we moved in, the kitchen looked like this. Good ‘ol 90s oak and white laminate. Lovely, right?
I used Rustoleum Countertop Transformations (you can read about that here) to pretty up the countertops and Rustoleum Cabinet Transformations to update the cabinets.
I went back and forth trying to decide between espresso and white, and as you can see, espresso won out.
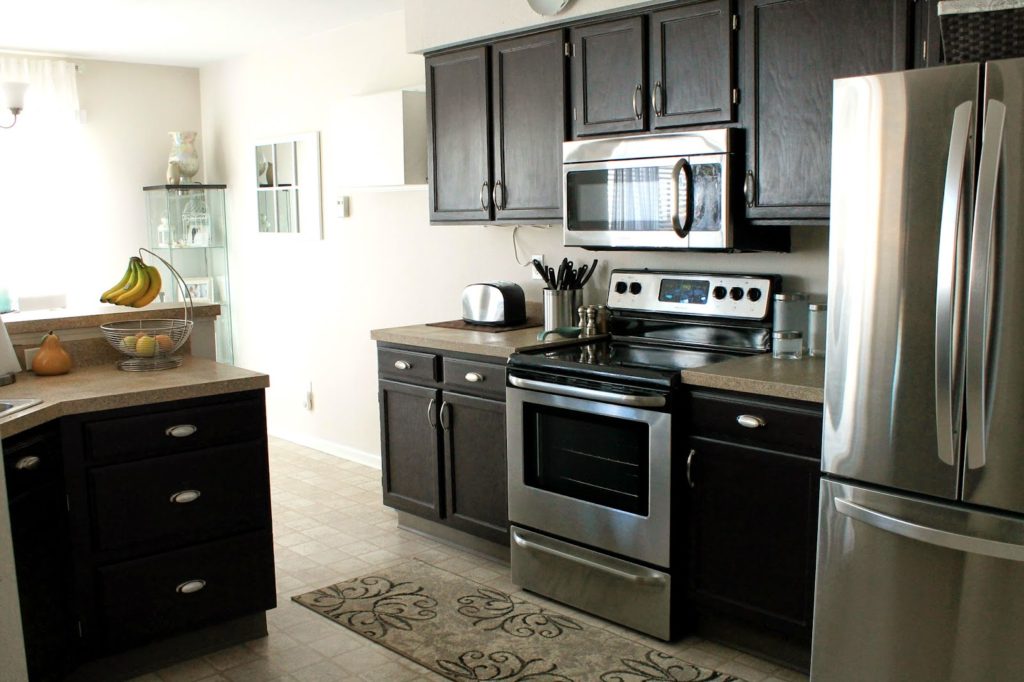
I was really happy with it for a while. Really happy! But that was before I fell in love with white. As you may have noticed, it’s become my obsession go-to for everything.
And since we don’t have any windows directly in the kitchen, I started to feel that the dark cabinets were making the space cave-like. So I became probably the only crazy girl in the world to paint her cabinets not once, but twice within a year. Yep that’s me.
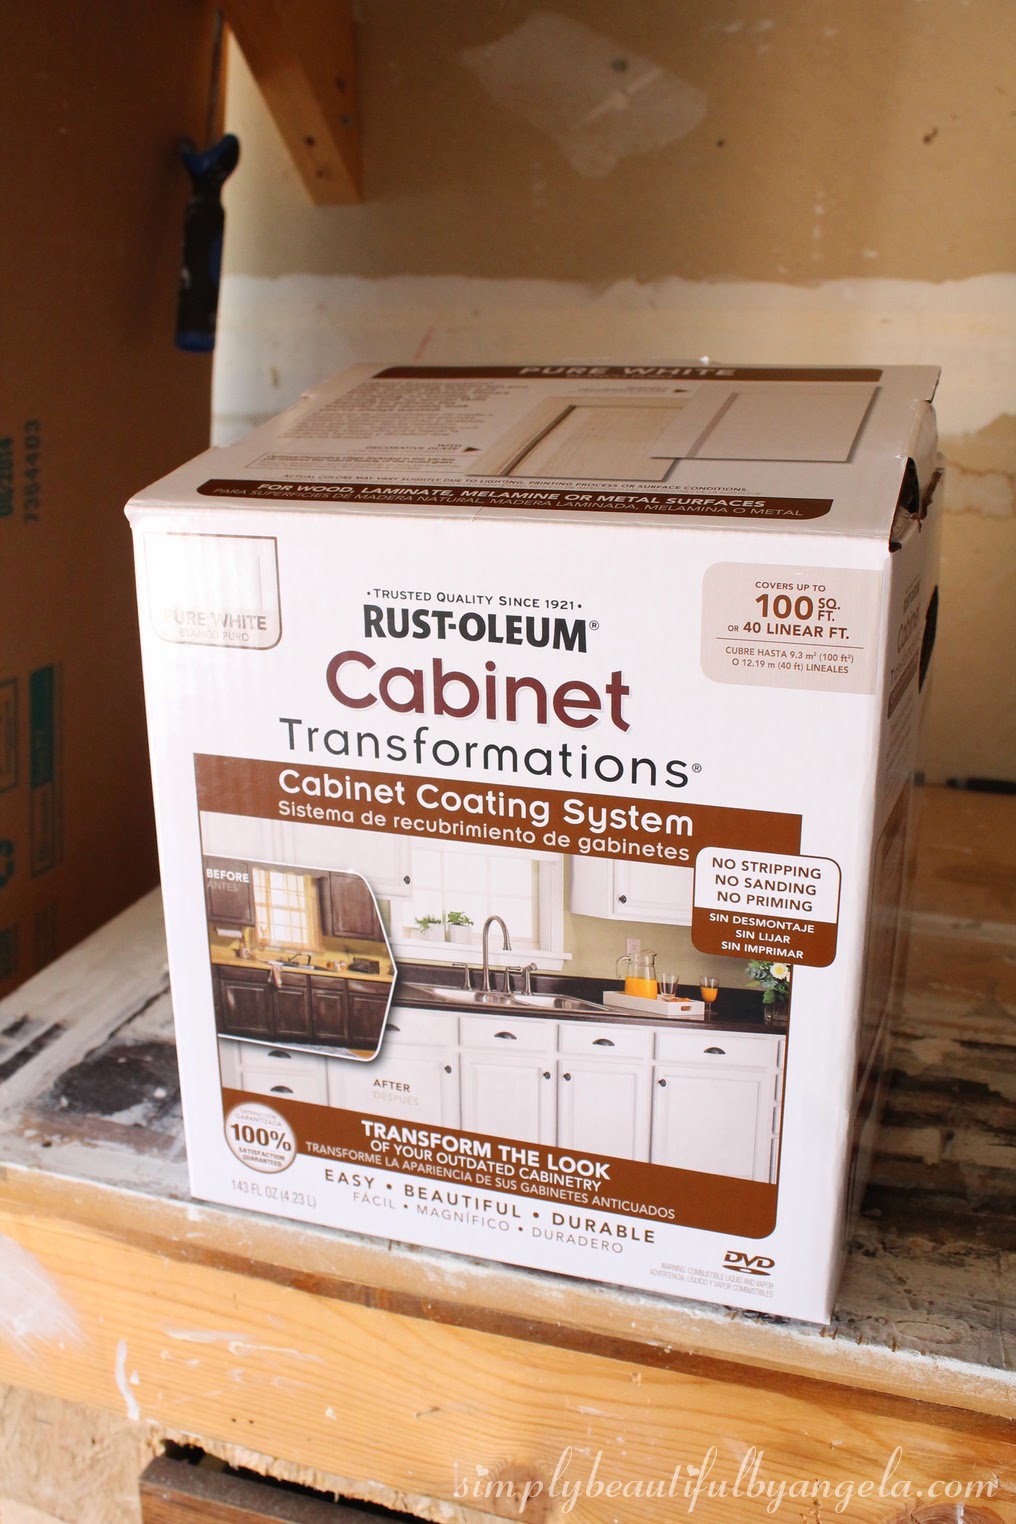
The cool thing is that I couldn’t have decided this at a better time since Home Depot has this kit on sale online through the end of this week. So instead of $80 I got it for a little under $45. Sweet!
Of course, as my luck would have it we’ve already run into one speed bump. More on that in a bit.
Saturday morning we started by removing all of the doors and hardware. Let me tell you how excited the hubby was to do this so soon after putting them all back up…
But as usual he was my hero and got them all down and ready for me to scrub with soapy water.
Once they were clean I began step one, which is deglossing. As a sidenote, the DVD that comes with the kit is very informative and I highly suggest watching it before beginning.
Step 1. Deglossing

This step isn’t actually as bad as it sounds. The goal is to get all of the shine off so that the paint bonds well. The kit only comes with 2 scrub pads, but you can purchase more at the grocery store if you need to.
After you’ve scrubbed each door, you’ll want to wipe it down with a wet rag to remove any residue. You’ll also repeat this for the cabinet frames.
Once you’re done they will look like this.

That picture also shows my method for keeping the doors organized. I marked some masking tape with numbers and put one inside the cabinet and one on a piece of scrap wood so that I can remember which door went where (important because of the holes for the hinges).
I added in my own step here. Since I was going from espresso to white, I painted each door and the frames with a coat of Zinsser primer.


by doing this, I’m hoping that I can get away with only two coats of the base coat (still doubtful…)

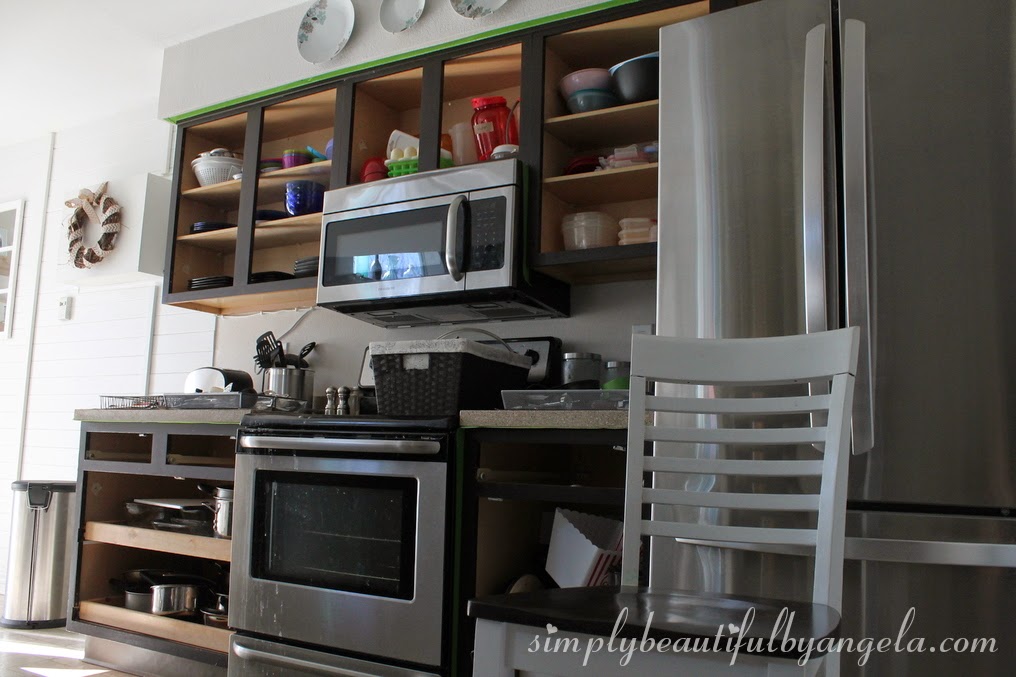
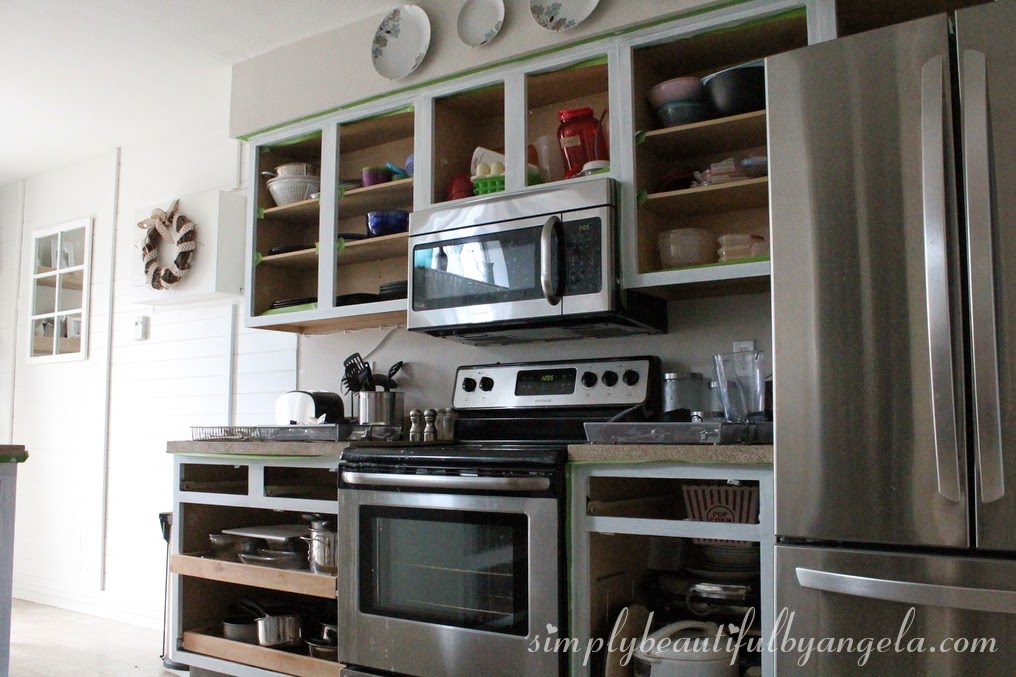
Here is one last shot of the kitchen before the primer. Bye-bye espresso– it’s been fun!
Step 2. Base Coat
Here is where we ran into our speed bump. We ordered the kit in pure white, so it didn’t need to be tinted. But when we picked it up, I took it to the paint counter to have it shaken and the guy told us that we absolutely needed to have it tinted. Wrong. We didn’t know any better so we just went along with it.
But when I opened the can at home it was really watered down and seemed super super bright. Maybe the color was right, but since I’ve worked with this kit before I knew that the consistency was wrong.
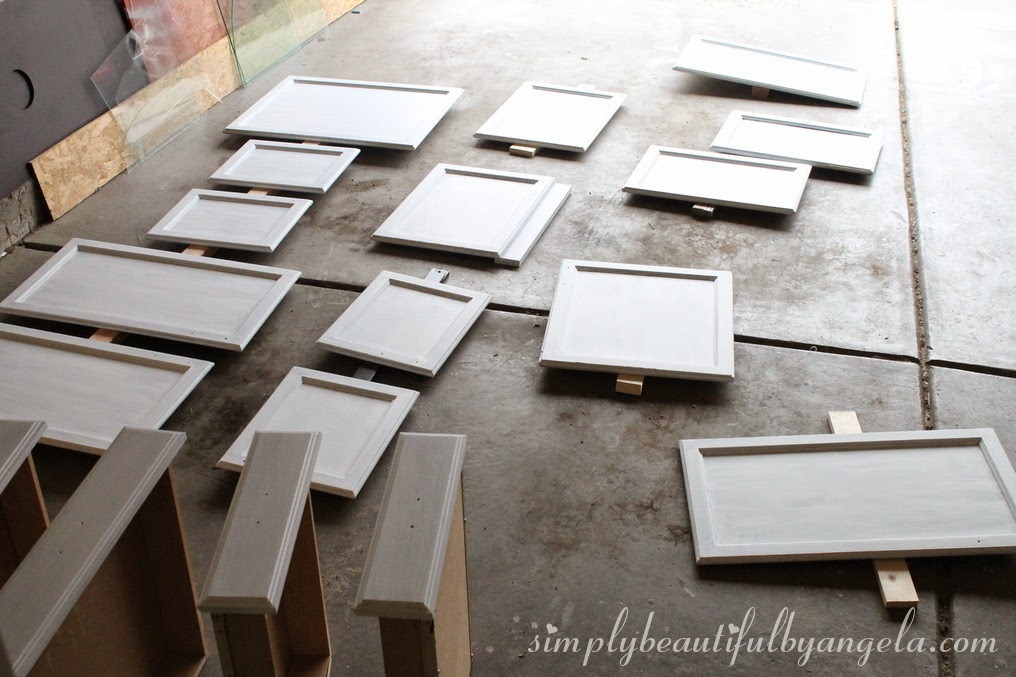
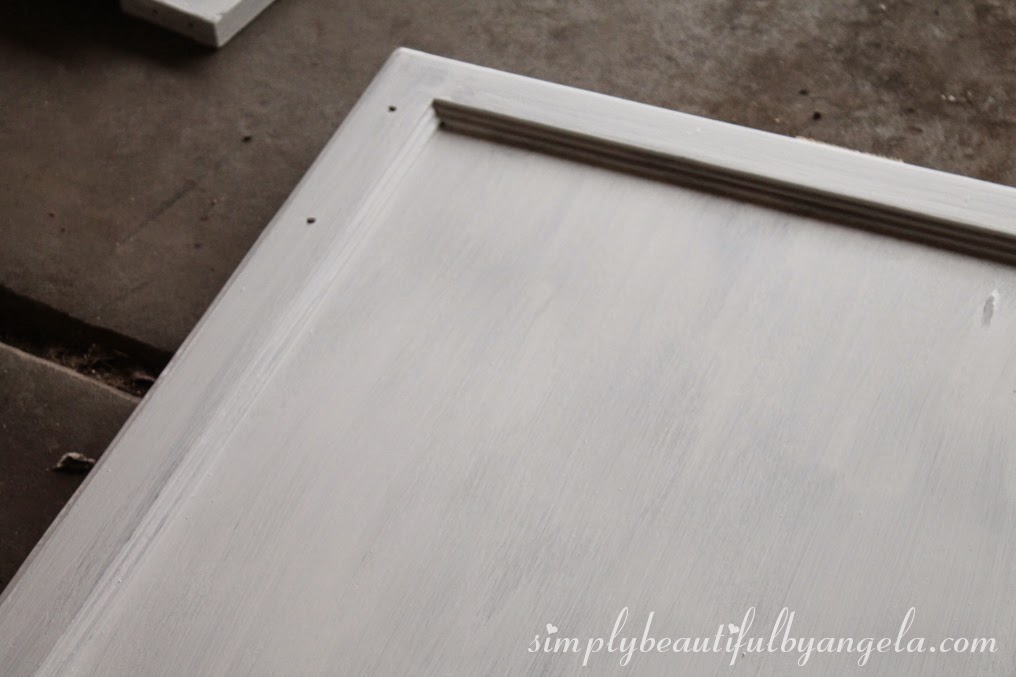
I tried to work with it the best that I could and got one coat on the frames and one coat on the front of the doors.
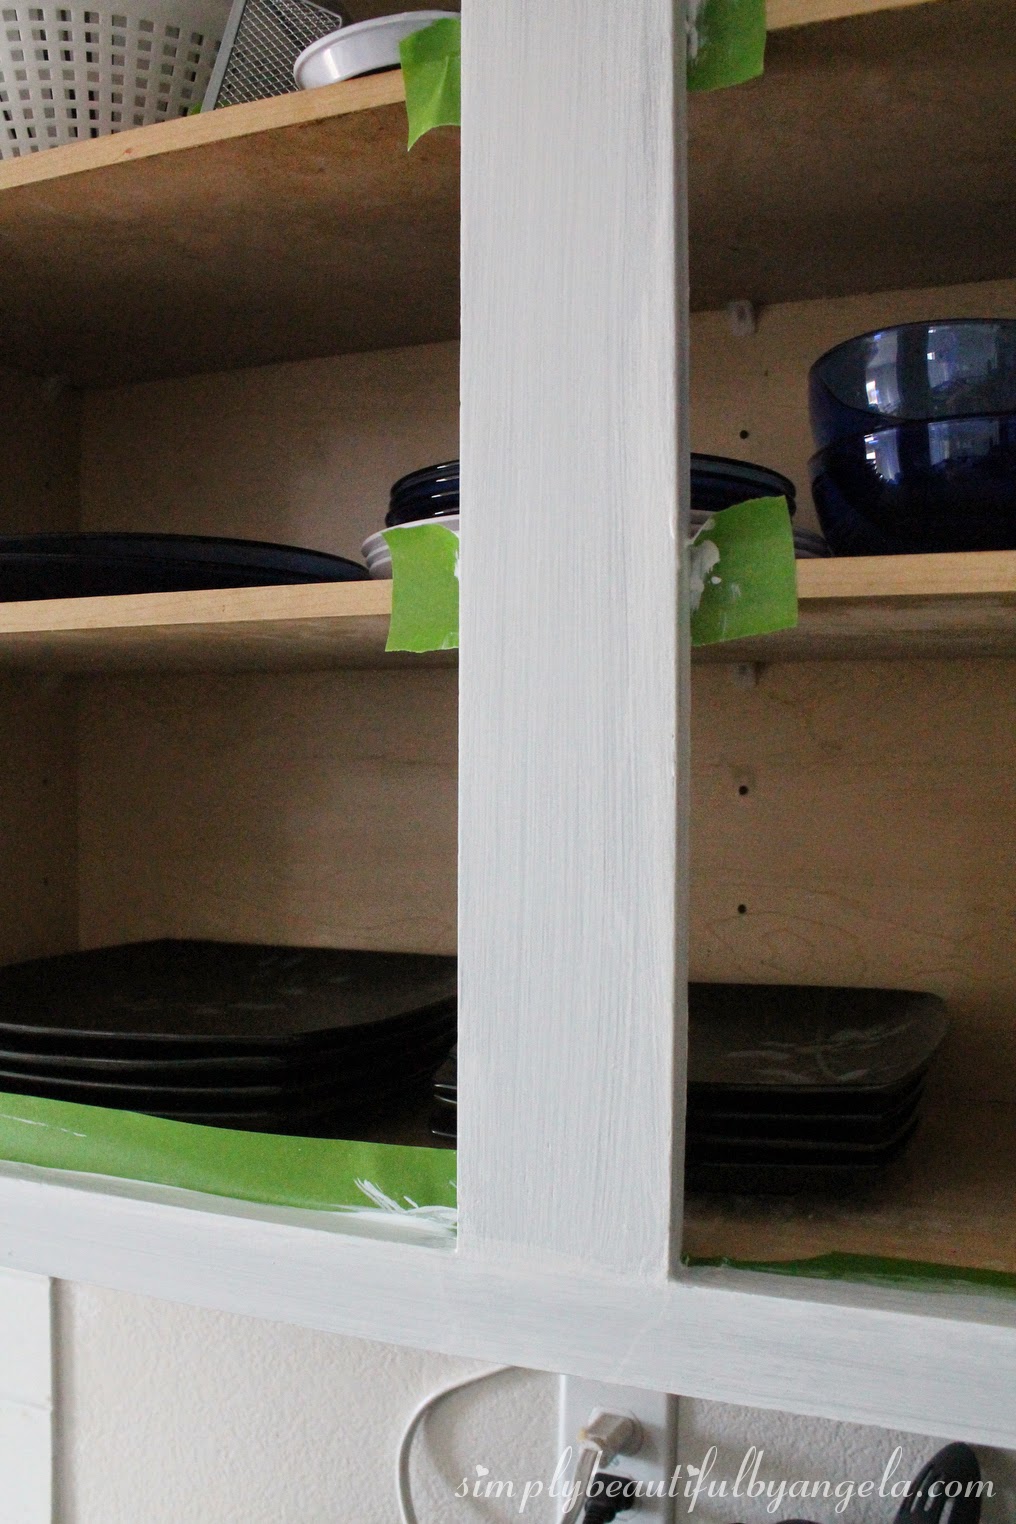
I’ve put this on pause until I can get back to the store to get this straightened out, so stay tuned!
So far I can’t stop staring at what I have done so far since I can envision what the white will look like now. I think it’s going to look great in the end 🙂
Linking up to these awesome parties!
UPDATE! You can now view the big reveal here

Oh my gosh…so sorry y'all are having paint issues. From personal experience we know how difficult speed bumps are – especially mid project. Can't wait to see your final reveal!
Vicki and Jennifer – 2 Bees in a Pod
Thanks from stopping by Vicki! I'm hoping that it all works out 🙂
I love seeing projects in progress, hope this gets worked out for you!!
Thanks for stopping by to link and share on The Oh My Heartsie Girl WW this week!!
We appreciate you shared your blog with us!!
Have a great week, Karren~Host
OMHGWW 3-24
Thank you! 🙂
Looks great so far. Looking forward to the end product.
Julie
#wordlesswednesday
Thank you! And thanks for stopping by Julie 🙂
In my opinion this kitchen began to look very strict and laconic in this dark deep color, you gave it a certain charm.
This article was written by a real thinking writer. I agree many of the with the solid points made by the writer. I’ll be back.
Cultured Marble