Happy Friday! I hope you all are more prepared for Easter than I am. The Easter bunny still hasn’t gone shopping, and the hubby still has to clean up the dog presents in the backyard!
Something about Spring inspires me to really clean out the house, but my absolute least favorite thing to clean is the shower. In fact, even though I make an effort to try to clean the bathrooms at least once a month, I usually end up skipping out on the shower. Terrible, I know.
It’s physically straining and I just hate being trapped in a small enclosed space breathing nasty chemicals.
Well I still haven’t found a good way to avoid the backache, but I have found a way to avoid the strong fumes!
I headed to the dollar store last weekend to prepare myself for this chore.
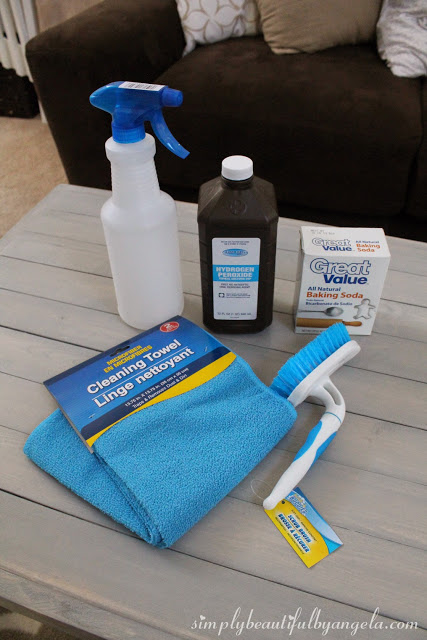
Here’s what I used:
Spray bottle
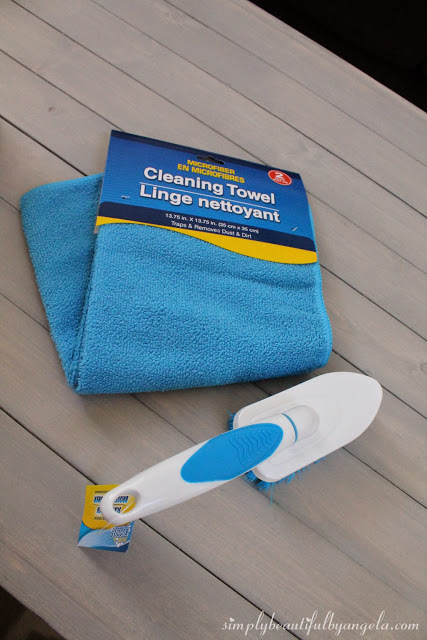
Scrub brush
Microfiber cloth
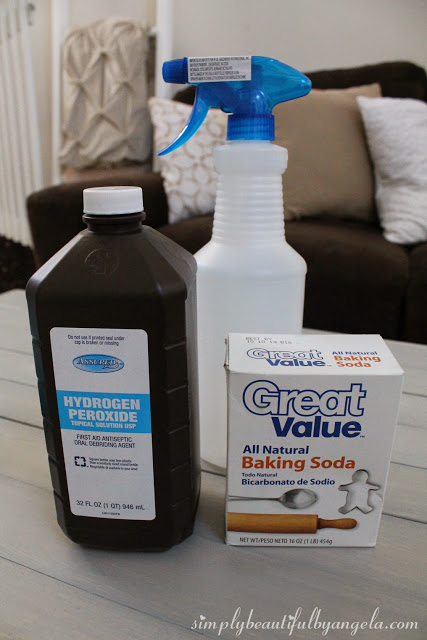
Hydrogen peroxide
Baking soda (already had)
I began by mixing about two cups of hydrogen peroxide with 2 teaspoons of baking soda in a spray bottle. Oh and I also added a squirt of dish soap.
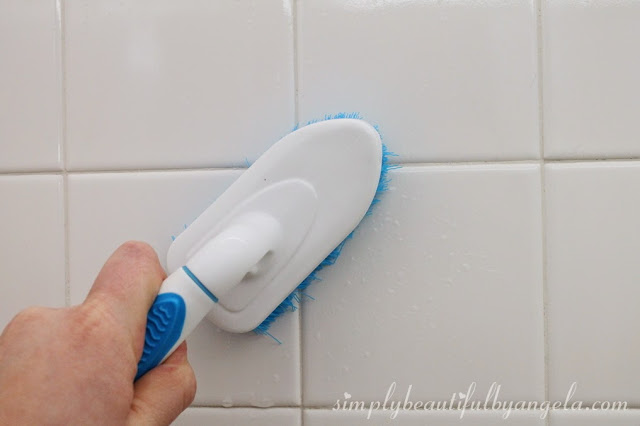
This scrubber really helped me get in the grout, and the two microfiber cloths helped me rinse and shine.
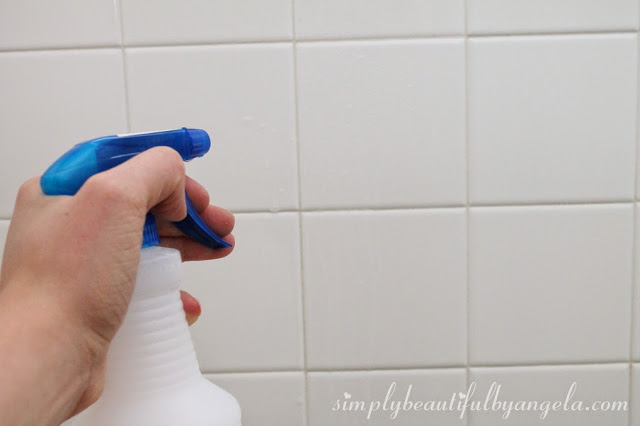
Once your mix has been made up, it’s as easy as spray…
and scrub!
I actually let the mixture sit for about 15 minutes while I cleaned the rest of the bathroom because our shower was reeeally dirty.
After I scrubbed I wet down one of the microfiber cloths and rinsed it all away.
There was still a little bit of residue after it dried, so I polished it off with a dry microfiber cloth.
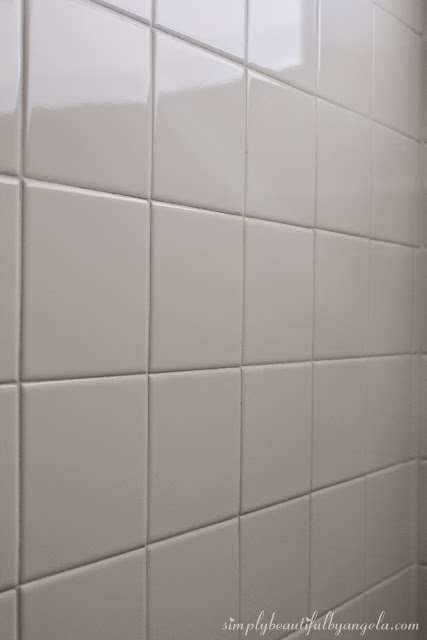
Good as new!
I know there are about a million natural cleaning mixtures out there, what is your favorite? I would love to hear all of them 🙂
I hope you all have a fantastic Easter, I’m spending Monday with my little man so I’ll be back on Tuesday!
Linking up to these awesome parties!
This post was featured on Friday Frenzy hosted by Close to Home! Click on the image below to take you to the feature post.
|


Happy Easter weekend! Being prepared is overrated 😉
I love your cleaner recipe.It sounds so much better than bought ones with nasty chemicals!
I hope you will join us for the Idea Box Party this week:
http://milaslittlethings.com/2015/04/idea-box-thursday-link-party-4.html
xx
Mila
Thank you Mila!! 🙂
First, I have a one piece shower, no tiles, so all I get is soap scum.
I read in FIRST magazine to take 1 cup of vinegar and nuke it in the microwave for 2 minutes, then put it in a squirt bottle and add 1/2 cup of dishwashing liquid. It says to spray it on the shower walls and leave it overnight.
I did it in the morning, figuring I would rinse and wipe it later that day. I had a BIG problem with the FUMES!!! It made me cough like crazy! I had to hold a hand towel over my mouth while spraying it. I also had the window open.BUT… It really did work well…all the soap scum was GONE! All I had to do was wet the shower walls and just wipe away all the soap scum! It was a lot easier than all that scrubbing that I used to do! My problem always was getting the shower floor clean. This time…WHALA! Spotless!
I don't think I want to go through all that with the fumes again. I am wondering if it was just becuz the vinegar was HOT. Since I did not use it all, I will just use what I have left and see what happens.
I am also going to try YOUR recipe.
That's awful! I know what you mean, I tried using vinegar to get cat pee out of the couch once and it almost hurt to breathe! This stuff had no smell at all which is why I love it for the tight enclosed space 🙂 Thanks for stopping by!!
I'm going to have to try this next bathroom cleaning day. Thanks for sharing!
I hope it works for you as it did for me, thanks for stopping by! 🙂
I use baking soda and make it into a paste and let it sit, this looks much quicker. My husband likes bar soap and the wax makes a horrible ring, I am going to try this! Thanks.
I bet the paste would work well too on those really stubborn spots! I know what you mean about the bar soap, that's what my hubby uses too 🙂 Thanks for stopping by!
Visiting from Idea Box. I'm pinning and going to give this a try.Your shower tile looks amazing.
Thanks Beverly! I've noticed that keeping up on cleaning it and not letting it get too out of control really helps too. Thanks for stopping by 🙂
Nice work! I never thought of getting a scrub brush for the tile (the tile in our bathroom just never looks clean… I think whoever did the bathroom used the wrong kind of grout). I use baking soda, vinegar, and dish soap (I've never had a problem with fumes, sure it does smell a bit vingar-y, but nothing that causes me to have problems breathing). Thanks for sharing at Idea Box!
Thanks Danielle! The brush was definitely a huge help. Happy Friday 🙂
Thanks for linking up on My 2 Favorite Things on Thursday!! Hope to see you tomorrow!! Pinned!!
Thanks for sharing with. This is very useful post
Housekeeping Products suppliers in Chennai