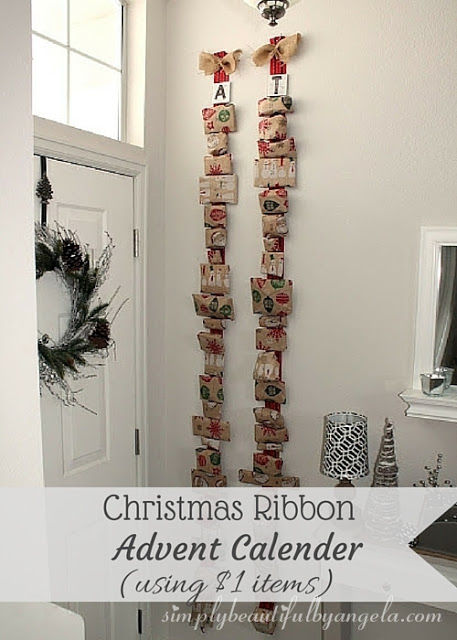
Hello friends! Today I am excited to share the Christmas ribbon advent calenders that I made for the kids this year. It’s something that my Grandma used to make for my cousins and I when we were kids, and since she passed this year I thought it would be a great way to remember her.
At first I thought that 24 presents times 2 kids (3 next year!) sounded awfully expensive. But after shopping the dollar store and the Dollar Spot at Target I realized that these are actually more affordable than I originally had thought.
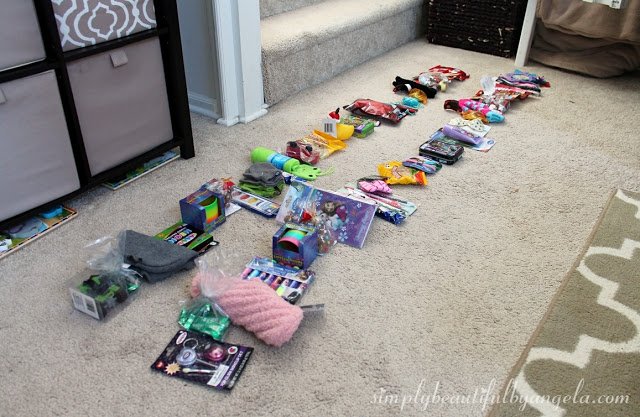
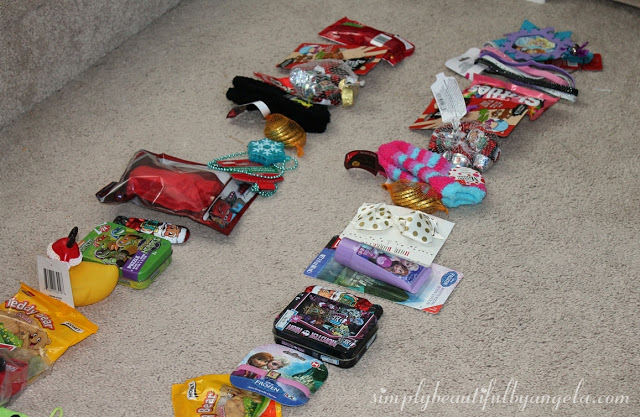
I began by lining up all of the goodies making sure to alternate the candy with the toys and other little items. This was also a good way to ensure that matching gifts lined up for each kid on the same day.
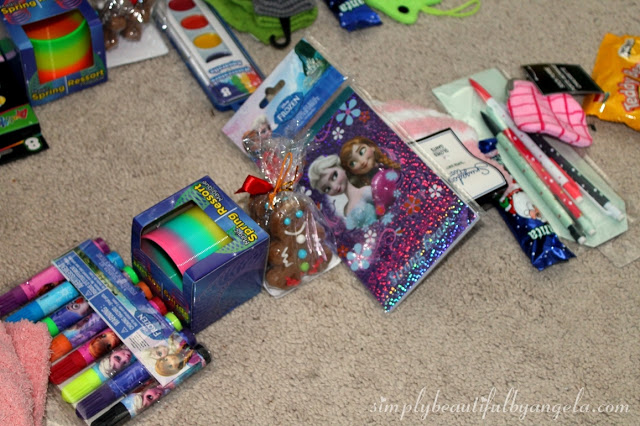
For Tristan my two year old, I got things like crayons, paint, bath toys and cars. For Alana my 7 year old step daughter, I had a few more options like lip gloss, hair accessories, a coin purse, a bracelet, lotion.
I got some practical items too for both of them like hats, gloves and socks. The candy items also helped cut the cost a lot because I bought a couple of packages of candy and split them up between the two of them. Not one thing was purchased outside of the dollar store and Dollar Spot so my total cost for both was about $44.
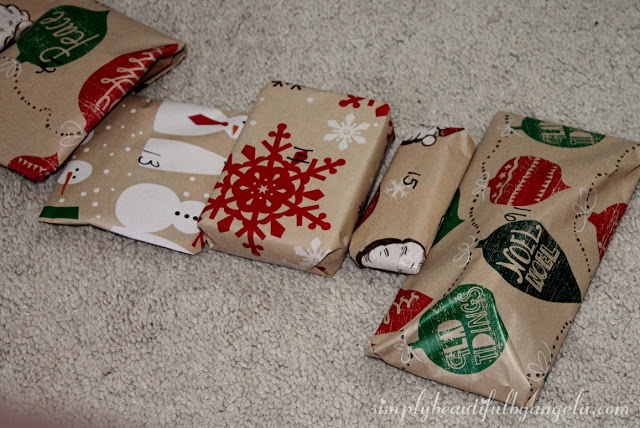
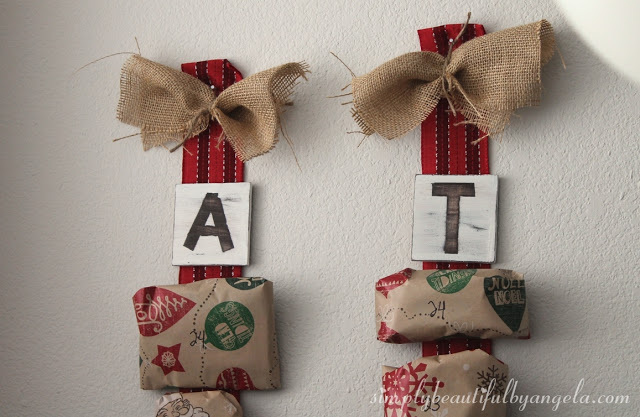
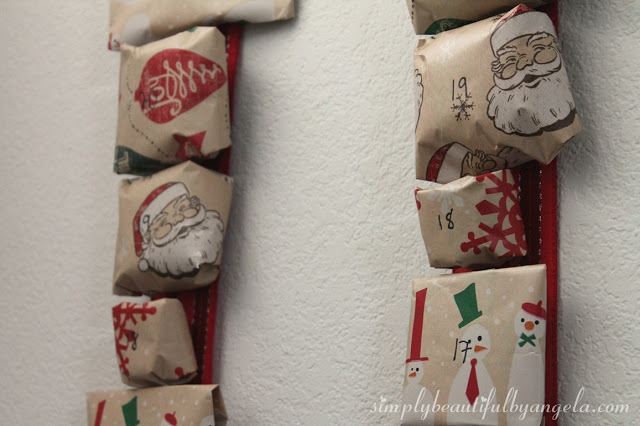
If you can enlist help for wrapping, it makes the process go much quicker! Even though the hubby hates wrapping he was a champ and pitched in. I numbered the front of each to make it easy for the kiddos to see what day we are on and also to make it easy for me to glue them on the ribbon in the right order.
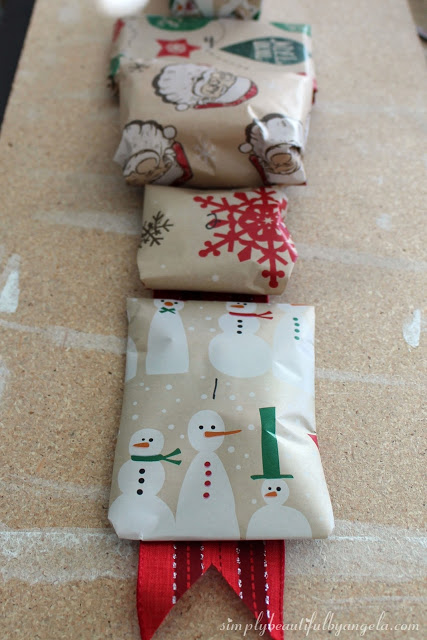
Once I had them all wrapped I began gluing them onto some thick ribbon that I found for 50% off at Hobby Lobby in the Christmas section.
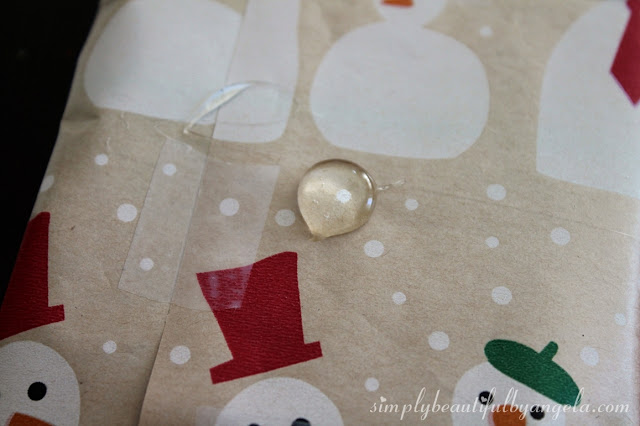
I used a generous amount of hot glue on each, but for items without a lot of packaging (like hats, gloves and socks) try to stay on a piece of tape so that it doesn’t bleed through. I’m not sure how well I did with this part since it was an afterthought so we’ll have to see…
I started with nubmer 1 at the bottom and worked my way up.
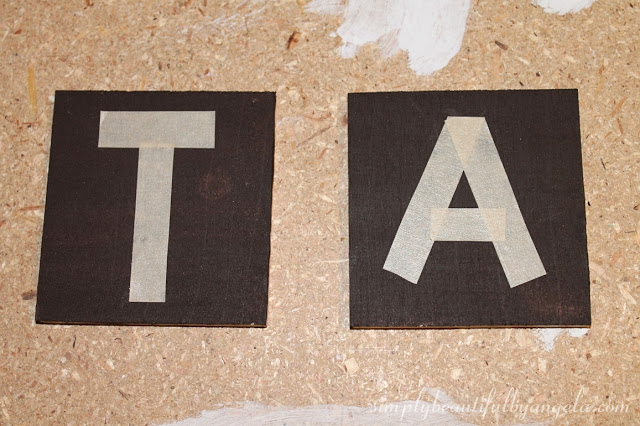
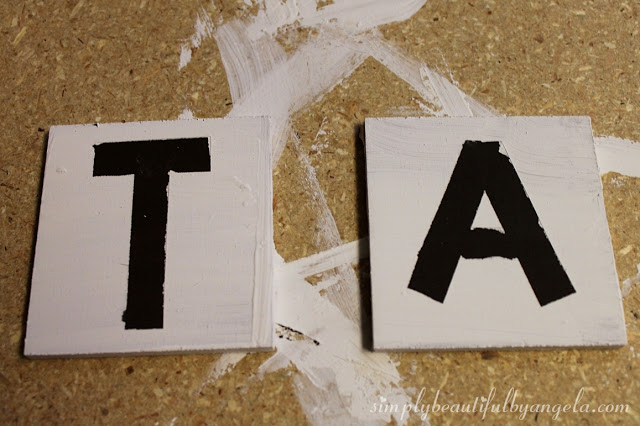
To dress them up a little I decided to put their initials at the top. I painted a piece of scrap plywood brown then I DIY’ed my own stencil by using masking tape. Luckily they both have non-curvy initials so it was pretty easy!
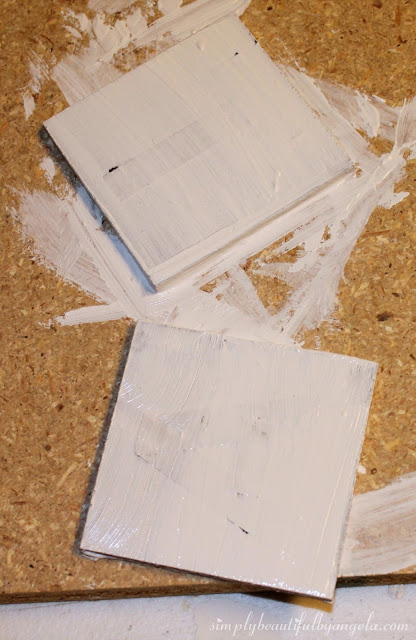
Next, I gave each a coat of white paint.
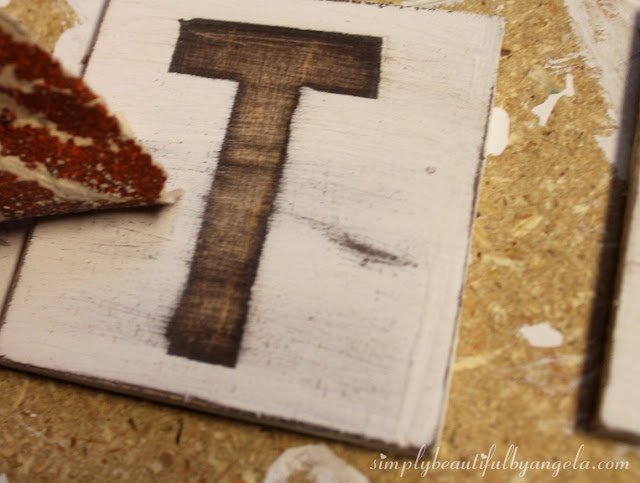
Once dry, I took the tape off. They weren’t perfect but that didn’t matter because distressing always hides imperfections!
See? 🙂
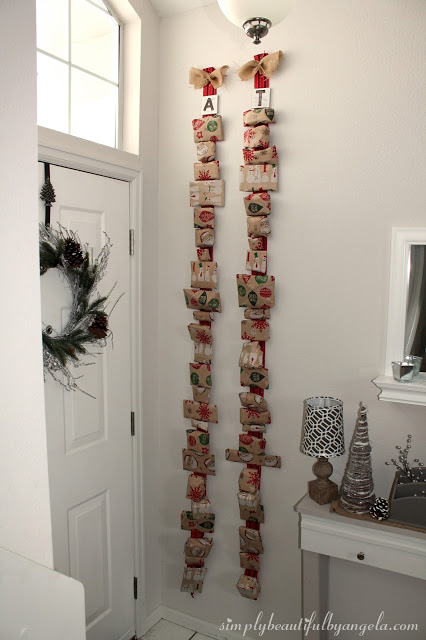
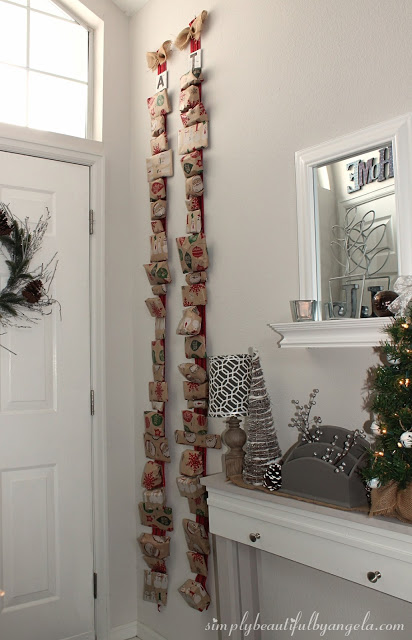
I hung them up in our entryway and they make the space so cheery and festive!
The initials turned out better than I thought they would. I also added a burlap bow to the top which was made by taking a square of burlap and tying some twine in the center.
So far Tristan hasn’t tried ripping into them yet, but I have a feeling that might change once he actually realizes that there are toys and candy in there. I remember the temptation of wanting to open all of the packages and driving my Mom nuts. Payback time I suppose!
I can’t wait for tomorrow for them to open up the first one. This will be a new tradition that adds to the excitment of Christmas. Next year I’ll try to start shopping throughout the year so it’s not quite as overwhelming though 😉
Linking up to these awesome parties!
This post was featured on From Dream to Reality hosted by DIY Dreamer, Grace at Home hosted by Imparting Grace and Pin Me Linky Party hosted by Diana Rambles! Click on the images below to take you to the feature posts.
|
|
|


Cute, my kids would love it :0)
Thanks Shantel! 🙂
Those are such a cute and fun idea. I love the wrapping paper you used! It would work perfectly with my Christmas tree.
Thank you Kati! Christmas craft paper is my favorite but it's sometimes hard to find. I actually found this at the Dollar Tree! I also saw some pretty rolls at Hobby Lobby.
So cute LOVE it! Now I know where to shop for my advent calendar gifts : )
Thanks Deb! It's surprising how many cute and practical things they really have!
Thisis just adorable. Your kids are going to have a ball!
Thank you Mary! So far they have been absolutely loving it, although the two year old is having trouble grasping the idea of ONE present a day haha
This advent calendar is really neat!! I like that it's vertical. It looks great and I'm sure your kiddos will love the countdown!! 🙂
Thank you so much Keri! Being vertical definitely adds some interest to our vaulted ceilings 🙂
This is AWESOME! I wish I'd done this for my kids when they were little–they would have loved it! Well done, mom! 🙂
Thanks for joining Grace at Home. I'm featuring you this week!
Thanks Richella! I remember the excitement and magic I felt as a kid with mine so I can only hope the kiddos feel the same 🙂
Congratulations! This post is going to be featured over at Diana Rambles tomorrow and has been pinned in the Featured at Diana Rambles board at Pinterest and Tweeted. Please grab a featured button off my button page or via the post guidelines graphic. Thanks for sharing this awesome idea!
This is SUCH A great idea!! Thanks so much for linking up with The Alder Collective!!