
Hello and welcome to a new week! I spent last week hanging out with my little guy and enjoying some quality time together before the new baby arrives. It was so nice and I’m already finding it hard to get back into my normal routine!
A couple of weeks ago I was trying to figure out what I could do with these two cheap cube units.

I wanted some extra storage for my step daughter to put her toys but I also wanted to keep Tristan from getting into them since a lot of them are choking hazards for him. So I came up with a way to turn them into a storage cabinet that I could add a lock to.
Here are the supplies that I used:
- Two Closetmaid cube organizers (I got mine awhile ago but this is the most similar that I could find online)
- 2 8ft 2x3s
- 1 8ft 2×2
- 2 8ft 1x4s
- 3/4″ MDF to create a bottom shelf
- 2′ x 4′ beadboard panel
- 2 8ft 1x3s
- 1 8ft piece of small trim molding for the top
- Wood screws
- Nails
- 2 cabinet hinges
- Cabinet pull
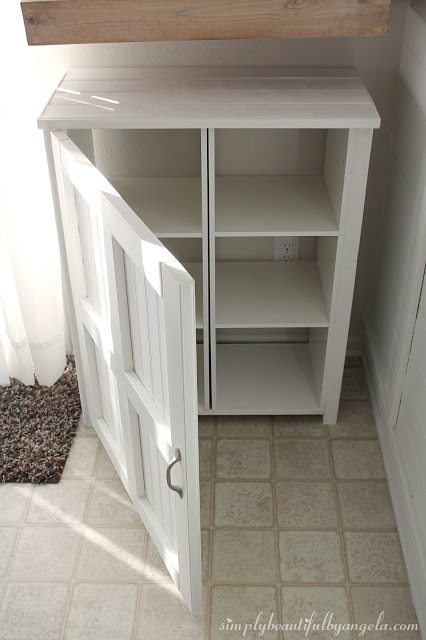
I began by cutting the legs out of 2x3s by taking the measurement of the unit plus 2.5″ for feet. I first attached them using liquid nails, and once they dried the hubby secured them with wood screws from the inside.

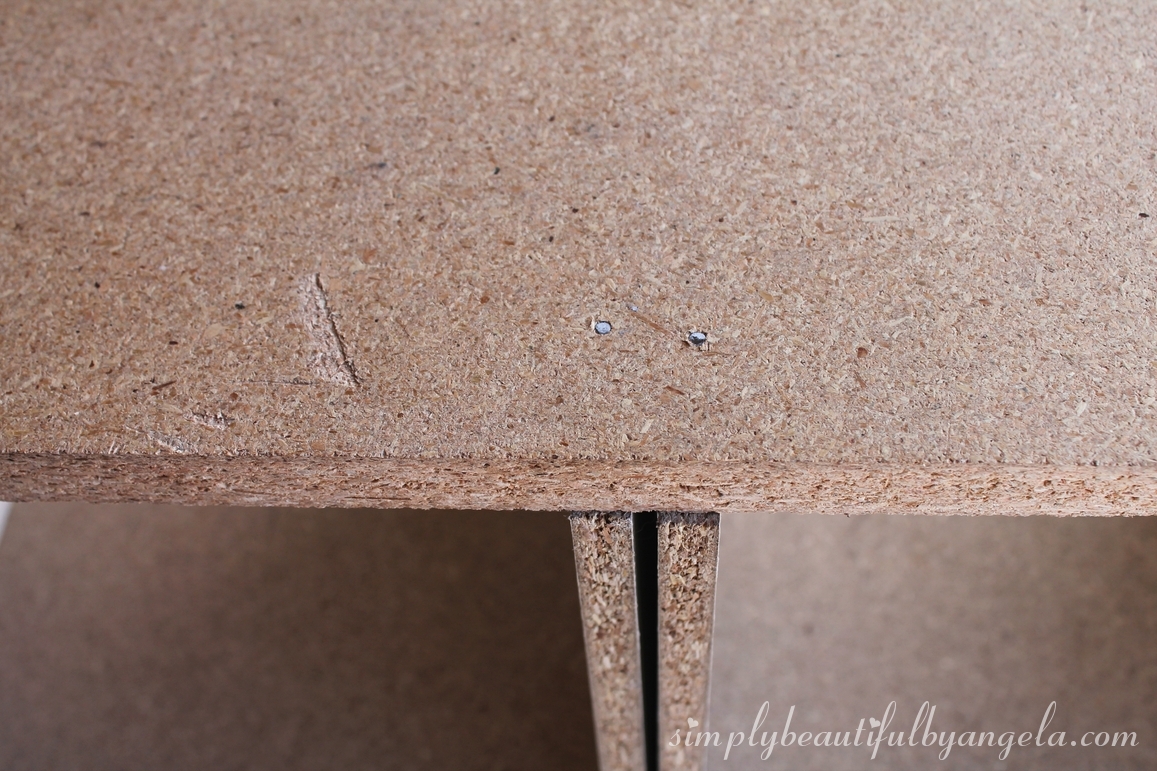
We cut a piece of 3/4″ MDF to create shelf for the bottom and this is also what attached the two units together. We just nailed it in from the bottom since we don’t plan on having a lot of weight on them.
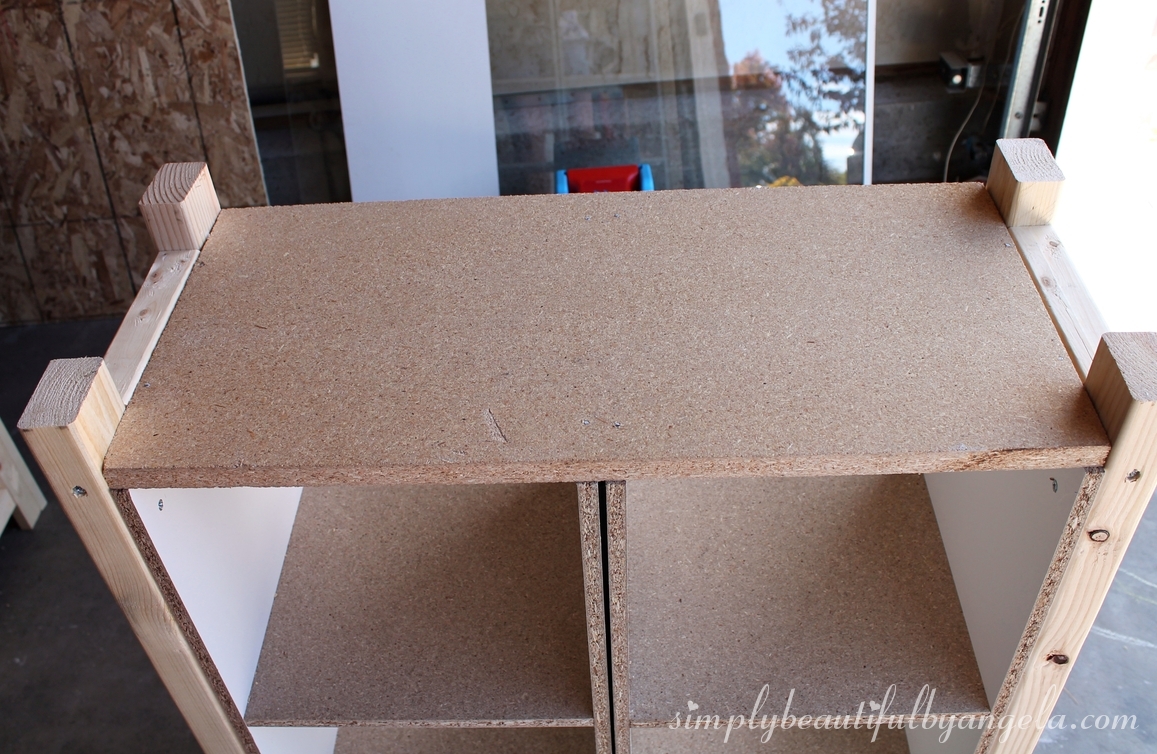
I also added a 2×2 with liquid nails to the top and bottom of each side to make it pretty and look more finished.

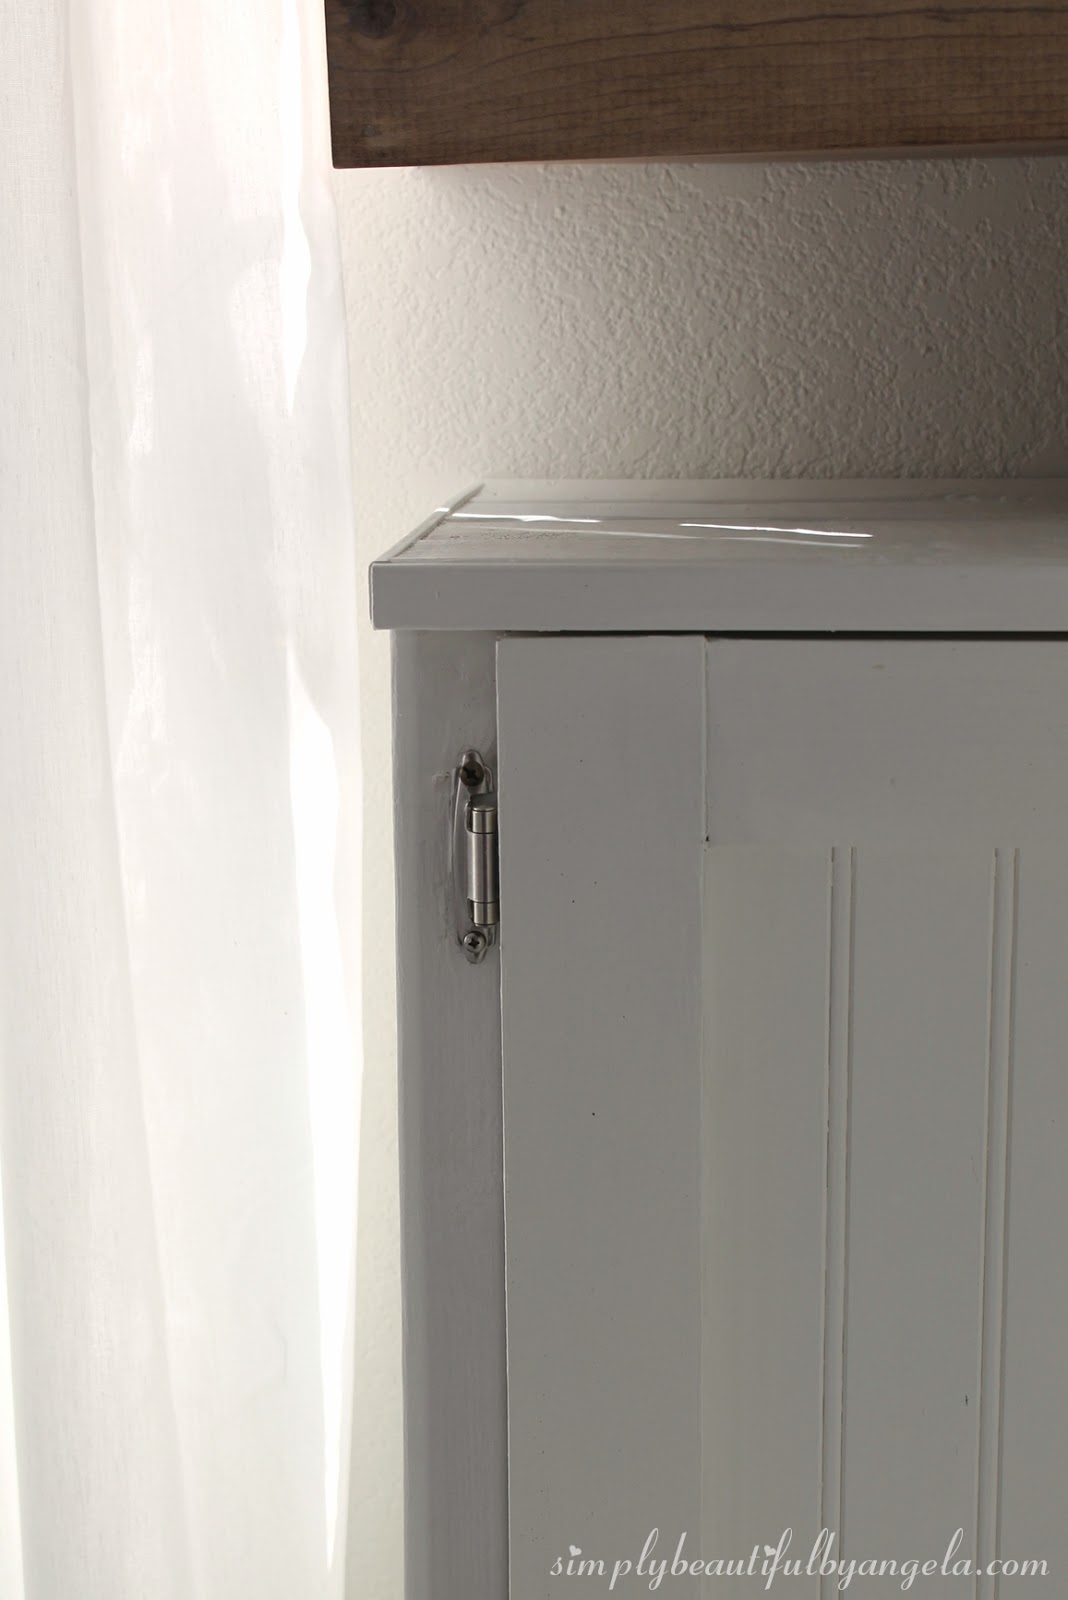
For the top, I cut 1×4 furring strips and attached them with liquid nails then went back over each with a nail.

I also nailed on some small molding around the edges to make it cleaner.

I went around and filled all of my nail holes with wood filler and started on the door while I was waiting for it to dry.
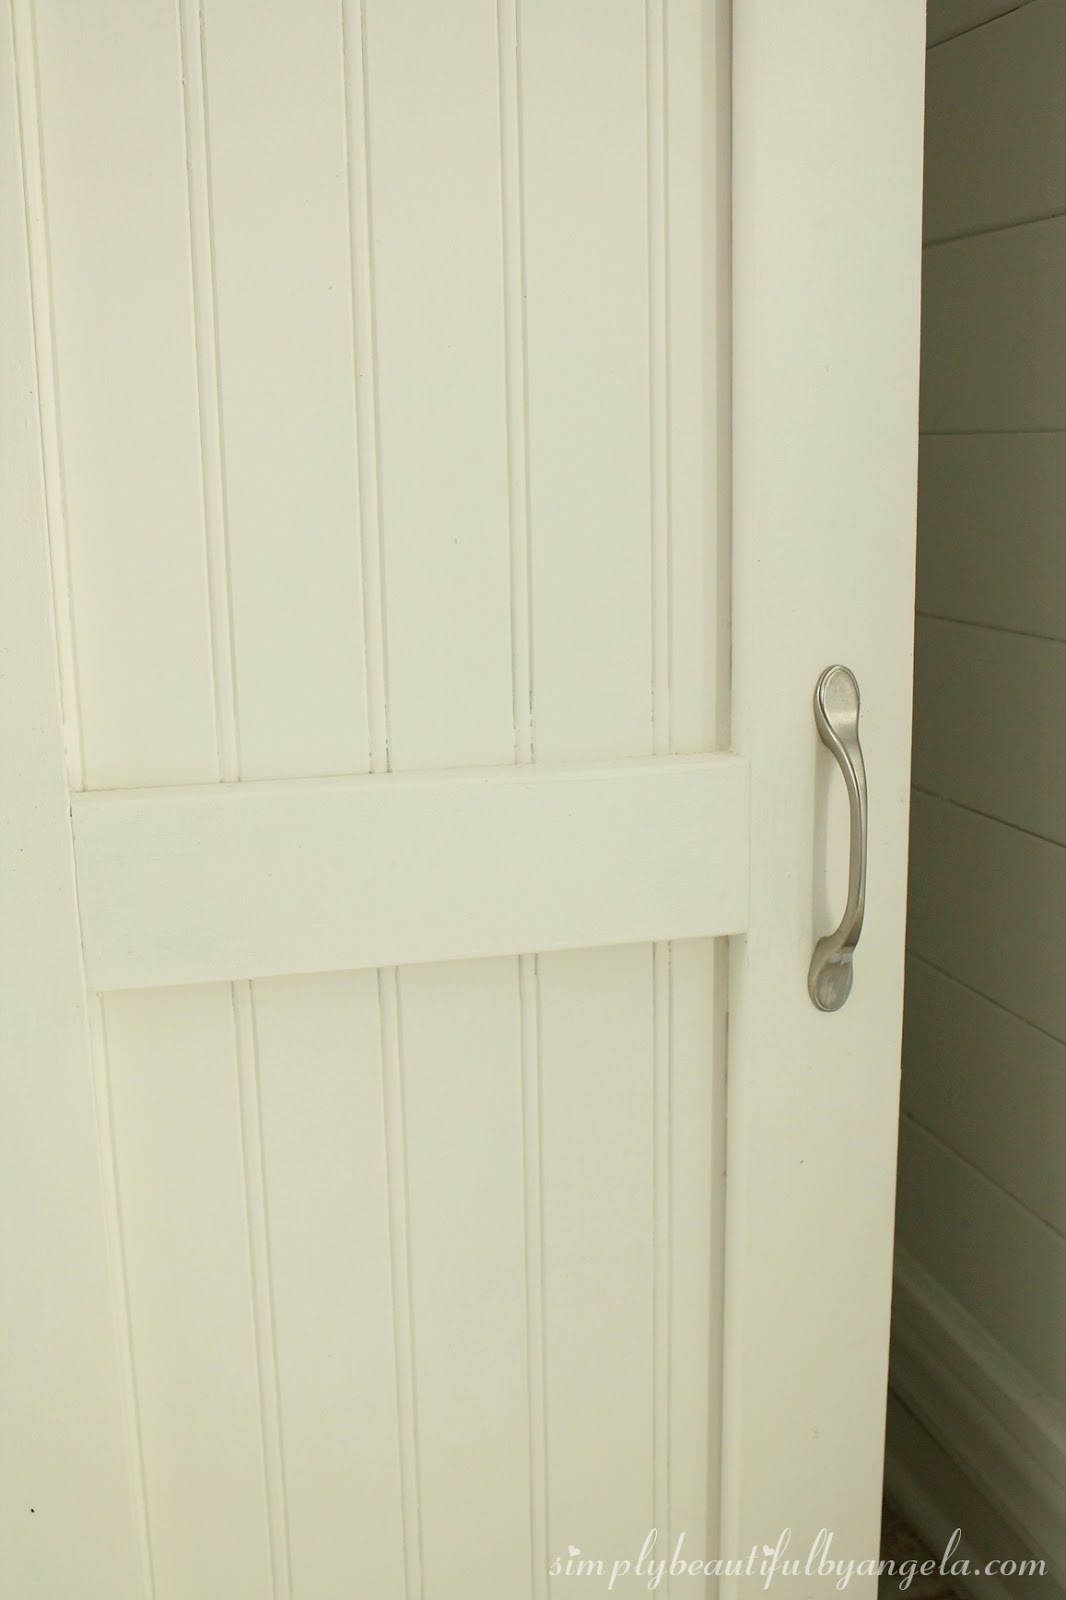
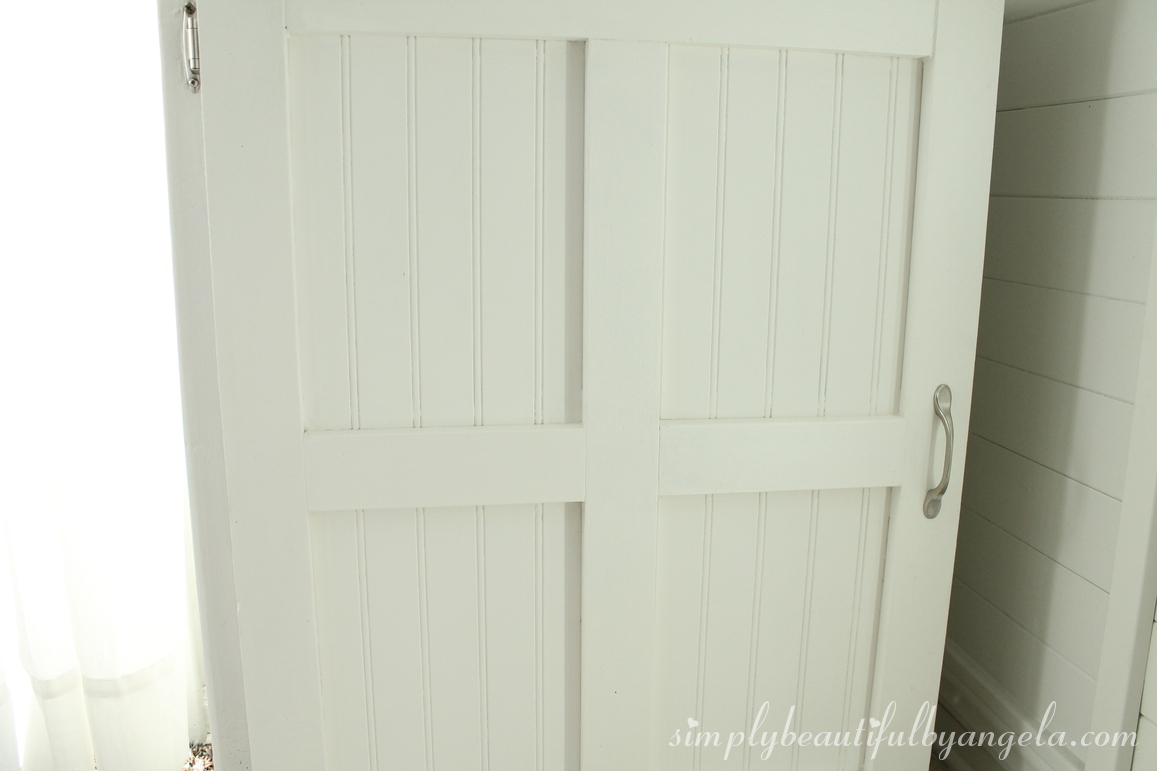
I measured out the door height and width on a piece of beadboard and the hubby cut it to size on the table saw. I then used liquid nails to attach some scrap 1x3s that I had laying around (hence the gray stain on some of them). Once they were dry, I flipped it over and secured each with a couple of nails from the back.

You can see that my measurements weren’t perfect (they rarely are!) and I eventually went back over the gaps with caulk.
After sanding and a couple coats of paint we attached the door using two cabinet hinges and added a cabinet pull.
And this is how it turned out!
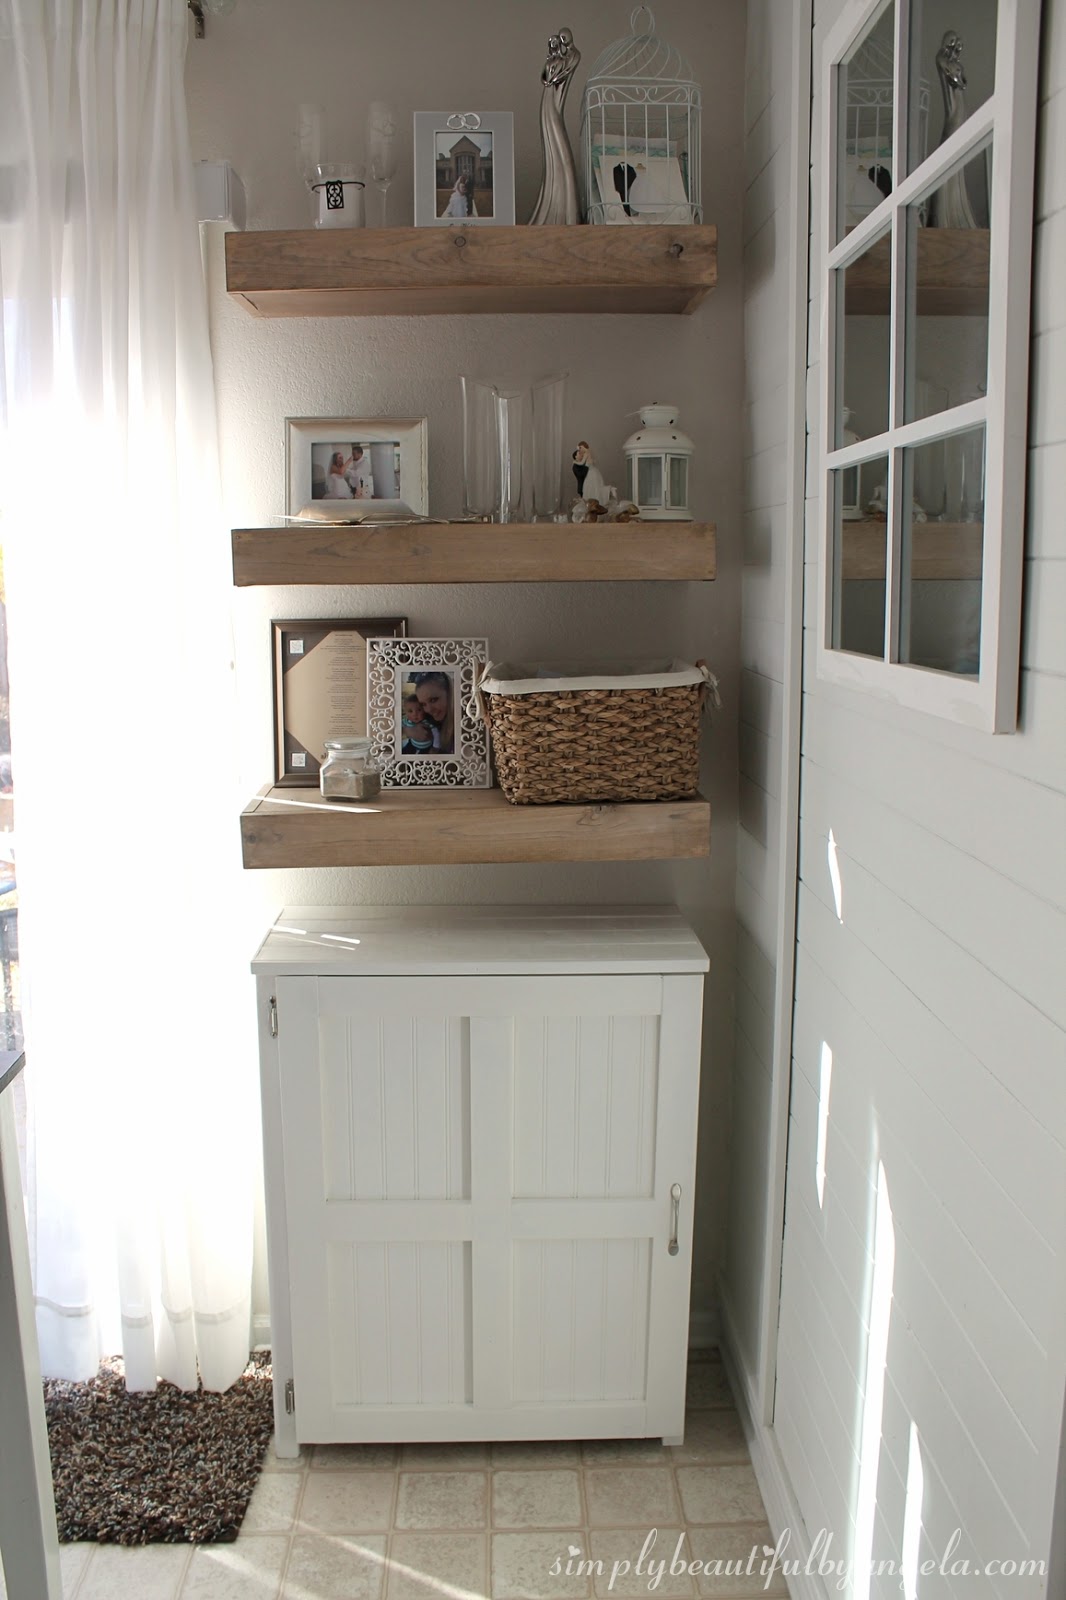
It’s been sitting here for a few weeks until I could find inexpensive baskets that fit. This weekend I figured out that I actually have boxes that are the perfect size! Of course I can’t just put boxes in here, I’ll pretty them up first. More to come on that soon 🙂


I can’t decide if I want to leave all of the pretty planked top showing or if I want to add some sort of decorative tray or candles. Hmmmm decisions decisions…


I spent roughly $30 on the lumber and hardware. We already had the MDF and the 1x3s laying round, I never throw away scraps because I almost always end up using them!
This was one of those projects that came out better than I expected it to. I really just wanted a cheap way to make these cubes functional but it turned out to be a beautiful addition to our dining area. 🙂
Linking up to these awesome parties!

This post was featured on Inspire Me Wednesday hosted by Adventures of Mel and the Alder Collection hosted by Winstead Wandering! Click on the images below to take you to the feature posts.
|

|
|
You have just singlehandedly solved my dilemna on how to make some cabinets for my bathroom!
THANKS!
We have one bathroom that is oddly large…it looks weird how it was done, too much space in one part that can't really be used for anything, while my master bath that sits on the other side of the wall is TINY. LOL. I wonder why they didn't just make the master bath a little larger and this one a bit smaller. Who understands builders? LOL
I wanted to add some cabinets to the one wall, where all the ROOM is, for everyday "stuff" so I could use the closet in that bathroom for "bulk" items and also get my carpet shampooer and vacuum cleaner in there.
I am going to make a few cabinets similar to yours, and I am also going to add some above them, on the wall, so that I have a nice wall full of storage.
I have been hemming and hawing because I was thinking I was going to have to find ENOUGH matching wall cabinets at the thrift shop to do this project. That would be a very rare event finding that many!
So thanks again!!!
Thank you Robin, it makes me so happy to hear that I was able to inspire you! I bet making a few of these will look awesome in your bathroom and will end up being much cheaper than purchasing actual cabinets! 🙂
Your cabinet looks fabulous! I love the detail of the beadboard with the trim boards over it. What a great idea!
Thank you so much Vineta!! The beadboard did come out even better than I had pictured it 🙂
that looks great, definitely an improvement over those cabinets as is!
b
Thank you so much, I completely agree!
This is a fabulous idea! ….and your cabinet looks like a custom built one and you would never know it was two cabinets but together.
Thank you Jennifer! I know what you mean, I was pleasantly surprised with how it turned out 🙂
This looks so beautiful, especially considering what it started as. I've pinned it to show my husband.
Thank you so much Jessica! I'm glad I could help 🙂
great idea! love the cabinet doors, really dresses up those shelves!
Thank you I really appreciate that! It feels much more complete over there now 🙂
I have some of those shelving units too and this really dresses it up! I like how finished it looks. Great job!
Thank you Pam! It really does make it feel like actual furniture 🙂
Great job! I love it!
Thank you so much Shecki, I really appreciate it!
It is gorgeous! Great job.
Thank you Christina!! 🙂
What a great hack! I'm going to share this on Facebook! Thanks for linking up to You're Gonna Love It
Thank you! And thanks for the share! 🙂
The cabinet turned out really cute and I love the floating shelves above it. Thanks so much for sharing at The Creative Circle Link Party! Pinning this!
Thank you so much Deb! (P.S. I love your blog!)
I love this piece so much! Great job!
Thanks Shantel!
Professional cabinet makers in Edmonton would be able to guide you, suggest you different styles and patterns and work with you to get the needful done. Then you could work upon the countertop and ensure that it is clean and smooth.Contractors Today!
Pick latent powder-covered steel or plastic storage racks and racking over wood-based items that off-gas unsafe acids. Oak, a standout amongst the most well-known furniture materials, is additionally one of the most exceedingly terrible. Molecule board or plywood decking are likewise not fitting for chronicled storage. If you want to know more, Please check out here: https://www.forbrugermagasinet.dk/
I called up dry walling experts from Drywalljohannesburg.com and I came to know that this company relies on their painting services as well. Thus, it was easier for me to complete home remodelling project within a short span of time, without any need to hire someone else for preparing personalised cupboards and get them painted perfectly.
Great You're happy
I've got one myself since like 10 decades. I enjoy it also, not modded as yours nevertheless.
Currently it does not work, it chokes when heat. Brought into a neigbour of mine and he'll find a deeper look at it.
It seems as though a few have had difficulty with all the automatic decompression valve, so does yours have this?
Enjoy an excellent day! How To Sharpen a Chainsaw