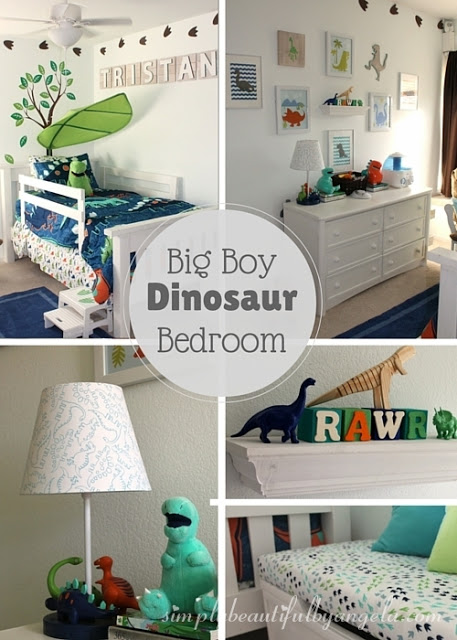
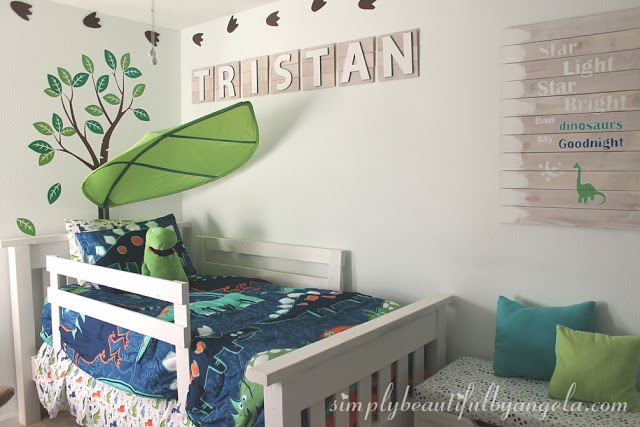
Today is the day, I’m so excited! I started working on Tristan’s big boy dinosaur room this summer and got most of it put together in September. Well now I’m finally done with the DIY tutorials and getting the pictures together (took a little longer than I thought it would!) So come on in…
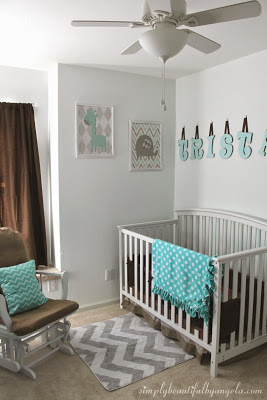
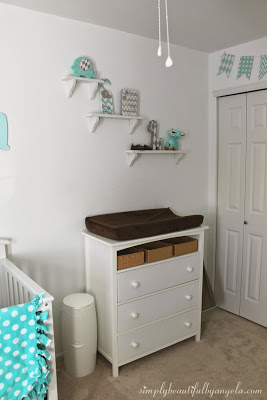
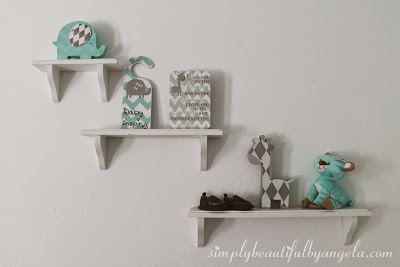
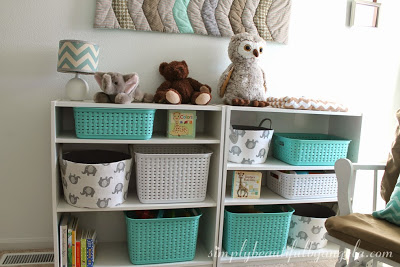
Before I get to all of the details, lets look back at what his nursery looked like.
It was so sweet and was by far one of my favorite rooms to decorate. But my rambunctious toddler had definitely outgrown his crib and was ready for a big boy room–even if Mom and Dad weren’t!
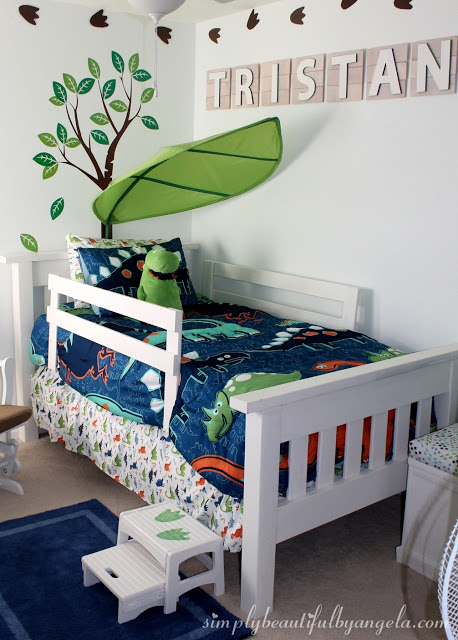
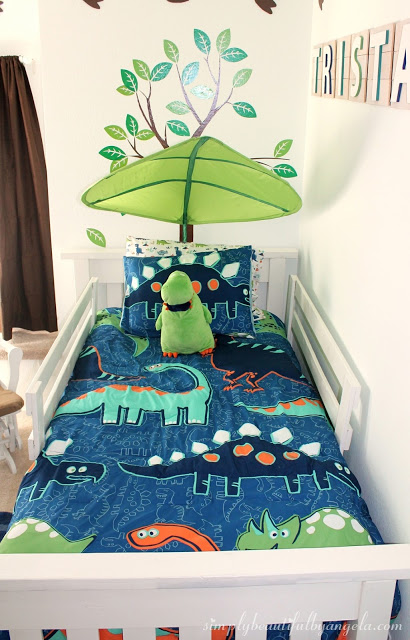
I struggled on a theme for a bit, and originally thought about doing trains. However it seemed impossible to find cute and affordable train bedding. When I saw the dinosaur bedding at Target one day, I just knew it would be perfect. And when I showed it to Tristan he was equally excited 🙂
We began by building him a bed using Ana White’s simple bed tutorial that you can read about in this post.
We ran into a few speed bumps along the way, but in the end I love the detail and how sturdy it turned out. I love the price even more, only $80!
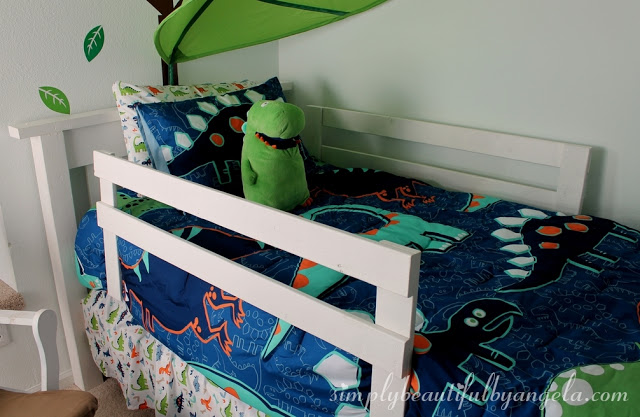
I knew that I wanted it to still feel secure and crib like to make the transistion easier on him but instead of spending $40 on those plastic bed rails you can get at the store, I built my own for $9.
I mentioned that the L brackets seemed a little flimsy, they’re still holding up although I think one side is starting to bow out a little so I see us making some adjustments in the near future!
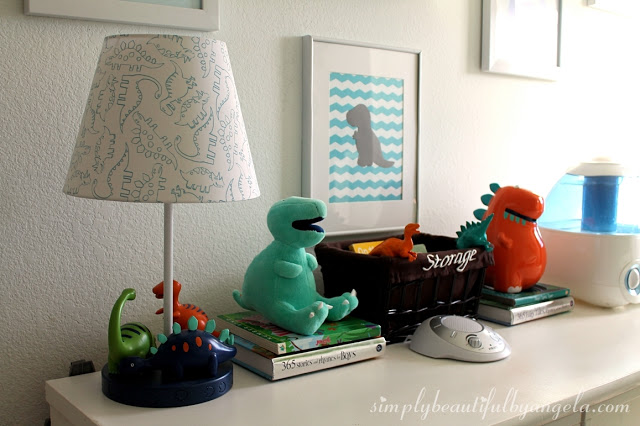
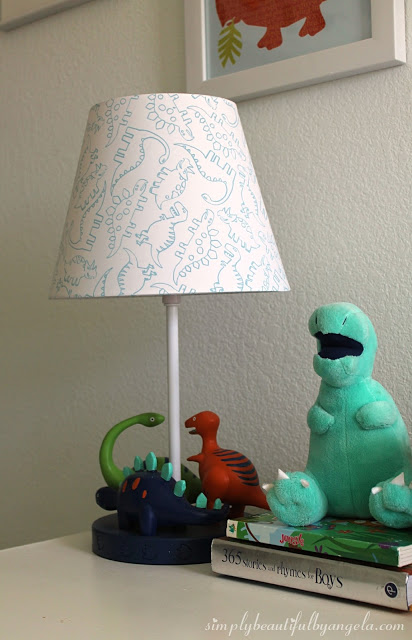
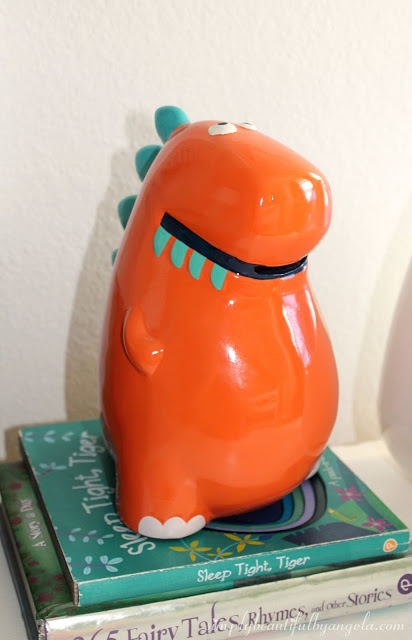
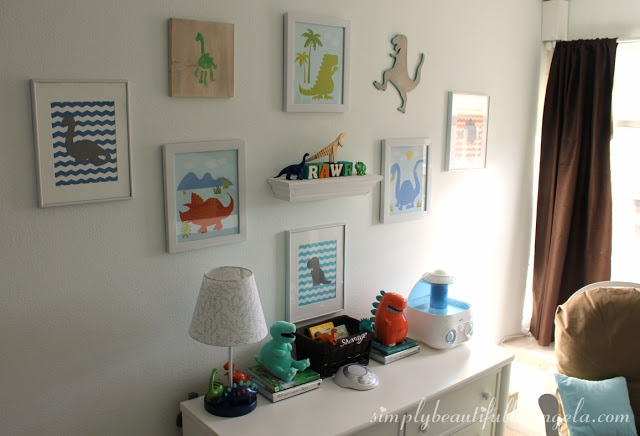
This summer I found a curbside dresser that I gave a chalk paint makeover to. I dressed up the top of it with a lamp that matches the bedding. There was also a cute little plush dino and a dino coin bank that matched the set that I couldn’t pass up.
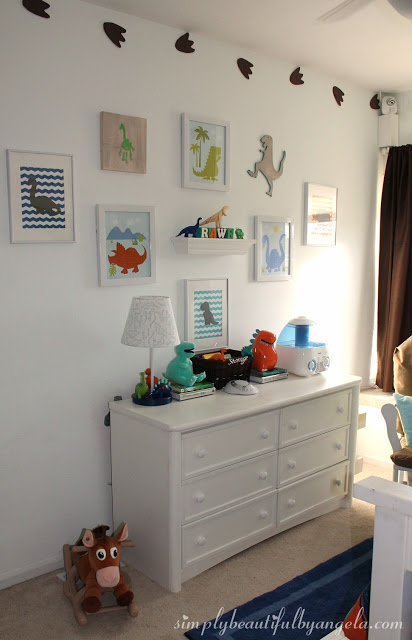
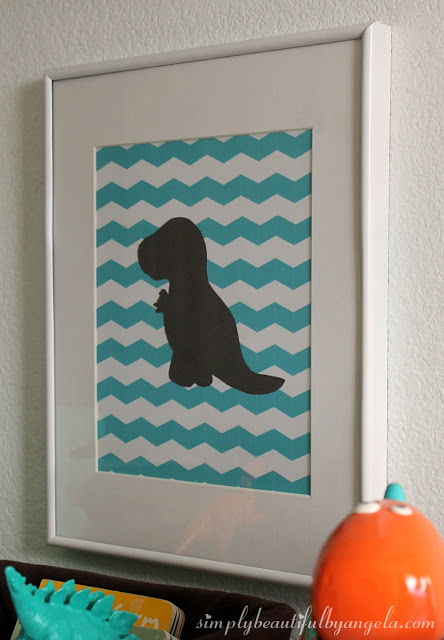
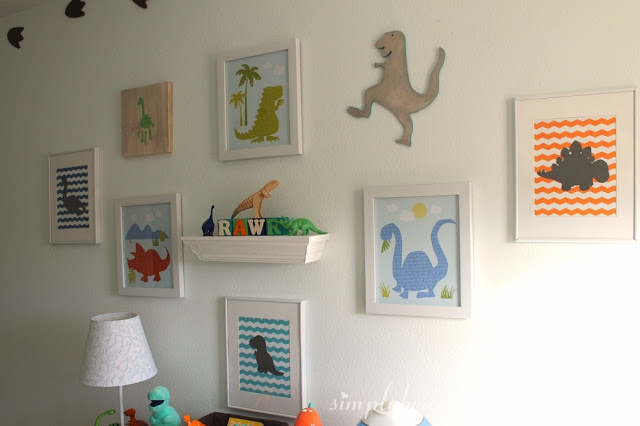
The wall above the dresser is huge so I decided to do a gallery wall to fill up the space. I shared how I made the chevron silhouette prints earlier this week.
The other dinosaur prints are actually lucky finds from a store called Gordmans. They were only $4.99 and were the perfect colors, I couldn’t believe how well they fit in the room!
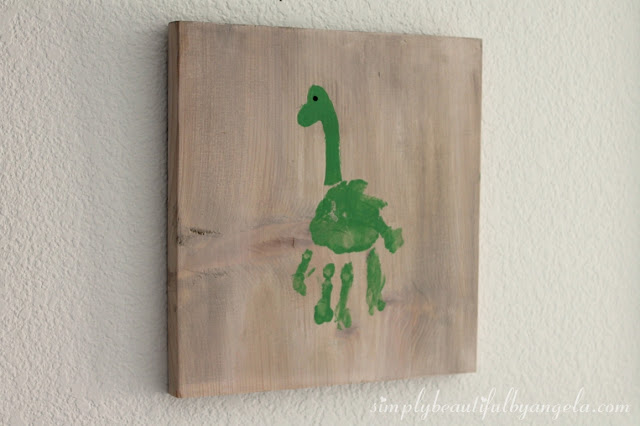
To add interest to the gallery wall I also included some Tristan-made art.
To make this, I just stained a piece of scrap wood with Rust-o-luem Driftwood stain and had Tristan make a handprint.
This was not an easy task with a 2 year old! We actually had to sand the first attempt off and re-do. Tip–don’t just put their hand in the paint, instead use a brush to put the paint on the hand! That way you don’t end up with a huge glob of paint that looks nothing like a handprint 😉
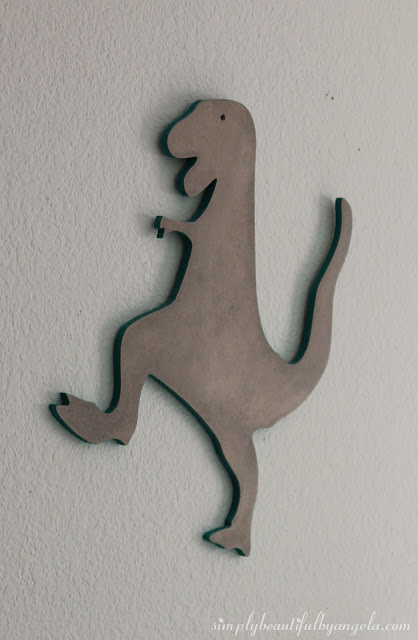
I found this cute wooden dinosaur cutout on Etsy. It came plain but I added some Driftwood stain to the front and painted the edges with teal acrylic paint.
The eye was actually an accident. When I attached a sawtooth picture hanger to the back the nail started to come through and made a small dent in the wood. To cover it up I made an eye with black Sharpie and I can’t imagine it any other way.
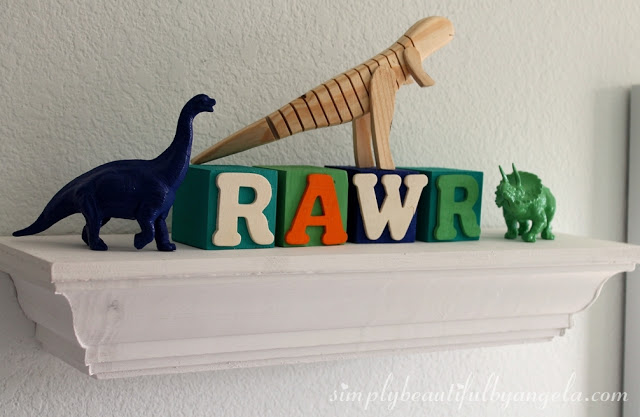
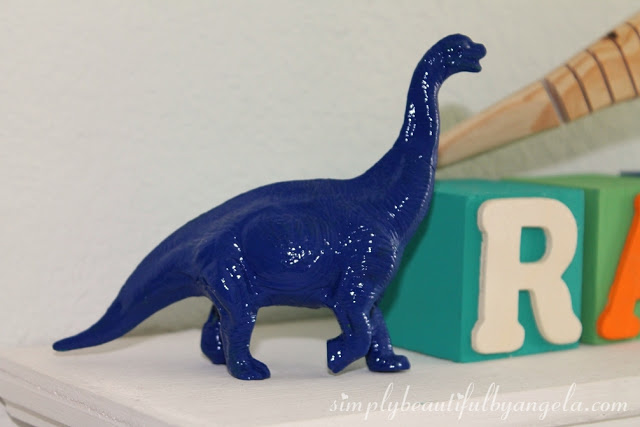
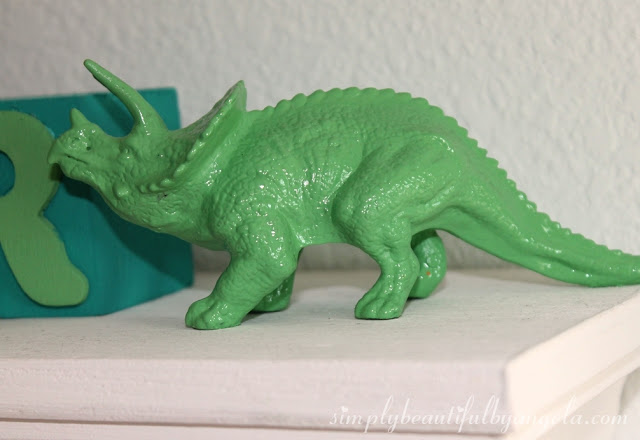
I also added a floating shelf and this is where my DIY letter blocks ended up, as well as some of the painted dinosaurs. By the way, did you notice that I changed up how I colored the blocks by leaving two of the letters natural wood? Our dog decided to use them as a chew toy one day, and when I re-did them and I decided that I like it like this better.
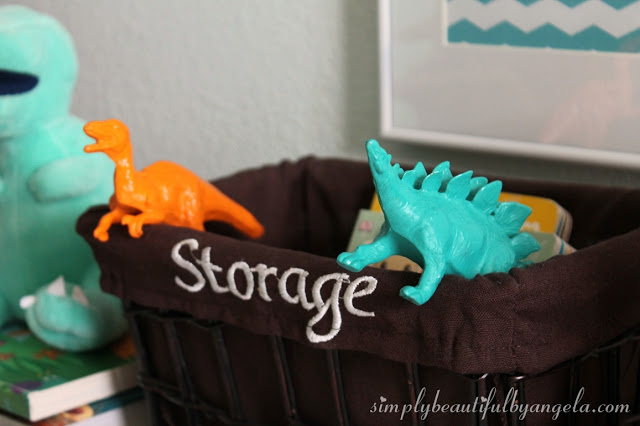
The other dinosaurs are peeking out of a basket. I just placed them there until I could figure out where to put them but they got comfy and stayed 🙂
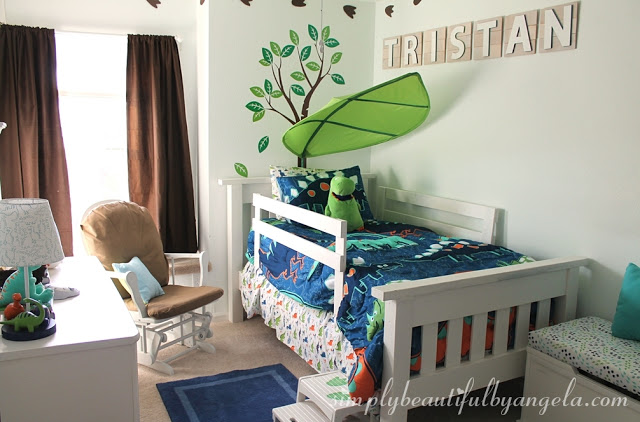
The leaf canopy from IKEA really makes the room, even though I have a hard time making it stay facing forward. If anyone else has one of these and has tips I would love to hear them!
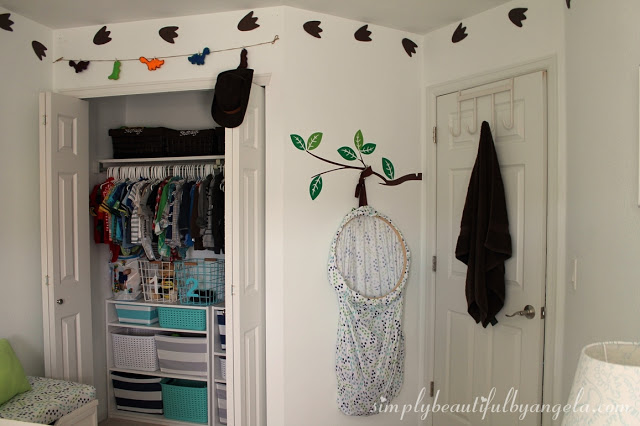
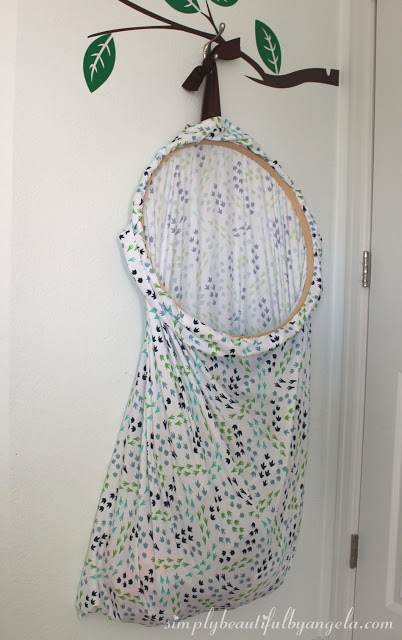
The spot behind the door works perfectly for his hanging hamper (a DIY that you can read about here).
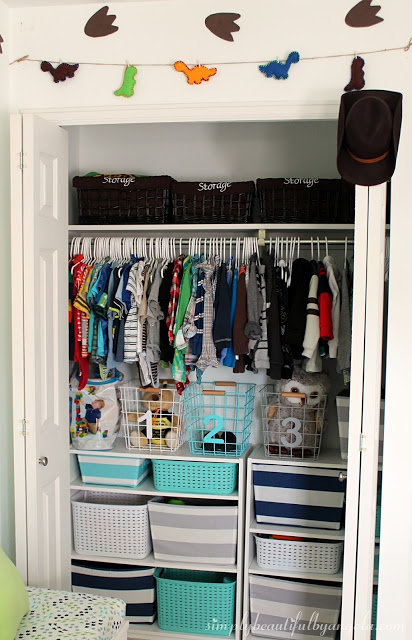
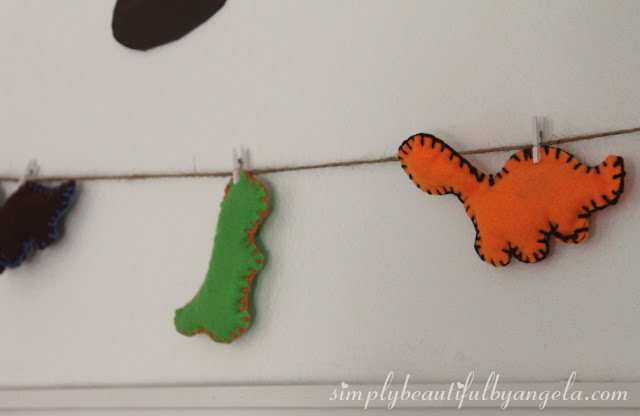
The closet is where all of his toys are kept. It’s also where I decided to hang the felt animals.
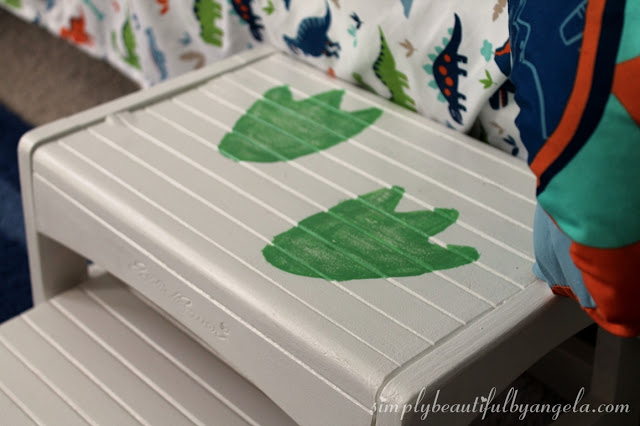
The bed is super high so this footstool was a life saver. It was originally lacqured pine so I painted it white. I traced two dinosaur footprints and painted them with acrylic paint. The brush strokes in the green looked funny so I decided to blend them by sanding them and I really like how it turned out.
Oh, you may also notice these same dinosaur footprints along the top of the room. I just traced them onto brown craft foam and cut them out. To attach them to the wall I used a small piece of poster putty.
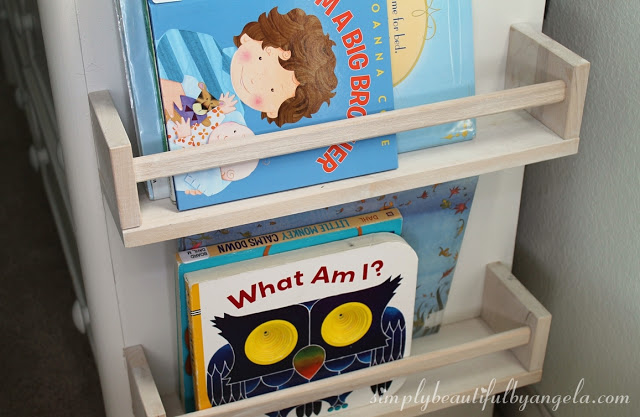
We kept the glider since that is where we read bedtime stories. These IKEA spice racks work perfectly on the side of the dreser to hold books. I whitewashed them to match the other wood pieces in the room 🙂
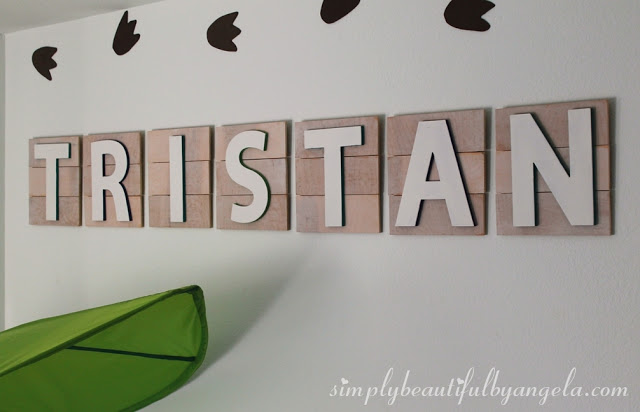
I’m really happy with how the letters above the bed turned out.
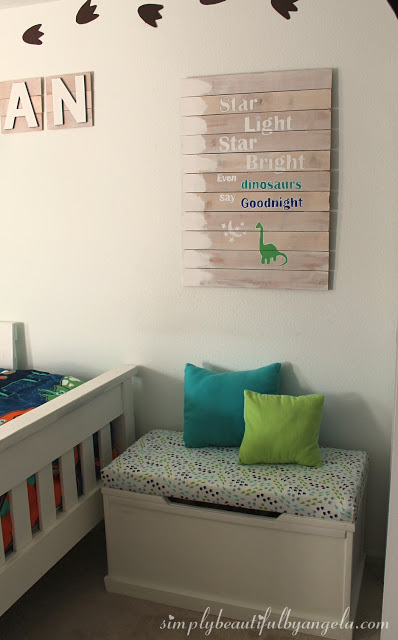
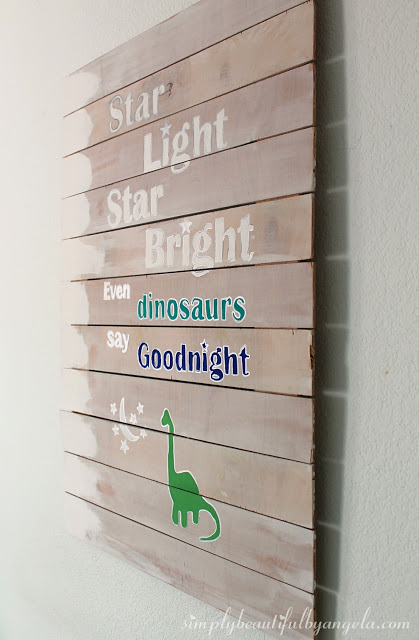
And of course they match the dinosaur plank art perfectly 🙂
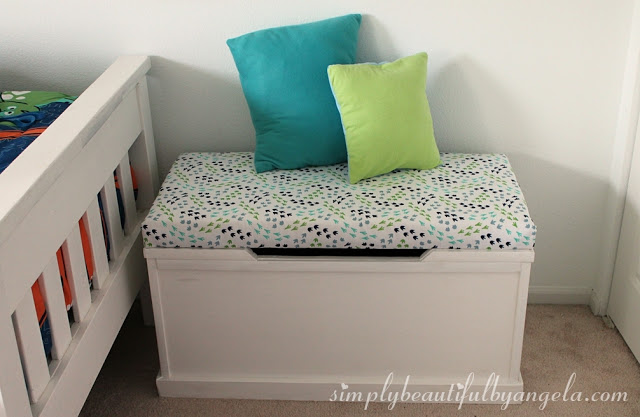
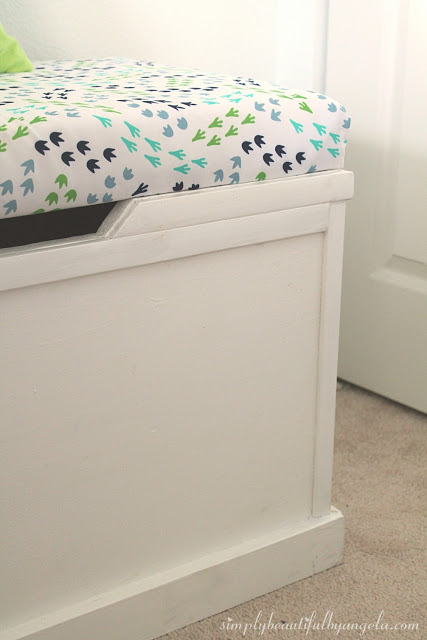
The toybox sits underneath the plank art and is where all of his big toys, extra blankets and stuffed animals are stored.
Since the bedding matched the light mint walls no painting was required (yes!!). I was on a strict budget for this room, hence all of the DIY items but in the end it all came together even better than I had imagined (and within the budget!)
And now for the source list and price breakdown!
UPDATE–Target no longer has this dinosaur line available but I did find some similar items on Amazon. (Affiliate links provided for convenience. For more info, see my full disclosure here.)
- Ana White’s Simple Bed: $80 (Cost of lumber, screws, nails, L brackets and sandpaper. We already had paint and polycrylic)
- Bedrails: $9
- Circo Dinosaur Bedding
: $58 (discontinued and replaced by this one)
- Plush Dinosaur on Bed: $13
- Lamp: $30 (discontinued and replaced by this one)
- Dinosaur Bank Coin Bank
: $13 (discontinued, similar one linked)
- Chipboard Letters on Planks: $20
- Dinosaur Plank Art: $12
- Upholstered Toy Box: $65
- Felt Animals: $4
- Hanging Hamper: $3.50 (already had ribbon, hook and bed sheet)
- DIY Chevron Sihoulette Art: $19
- Dinosaur Framed Art: $15 (found at Gordmans, but similar line found here
)
- Painted Dinosaur Figures: $2
- Floating Shelf: $6 (40% Hobby Lobby coupon!)
- Letter Blocks: $6
- Wood Wiggle Dinosaur
$2
- Wood Dinosaur Cutout: $8
- Dresser: Free!!
- Dinosaur Footprint border: $2 (cost of craft foam)
- IKEA Spice Racks: $8
- Footstool (already had)
- Leaf Canopy: $15
- Tree Decal: $10
Total: $400.50 I hope I got everything, if you have any questions feel free to let me know! I hope everyone has a fantastic weekend 🙂 Linking up to these awesome parties!

It's so cute! You did a great job pulling it all together! Love the art you made and super impressed you guys built that bed!
Thank you Samantha!! The homemade art definitely helped with the budget and once we got past the few kinks in the process the bed was really simple to make 🙂
Angela absolutely wonderful job beautiful room full of fun and love. Great share!
Thanks Mari! It was one of the most fun rooms I've ever done 🙂
What a bright and fun room!! We have that IKEA leaf in my son's room. It is such a fun addition. Also, I love how the Ana White bed turned out. 🙂
Thank you Crystal! The leaf really does add so much to the room! 🙂
I absolutely love this. My two year old is probably getting to the point of needing a big boy room, but I just can't stomach the thought. I am emailing this to my husband so we can make those bed rails and maybe the bed too!
Thanks Carlee! I know what you mean, it's so hard to let them grow up!!
I absolutely love this. My two year old is probably getting to the point of needing a big boy room, but I just can't stomach the thought. I am emailing this to my husband so we can make those bed rails and maybe the bed too!
wow awesome! I want this room for myself 🙂 Seeing a lot of ideas to use for Bob's 'outer space' room. Thanks for sharing!
Thank you! Oh my an outer space room sounds really awesome 🙂
I love this so much! I can't believe you made the room look so great on such a small budget. I am impressed! I am going to redo my son's bedroom in dinosaurs, so I am bookmarking this page to reference. Thanks for sharing on This is How We Roll linky party!
Thank you so much! It was a challenge but I'm happy with the way it all turned out and honestly don't think I would change a thing 🙂 Good luck with your room redo!
I just love this entire room! Especially the wall paint. May I ask what color or brand you found this paint at?
Thank you so much! It's called Mint Bliss by Glidden. It's a very subtle color, it looks almost white in the can but the color pops once it's on the wall. Perfect for keeping a room light and helps it feel larger 🙂
Are you looking for tips on decorating your kids' bedrooms? Discover five decorating ideas for children's rooms, including the use of themes, the addition of rugs and much more!
When we implement the home design in our kid's room, we must follow certain instructions from experts. A kids room should be attractive and full of toys and it definitely needs a theme design. So, we can follow different themes such as cartoon themes, animal themes, toy themes, and many others. A kid's bedroom should be attractive and need special attention. Thanks for this wonderful overview.
Nice! This is amazing. Love your blog. Thanks for sharing this one. Love it.
If the kitchen is not remodeled according to standard measures then the remodeling would not last long and you would have to spend money regularly to restore it. construction contractors wilmington