
Hello everyone! I hope you all are having a great week. I promise I am going to get back to sharing Lucas’ nursery, but I was just too excited about how my latest project turned out that I had to share it today!
While I was putting up Christmas decor over the weekend I ran into a really annoying problem. It probably wouldn’t be annoying to most people, but my pefection tendancies couldn’t stand the fact that the lights I put on the staircase drapped across the wall to reach the outlet. I wanted somthing to cover that spot, but I also didn’t want to spend anything.
So I went out to the garage to see what I could come up with.
Here are the supplies that I used:
- Two 8′ v-groove planks (you could also use 1x4s or plywood strips)
- One 8′ 1×2
- Liquid nails
- Nails
- Wood Stain
- White paint
I started wtih some scrap v-groove planks that I had from when I planked our dining room wall. I cut them down so that I had 8 20″ pieces. (Yes some had random bits of white paint that I later sanded off!)

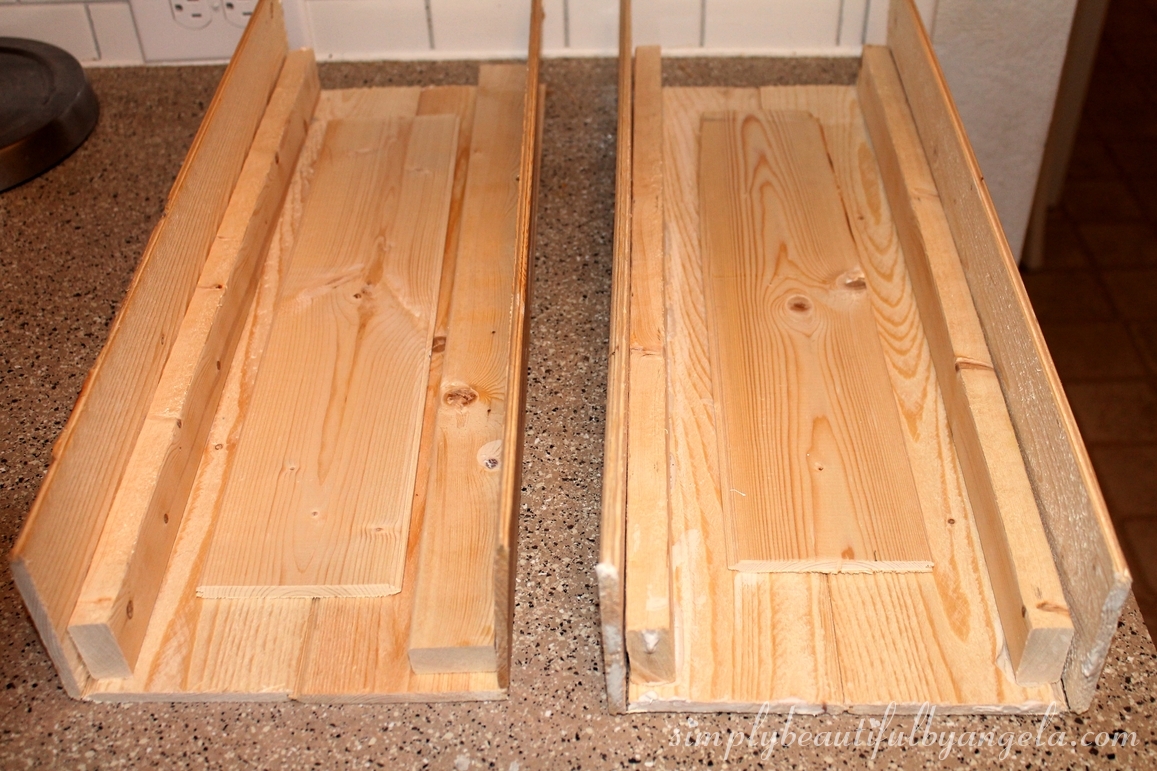
I also cut down a 1×2 into 4 20″ pieces. I first glued a 1×2 to the edges of two planks like this.

Then I glued another plank to the side of each 1×2 like so. If you are using v-groove planks like I was, it’s important to pay attention to which sides of the planks are facing up. I had one with the groove facing up (on the left) and another with the tongue facing up (on the right). When I repeated this process for the other half I made sure to do the same thing. If you were to have two grooves facing up, you would want two tongues facing up on your other half and vice versa.

We were experiencing freakishly frigid temperatures and my liquid nails wasn’t drying in the garage, so I moved them inside and secured everything with actual nails since I was too impatient to wait for the liquid nails to dry. To connect the planks I attatched another scrap plank to the back of each using liquid nails.
Once those dried, I connected my two sides. See why it was important to pay attention to the tongue and grooves that were facing up?

To get them to connect I attached a couple pieces of plywood to both sides. You could also use another plank, but it was too late to run the saw with my little Tristan sleeping and these were already cut.

After creating my pretty finish this is how it turned out!

The finish was kind of a create-as-you-go process so I didn’t take any pictures. I first used Miniwax Provinical but since I was almost out I didn’t get a lot of coverage on some areas. So I went back over with Rust-Oleum Weathered Gray and I love how the combo turned out!
I still felt like it needed something so I took a small paintbrush and applied random strokes of white paint, and then wiped it with a rag.

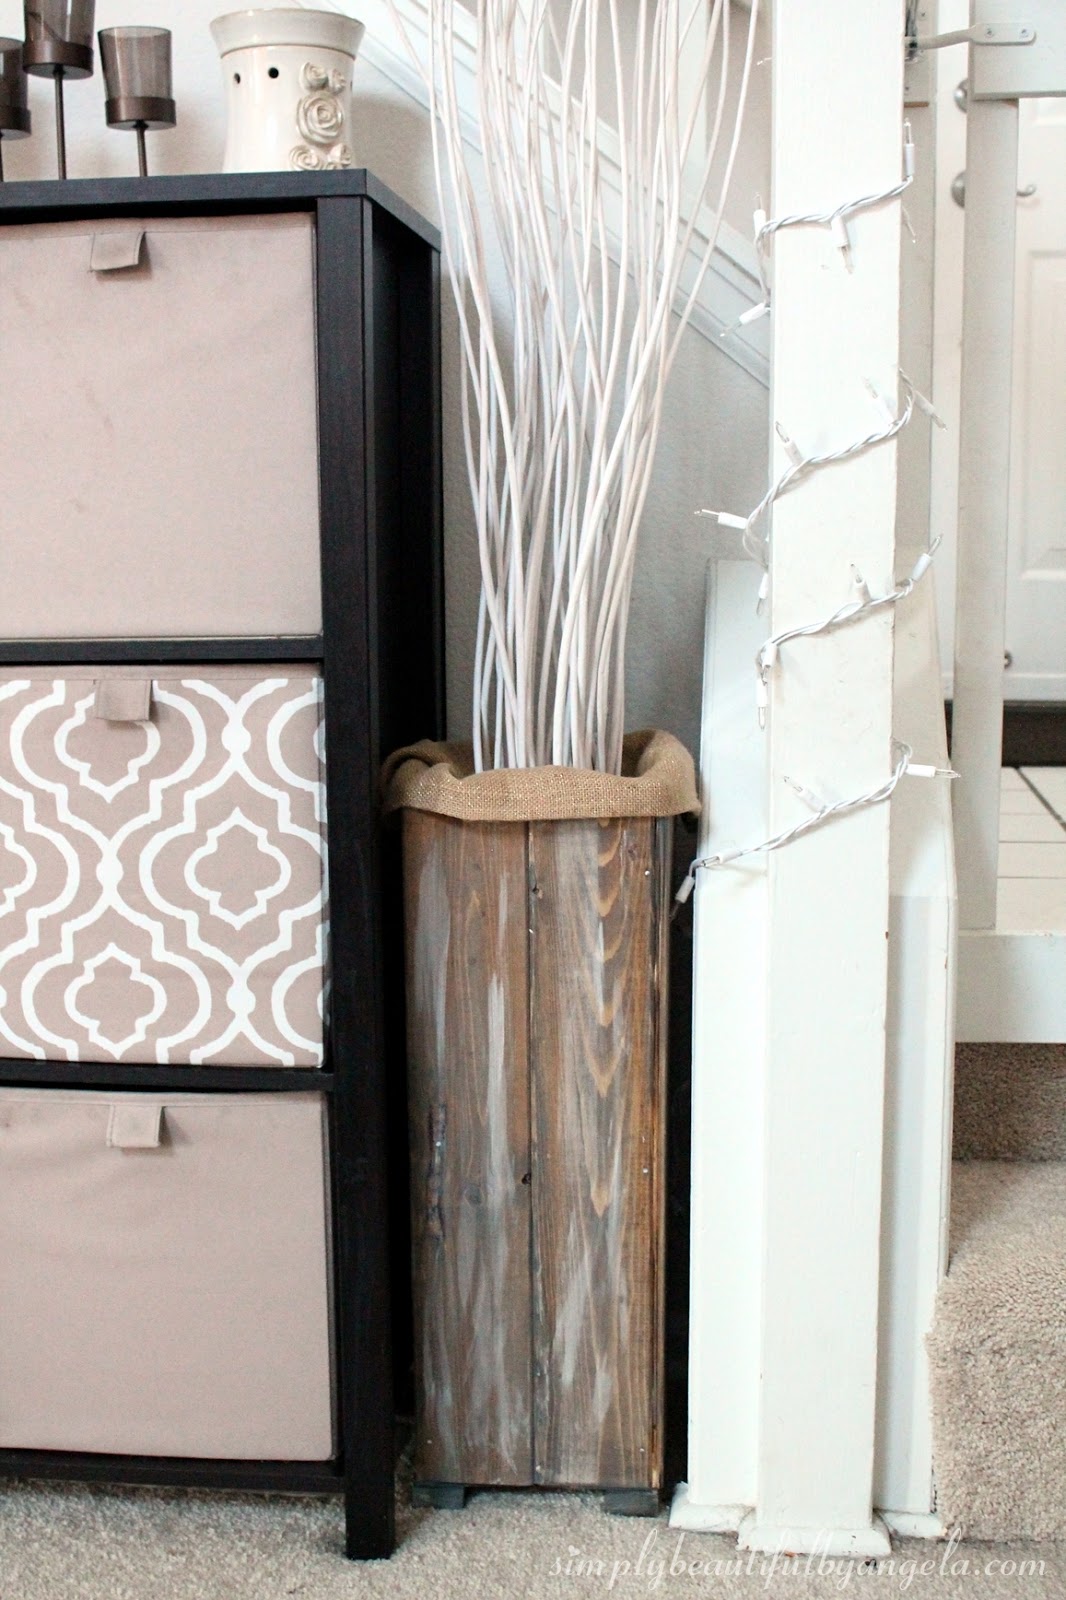
Since I was too lazy to finish the inside I just took a piece of burlap and draped it around the top to make a faux liner.
I glued two pieces of planks to the bottom and added a couple of 1x2s for feet.

It covered up the lights strung across the wall perfectly.

Of course it then seemed out of balance to have nothing on the other side of our storage cubbies so I set a basket with some pillows on the other side. These pillows are actually for the couch so I ended up making some new ones for this spot. They turned out super cute and I’ll share those with you next week!

I just love how warm and cozy area feels when it’s all lit up 🙂

It’s good practice to never toss scrap wood, you never know when it will come in handy. Do you have any good scrap wood creations? I would love to hear about them!
Linking up to these awesome parties!

This post was featured on the Alder Collection hosted by Winstead Wandering, Craft Friday Frenzy hosted by Staying Close to Home and Tuesday PIN-spiration hosted by The Stitchin Mommy! Click on the images below to take you to the feature posts.
|

|

|

I Iove this and the way you stained it. One question what did you use for the bottom?
Thanks Tiffany! I glued two more planks to the bottom with liquid nails 🙂
Great idea! And beautiful finish.
Thank you Kati! It came together pretty nicely for doing it on a whim 🙂
I love that – perfect for all year, too! Thank you for sharing with us at the #HomeMattersParty
Thank you so much Jamie! I am having a hard time deciding whether I want to keep it out all year or keep it special for the holidays haha!
Mr. Science would be all over this! Great idea 🙂
Thank you! And thanks for stopping by 🙂
Very creative use of scrap wood. I really like the scale and square shape. The feet and burlap are great finishes and easy! Thanks for linking up to The Creative Circle. Hope to see you this week. xoxo
Thank you so much Kathy! I had a lot of fun making it and I'm glad it turned out like I envisioned 🙂
I agree with you, it's good practice to never toss scrap wood. Your vase looks awesome!
Thanks for sharing with us at Two Uses Tuesday!
Thanks Pili, it really does always seem to come in handy 🙂