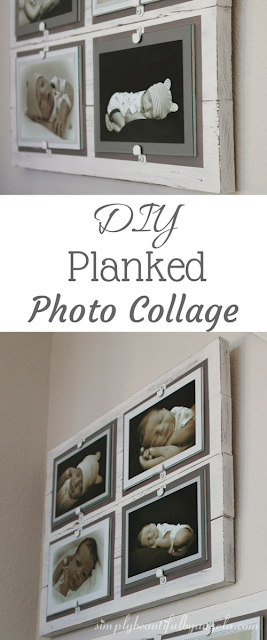
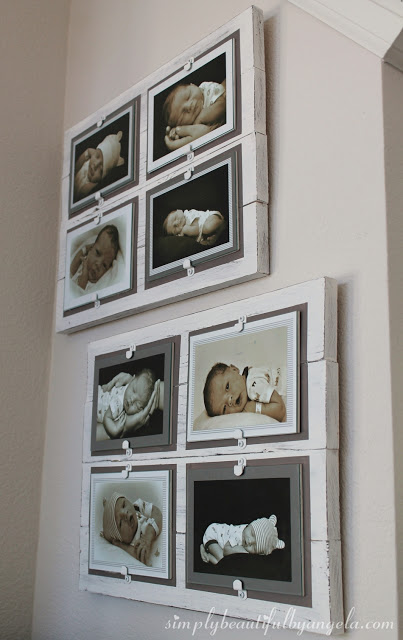
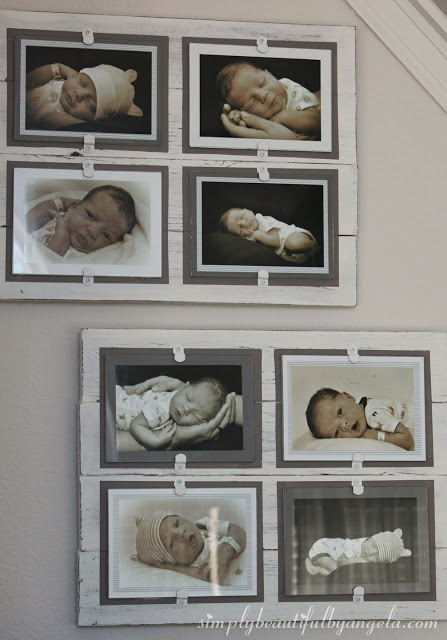
Hello hello! After a couple of weeks of lazy newborn snuggles I started feeling a little stir crazy so I decided to tackle a project I had been meaning to do for awhile to display the boys’ newborn photos.
I can’t take credit for the original idea since I’ve seen these all over Pinterest. I love the rustic feel and the fact that I could customize them with the colors and layout that I wanted. They were pretty simple to make and for around $15 each I’m very happy with how they turned out.
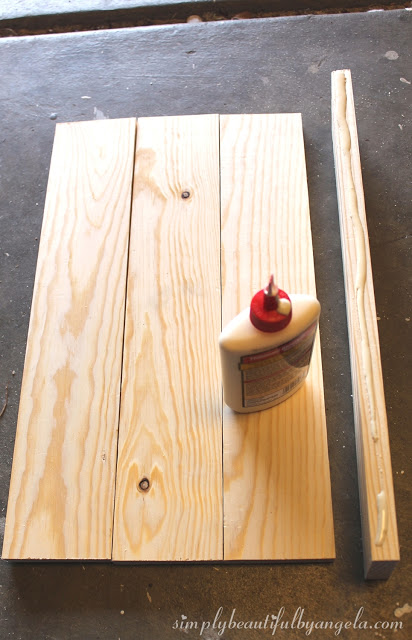
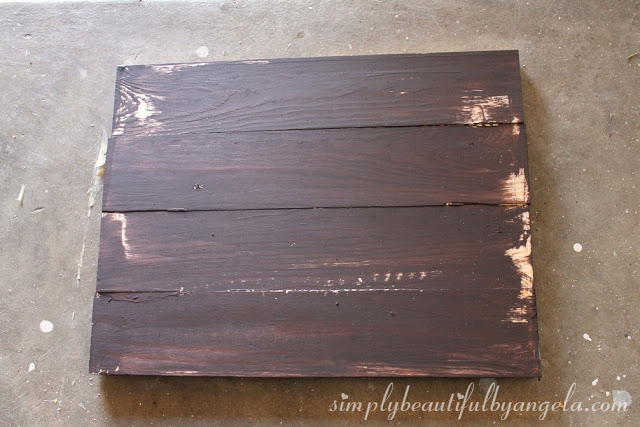
I started by cutting down 1x3s and using wood glue to glue the edges together.
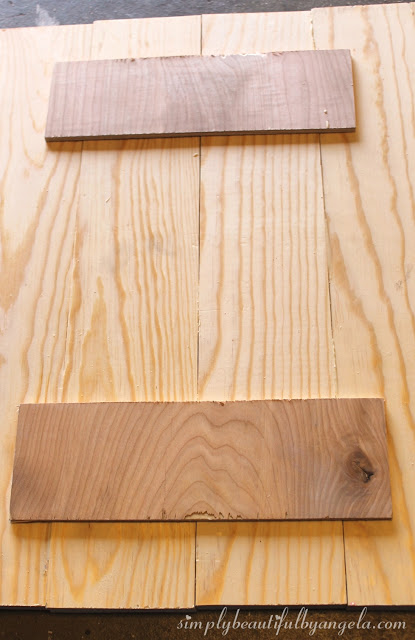
To make it extra secure I glued some scrap plywood to the back to make sure that they really stick together.
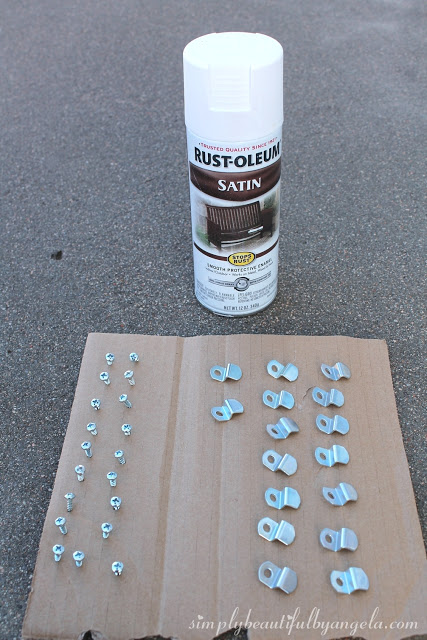
While that was drying I spray painted my 1/4″ offset clips and the screws that came with them. These can be found at Hobby Lobby in the canvas aisle.
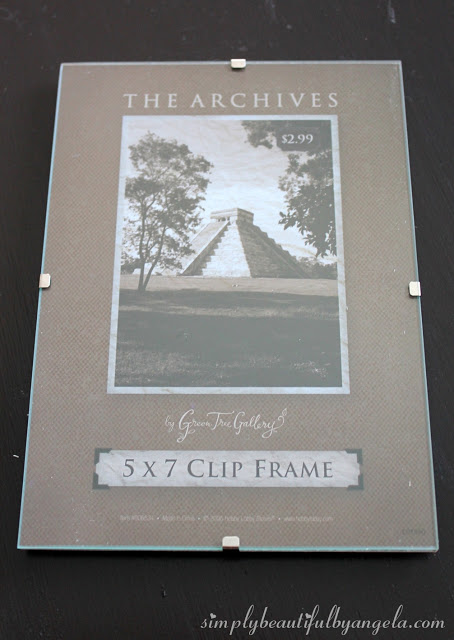
I also found these clip frames at Hobby Lobby. I could have saved some money by using the glass from dollar store frames, but I wasn’t up for another outing with two kids so I went with these even though they were $3. It was nice that the sides of the picture back were already painted white though.
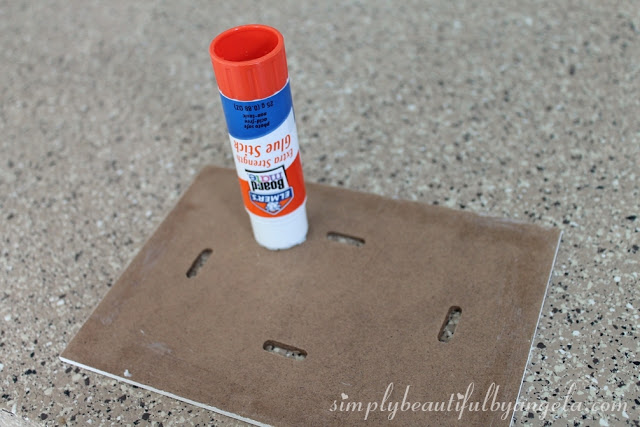
I used a glue stick to attach a piece of scrapbook paper cut to 5″x 7″ to the frame back and then the 4×6 photo on top of that.
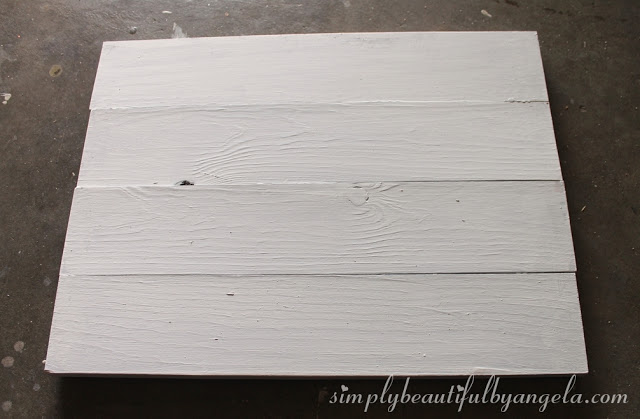
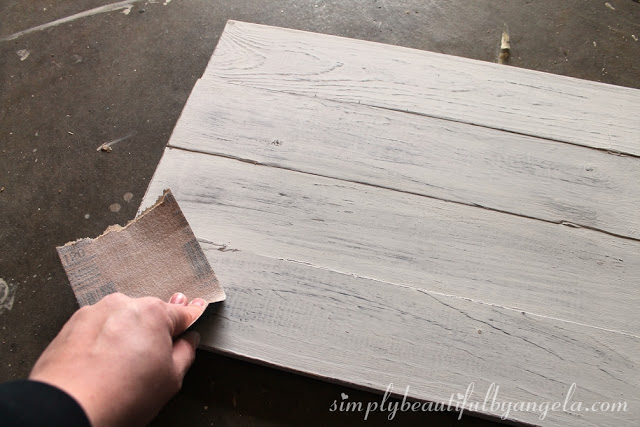
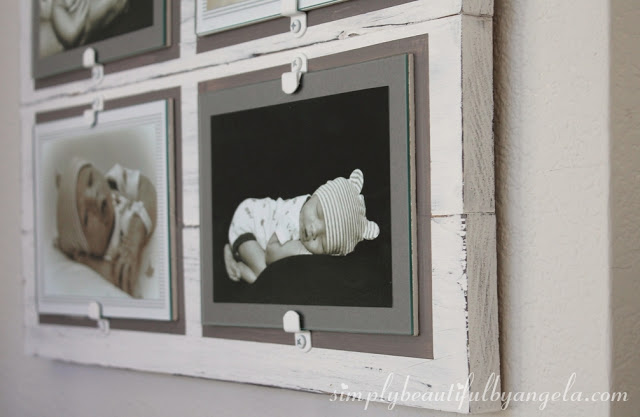
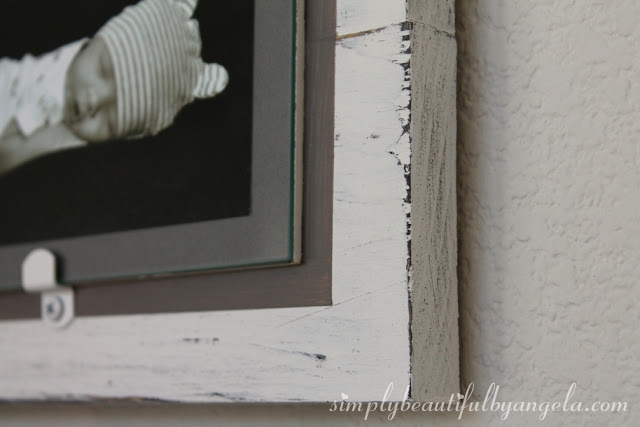
I then went over with sanding paper to distress it and pull out the brown from under the white. It turned out really pretty!
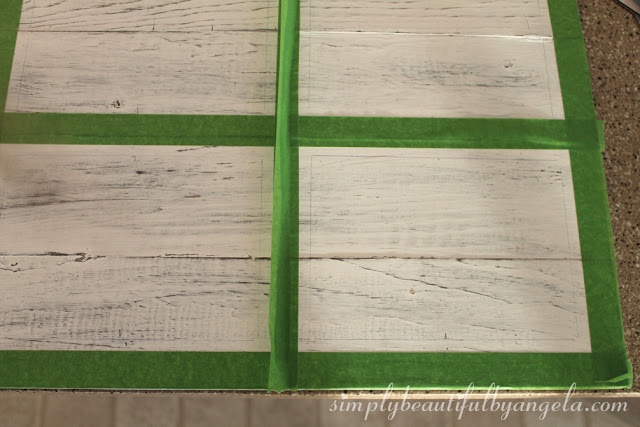
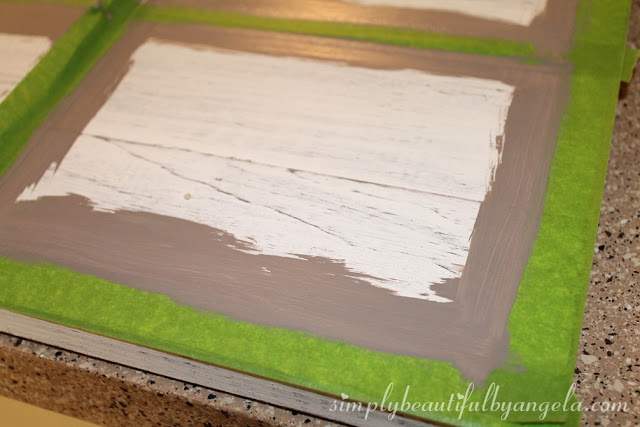
I wanted to add a little extra dimension so I traced out where I wanted each photo and then taped a quarter inch out so that I could paint a frame around each.
When I screwed the offset clips onto the pictures I found that they were kind of loose. To fix this I just used a butter knife to squeeze some small pieces of paper under each clip and it made them nice and secure.
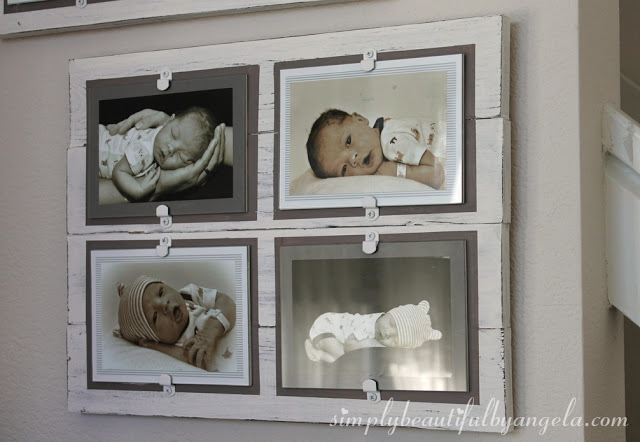
It’s crazy how similar these little squishy babies look! The top one is Tristan and the bottom is Lucas, but even if I had mixed them up I could easily see people thinking that it’s the same baby.
It felt so good to actually get something done that I was craving more. So I moved on to our hallway and decided to give it a big makeover! What seemed like an easy task has actually turned out to be kind of challenging. I’ll be sharing more on it soon so stay tuned!
Linking up to these awesome parties!

That's a great idea!! It looks wonderful on the wall!
Thanks for sharing it with us at #2usestuesday, hope to see you again next week!
What a pretty and unique photo display! And look at those sweet babies. Featured you at Be Inspired this morning. Thanks so much for sharing!
What a fabulous project, and thanks so much for the tutorial. Enjoy your new one!
I have a hard time describing my thoughts on content, but I really felt I should here. Your article is really great. I like the way you wrote this information. Odisha Ration Card Status
Photo collages are an incredible approach to express the adoration for or recollect a man, occasion, or even an uncommon pet.https://photolemur.com/blog/fix-photos-10-tools
An accomplished photo editor has an entrenched correspondence and administration of photographers condition, works with them, plans the errands for them. pinkmirror
So cute babies!) Now I want such collage too:) But all my best baby photos are on Facebook and the quality is sooo bad(( Have you faced such problem? My friend advised me https://letsenhance.io/ . He said that this tool could upscale photo size without losing quality.
FotoFlexer might be the world's most imaginative online photo editing framework, giving the capacity and execution of all the more expensive work area picture editing programming programs totally allowed to all clients. photomasking