So you know it’s a Monday when all of the following happens within the first couple of hours of being awake…
-
I turned my alarm off instead of hitting snooze which resulted in me frantically trying to get the boys and myself ready in half the time.
-
Our toilet started to flood our master bathroom.
-
My rear car doors were frozen shut (yes, in May) so I had to take the hubby’s car since I couldn’t load the boys in mine.
-
My oh so opinionated and cranky two year old cried the ENTIRE drive to my parent’s house.
-
A truck slid on some ice, hit the car behind me and came inches from hitting me (remember–in my husband’s car…)
Whew.
And I bring this post to you as I sit here on the train which is now delayed due to a power outage…
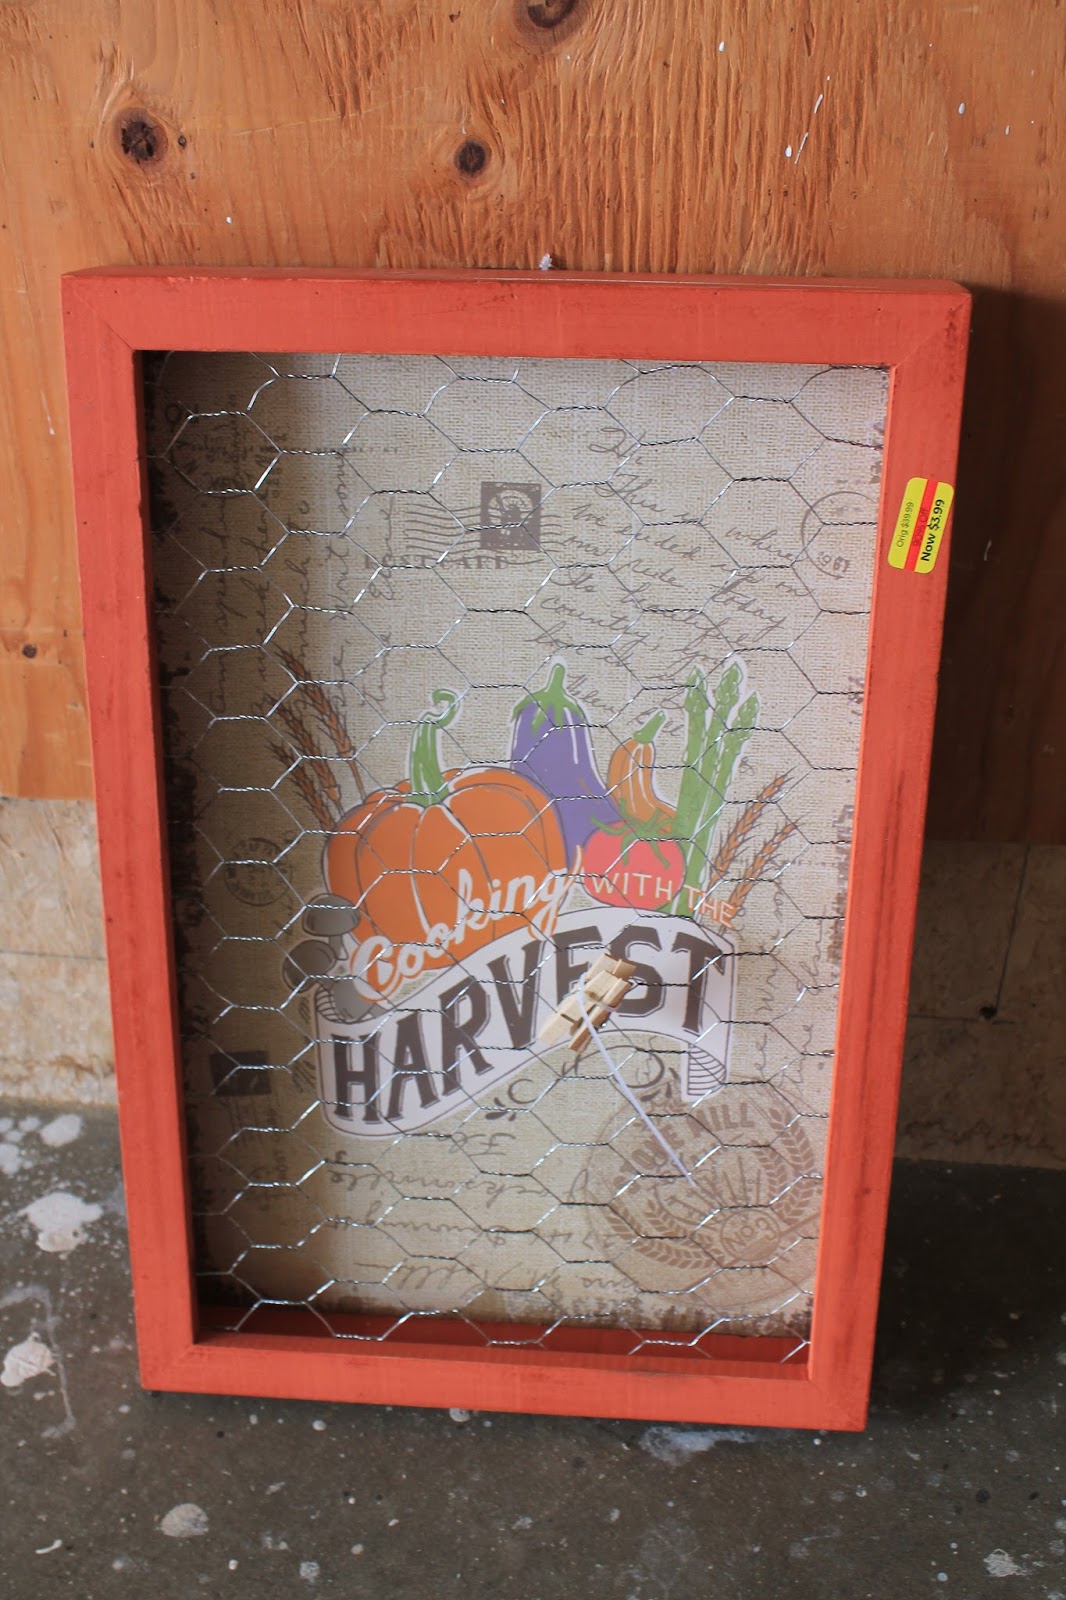
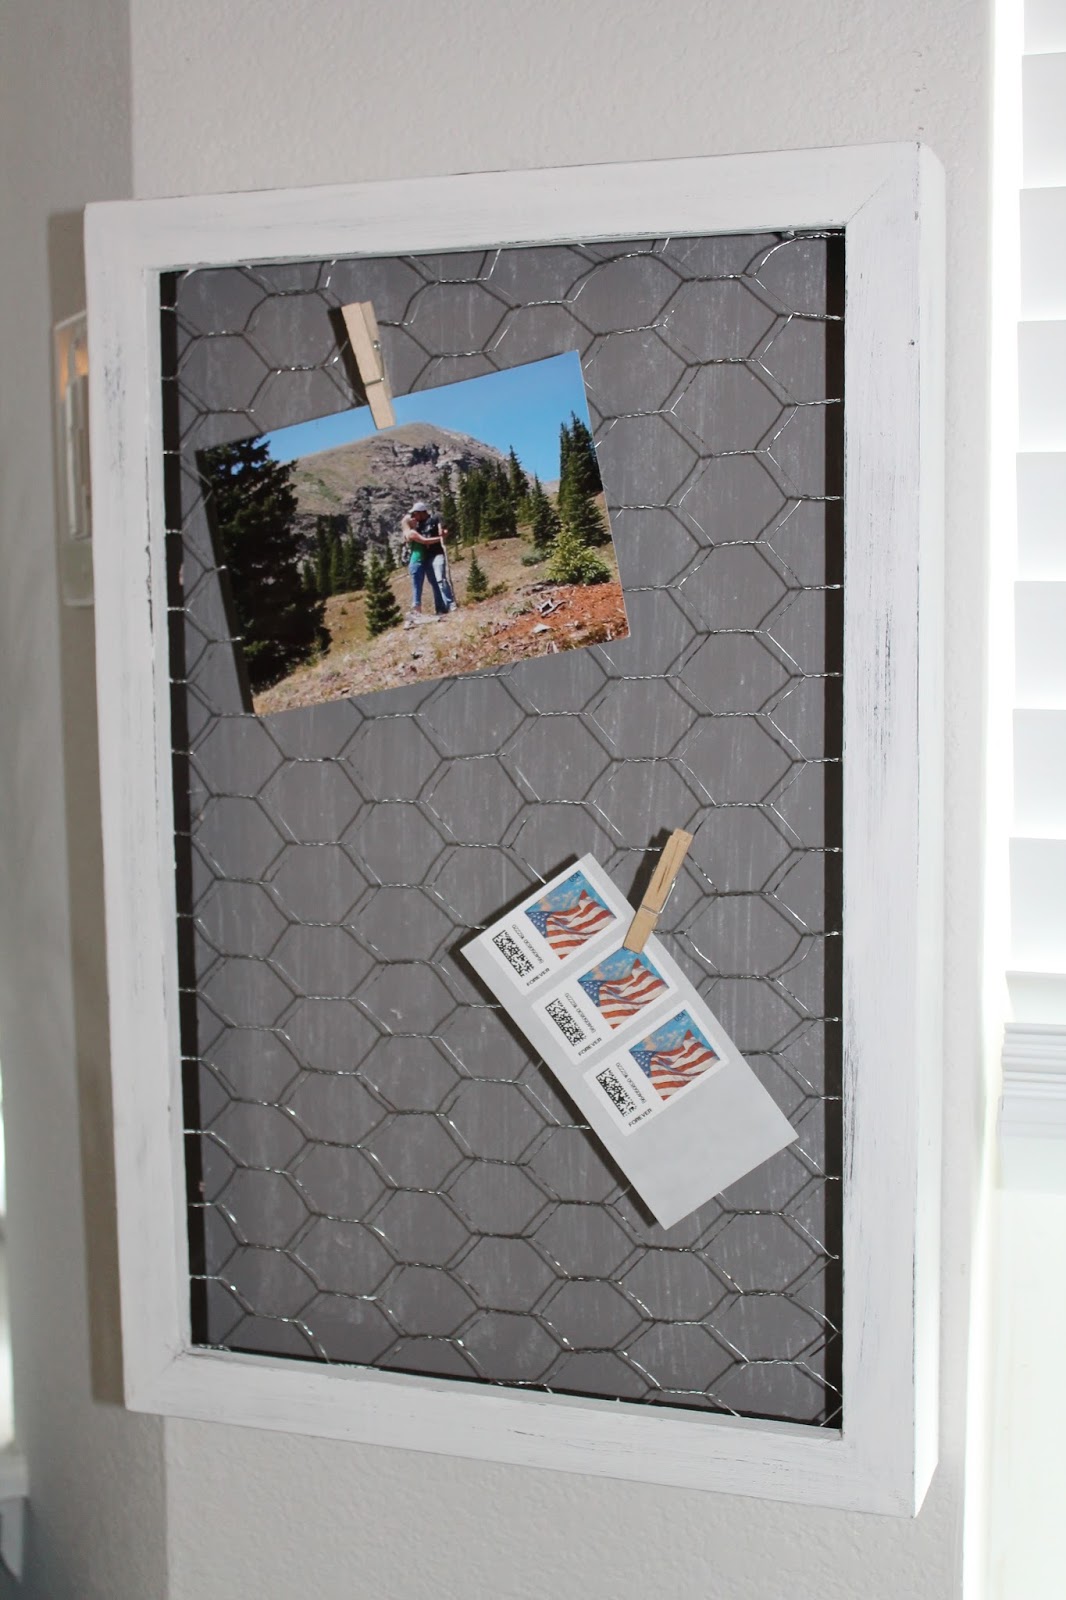
On a more positive note, I finished up a cute little make over on a chicken wire memo box that I found on clearance at Kohls for 3 bucks and some change. Originally I was going to stash it with my fall decor but I decided that I just couldn’t wait that long to use this little cutie!
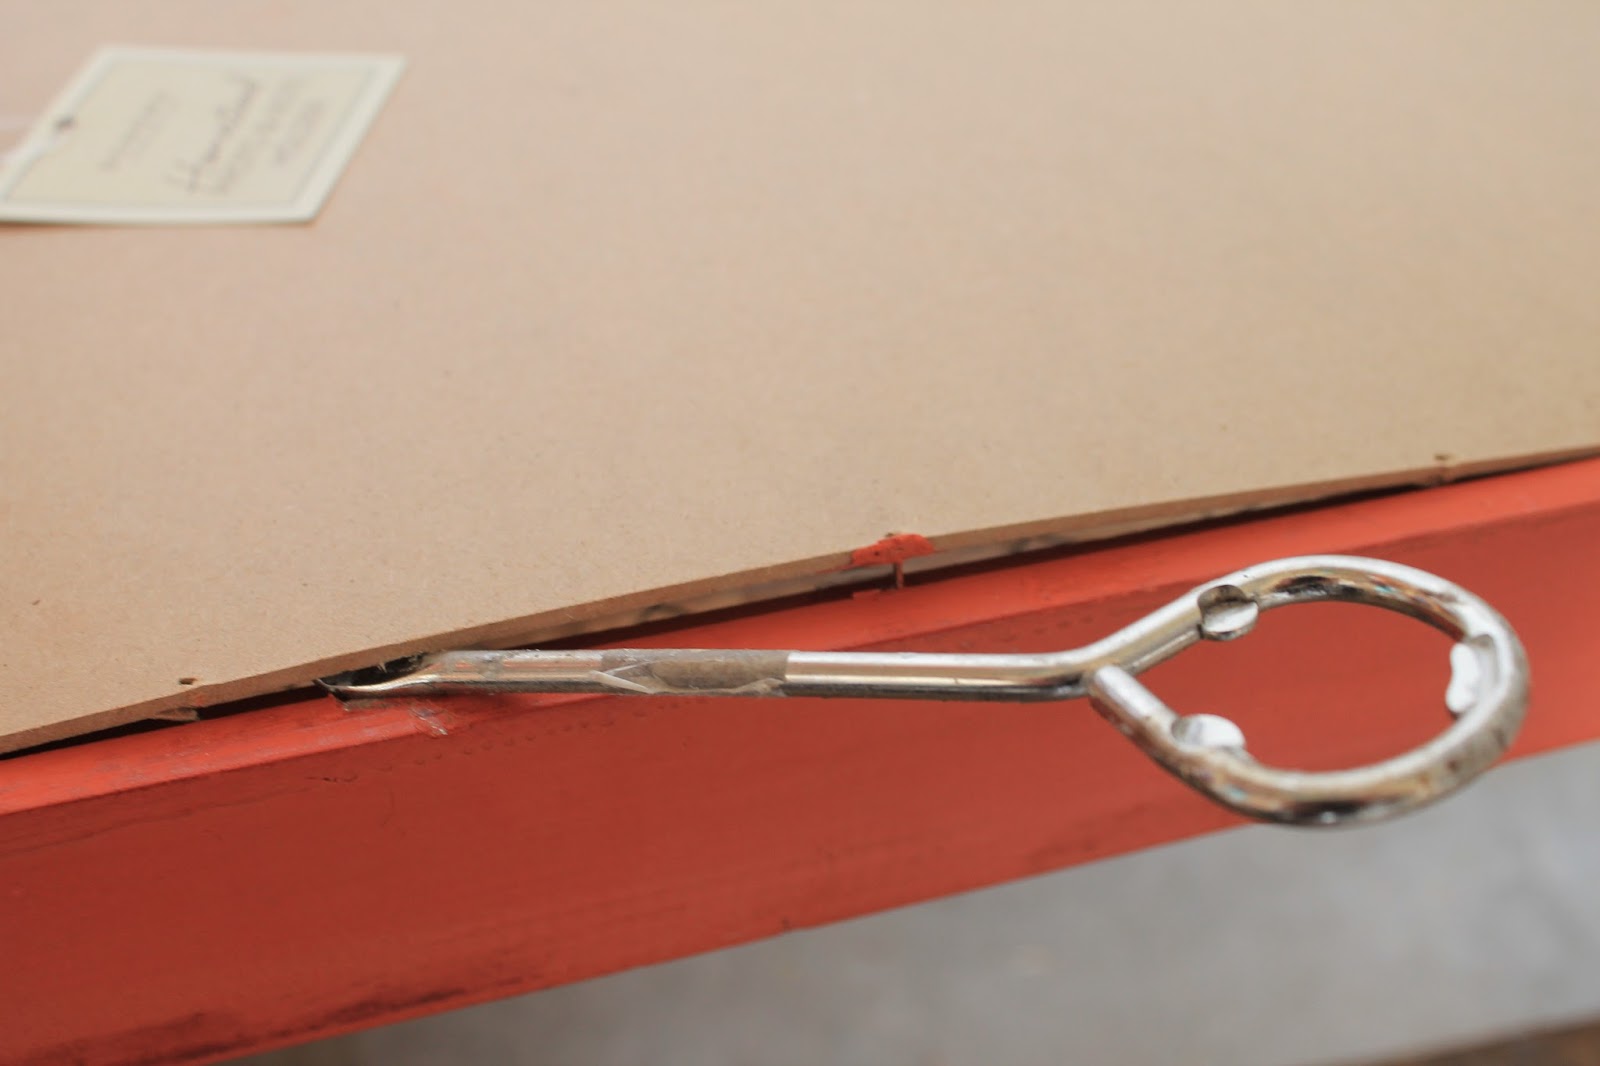
I began by removing the back which was just attached with some small nails.

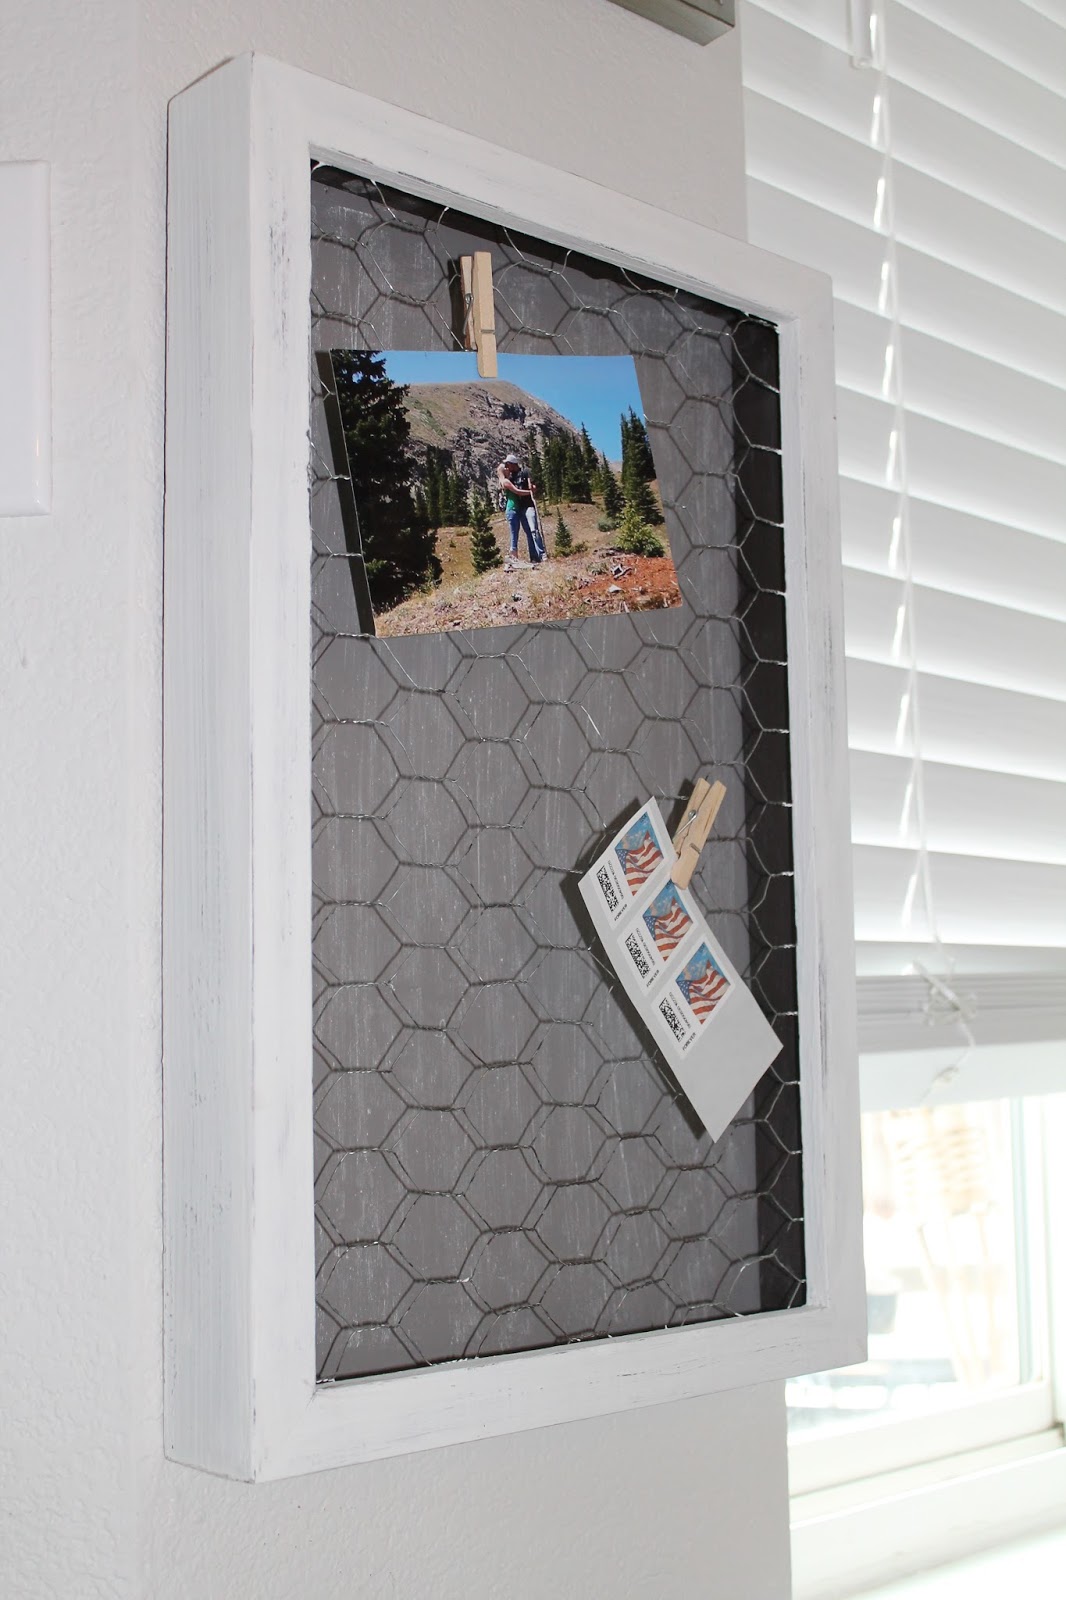
I then applied a coat of espresso colored paint as my base coat. Once that dried I went over it with two coats of my DIY chalk paint in white.
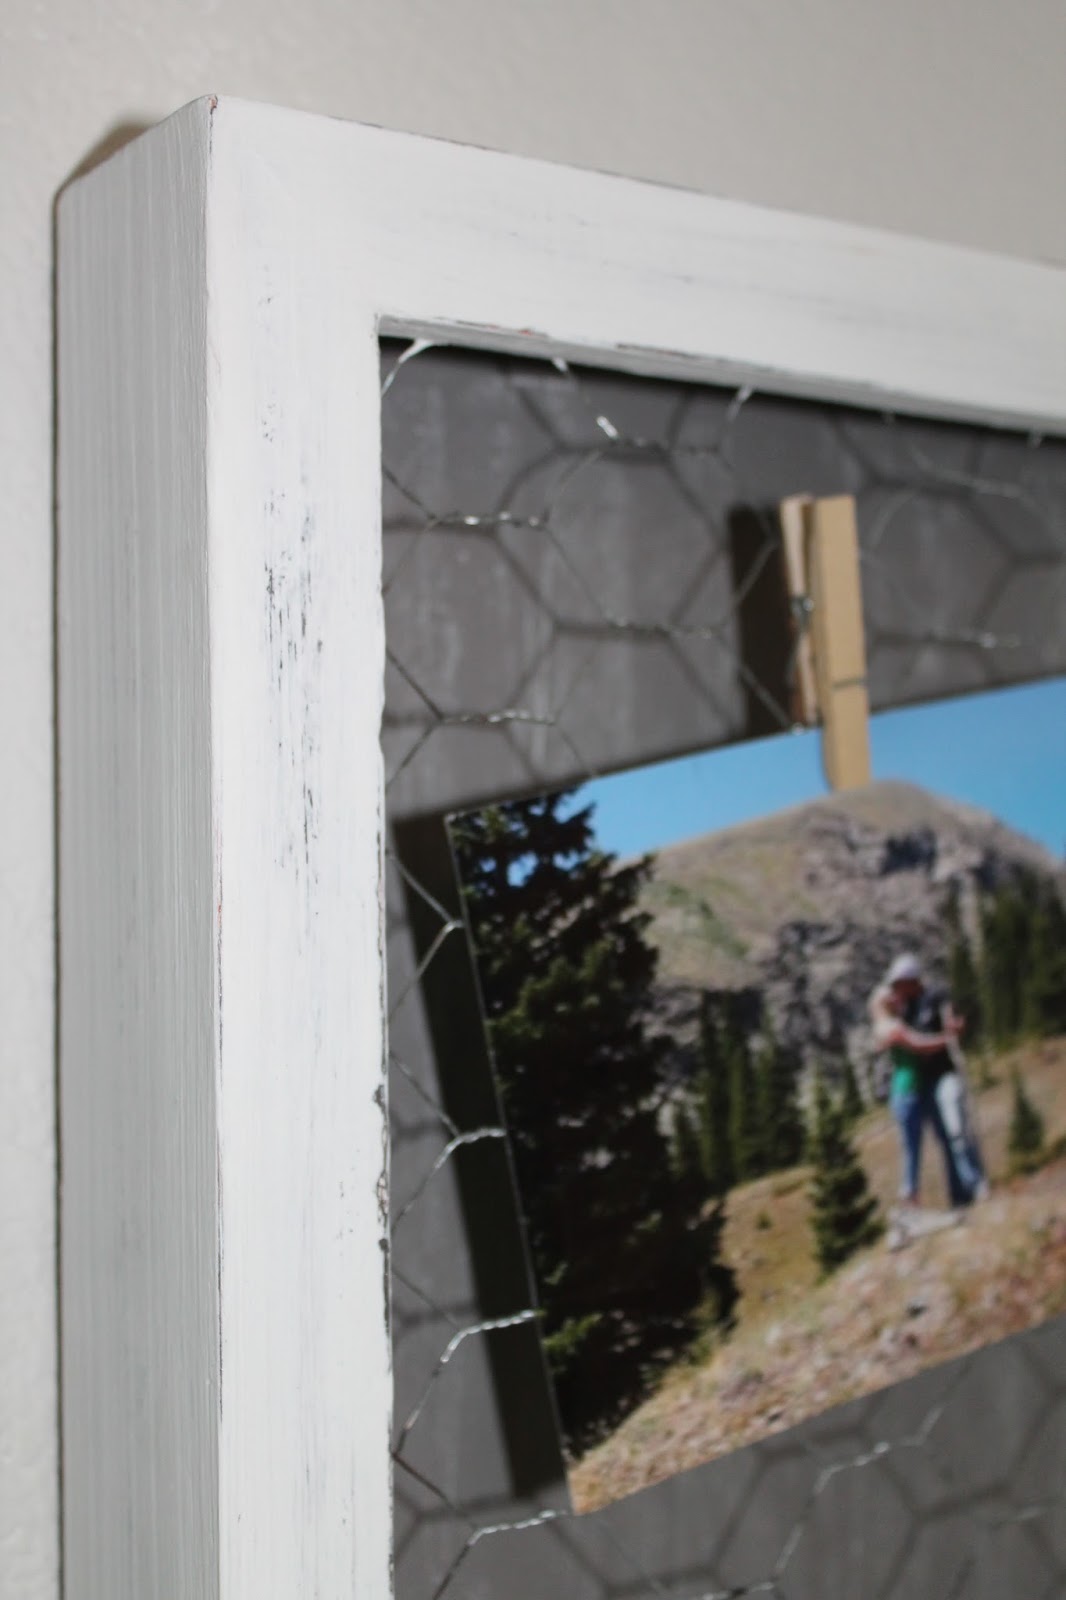
For the edges next to the chicken wire I used a tiny brush.
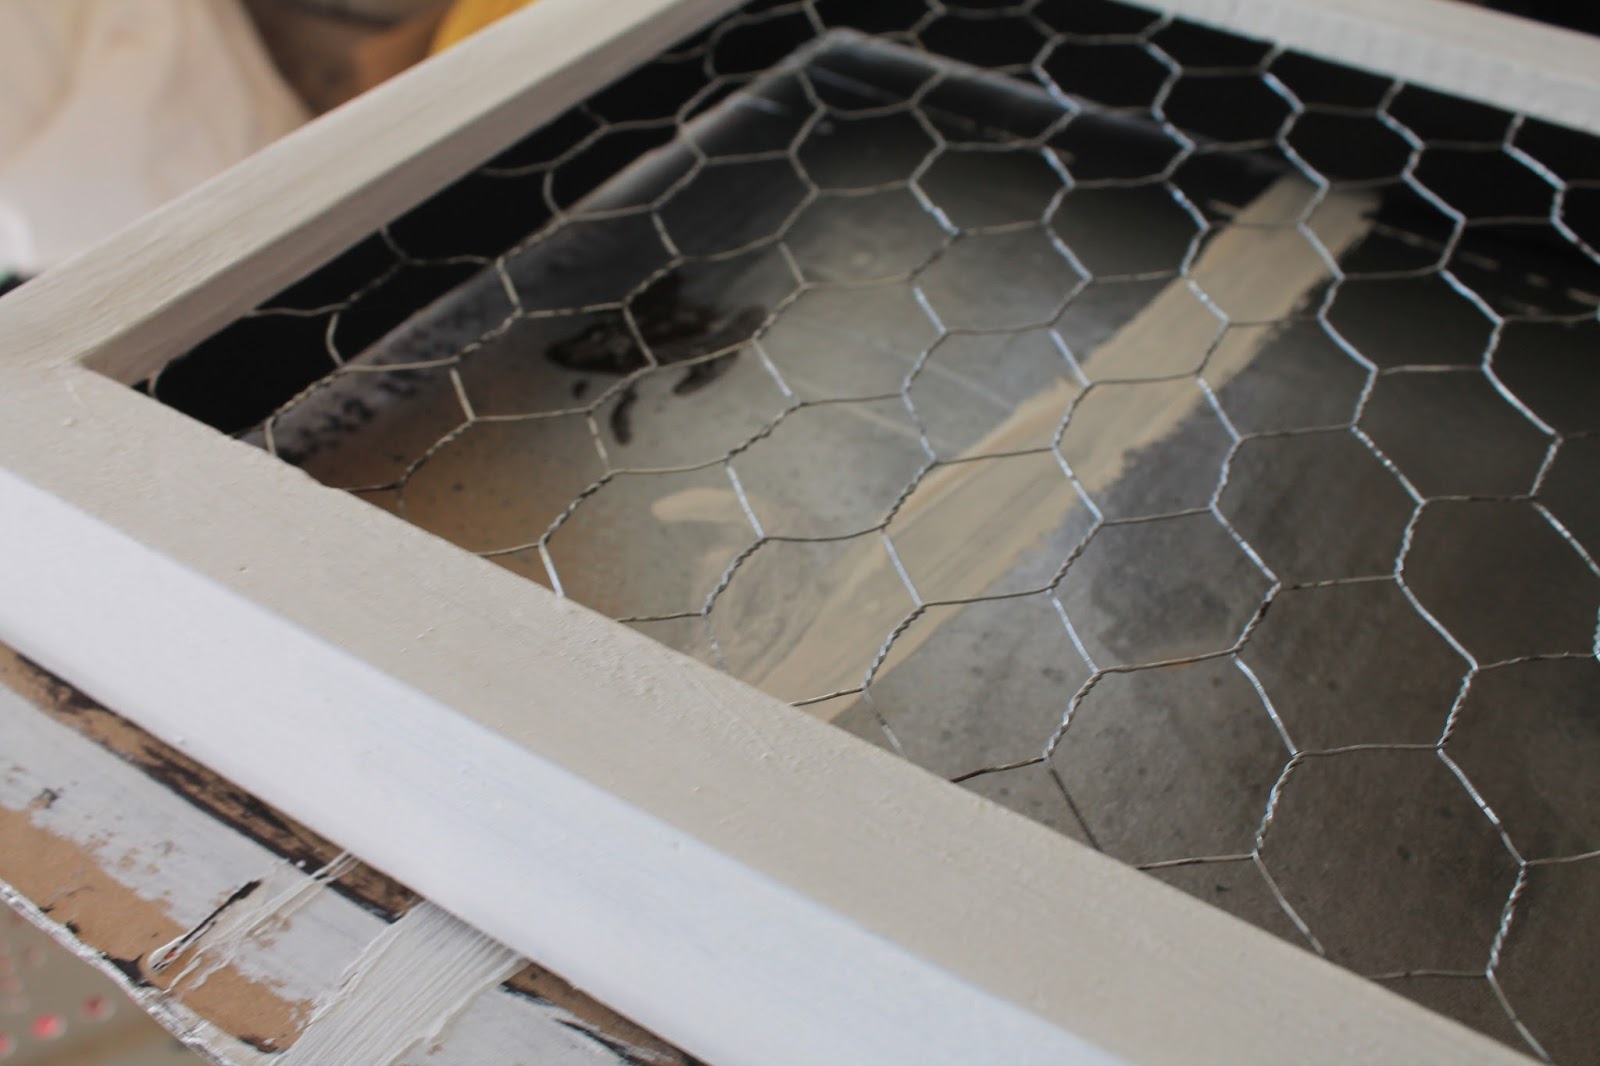
Distressing was a little tricky. There’s usually no such thing as using too much pressure, but in this case I didn’t want the orange to show through so I used a fine sandpaper and went very gently so that only the espresso would show through. It was kind of tough!
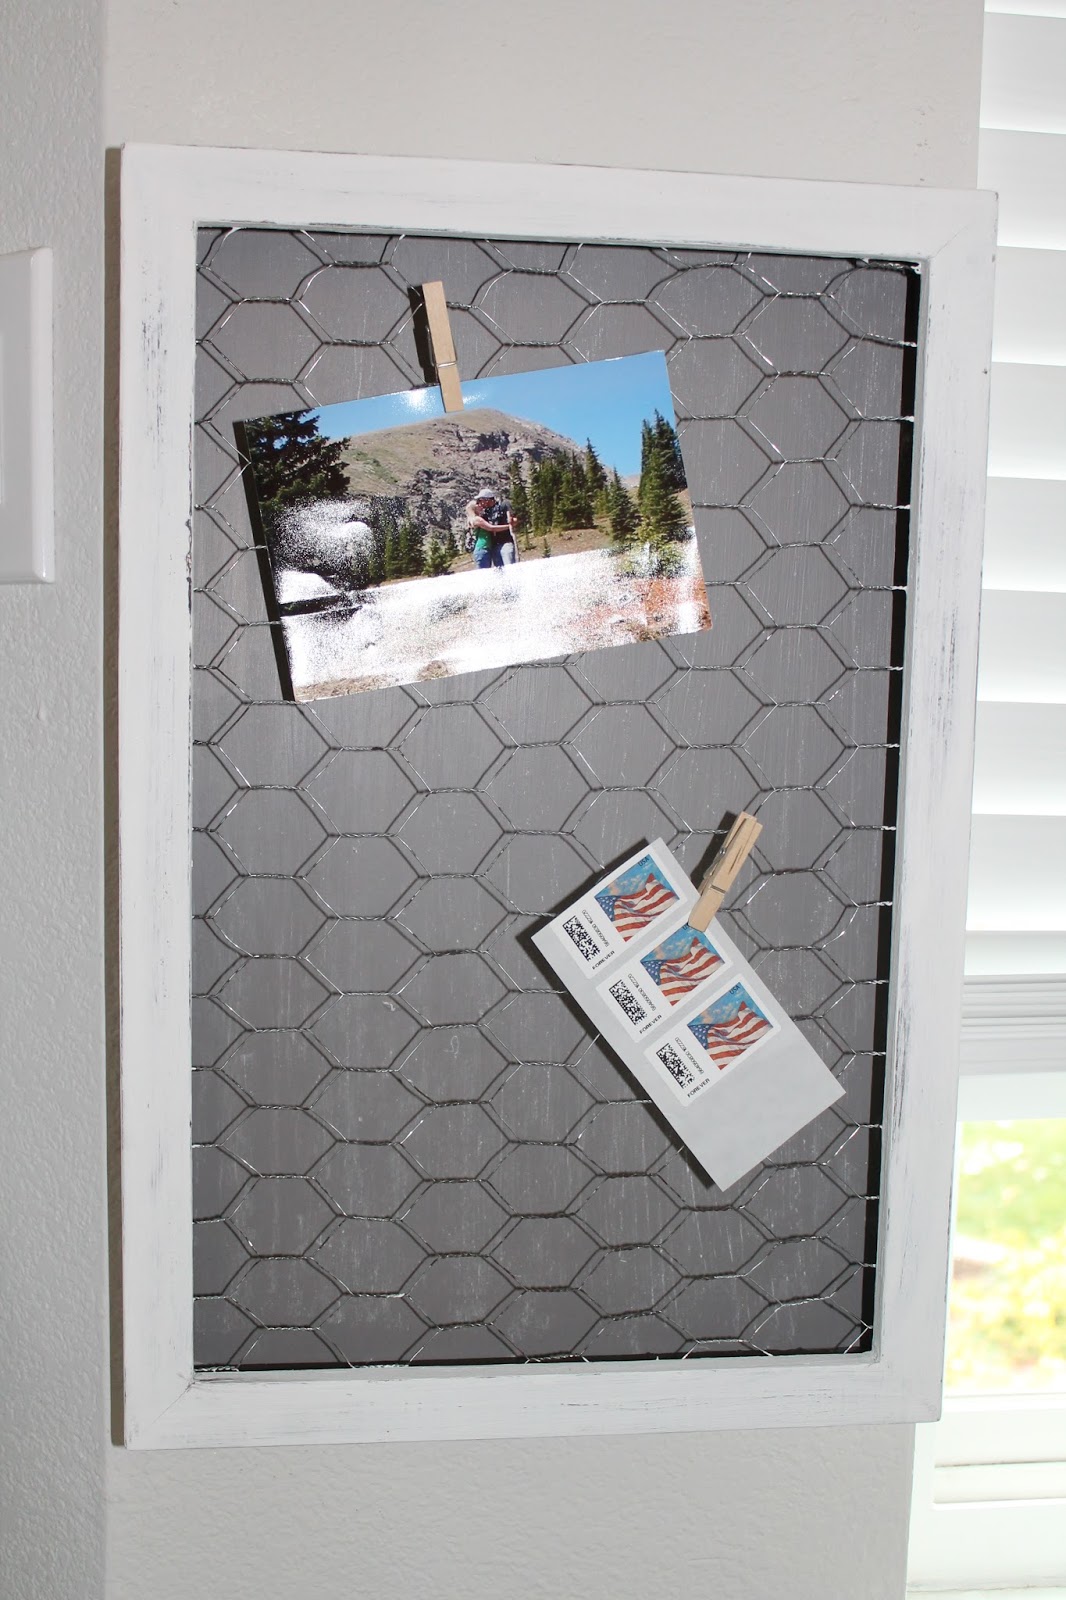
For the back, I debated on using scrapbook paper, fabric or paint. Since both paper and fabric would require me to leave the house, I chose paint haha. I first just used some more espresso paint.

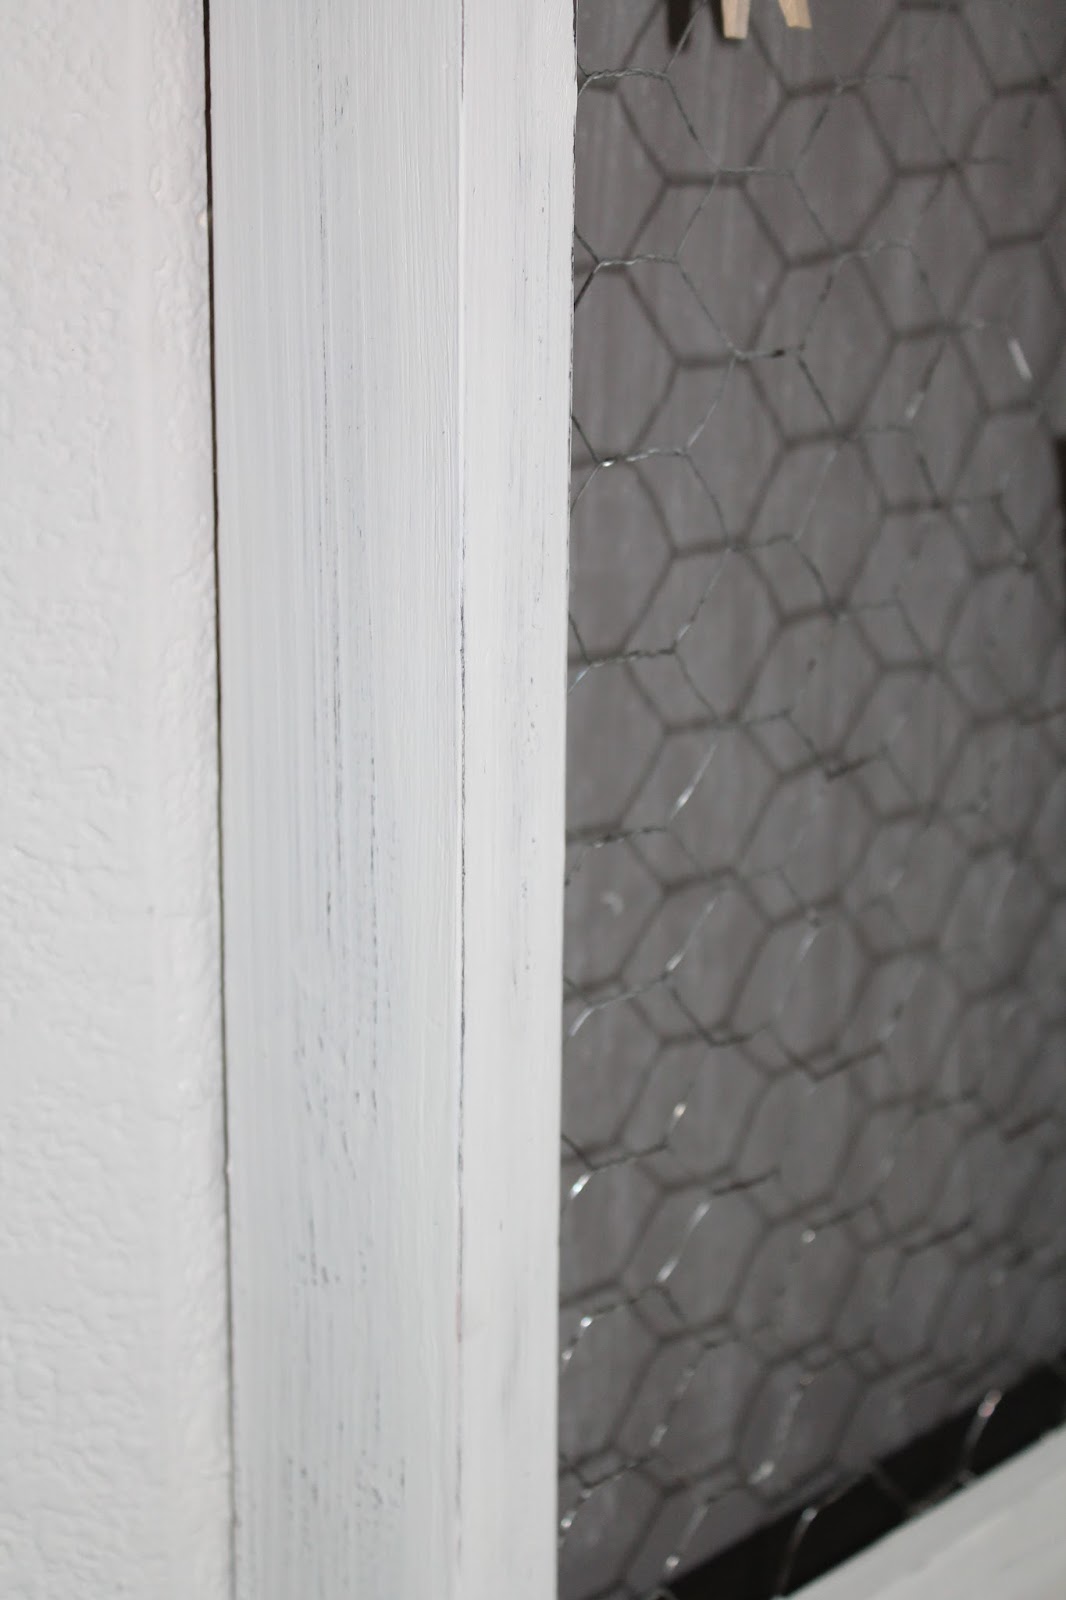
But it was too dark once I got it all put back together and hung up. So I took it apart and used some cocoa colored chalkboard paint instead! I also rubbed some white chalk on for some added interest.

My careful distressing was worth the effort because it turned out beautifully!
To be completely honest with you, I don’t really know what we will keep on here. For now I just have an old picture of us and some stamps.
It was a super simple and quick little project. It’s amazing some of the things that people will pass up in the clearance section just because it’s out of season! Even though I actually liked it before, this is much better since we get to enjoy it year round 🙂
Have a happy Monday peeps, I hope everyone has a better one than the one I’m having!
Linking up to these awesome parties!

This is so cute, I love it! I am sure that you'll find something to put on there <3
Thank you so much Lara! Yes I know the perfect thing will come along 😉
This is super cute! You saw beyond the paint and picture and made it clean and fresh!
Thank you Colleen! It really does have a whole new feel to it now 🙂
Oh my! What part of the country are you in? I'm in Minnesota which is usually the icebox of the nation but even here it will be 85 tomorrow.
I'm in Colorado, we had like 4 straight days of wet snow and on Tuedsay it finally started to warm up!
I love it, it´s really nice.
Quite an interesting idea to use the old thing and give it one more new life, it's very cool.