Hello everyone–sorry for the disappearing act last week! Today is an exciting day because I’m sharing something that took me almost three weeks to finish! In all honestly it shouldn’t have taken three weeks but I spaced the whole process out and worked on it while I could during our busy lives. My slow work finally paid off and I’m so happy with how it turned out!
The basement wasn’t finished when we first bought the house but we decided to use our extra savings to have it done because it was so gross down there. Since construction ended I haven’t paid a whole lot of attention to the basement other than a brief “beachy” phase where I added nautical decor everywhere I could. I got tired of that about 3 months into it though.
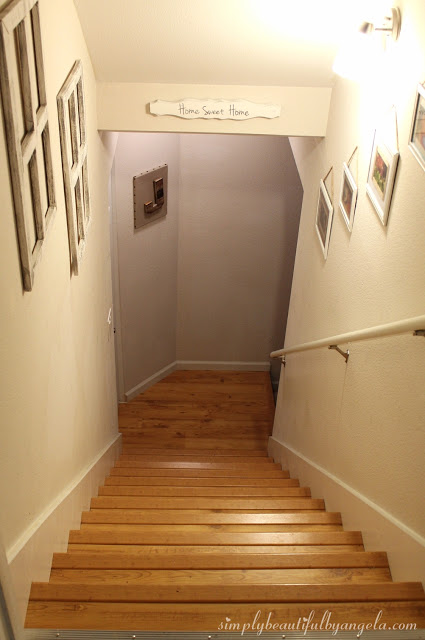
I decided that I really wanted to give it some love and make it more home like and what better place to start than the staircase! Here’s what it looked like before:
I’ve incorporated board and batten on our breakfast bar and the upstairs hallway and love love love the difference that it makes. I used 1/4″ plywood both of those times since I didn’t want overhang on our baseboards. Since I didn’t have baseboards to worry about on the stairs, I decided to go for a more dramatic look and used 1/2″ mdf. I had actually planned on using 3/4″ but I picked up the wrong one and Home Depot had already cut it before I realized it. It’s just as well because I think it may have been too thick for this small of a space anyways.
I purchased a 4′ x 8′ sheet and the guy at Home Depot said the smallest size strips he could cut was 12″. I keep reading on other blogs that their store was able to cut smaller so I’m not sure if he was lying or just didn’t know how. I was sad to have to wait a couple of extra days until the hubby could cut them down to 4″ strips on the table saw. I hate being patient when it comes to starting (and finishing…) a project!
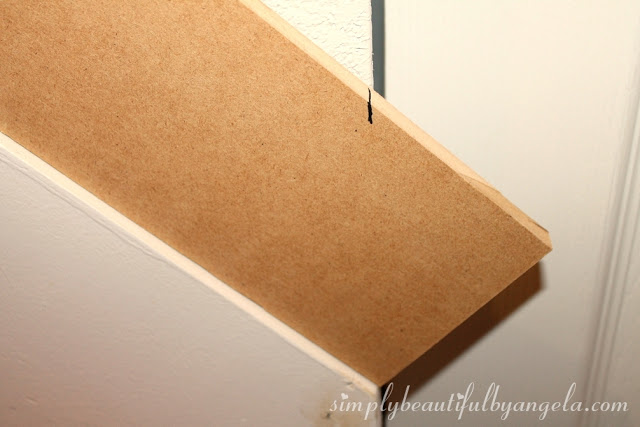
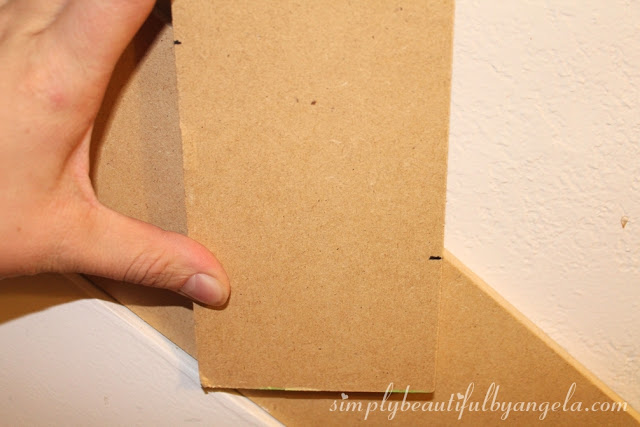
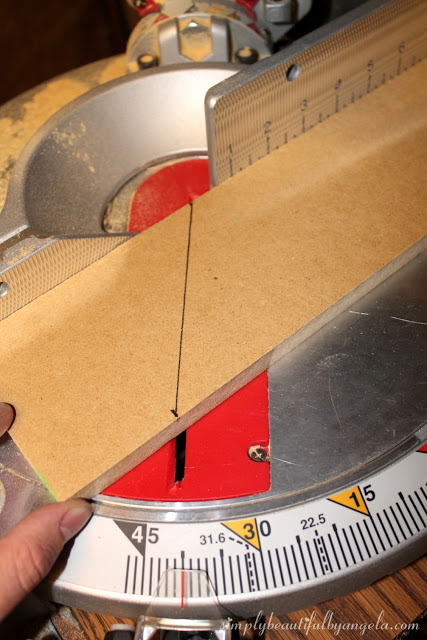
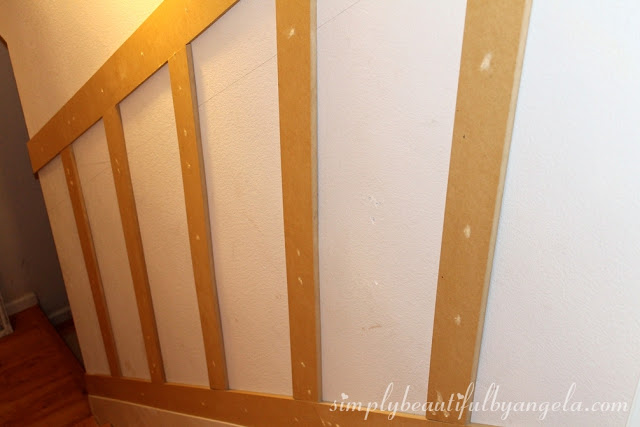
I was really nervous about doing angled cuts, which is mostly why I put this project off for so long. However it actually was a lot easier than I thought it would be. I began by holding up the bottom piece to the edge of the stairs and making a mark. I then drew a line to the corner and lined it up on the miter saw (which you will see in a second).
I attached the board with a few baseboard nails into the studs.
Next I held up a board so that it was straight and marked where it needed to be cut. I just eyeballed it because I like to live on the edge every now and then. Not really haha–but lucky for me it turned out nice and straight. Cue happy dance!
When you line it up on the miter saw take note of the angle you are at since you may be going back and forth between angled and straight cuts.
Once you have the first end cut, flip it and do the same to the other end. I kept reminding myself that I needed a “parallelogram” when I got confused. Who said you’re never use geometry in the real world?
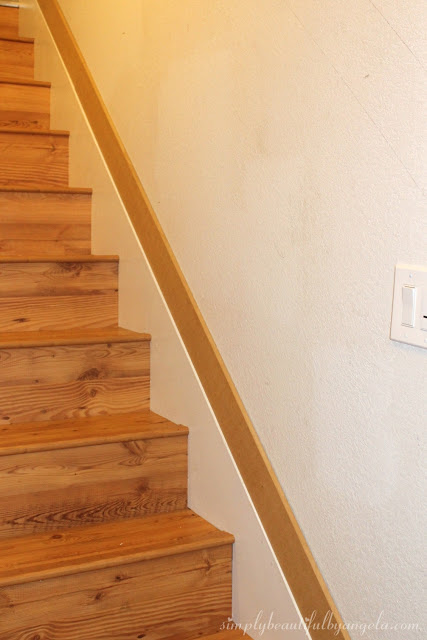
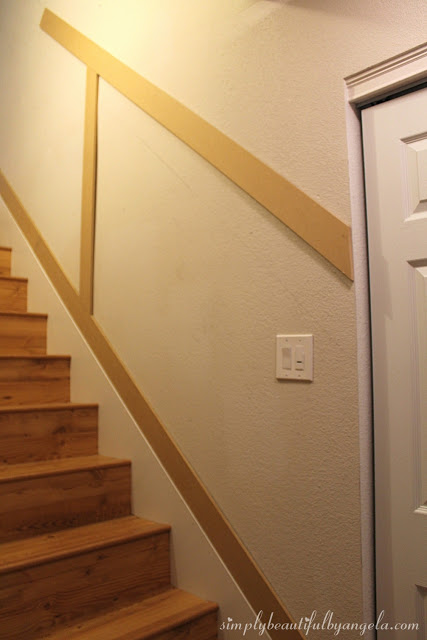
Once the center board was up I put my top board on since I knew that resting on top of that vertical board would give me my angle that I needed. Just a note here–make sure you plan for light switches before deciding on your height. I did that for this board but not later on as you will see.
Once that is up the rest of the boards go up pretty quickly. See my little helper in the corner?
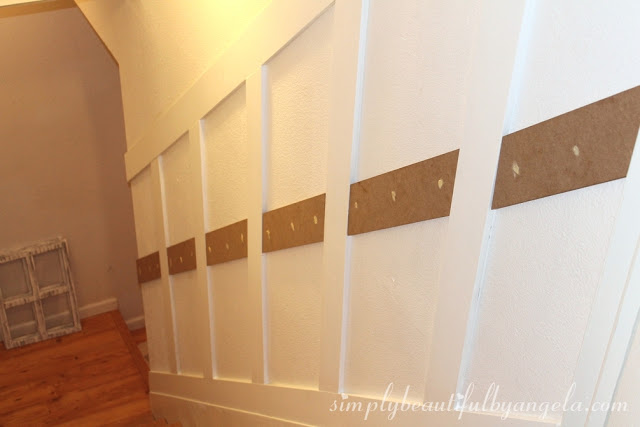
I decided to get everything painted at this point even though I was adding a second row because I wanted to avoid painting smaller areas like I did with the hallway. You can take it even further and paint the wall before putting up the boards but I was just too anxious to start getting boards up.
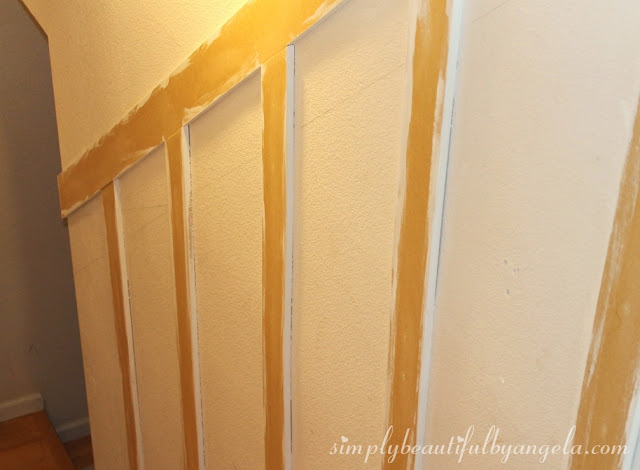
I tapped all of the nails in with a large screw and hammer (those of you with a nail gun–I envy you!) and then filled the holes with wood putty.
Once everything was sanded and wiped down I started with a coat of primer on the mdf to prevent any discoloration coming through.. I first used a brush on all of the edges and then used a small foam roller for the fronts.
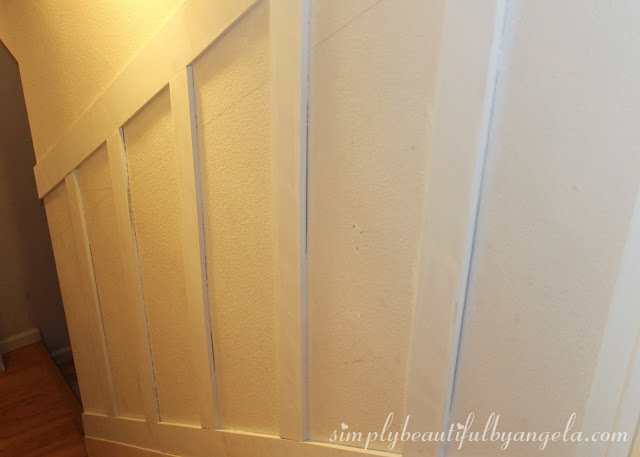
After that dried I repeated the process with my first coat of paint only this time I got the walls as well with the roller.
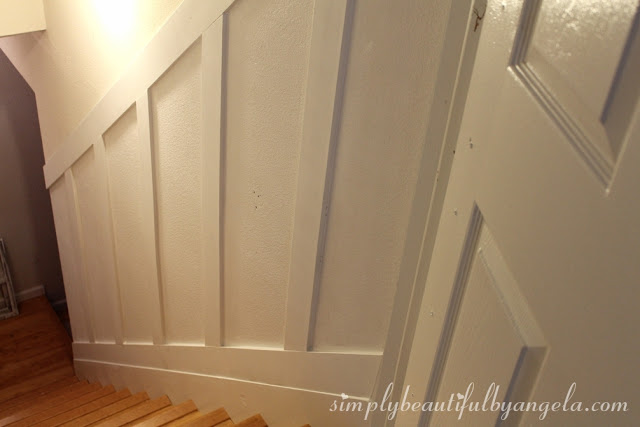
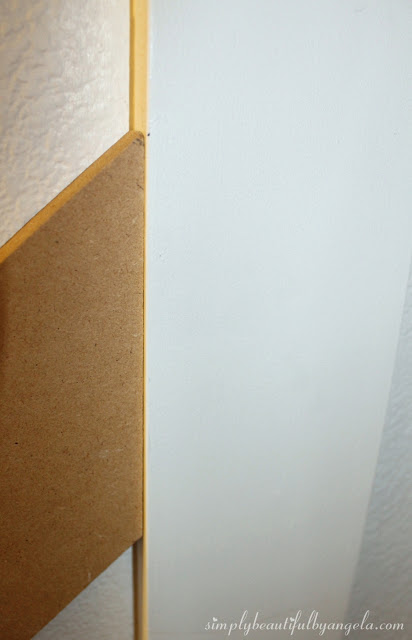
Before my final coat of paint I caulked all of the edges. As tedious as the caulking step is, I truly love it because it makes such a difference. Especially if you have uneven walls like I did and the boards don’t sit completely flush on the wall. See what a difference it makes?
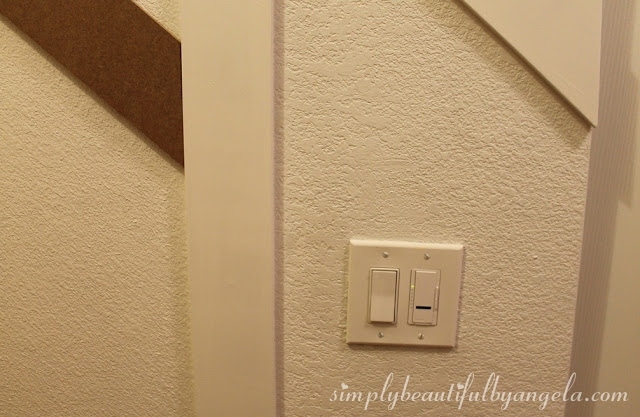
Next it was time for the second horizontal row. I used the same angle that I used for the other pieces and went all the way down the wall. When I got to the last piece at the bottom I realized that I had a problem–that dang light switch was in the way!
The hubby started talking about calling his electrician friend over to move it but I decided to just move my second row down instead. I had a hard time accepting this and visualizing it at the time, but I actually can’t picture it any other way now that’s it’s done.
Luckily I had only placed one nail in each to hold them where I wanted them until the baby woke up and I wasn’t afraid to make more noise with the hammer, so it was super easy to rip them out and start over.
To get the second row straight I first tried measuring from the top board and making a mark. This didn’t work out so great because our house isn’t built perfectly straight so I ended up with a very crooked row.
So then I tried to just eyeball it. It looked alright up close but when I stepped back it was even more crooked than when I was measuring!
I finally determined that the best way to do it was to nail in the first one in where I wanted it, held the next one up in the next space and then took a scrap board and held it over both to line them up. Sorry I didn’t take a picture–it’s a two hand process!
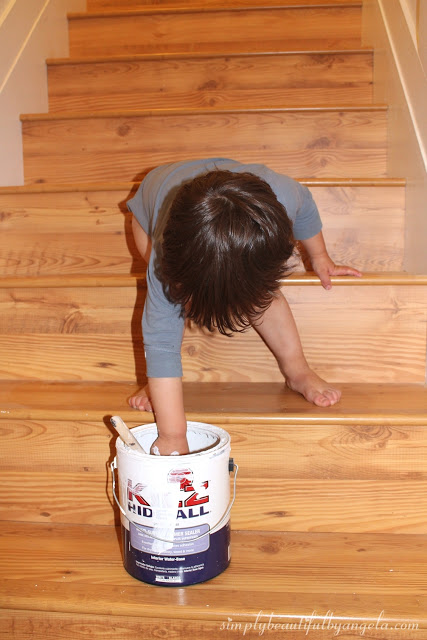
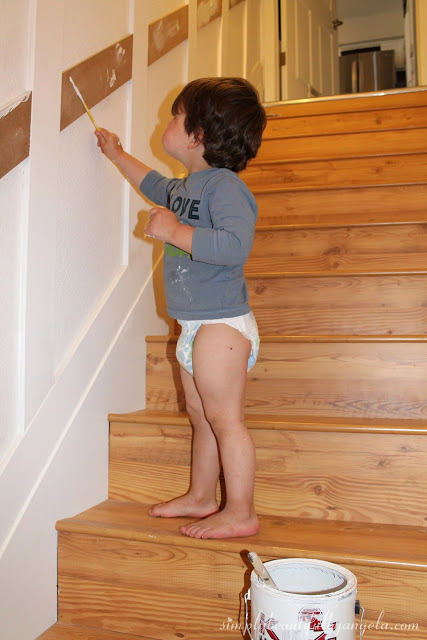
Painting these went super quick and Tristan enjoyed helping. We lost the pants as soon as I realized what a messy little painter he is!
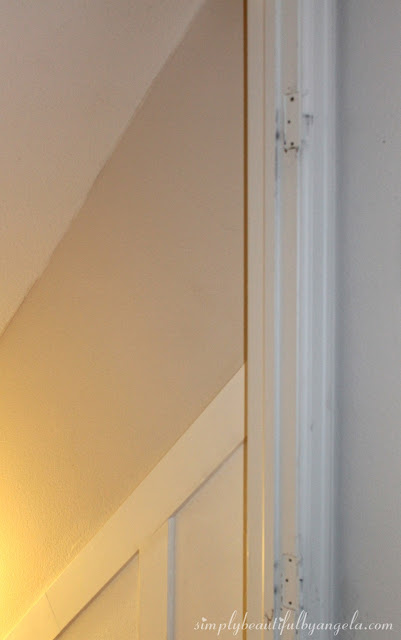
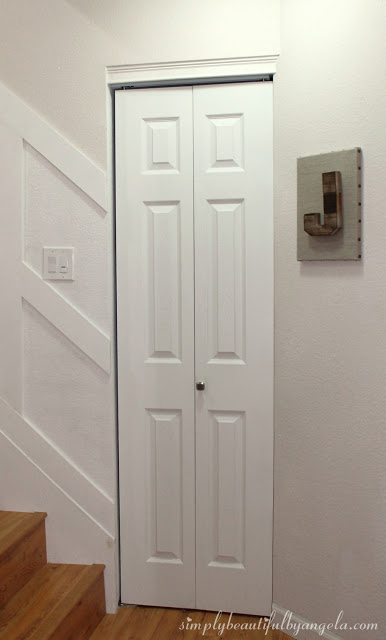
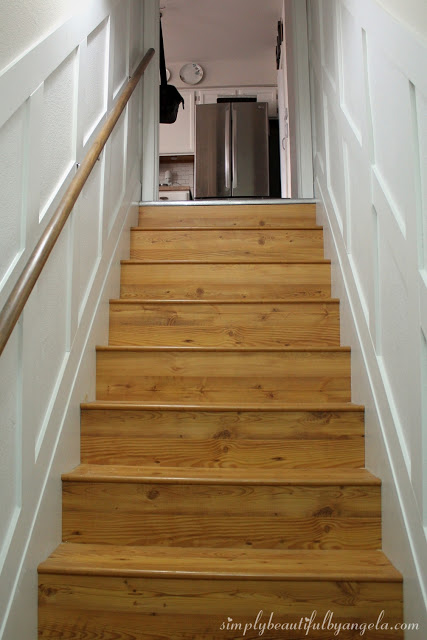
We decided to remove the door to open the house up more which is something that I’ve been wanting to do for a long time but I didn’t like the way the staircase looked before. I attached some molding over the door hinge holes instead of filling them in case we change our mind.
And of course a gate will need to be built when little L is mobile which will be in just a few short months!
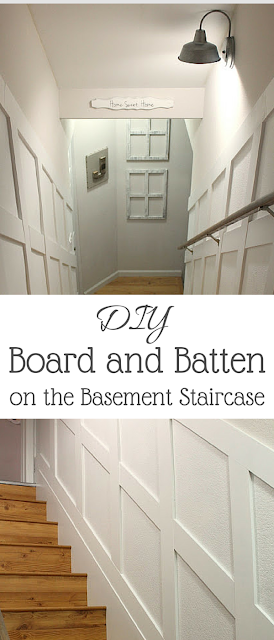
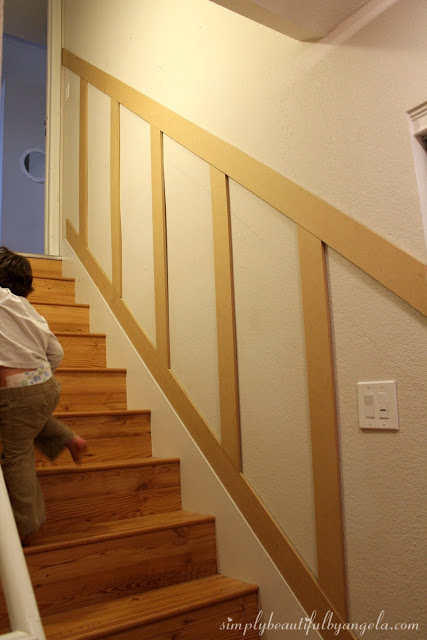
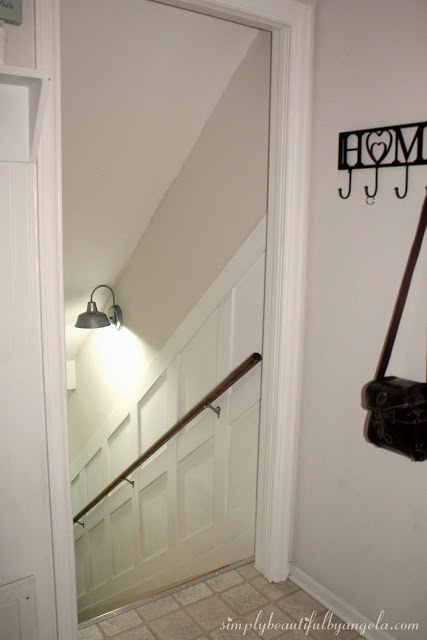
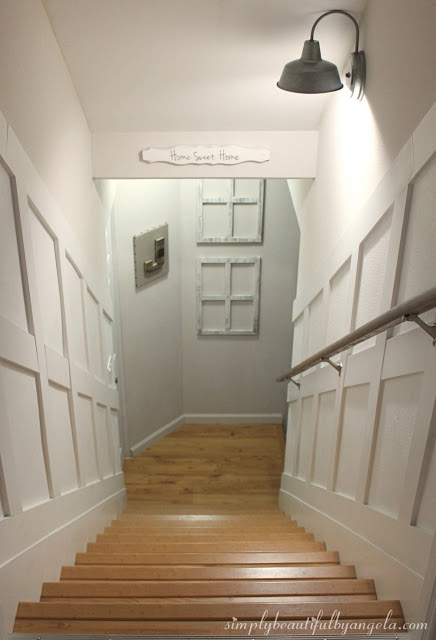
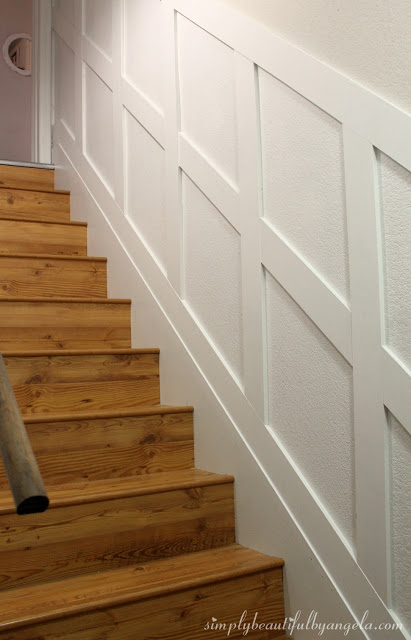
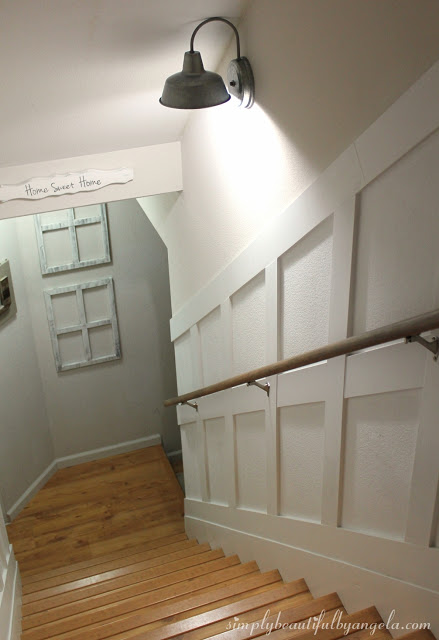
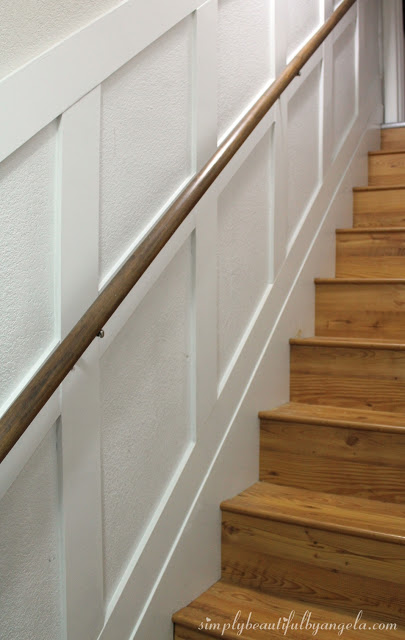
Welcome to the new staircase!
It feels so much more home like now and less dungeon basement-ey!
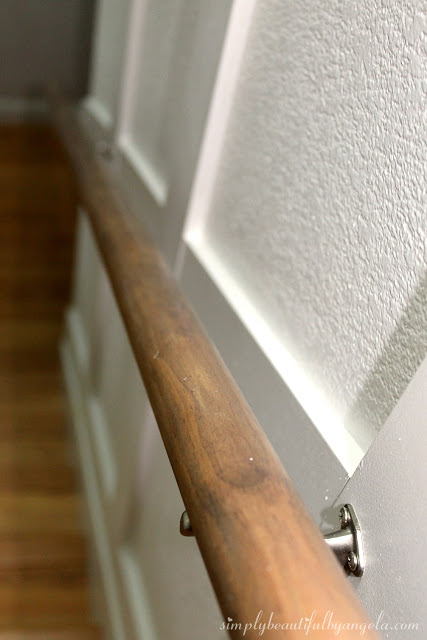
I painted the wood railing white when we moved in but I thought that we needed some contrast so I sanded it down and refinished it with a coat of Miniwax Provincial, a coat of whitewash and a coat of polycrylic. I sanded that baby down by hand and it took me hours. I love how it turned out but it’s a task that I honestly never want to do again!
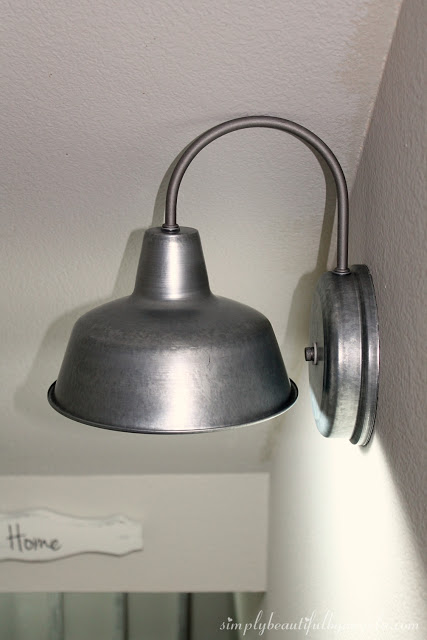
We also replaced the light with this beauty to feel more industrial farmhouse which is the new theme for the basement. I simply adore it and Tristan still makes it a point to say “Oooooo that’s a cool light!” every time he goes downstairs. Mommy has taught him well 🙂
Photographing this space is next to impossible due to the lack of natural light. I put some daylight bulbs in both light fixtures which definitely helps. I’m still on the fence on whether or not I like them though.
I must say it has been completely awesome not having to deal with a door while hauling laundry up and down.
I still can’t believe that I finally have board and batten on these stairs! I’ve been dreaming about this since the day we moved in. The next big item on the list is planking that big wall at the bottom. I need a little recovery time before tackling that though haha.
Have a happy weekend peeps!
Linking up to these awesome parties!


Thanks for the tutorial- I really want to install board and batten in our bathrooms. Thanks for sharing at The Creative Circle.
Angela, this is a beautiful makeover! I've been toying with the idea of adding some sort of wall detail to my entryway and staircase. I think it's high time I get to work, especially after seeing this! Glad you linked it up to The Creative Circle linkup!
Love this! It turned out great! I want to do this to our basement stairs as well.
– Jaclyn
Very cool- I have been wanting to do this for our stairs for years. I'm inspired to stop putting it off now.
I love this look! I want to try it on our front staircase. It makes a huge impact. Great job it looks wonderful!
Whenever we plan for constructing a home, we should first take care of the flooring issues. So, we should go for several kinds of flooring options, such as; wood flooring, laminate, synthetic, tiles, and marble flooring. But before choosing floors, we should also check out the quality of the flooring. Most probably wooden flooring are quite affordable and beneficial for the user, so I suggest wooden flooring for both basement and staircase.
Wonderful Wooden Staircase. It looks so attractive at Home Decor. Wooden Flooring really add double effect. Now I am looking forward to use your idea at my Home Decor. Thanks for sharing 🙂
Your wooden stair case is looking amazing. Thaese small ideas helps a lot in daily life. Thanks for sharing such an interesting and informative information.
dmv construction 🙂
That leaky pipe under the sink that’s been trying to tell you it needs fixing for years will one day just lose it and flood your entire home. water damage cleanup companies in Falls Church Virginia
The new design looks much more beautiful and laconic than it was before it and the space became more comfortable.
I give preference the wooden stairs, as I find themespecially practical. I don’t follow any fashion trends and choose comfort over beauty! perfect staircase