-
1/4″ underlayment
-
Nails
-
White paint
-
Small foam roller
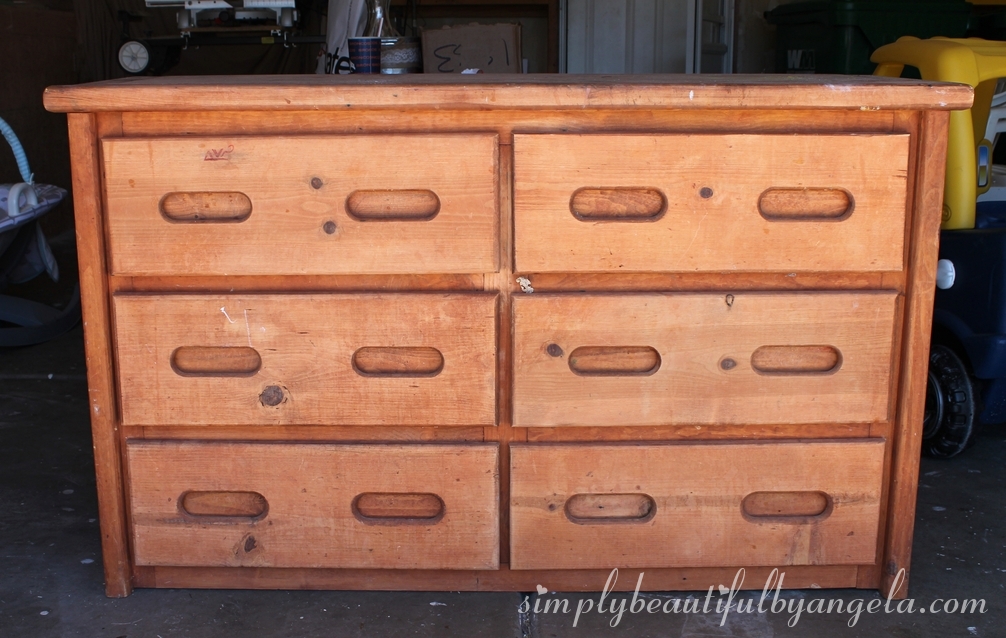
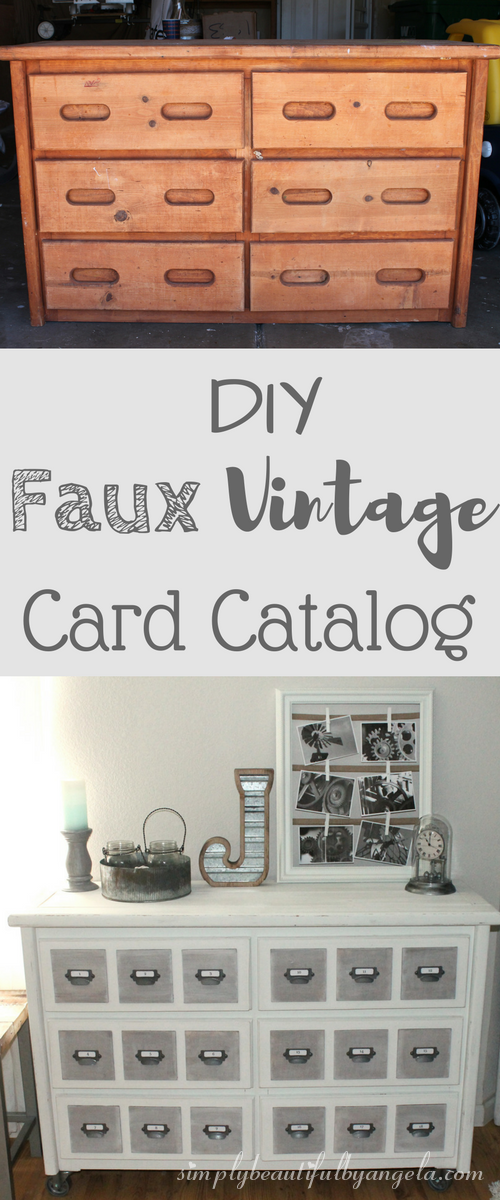
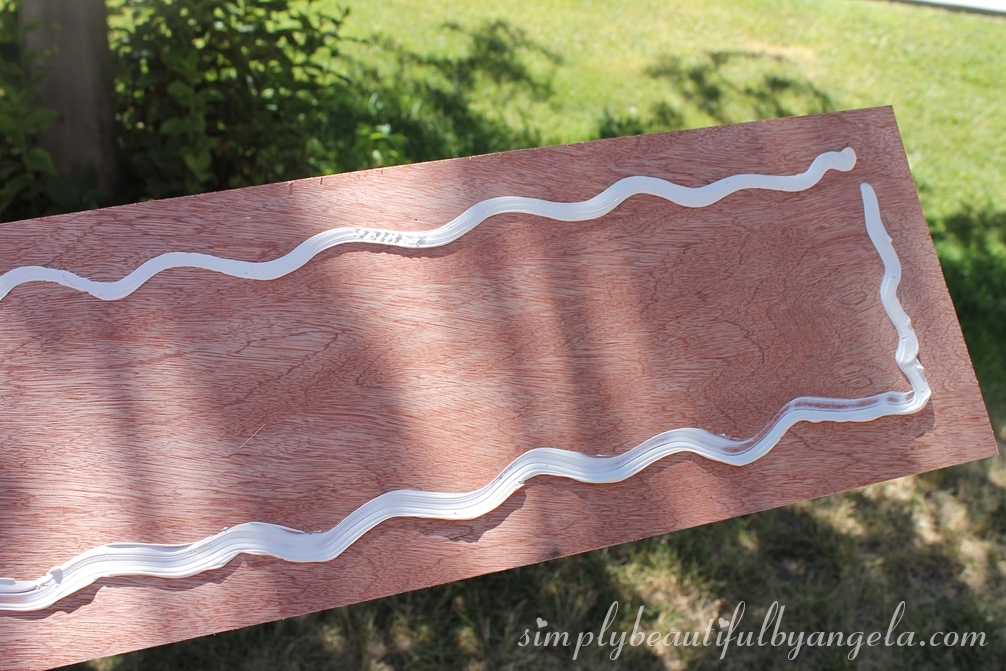
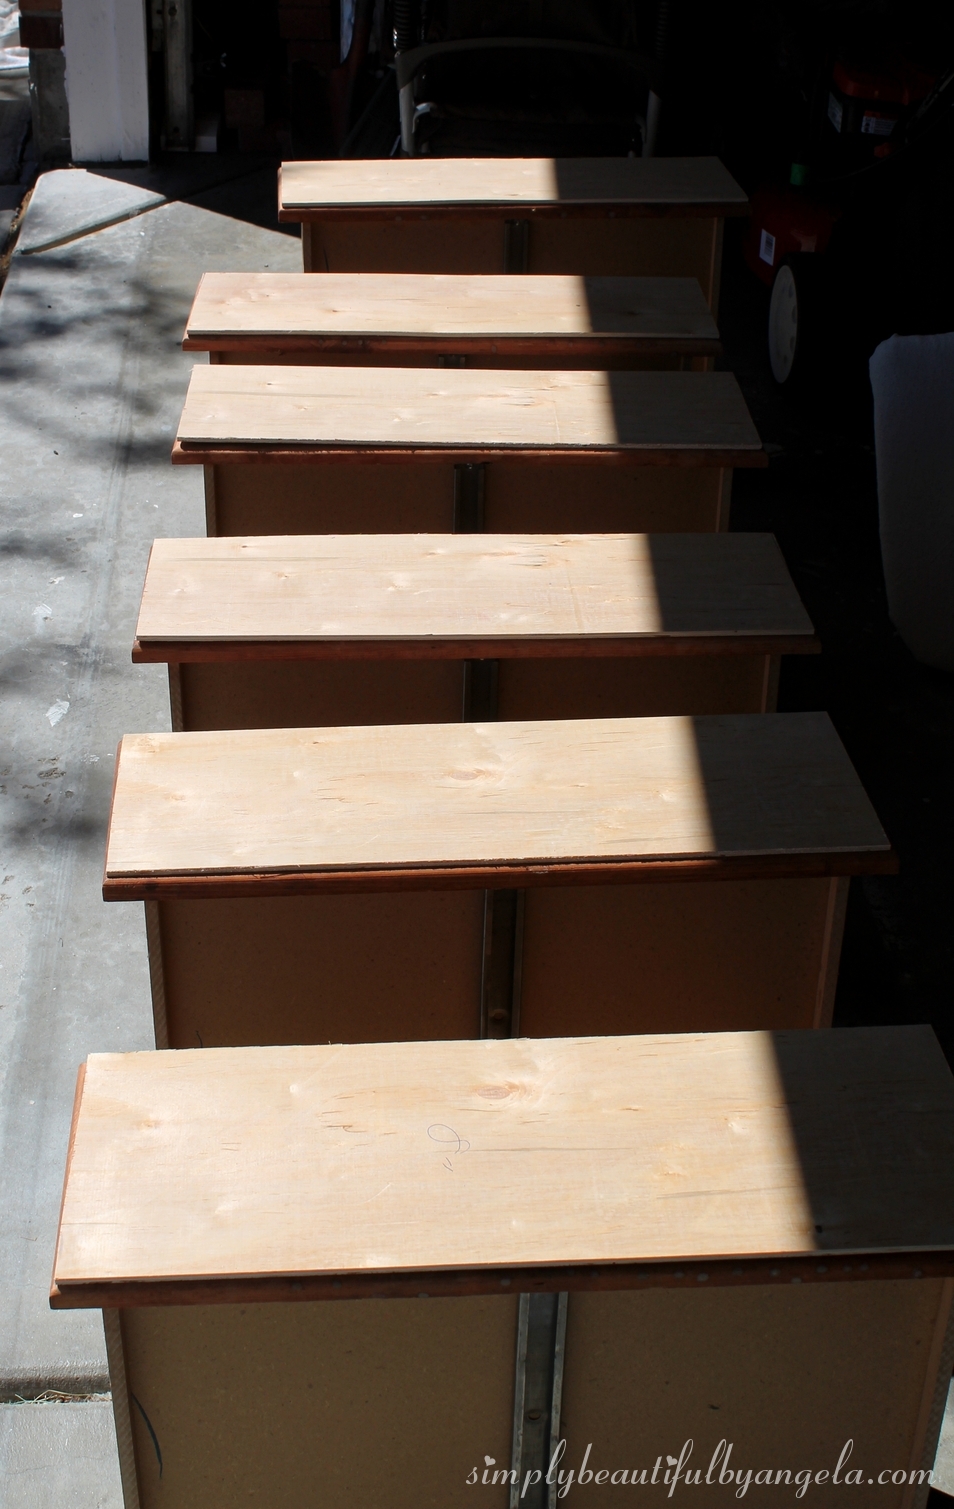
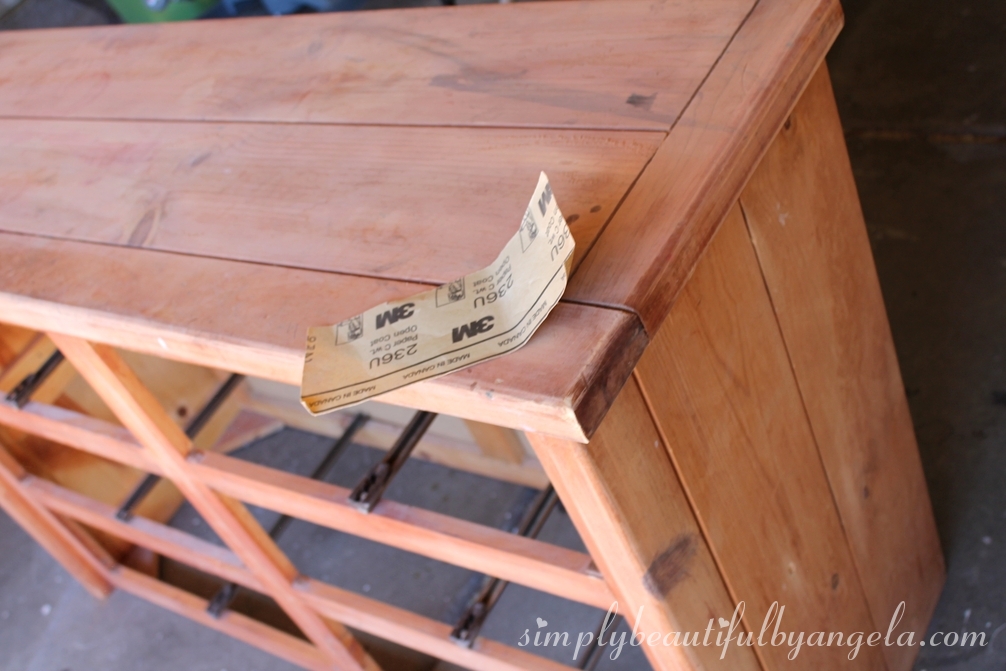
Well, it wasn’t perfection just yet. It was covered with cobwebs and stains, but it was really sturdy and I knew that it had just the potential that I was looking for! It shamefully sat in our garage for almost 2 months before I finally got around to working on it though… (I’m telling you guys, it’s been such a hectic summer!) I knew that I wanted to have three “drawers” on each actual drawer, but the awkward handle cutouts were throwing off my plan. To fix this, I purchased a 4′ x 8′ sheet of underlayment from Home Depot and had the hubby cut pieces the same size of the drawers with the table saw. I then used liquid nails to adhere them to each drawer front.
I gave everything 3 coats of the chalk paint using a foam roller and sanded lightly between coats.
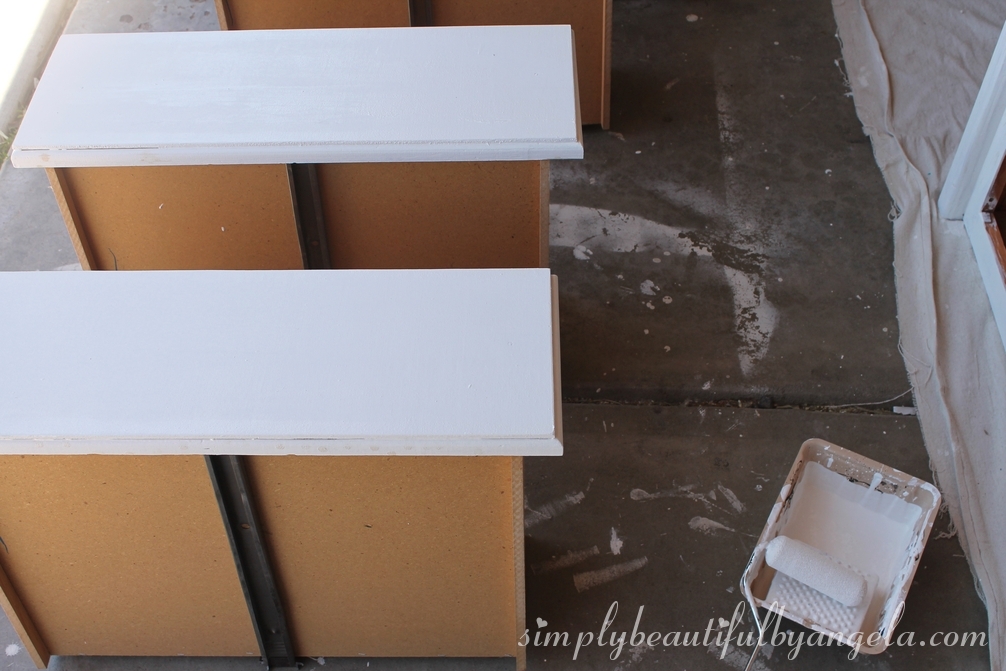
The underlayment was still not totally flat against the drawer front, so I ran a line of caulk along the seams to disguise this.

These first steps went pretty quickly and I finished all of that during the boys’ naptime. The next day I began working on my faux drawers which were just more underlayment pieces cut into 6″ squares.
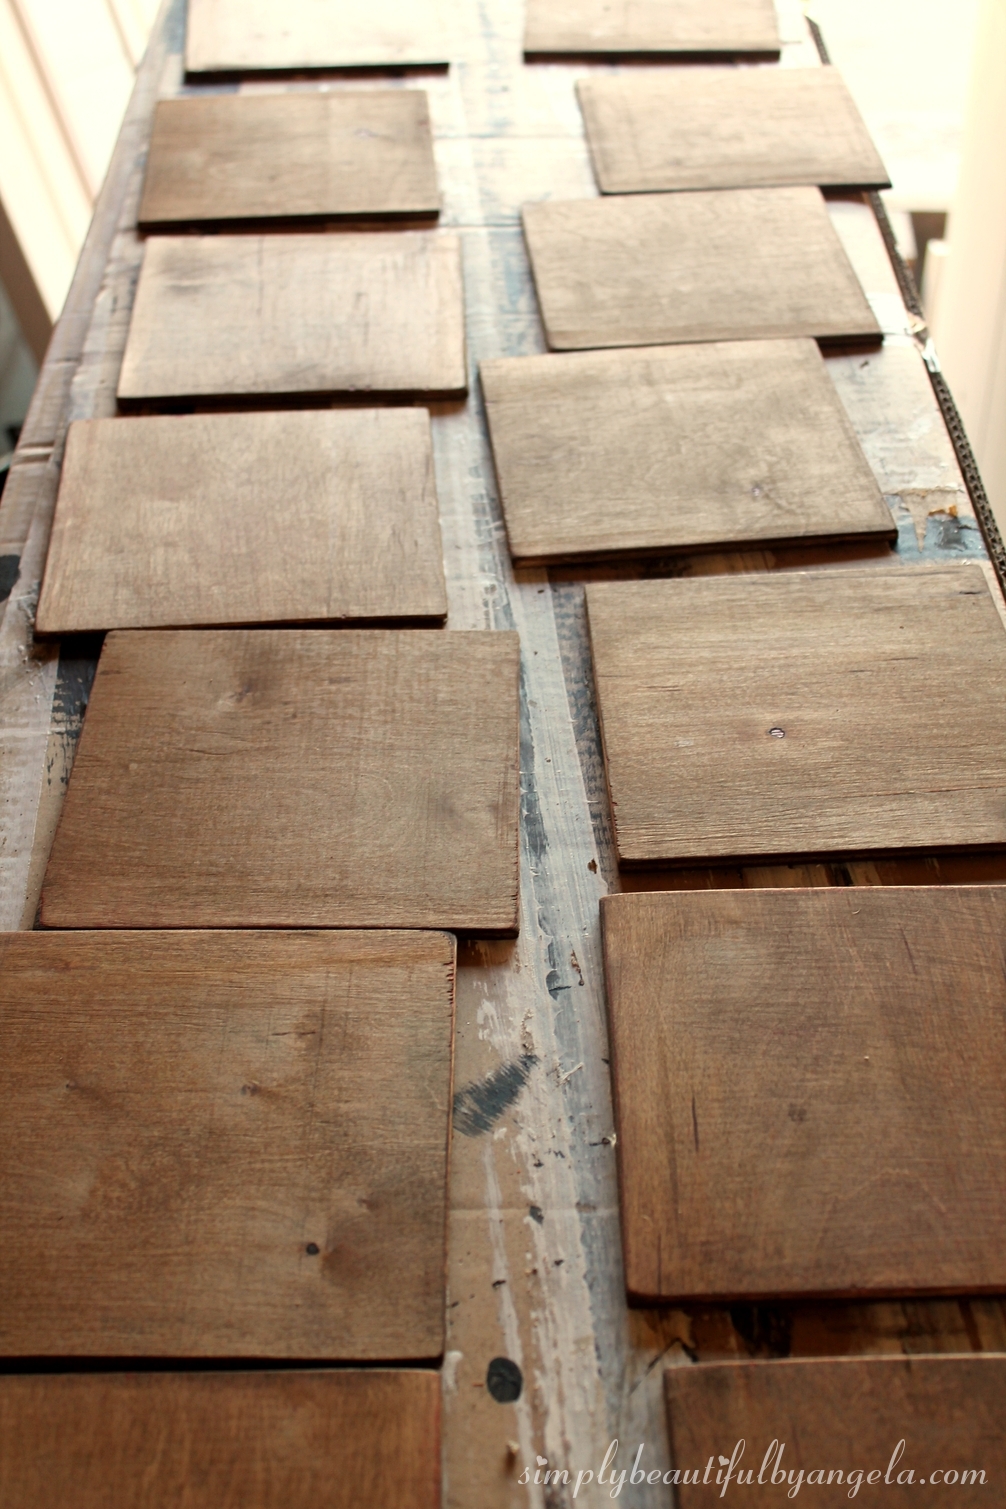
In my head originally these were going to be white. However I started thinking that some contrast might look good and would help them stand out, so I stained them with Miniwax Provincial. Once dry, I measured them out and attached them with wood glue. The best way to do this is to take your drawer length minus the width of all faux drawers, and divide that number by your drawer count plus 1. Since my drawer was 24″ and I had 3 6″ faux drawers I took: 24 – (6 x 3) and divided by 4 which gave me 1.5″ between each. Of course you could also eyeball them, but I don’t trust myself with that!
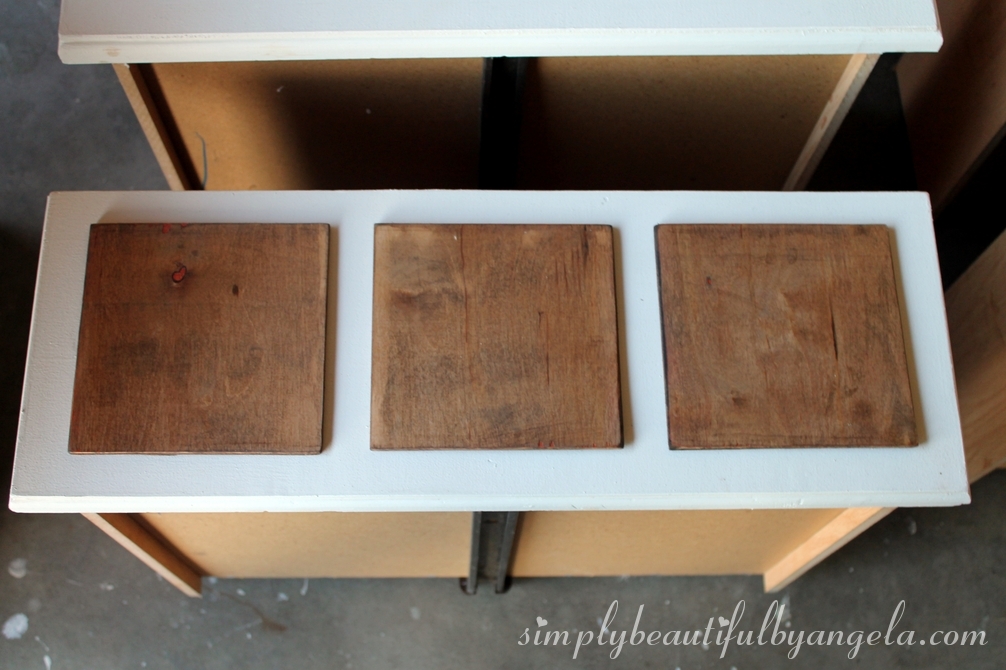
I put bricks on top as the glue set (and cans since I ran out of bricks!) Oh and make sure that the faux drawers are straight before you put the bricks on, Can you spot my crooked one? I had to pry that one off and re-do it later on…

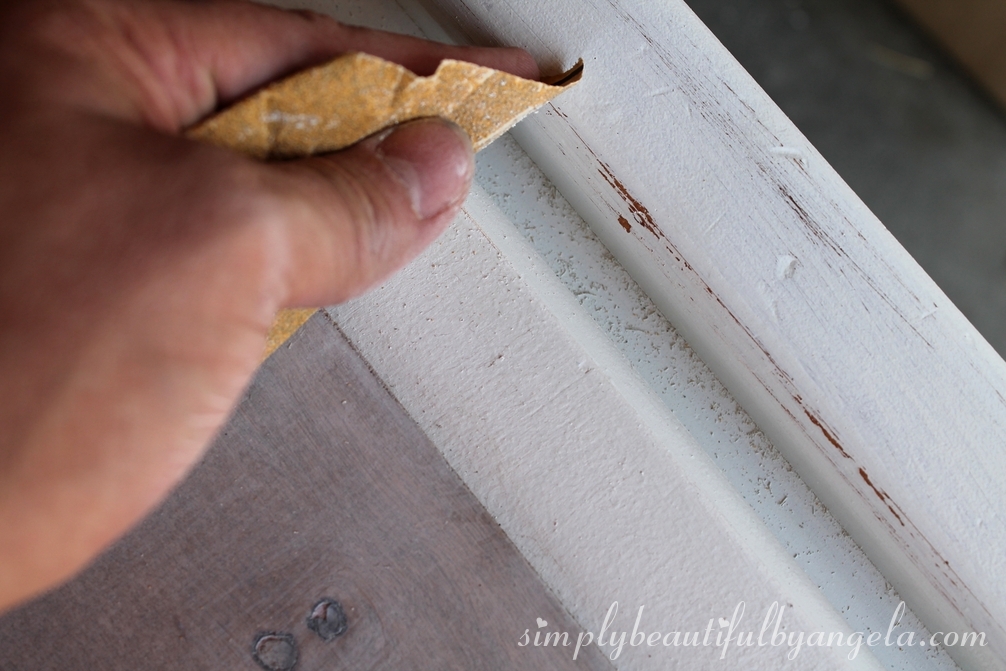
I decided that the wood was actually too dark so I ended up doing a ton of white washing. I probably did about 5 or 6 coats, although I failed to get any pictures of this step. To give it a vintage feel I wanted it to look worn. So I went over the entire thing with sandpaper to pull the wood out from underneath the paint.
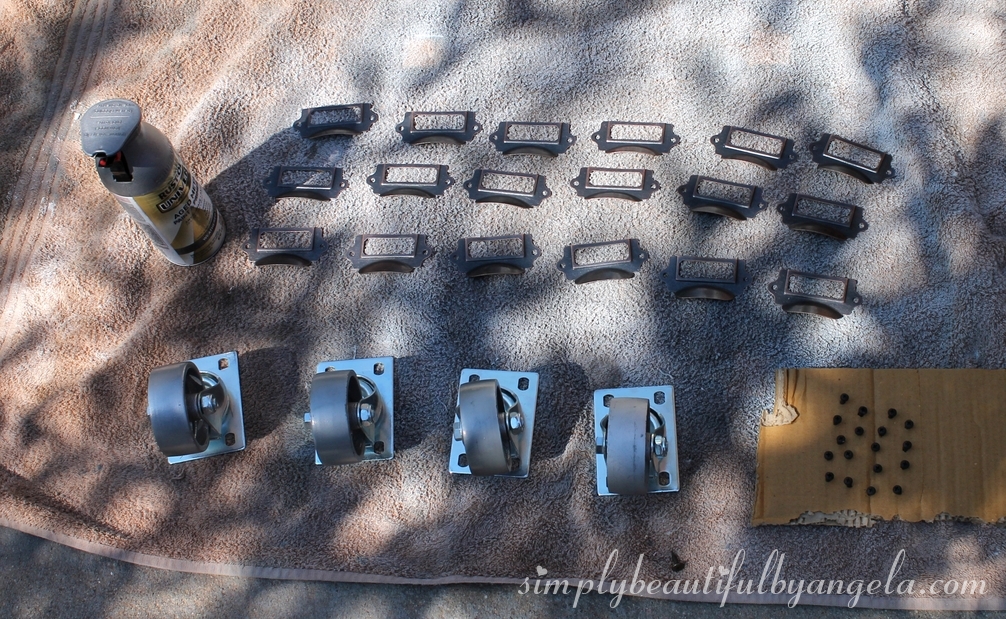
Finally the end was in sight and I was left with just one decision–the hardware. I ordered these card catalog pulls from D. Lawless Hardware for an amazing $0.60 each, but was finding that they looked strange with my silver colored caster wheels. I went back and forth on what I should do before finally deciding to just paint them all! I used Rust-Oleum Weathered Steel and am so happy with the uniformed look.
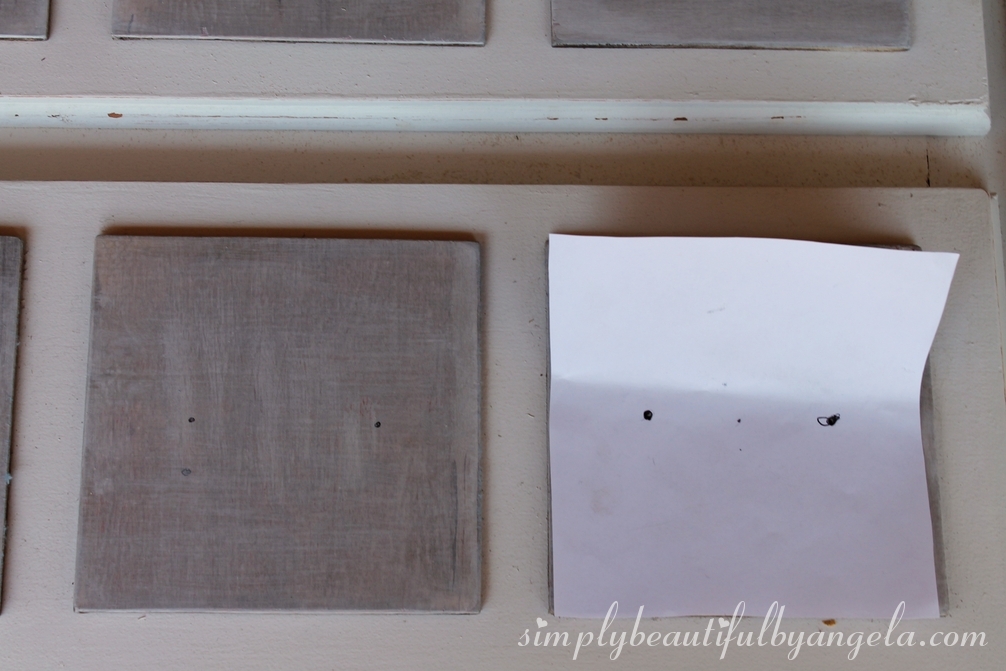
To attach the pulls I made a little template using some paper and it made my Drill Master’s (aka hubby’s) job 100 times easier and faster.
We also didn’t feel comfortable putting all of the weight on the corner braces, so instead we attached the caster wheels to the actual frame of the dresser. To make it level, we added a small piece of underlayment.

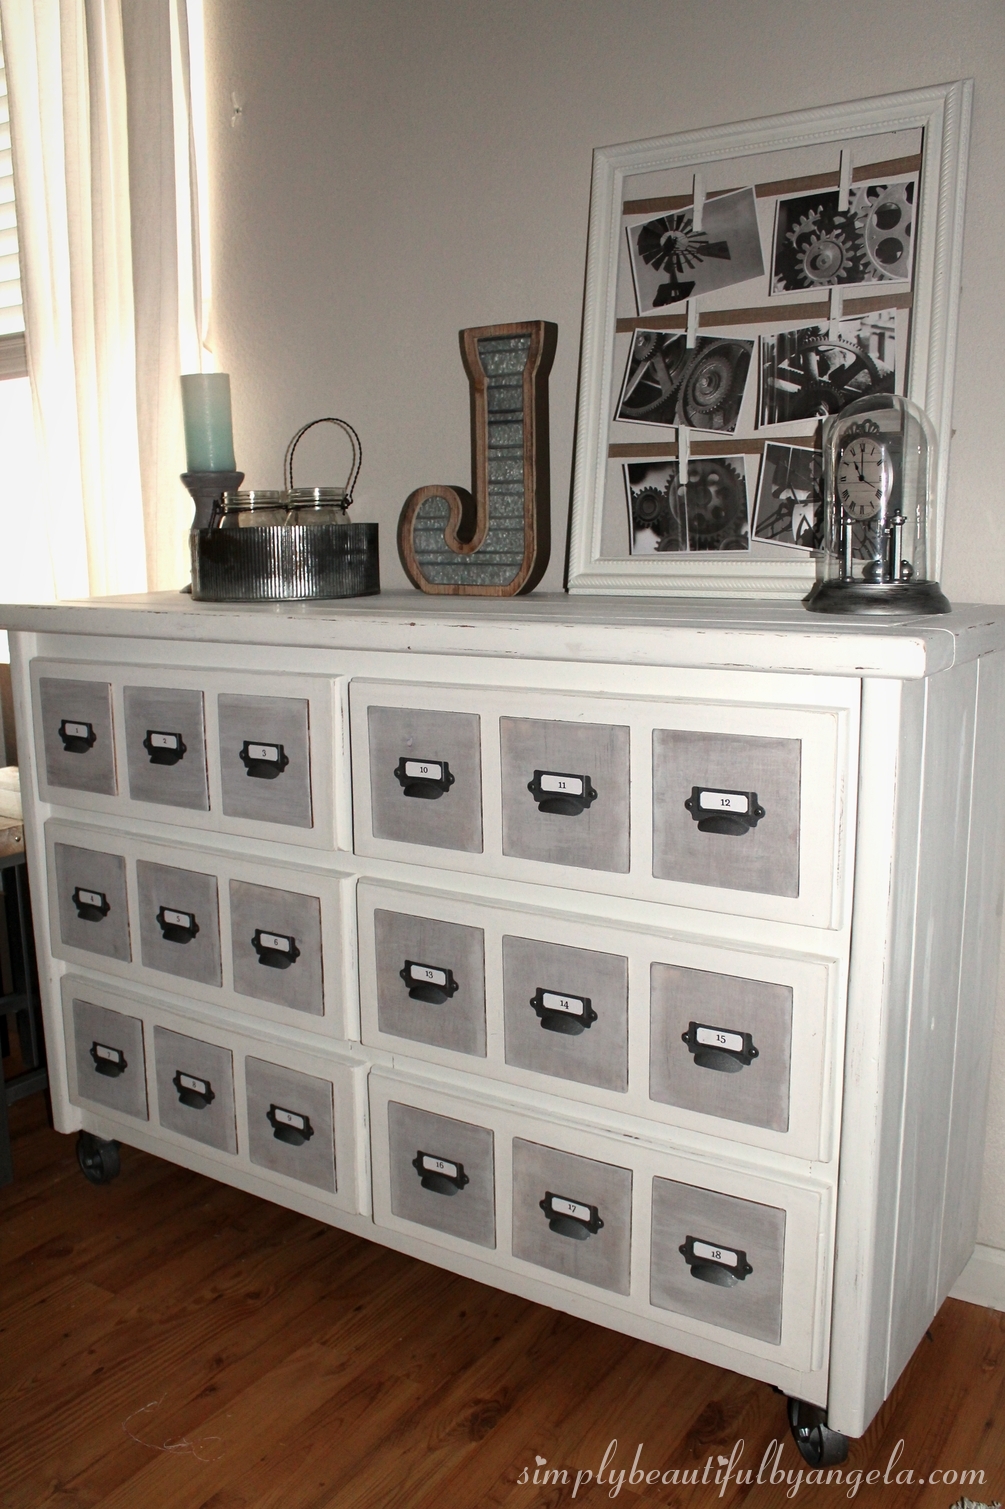

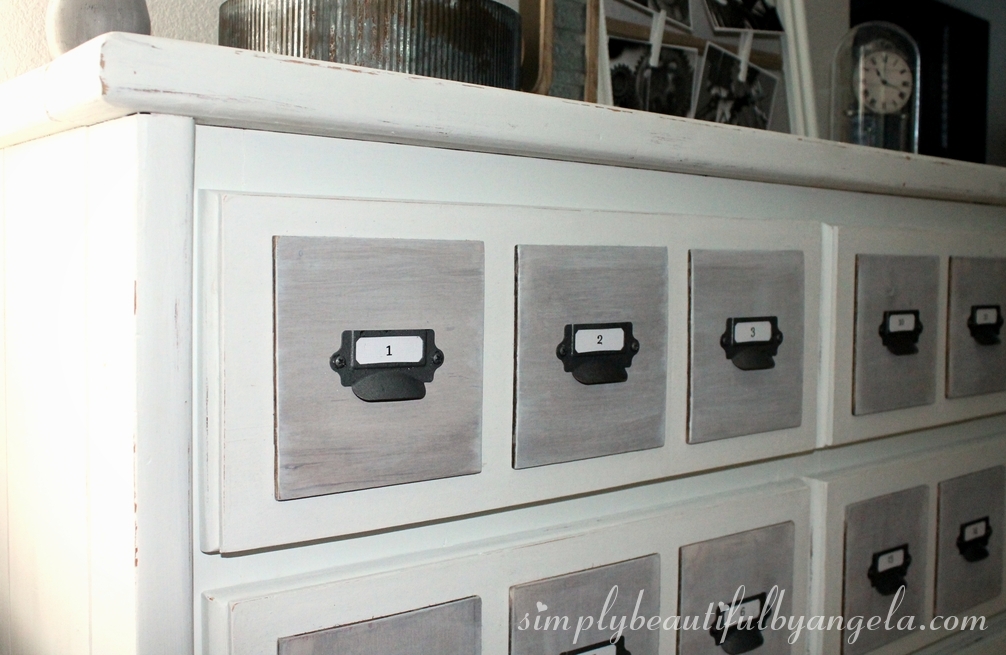
I printed off numbers to put in the pulls to make it feel more authentic.
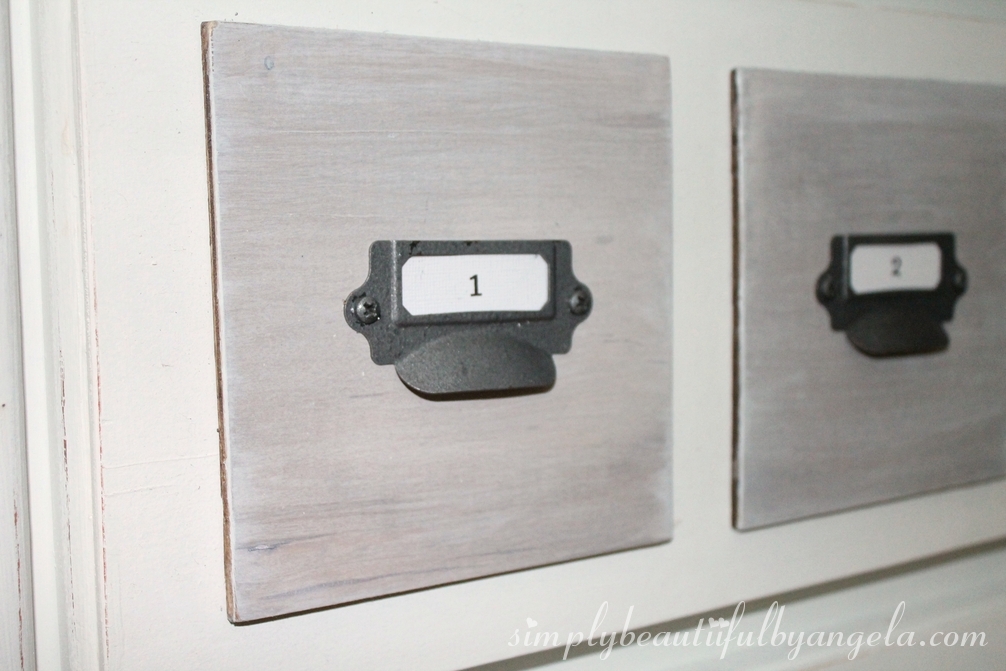
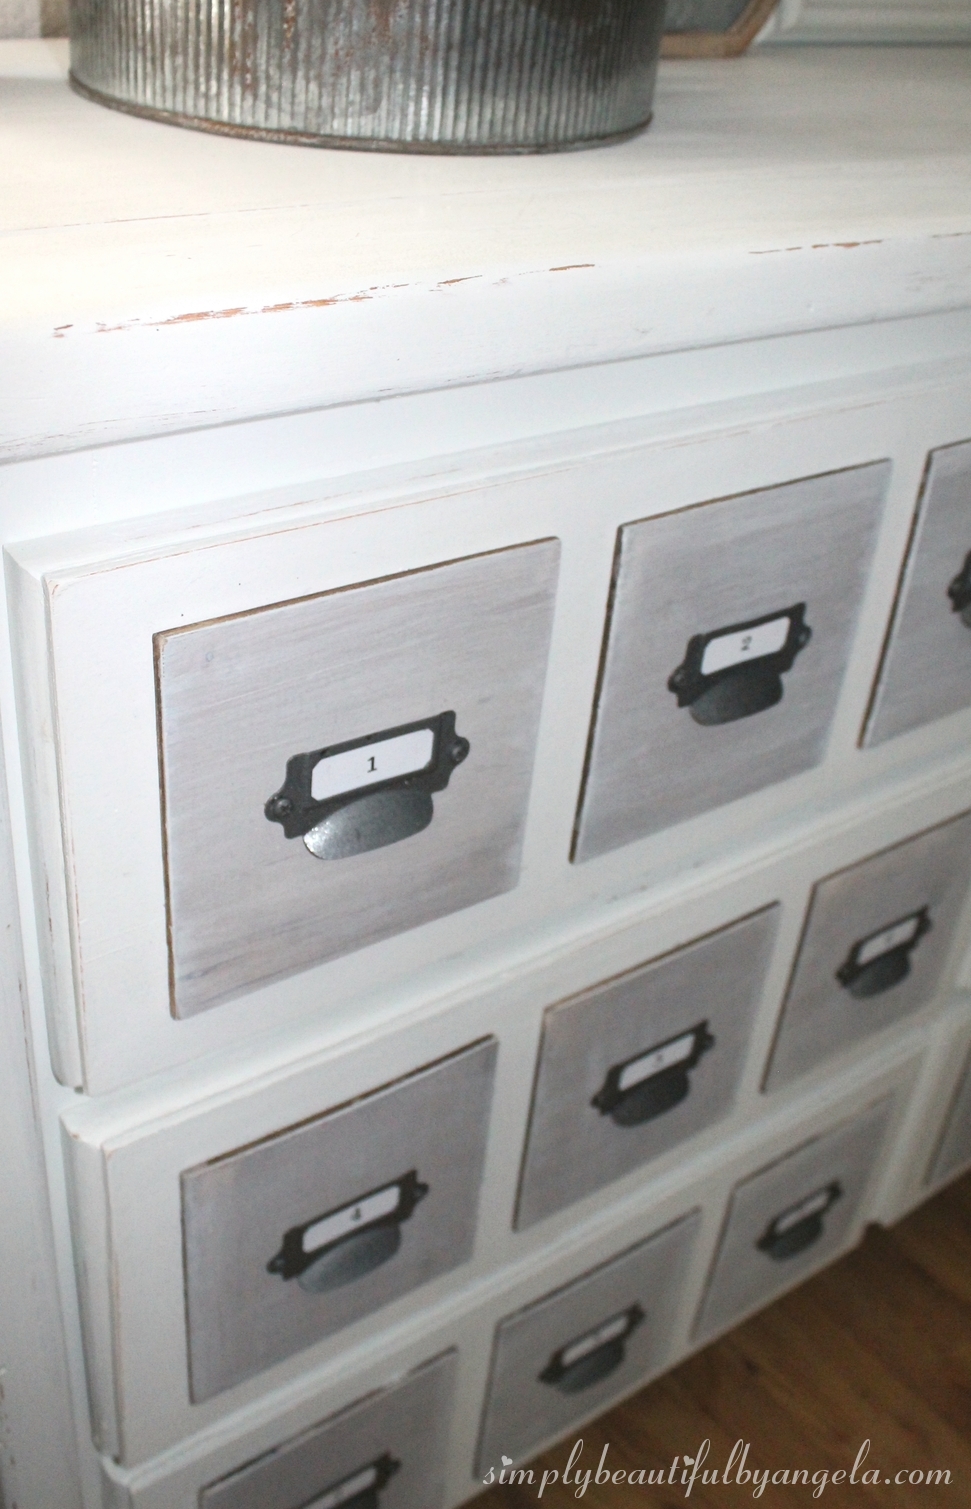

And I love how the whitewashed wood faux drawers turned out. They provide the perfect amount of contrast but have a cool gray tone to them that matches the rest of the dresser nicely.


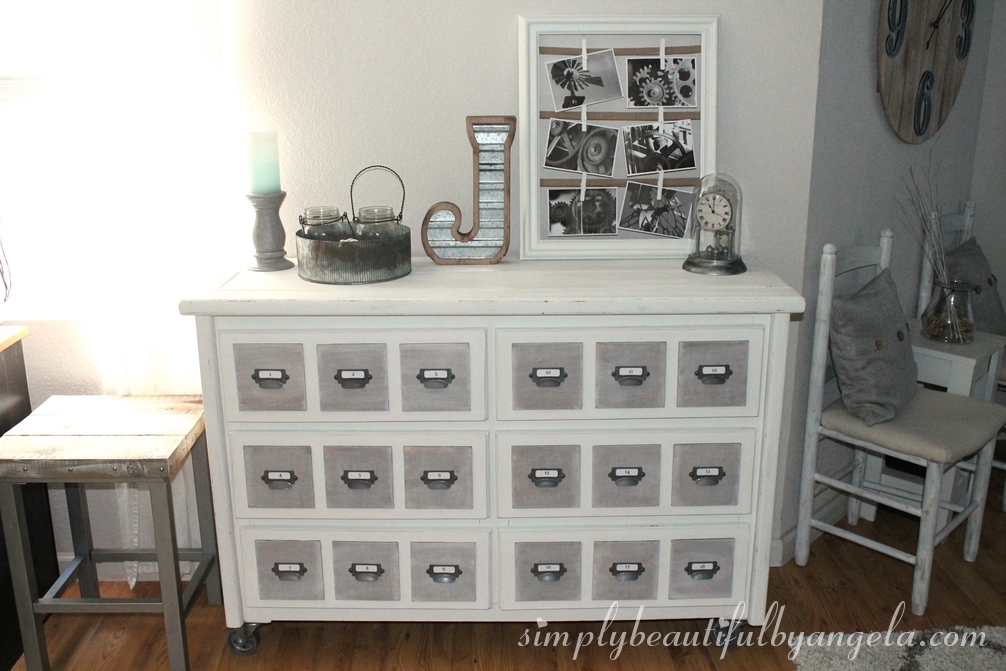
This is now by far my most favorite piece of furniture that we own. It will also serve as a great storage space eventually. As of right now I just have a few of my sewing machine pieces in one of the drawers but I’m sure it will fill up very quickly! Since I already had the paint and stain I only spent about $72 Dresser $15 Underlayment $12 Pulls $21 (had to pay for shipping) Casters $24 Not bad, right?! Thanks for stopping by, I’ll be back next week.

This is amazing! I think I need to do this in our guest bedroom downstairs! Now I just need to find a dresser to re-do! =)
– Jaclyn
Angela! This card catalog is amazing! I love how creative you are! Great job! Thanks for sharing at my Creative Ways Link Party! You're one of the features at this week's party!