-
2×6 piece of wood
-
1×6 piece of wood
-
Wood screws
-
White paint
-
Corner Braces
(aka L-brackets)
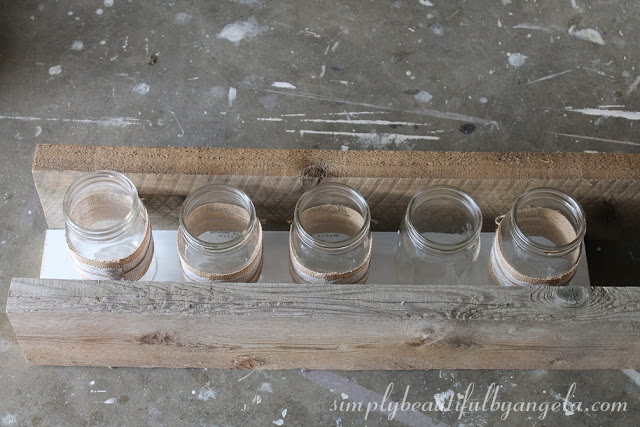
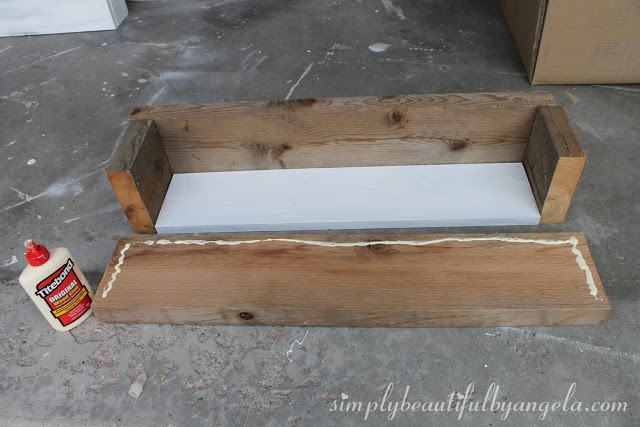
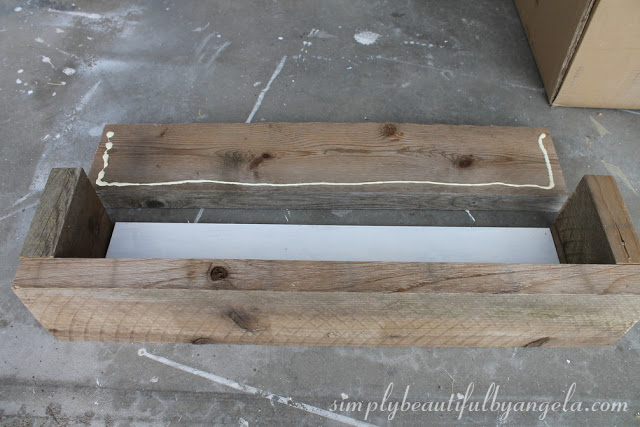
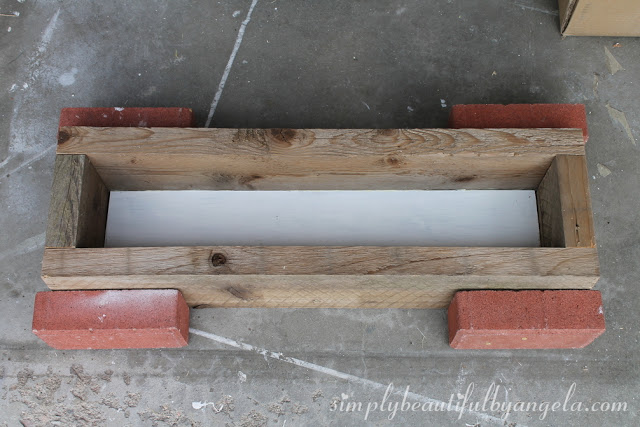
From here measured out what length the sides needed to be cut at and then assembled them with wood glue.
I let it sit overnight using bricks to help hold it together.
I had actually planned on the wood glue being enough to hold this together since it’s not going to get moved around a ton, but as soon as I picked this heavy monster up, it up it fell apart on me. So I had the hubby go back and reinforce all four sides with wood screws after I applied the wood glue again.
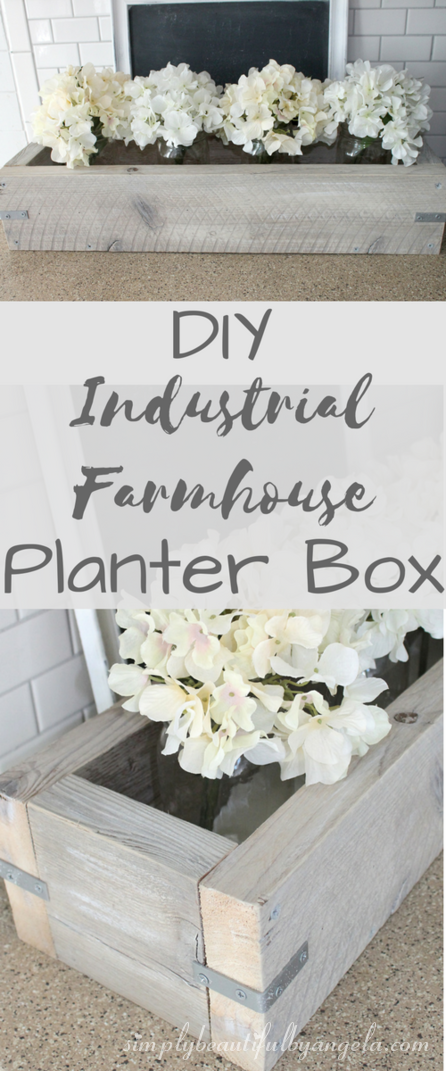
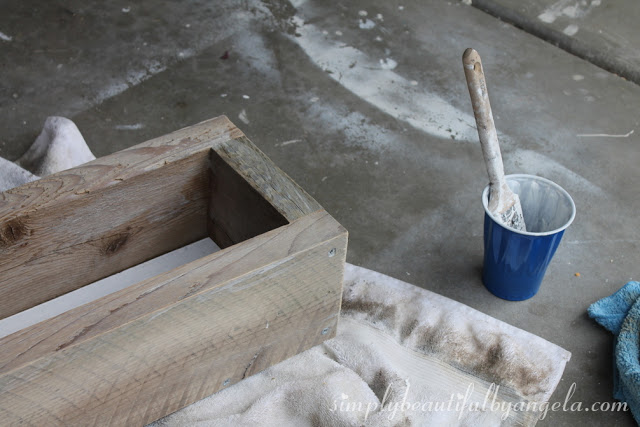
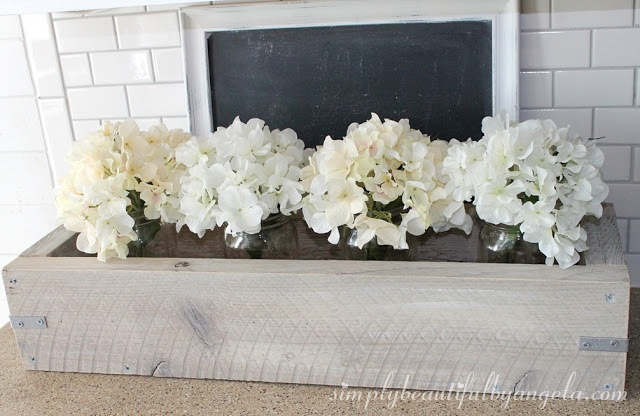
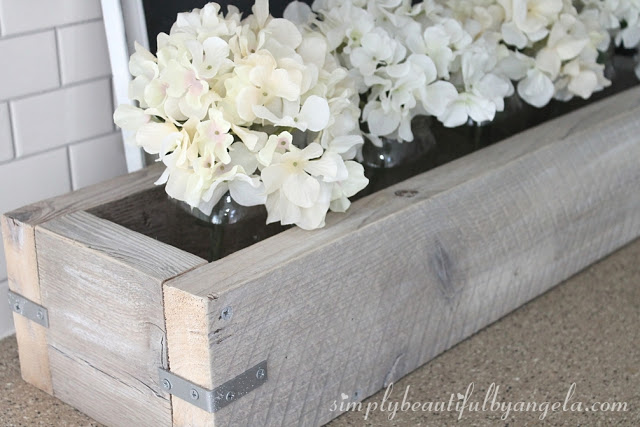
After giving the entire thing a quick sand to smooth out any rough edges, I gave the entire piece two coats of white wash (super watered down paint).
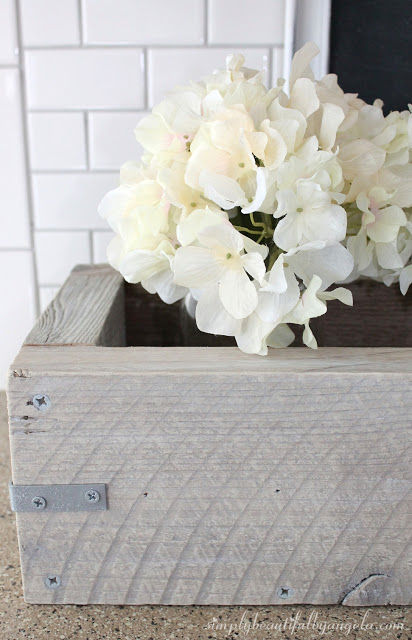
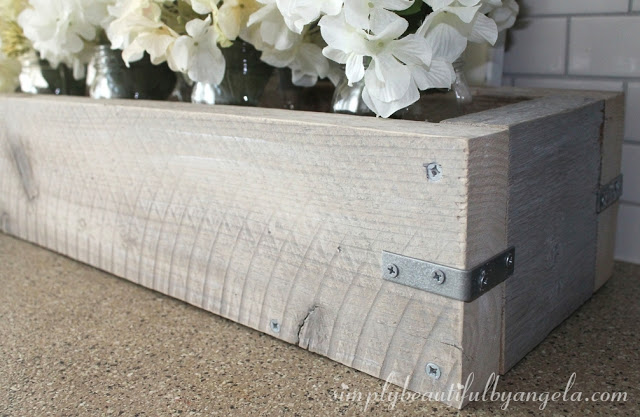
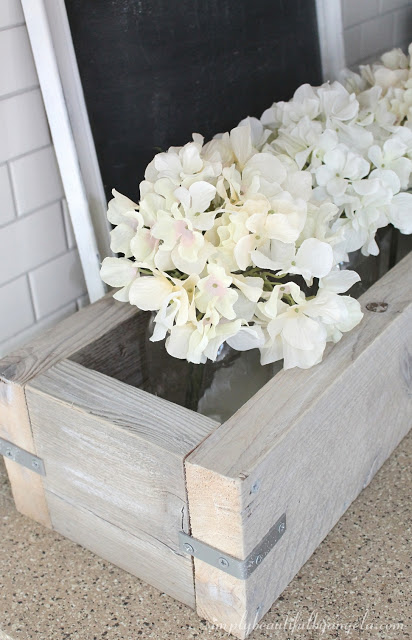
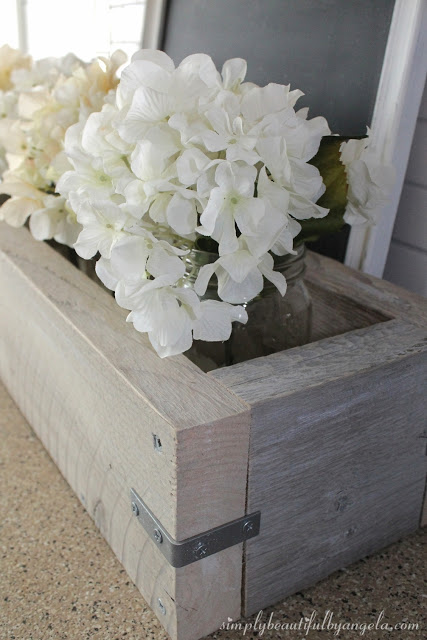
Then I spray painted some L-brackets with Rust-Oleum hammered spray paint and added them to the edges for that industrial look. If you forget to spray the screws (like I may or may not have…) you can spray a little in the can lid and use a small paintbrush to dab some on.
I only had 4 hydrangeas on hand so I will probably add another one later on.
…along with the sound bar and modem that my husband insists on having here. Although he did throw a fit about it “taking away from the view” of his gigantic TV, so it’s a compromise that we’re living with for now haha.
Have a fun and safe holiday weekend everyone, I’ll be back next week! 🙂


Farmhouse planter tutorial is really helpful and I think one planter like this can beautify the exterior of home. Lovely piece of backyard and garden.
This is so cute! I definitely want to try my hand at making a few of these since I'm growing an indoor herb garden. Thanks for the tutorial!
Great DIY! I love the color of how the wood turned out! And I also wanted to mention that the Wednesday "To Grandma's House We Go" link party just started over at grandmashousediy.com and I thought you might be interested in joining it, thanks!