Simply Beautiful By Angela

creating simple beauty on a budget

  • Home Tours
  • Projects
  • Legal
  • Link Parties
  • Let’s Chat!
  • About Me

DIY Rustic Carpenter’s Toolbox

September 16, 2016

Hello and happy Friday everyone! Tomorrow is Tristan’s birthday and I’m pretty sure I’m more excited about it than he is. We plan on going to the zoo and out to dinner tomorrow, then going to a Day out with Thomas the Train on Sunday.  It’s going to be such a great weekend 🙂

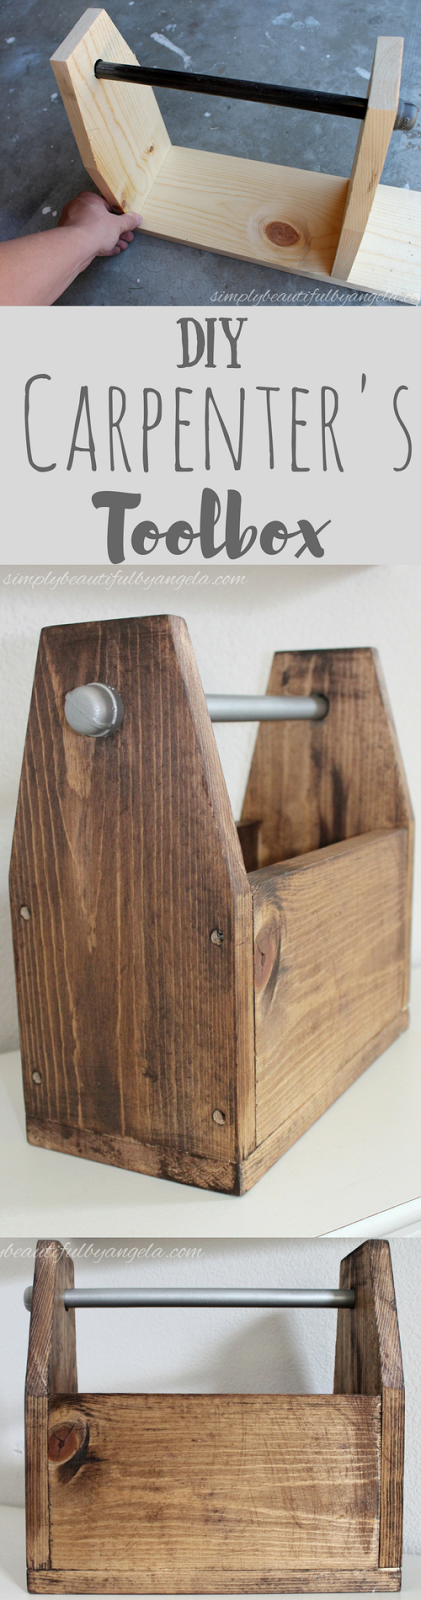
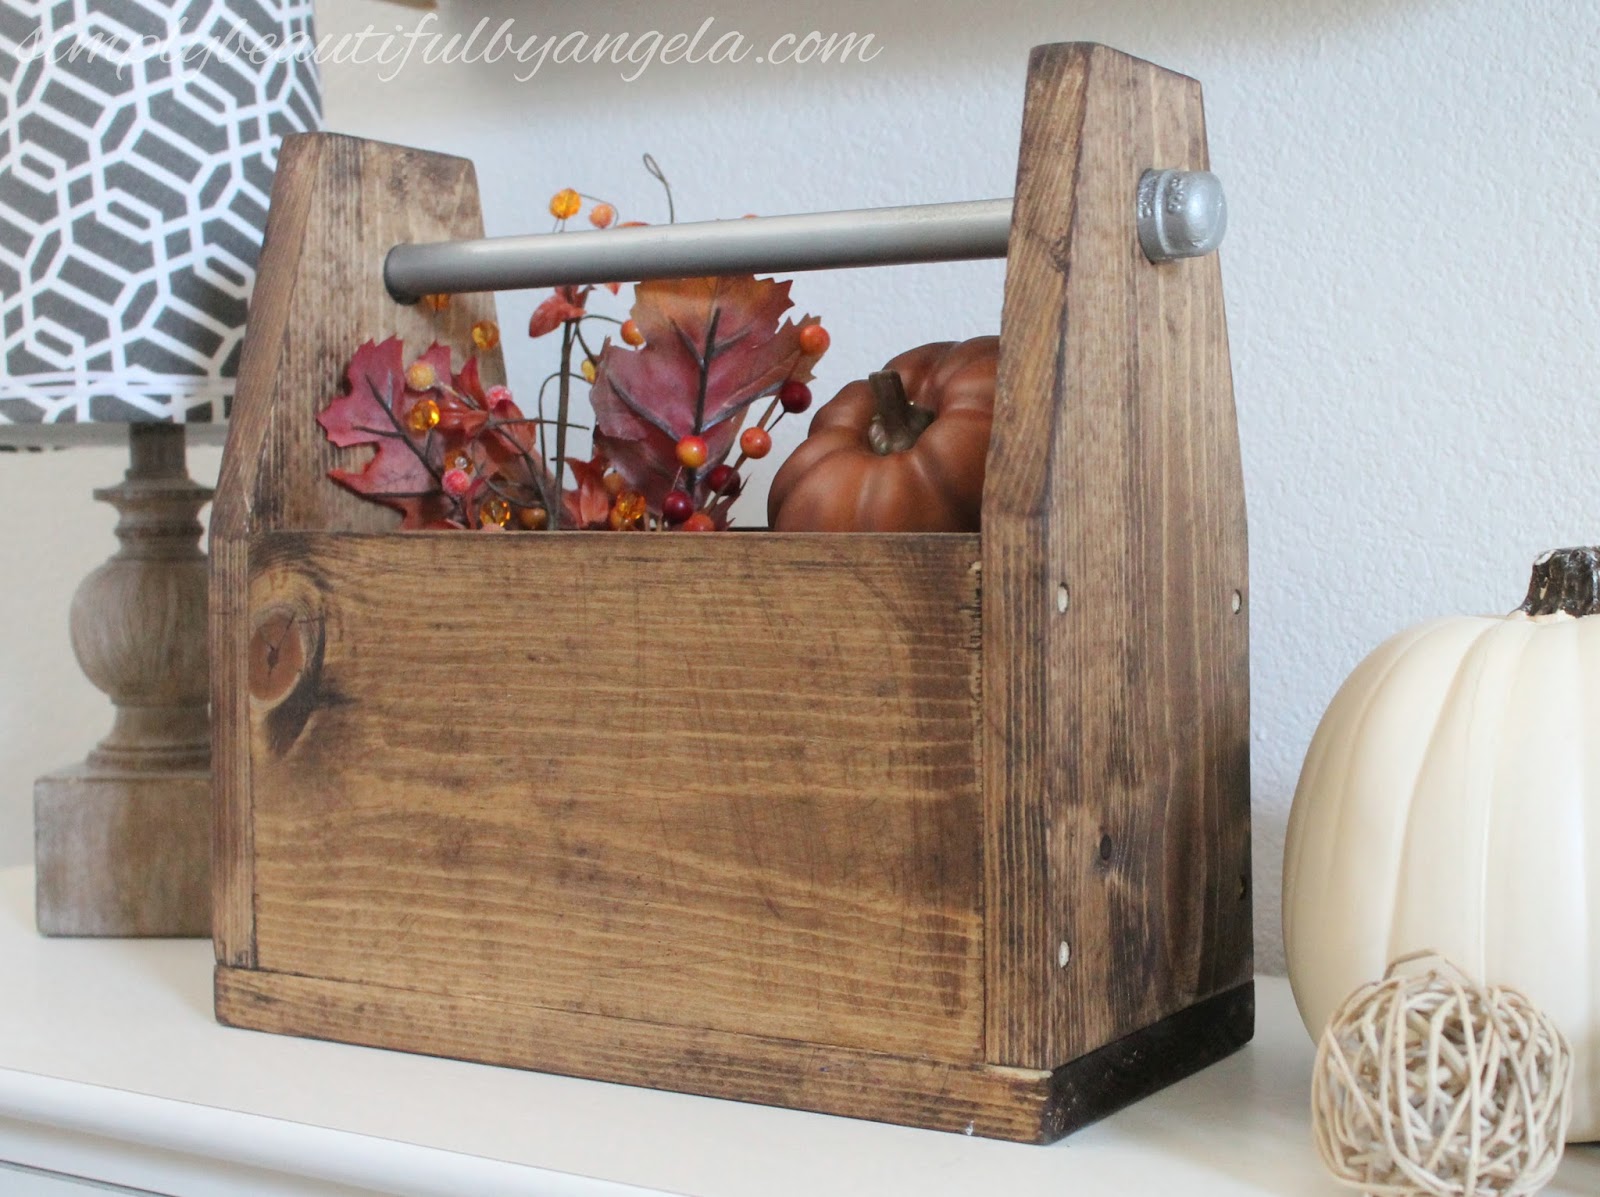
Earlier this week when I shared Tristan’s Super Why Party I mentioned that Alpha Pig’s tool box was actually a DIY.  When I first came up with the idea to have snacks served inside the character’s props, I started searching high and low for the perfect rustic toolbox like the one that Alpha Pig has on the show.

(source)

I almost got these beauties but since I really only needed one and not three, I decided that I would try to mimic this design myself.  (Although I am almost positive that I would have found good uses for this set!)

Supplies Used: (Affiliate links may be provided for convenience.  For more info, see my full disclosure here.) 
  • 6ft 1×6 pine board
  • 3/8″ x 12″ Pipe Nipple
  • 2 3/8″ Pipe End Caps 
  • 3/4″ Spade Drill Bit
  • Minwax Wood Stain in Provincial
  • Wood screws
  • Medium grit sandpaper
  • Rust-Oleum Hammered Metal Finish Spray Paint
I began by measuring out how tall I wanted my sides to come up from the top of the box opening.  I made marks on both sides, and I also marked where the center was.  
I knew that I wanted the top of the sides to be 3″ wide so I measured out from the center line 1.5″ and made my marks on either side.

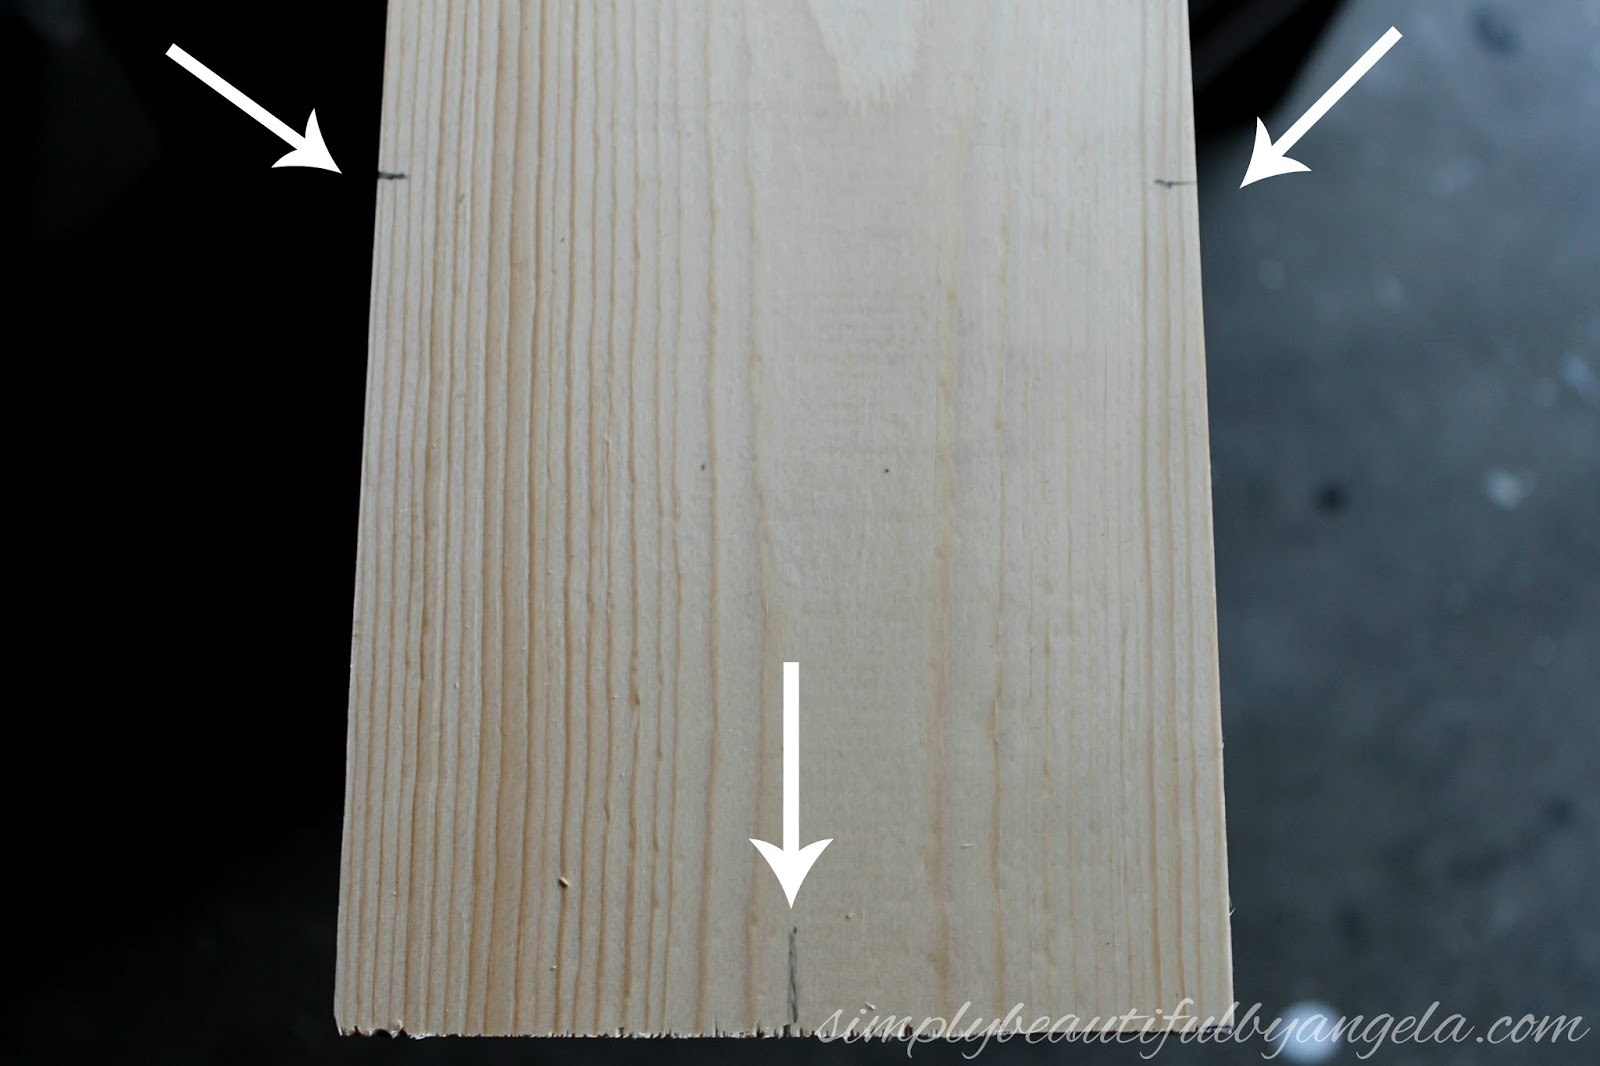
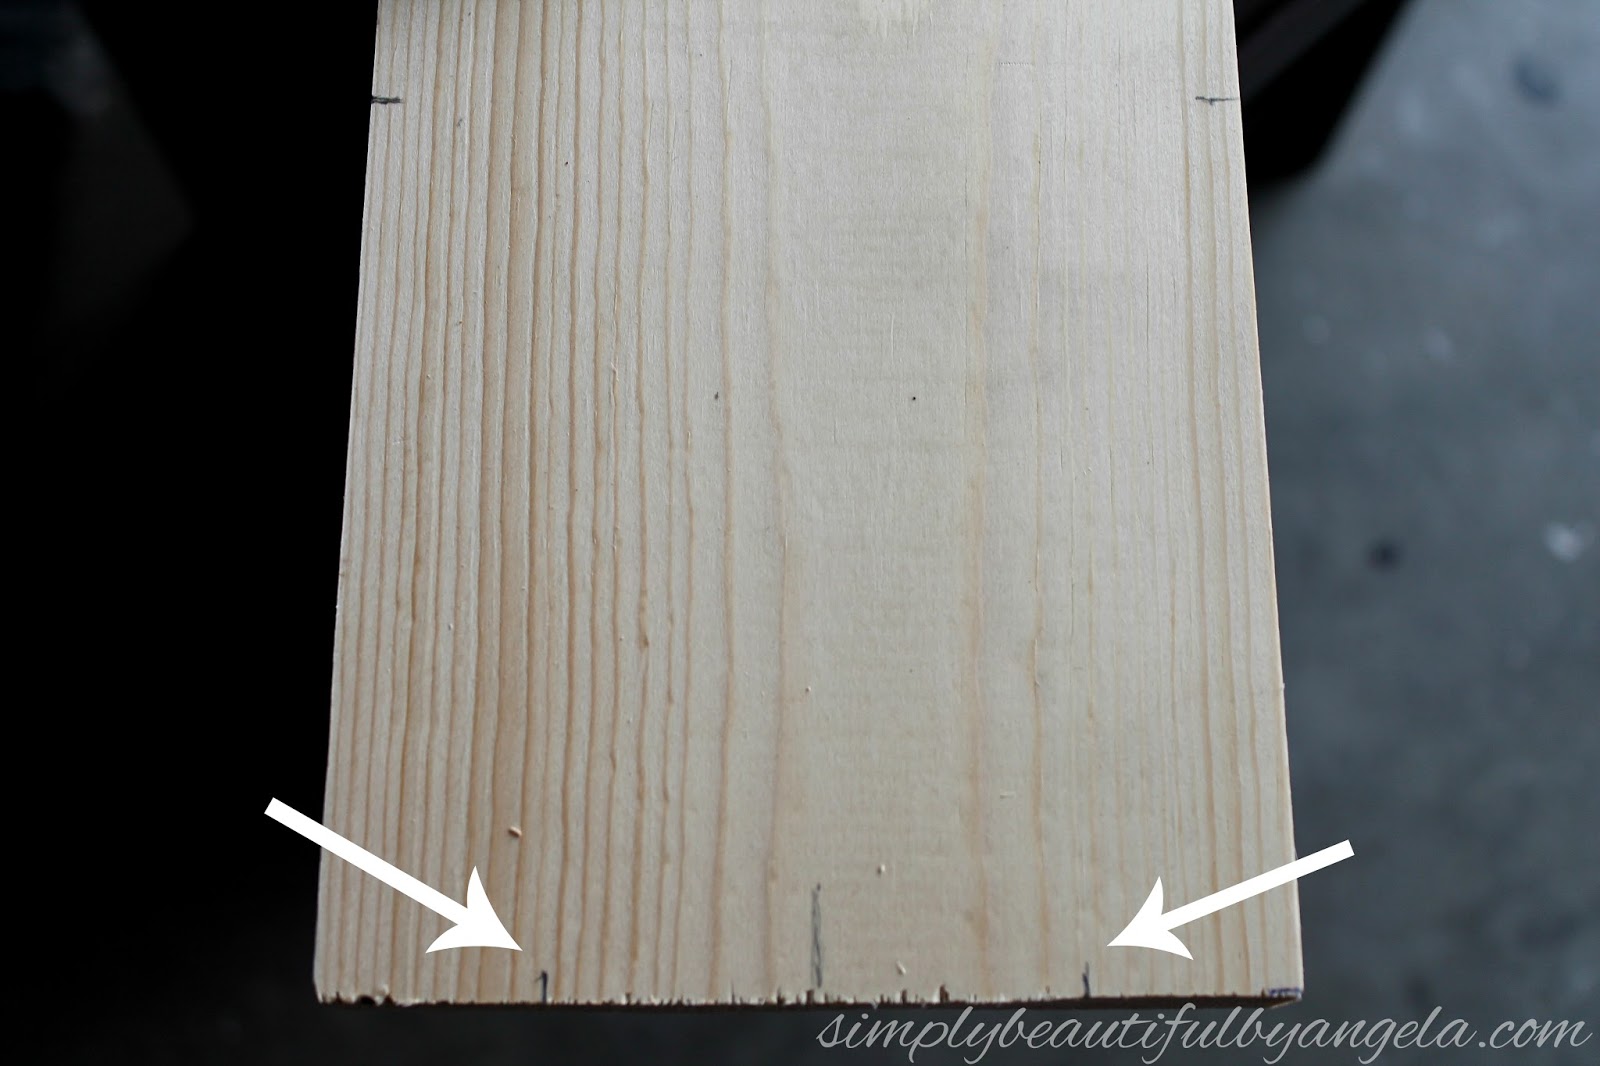
Using a straight edge I connected the marks to draw lines to show where my cuts needed to be made.

I set each piece on the miter saw and adjusted the angle to make a cuts on the lines.  I didn’t take a picture of cutting the straight edge at the bottom, but all I did was measure down 5.5″ from the bottom of the angled lines (which is the width of the 1×6).  Hope that makes sense!
Once I had my sides cut, I had the hubby use a 3/4″ Spade Drill Bit (which is the coolest tool I’ve seen in awhile!) to drill holes in top of each, making sure that they were centered. 
Here is where I messed up.  I originally had purchased a 3/4″ pipe thinking that it would fit perfectly in my 3/4″ holes.  Wrong!!  
I didn’t realize that pipe measurements actually go by the interior diameter.  Whoops!
So I returned that one and got a 3/8″ pipe which fit perfectly.  I put my pipe in with the caps on the ends to determine what length the bottom should be cut at.  By the way I decided to go with a pipe to mimic Alpha Pig’s, but a cheaper route would be to use a wooden dowel and screw it directly to the sides like the set that I saw on Amazon.
I also marked where my other sides needed to be cut.
I spray painted my pipe silver so that it would look just like Alpha Pig’s.
Once the pipe was dry, the hubby secured all of the pieces with wood screws and I finished it up by giving it a light sand and staining it with my favorite wood stain.
Here is how it turned out!
My only regret is going so low with the handle.  But that could be an easy fix by chopping some of the top on each side.

It’s super sturdy and I love the vintage industrial feel that it has to it.  I didn’t add wood filler to the screw holes for that very reason.

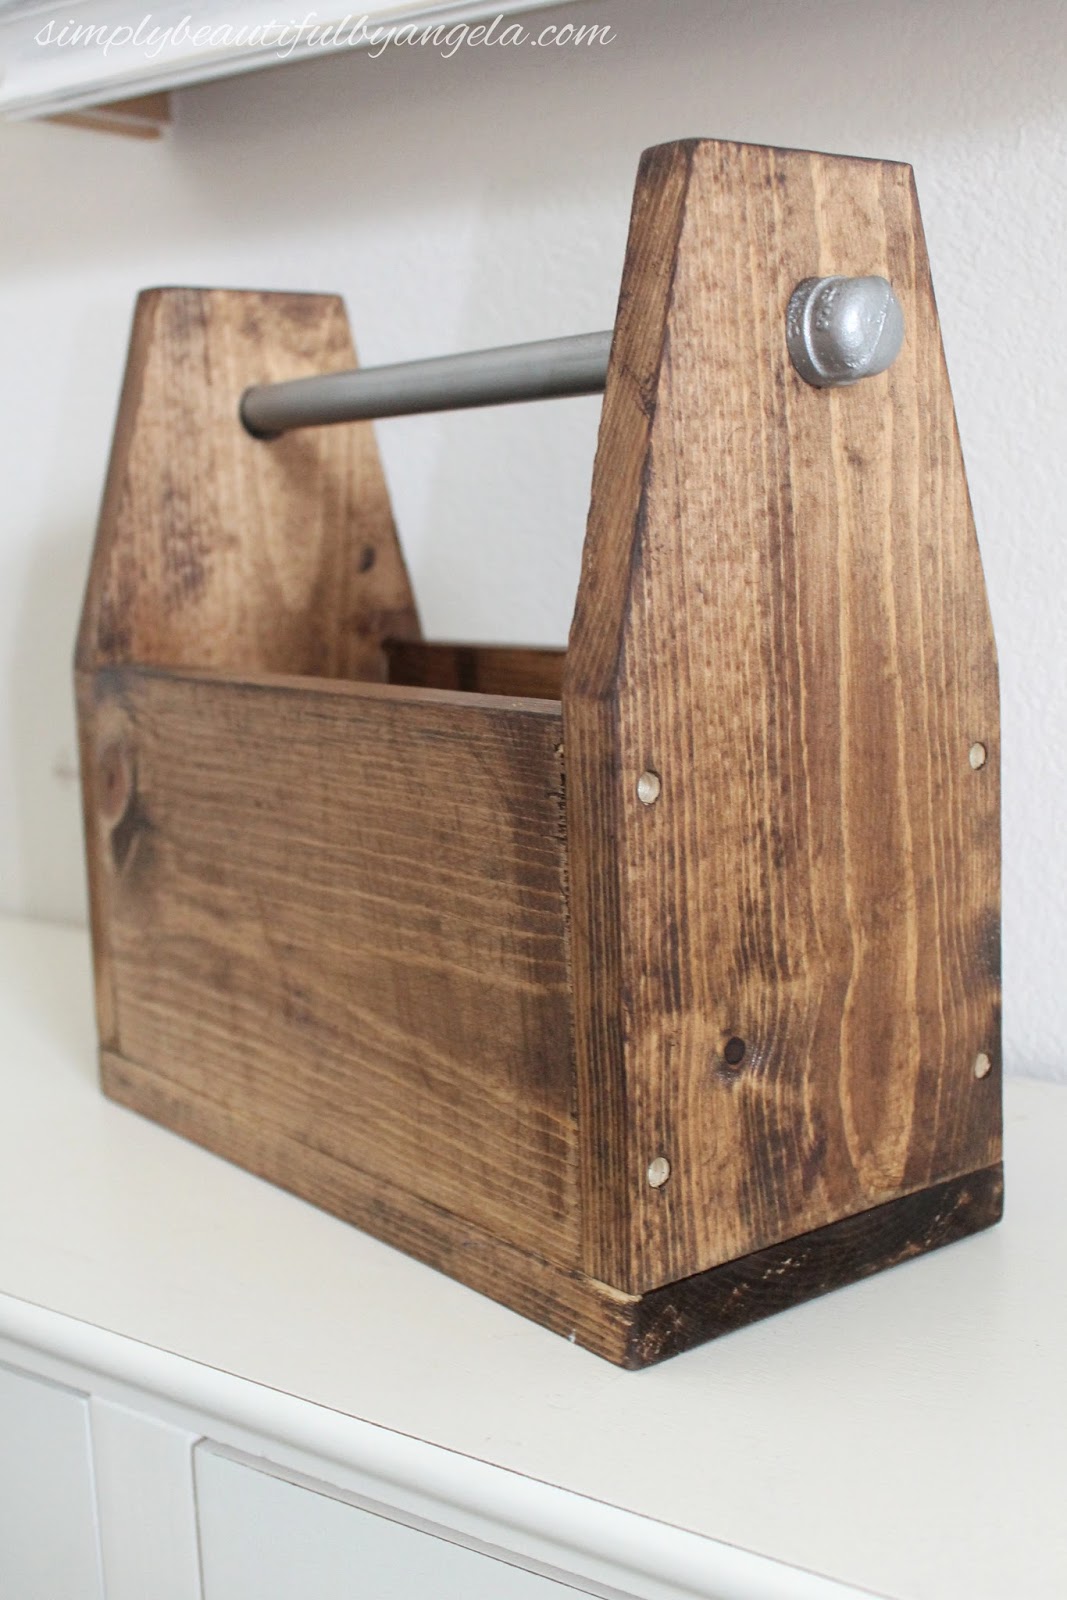
It could be left as is but it also looks really nice filled up with seasonal décor items.

Hope you all have a great weekend, I will be back next week! 🙂
 
Linking up to these awesome parties!

· Labels: Uncategorized

Comments

  1. Roofing Contractors New York says

    September 20, 2016 at 6:44 am

    This is really useful stuff. Such an insightful tutuorial to make this tool box. It is important to keep tools in a one place and this is perefct thing to keep all the tools safe.

  2. Sabrina T says

    September 23, 2016 at 4:24 pm

    The toolbox looks so cute. I have been on the hunt for an old toolbox but I might actually build one myself now and by that I mean let the hubby build me one! Thanks for sharing!

  3. Mueeid Khan says

    April 30, 2018 at 11:17 am

    Finish carpenters work on the overall style, look and image of a finished project, whether it be a home renovation or a major construction building project. The amount of jobs that this can relate to is diverse including:
    sonic screwdriver led

Hello, I am so happy that you're here! My name is Angela and I love to create simple beauty in our home on a budget. Here you will find DIY decor and home projects, furniture flips and other home inspiration!

Never Miss a Post!


Diagonally Fluted Nightstands

Diagonally Fluted Nightstands

Hello! I’m really enjoying the extra daylight and the fact that it’s been paired with warm sunny weather this week has been icing on the cake. I’m trying to soak it all in before the next snowstorm! Today’s flip was from about a year ago and is still one of my favorite sets of nightstands…

Read More »

How to Update a Dresser with a Missing Drawer

How to Update a Dresser with a Missing Drawer

Hey friends, happy March! Even though I know we still have quite a bit of cold weather coming our way here in Colorado, it’s exciting to see these warmer days sprinkled in here and there. This week I am sharing how I saved an old IKEA dresser from ending up at the landfill! Supplies Used:(Affiliate…

Read More »

Vintage Ice Box Style Nightstands Makeover

Vintage Ice Box Style Nightstands Makeover

Hello friends! We just got back from our annual trip to the Great Wolf Lodge and it was fun times as always! Today I am sharing how I updated these fun vintage ice box style nightstands that I found on Marketplace! Supplies Used:(Affiliate links may be provided for convenience.  For more info, see my full disclosure here.) …

Read More »

Never Miss a Post!


GOOGLE 2

GOOGLE 3

GOOGLE 4

GOOGLE 5

GOOGLE 6

GOOGLE 7

Theme by 17th Avenue · Powered by WordPress & Genesis