
Hello and happy Friday everyone! As I promised in my One Room Challenge update yesterday I am back to share the tutorial on the board and batten grid wall that I did in our master bedroom.
As you may have noticed by now, board and batten is one of my favorite ways to add interest to a space. Besides looking really pretty, it’s super affordable and simple to install.
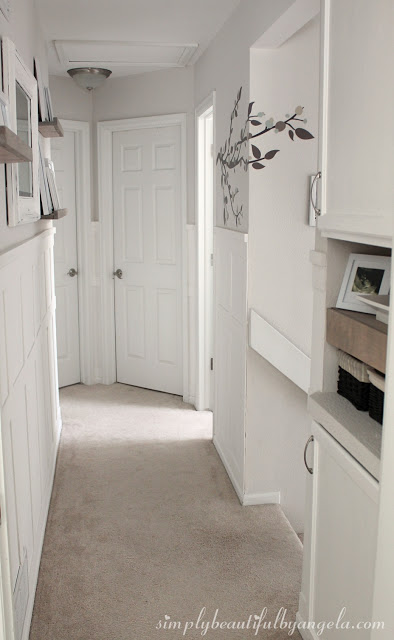
The first place I added it to was our breakfast bar which only cost me $12. Our upstairs hallway came next and I was so excited with how much brighter it made it feel!


It’s safe to say I’m somewhat of a board and batten addict, so it should come as no surprise when I decided that I wanted board and batten in our master bedroom!
- 1x4s (I used nine 12′ boards for my wall that measures about 13′ x 8′)
- Measuring Tape
- Pencil
- Stud Finder
- Finishing nails
- Hammer
- Minwax Wood Filler
- Paint roller
- Paint brush
- Satin paint
- White Caulk
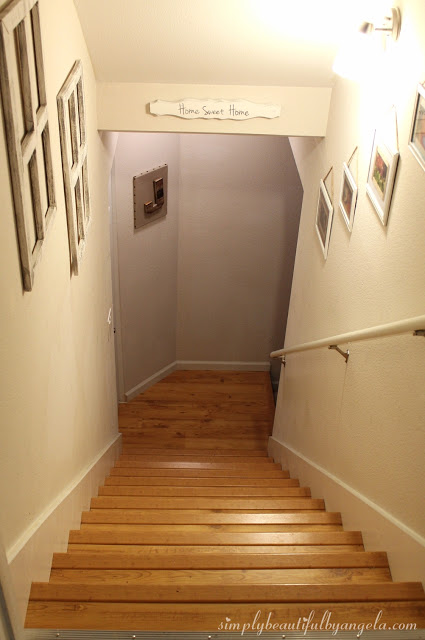
In hindsight, purchasing a large sheet of MDF and cutting it into strips like I did for the basement stairs would have been much more cost effective. But we don’t have a table saw at our house and anytime I need strips cut I have the hubby take them to his parents house to cut them there. I was too impatient to wait for all of that so I splurged and just got the 1×4 boards.
I always start off by painting the entire wall white before putting any boards up. You don’t need to cut in at the edges since boards will be covering them.
I then framed out the wall by putting boards around the perimeter. I used a stud finder to mark where the studs were and nailed to them whenever possible. A nail gun would be nice to have for this but I just used a hammer and some finishing nails.
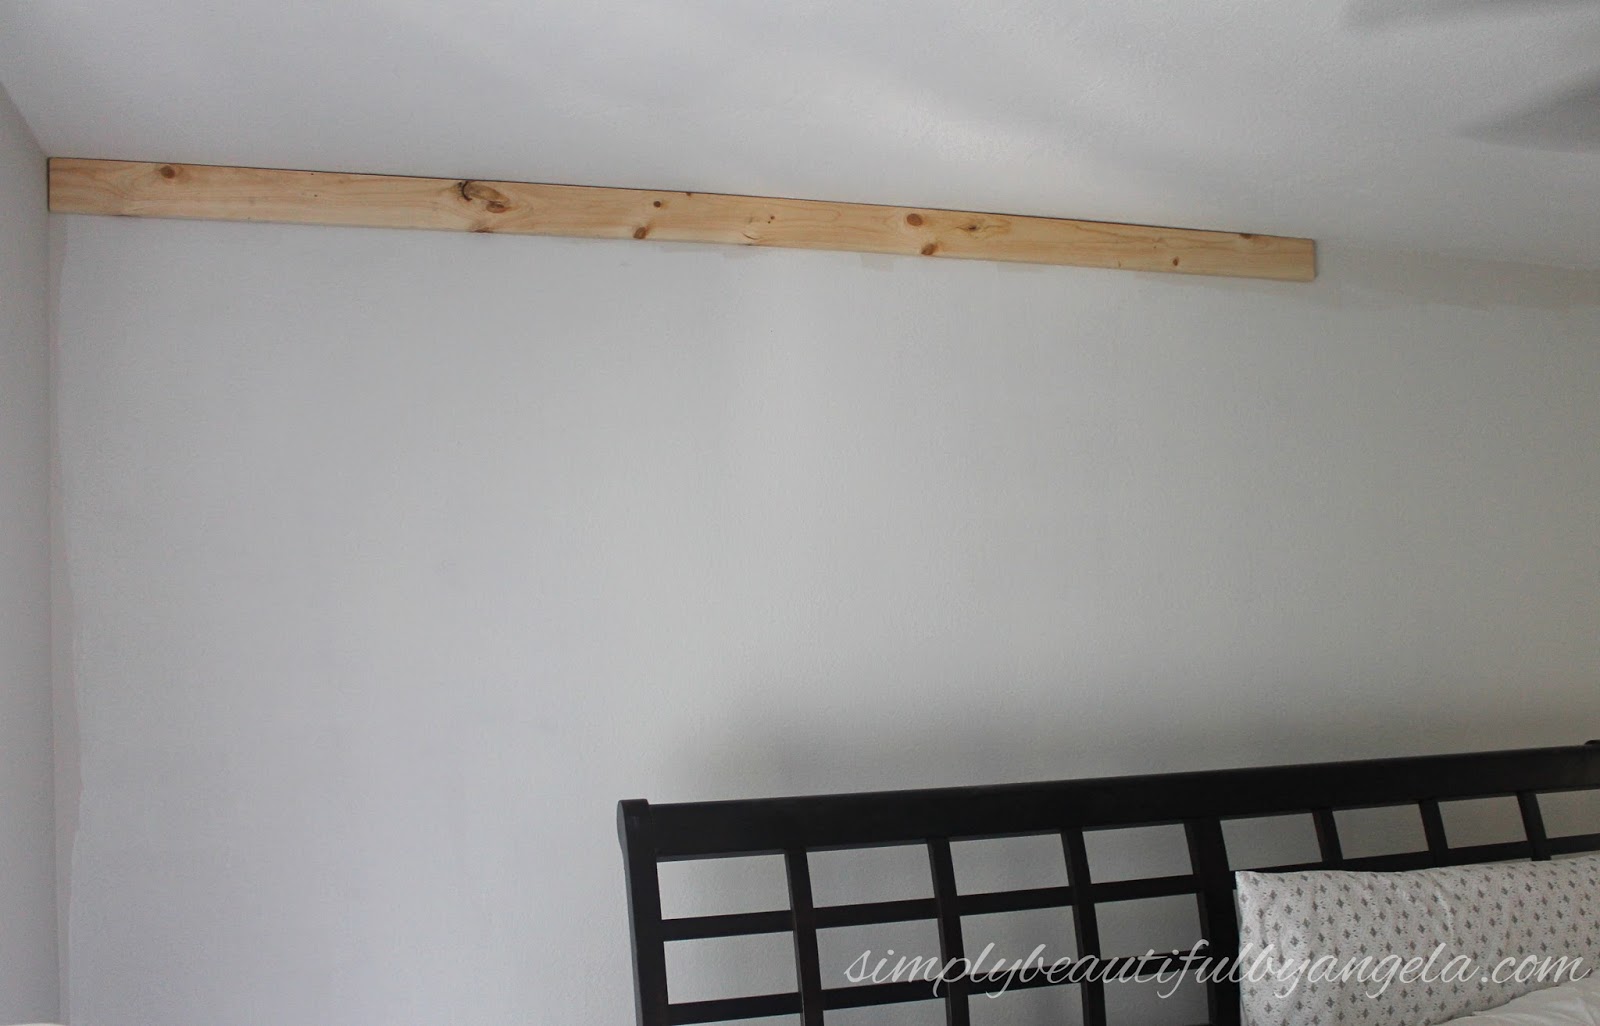

(please try to ignore our messy bed haha)
I then planned out how I wanted to space my boards. These are my mad scientist scribbles that I made while I was trying to figure this part out.
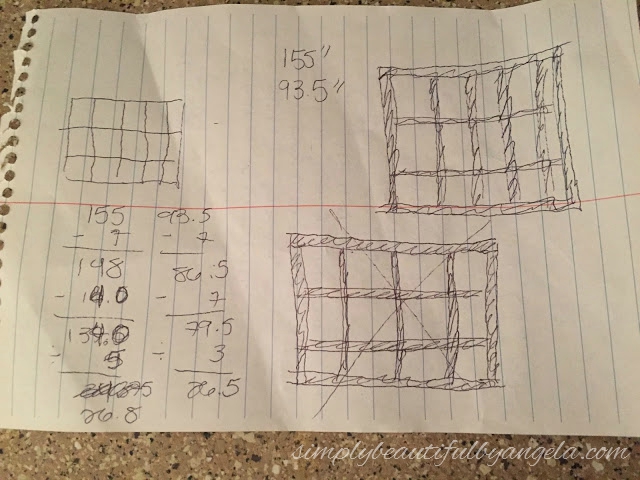
Here is a cleaner version!
Wall Height (93.5′) – width of boards (7″) = Height (86.5″)
Wall Length (155″) – width of boards (7″) = Width (148″)
That gave me how much wall space I had to work with inside the perimeter. I knew that I wanted three horizontal rows so I took:
Height (86.5″) – width of two horizontal boards (7″) = New wall space (79.5″)
New wall space (79.5″) / 3 = 26.5″
Then I had to do some trial and error to figure out how many vertical columns would be needed to get me to come out with a figure close to 26.5.”
Width (148″) – width of four vertical boards (14″) = New wall space (134″)
New wall space (134″) / 5 = 26.8″
Close enough for me! So since I had 5 spaces I needed 4 boards. Did that make sense? It’s a lot simpler than I probably made it sound, I promise!
I marked the wall about 26.5″ apart and nailed in my vertical boards.
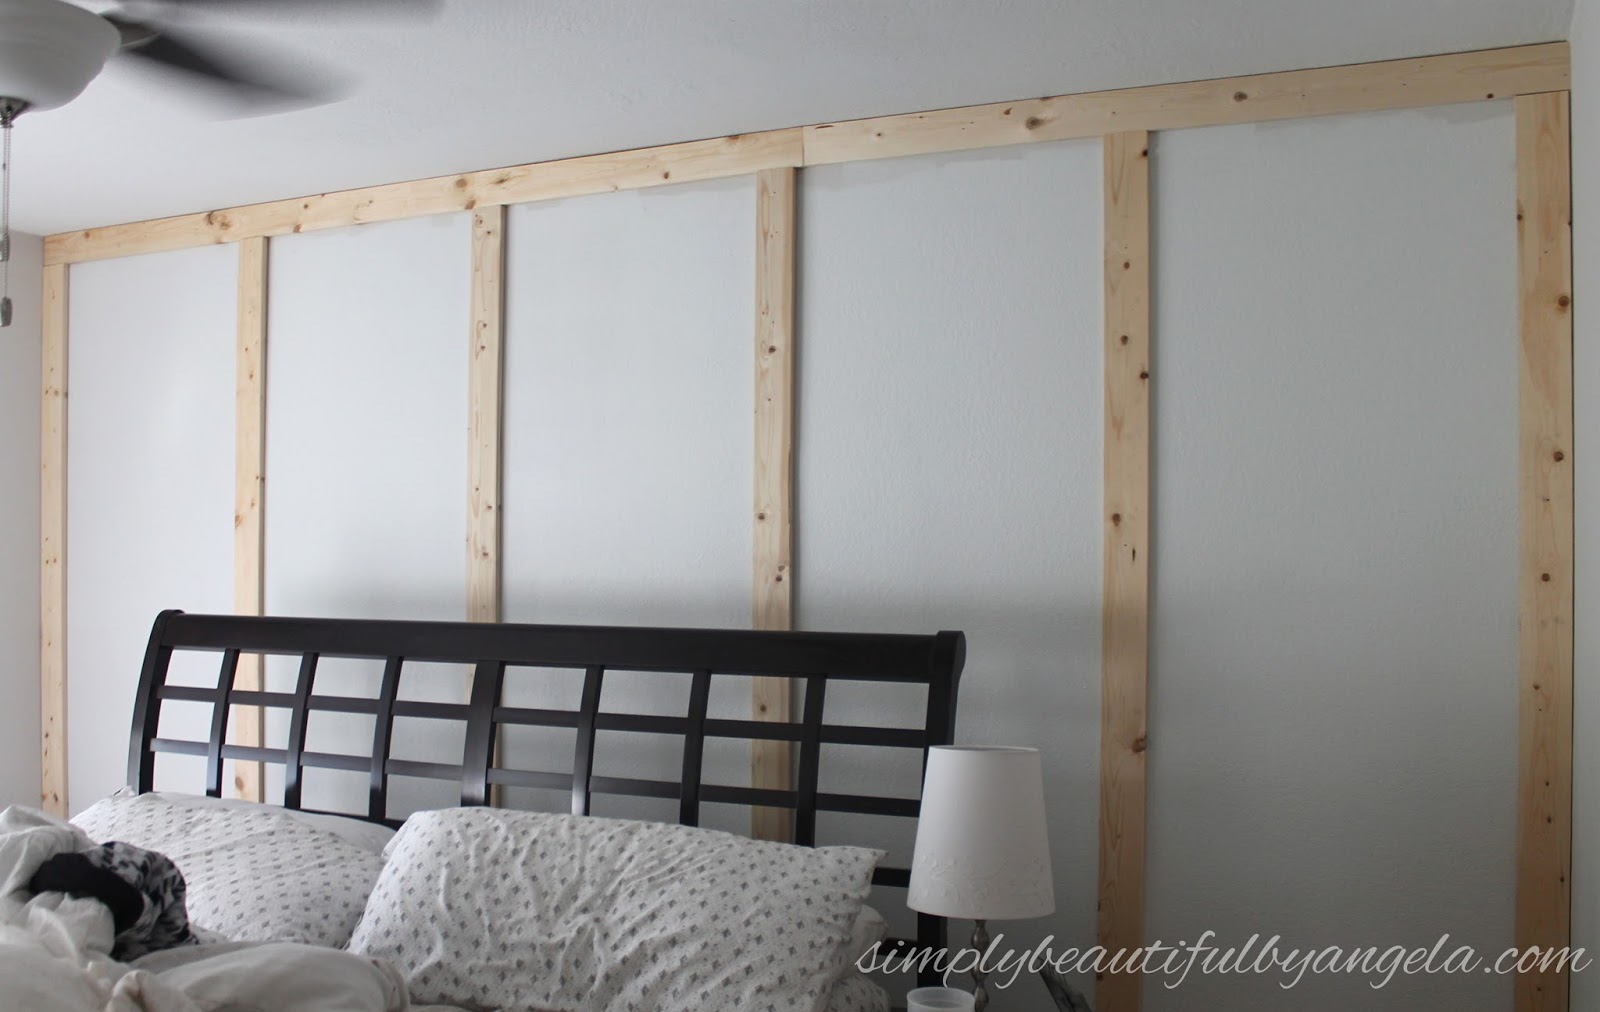
I just eyeballed it as far as straightness goes, but I think it turned out pretty good!
I went back with a large screw to tap each nailhead in so that I could cover them with wood filler.
I stopped here to sand, paint and caulk the vertical boards so that I would have less cutting in to do later on. I learned this during my last board and batten project and it really does make it so much easier. I applied 2 coats of paint, caulked, and went back over with a third coat of paint.
Finally it was time to put up my horizontal boards. I first marked where the boards should go, then held up a board in this space.
I placed a rectangular object in the corner to make sure that I was at a 90 degree angle, then marked the board where I needed to cut.
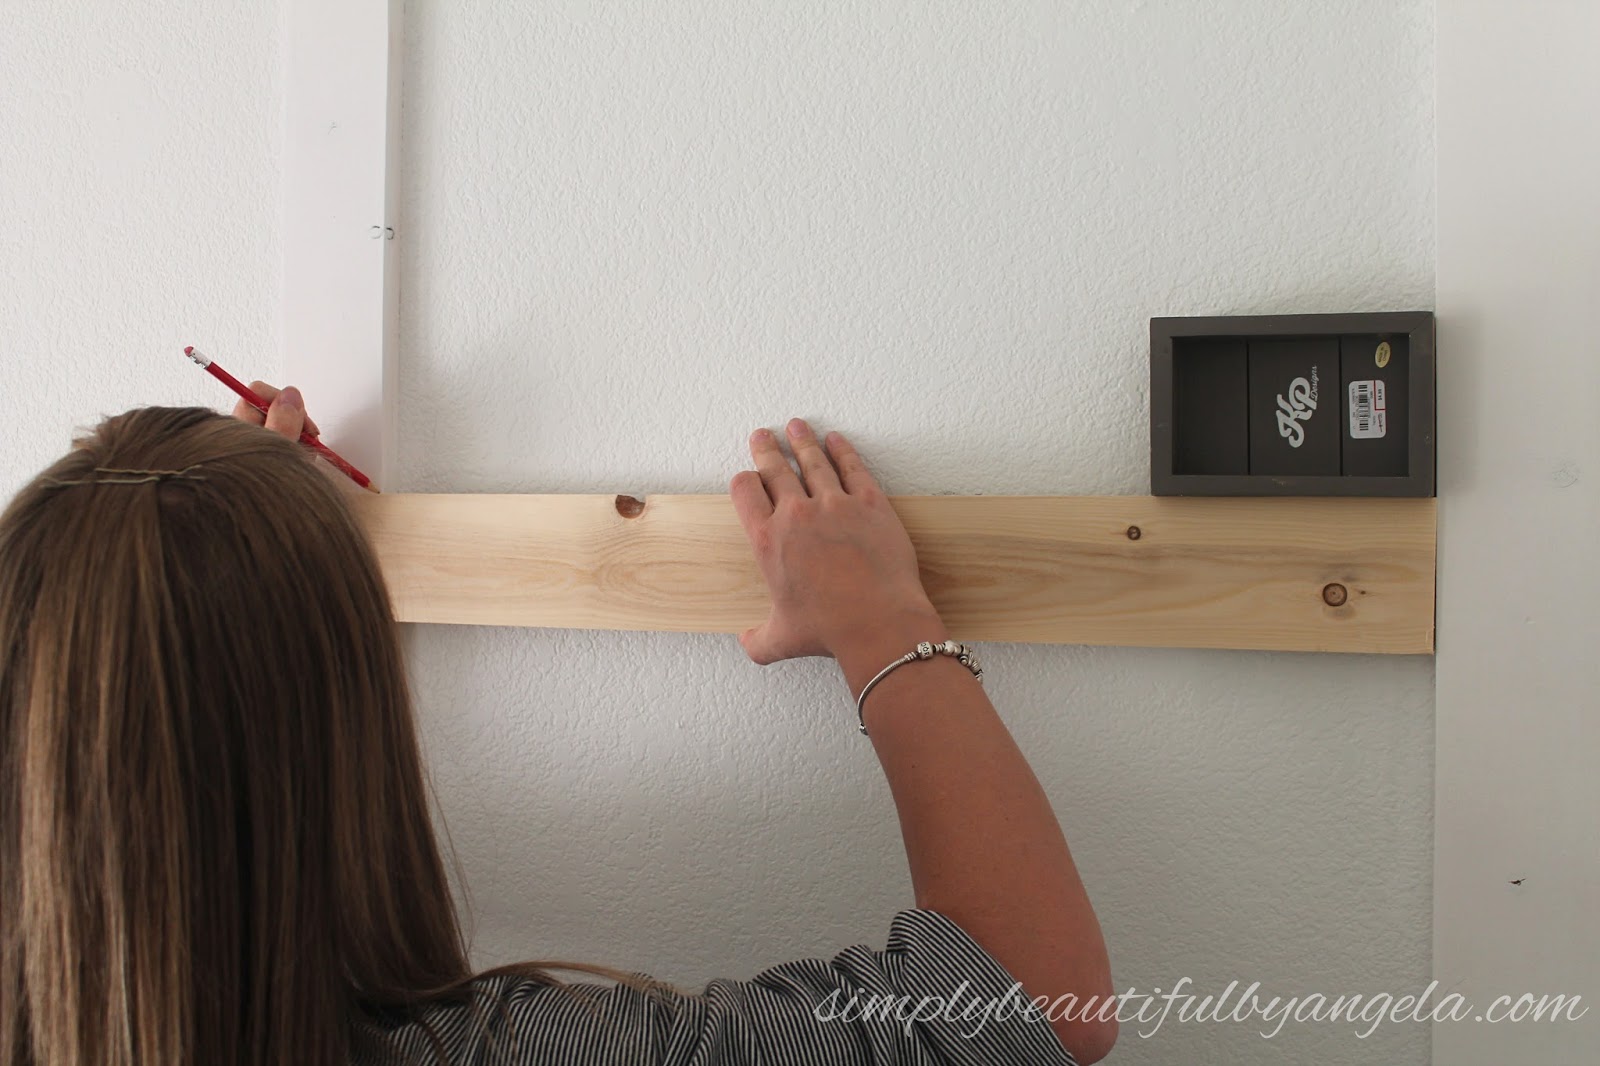
I did this for each space since they were all slightly different. To avoid making a ten trips to the garage, I marked all of my boards and numbered where they went. This worked pretty well, although I did end up having to go back for a few that needed to be trimmed down a little.
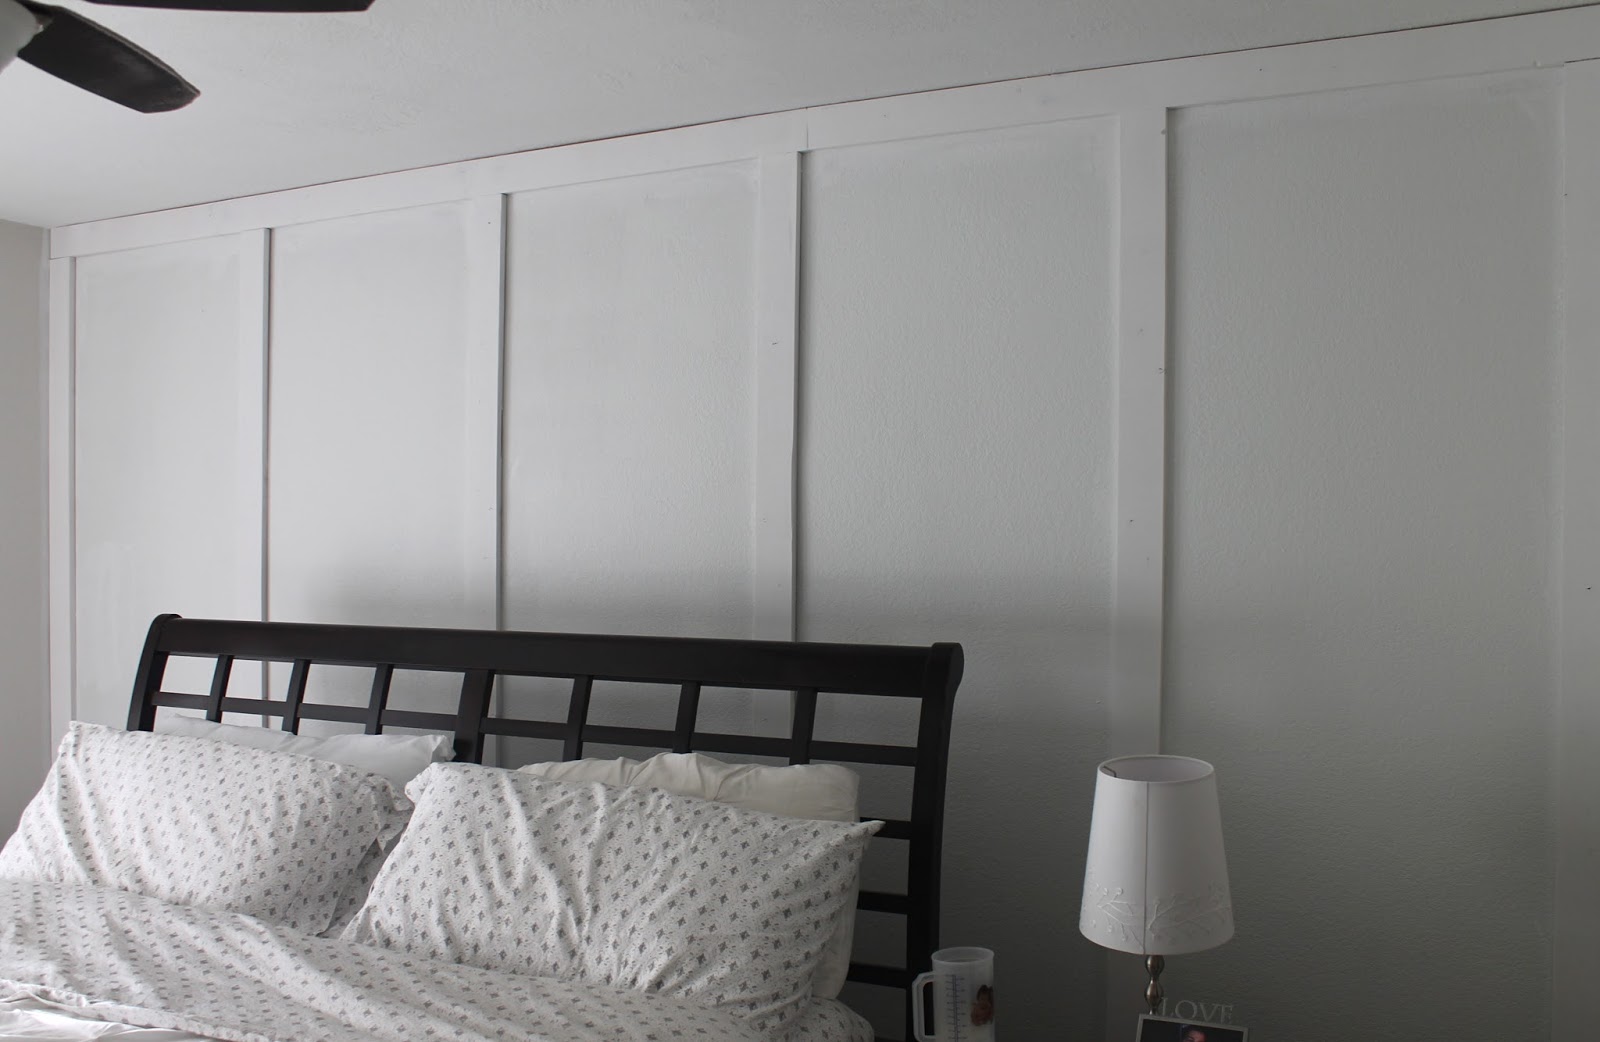
After getting these sanded, painted and caulked I noticed a slight problem. The can of paint that I used on the wall was a different brand from the new can that I used on the boards and it was super noticeable!
I used a small roller to go back and paint the wall to match. The last column of squares on the far right are repainted and the ones to the left are painted with the old paint. Quite the difference, right? Lesson learned haha.

And here it is all finished up.
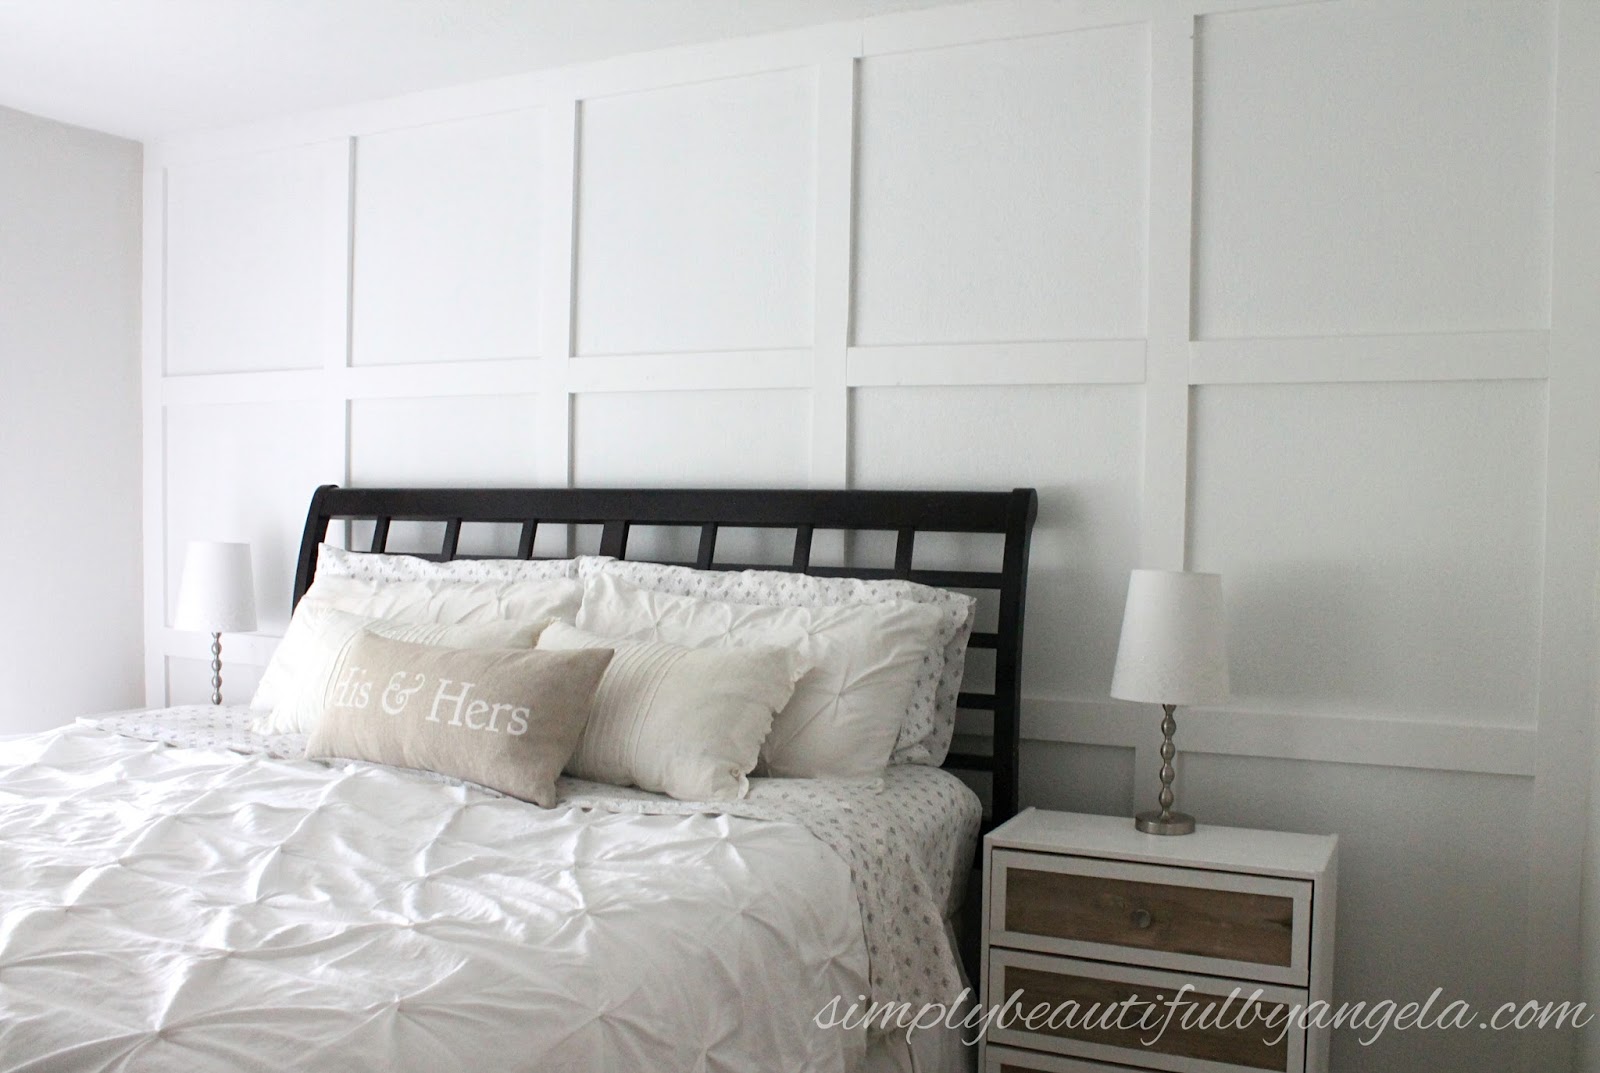


Sidenote–we are going to be taking the giant bedframe out and replacing it with my DIY upholstered headboard this week so I had to spend about 5 minutes explaining to the hubby about why he needed to help me move the bed back to the wall to take these pictures haha.
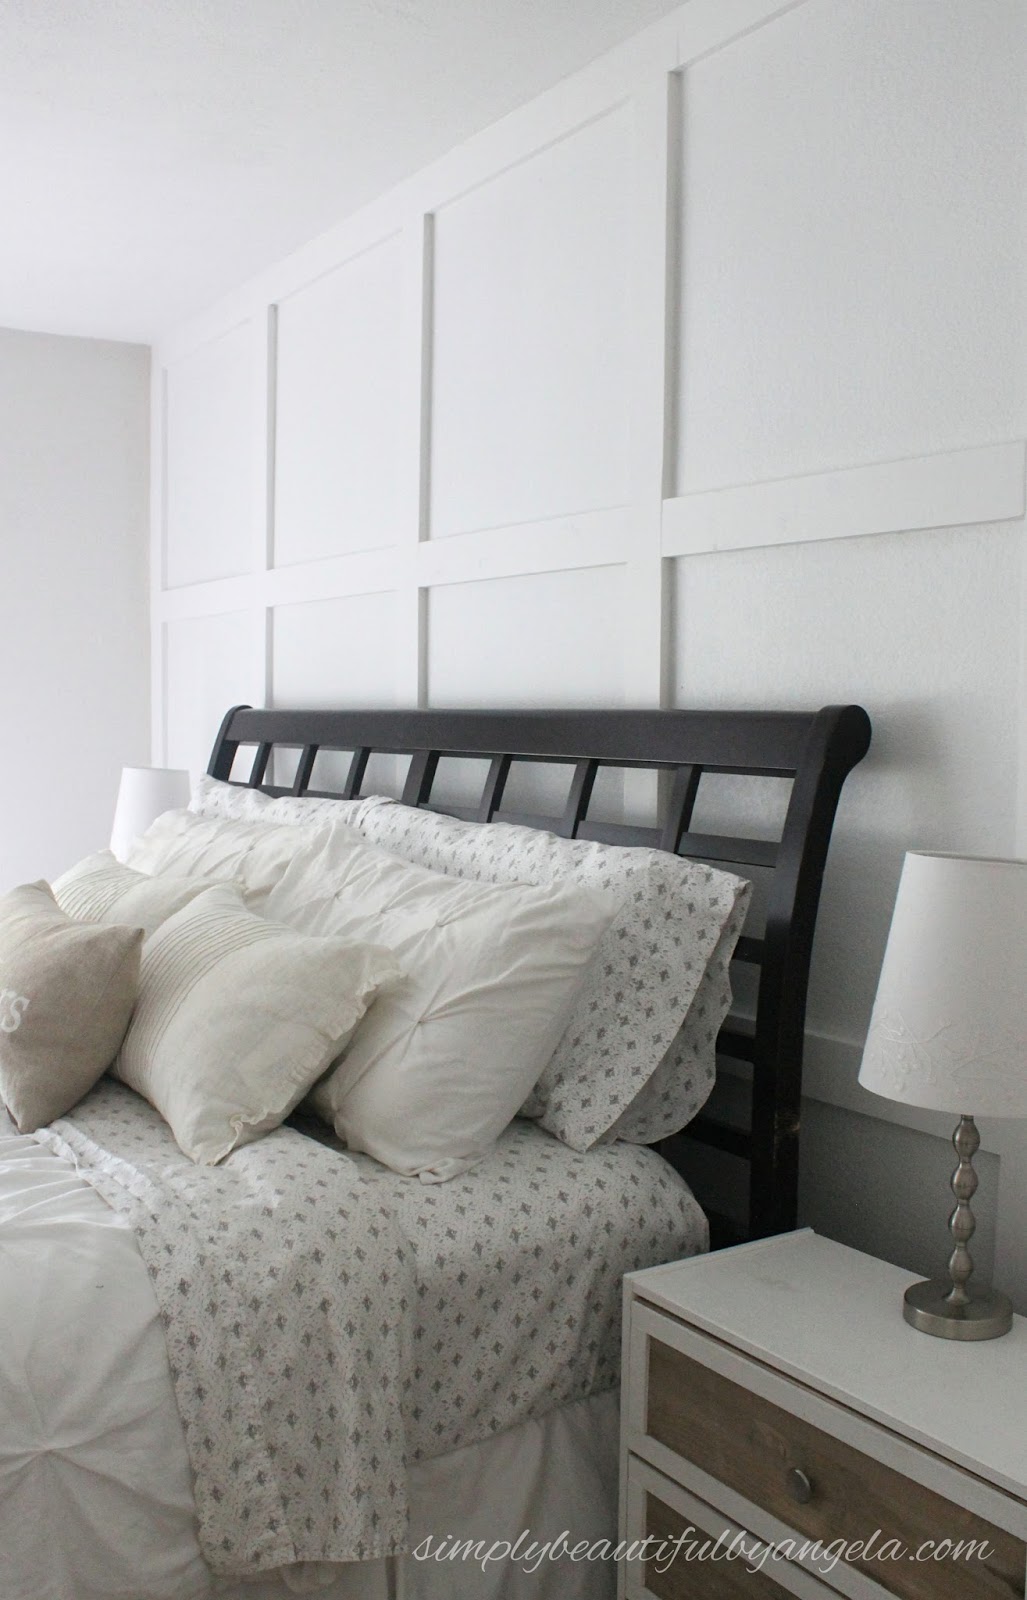
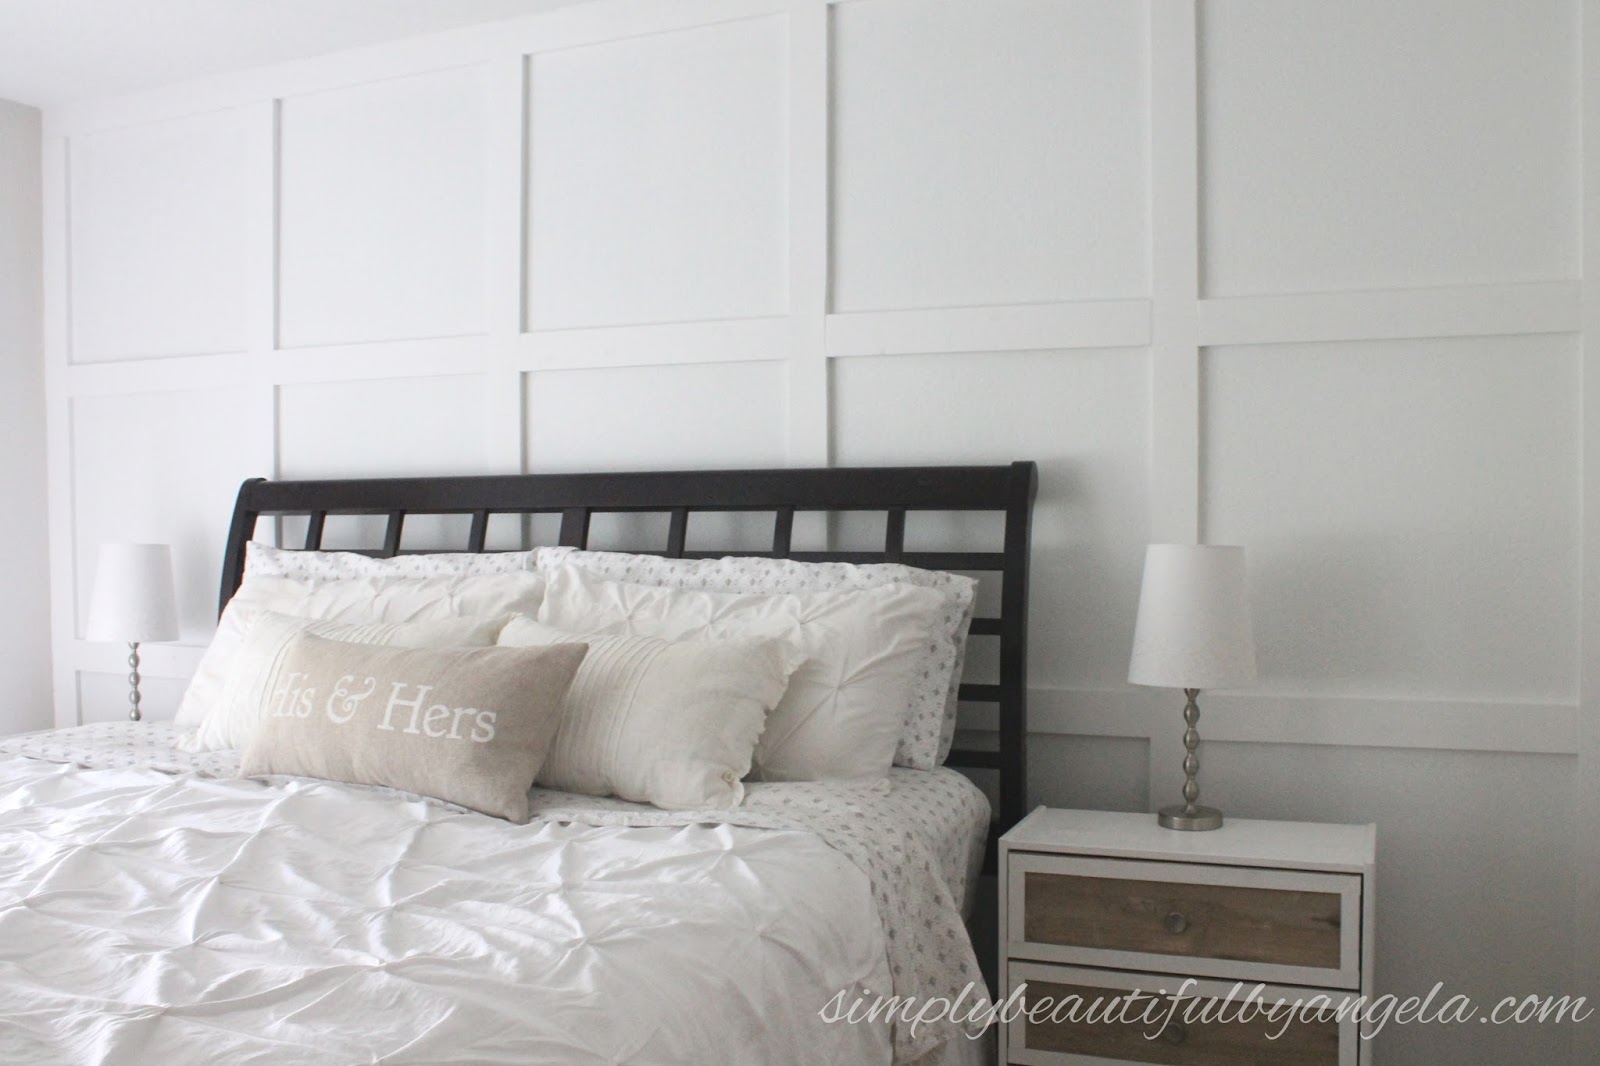
I love how much interest it adds and I’m having a really hard time deciding if I want to add a sunburst mirror or leave it like this after all.
I’ll be back next week to update you all on the room progress and to share how I made the upholstered headboard! Have a great weekend everyone 🙂
Linking up to these awesome parties!

That is really cool. Pinning because I would love to have a wall like this. Found you on the Wonderful Wednesday blog hop. – Laura http://www.almostemptynest.net
Thanks Laura! It is definitely brought a new life to this room 🙂
The wall looks great! We are moving soon and will be pinning so I can show my husband. By the way, I have the same bedspread/duvet too! We obviously have the same great taste! 🙂
Thank you so much Pam! Great minds think a like 🙂
Wow this is amazing and really enticing me to create one in my house. I love the effect of it. Would love if you can link up to http://the-wardrobe-stylist.com/2016/10/16/summer-fall-fashion-bloggers-style/
Thank you! You should, it's surprisingly easy but makes such a big impact!
I love it! I just finished doing this same board and batten in a few places in my house and now I'm kind of obsessed and want to do it everywhere! 🙂
Thanks Sarah! I know what you mean, it's totally addicting right? Haha
Great project! Thanks for sharing it at Craft Frenzy Friday at Mom Home Guide. Question — how did you nail up the vertical boards if they weren't on a stud? Thanks!
Thank you very much! My boards were pretty light so I just made sure to put enough nails in to make it feel secure and the caulking holds them put as well. If you have heavy boards I would recommend putting the horizontal boards up first and then piecing in with the smaller vertical boards since they probably won't hit studs if that makes sense. 🙂
I just loved your Home Decor ideas. By profession, I am also a Home Contractor and try to use some of your ideas for better output.
Great post thanks for sharing such an interesting and informative information. I liked these tips i am surely gonna try these.