Simply Beautiful By Angela

creating simple beauty on a budget

  • Home Tours
  • Projects
  • Legal
  • Link Parties
  • Let’s Chat!
  • About Me

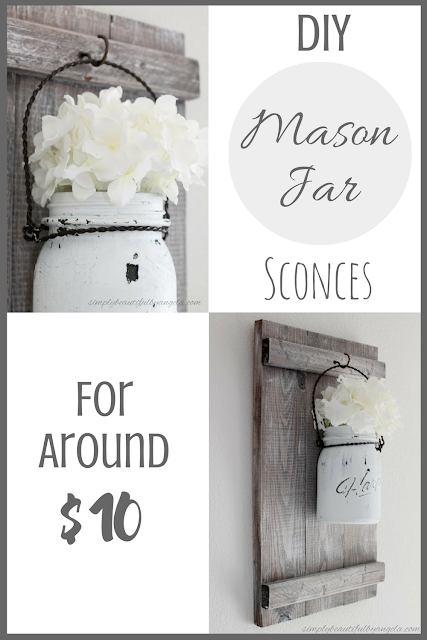
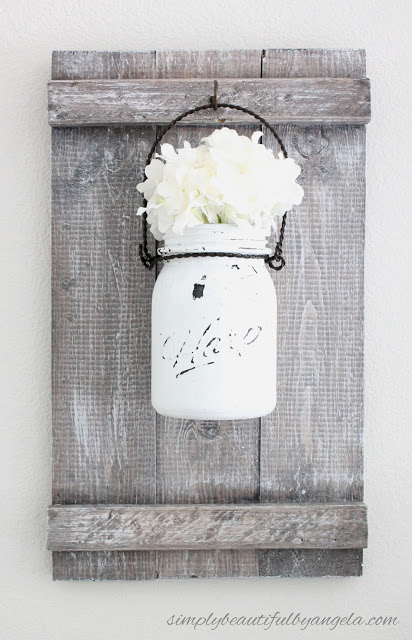
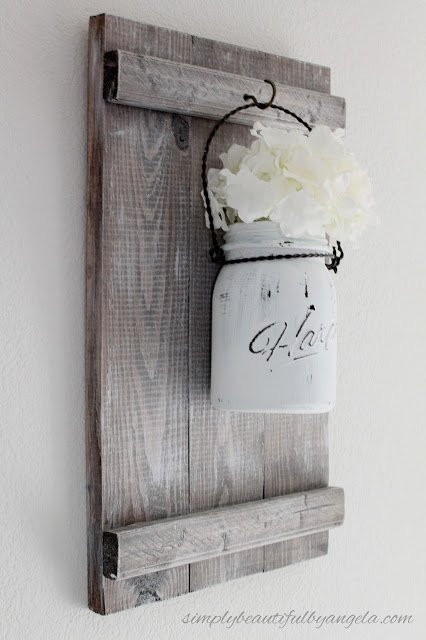
DIY Rustic Mason Jar Sconces

October 25, 2016


Hi friends!  I hope you all had a great weekend.  Ours was busy but VERY productive! 

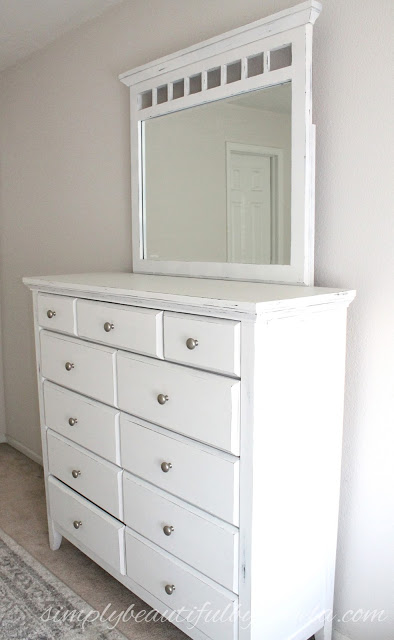
Last week in my One Room Challenge (Week 3) Update  I mentioned how much bigger this side of our room is starting to feel since I painted the dresser white.

Even though I was totally loving how bright it felt over here, I was craving some contrast to break it up a little bit.
I knew that I wanted some sort of matching sconces on either side and since I’m doing a rustic farmhouse theme I immediately thought of mason jars!
Supplies Used: (Affiliate links may be provided for convenience.  For more info, see my full disclosure here.) 
  • 9′ of 1×4 board
  • 3.5′ of 1×2 board
  • Wood screws
  • Rust-Oleum Wood Stain in Kona
  • Paint
  • 1-1/4″ Cup Hooks
  • D-Ring Hangers
  • Mason jars with wire hangers (I bought mine years ago and they already had hangers, but you can buy Mason Jar Wire Handles)

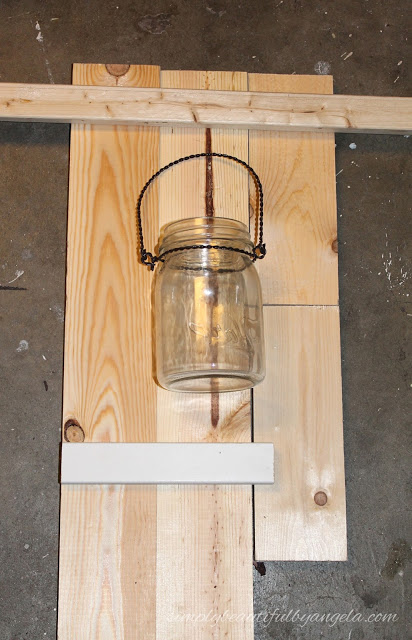
I began by laying out my 1×4 pieces to get a good idea of how long I wanted them.  I used some scrap wood so that I could visualize how it would look.

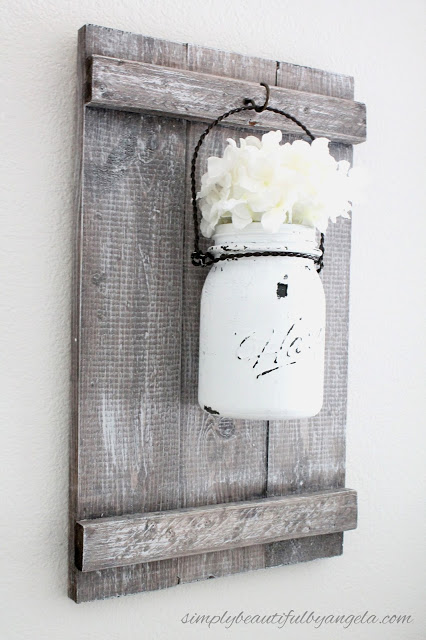
I ultimately ended up cutting the 1×4 into six 18″ pieces and the 1×2 into four 10.5″ pieces to make two sconces.

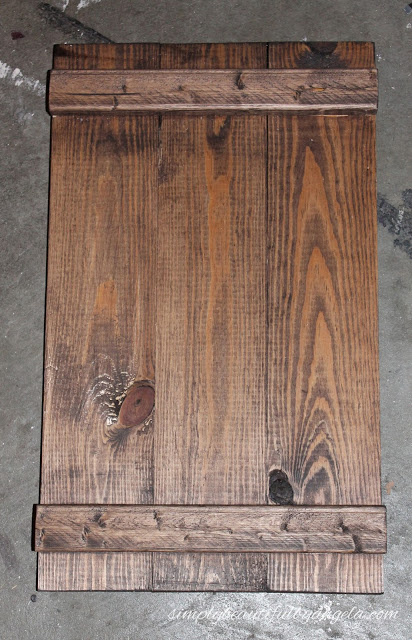
The hubby secured them with wood screws from the back and I stained them with my Rust-Oleum Wood Stain in Kona.

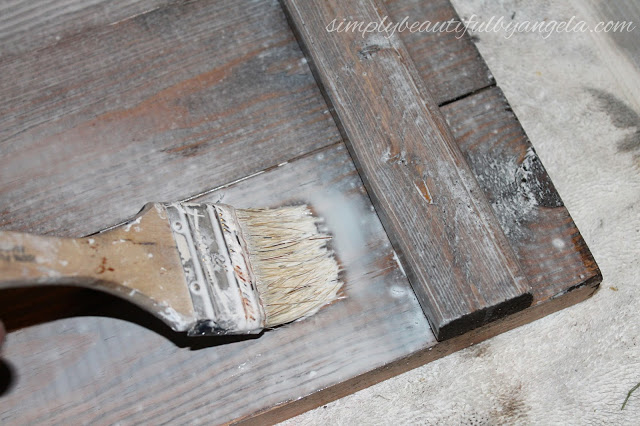
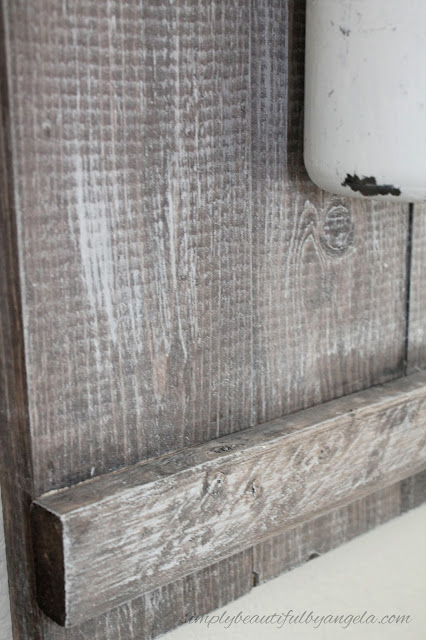
I love the color of this stain because there are no red undertones in it and it has great coverage, but it is really dark so I usually end up lightening it by doing a white wash over it (water with a little bit of white paint added).

I did several coats and used a rag to rub it in each time.

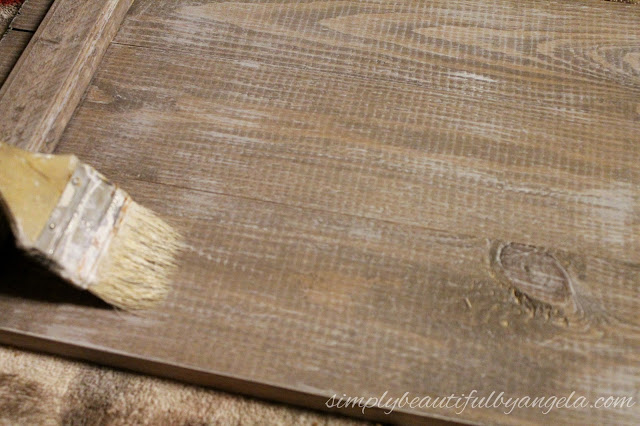
Once they were dry I further lightened them by dry brushing some white paint on them.  The key to dry brushing is to only use a little bit of paint on the brush and to wipe it dry on a rag before applying to the wood.

After attaching the hook to the top 1×2 they were ready for the hanging jars!

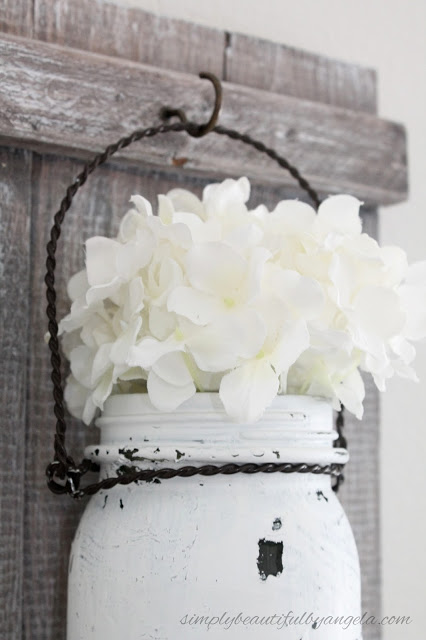
I went back and forth for days trying to decide if I wanted a simple hook or a more elaborate one and I am really happy with the simplicity of the cup hook.

 
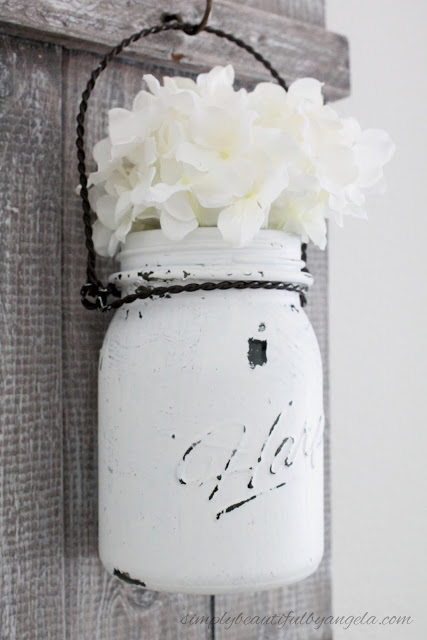
I didn’t take pictures of painting the mason jars, but I just applied one coat of dark gray acrylic paint topped with two coats of white paint. Once it was dry I used sandpaper to distress.
 
๏ปฟ

I’ll get a picture of how they look paired on either side of the dresser during the big room reveal–you  know, once our room isn’t a complete and total disaster!

See you all on Thursday for this week’s One Room Challenge update! ๐Ÿ™‚

 Linking up to these awesome parties

      ยท Labels: Uncategorized

      Comments

      1. Alicia's blog says

        October 26, 2016 at 4:45 am

        It look beautiful and easy to do. Thanks for sharing your guide.

        • Angela says

          October 26, 2016 at 8:17 pm

          Thank you so much Alicia! Gotta love easy projects ๐Ÿ™‚

      2. buildingourhive says

        October 26, 2016 at 5:04 pm

        This turned out so cute! Love the distressed wood and hook for your jar!

        • Angela says

          October 26, 2016 at 8:18 pm

          Thanks! I am so glad I settled for the simple hook, I think it really allows you to focus on the jar more ๐Ÿ™‚

      3. Sheena Anderson says

        October 26, 2016 at 7:29 pm

        I love these!! We are about to purchase a log cabin and I have been searching and saving rustic decor like crazy. I will have to make some for my new house!!

        • Angela says

          October 26, 2016 at 8:18 pm

          Thank you Sheena! I bet this would look fantastic in your cabin and they are so affordable to make ๐Ÿ™‚

      4. Lindsey @dmv beltsville md says

        October 27, 2016 at 11:22 am

        This is not bad. Best idea to decorate your home entrance. It is easy and really beautiful. I am definitely going to try this.

        • Angela says

          November 2, 2016 at 8:17 pm

          Thanks Lindsey! ๐Ÿ™‚

      5. Tarahlynn says

        October 28, 2016 at 5:12 pm

        Love them! We would love to have you at our To Grandma's House we go wednesday link party!

        • Angela says

          November 2, 2016 at 8:18 pm

          Thank you so much Tarahlynn! I will try to stop by sometime ๐Ÿ™‚

      6. Charlene says

        October 28, 2016 at 11:45 pm

        This is super cute. Thanks for sharing.

        • Angela says

          November 2, 2016 at 8:18 pm

          Thanks Charlene!

      7. Jennifer says

        June 24, 2017 at 1:50 am

        These are lovely! Thank you for your tutorial.

      Hello, I am so happy that you're here! My name is Angela and I love to create simple beauty in our home on a budget. Here you will find DIY decor and home projects, furniture flips and other home inspiration!

      Never Miss a Post!


      Diagonally Fluted Nightstands

      Diagonally Fluted Nightstands

      Hello! Iโ€™m really enjoying the extra daylight and the fact that itโ€™s been paired with warm sunny weather this week has been icing on the cake. Iโ€™m trying to soak it all in before the next snowstorm! Todayโ€™s flip was from about a year ago and is still one of my favorite sets of nightstands…

      Read More »

      How to Update a Dresser with a Missing Drawer

      How to Update a Dresser with a Missing Drawer

      Hey friends, happy March! Even though I know we still have quite a bit of cold weather coming our way here in Colorado, itโ€™s exciting to see these warmer days sprinkled in here and there. This week I am sharing how I saved an old IKEA dresser from ending up at the landfill! Supplies Used:(Affiliate…

      Read More »

      Vintage Ice Box Style Nightstands Makeover

      Vintage Ice Box Style Nightstands Makeover

      Hello friends! We just got back from our annual trip to the Great Wolf Lodge and it was fun times as always! Today I am sharing how I updated these fun vintage ice box style nightstands that I found on Marketplace! Supplies Used:(Affiliate links may be provided for convenience.  For more info, see my full disclosure here.) …

      Read More »

      Never Miss a Post!


      GOOGLE 2

      GOOGLE 3

      GOOGLE 4

      GOOGLE 5

      GOOGLE 6

      GOOGLE 7

      Theme by 17th Avenue · Powered by WordPress & Genesis