
The One Room Challenge is an event that is hosted twice a year by Linda at Calling It Home. This was my first season as a guest participant and I fully admit that it was super tough to transform an entire room in just 6 weeks. But I stayed motivated because I was bound and determined to make my first ORC a success!
In case you missed any of the updates you can catch up by following the links below.
Week 1: Master Plans for our Master Bedroom
Week 2: Beauty and the Beast
Week 3: Starting to See it
Week 4: Swimming in DIY
Week 5: Wrapping it all Up
As a reminder, this is what our master bedroom looked like before I got started. Decent, but definitely in need of some updates–wouldn’t you agree?
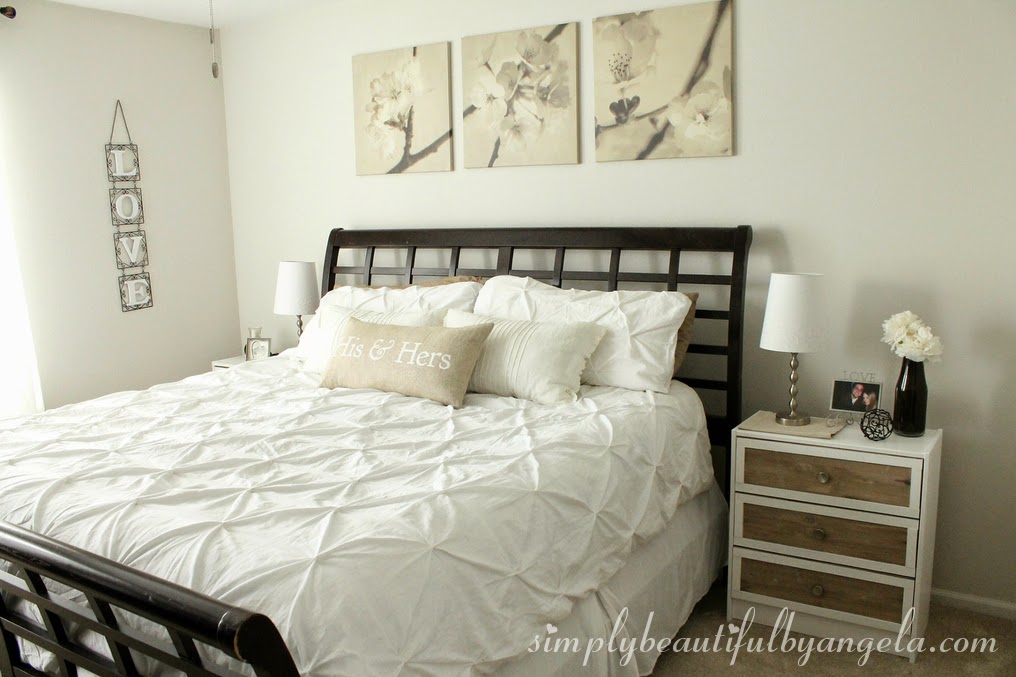
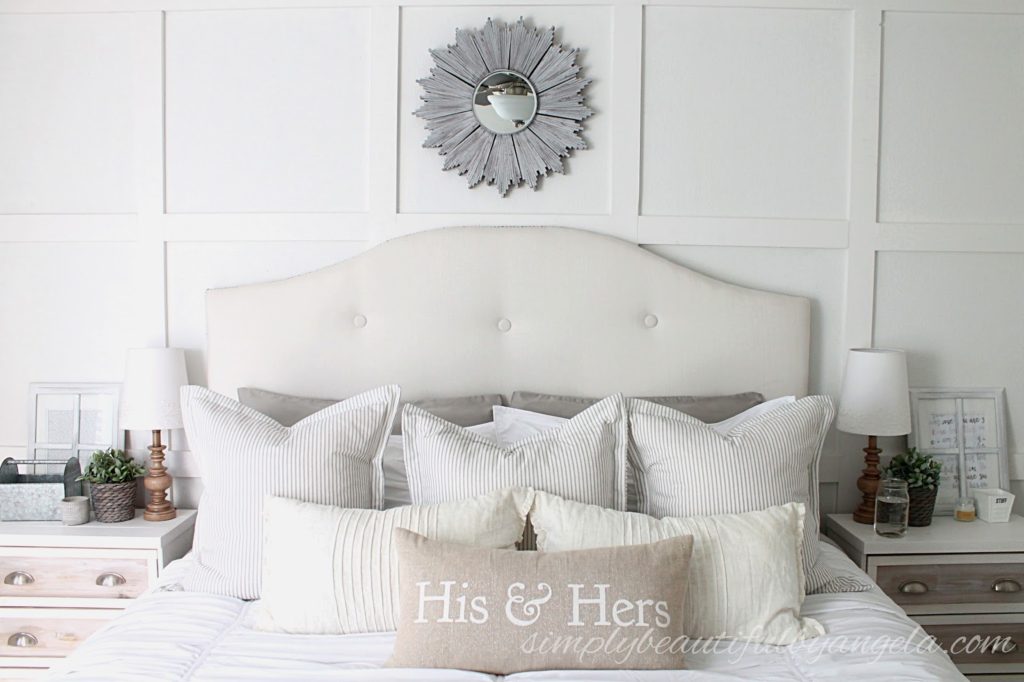
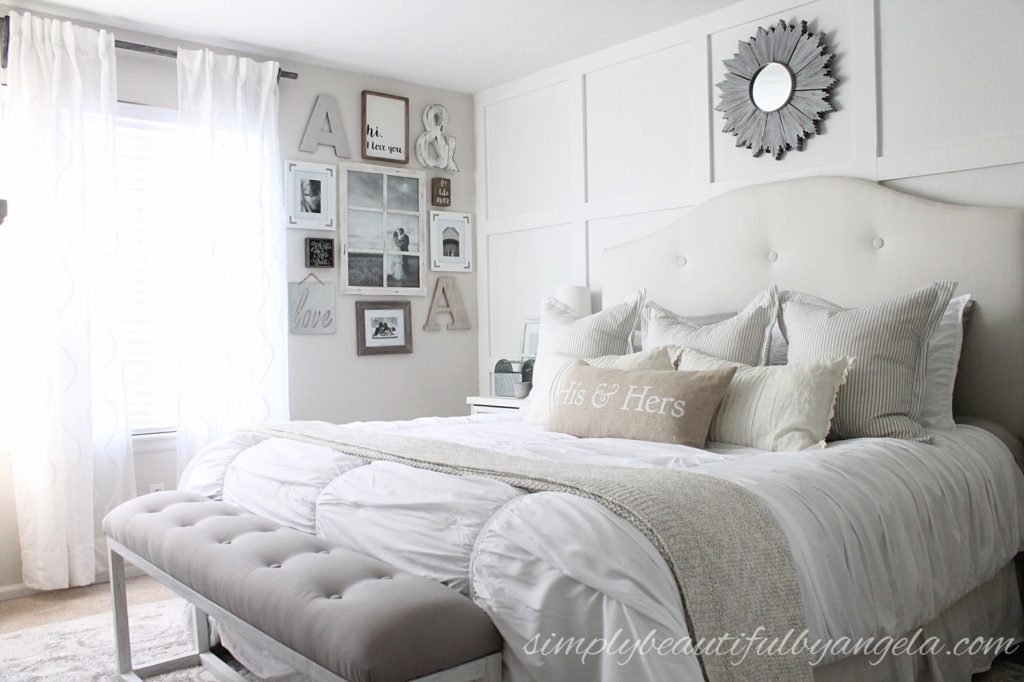
After 6 weeks of late nights, neglected housework and a few minor injuries…here it is today!

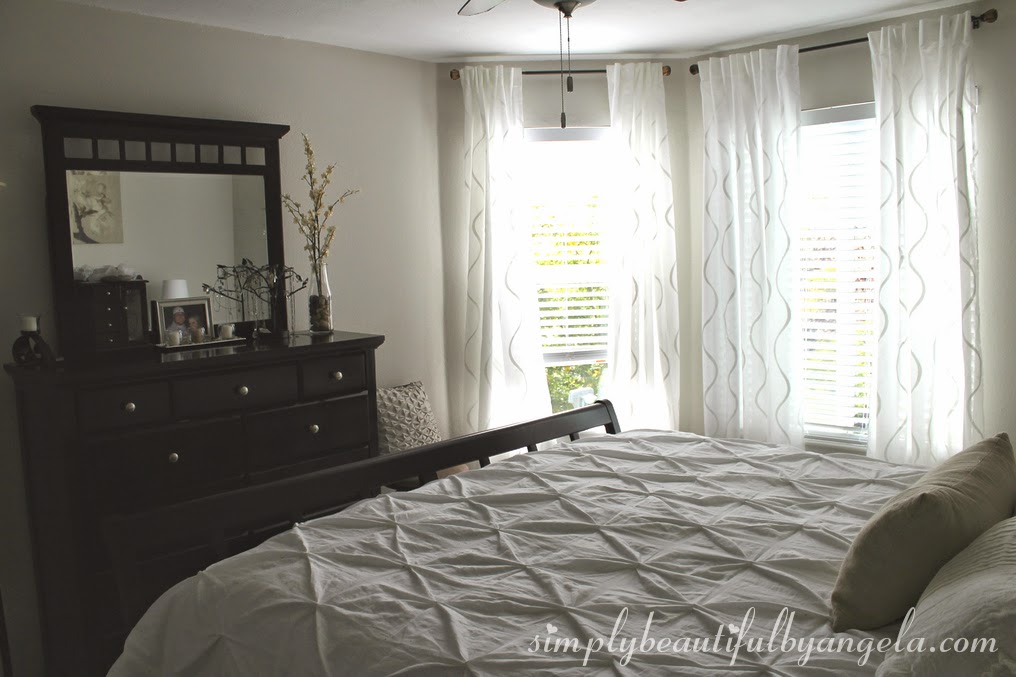
And here is how cramped this side of the room was before…
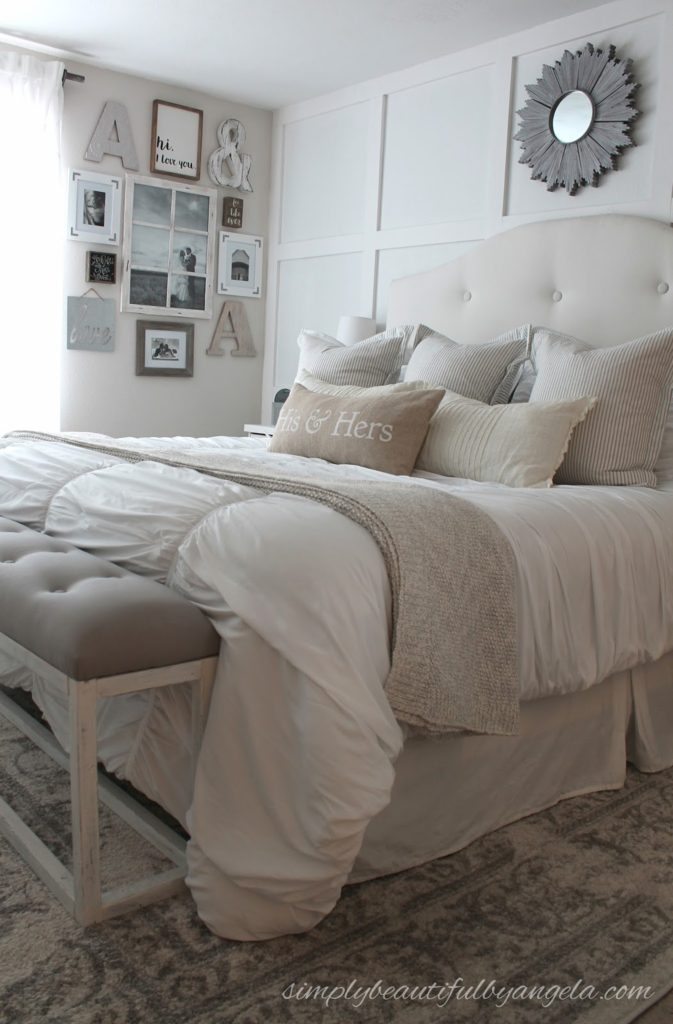
And this is what it looks like now!

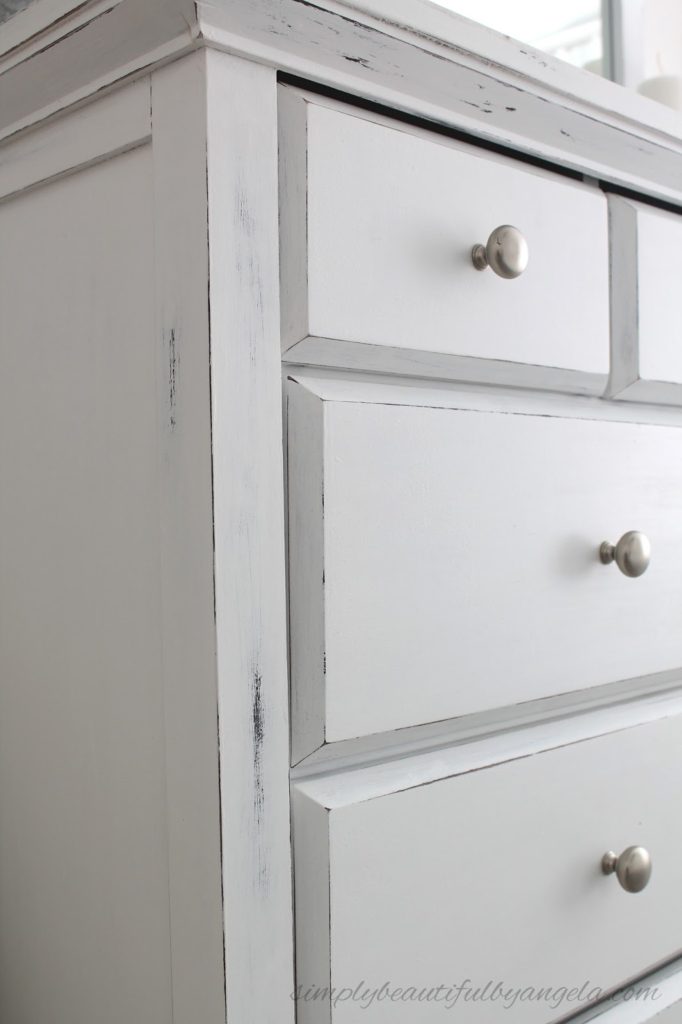
I knew that the Board and Batten Grid Wall and Upholstered Headboard would make the room feel larger, but I was totally shocked at what a difference painting the dresser made. Amazing isn’t it?
I have to be honest for a second. I was sooooo nervous to take these pictures. This room is so stunning and I was scared that I wouldn’t be able to truly capture it behind the lens.
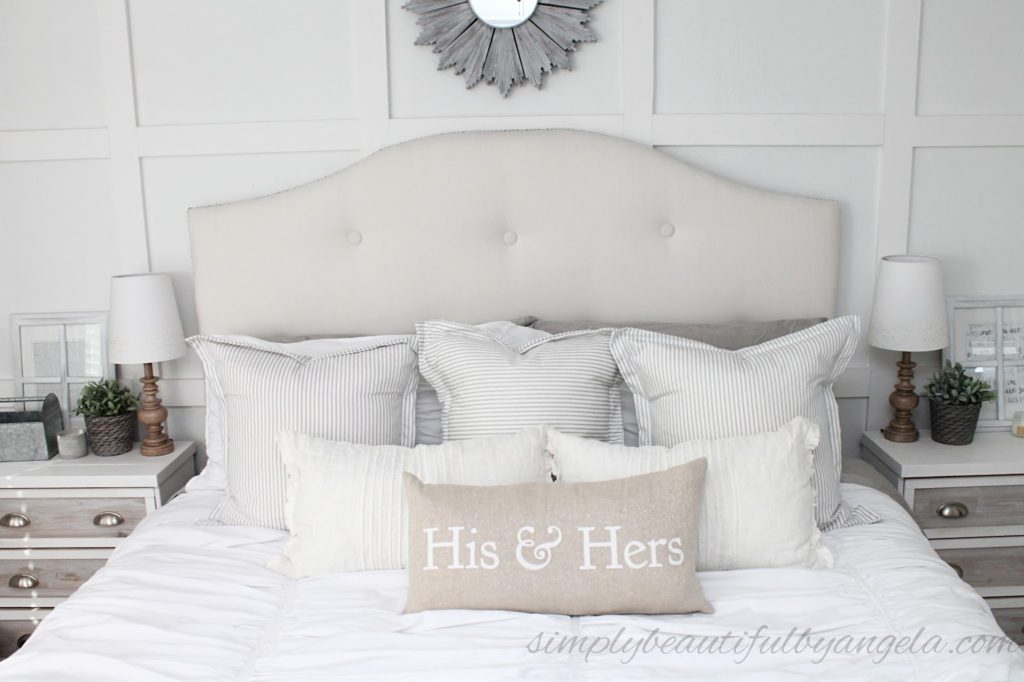


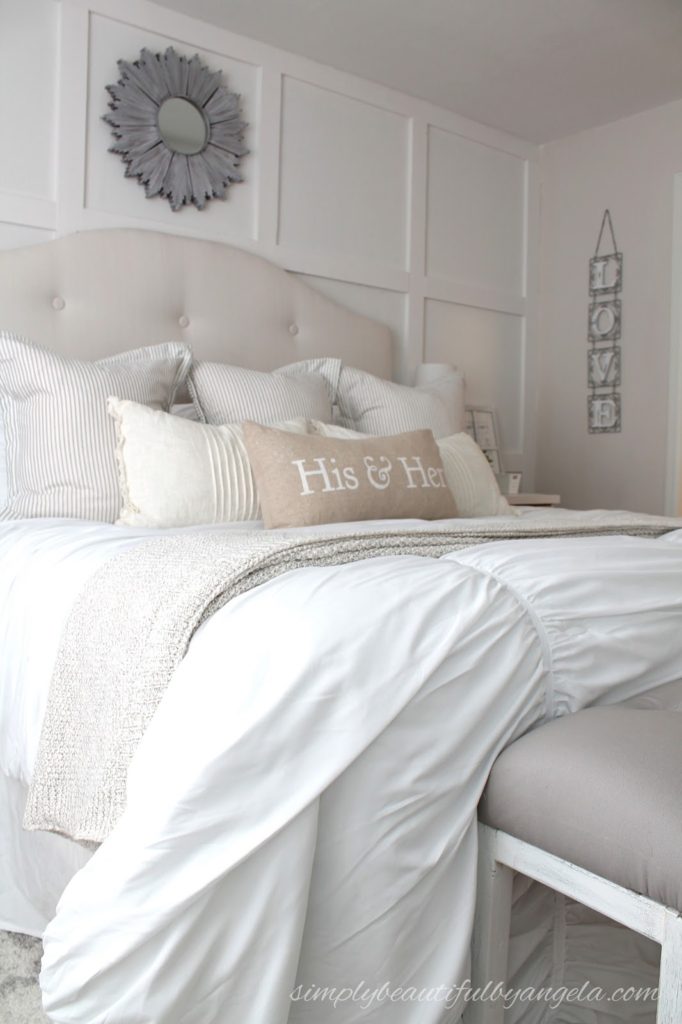
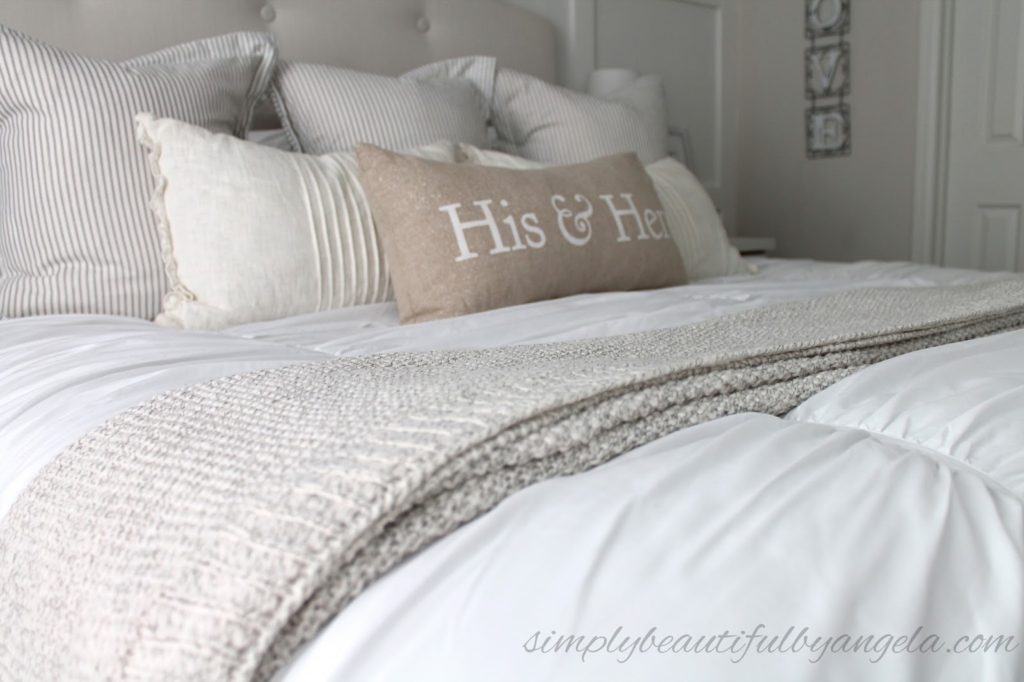
The new ruched comforter and knit blanket make the bed super cozy and it’s now extremely hard to get out of bed in the morning!
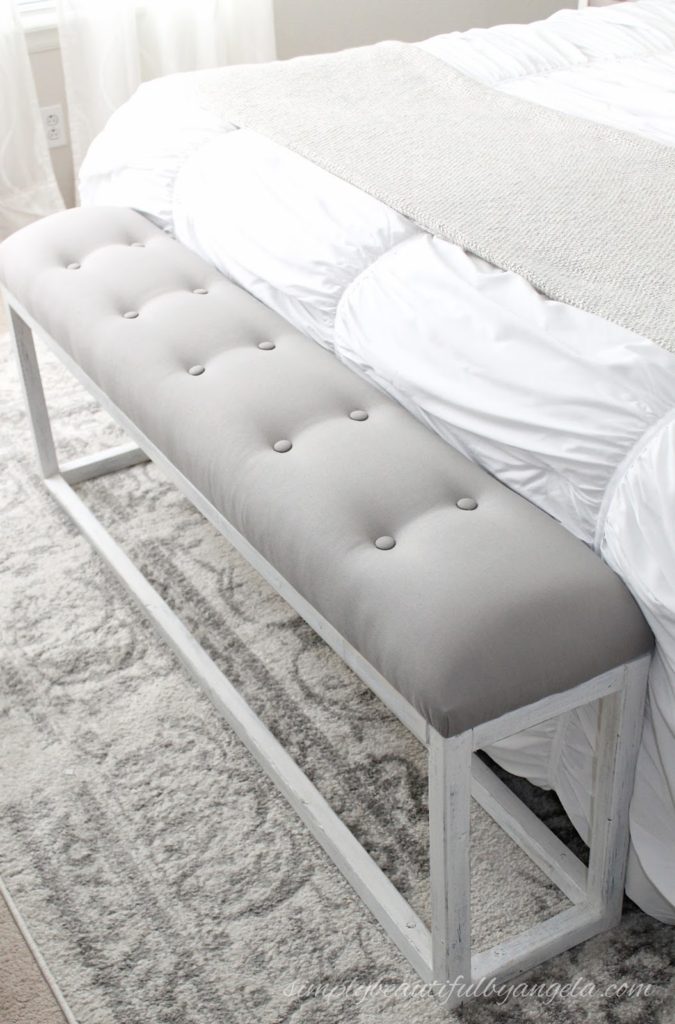
The bench was a last minute DIY, but I am so glad that I decided to make it because I think it kind of “makes” the room.

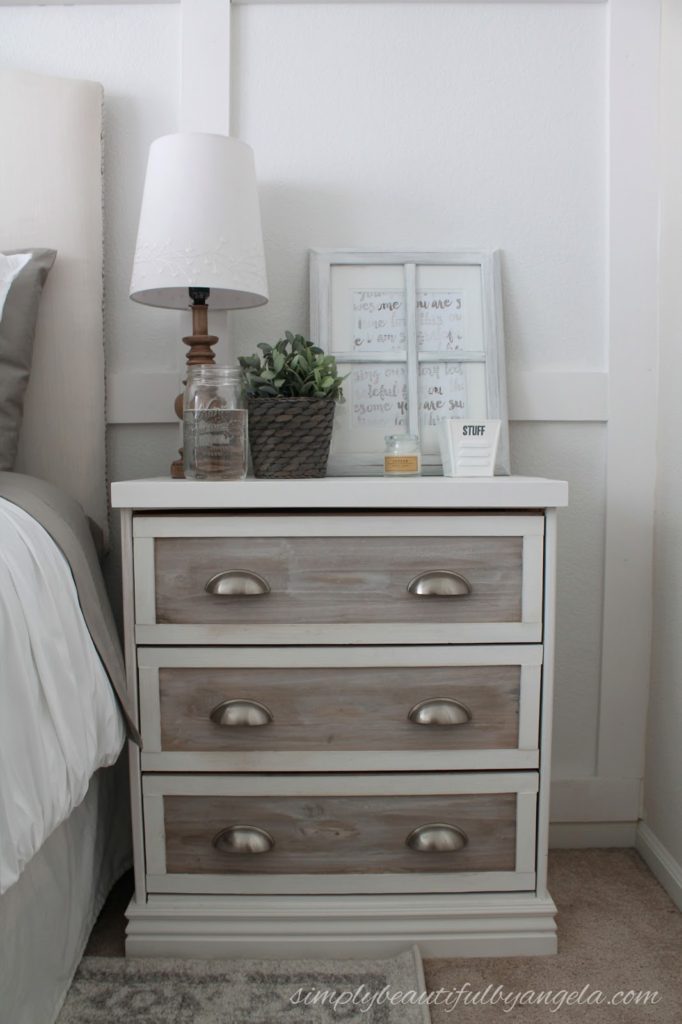
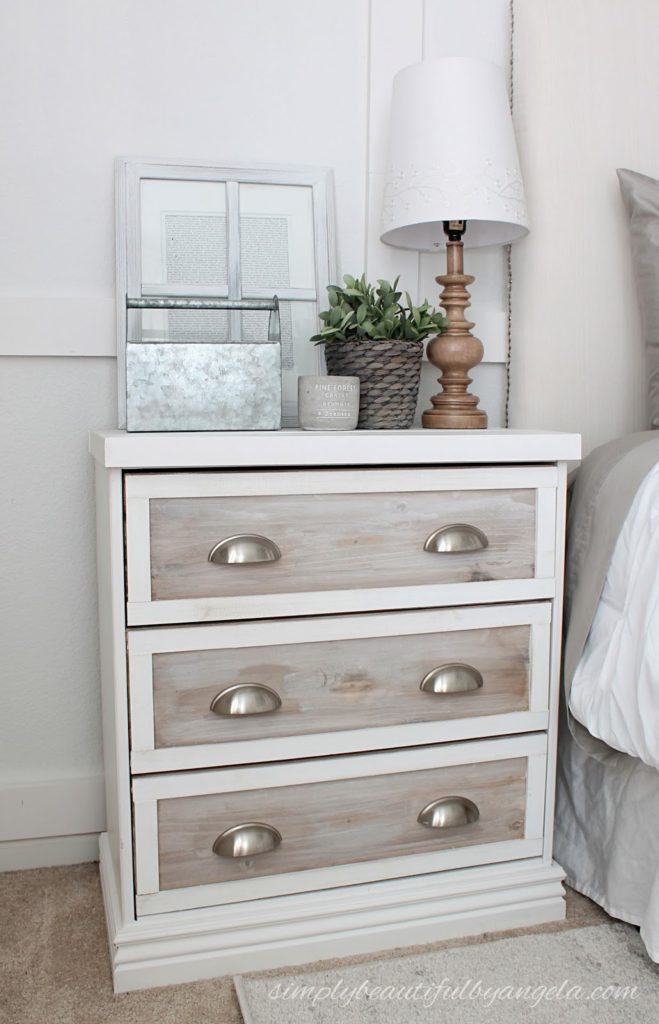
The nightstands were originally plain old pine dressers from IKEA. I gave them each a mini makeover when I first purchased them but they didn’t feel totally complete so I decided to give them a second makeover and am loving the new look!
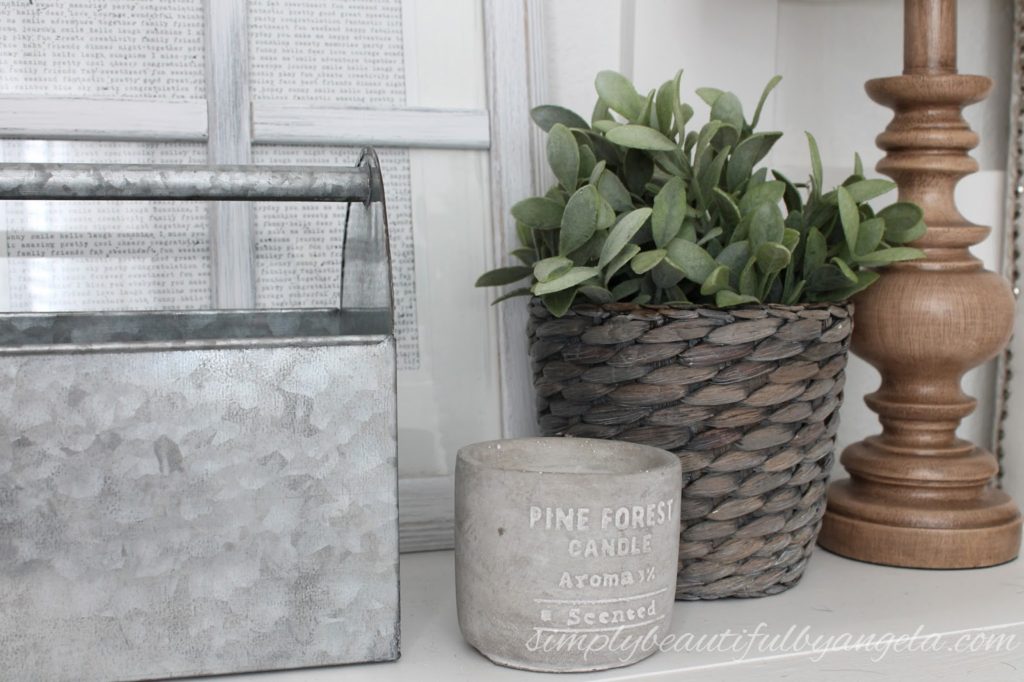
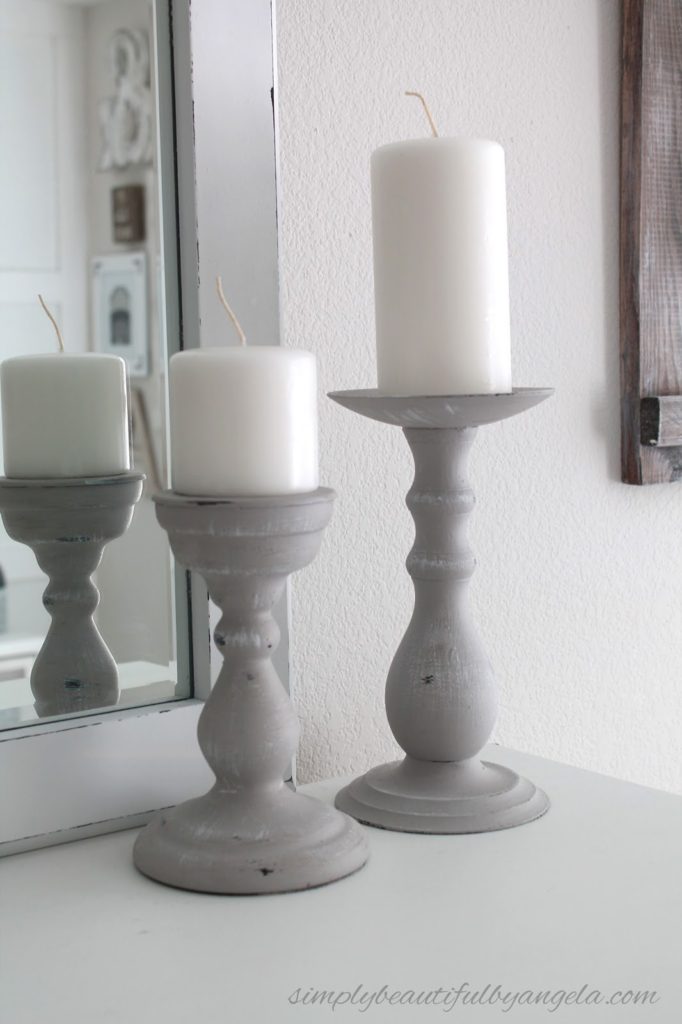
And the hubby enjoys the fact that even though I put a candle on his, at least it is somewhat manly being cement and all.
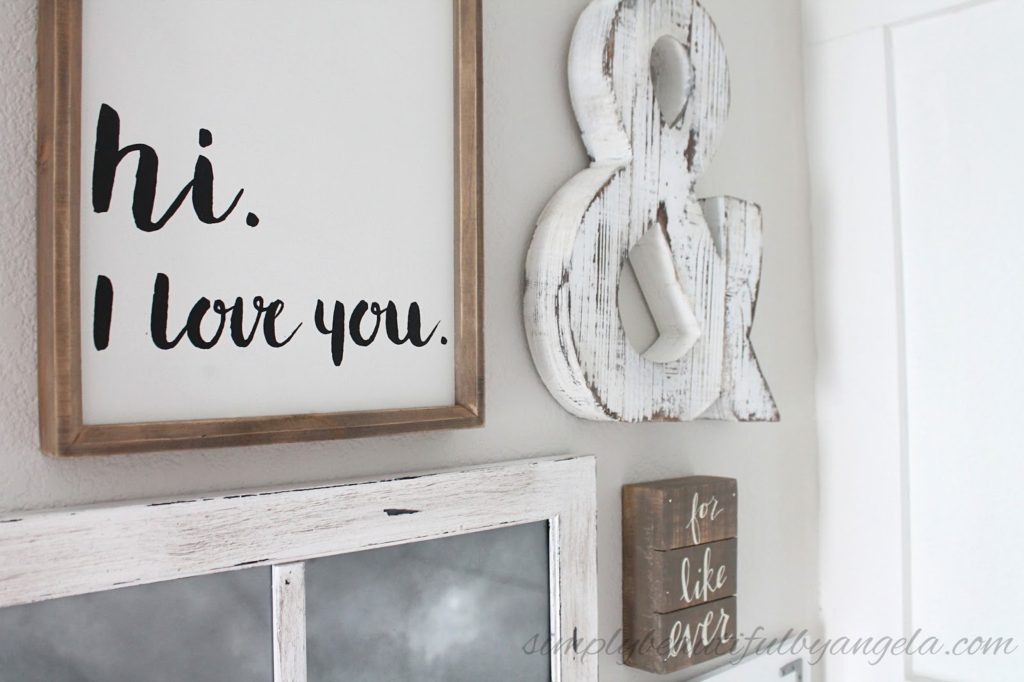
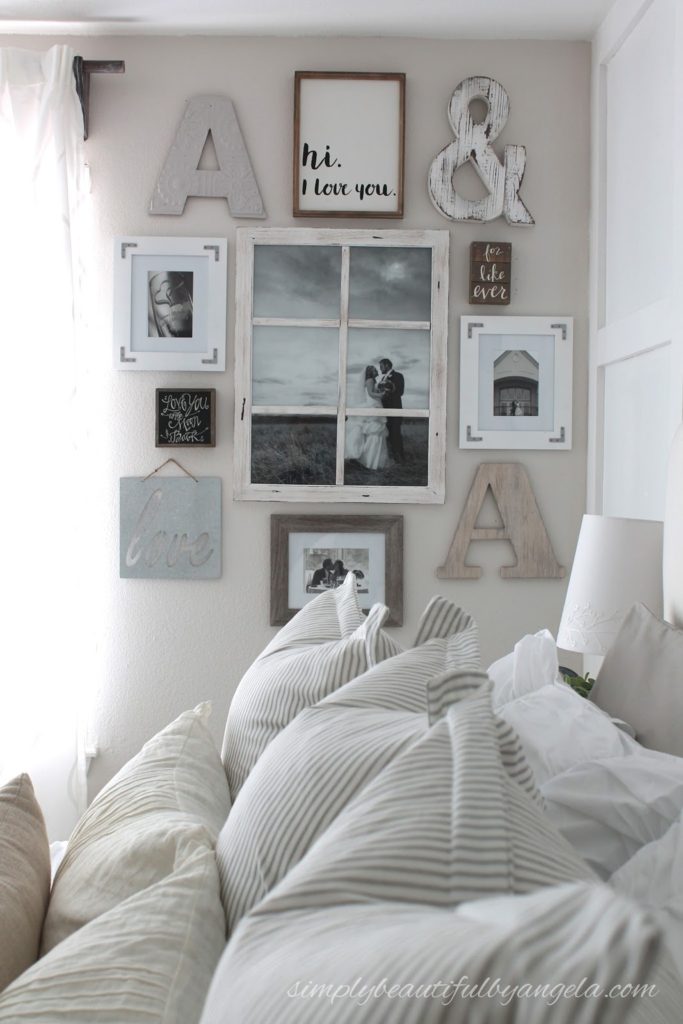
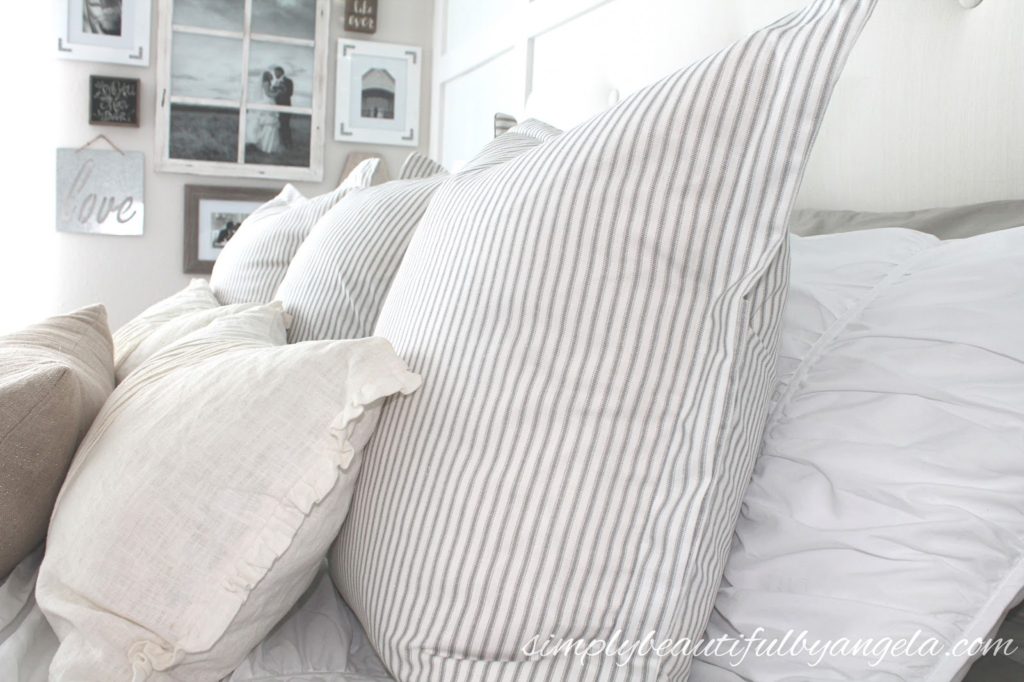
Oh and the gallery wall! It turned out even more perfect than how I had pictured it.
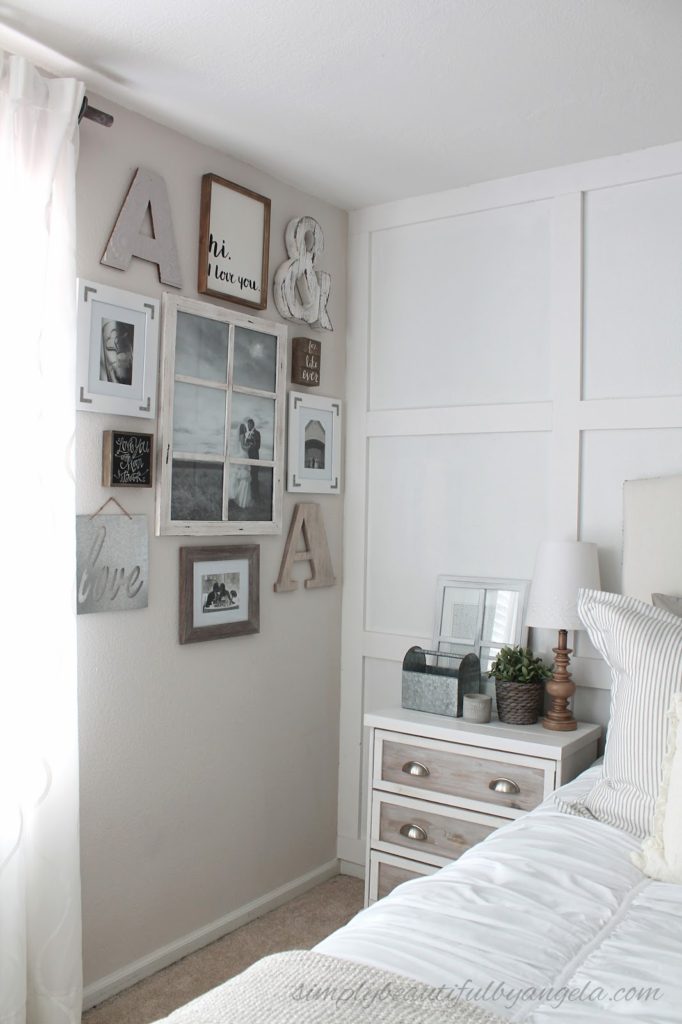
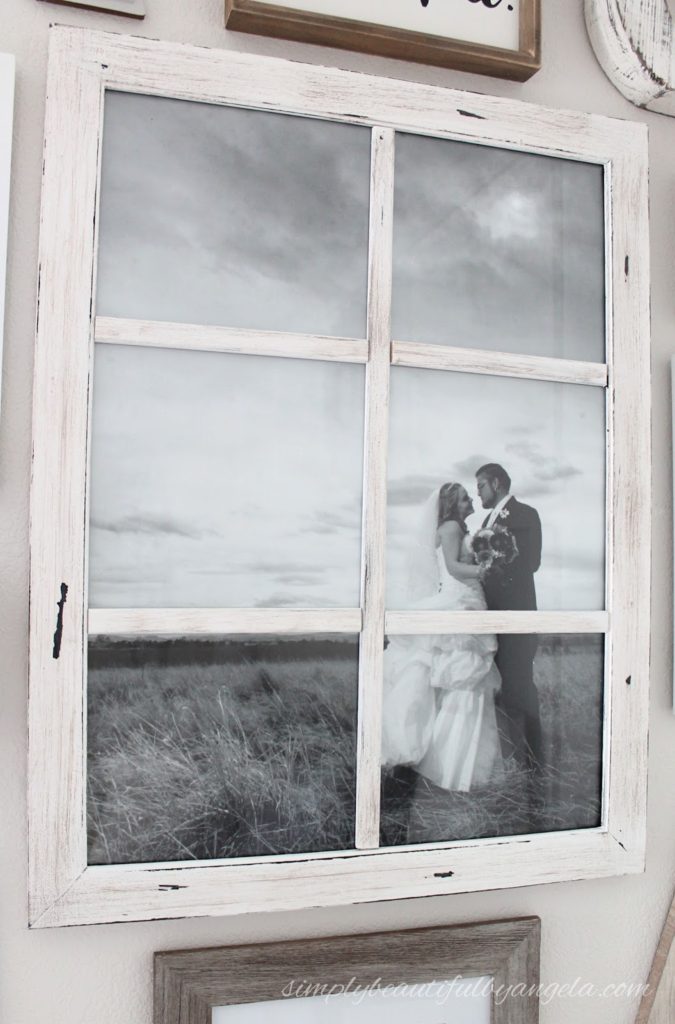
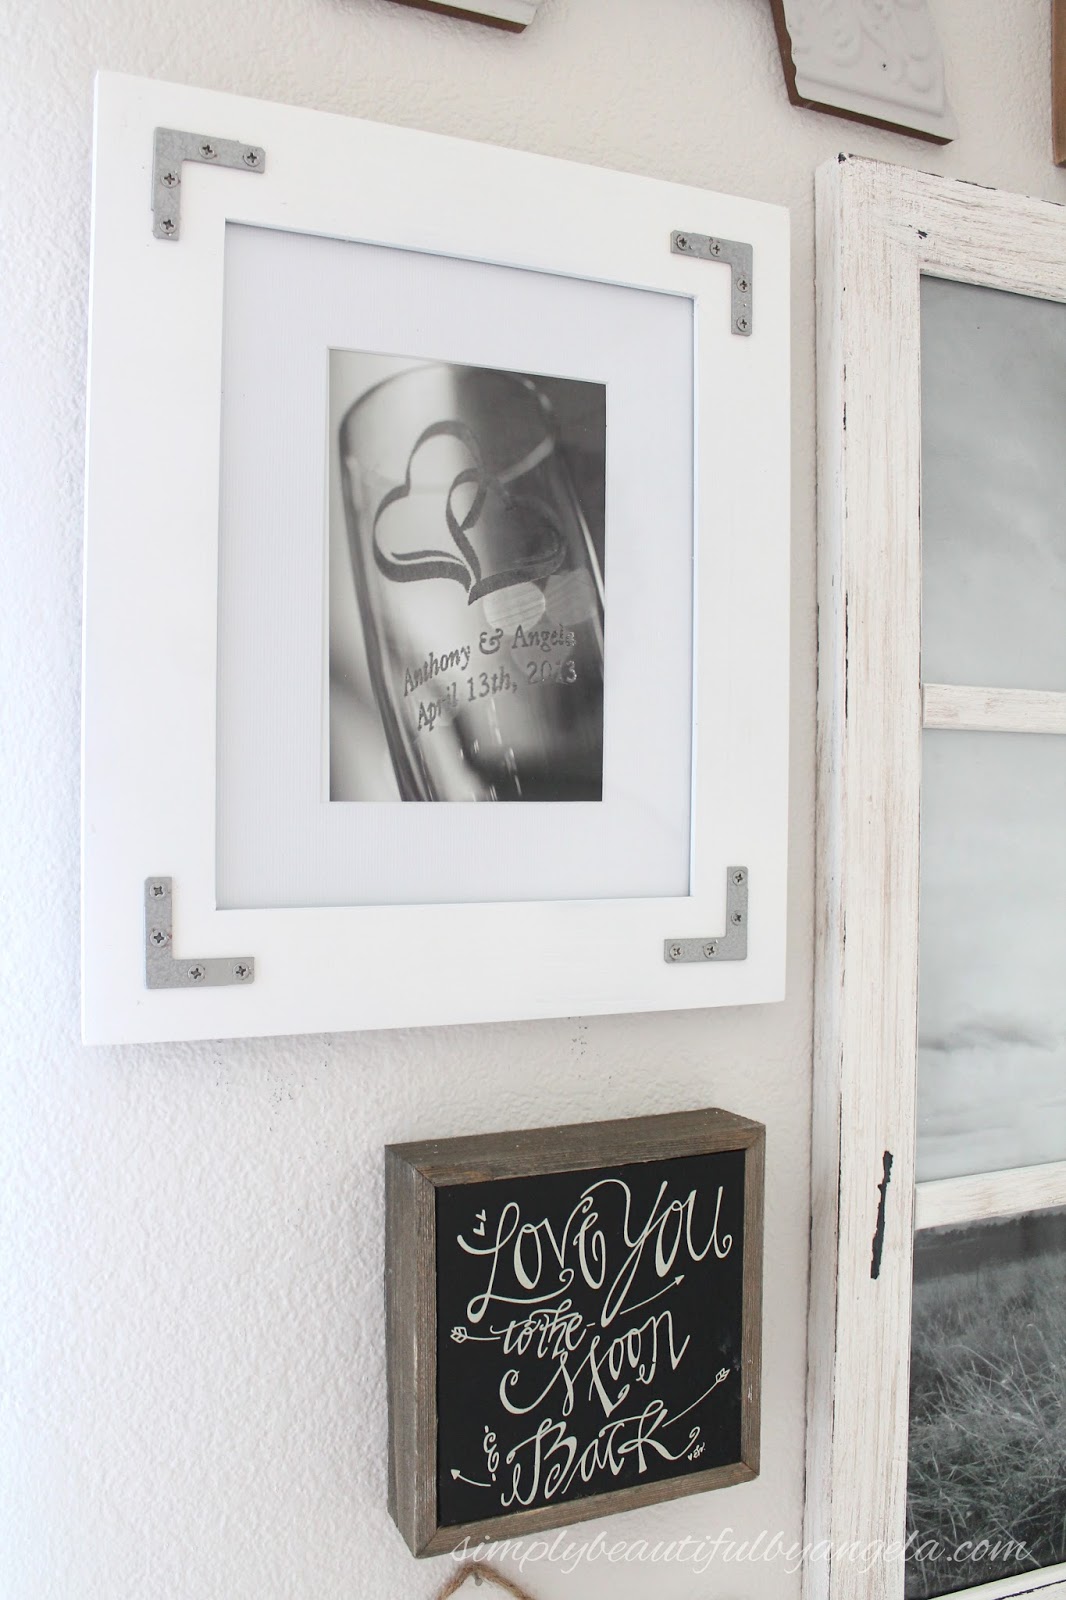
It all started with the idea to turn a poster frame into an old window by adding screen molding to it. I put an enlarged wedding photo inside and then just kept adding more pieces to the sides as I found them.
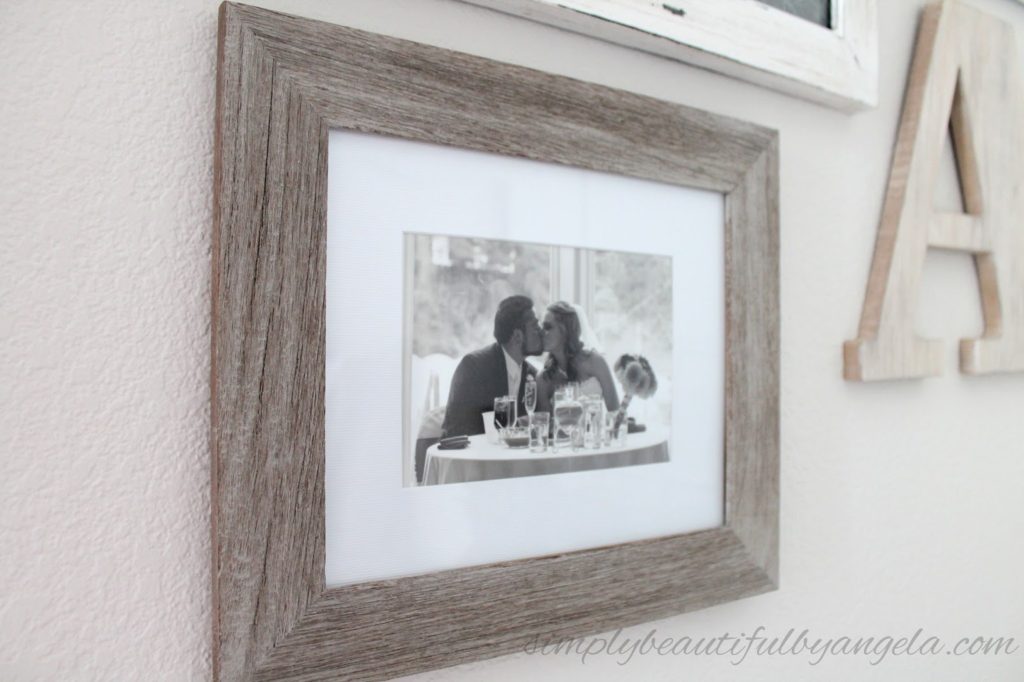

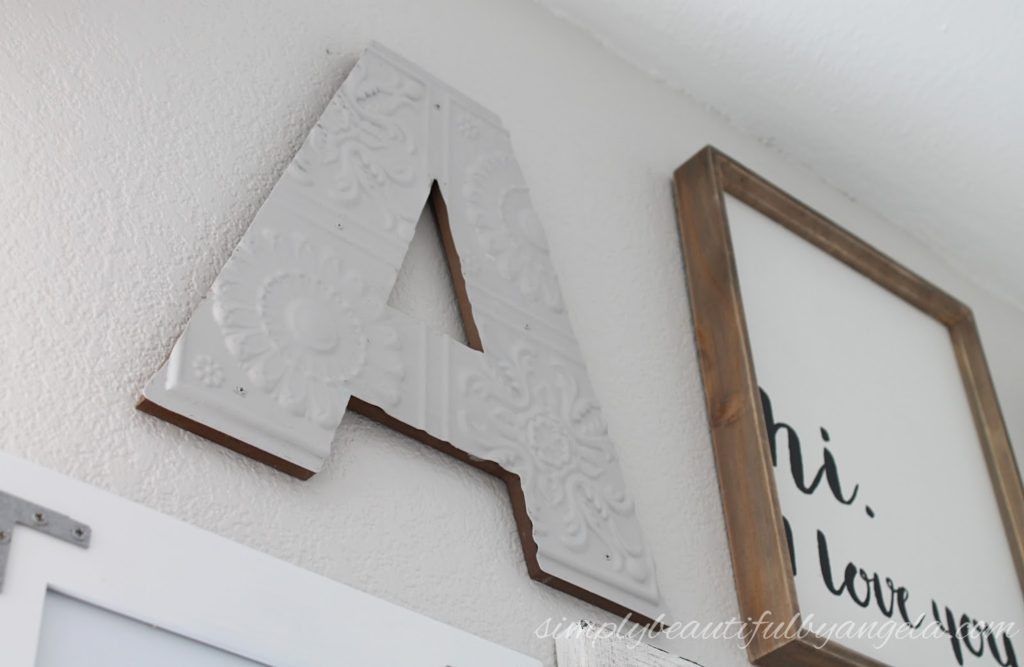
For our initials (which are both As) I wanted one to represent each of us. The more manly rustic one at the lower right corner is for him and , the more feminine metal embossed one at the top left is for me.
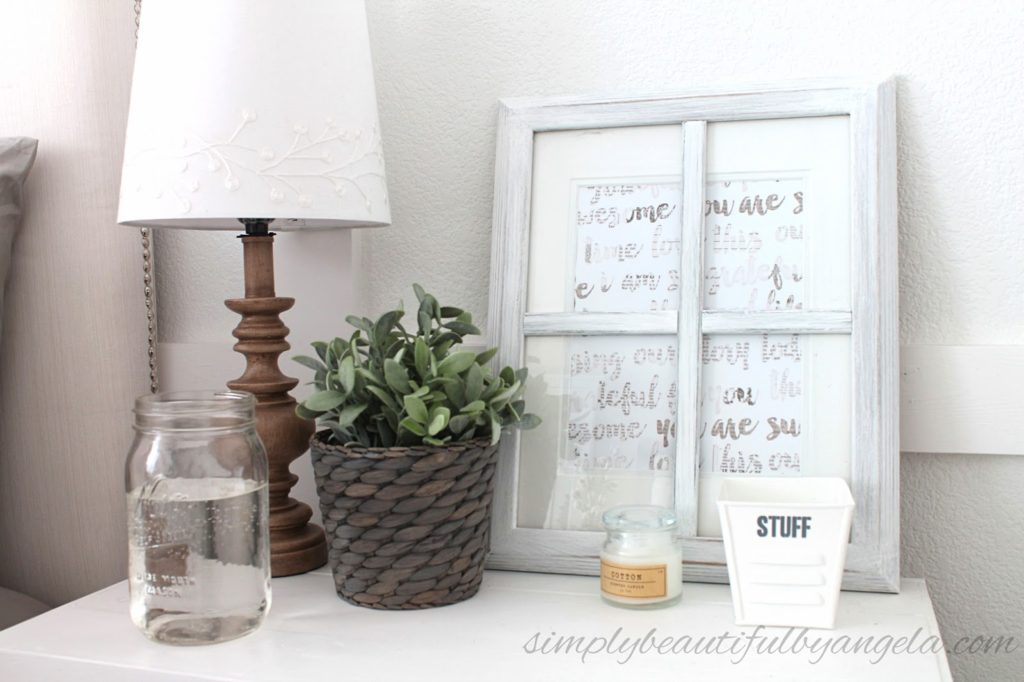
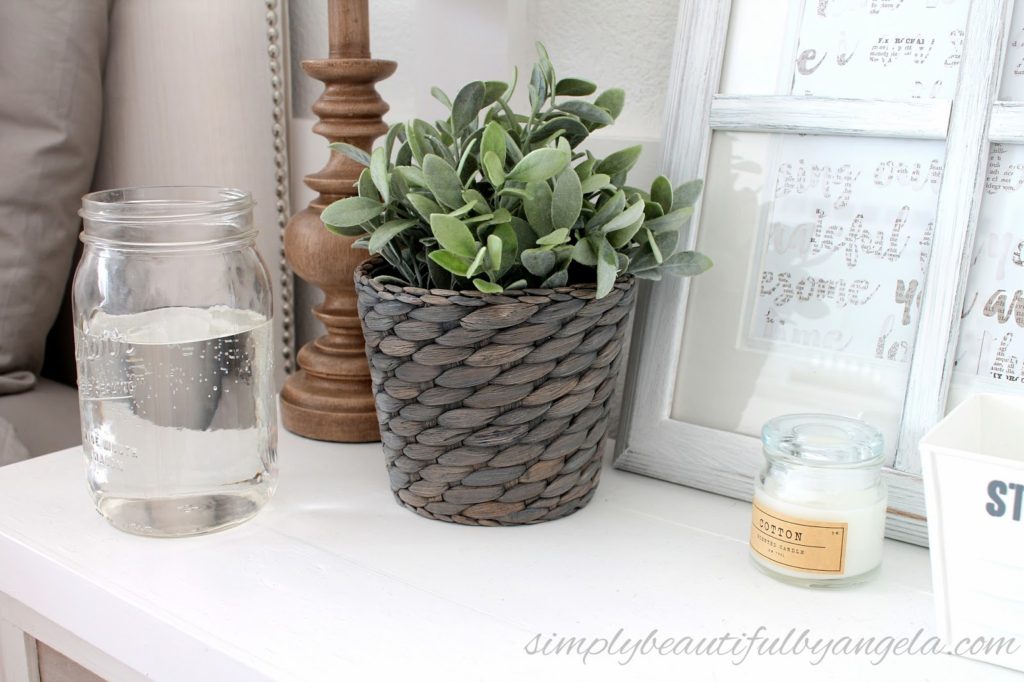
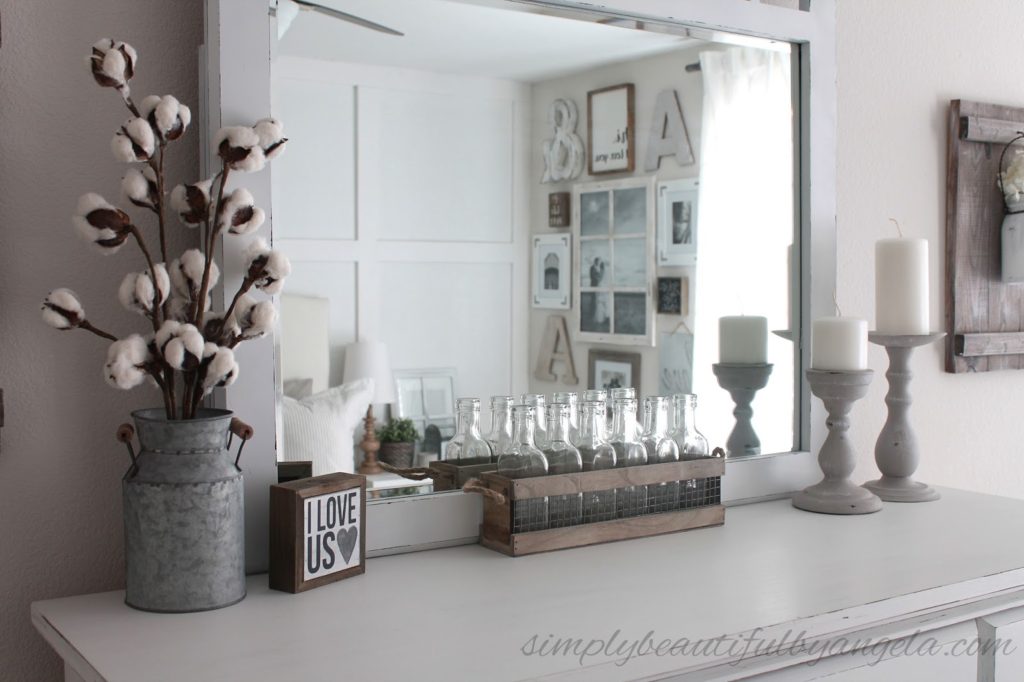
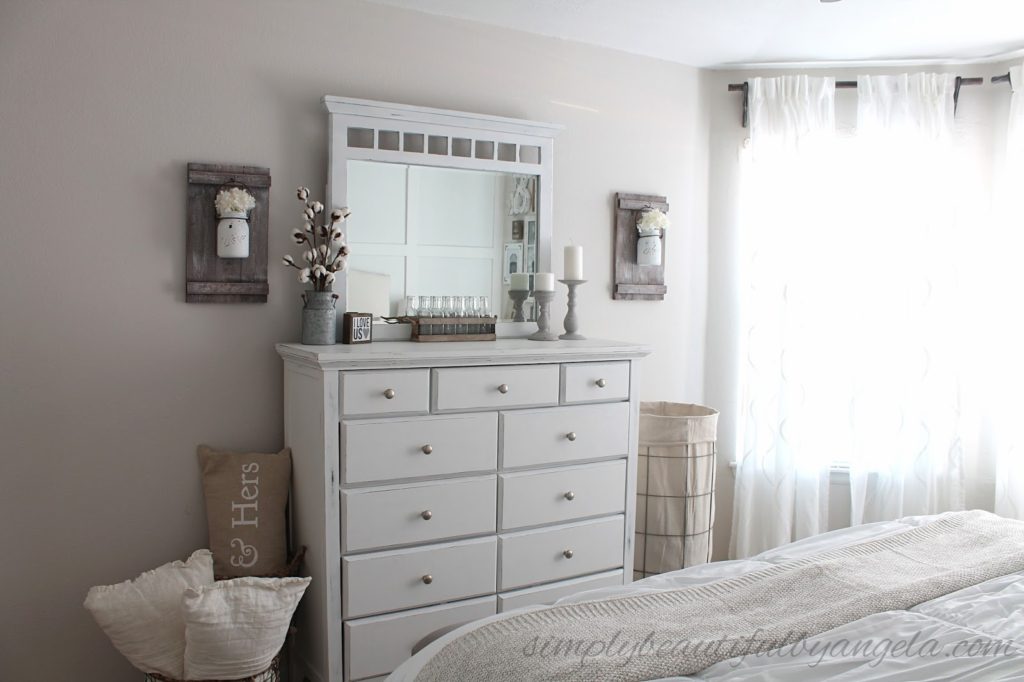
Decorating the dresser was a struggle for me at first. When I decorate tables or shelves I tend to want to fill every little space and it sometimes ends up feeling cluttered. Since I wanted our room to feel serene and open, I limited myself to just a couple of things and I’m really enjoying how simple it looks.
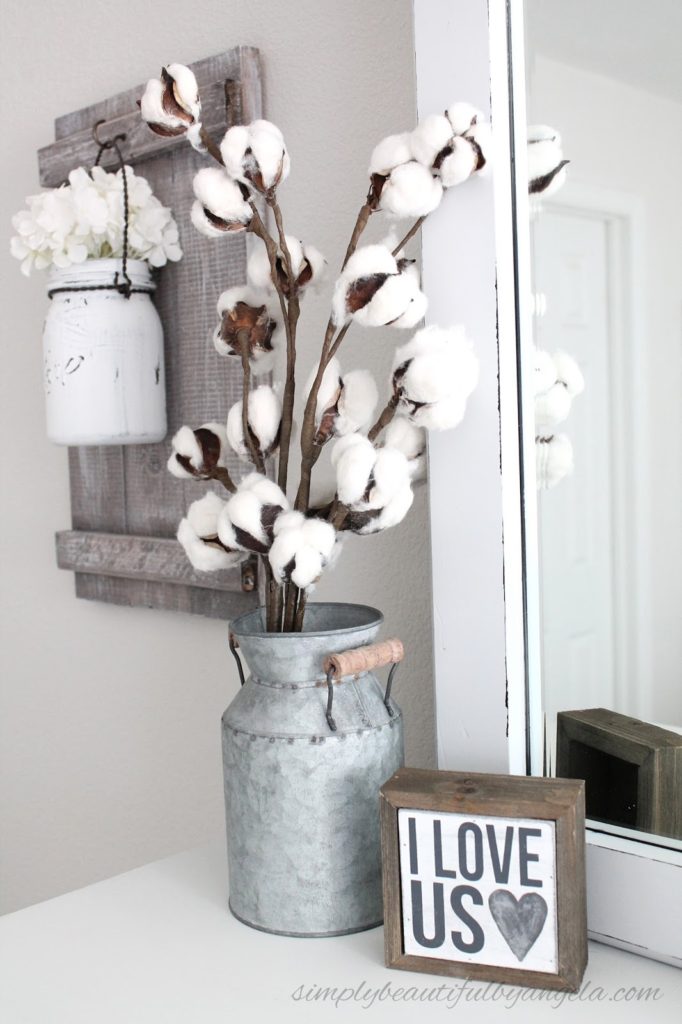
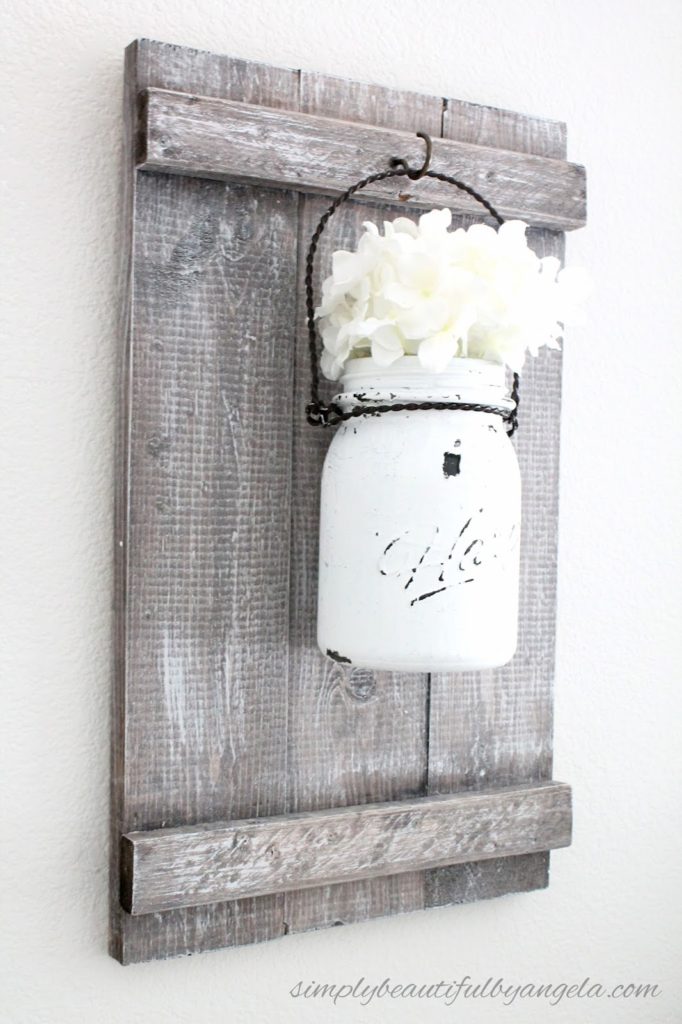
And the mason jar sconces add the perfect balance to that entire wall.
Next to the dresser I now have these nifty little wire baskets. That space felt bare and when I saw these I knew I just had to incorporate them somehow.
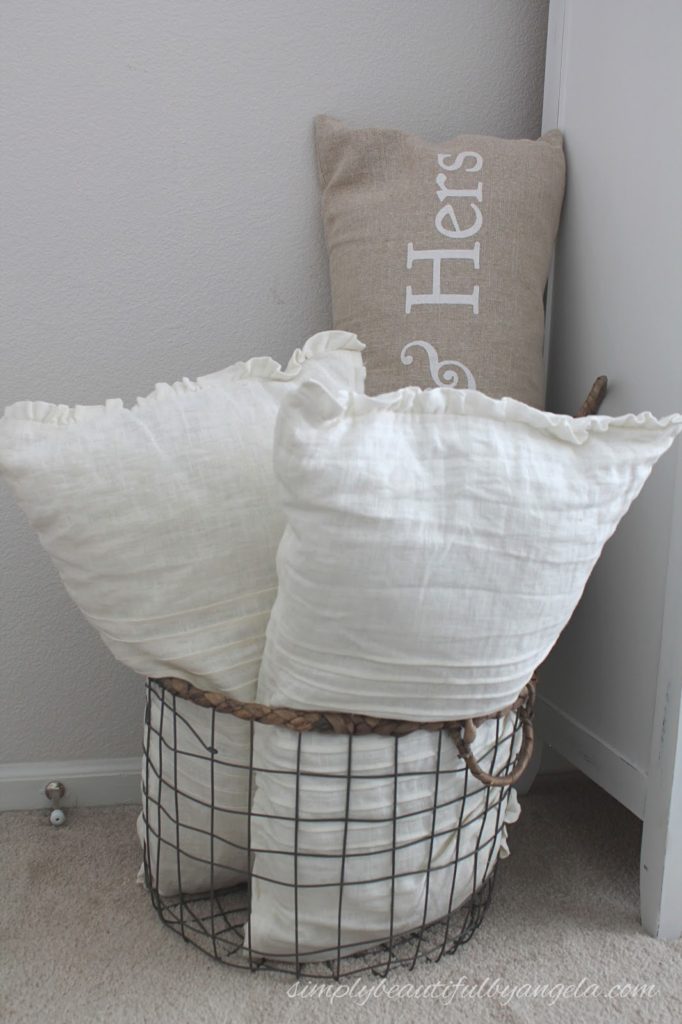
I used to just throw our decorative bed pillows on the floor each night so I decided that these would be perfect to hold them.
For the other side of the dresser, we used to have a small hamper on the side that would only hold about three days worth of clothing and the rest would end up all over the floor. It drove me completely nuts! So we built this larger one using some wire remesh, wood and a canvas drop cloth.
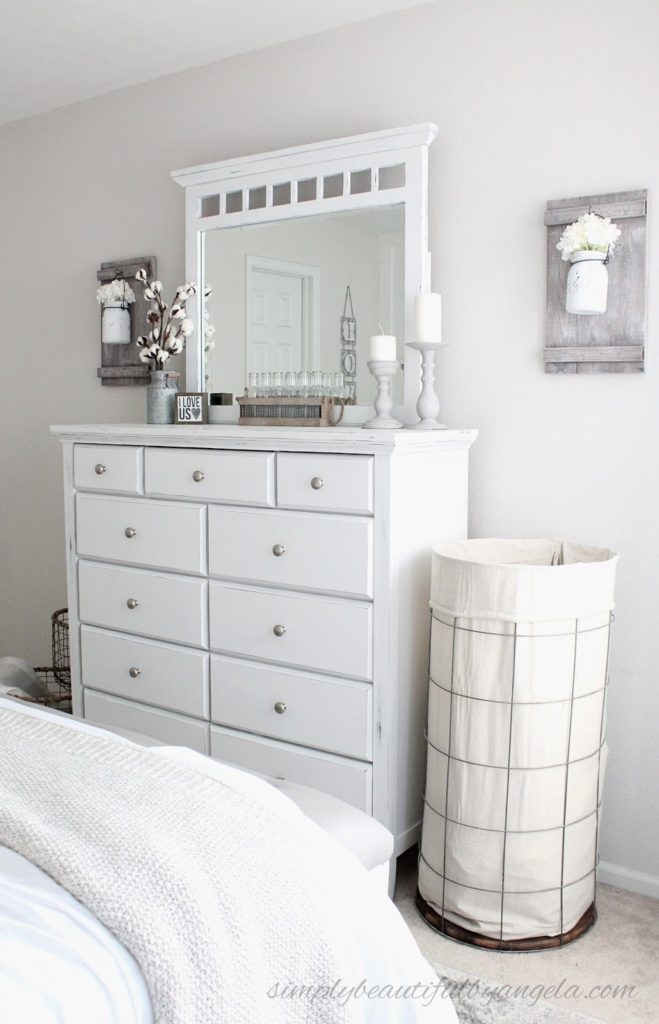
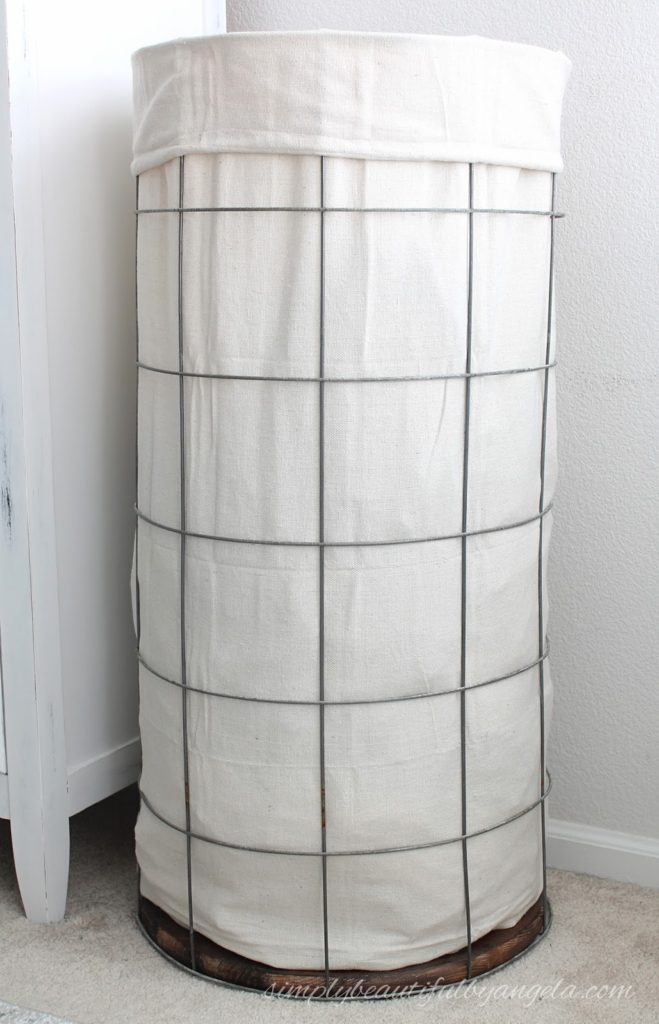
Not only does it hold a ton of laundry–it looks pretty nice too!
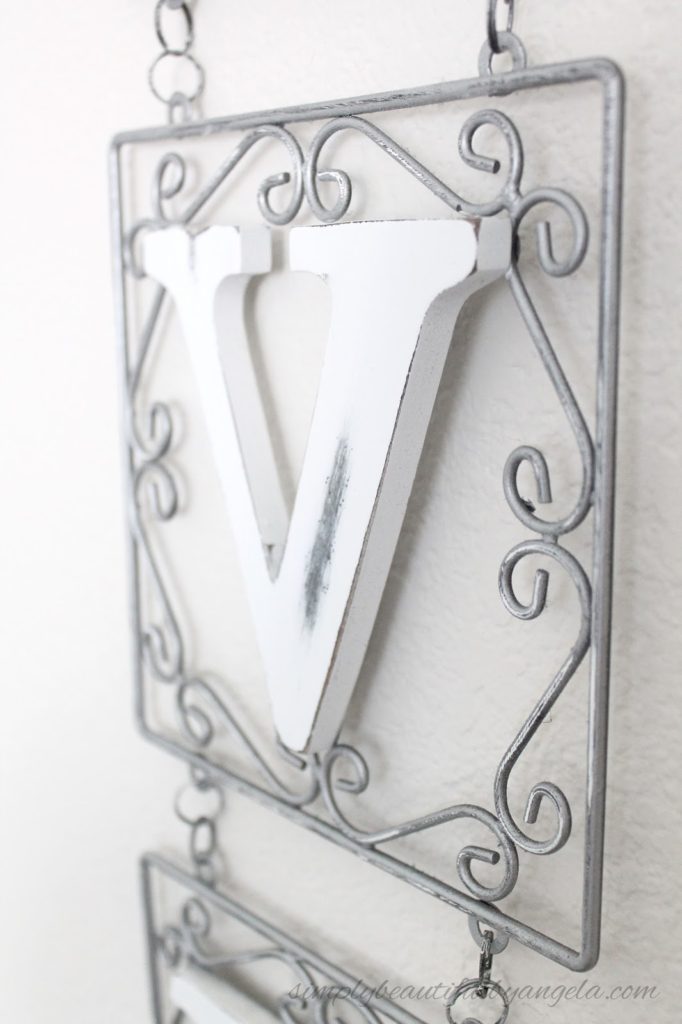
I almost got rid of my metal “love” sign but decided that the small space on that wall next to the bathroom needed something so I gave it a little makeover and now I can’t picture this room without it.
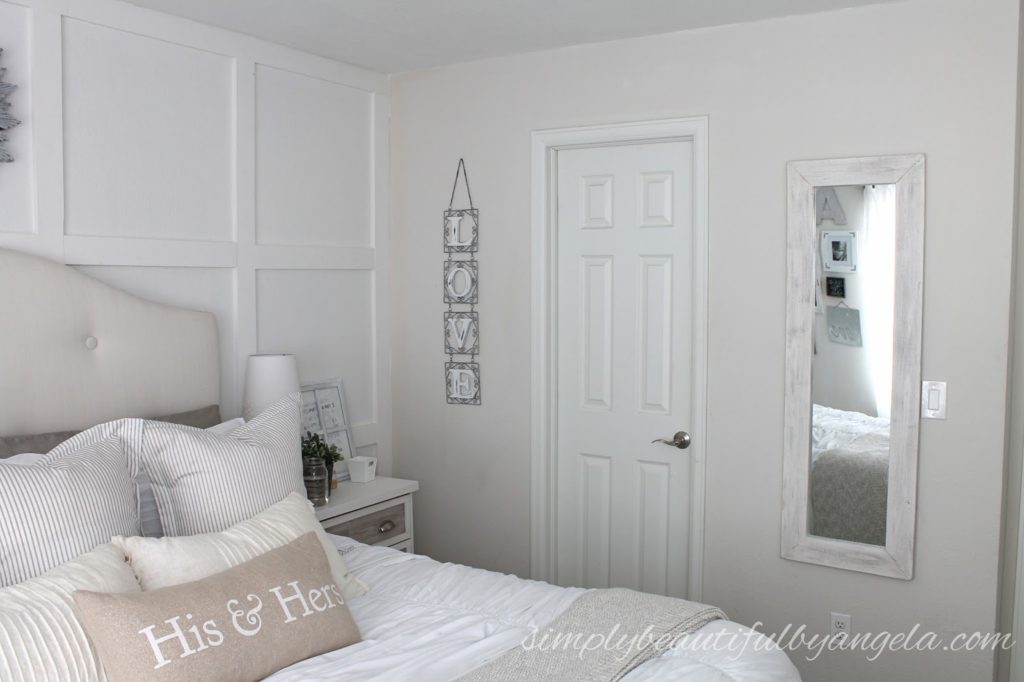
On the other side of the bathroom I placed a full length mirror. We have one in our walk in closet which is on the other side of the bathroom, but there are times that we would both cram in there while getting ready so I decided to make another one for the room.
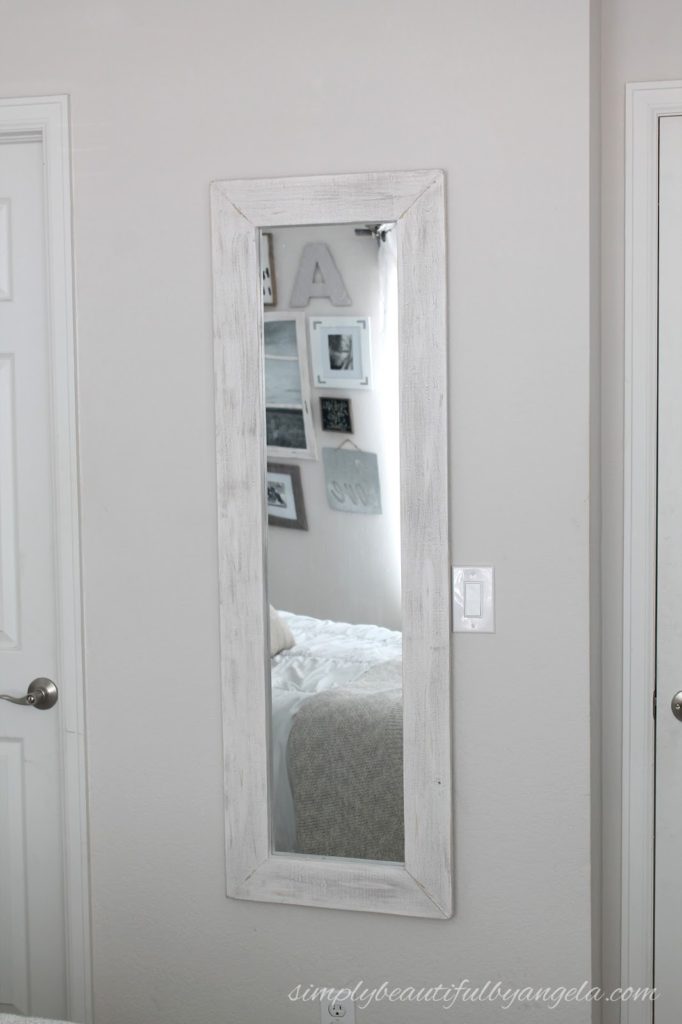
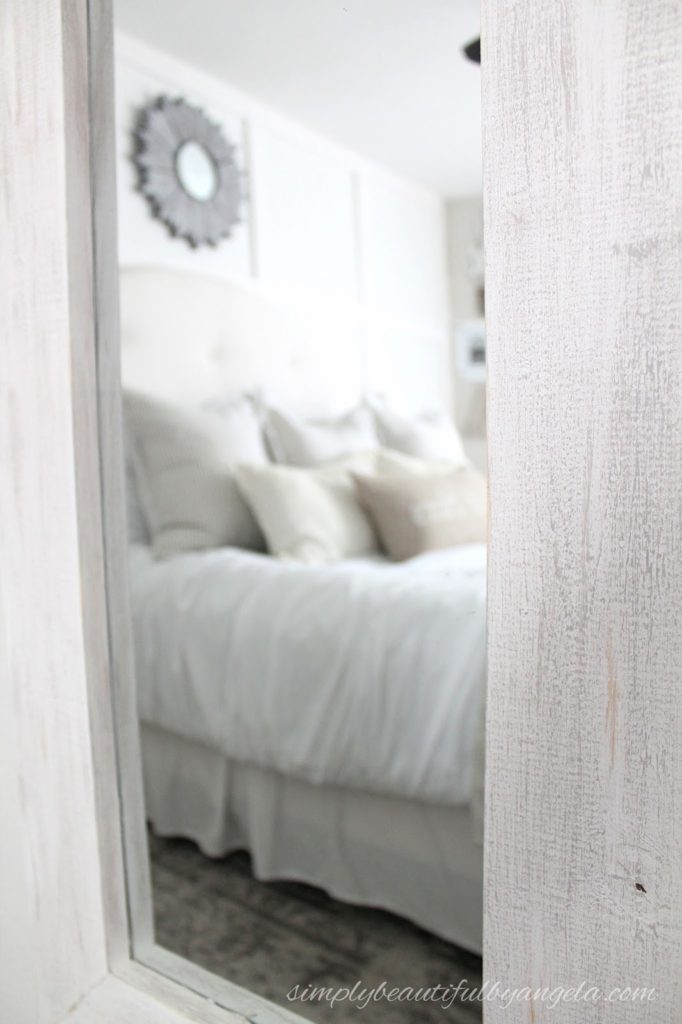
It’s just one of those cheapo $5 ones from Walmart. I ripped the old frame off and built a new one with a couple of 1x4s. You can read about that here.
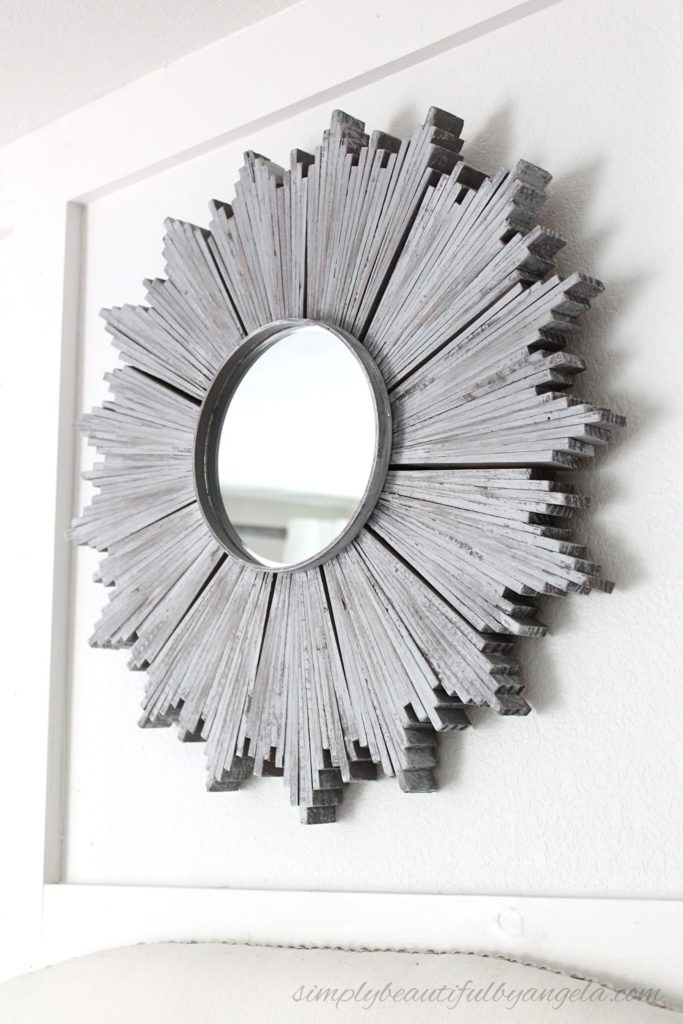
Above the bed my DIY sunburst mirror is the perfect statement piece.
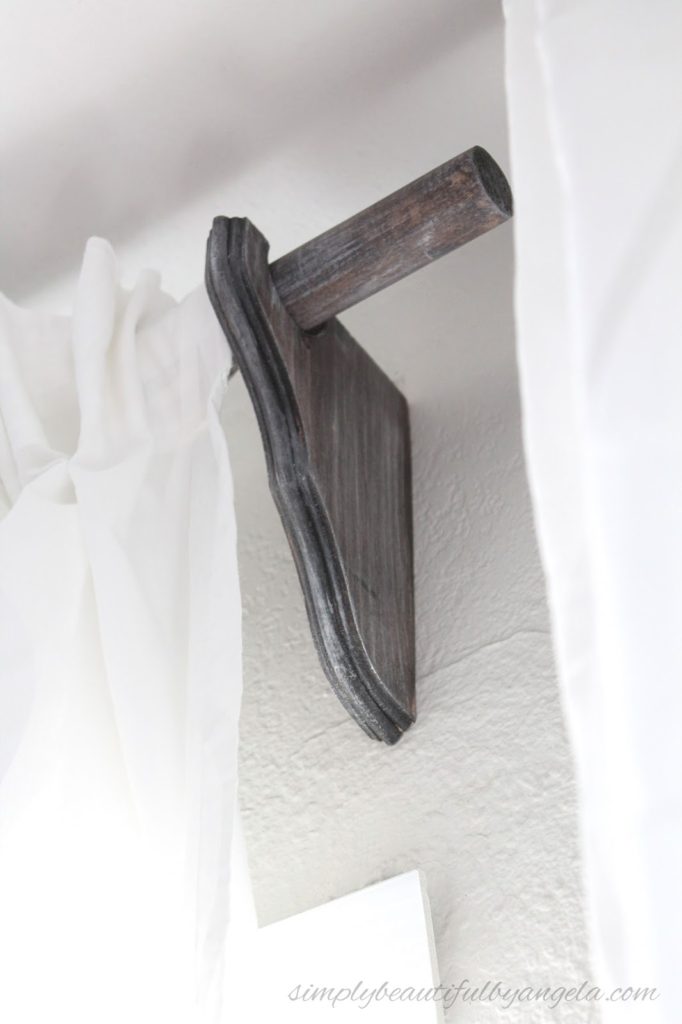
Finally, I replaced the curtain rods with some DIY wood ones to fit better with the farmhouse style I was going for. They go for a ton of money at the store but were super affordable to make using some basic wooden dowels and corbels from Home Depot.
It feels so good to have this room finally done! I’ve been thinking about completing most of these things since we moved in over two years ago but just kept putting it off.
A lot of things in this room were a DIY (which is in part why the entire transformation was so exhausting!) and I promise to share those tutorials in the next coming weeks. After I catch up on some much needed sleep in my new dreamy room, of course!
Be sure to check out the other amazing One Room Challenge reveals here. I can’t wait to go through them all myself 🙂
- DIY Upholstered Headboard
- DIY Upholstered bench
- Safavieh Adirondack Rug
- Dresser (already owned but gave a makeover, similar linked here
)
Bedding:
- BHG Ruched Comforter Set
- Threshold Sweater Knit Blanket in Sour Cream/Hot Coffee
- Threshold Performance Sheet Set in Seagull
- DIY Euro Pillows
- VITFJÄRIL Cushion covers
- His & Hers pillow: Homegoods (similar linked here
)
Nightstands:
- IKEA Rast Nightstands
- Mainstays Washed Wood Lamps
-
DRUVFLÄDER plant pot (I white washed mine)
-
“Stuff” metal bin: H&M
-
Candle in concrete holder: H&M (similar linked here
)
-
Metal caddy: Joann’s (similar linked here
)
-
Nightstand pictures (painted frames and added screen trim/scrapbook paper)
- Mini milkcan: Hobby Lobby (similar linked here
)
- Cotton stems
- Glass jars with holder: Gordmans (similar linked here)
- “I Love Us” Block
(I painted the heart)
- Candle sticks: Goodwill makeovers (similar linked here
)
-
“Love” wall hanging: Hobby Lobby (similar linked here
)
-
Faux window: made with Goodwill poster frame and screen trim
-
White frames: Ross (added L-brackets)
-
Barnwood frame: Ross (similar linked here
)
-
Large metal embossed initial: Michaels
-
Large rustic wooden initial: Joann’s (similar linked here
)
-
Large rustic ampersand: Hobby Lobby (similar linked here
)
-
“Love you to the moon and back” block: Gordmans (similar linked here
)
-
“For like ever” block: Gordmans
-
Tin “love” cut-out: Vintage market (similar linked here
)
Other:
-
- DIY laundry hamper
- Wire nesting baskets: Homegoods (similar linked here
)
- DIY wood curtain rods (tutorial coming soon!)
- Curtains (discontinued at IKEA but similar to these)
