Have you noticed that flocked trees seem to be all the craze lately? I know that they’ve been around for awhile but it seems like they’ve been getting more and more popular over the last couple of years.
I hadn’t really paid much attention to them but last year I starting thinking that our Christmas tree was too dark. And of course whenever I have this problem anywhere else in our house I add white so it only made sense that we needed a flocked tree!
However when I started looking at the prices of them I was so shocked to see how expensive they are. Since it didn’t fit in the budget this year to purchase one I decided attempt a DIY version for the time being!
- Sno-Bond Flock
- Strainer Basket
- Water spray bottle
Here is what I started with. I’ve had this tree for about 6 years. It’s just a basic pre-lit 6.5′ from Walmart and only cost $35 so I wasn’t too worried if it didn’t turn out.


I purchased a 5 pound bag of Sno-Bond Flock but still have half a box left over and that’s after flocking this tree, a wreath, a 3.5′ tree and a mini tree. Unless you are going for a super heavy flock I would say that the 2pound bag would be more than enough for a standard sized tree.
I was reeeally nervous to get started but quickly found out that it’s pretty easy and next to impossible to screw up.
I began by spraying some water on to the area that I was working on to get it wet. I then sifted the the flock on while spraying more water.

That is key to getting it to “fluff.” I originally was just spraying, then sifting the flock on afterward but it wasn’t fluffing up like it should.

I worked from the top down, and after I finished a small section I would go back and spray it with more water (just a little!) since the water is what makes it set and harden.
It’s so easy that you can even recruit your kiddos to help! Tristan had a blast helping Mommy (and even little Lucas found it pretty interesting from his view in his walker!)

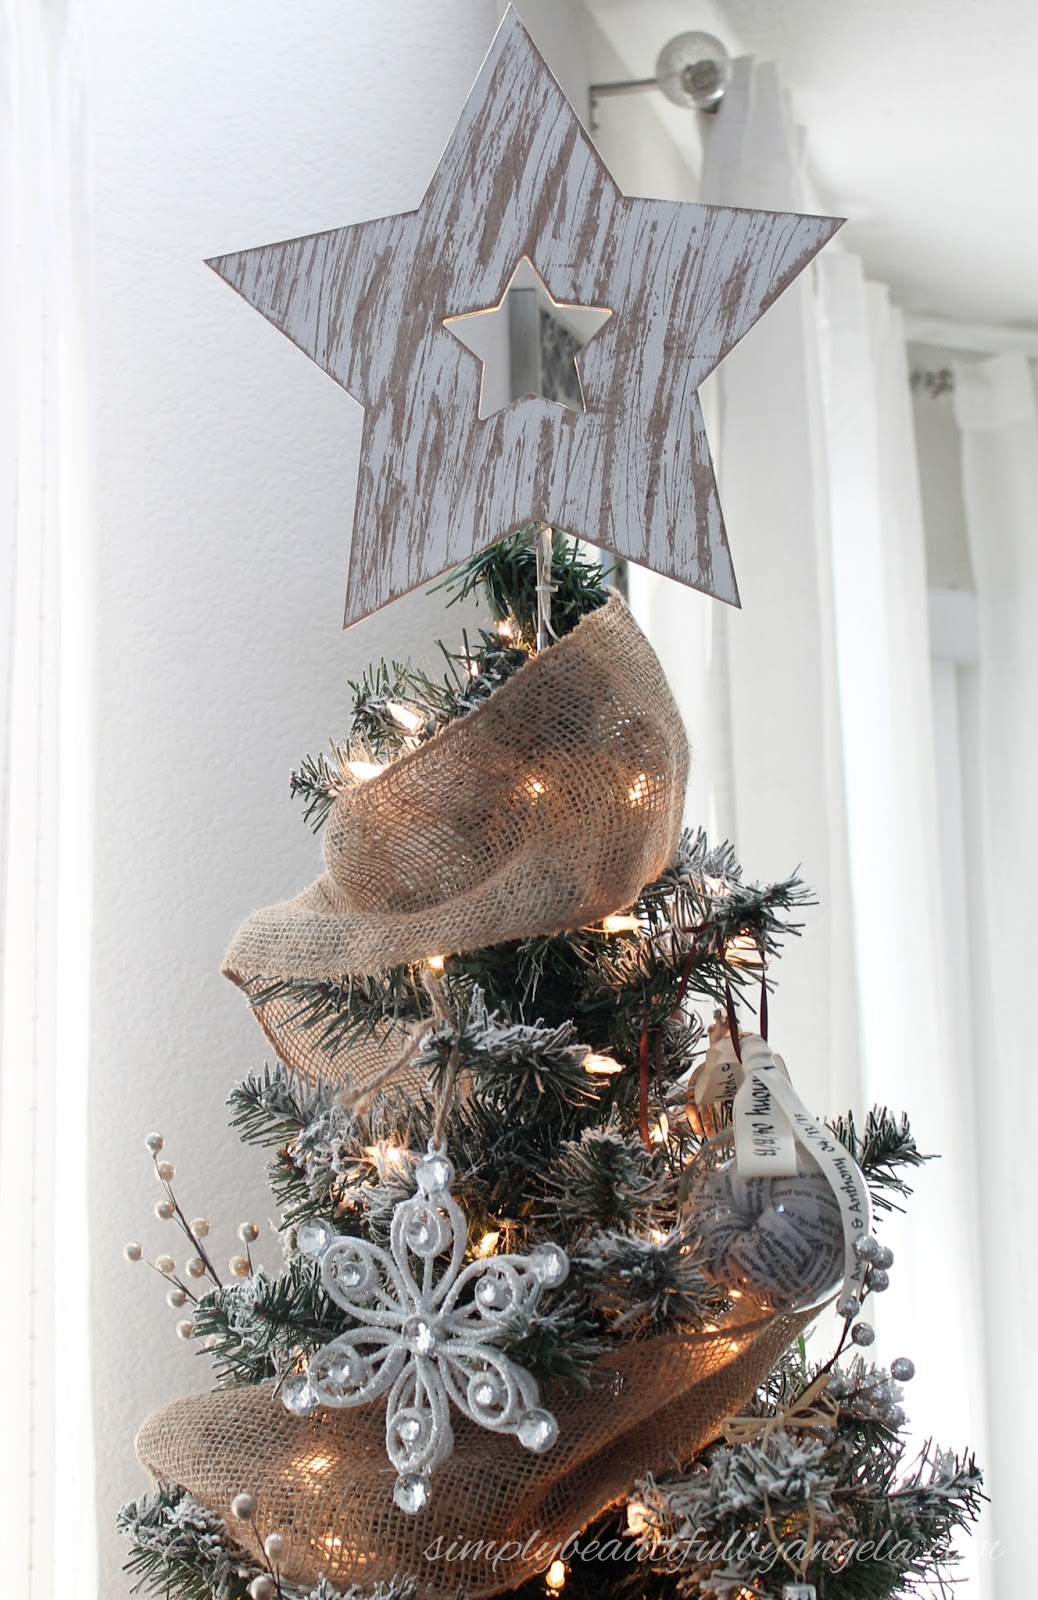
I let it dry in the garage for a couple of days and finally we brought it inside and dressed it up!


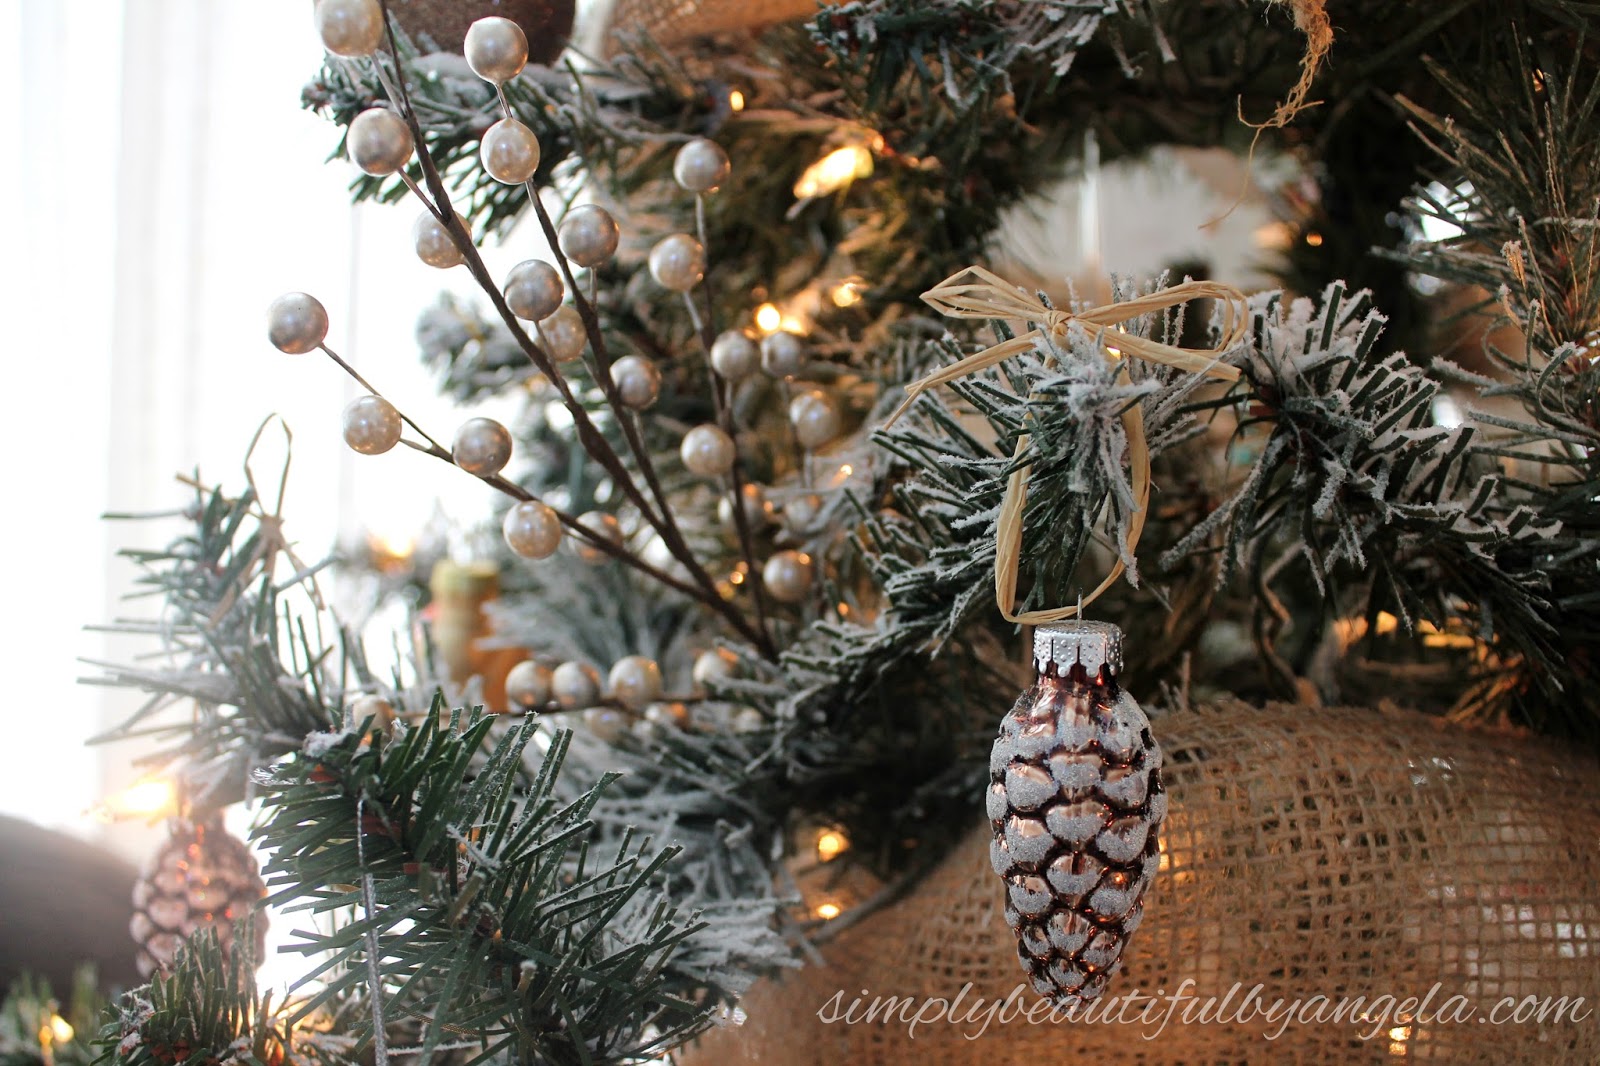
Not too shabby, right?!
Does it fully satisfy my desire for one of those super pretty flocked trees in the stores? Probably not if we’re being honest! Maybe it’s because I didn’t go as heavy as I would have liked with the flocking or maybe it’s because I just want a taller tree all together.
Is it a step up from how it was? Absolutely!


I’ll be back later this week for another tutorial, see you all then! 🙂

For the price it looks great!
Wow! It is looking beautiful. Sober and beautifully decorated. I just loved the Idea.
Wonderful change! Love how it is decorated, too!
It looks awesome! And your ornaments and color scheme are perfect! I love a flocked tree as well! Hoping for an after Christmas deal on that or an all white one!!!
I love this idea! I have four of the small 4' trees and would love to try this on a couple of those….next year! Did the flock have any ill-effects on the lights?
Hope you have a great weekend!
Carol
No not at all! In fact the bulbs that got flocked are actually super pretty 🙂