
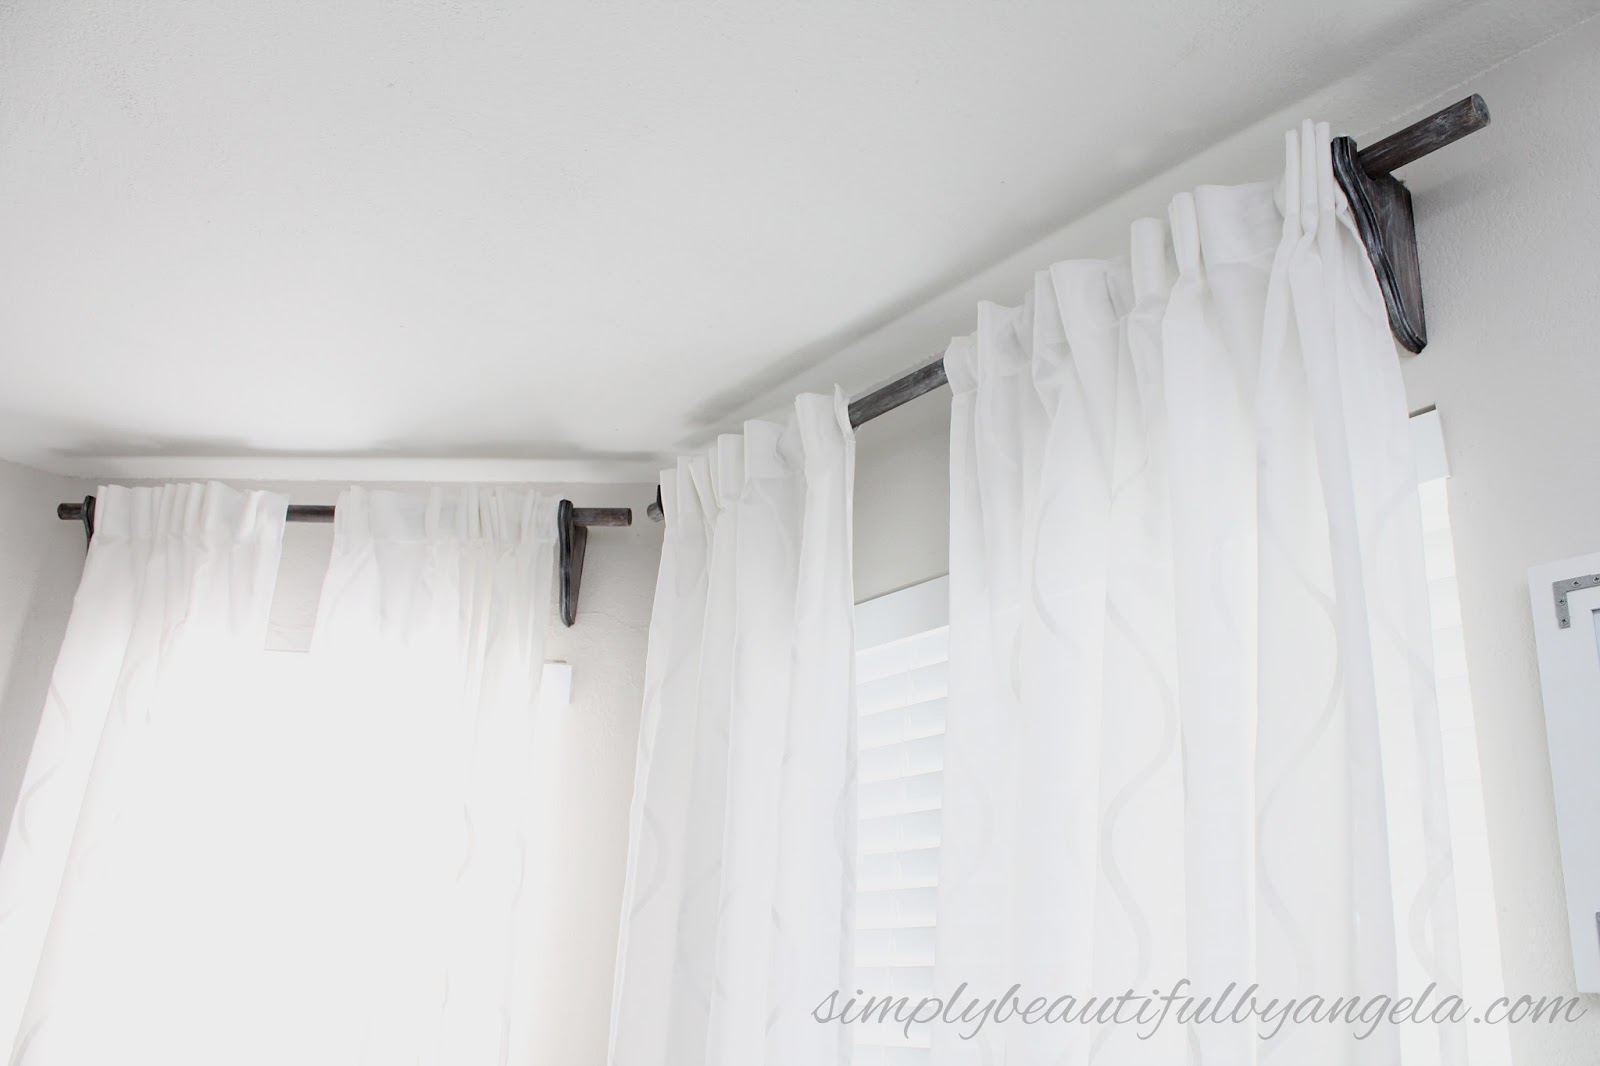
Hello everyone! I am back today to show you probably the easiest DIY that went into our Master Bedroom Makeover. It was so easy that it hardly needs a tutorial–so this is going to be short!
The curtain rods that we used to have in our bedroom were just a basic metal pole with some plastic finales so I wanted to replace them with something a little nicer. I had my heart set on some pretty wood ones to go along with the farmhouse style that I was using for this space.
Supplies Used: (Affiliate links may be provided for convenience. For more info, see my full disclosure here.)
- 6″ x 8″ Wood Corbels (actual: 5.125 in. x 7.125 in.)
- 1-1/4″ Wood Dowel
- 1-1/2″ Hole Saw
- Rust-Oleum Wood Stain in Kona
- Medium Grit Sandpaper
- Wire Brush
- Paint
- Chalky Clear Sealing Wax
We began by measuring out where we wanted the dowel to sit on each corbel.

Next, we used our 1-1/2″ Hole Saw which is about the coolest little tool ever!) to create a semi circle.
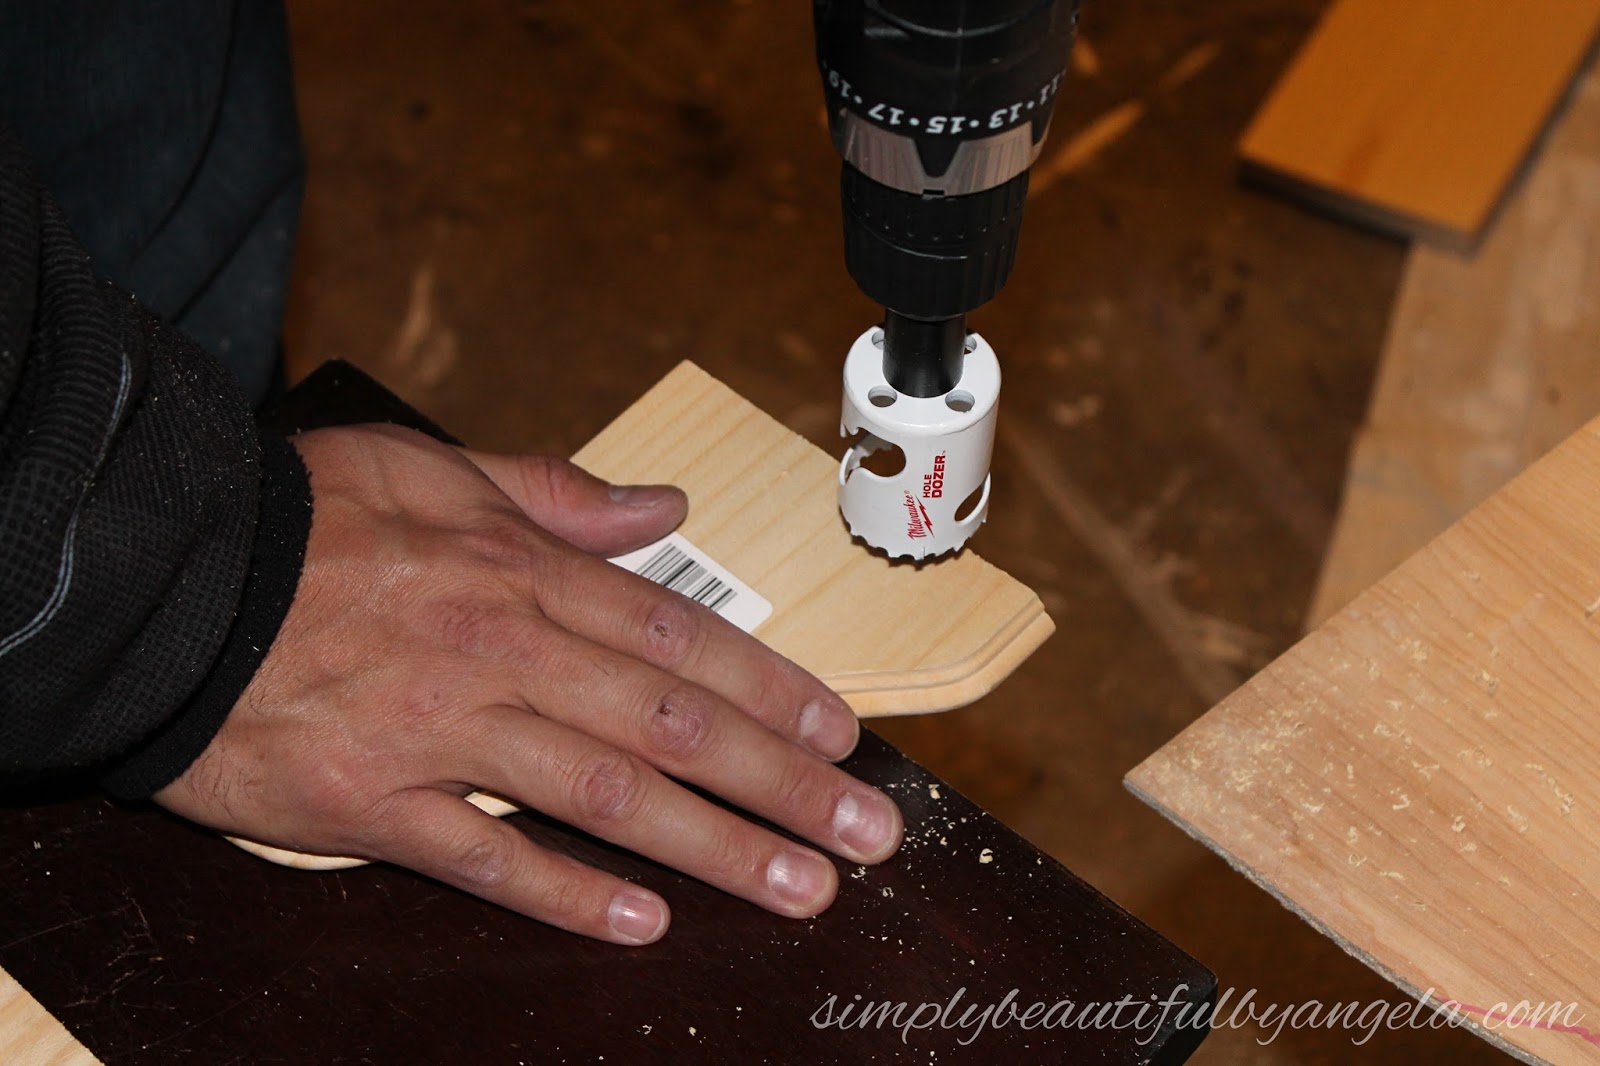
Since the drill bit needs to attach into the wood first we actually ended up with slightly more than a semi circle which is why we used a hole saw a little larger than our wood dowel.

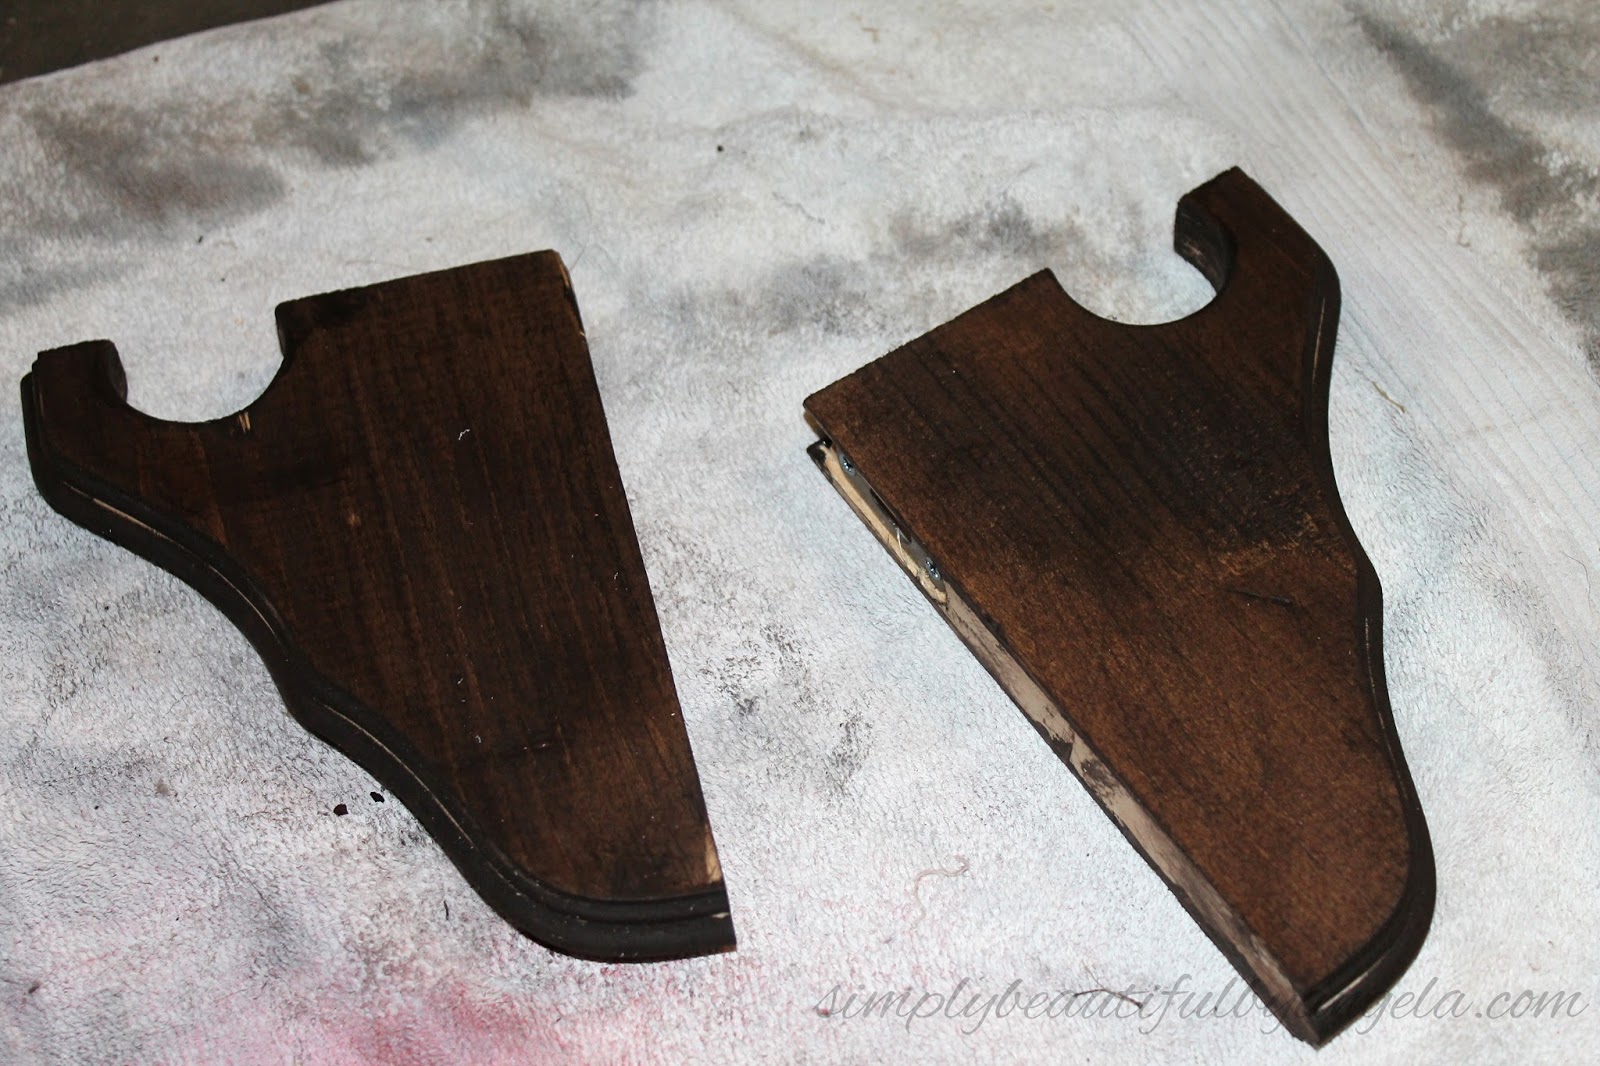
I sanded the rough edges down and then applied a coat of Rust-Oleum Wood Stain in Kona to all of the corbels and the wood dowel.
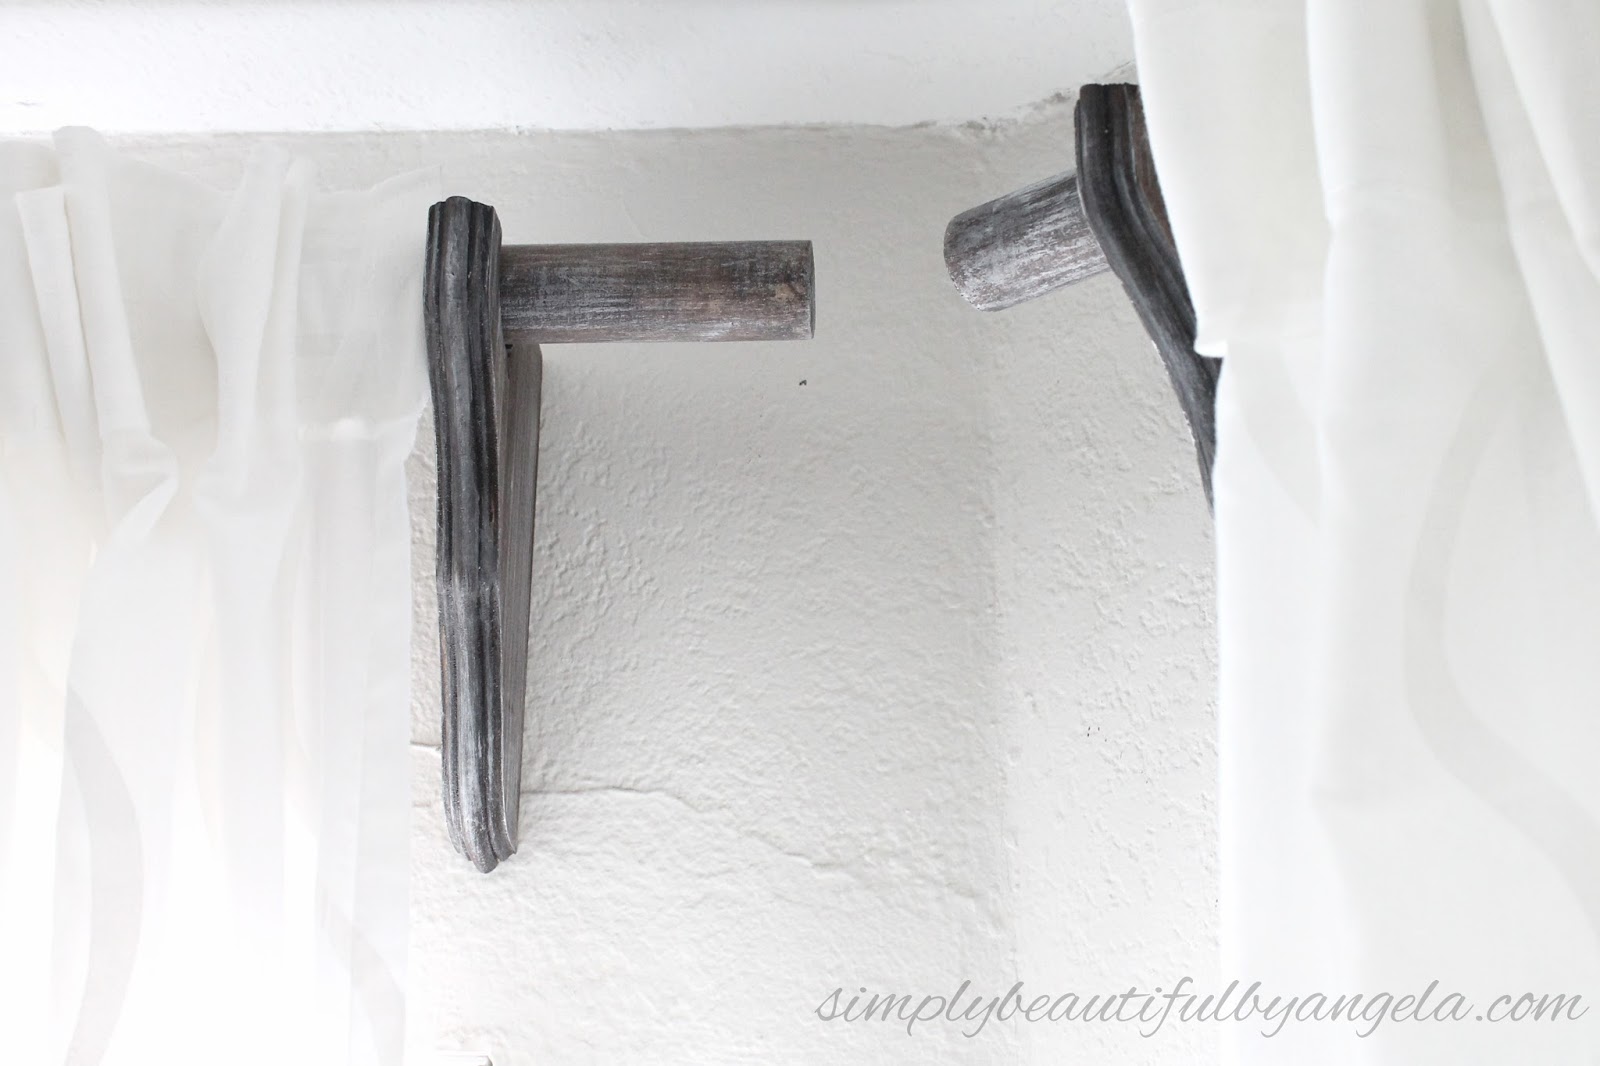
Next was the fun part! I used a wire brush to create a deep grain which helped give them more of a rustic industrial feel.

Basically once the stain was dry I went back over and dry brushed some white paint on and sealed it with my trusty Chalky Clear Sealing Wax which really helped bring out the cool details.
The corbels came with metal keyhole plates on the back which made them nice and easy to mount to the wall.


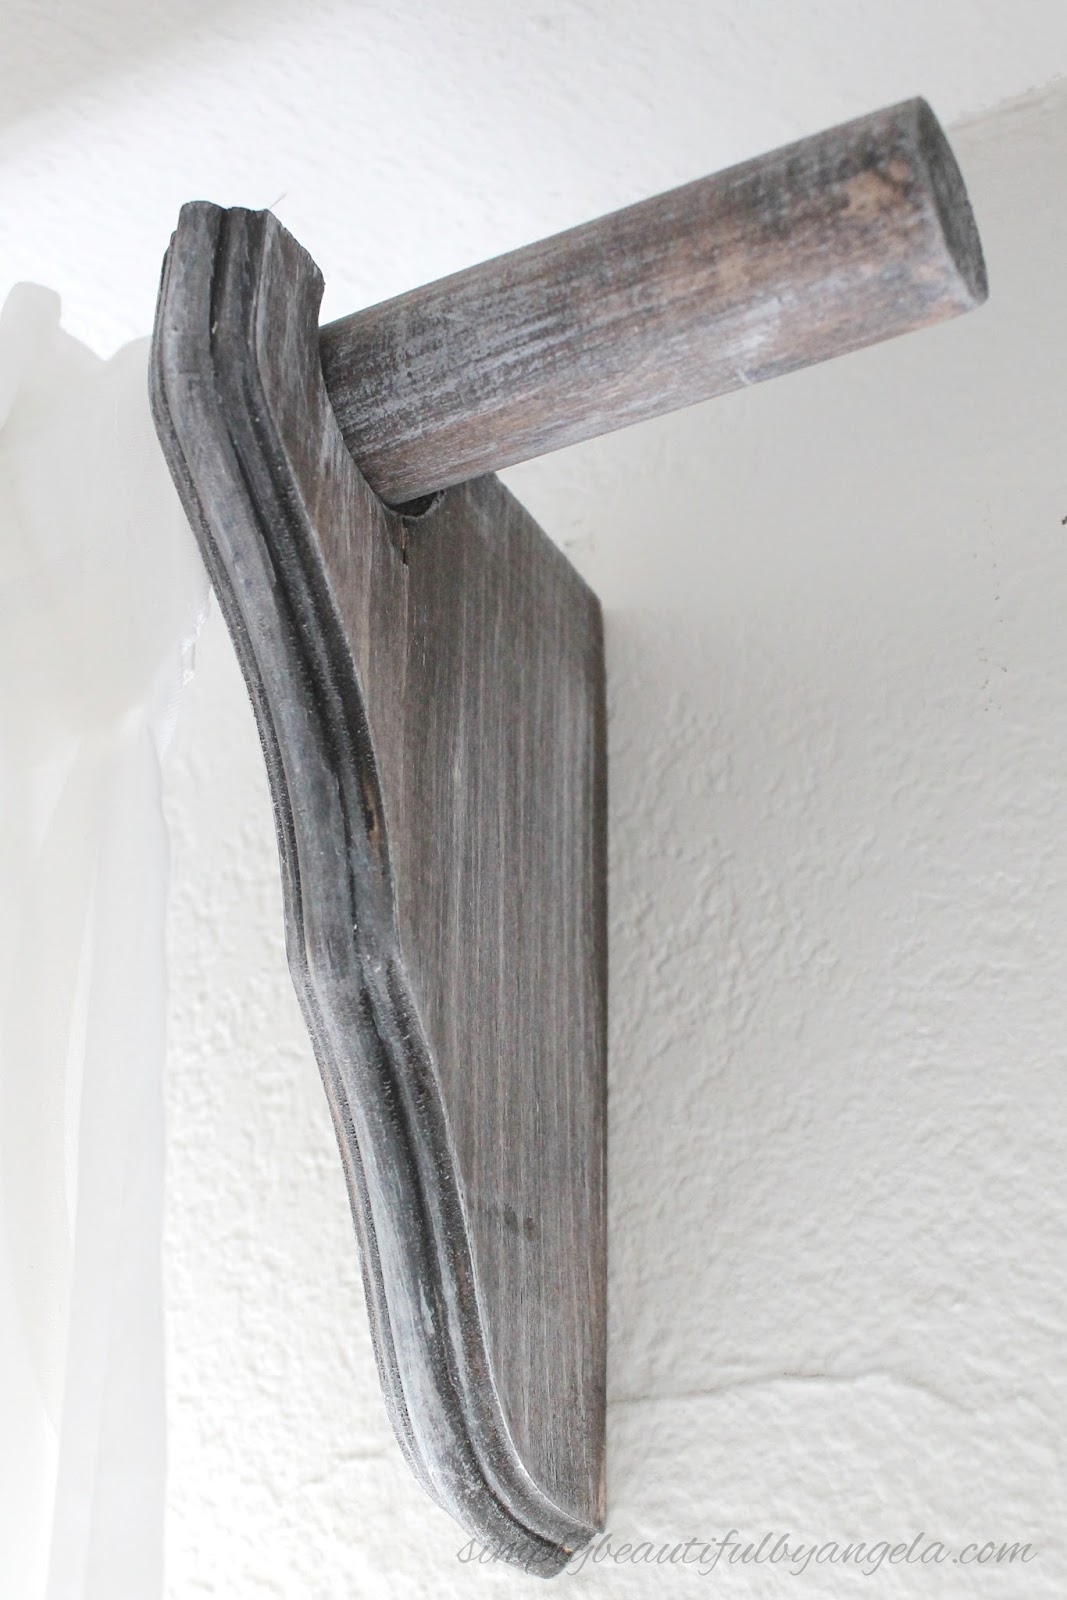
The supplies to make two pairs only cost a little over $20 so I am super happy that I decided to switch them out!

Wowsa, your bedroom is gorgeous and this is a superb idea. They fit right in and add just the perfect amount of pop! Pinning & sharing!
Thank you so very much I appreciate that!
Beautiful! I've been without bedroom curtains for 4 years…I think it's time to change that!
Thank you Meg! These were so simple to make I'm sure you will be happy if you decide to try them! 🙂
I am not very fond of curtains but if as I go through your blog post. I am looking forward to made this curtains rod.
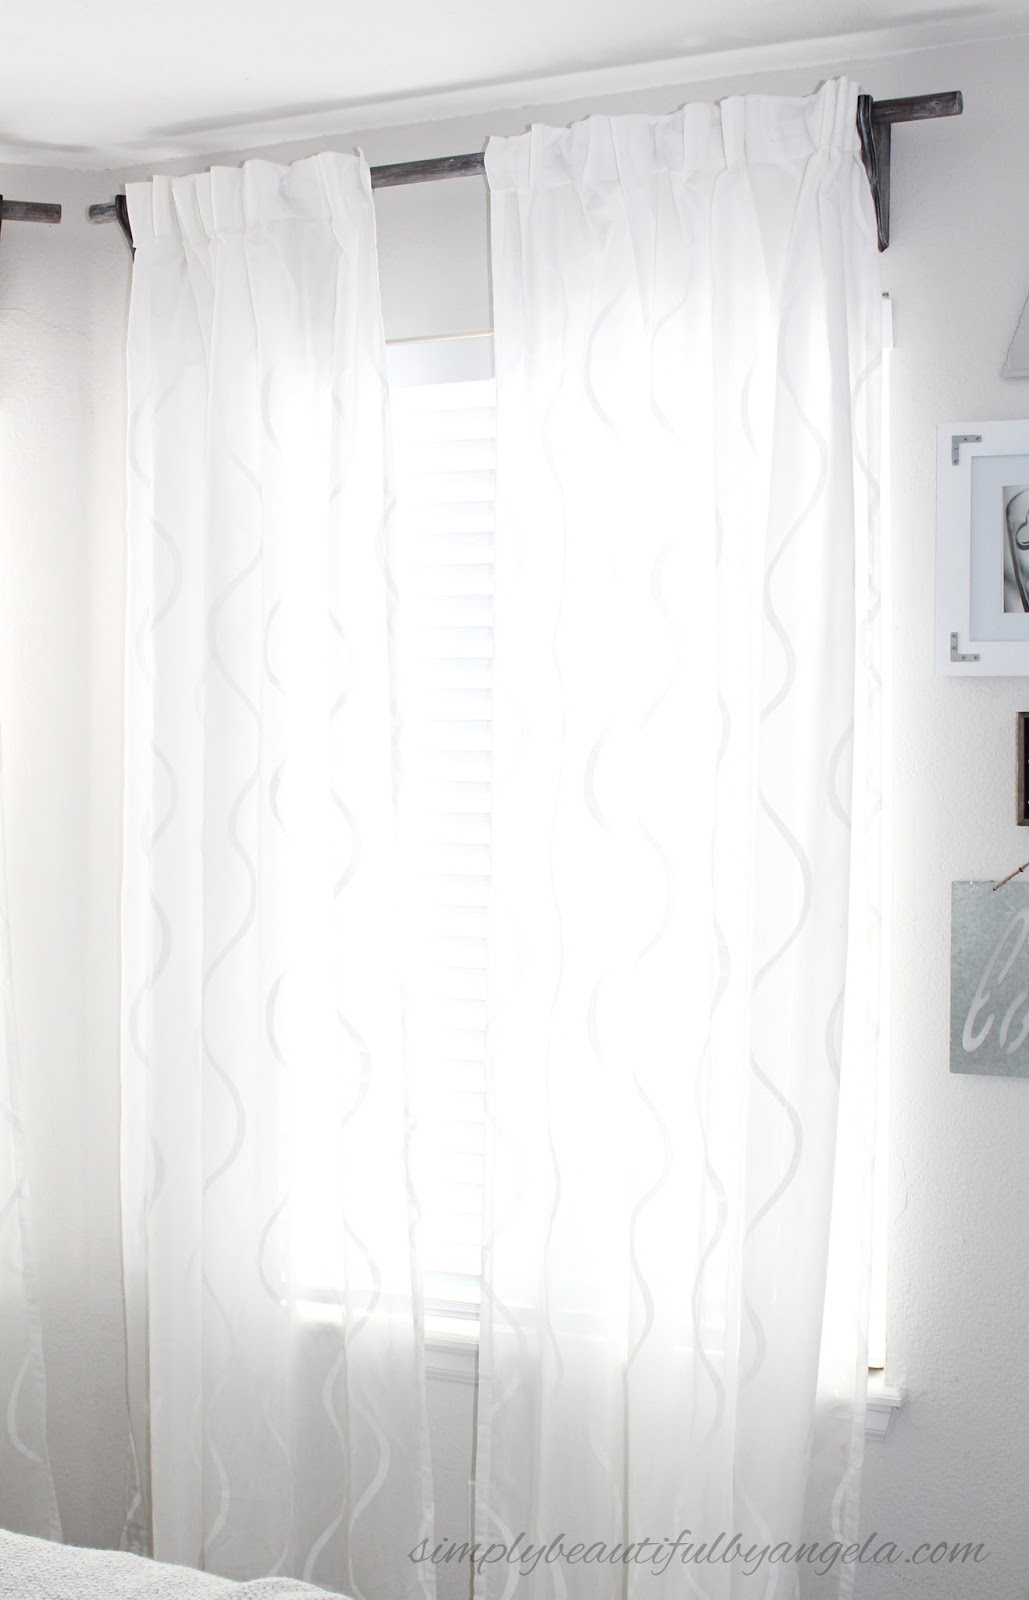
Thank you Lindsey! I'm picky with curtains too–all of ours our sheer and white so they add a touch of decor but still let light in! 🙂
What a great idea! I love the ingenuity! I want to extend an invite for you to share this at our weekly link party which runs from Wednesday-Monday every week. Hope to see you there! http://www.thelifeofjenniferdawn.com/2017/02/handmade-gifts-for-any-occasion-and.html
Beautiful! Can I ask where you got your curtains?
Thanks Belinda! I got them from IKEA several years ago and I belive they discontinued them but still have several white curtains for super cheap 🙂
Wooden products are being used for multiple purposes such as; flooring, furniture, materials, sports accessories, and many others. Due to its beneficial features and specifications, most of the people are used to prefer woods as their first ever choice. Especially I recommended the use of woods in flooring such as; sports surface and home flooring, it requires less repair and maintenance and also these are cost effective.
So, I bought these brackets and put in my hole.. Mounted onto the wall but they spin : I have no idea how to fix it so they dont twist, since theres only one keyhole at the top…
Not sure what to do, but this wont work :
You have to put the screws in further so you end up pressing the wooden keyhole in to the drywall and then pull down. If the screw is far enough in it won't give the brackets any play room to spin around because the drywall will hold it in place. I hope that makes sense! If not feel free to send me an email and I can send some pictures 🙂
Can you give tips on how you went over with the paint? When I tried this the white paint was too much and they turned more white and cover d the stain.