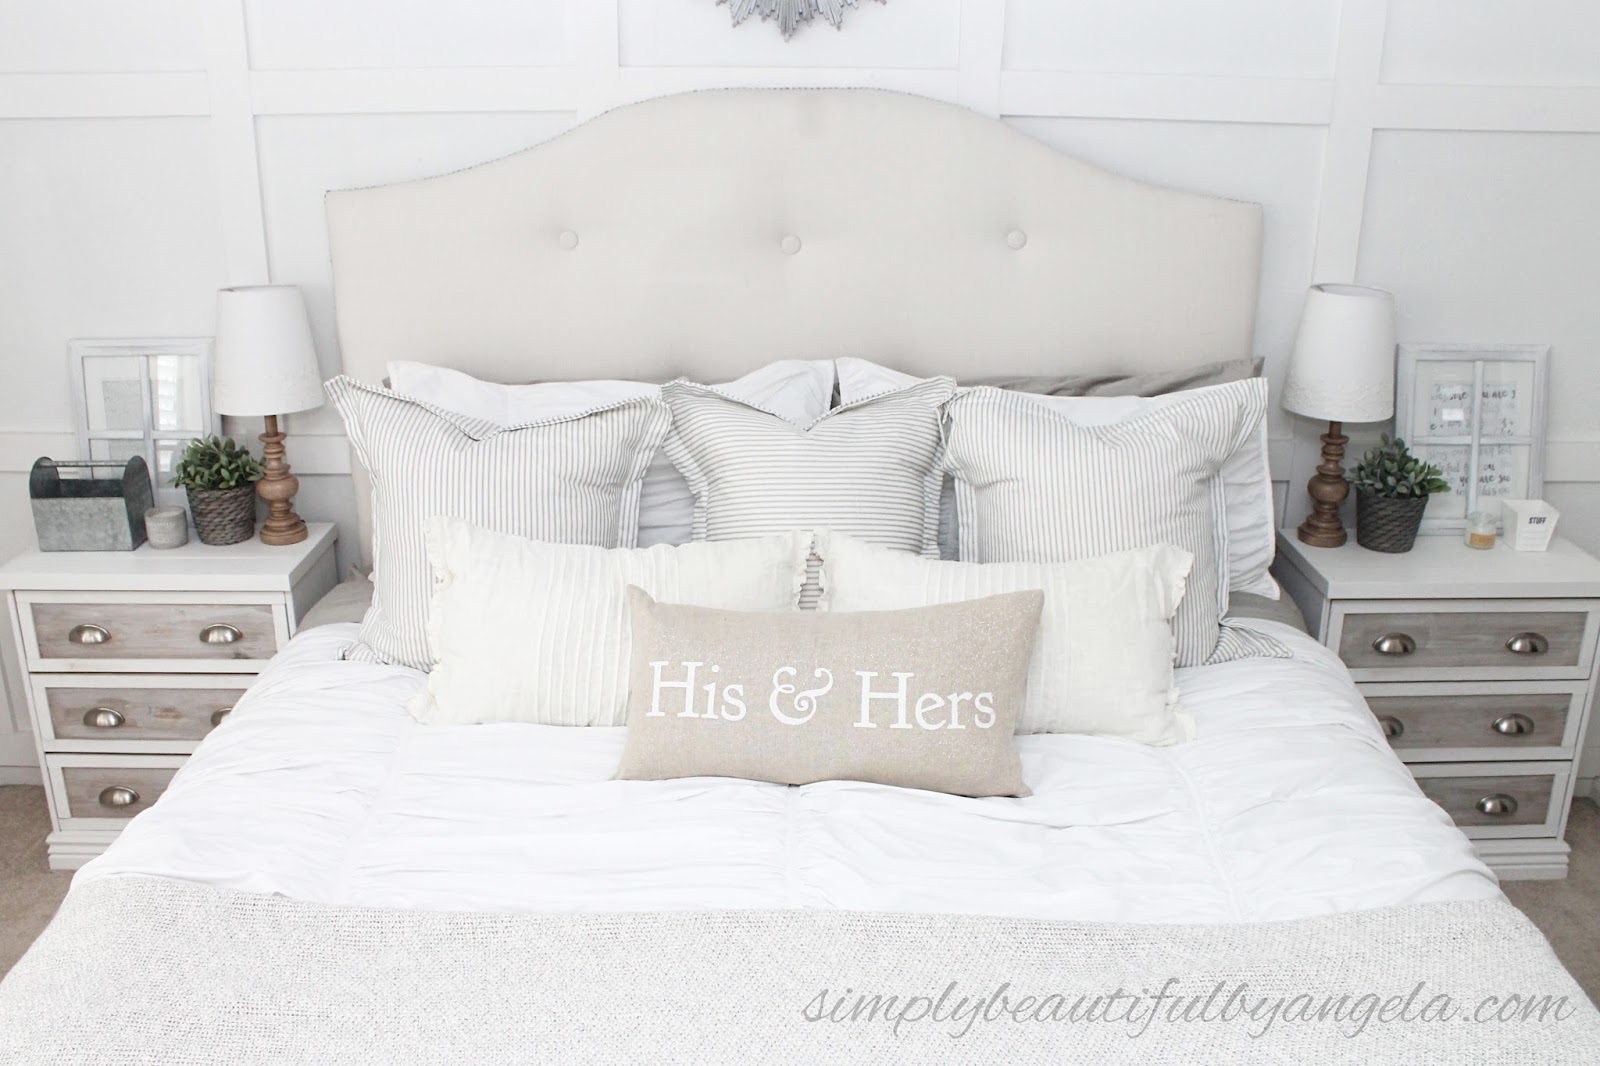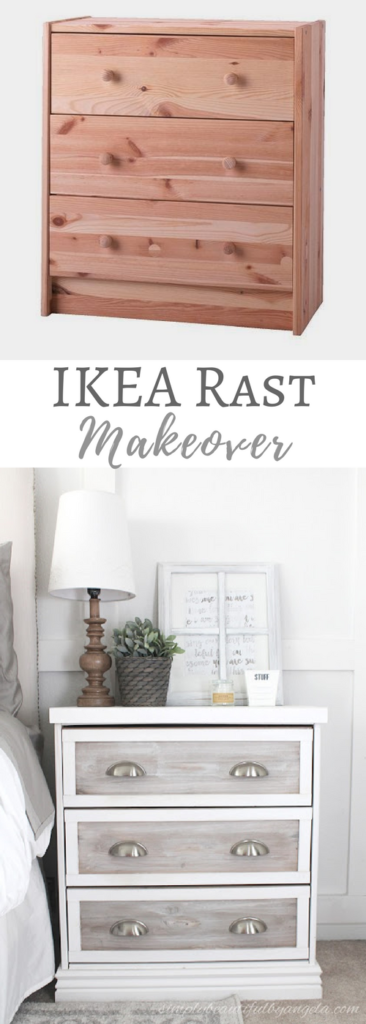


Pretty nice, right? But over the last two years I started having ideas about how I could have made them even better. So when I decided to give our whole bedroom a makeover for the One Room Challenge I decided to give them a second makeover!
- 2- 1x4s @ 24.375″
- 1- 1×6 @ 24.375″
- 1×4 scrap plywood and a 1×4 around 2′ (or anything you can find to build up the bottom lip to give the molding something to attach to)
- Lattice Trim (I used around 6′ per dresser)
- Moulding (I used around 5′ per dresser)
- Liquid Nails
- Wood Filler
- Orbital Sander
- Minwax Wood Stain in Provincial
- White paint
- White Caulk
- Chalky Clear Sealing Wax
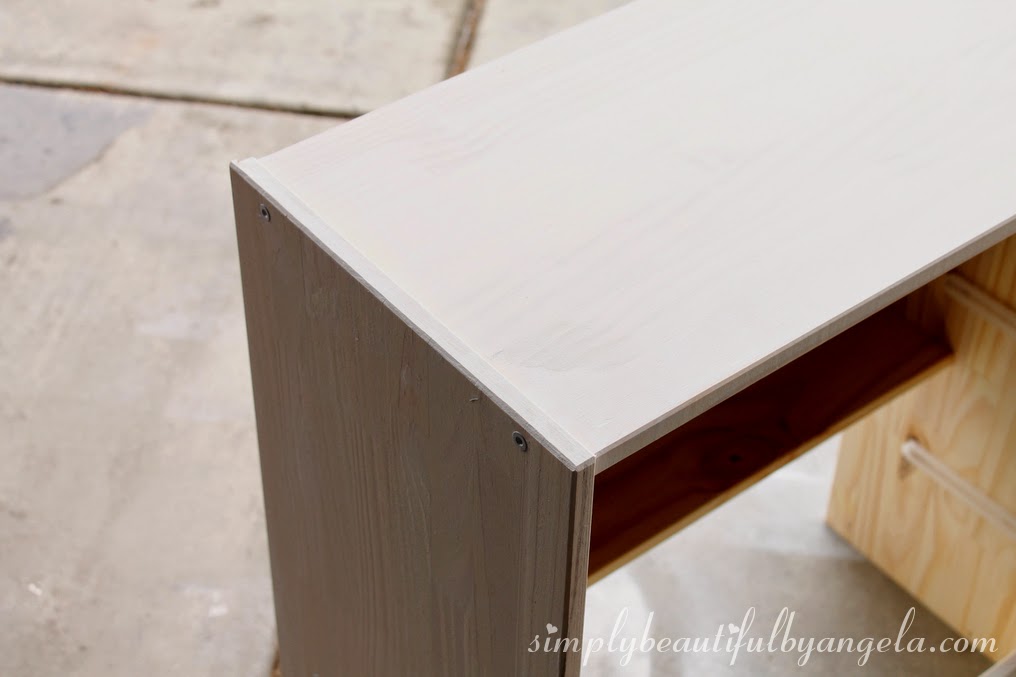
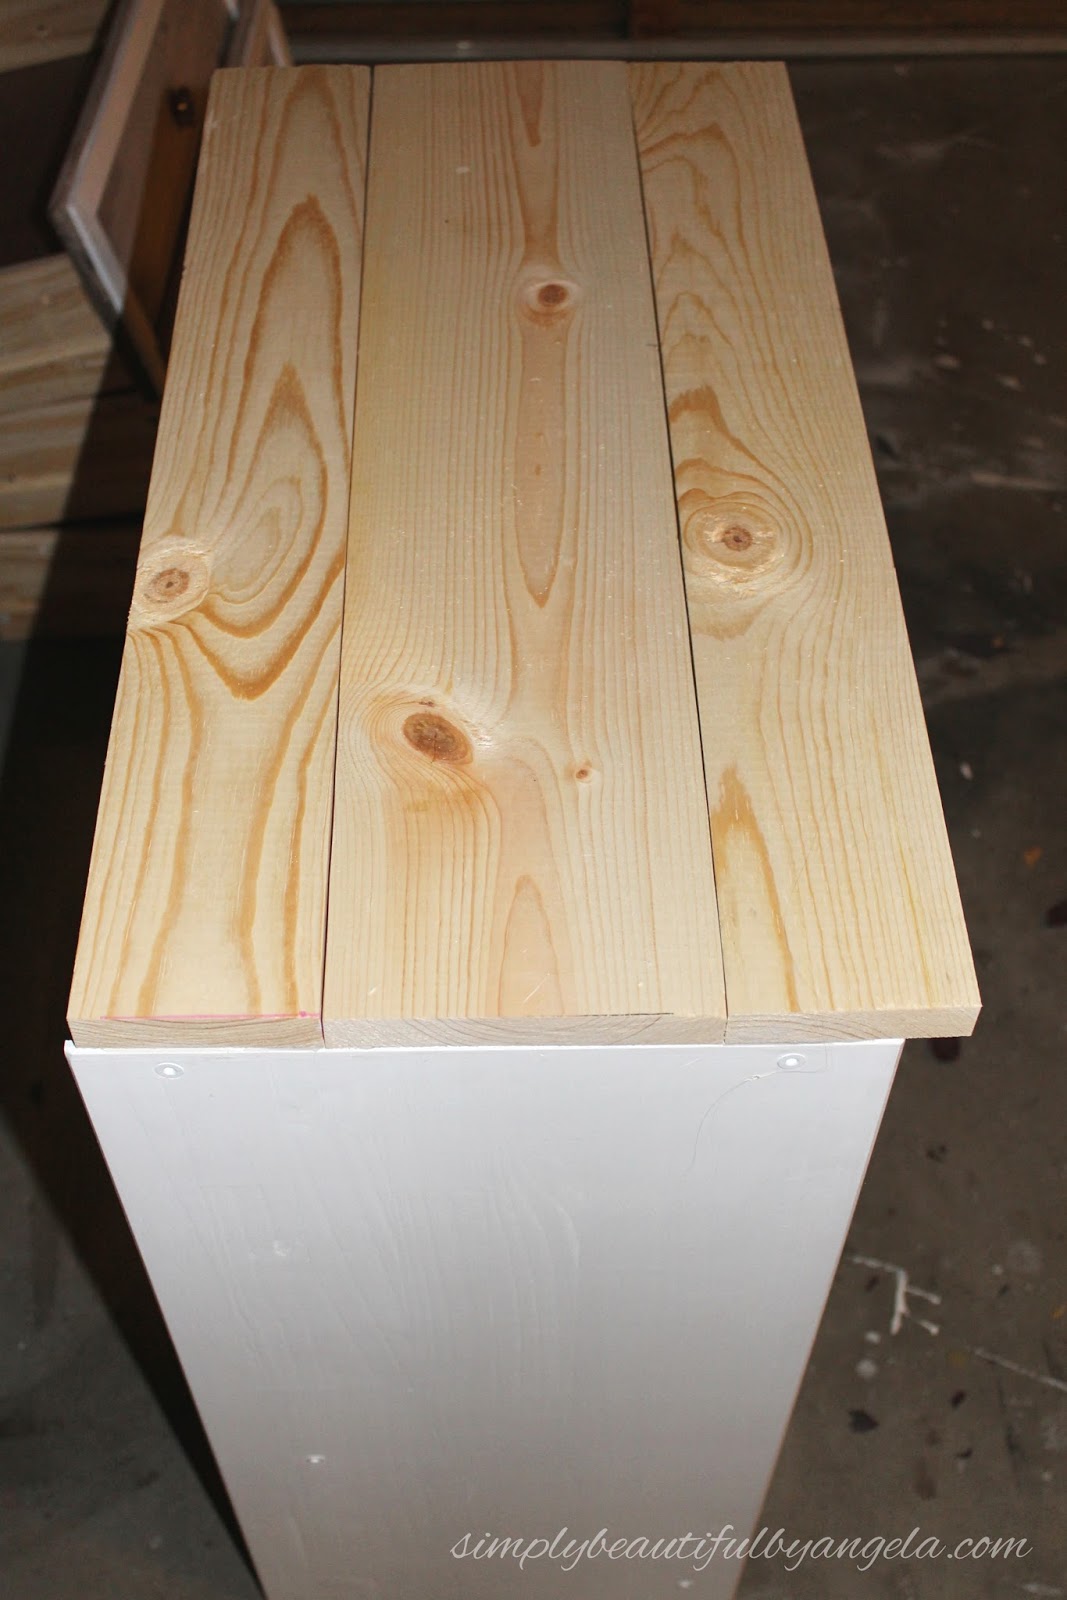
I first wanted to plank the top in order to hide the raised edges that were on either side. To do this, I simply attached two 1x4s and a 1×6 directly to those edges using liquid nails. You can see in the picture below that there will be a little overhang and I chose to place it over the front of the dresser.

I then attached a 1×4 on top of those. I used a piece of scrap lattice to hold those pieces up while they were drying so that it was almost flush with the top.

The next day I went back with some lattice and framed out the top. I countersunk my nails by using a large screw to tap them in (perfect solution if you don’t have a nail gun that sinks them for you) and then filled the holes in with wood putty.

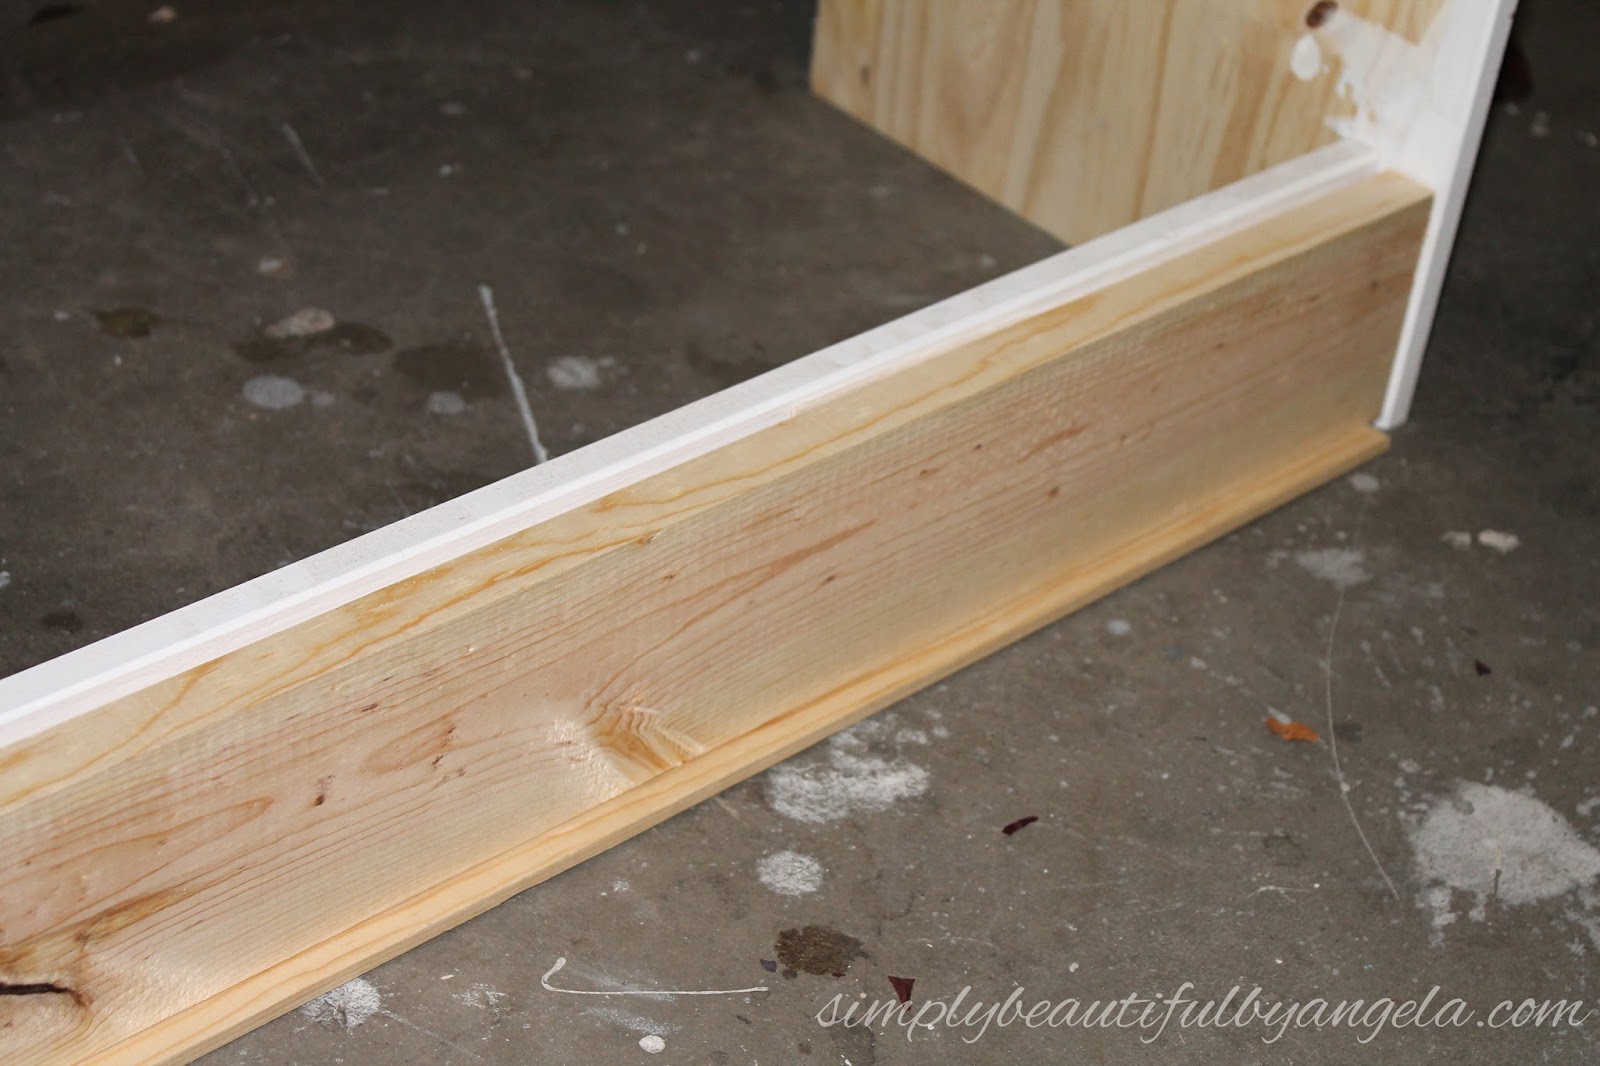
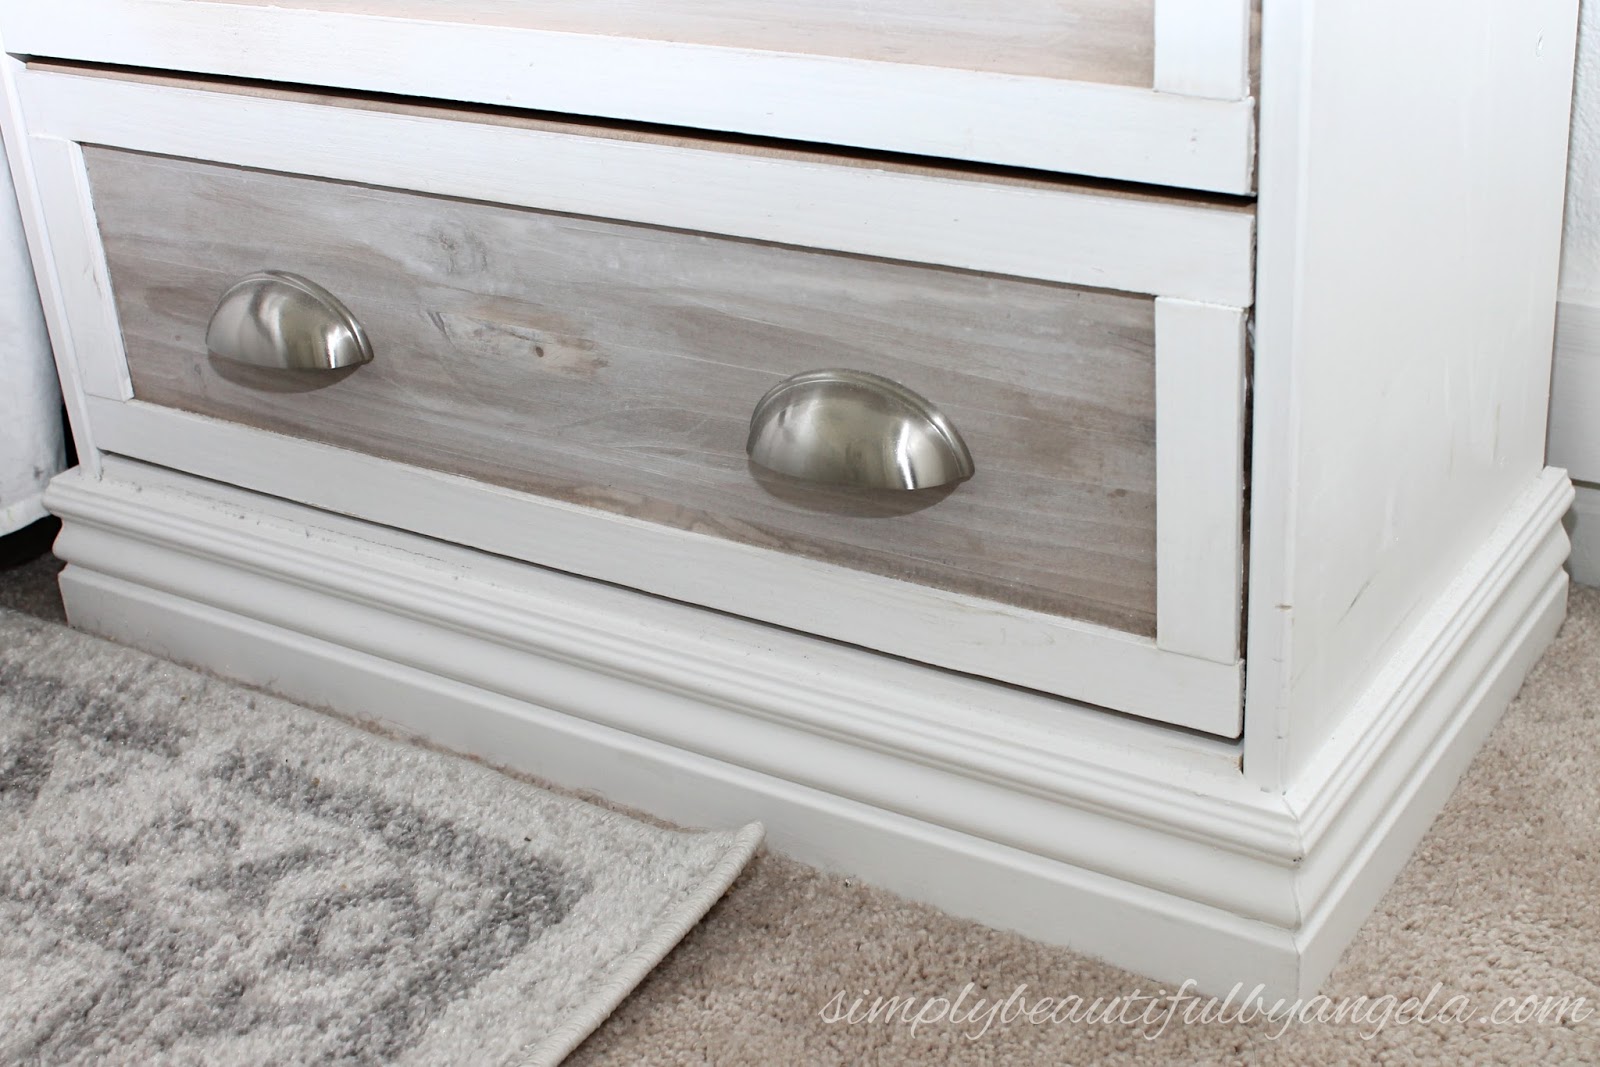
I used a miter saw to cut my moulding and attached it to the base using liquid nails. As you can see I decided that I only needed to put moulding on the front and the sides.
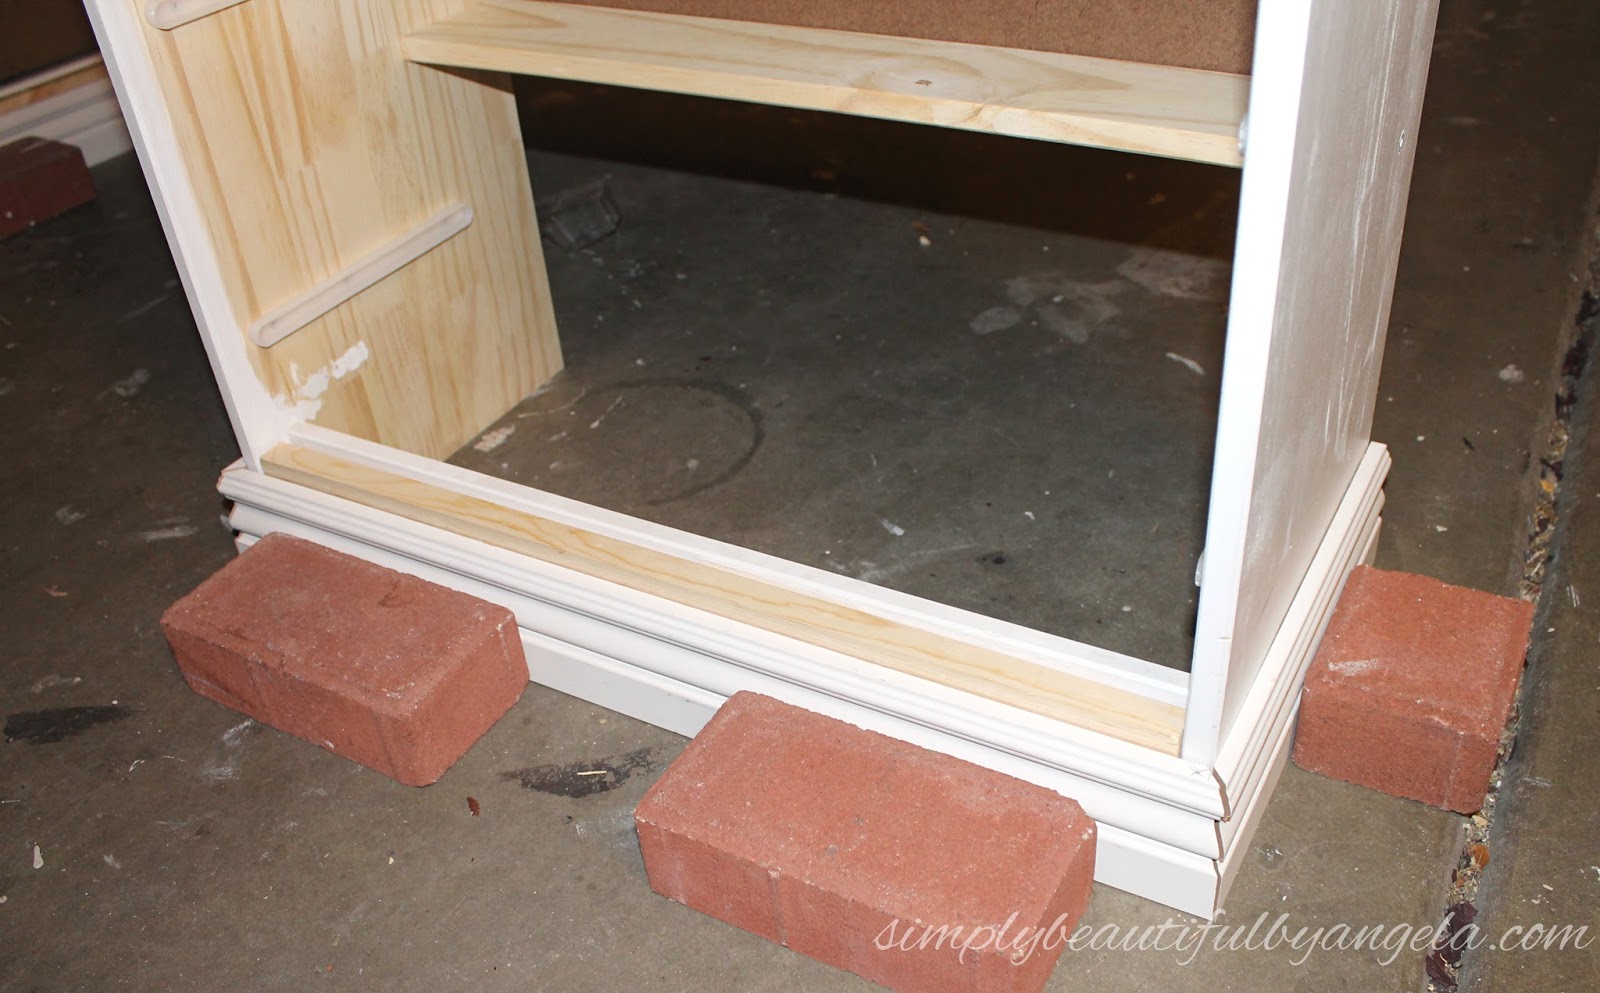
Once it was dry I went back with my trusty caulk gun and disguised the mitered cuts as well as where the molding meets the dresser.

After painting the new top and the molding I gave it all a coat of my Chalky Clear Sealing Wax that I recently discovered and love.

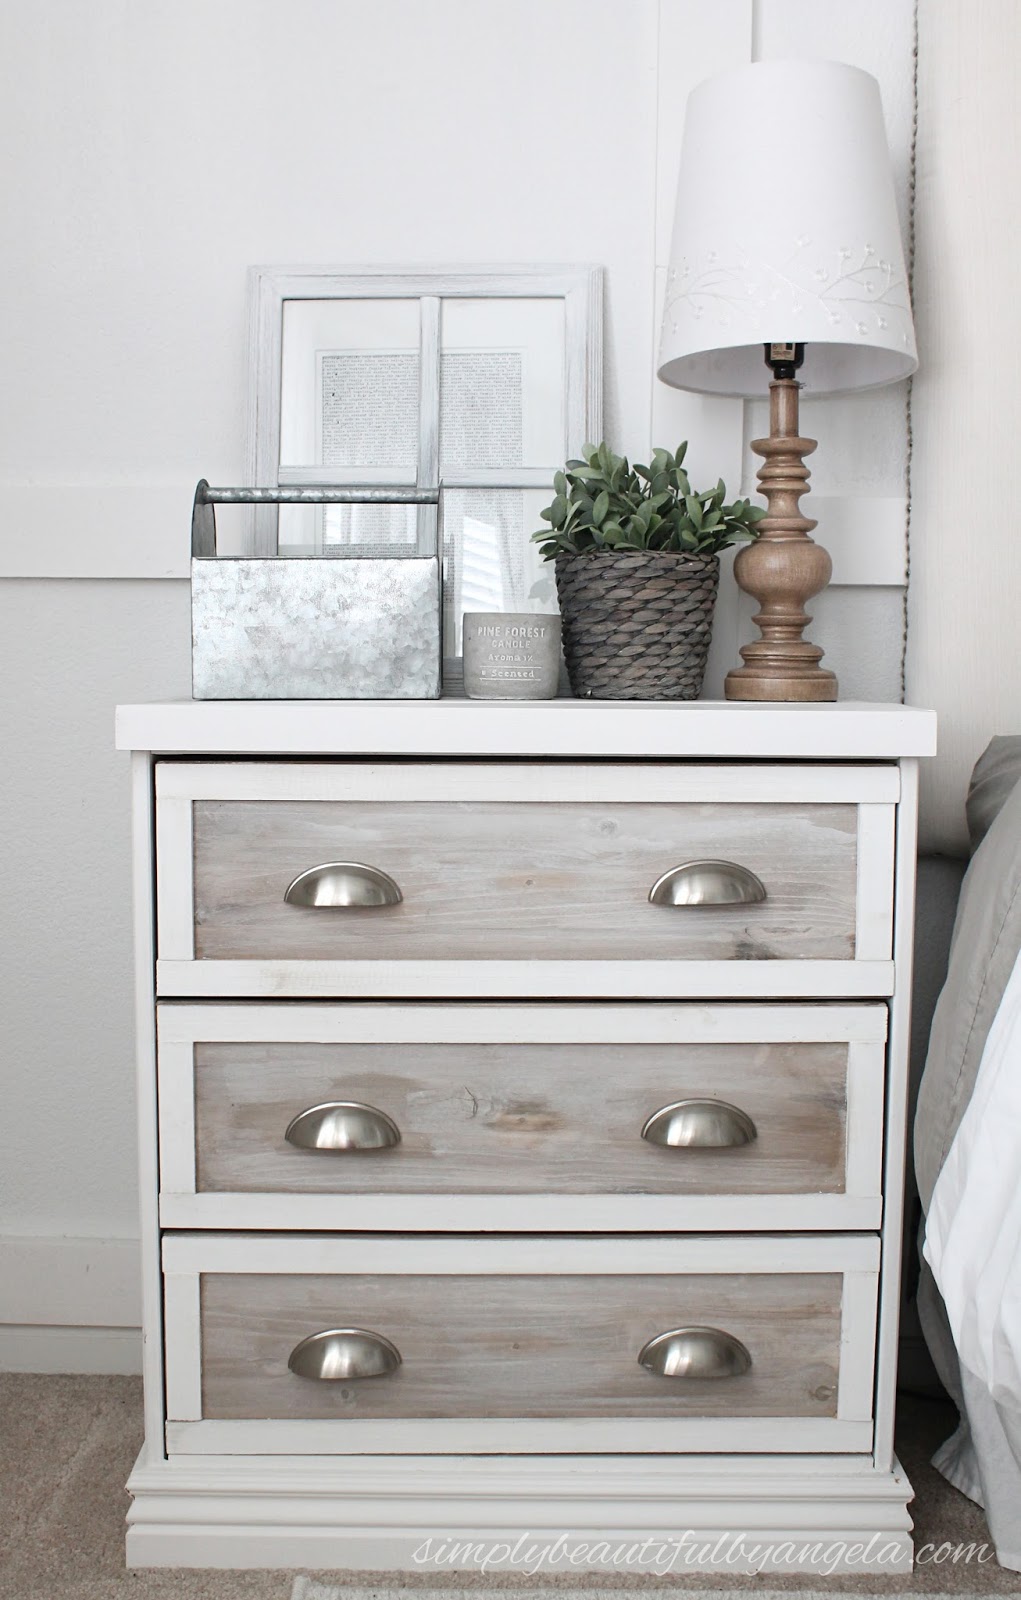
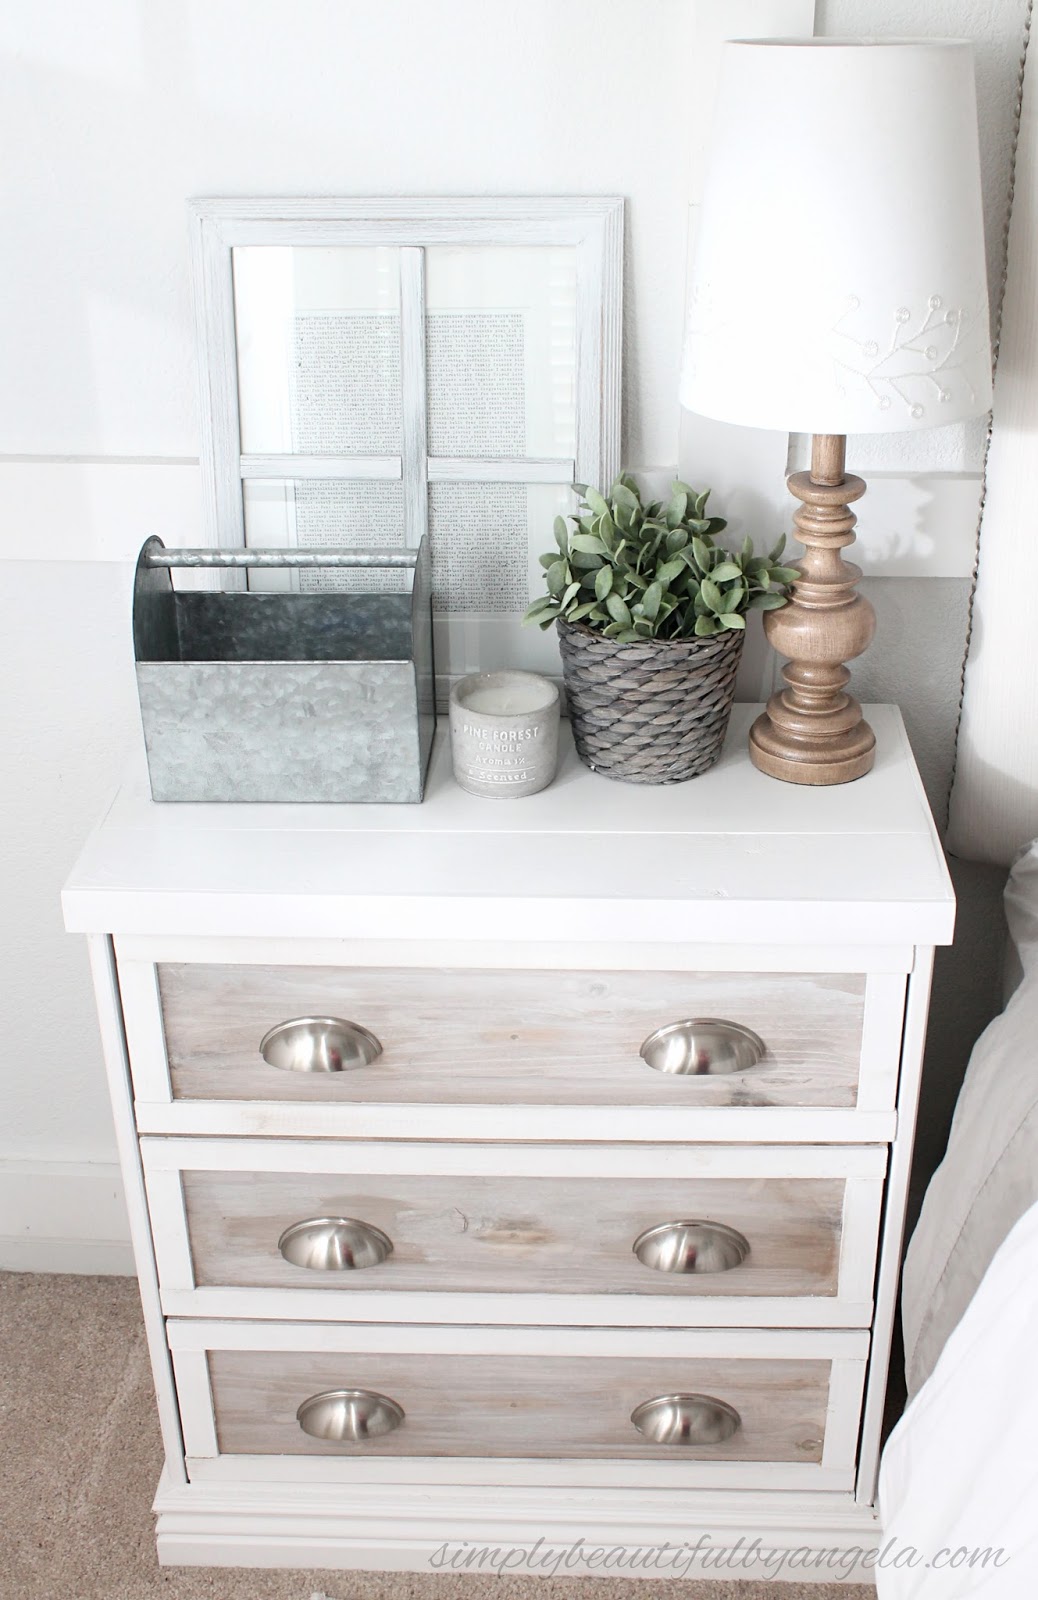
And here it is today!
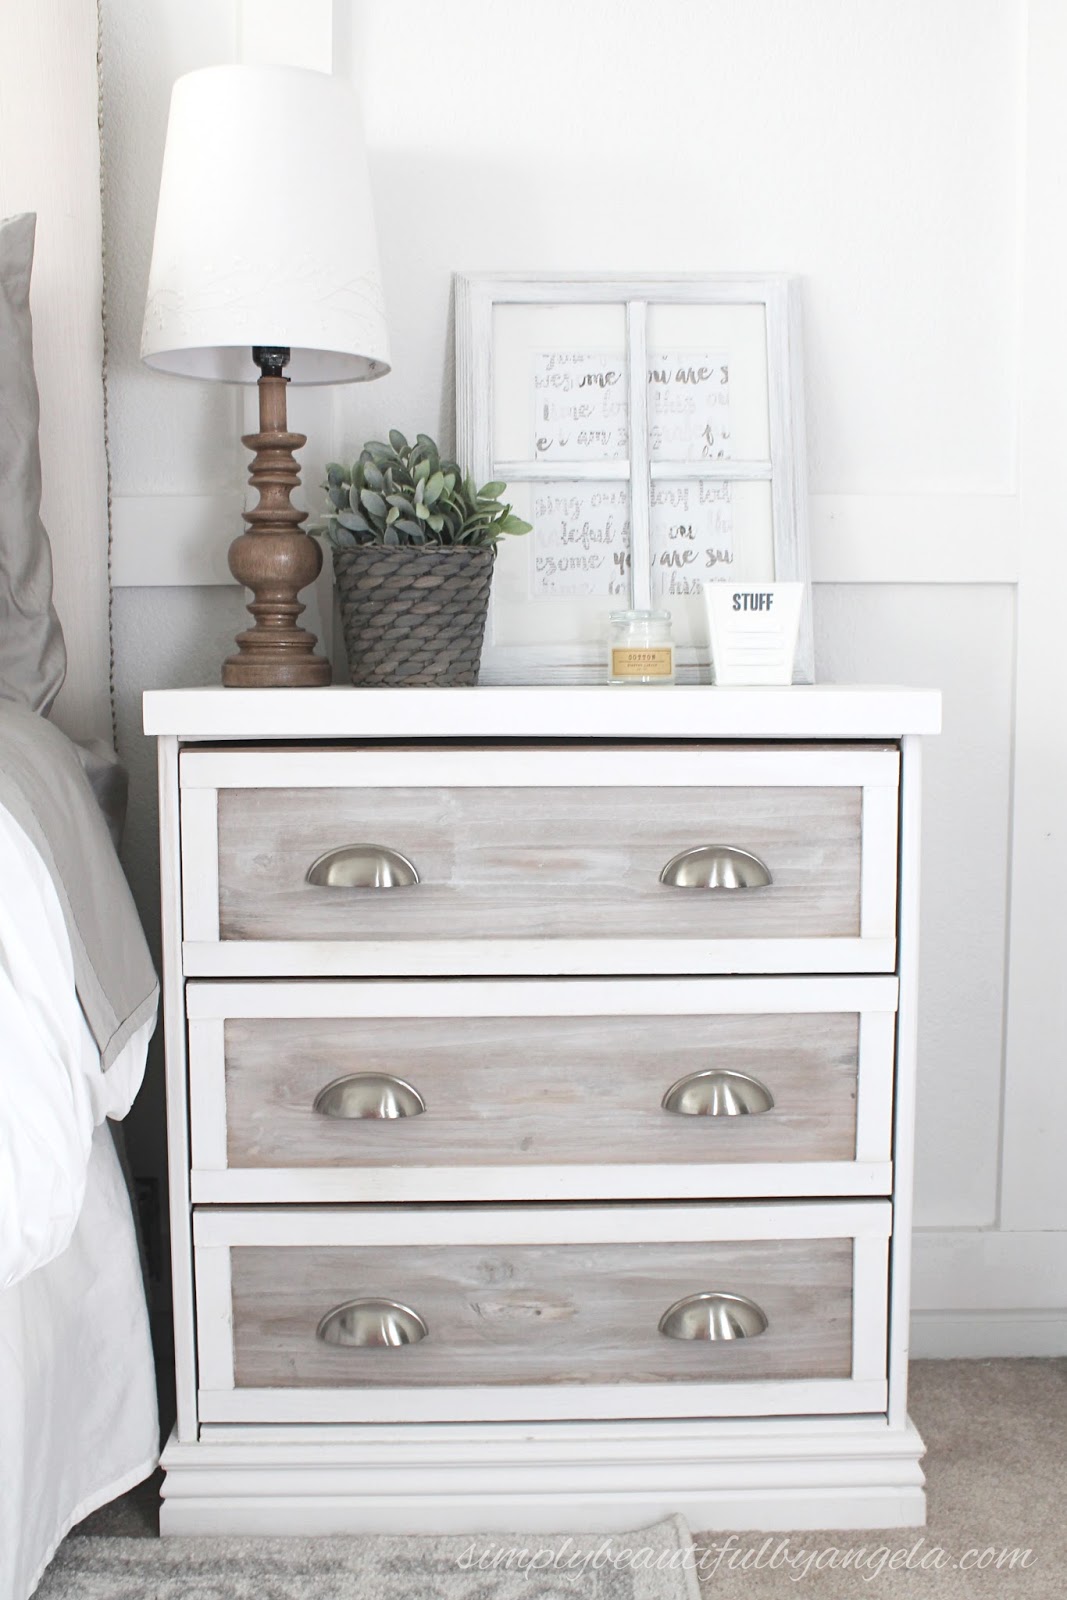
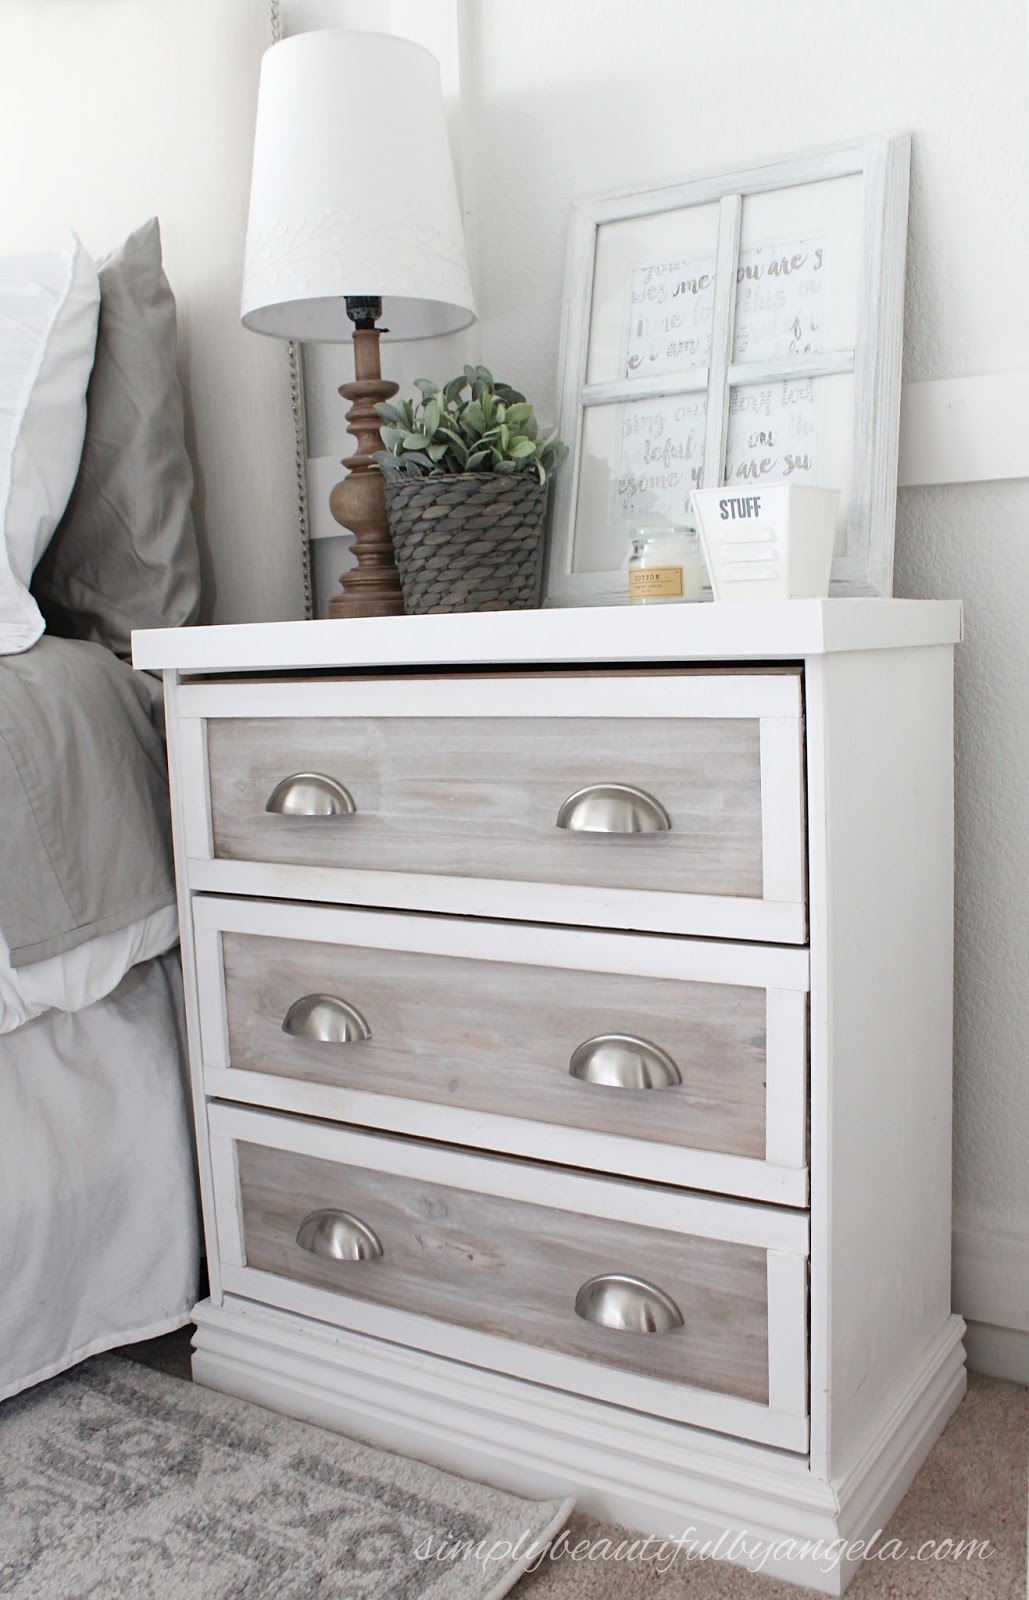

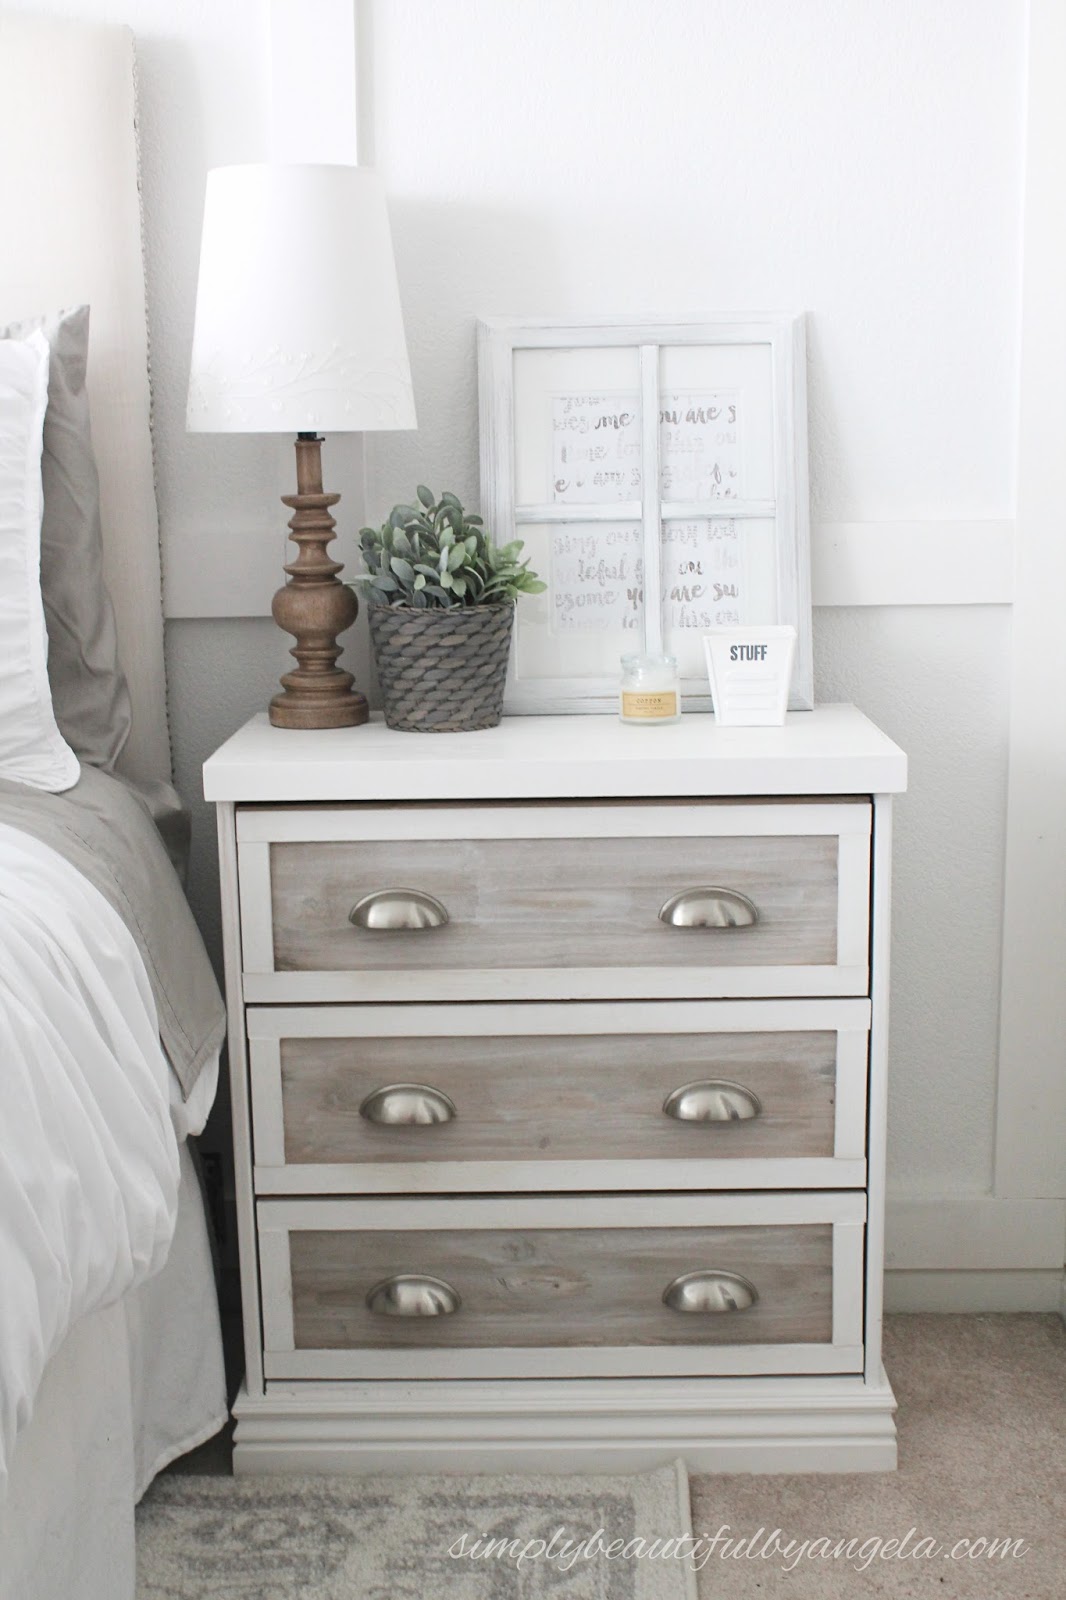
So much more polished–don’t you think?
I love that I no longer have those goofy little raised edges on the top and that I don’t have to look at that awkward indentation at the bottom.