Hello everyone and welcome to this month’s Thrift Store Décor Upcycle Challenge!
Last month was my first time participating in this challenge with these awesome ladies and it was so much fun to see what everyone came up with! I transformed this $4 hanging bucket that I found at the Goodwill into a super cute entryway piece.

And now, for this month’s contestant… *drumroll*

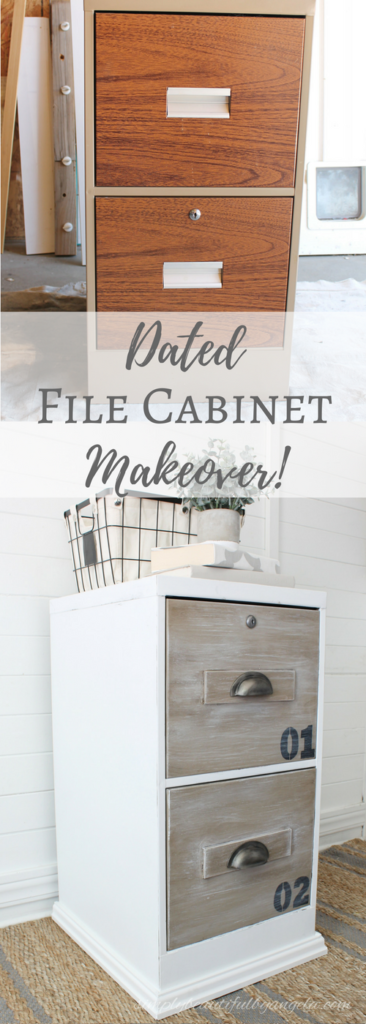
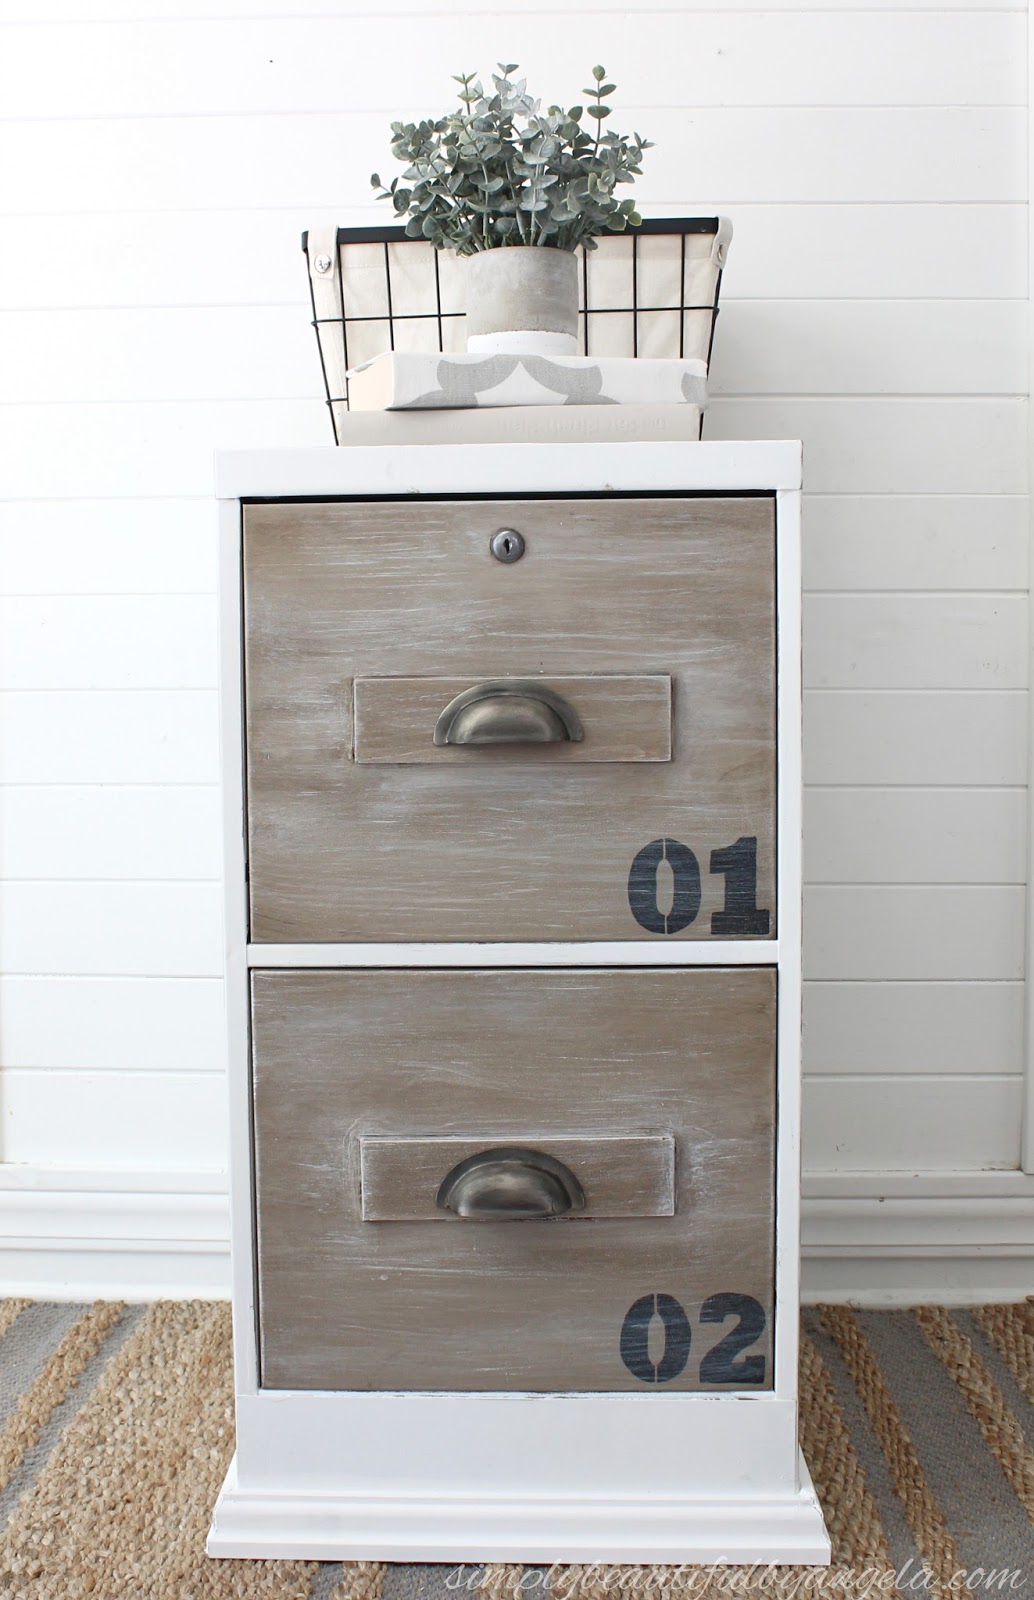
Ta-da! Our next door neighbor set this old file cabinet out on the curb for the trash and I have a hard time letting anything head to the landfill! Especially when it’s in great condition and just in need of a little bit of updating like this guy.
So I loaded this gem into the garage and fixed it up just in time for this month’s challenge!

The Rules:
- Upcycle an item(s) from a thrift store, resale store, or garage sale into a new piece of decor.
- There’s no monthly theme.
- There’s no budget to stick to.
Meet the Hosts
Maureen | Red Cottage Chronicles Pili | Sweet Things
Debra | Shoppe No. 5 Jeanie | Create & Babble
Kimm | Reinvented Kathleen | Our Hopeful Home
Shirley | Intelligent Domestications Angela | Simply Beautiful by Angela
Michelle | Our Crafty Mom Michelle | Michelle James Designs Kimberly | Farmhouse Made
Molly | Just a Little Creativity Lora | Craftivity Designs
Colleen | Life on Kaydeross Creek Toni | Small Home Soul
Make sure you follow our board on Pinterest for more upcycled decor inspiration!
Supplies Used: (Affiliate links may be provided for convenience. For more info, see my full disclosure here.)
- Medium Grit Sandpaper
- Foam roller
- Latex paint
- Plaster of Paris
- Waverly Inspirations Chalk Paint in Mineral
- 1/4″ Plywood
- Caulk
- Valspar Dark Sealing Wax
- Chip Brush
- Printed Numbers
- Sharpie
- Molding
- Liquid Nails
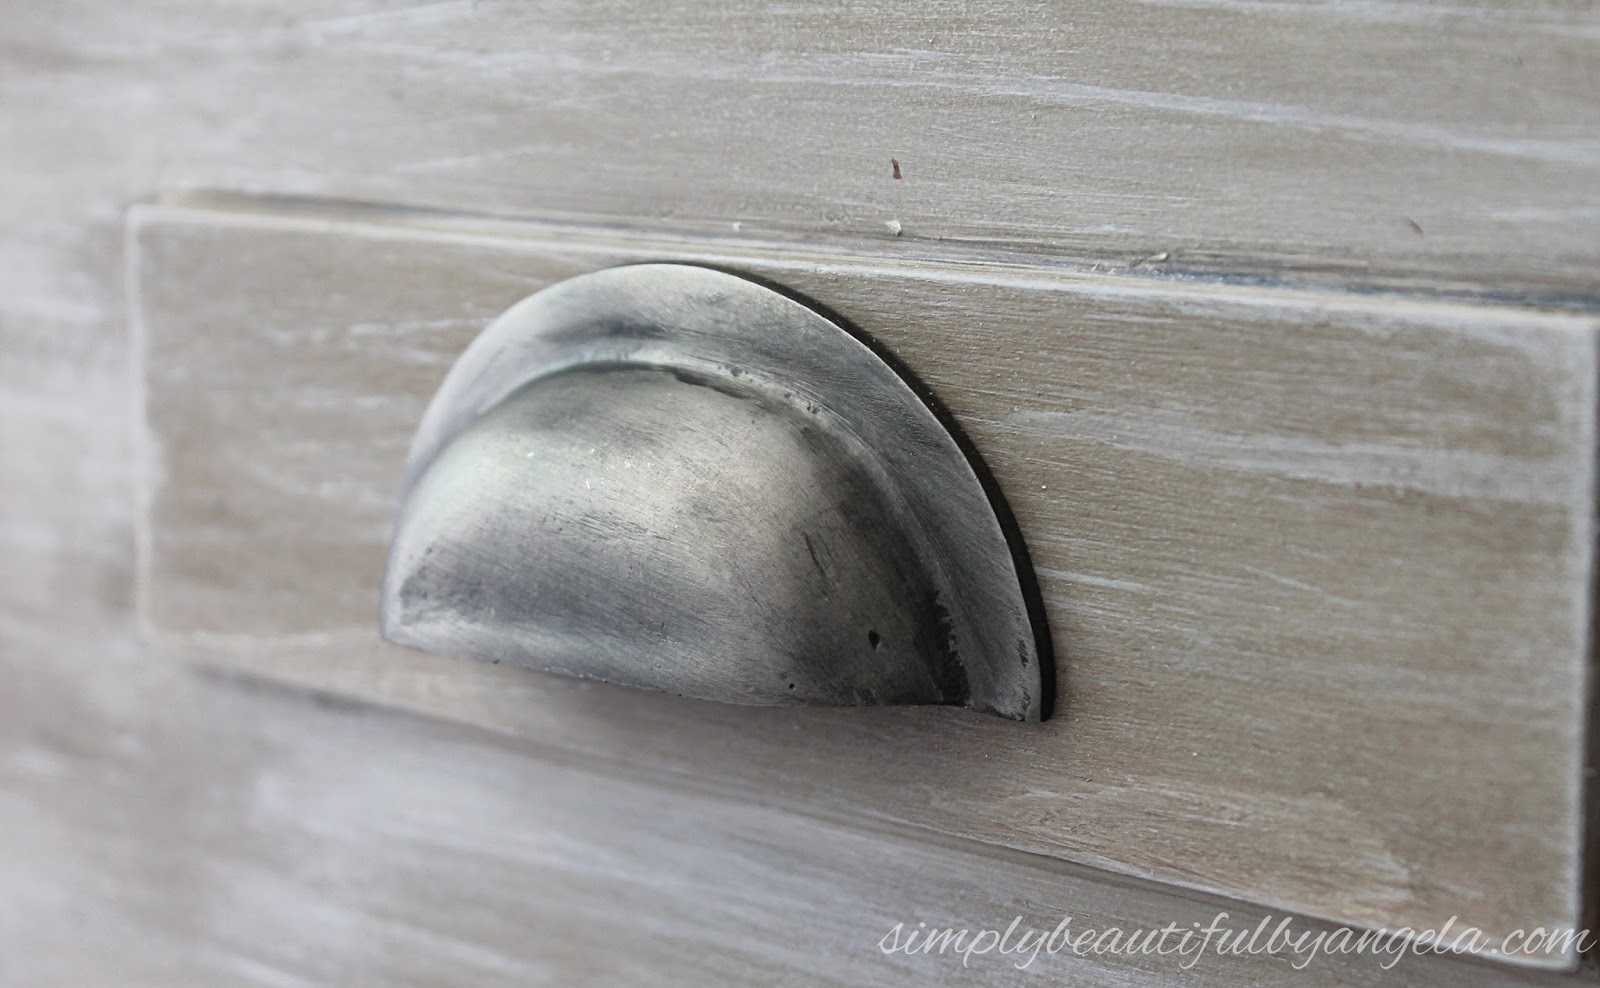
- Vintage Cup Pulls (similar here)
- Rust-Oleum Spray Paint in Weathered Steel
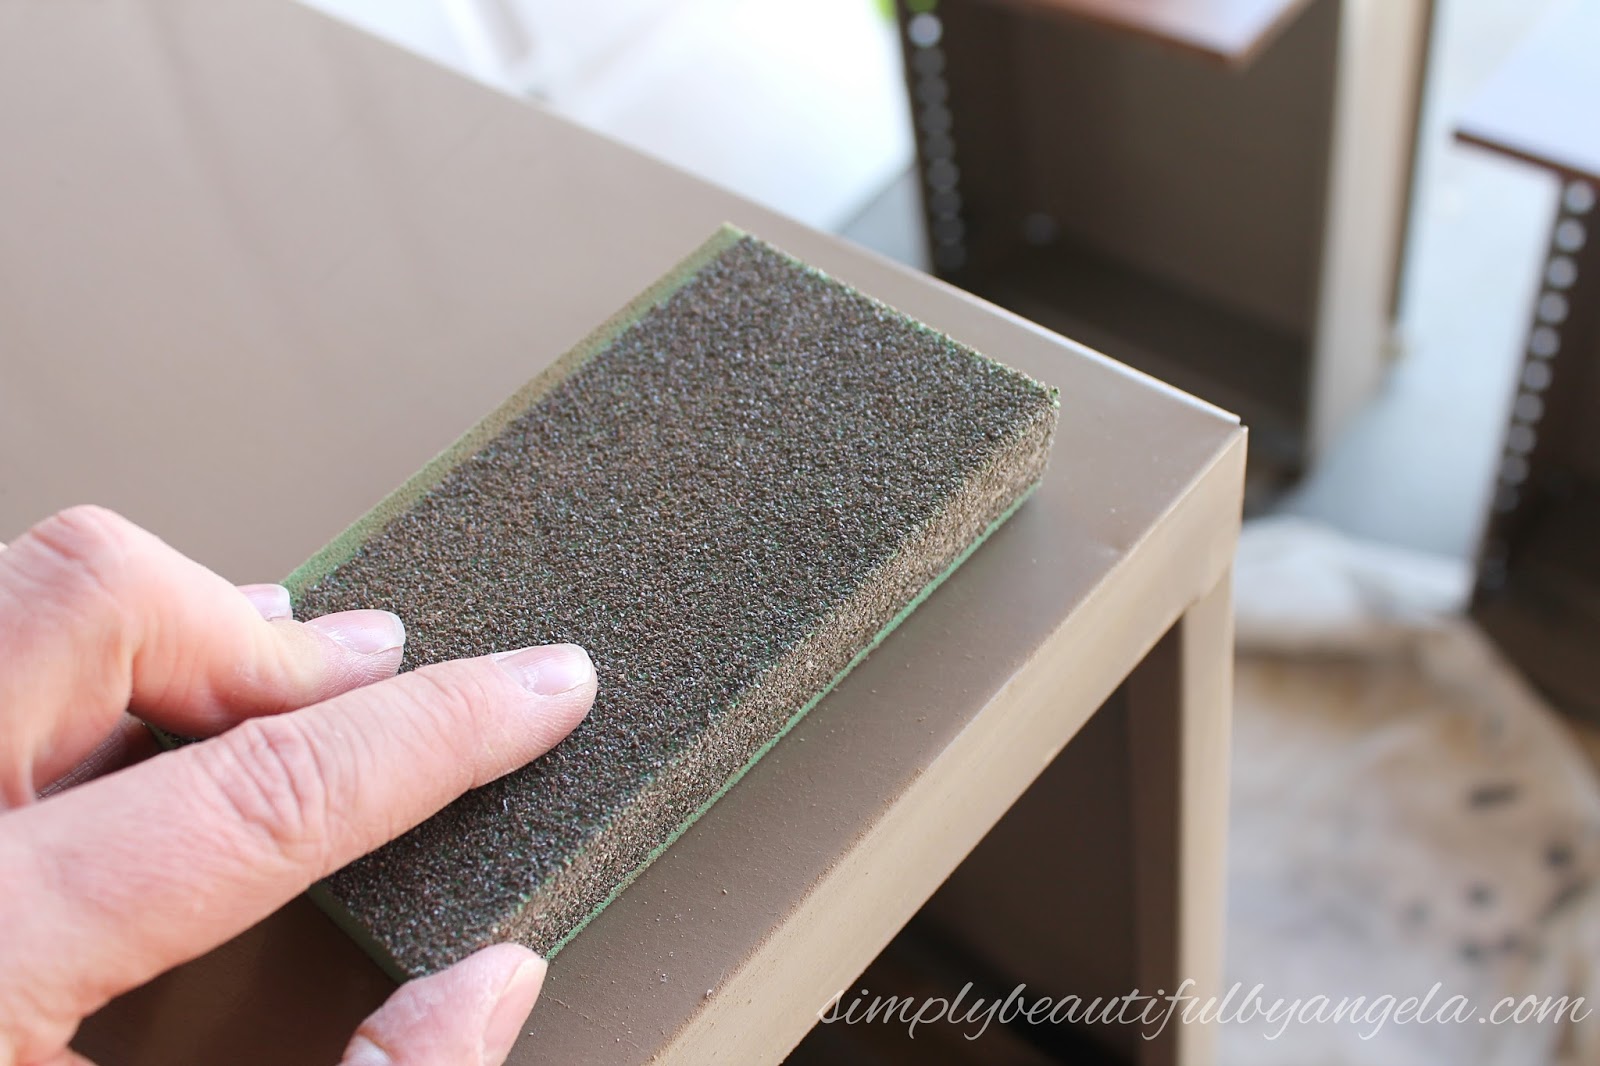
I began by giving the entire thing a quick sand. When I say quick–I literally mean 2 minutes! I knew that I was going to use chalk paint and the nice thing about chalk paint is that it will stick to just about anything. I just like to sand old pieces a little bit to get the grime off before I begin.
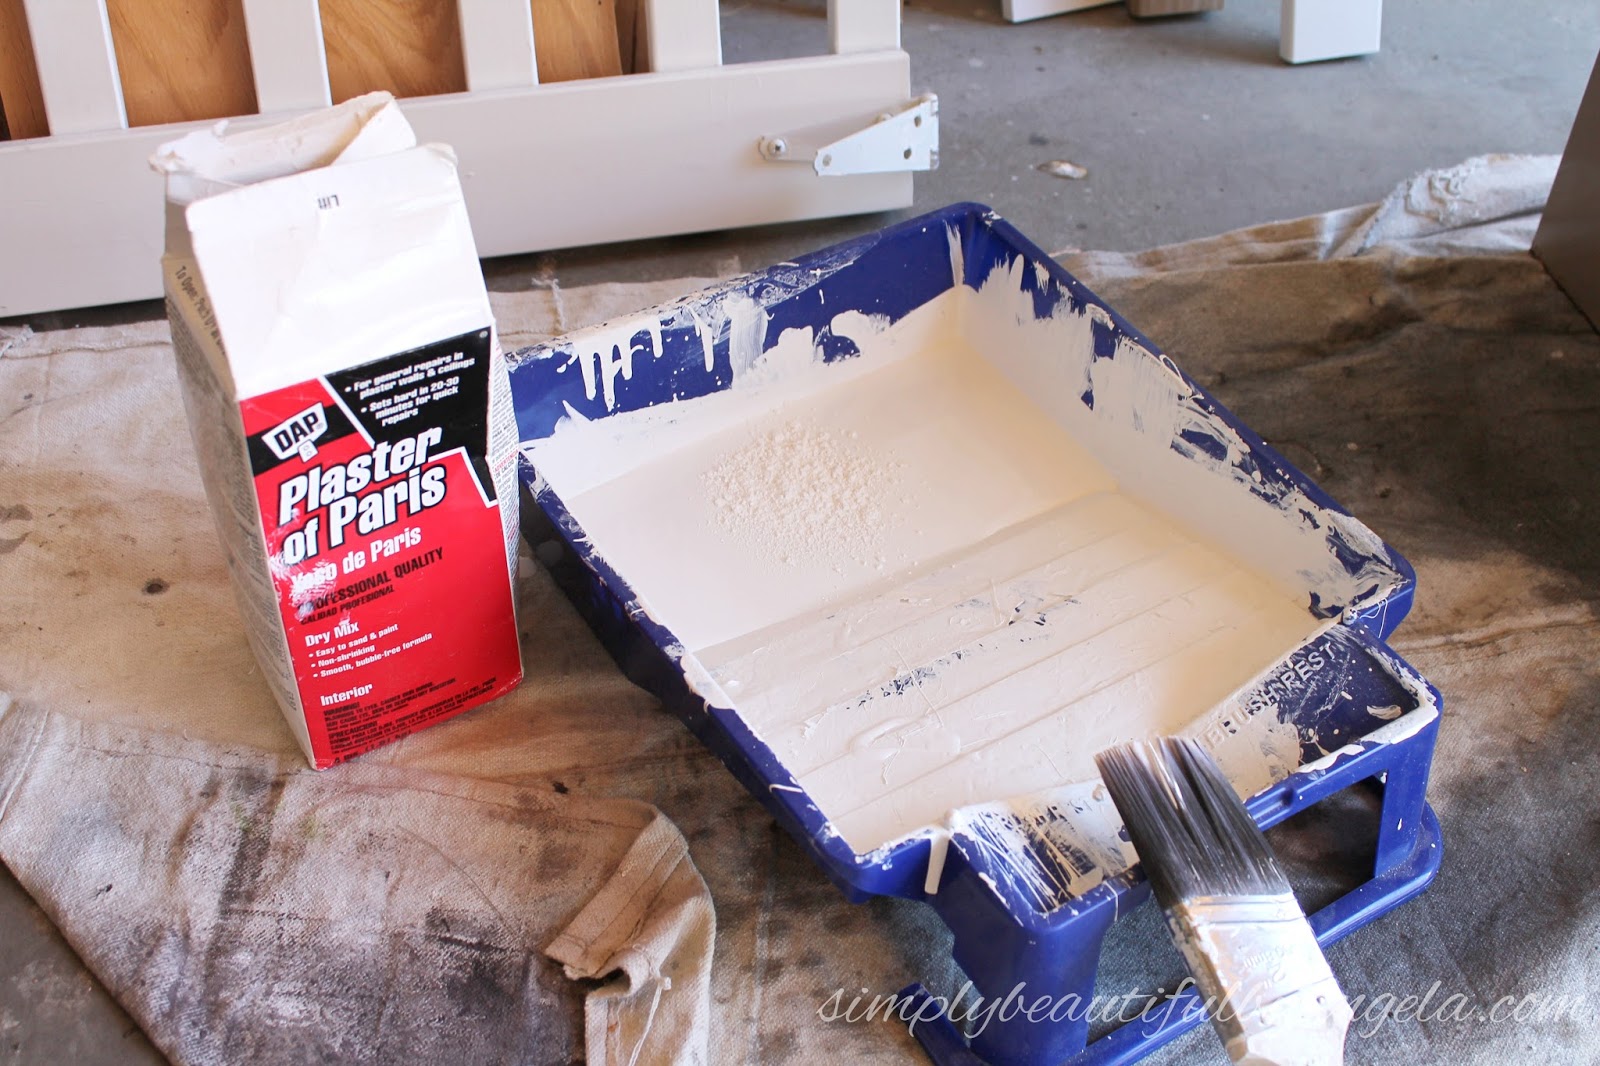
I make my own chalk paint because it’s cheap and super easy. I simply pour some latex paint in my tray and then sprinkle in a little bit of Plaster of Paris. I don’t have a measurement that I go by–I just eyeball it. If I had to guess I would say I do about a teaspoon per cup of paint.
I used a small foam roller to paint the cabinet sides and top. I got pretty good coverage with just two coats but I did a third for good measure.

For the drawers I originally started with a light gray paint. However I decided that it was too light and I really wanted them to contrast and pop off the white.

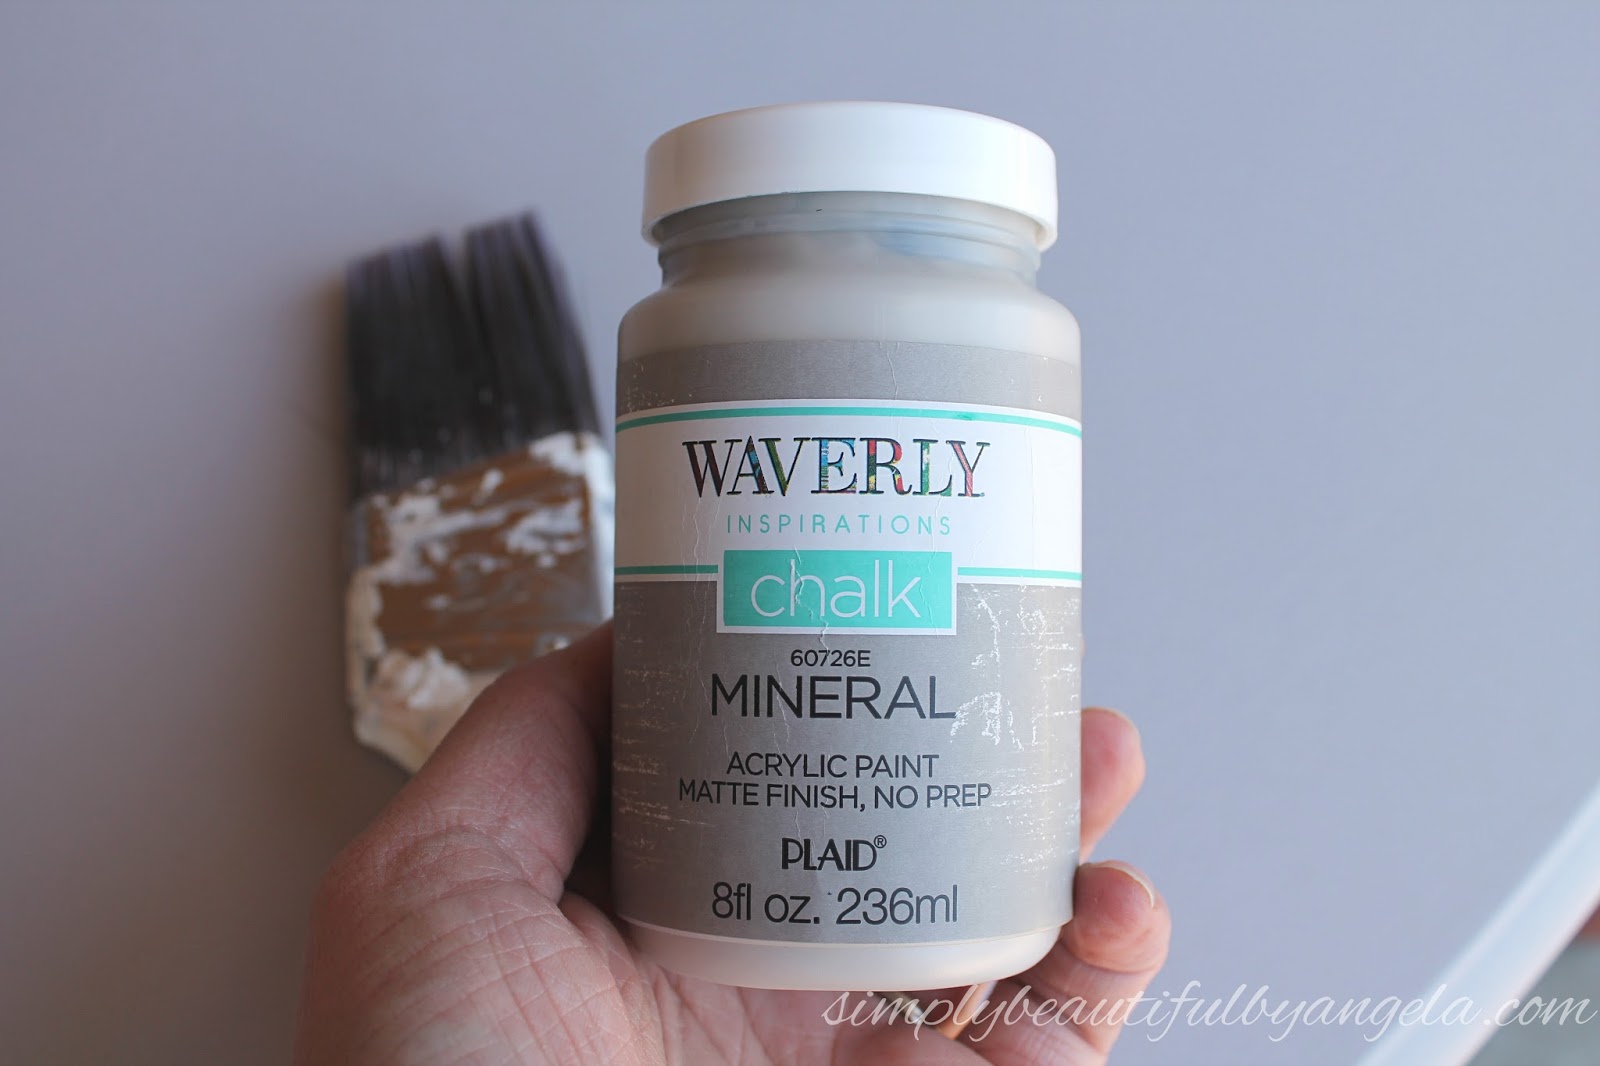
So I ended up using the color Mineral by Waverly Inspirations which is chalk paint that is sold at Walmart in the craft aisle.
I knew that the handles had to go so I attached two pieces of 1/4″ plywood with liquid nails to cover them up.

The hubby later used some pliers to pry the old handles out from the back so that he could attach the new pulls to the wood, but at this point I was actually planning on using long pulls that were going to attach on either side. More on that later on.
I applied some caulk around the edges of the plywood to hide the little gaps and then gave the drawers one more coat of paint once the caulk dried.

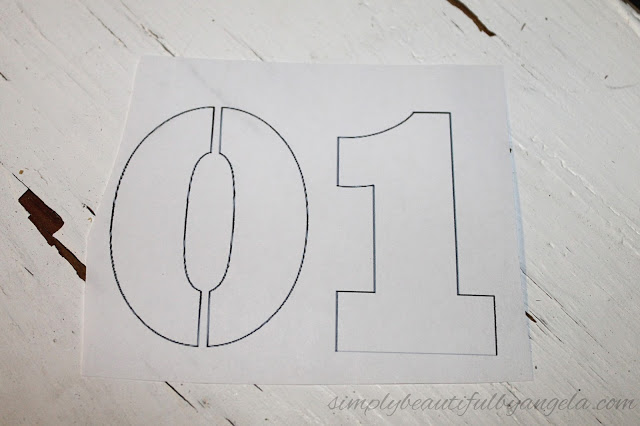
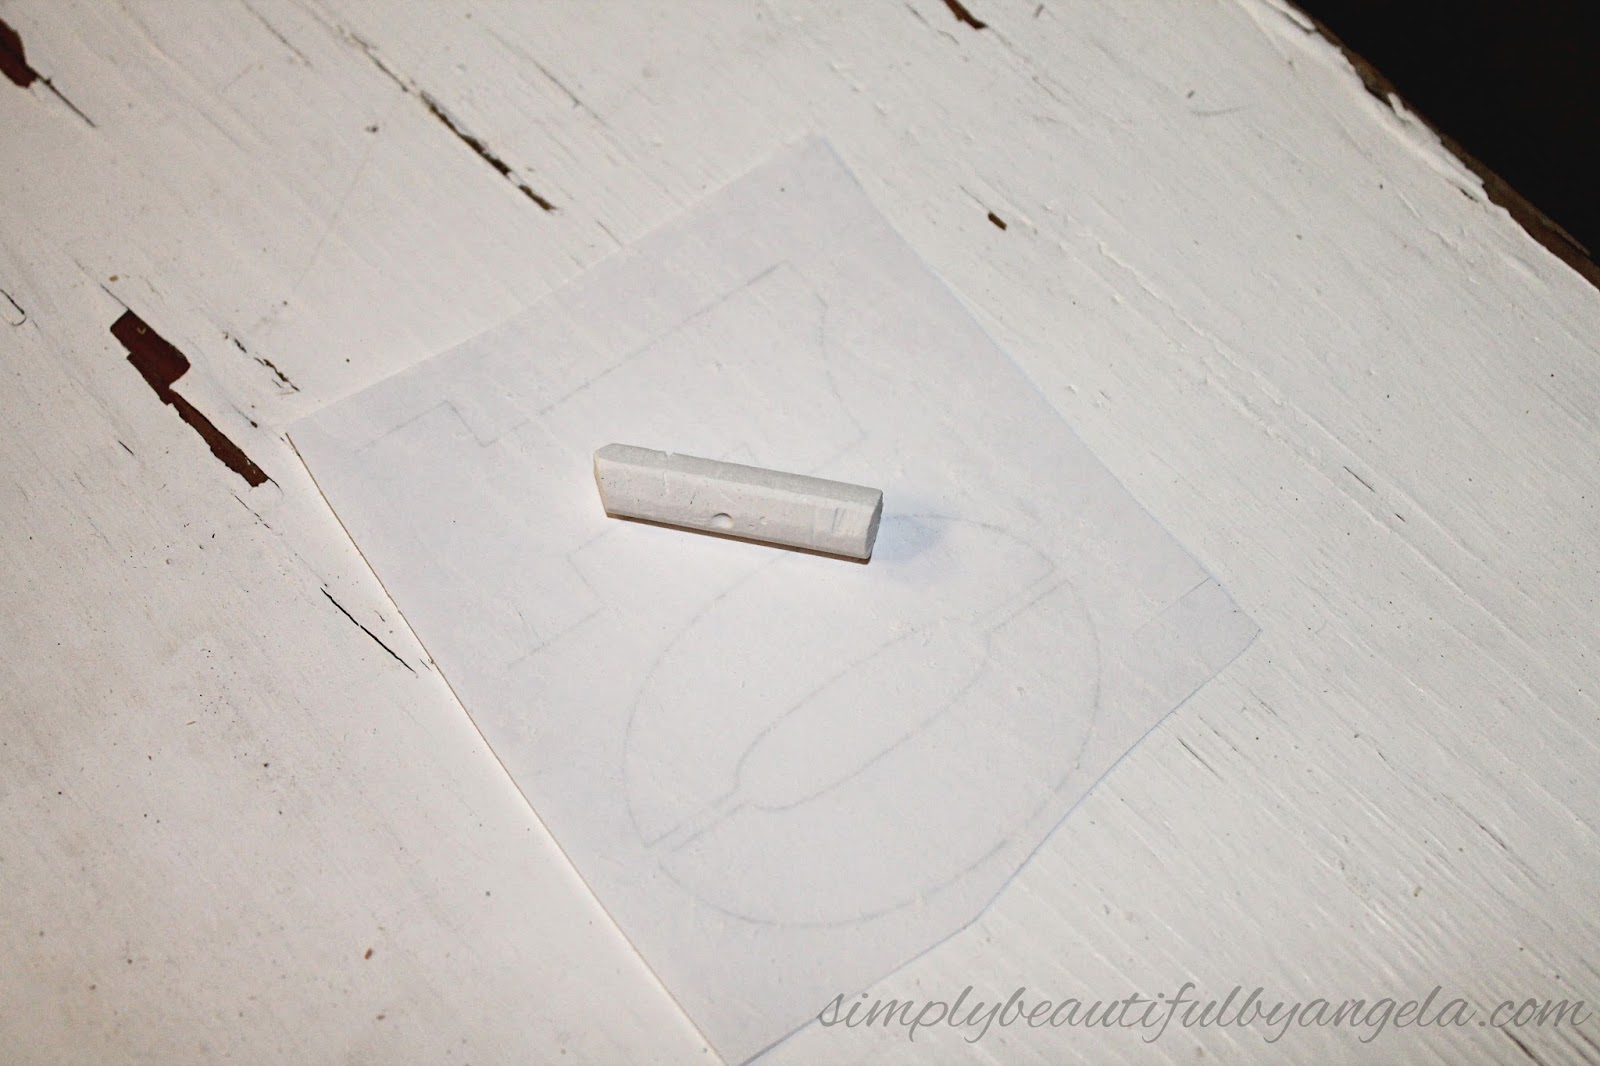
Since I wanted an industrial feel I decided to add some stenciled numbers to the drawers. Instead of purchasing stencils I just printed some out on computer paper, rubbed chalk on the back, then flipped it over and traced the numbers with pen to create a chalk outline on the drawer.
I then traced over the chalk with pen to make it more visible before filling in with a Sharpie.

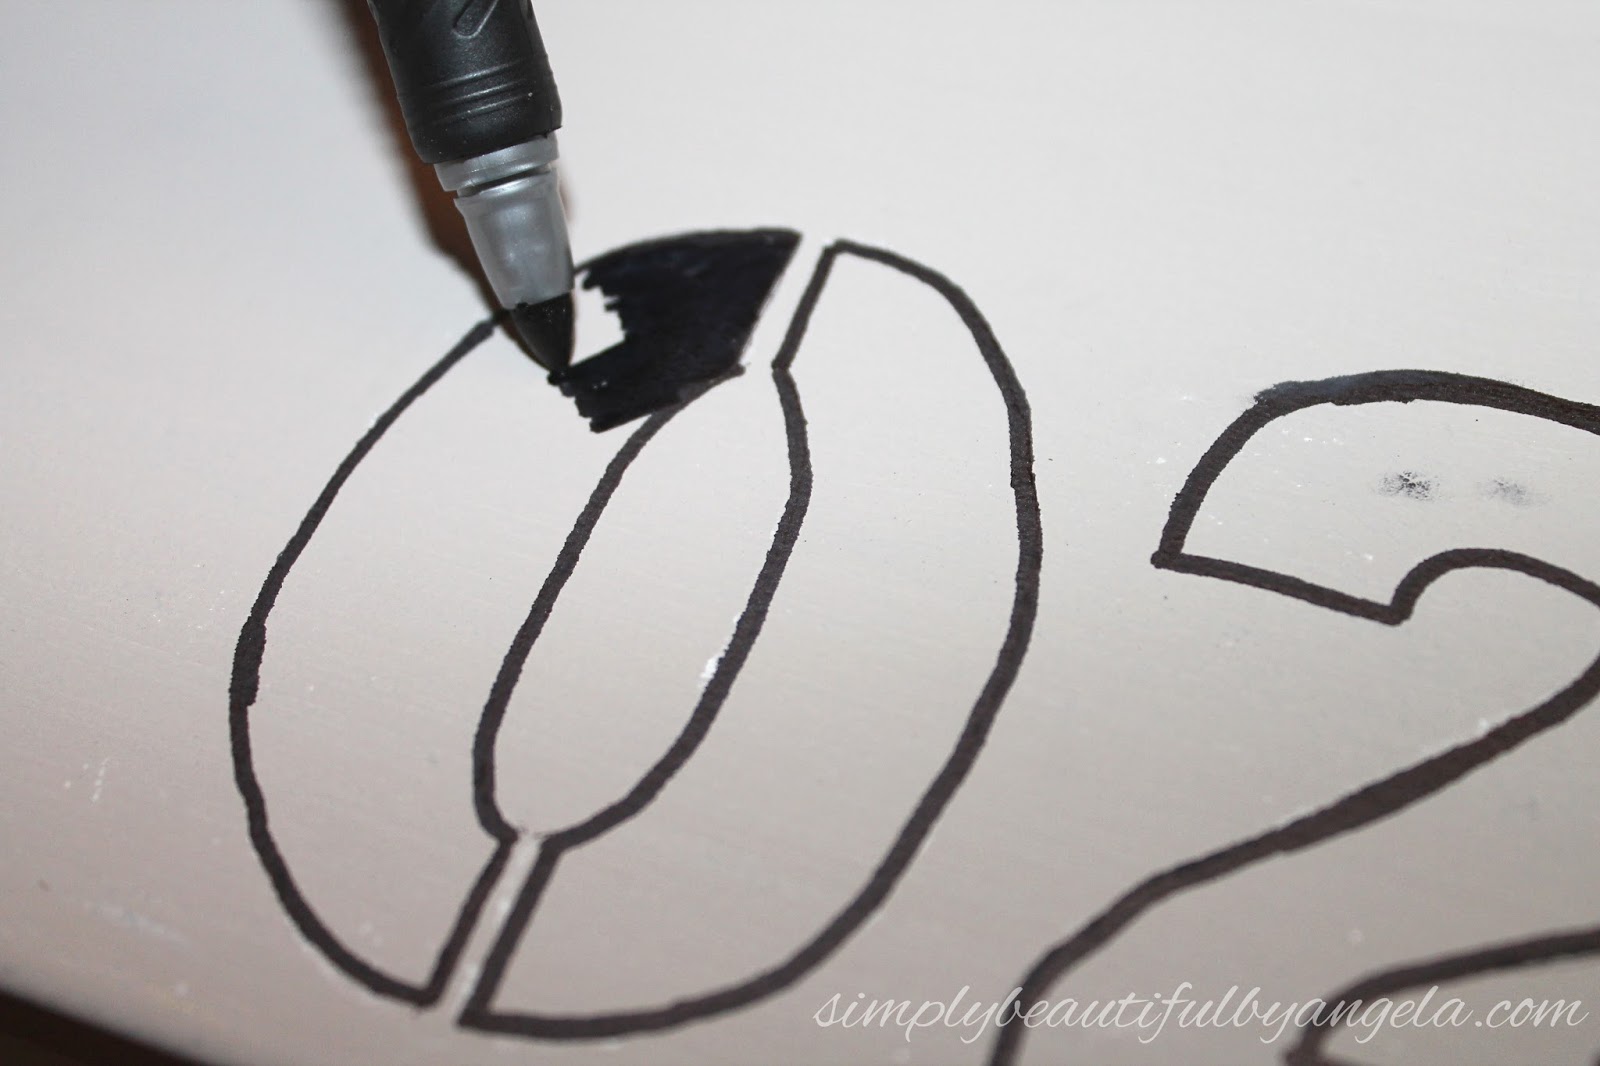
Once it dried I used some sandpaper to make them look more worn.

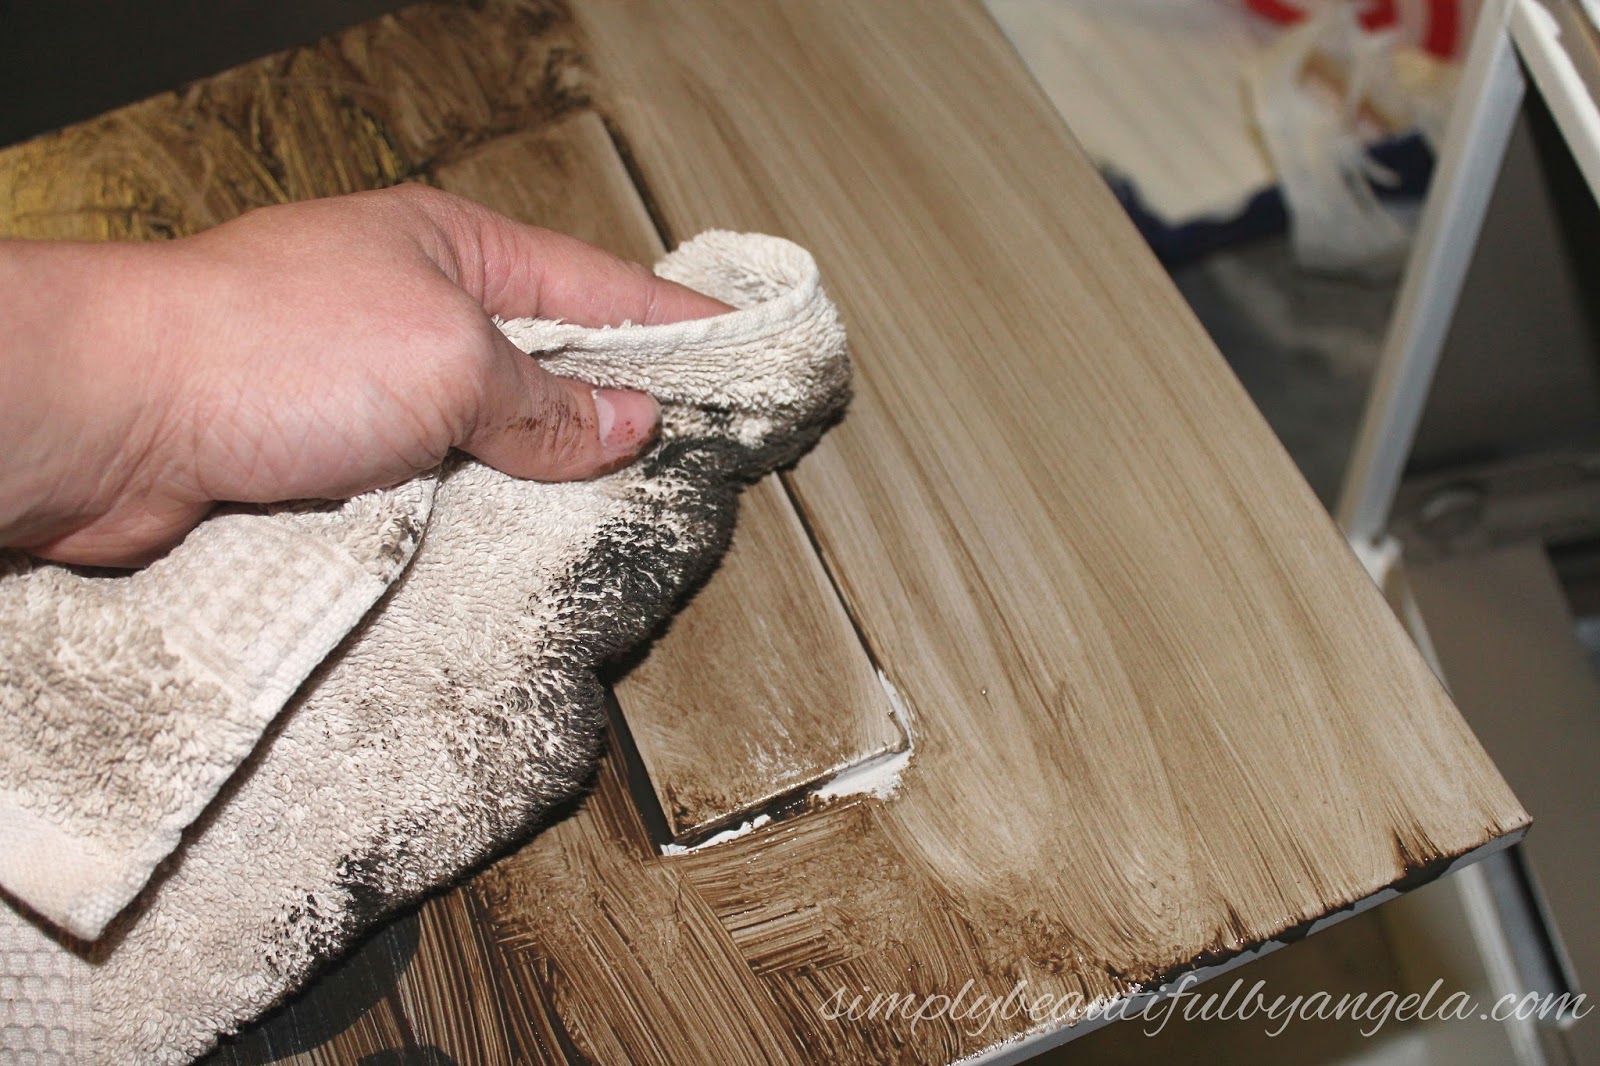
I wanted the drawers to have a wood look (just not the cheap “wood print” like it had before!) so I used the same method that I did for my Weathered Wood Coffee Table Makeover and rubbed on some dark wax with a rag.
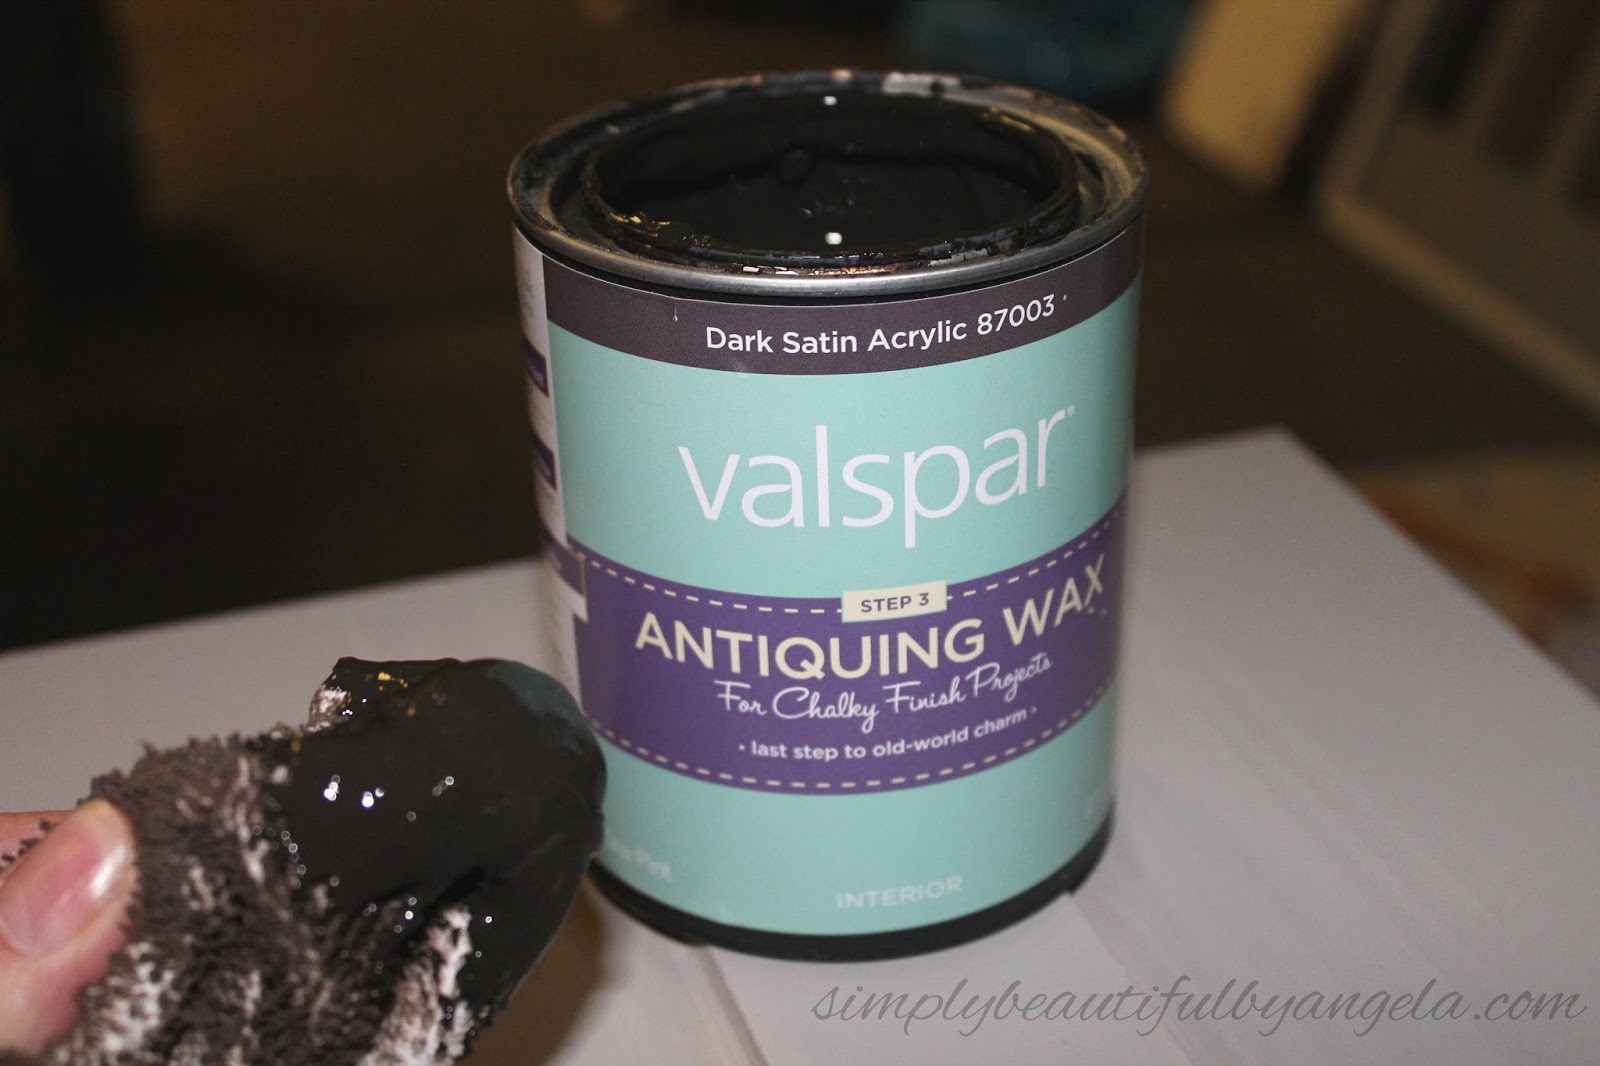

I didn’t let it sit, I wiped it off right after I wiped it on and it gave me the perfect weathered wood look.
I did a little bit of dry brushing once the wax was dry, and then marked for my new pulls.
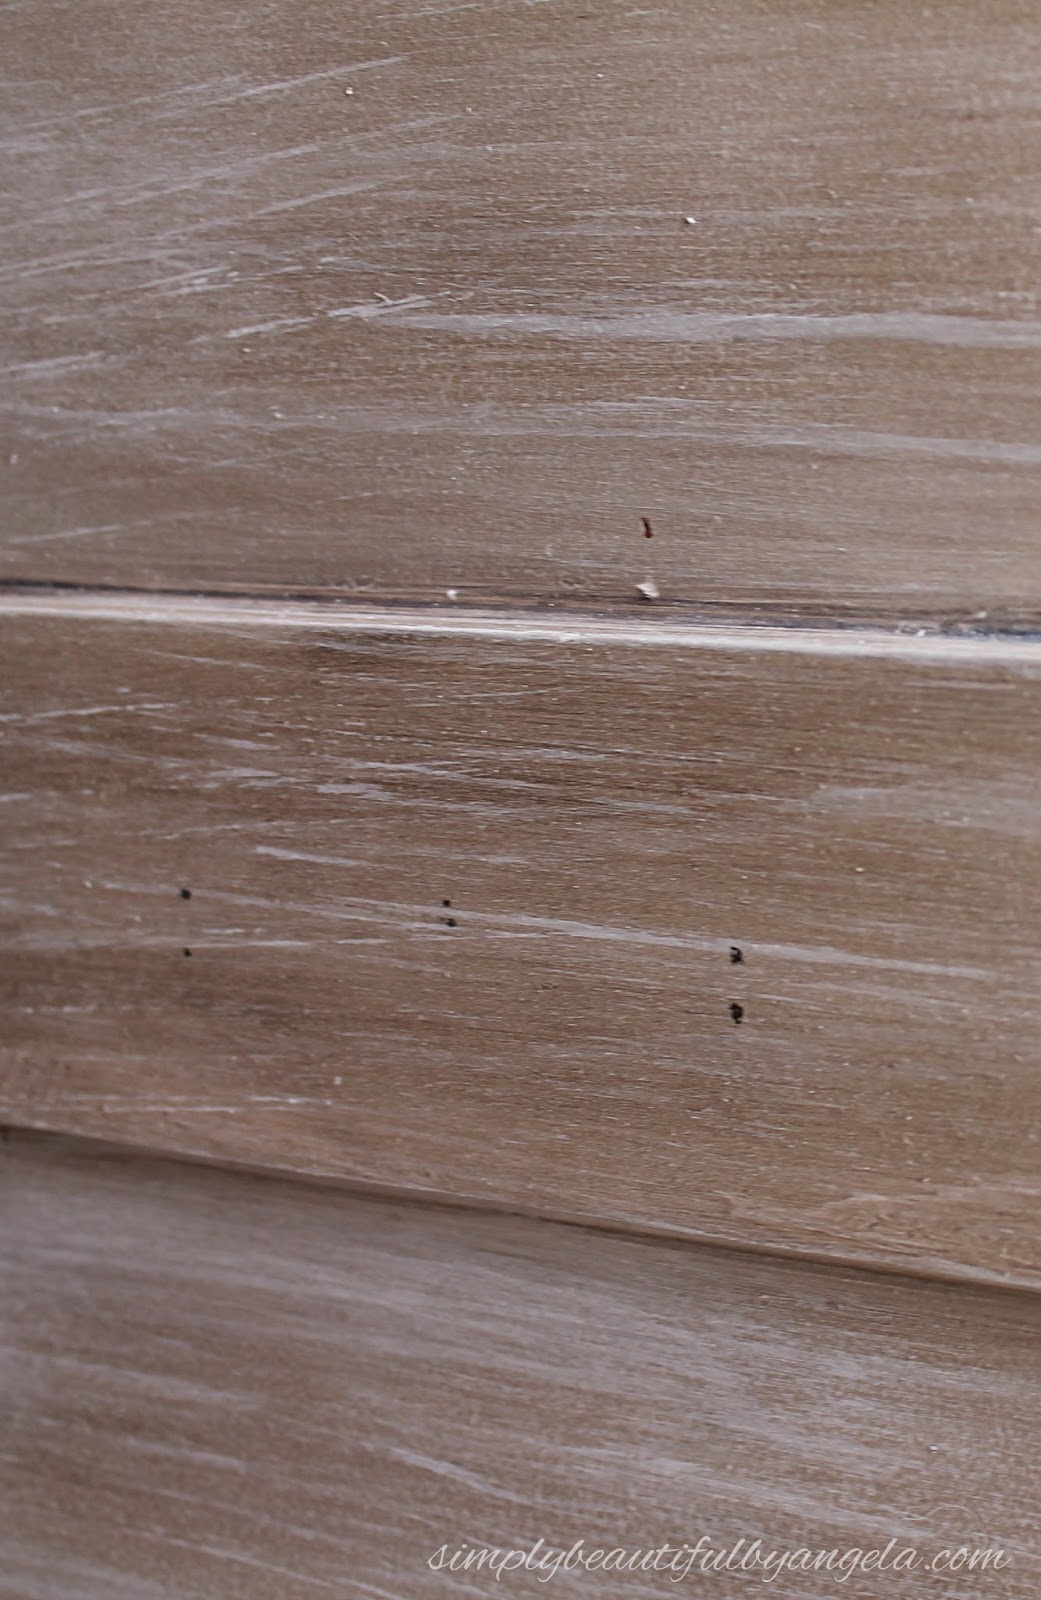
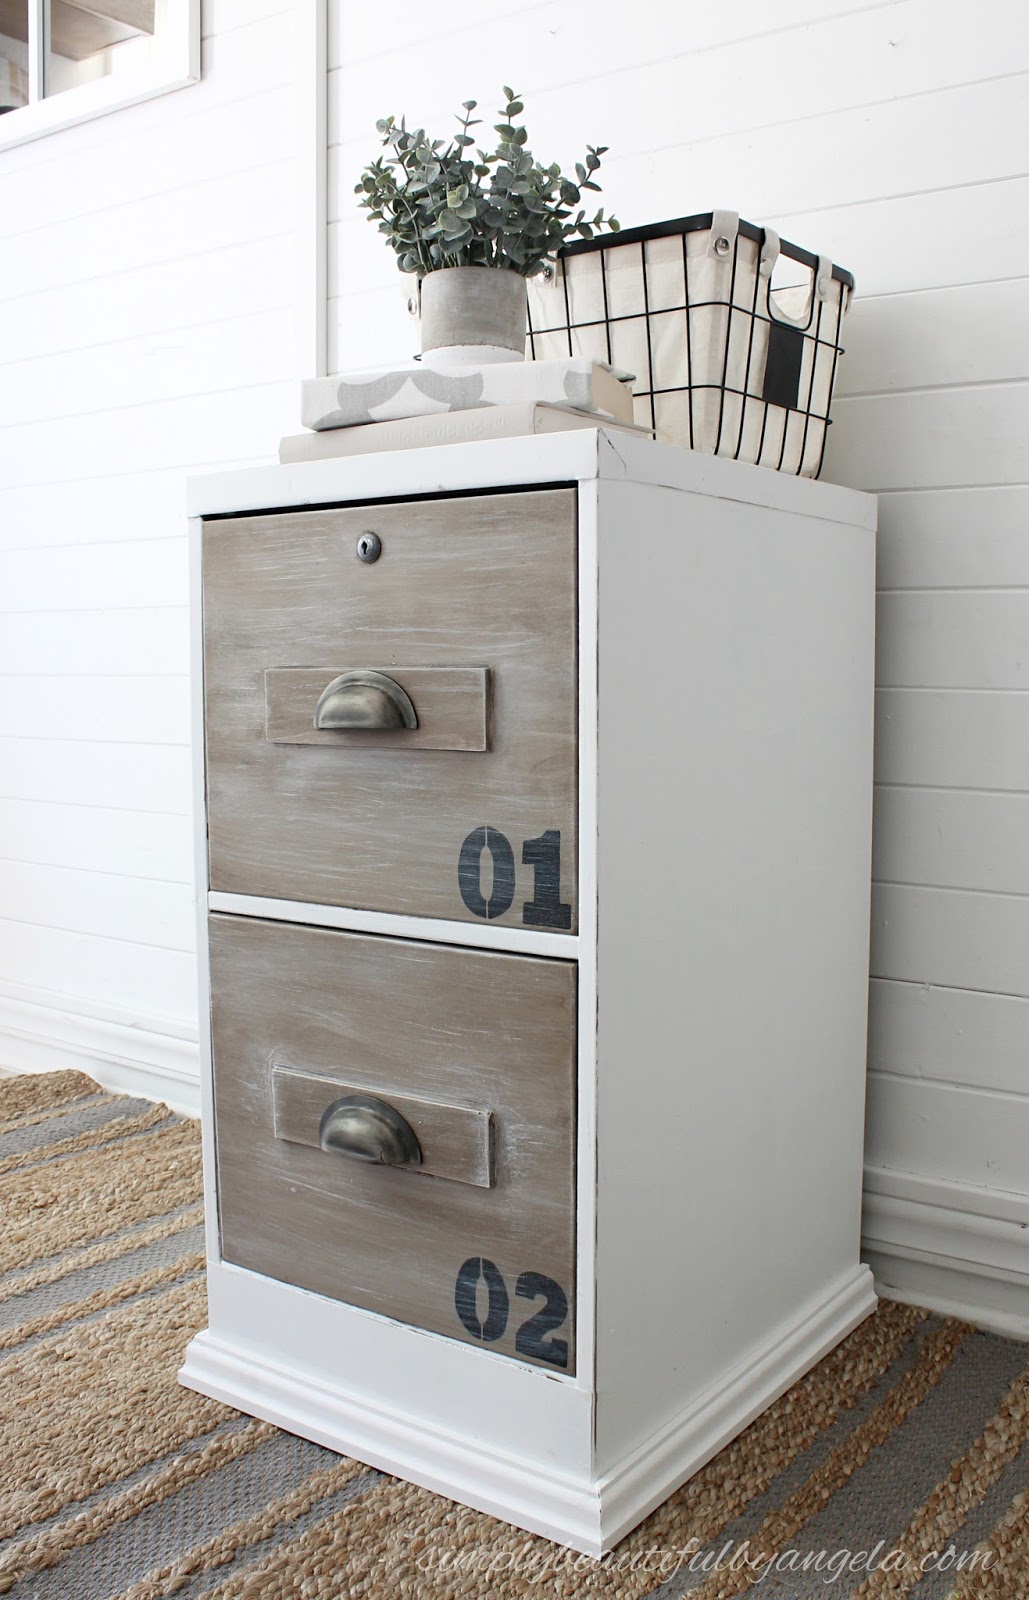

I also lightly distressed the edges of the cabinet which I think adds some fun character and detail.


And now for more thrifty goodness!
Check out what my fellow upcyclers created below!
