Hello everyone!!
I am getting back to the grind this week after a fun couple of days off. I spent most of my time enjoying the sunshine with my babies but I did manage to knock one item off of my to-do list which was repairing our countertops.
When we first bought our home 3 years ago our kitchen sported the classic 90’s builder grade combo–oak cabinets and white laminate countertops.
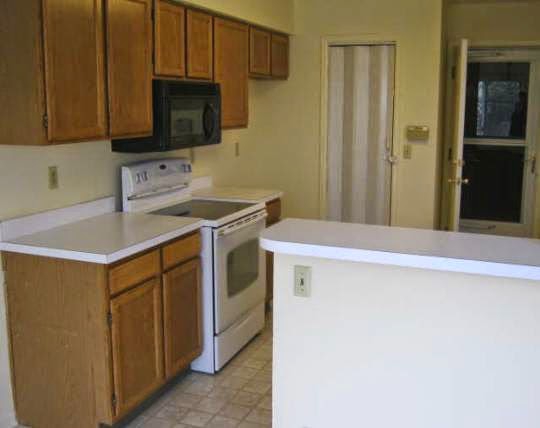
Since spending thousands on a kitchen renovation wasn’t possible I decided to update it as frugally as possible which included painting the cabinets, installing our own backsplash and refinishing the countertops using Rust-Oleum Countertop Transformations.
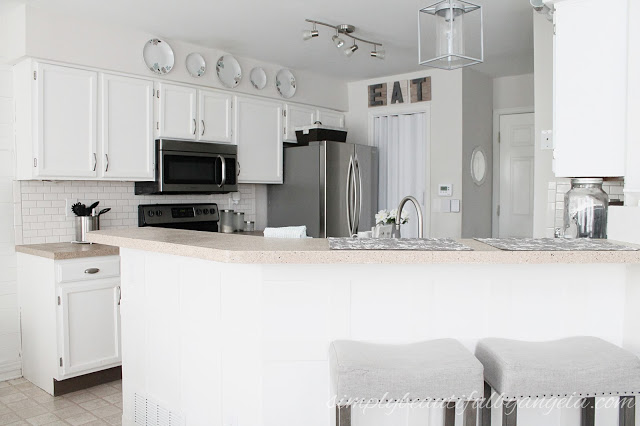
I actually stumbled upon the kit while I was researching how to paint cabinets online. I liked that it was able to give a quartz-like look to laminate counters.
 |
| (source) |
I found that the application was super simple–even for a DIY newbie! I shared a VERY basic tutorial here but it was only my second blog post ever so try not to be too harsh on my lack of pictures and the sub-par quality of the couple that I do have haha!
Basically you begin by scuffing the surface using a super rough sanding pad that they include to prepare it for the paint. After rolling on the paint you spray on a wetting agent to help the colored chips stick and let it dry. Finally you sand it smooth and finish it up with a protective top coat.
This was meant to be a temporary solution to tide me over until we could afford to have quartz put in but I’m impressed with how well they have held up!
During the last 3 years they have received a ton of abuse. Seriously we are not fragile with our counters over here. There’s constant water splash from bottle washing, food splatters since we’re both messy cooks and the littles like to bang pans and utensils on them while they “help cook.”

After all of that they still look pretty good! However there were a few spots that were needing some help. The worst was the area behind the sink.

I think this happened because we failed to seal around our sink so all of that water just slipped right underneath and caused it to peel up.
The edges of the high traffic spots were also starting to show wear.

Since my quartz counters still aren’t in the budget I decided to fix these spots up.
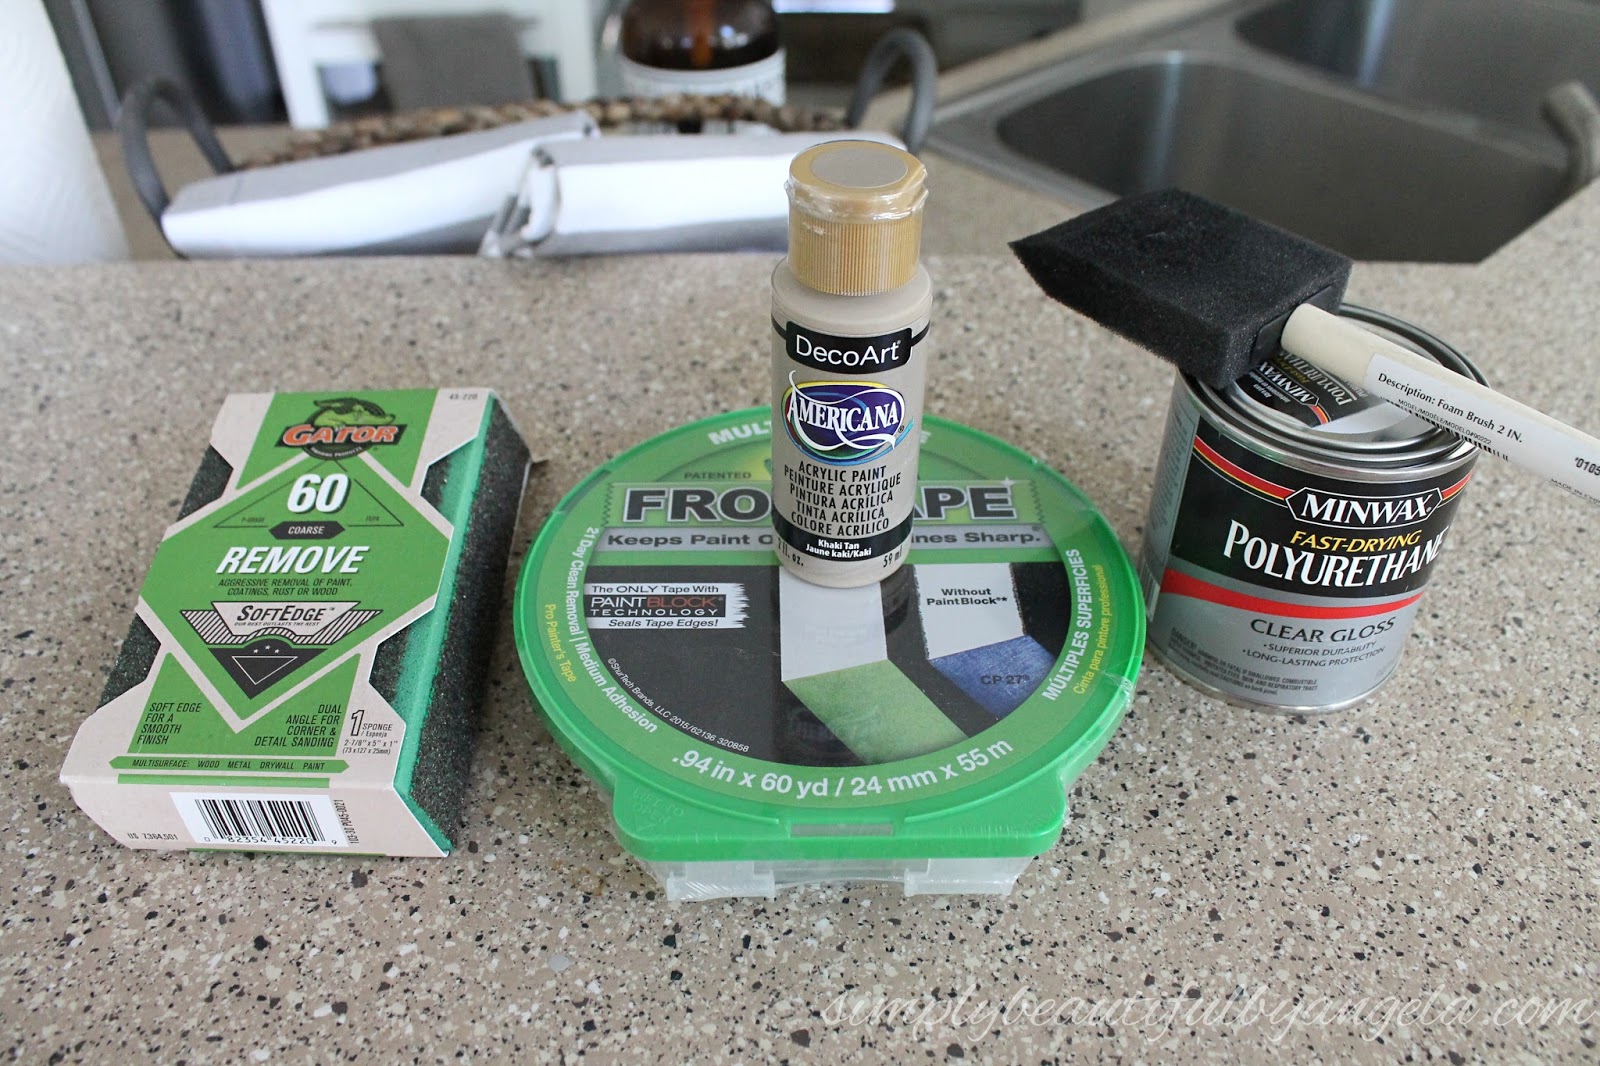
Supplies Used: (Affiliate links may be provided for convenience. For more info, see my full disclosure here.)
- 60 grit sanding sponge
- Frog Tape
- Americana Acrylic Paint in Khaki Tan
- Paintbrush
- Foam brush
- Colored chips from Rust-Oleum Countertop Transformations kit
- Minwax Polyurethane Gloss
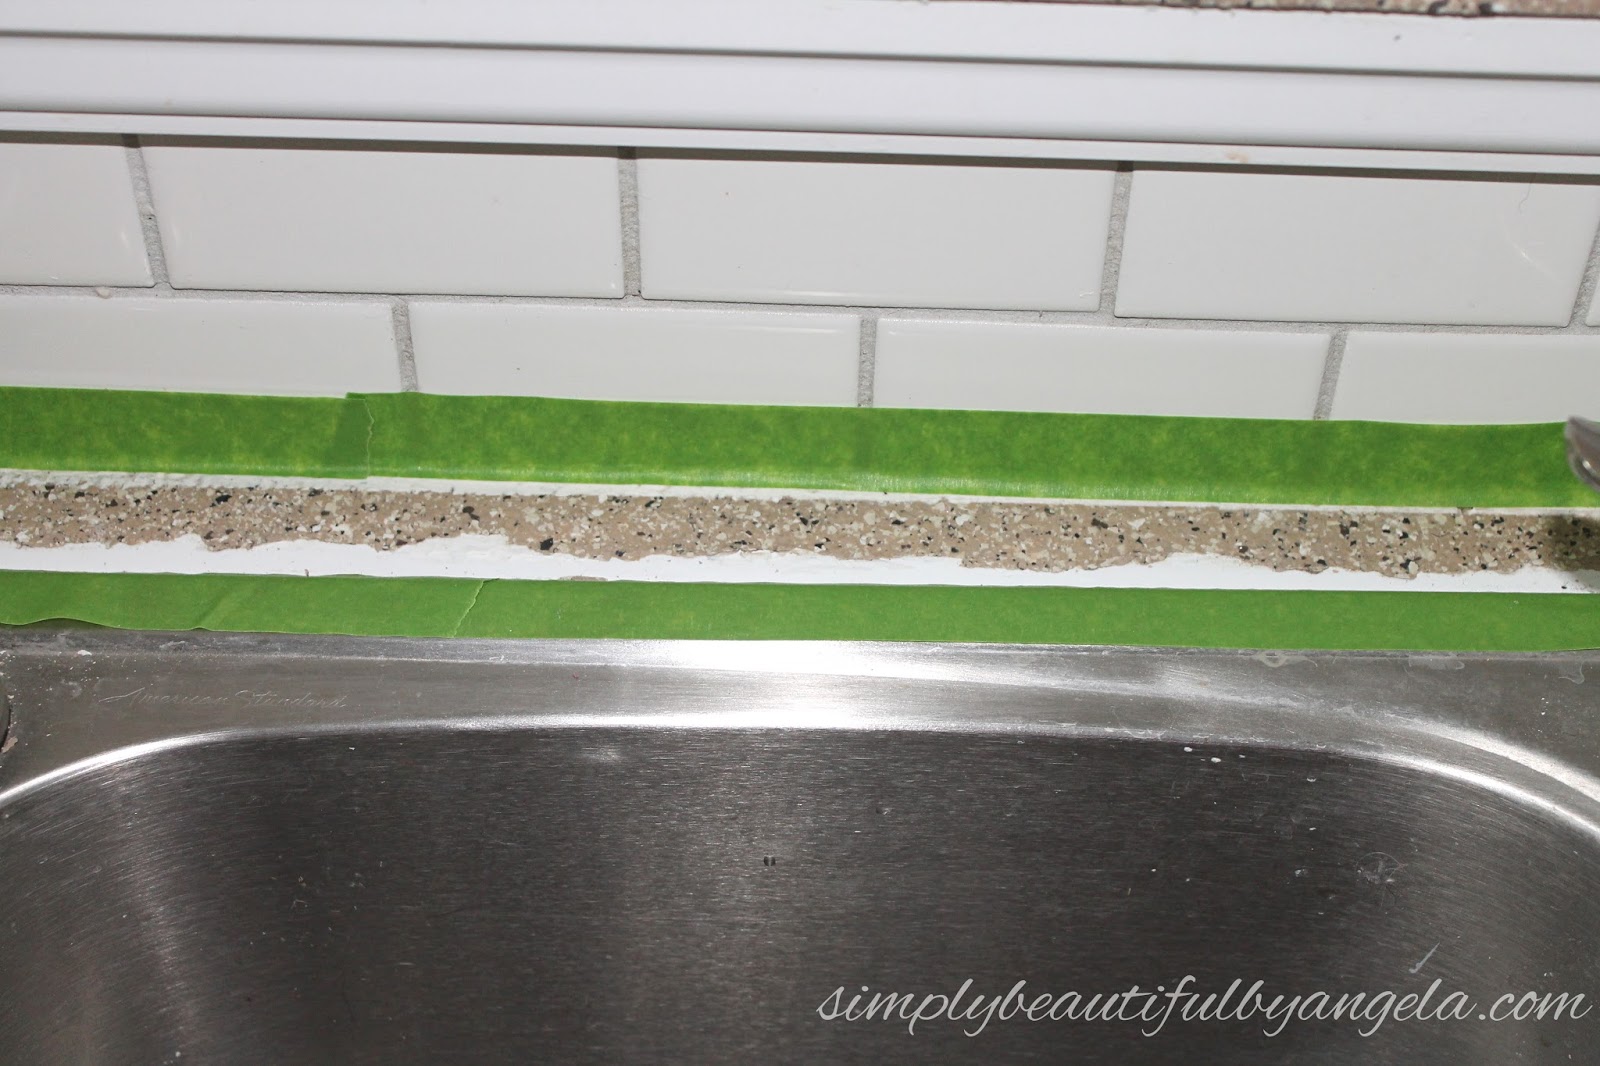
For the area that was peeling behind the sink I first used the sanding pad to sand away as much of the peeling and loose pieces as possible.

I then used some Frog tape to tape off the backsplash and sink.
I painted on some Americana Acrylic Paint in Khaki Tan which turned out to be a perfect match for the Desert Sand kit.
I then immediately tossed on some colored chips that I had saved from the kit. I wasn’t sure how well this was going to work since I didn’t have the wetting agent but sure enough, they stuck!
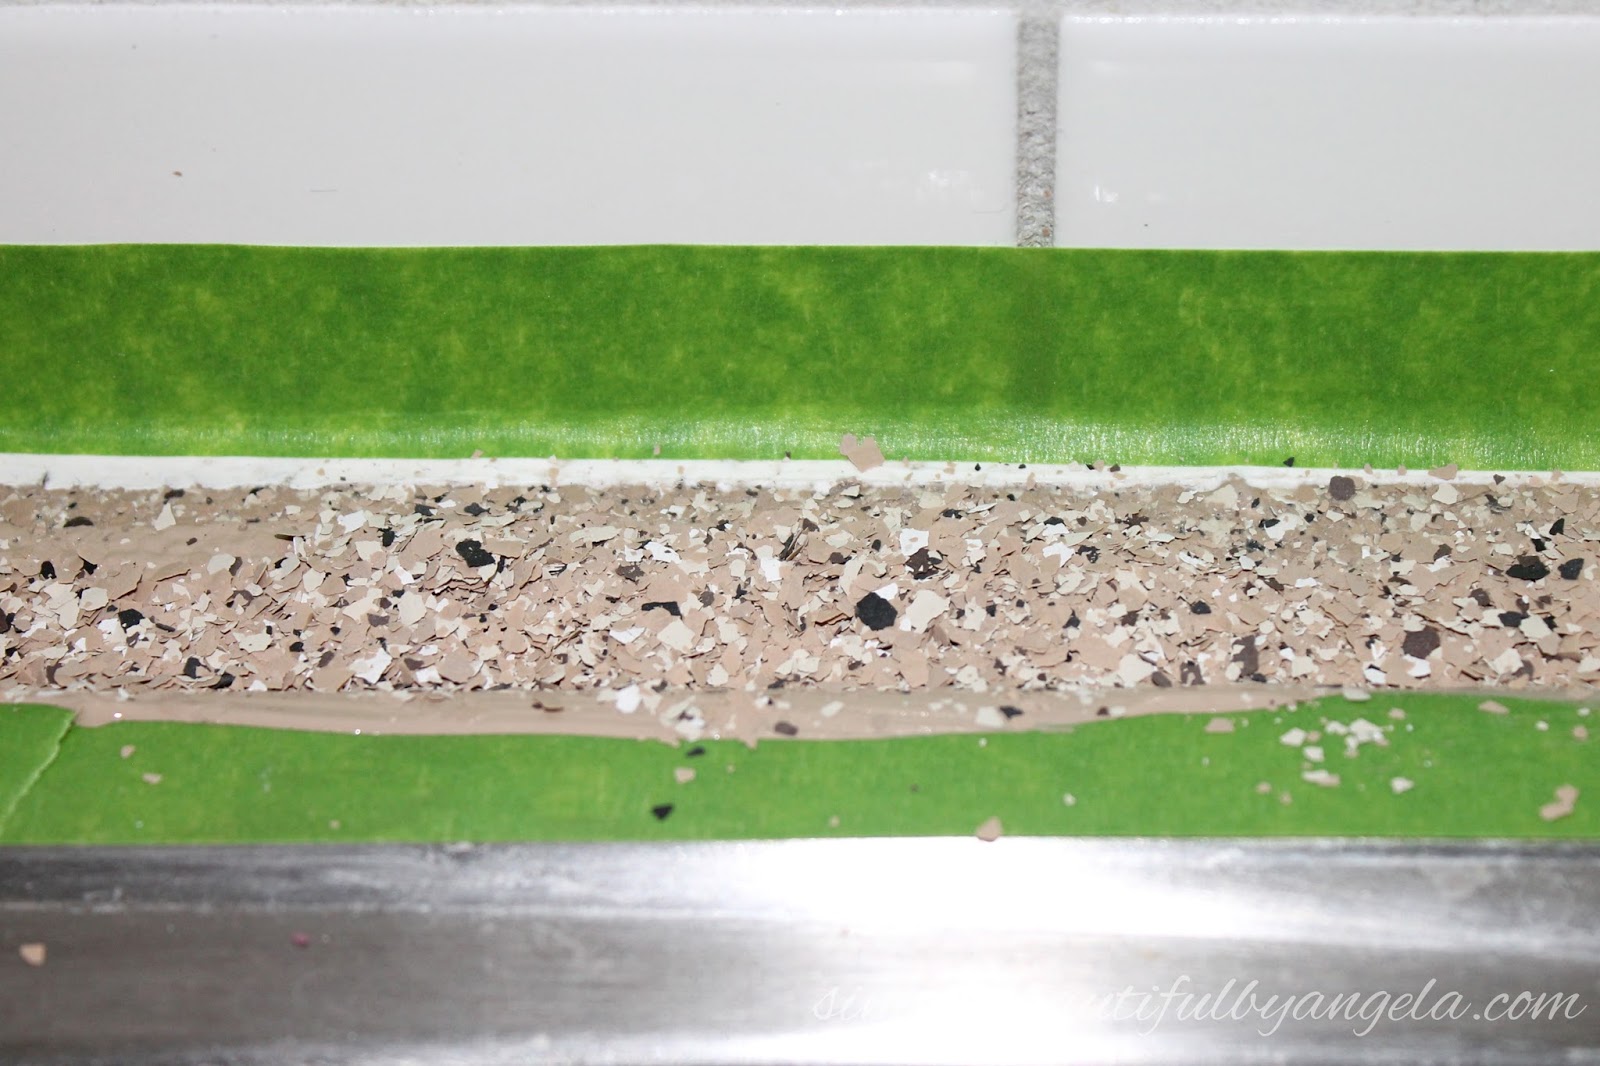
I only let it dry for about an hour since I wanted to wrap this up during naptime. I used a vacuum hose to suck up the extra chips and then carefully went over it with the sanding sponge. I didn’t sand it down completely because I was nervous about how well they had stuck without the wetting agent so I left it kind of rough. Since it’s behind the sink nobody feels back there anyways.
Finally I applied two coats of polyurethane with a foam brush to seal it. (Sidenote–I realized that the semi-gloss poly would actually be a better match and I think that’s what I used before. The difference isn’t too noticeable unless the light hits it just right).
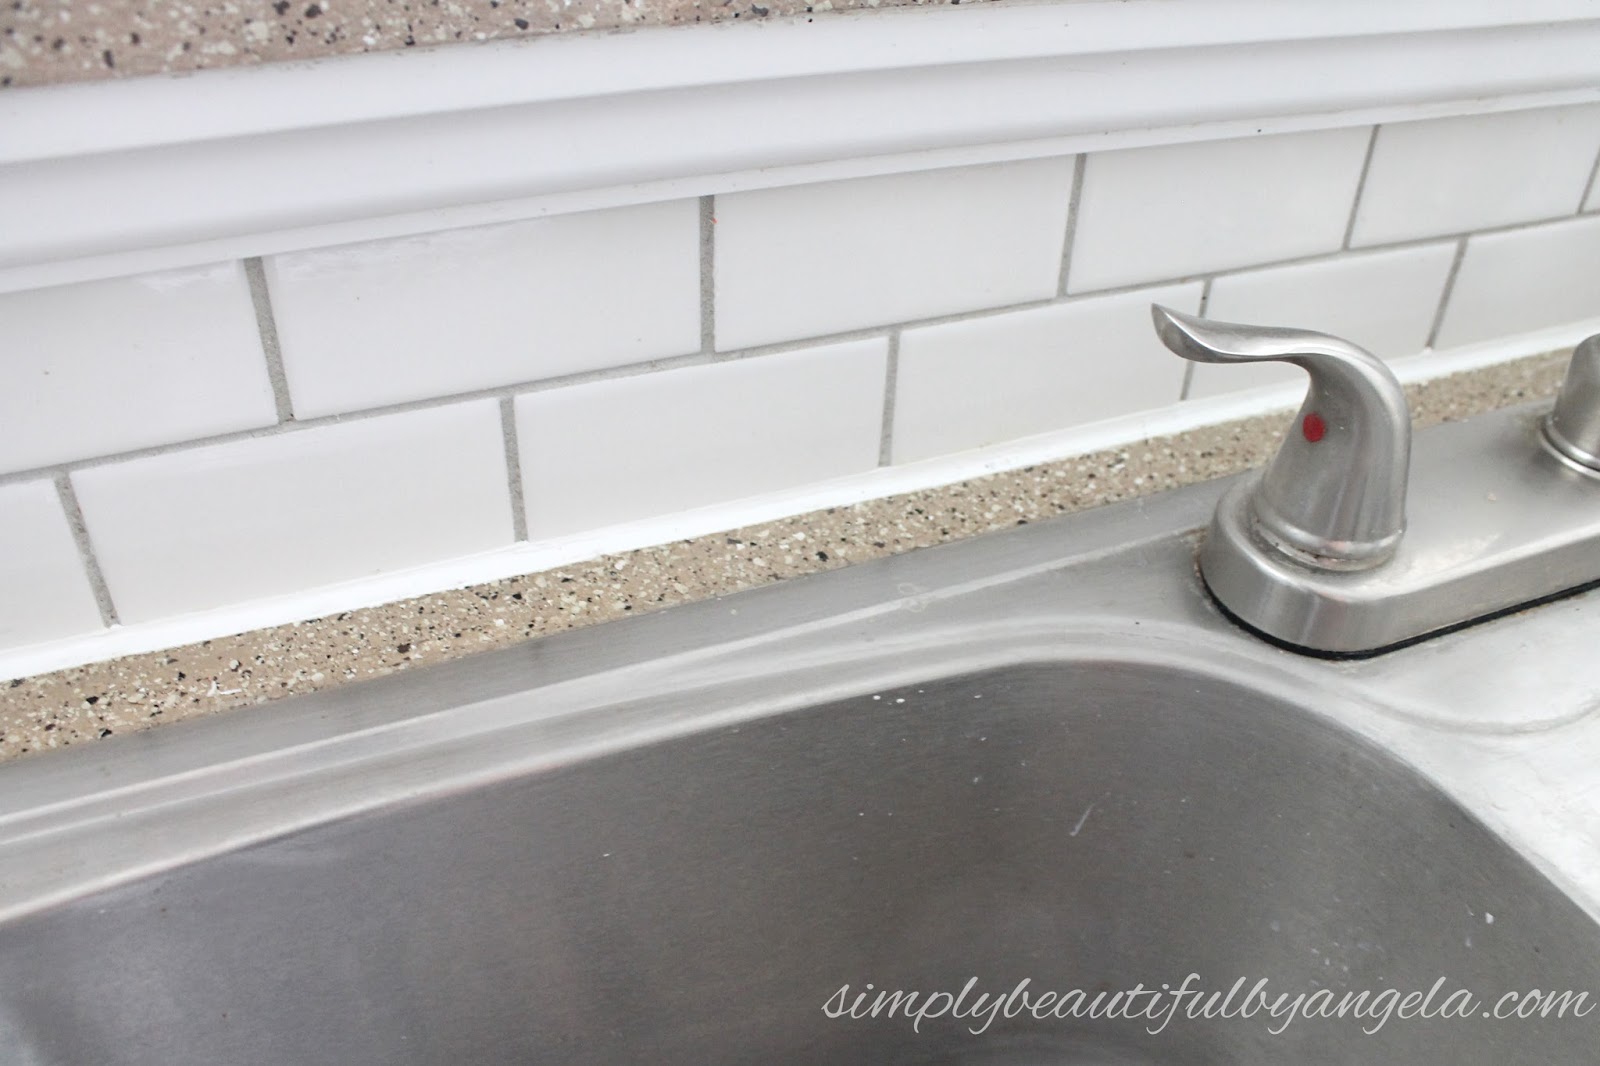
I also re-caulked against the backsplash and used this clear waterproof silicone around the sink to prevent the peeling from happening again!
And here is how it looks now!


For the edges I followed the exact same steps but I should mention that you kind of need to toss the chips at the vertical edge like you are throwing confetti since trying to press them on by hand will just pull up the paint and make a big mess.
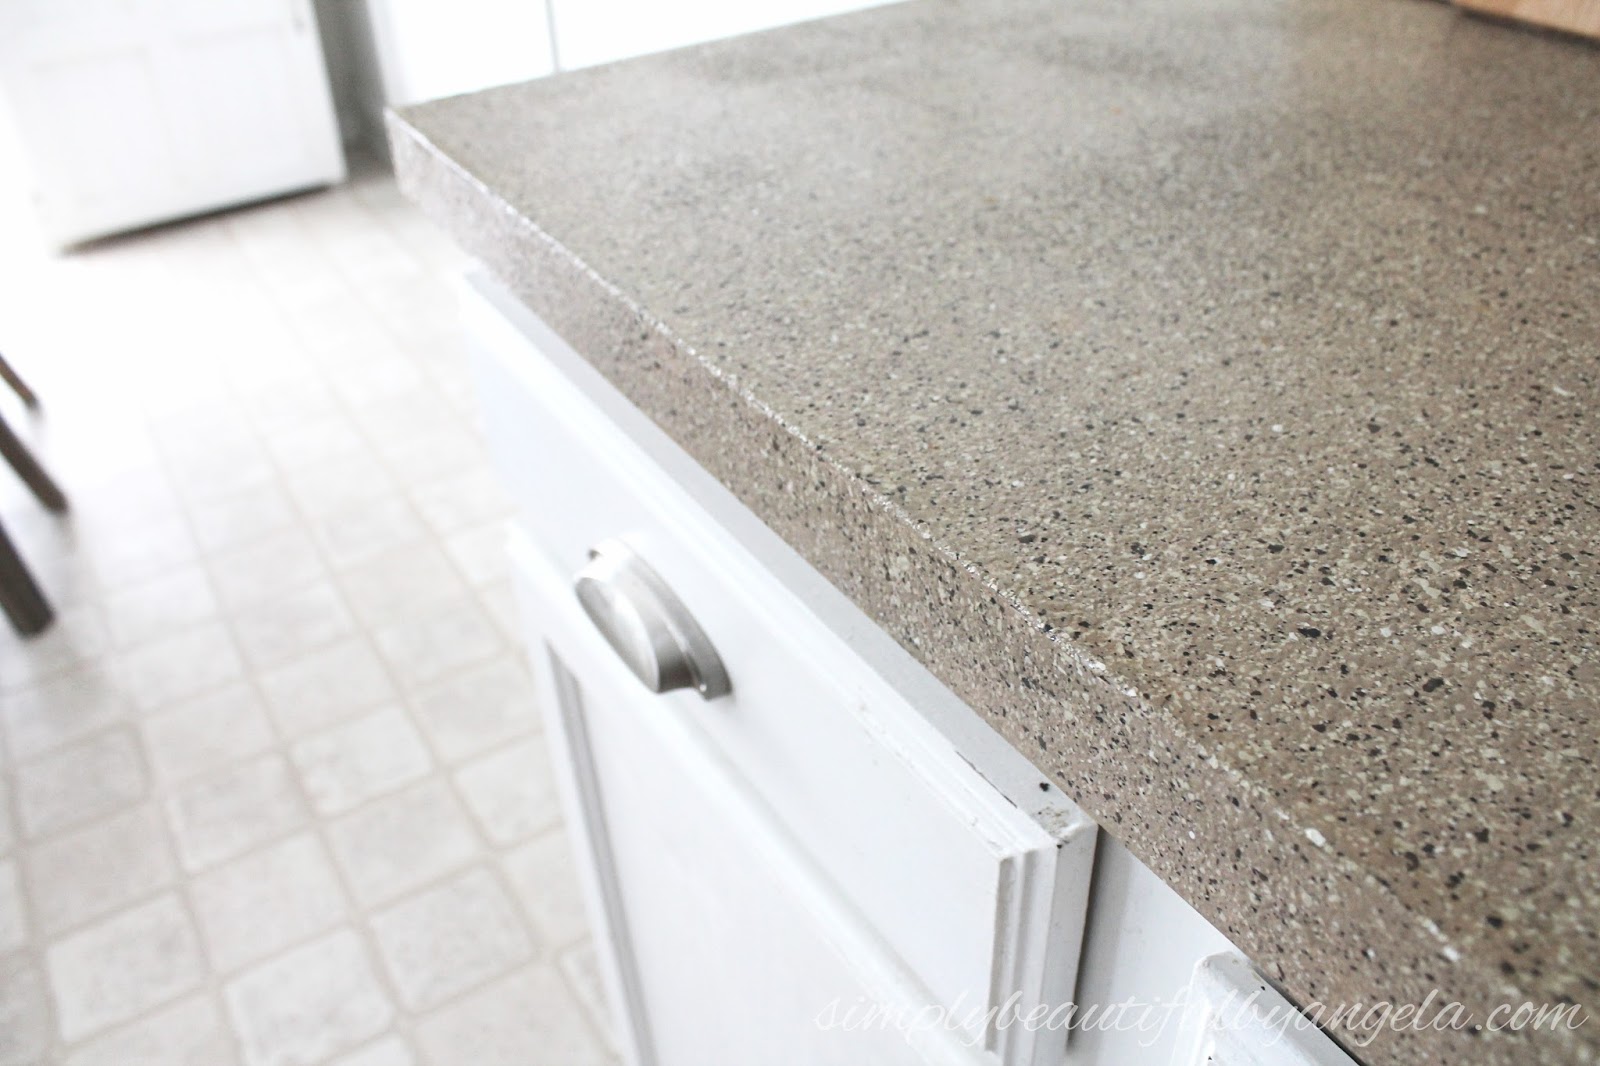

These counters are looking just like they did the day that I finished them!

I’m pretty happy with these for now–until that magical day comes that I finally get my quartz! I have heard that IKEA has some pretty affordable options but I am wondering if the same is true for their install? If any of you have worked with them in the past I would love to hear what you thought of them! 🙂

I've always wondered about that paint. I went a different, cheaper route with my bathroom counter and it was awful. Good to know it's fairly sturdy and easy to touch up.
I think the colored chips that go over the paint really help it hold up 🙂
We were thinking of using this on my sister's countertops. Great to know it's held up pretty well. Thanks for linking up with #HomeMattersParty
If you do go with this I bet you'll be pretty impressed 🙂
Very informative post. Kitchen is the important area at Home decor. Not everyone really look up for the kitchen decor. As a Home Contractor it is important to know all these details and keep it in mind.
Nice and very helpful information i have got from your post : learn more
Nice and very helpful information i have got from your post : learn more
To quickly buy an essays online you should use this online ordering service
I am passionate about providing a modernized look to my home, so I met the most trusted and highly experienced quartz countertops installer Phoenix to provide a facelift to my kitchen much carefully.
This blog post is really great; the quality information of this post is genuinely incredible. https://www.myamericandreamhomes.com