But first I have another fun fall project that I want to share with you guys!
I’m sure most of you have seen the farmhouse style signs that have been popping up everywhere. I adore all of the cute phrases, the cozy look of the wood next to the white and how much interest they add to gallery walls and vignettes!
Most of the tutorials that I’ve seen use a Cricut machine to make them which is SUPER out of my budget right now. Others are painted by hand which takes a lot of patience and time, something I don’t always have a lot of!
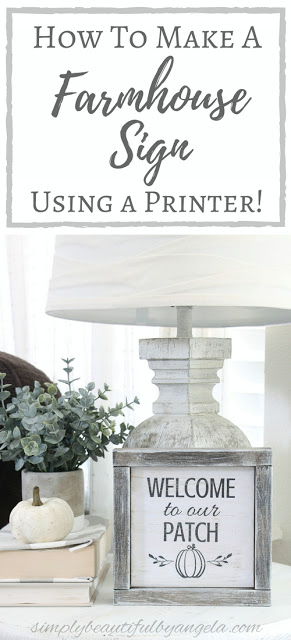
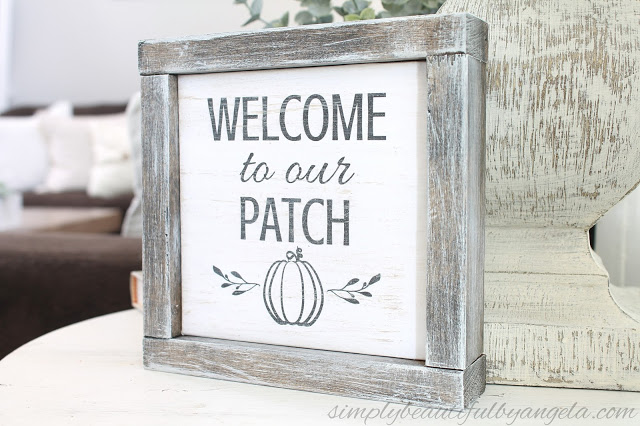
So I decided to try to make one using a plain old printed image and was pleasantly surprised to see how awesome it actually turned out!
Supplies Used: (Affiliate links may be provided for convenience. For more info, see my full disclosure here.)
- 1×6
- Printed Image
- Tacky Adhesive Spray
- Mod Podge Matte Finish
- Chip Brush
- Old Credit Card
- Light Brown Paint
- 1×2
- Minwax Stain in Jacobean
- Liquid Nails
- White Paint
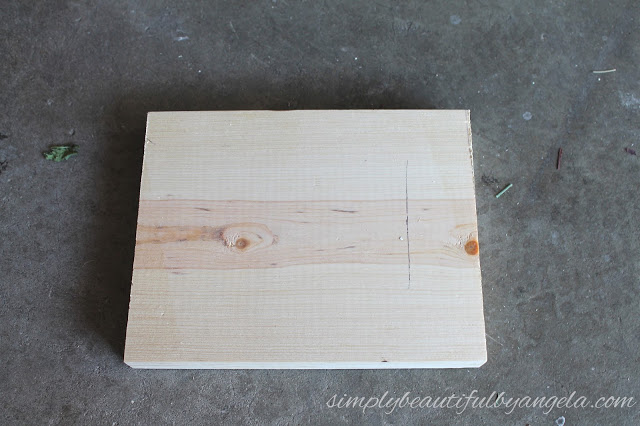
I began by cutting a piece of 1×6 down so that I had a 5.5″ inch square.
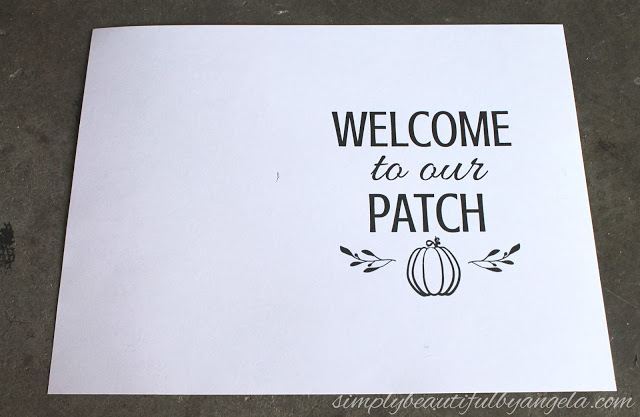
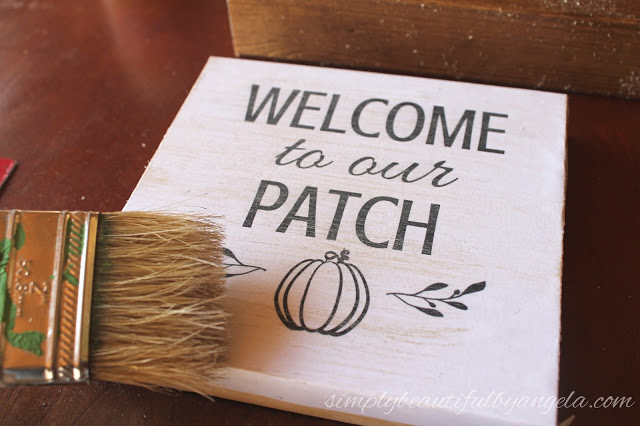
I then created my design on Canva.com and printed it out on some white cardstock because it’s what I had on hand. Regular printer paper would work too!
When I was making my design on Canva I noticed that the center mark was right at the top of the “t” in the word “patch” so from there I measured out and marked 3 inches in all directions to create a centered 6″ square.
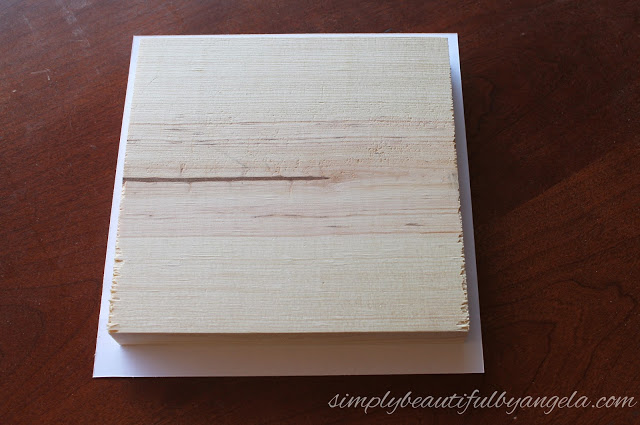
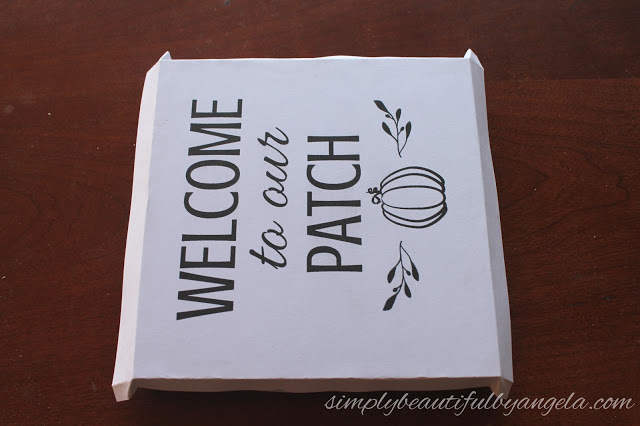
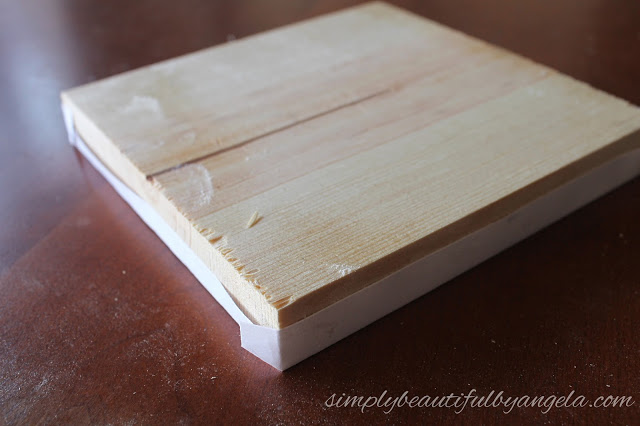
Well kind of a perfect square! Once I cut out it was time to attach it to the wood. I simply placed my design face down, sprayed Tacky Adhesive Spray on the wood and then centered the wood before pressing it down on the paper.
I creased the edges against the wood to create little flaps that folded over the edges.
I then flipped it back over and sprayed the back of those flaps so that they would lay against the wood.
I used adhesive spray because I had it on hand already but I am thinking that Mod Podge or even a glue stick would also do the trick for this step!
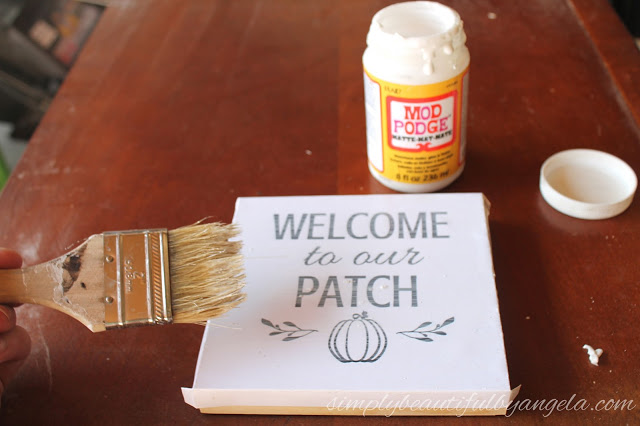
Next, I used a chip brush to apply a coat of Mod Podge Matte Finish. I was careful to make sure that I had enough on my brush so that I only needed to go over each spot with one stroke. This was important because in the past I’ve smeared the printer ink by going over it too many times.
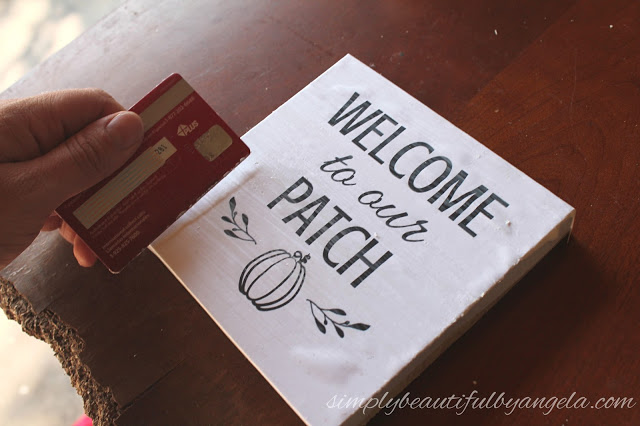
Immediately you will start to see a bunch of bubbles start to form–but don’t freak out! After about 30 minutes of drying I took an old credit card and carefully slide it across to press most of them out, although it didn’t get them all. After about another 30 minutes of drying they flattened out completely by themselves.
I dry brushed a little bit of light brown paint over the image to make it look worn.
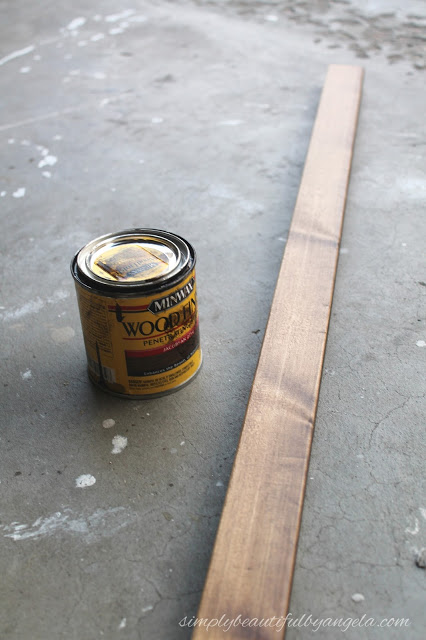
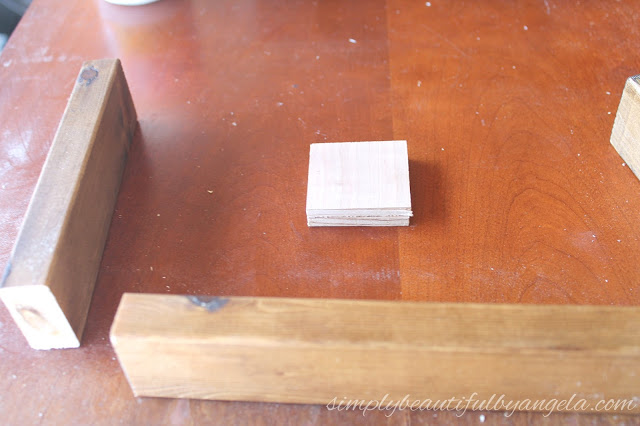
While I was waiting on the Mod Podge to dry I worked on my frame. I stained a 1×2 with Minwax Stain in Jacobean which is a really nice dark brown with no red undertones. I then cut two pieces at 5.5″ and two at 7″. You could also cut first and stain second–it’s totally up to you!
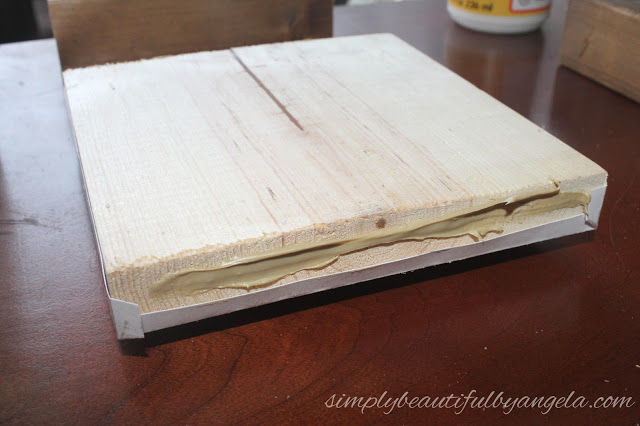
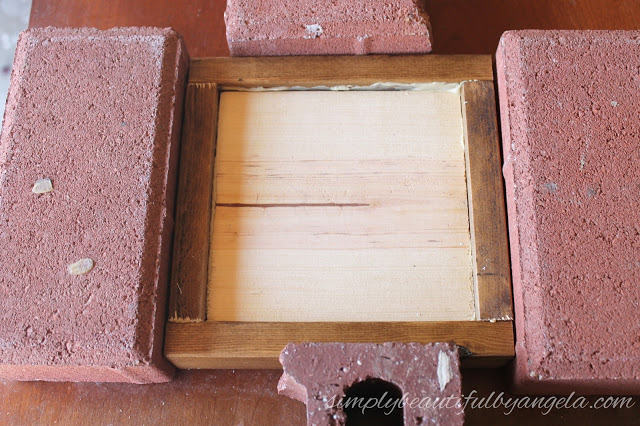
I applied a small line of liquid nails to each side (make sure you don’t do too much or go to close to the edge!) before pressing my 1×2 pieces on.
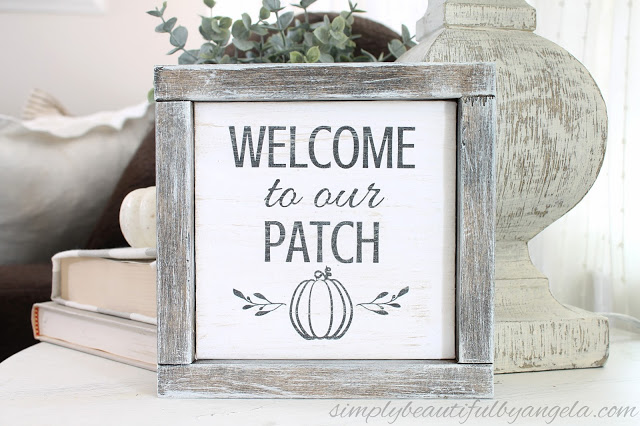
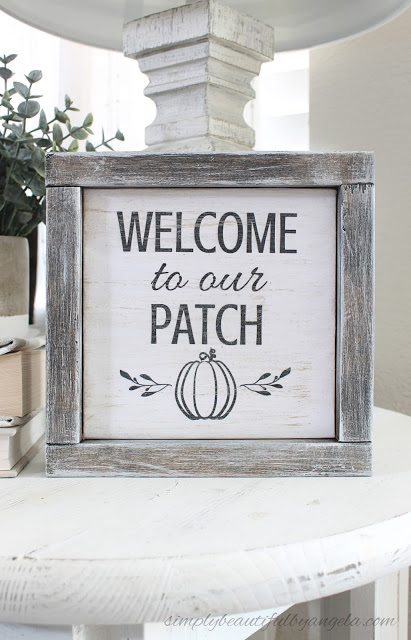
I used some bricks to press them together and after it dried I finished it up by staining the edges of the 1x2s where the cuts were made and dry brushed a little white paint on the frame.
The whole process was actually very quick which is a good thing because I ended up doing this a total of THREE times since I decided that I didn’t like my first two designs! I’m 100% set on this one though. At least for now…
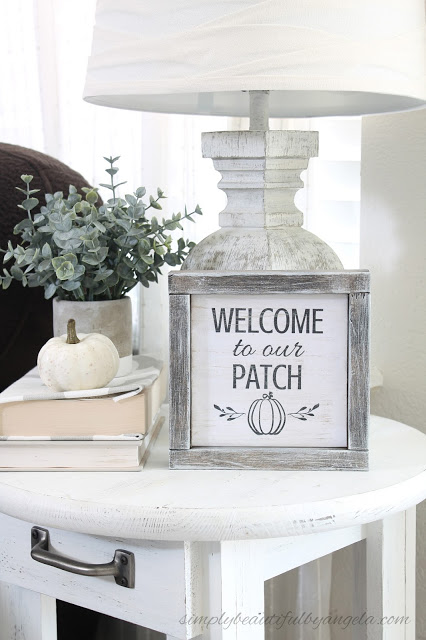
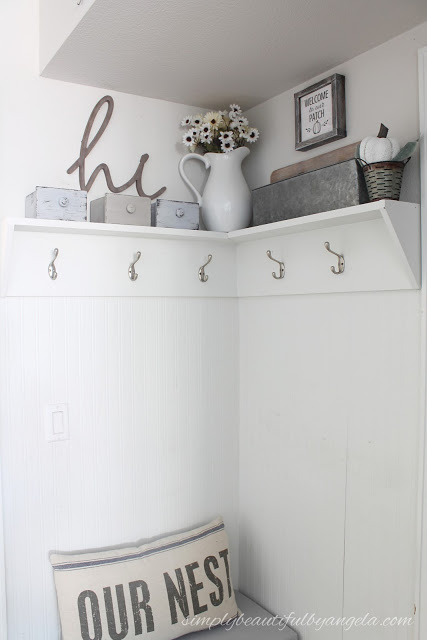
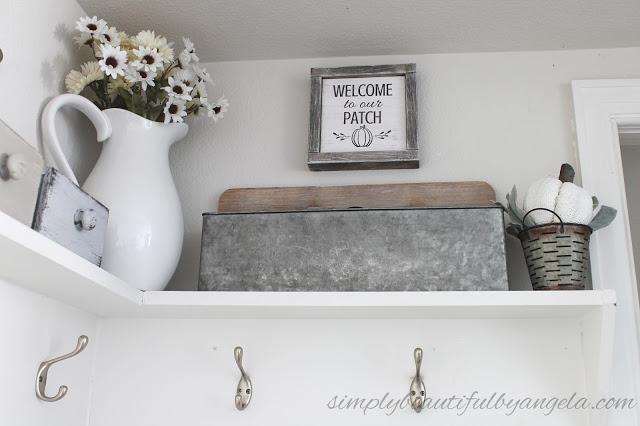
Buuuut it found it’s final home in our mudroom above the shelves.
I think it filled that spot perfectly, don’t you?

I want to tell the readers that it is an amazing idea to get an attractive sign like this. I made one for our farm and the visitors always ask about how to make one. Brilliant idea!
Great idea! I never thought of doing it that way before. Much easier than transferring the image and then trying to paint the letters and image!
Do you have a way to share your printable? And if so, are you willing?