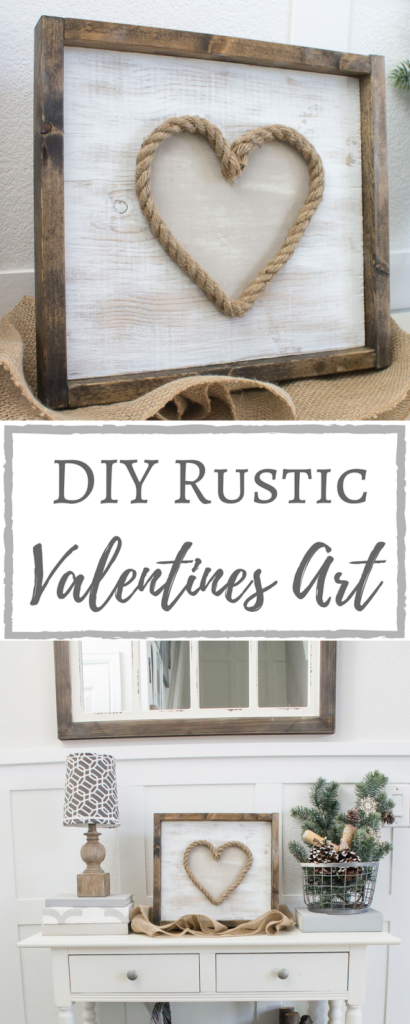
Well hello there friends! How was your weekend? Ours was pretty lazy. Scratch that–it was really lazy! That’s okay though because I’m starting to accept that every now and then you just need to slow down a little and recharge. However I did throw together a quick little piece for Valentine’s Day on Saturday night after the boys went to bed and I’m pretty impressed with how it turned out.
I’ve actually never decorated for Valentine’s Day before but I decided that this would be a good year to start! I am utterly obsessed with the color pink unless we are talking about interior décor. In that case, I actually like to stick to my trusty neutrals. Funny, I know! So I dug around in my stash to see what I could come up with that was neutral but festive. Let me show you what I came up with!
Supplies Used: (Affiliate links may be provided for convenience. For more info, see my full disclosure here.)
- 1×12
- 2×2
- Medium Grit Sandpaper
- Minwax Wood Stain in Jacobean
- Waverly Inspirations Chalk Paint in Snow White
- Waverly Inspirations Chalk Paint in Mineral
- Small paintbrush
- Jute Craft Rope .5″
- Hot Glue Gun
- Liquid Nails
I found a piece of 1×12 that was stained with Minwax Wood Stain in Provincial (with a coat of whitewash on top) and I also had a 1×2 which was partly stained with Provincial so I cut it down to frame it.
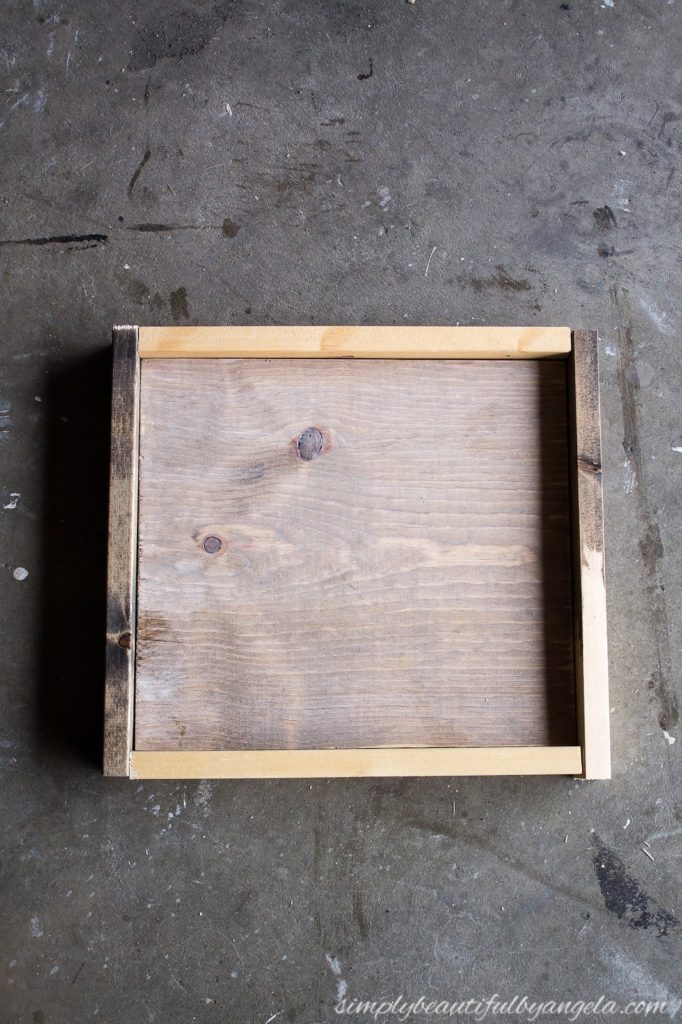
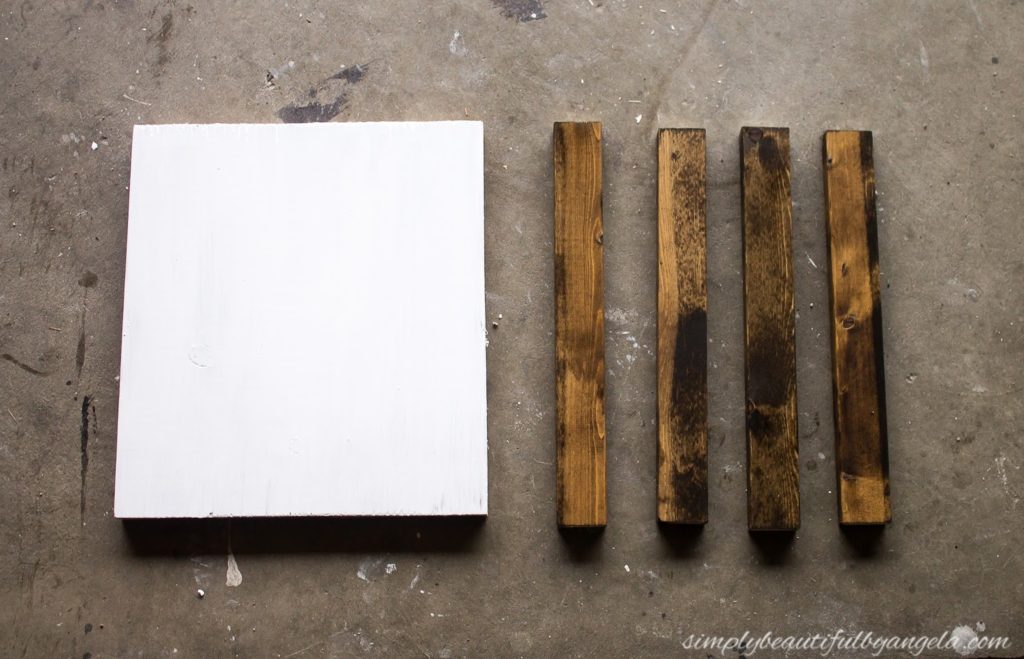
I then stained the rest of the 1×2 pieces and added a coat of white chalk paint over the 1×12.
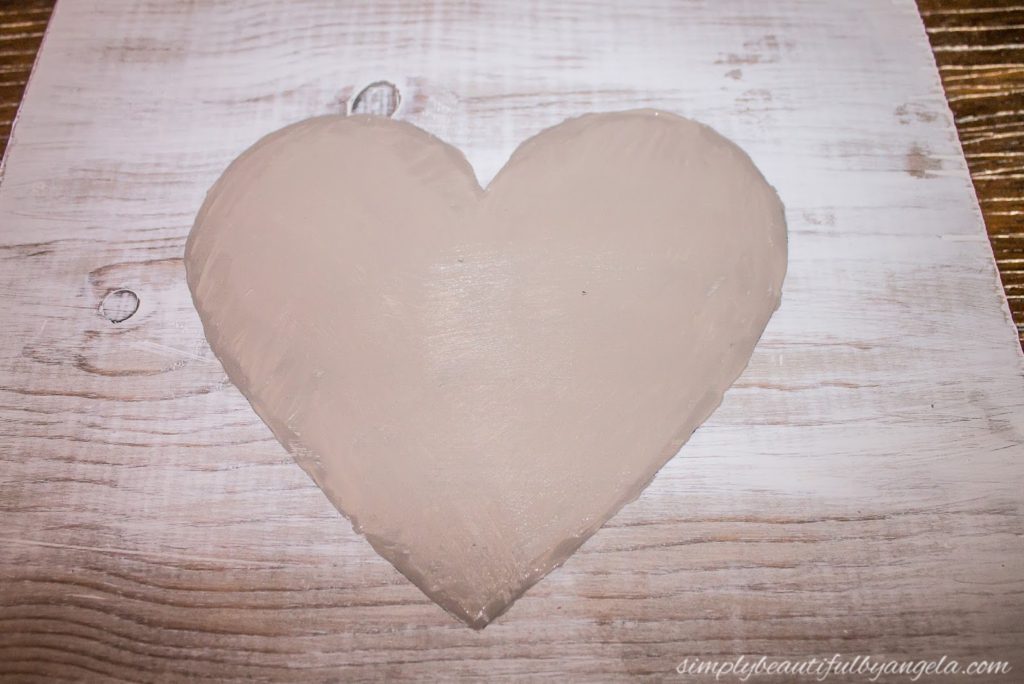
While that was drying I printed out a heart to trace on to my board because my free handing skills are pretty scary, trust me!

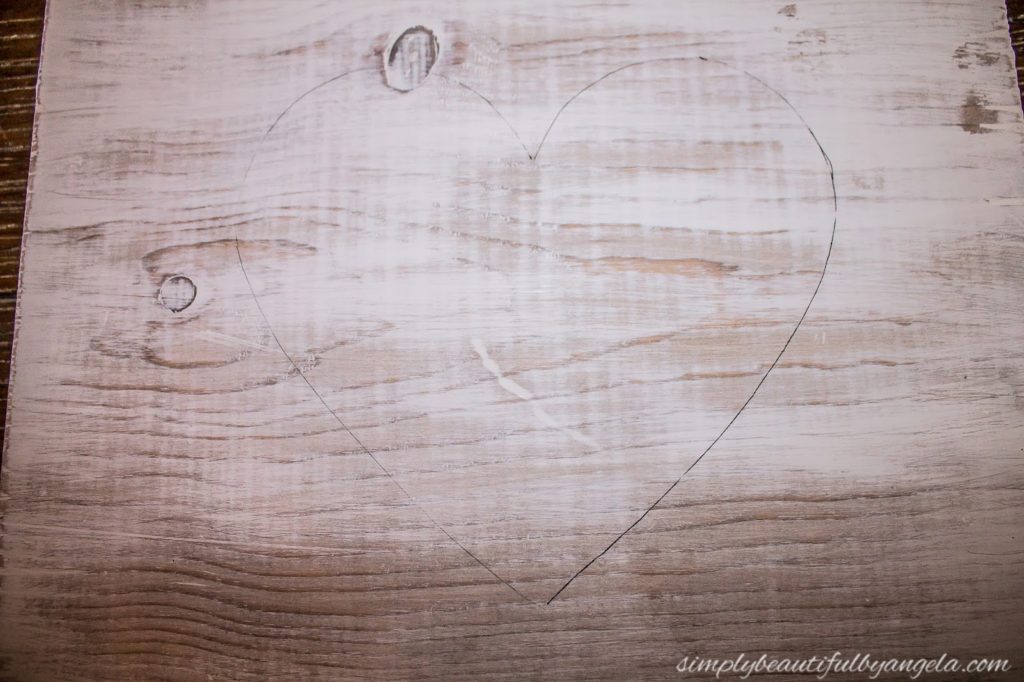
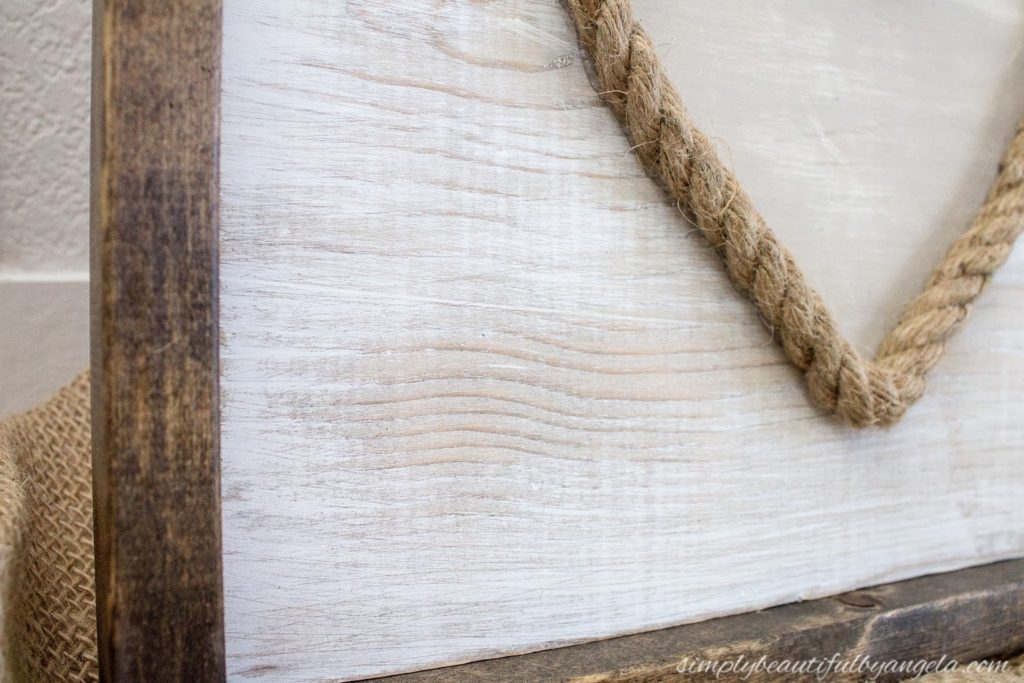
Oh! I also ran some rough sandpaper on my board to bring out some of that pretty stain from underneath. I actually meant to just lightly distress it, but my sandpaper was rougher than I thought and it ended up being heavily distressed. It was a happy accident though because I actually really love the way that it highlighted the pretty wood grain.
Next, I used a small paintbrush to outline my heart with some brown chalk paint. No need to be too precise here since the edge is going to get covered up later on! I then used a larger brush to fill it in.

Chalk paint dries fairly quickly but I used a hair dryer to speed up the process since I wanted to finish it before I headed to bed. Once it was dry I distressed it and then hot glued the beginning end of the rope to the top middle of the heart.
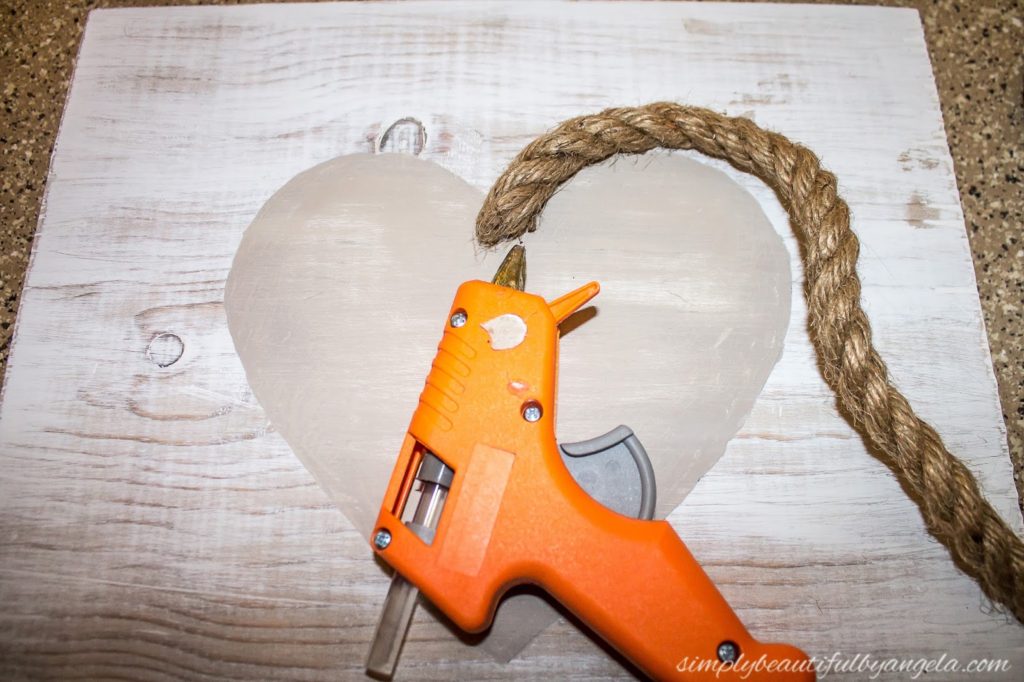
I ran a small line of hot glue along the edge of the heart before pressing the rope down. I made sure to put glue down in small sections at a time so that I could take my time to get the rope just right.
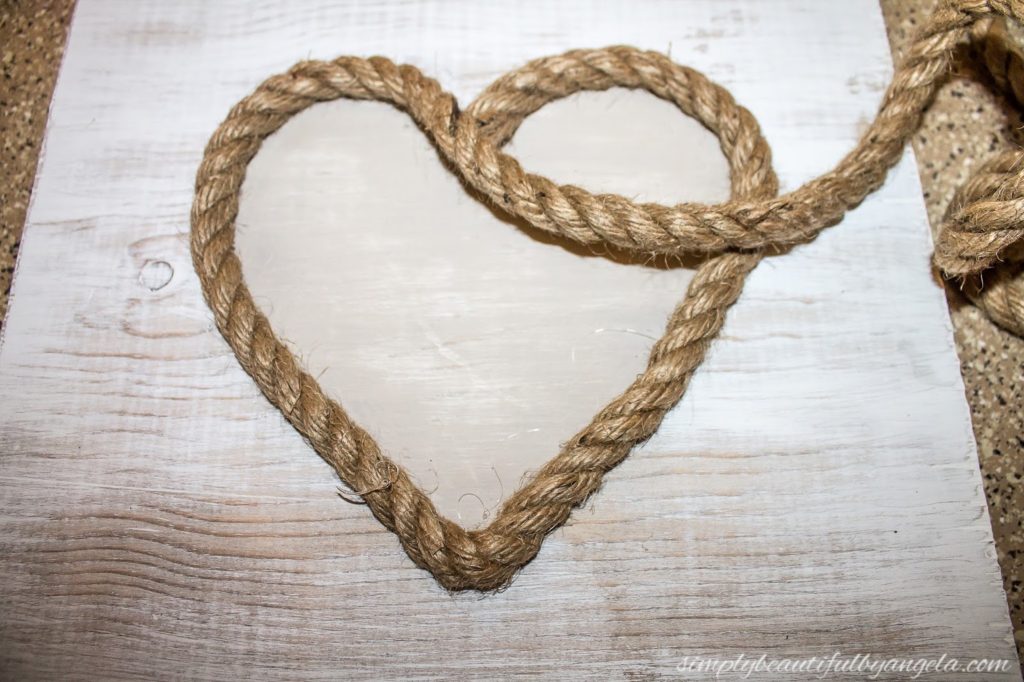
Once I worked all the way around I cut the rope and glued the end down. Just a quick note if you decide to use thick rope like this–this stuff DOES NOT cut easily with scissors! Like at all. I actually had to place a cutting board down and use a steak knife to cut it. Stuff is intense you guys!
Once I was happy with how the rope was shaped I took it back out the garage and attached the frame pieces with a little bit of liquid nails. Make sure to use it sparingly so that it doesn’t squish out and show! I also pressed some bricks around the edges to hold it together while it dried.
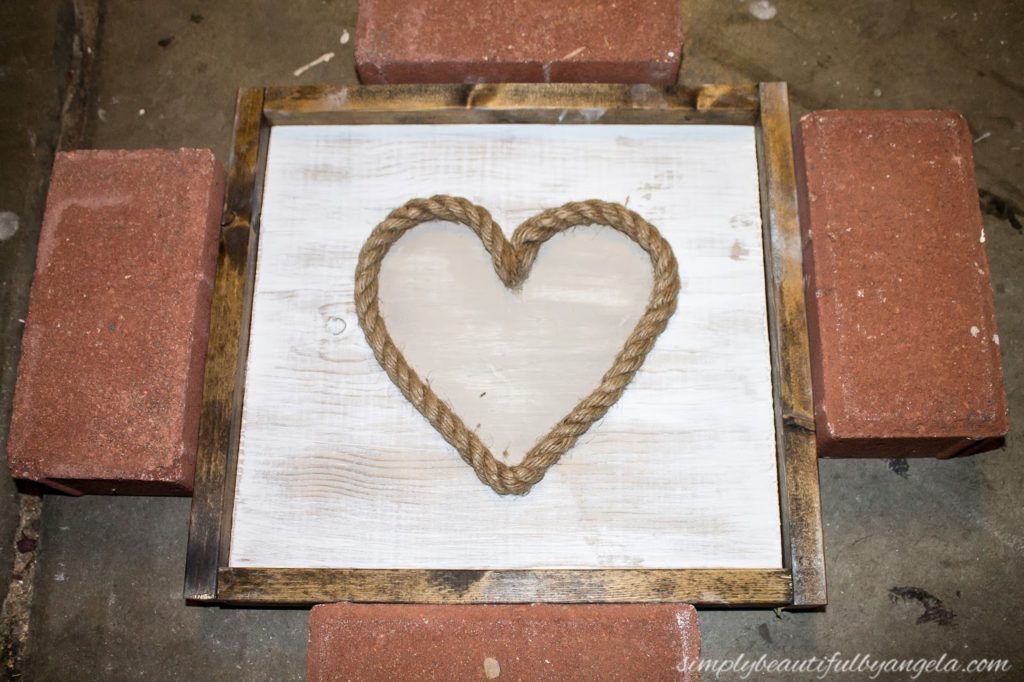
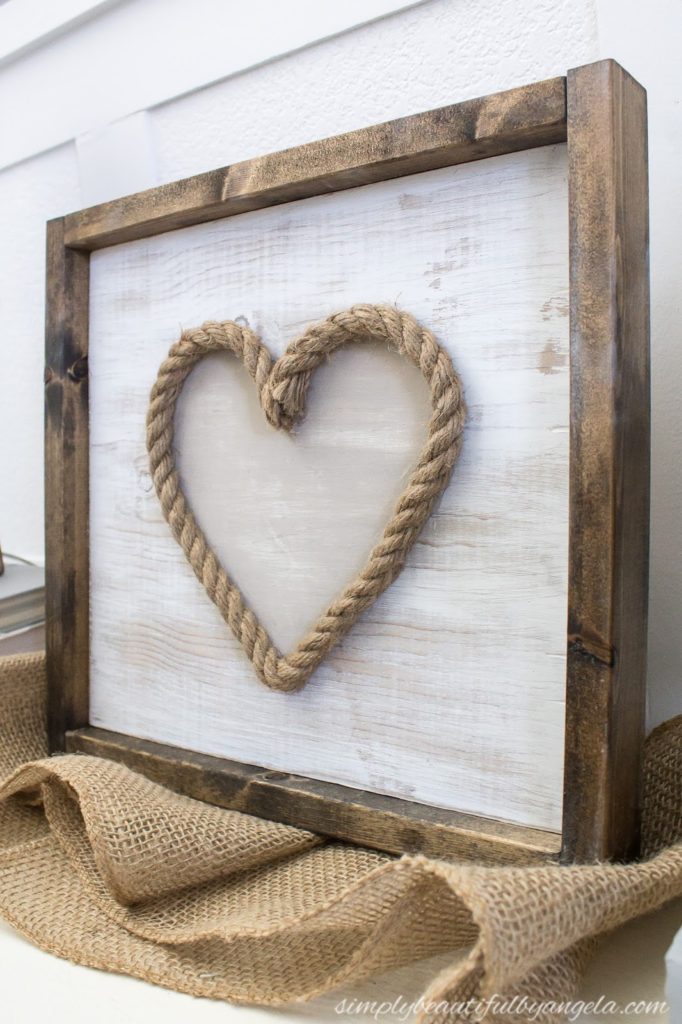
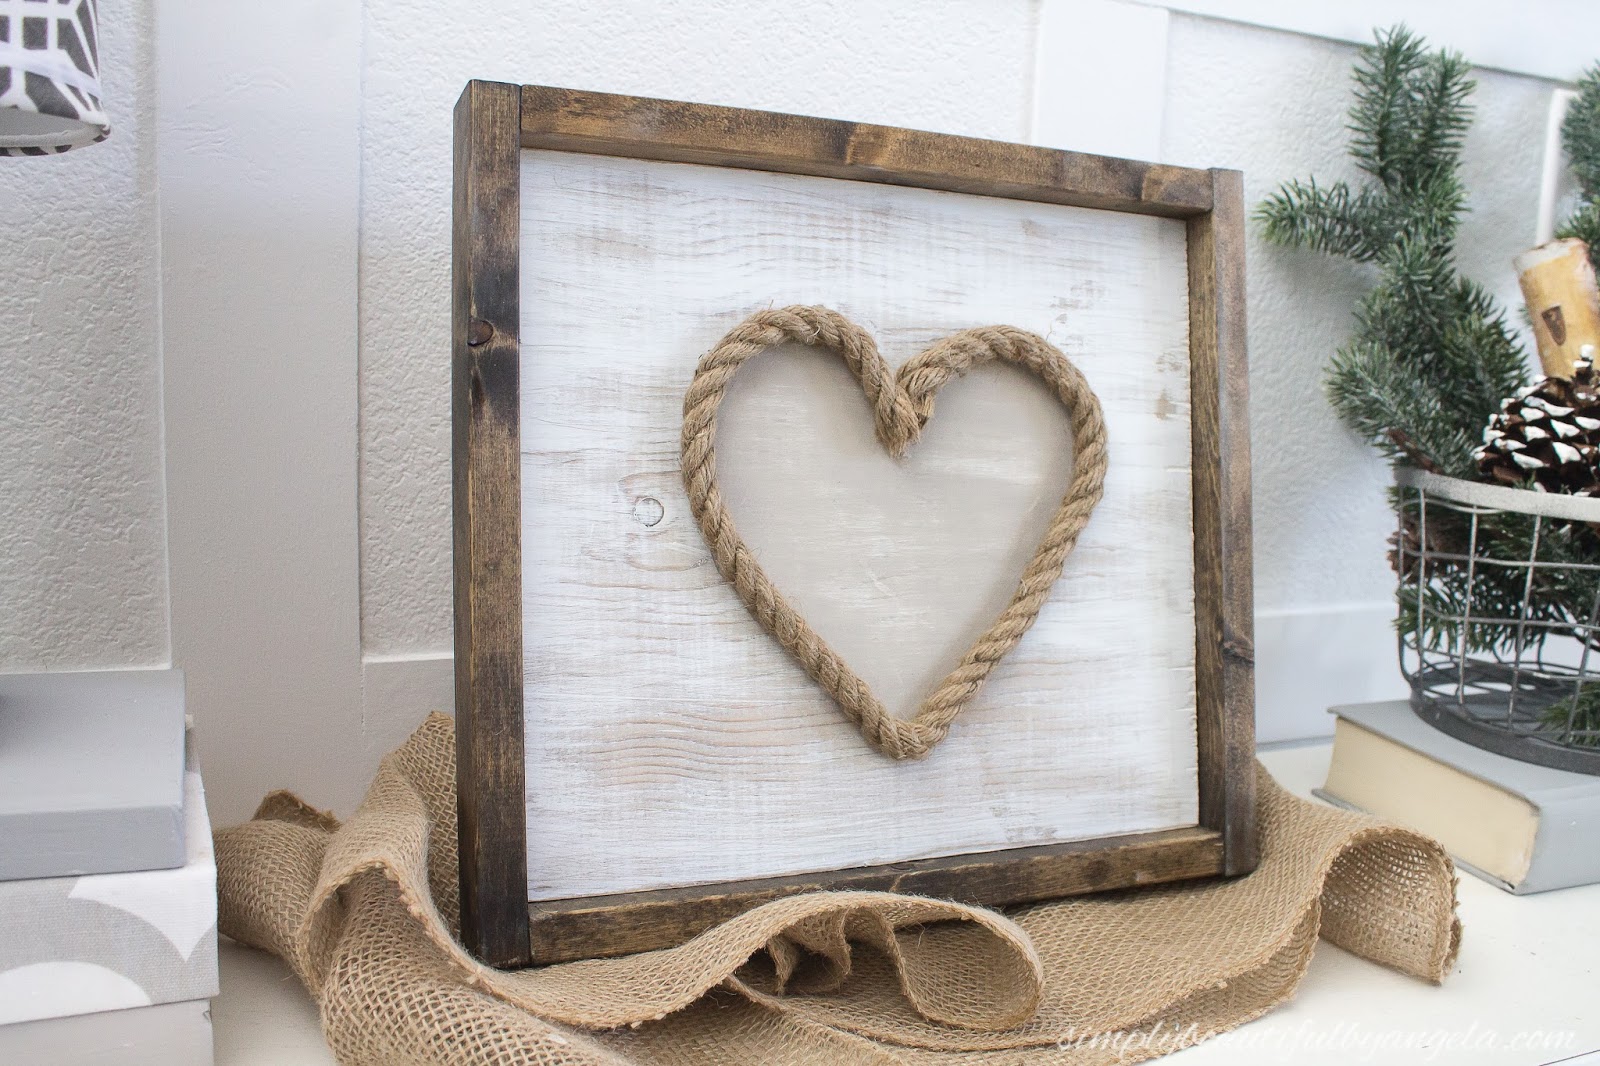
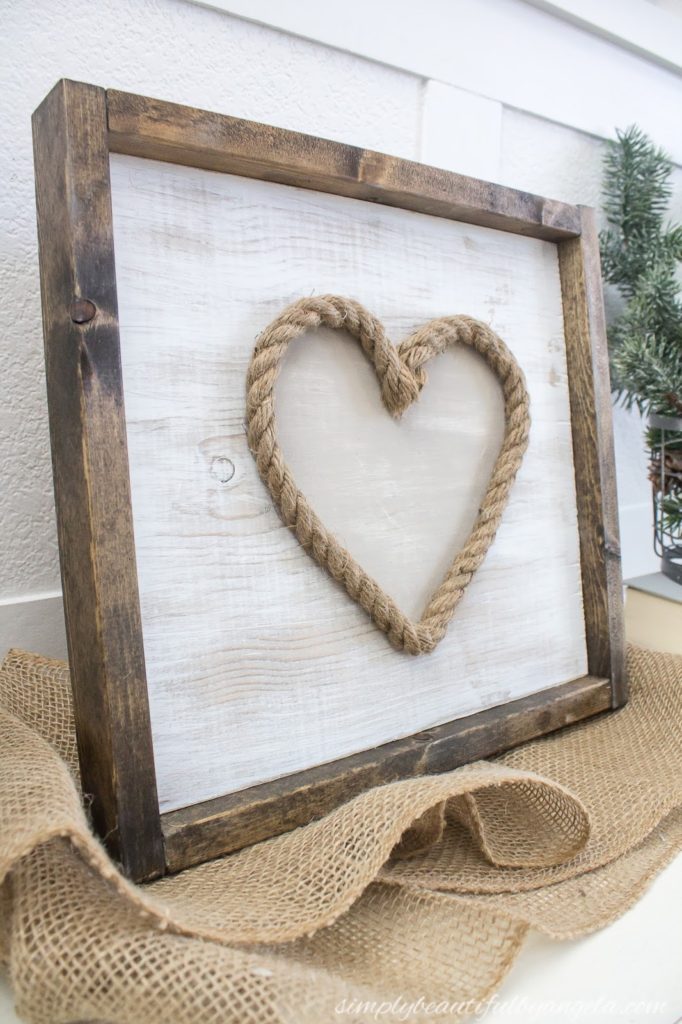
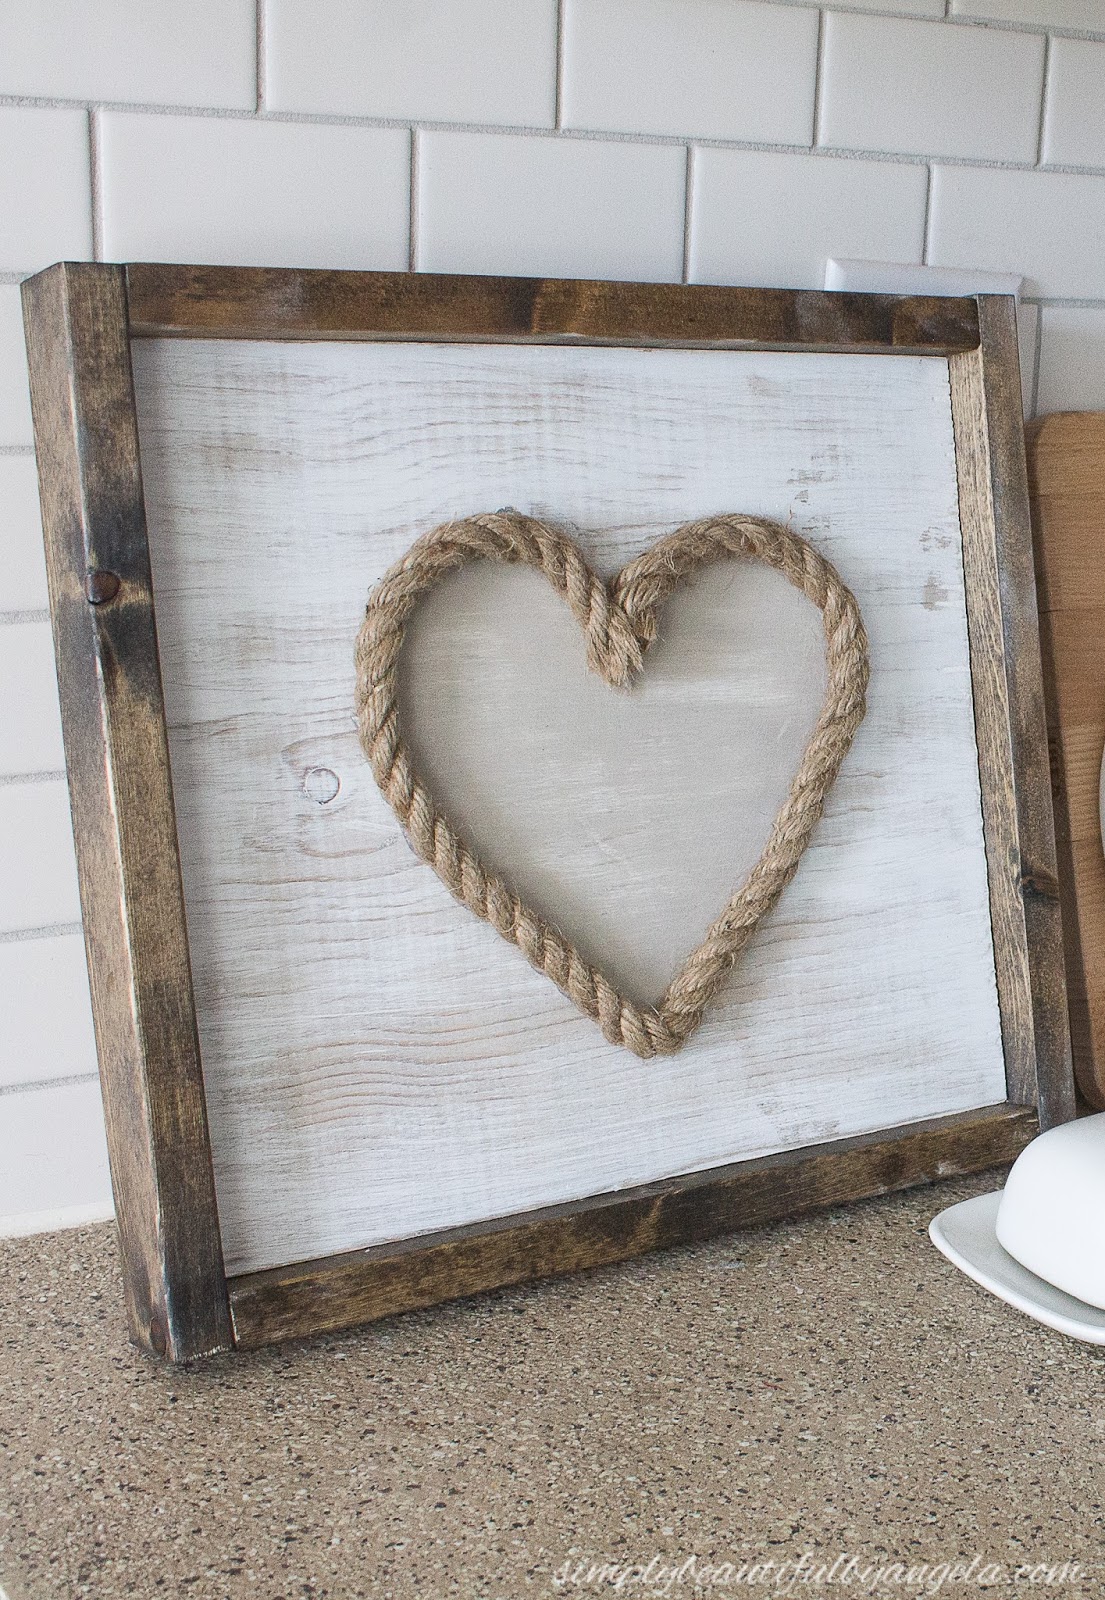
And this is how it turned out!
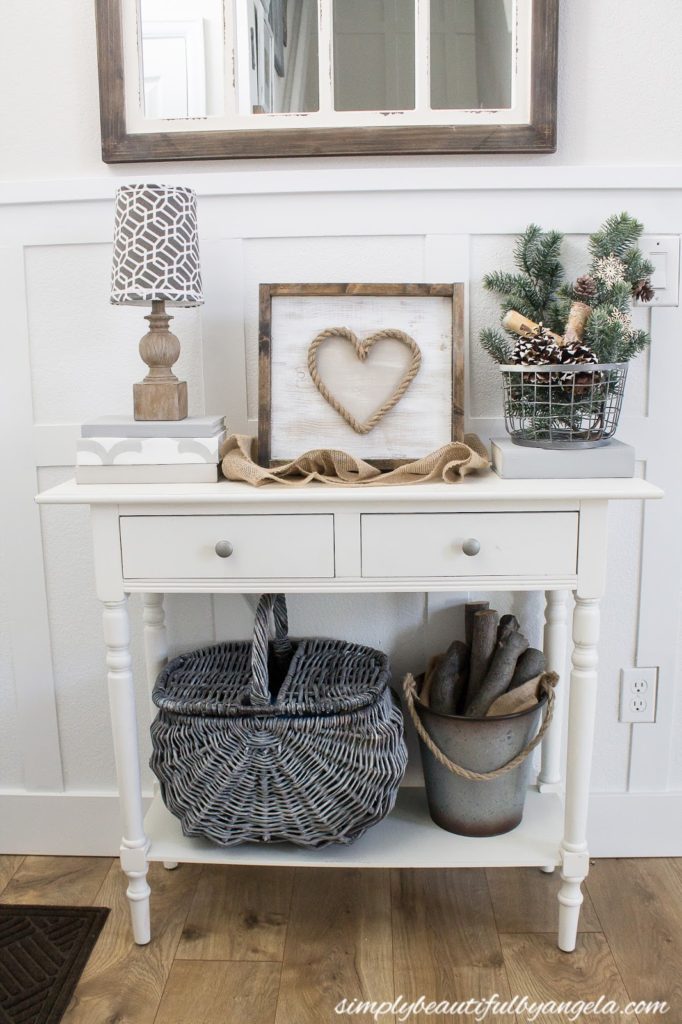
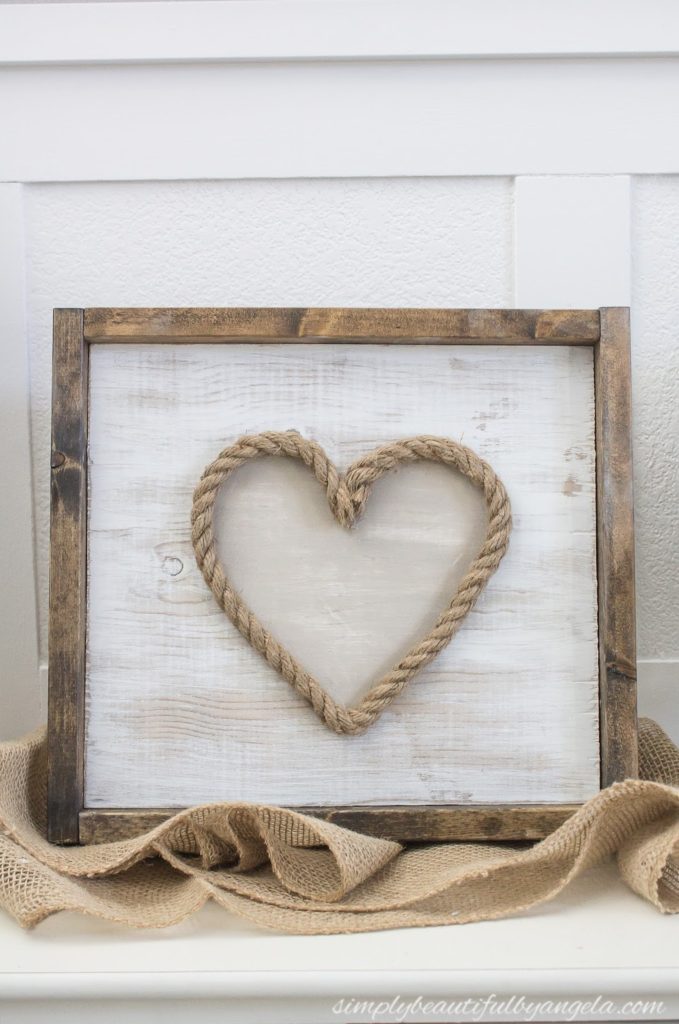
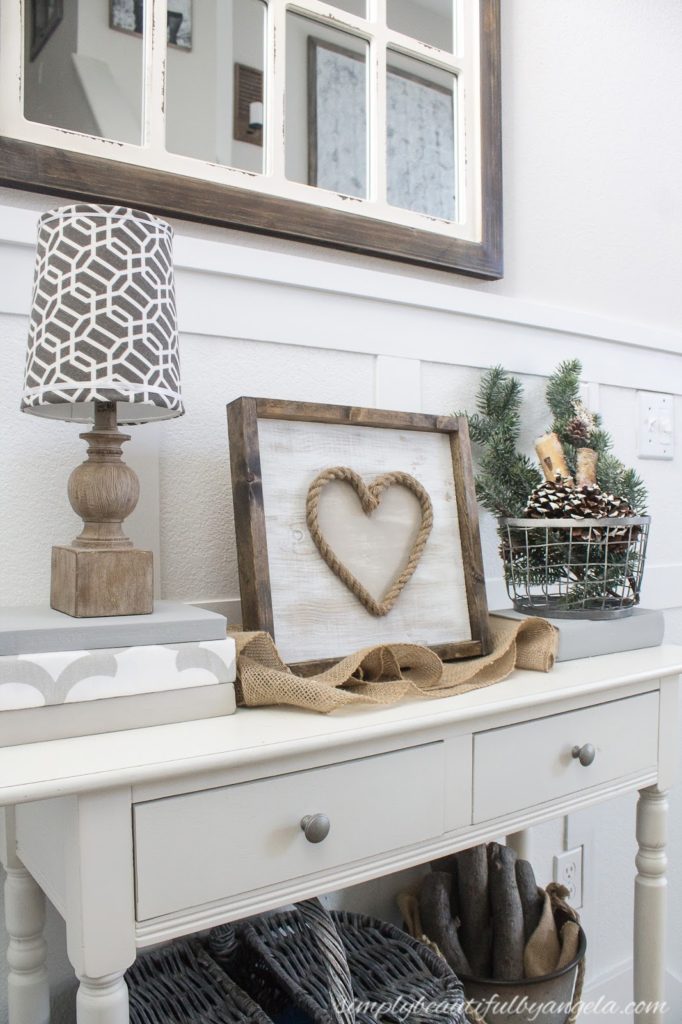
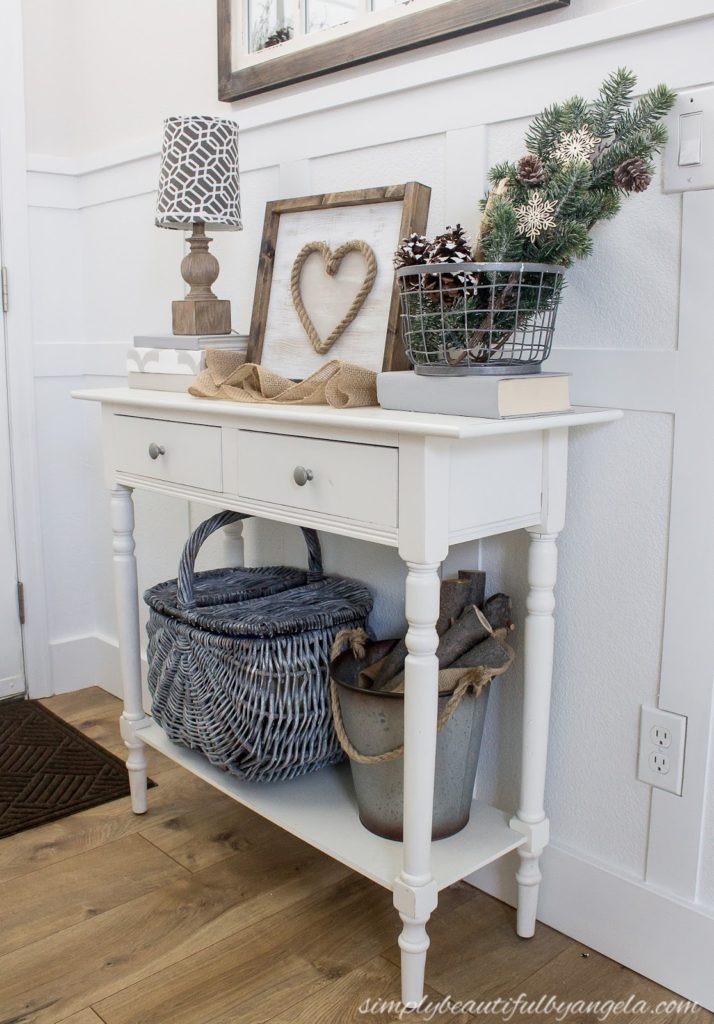
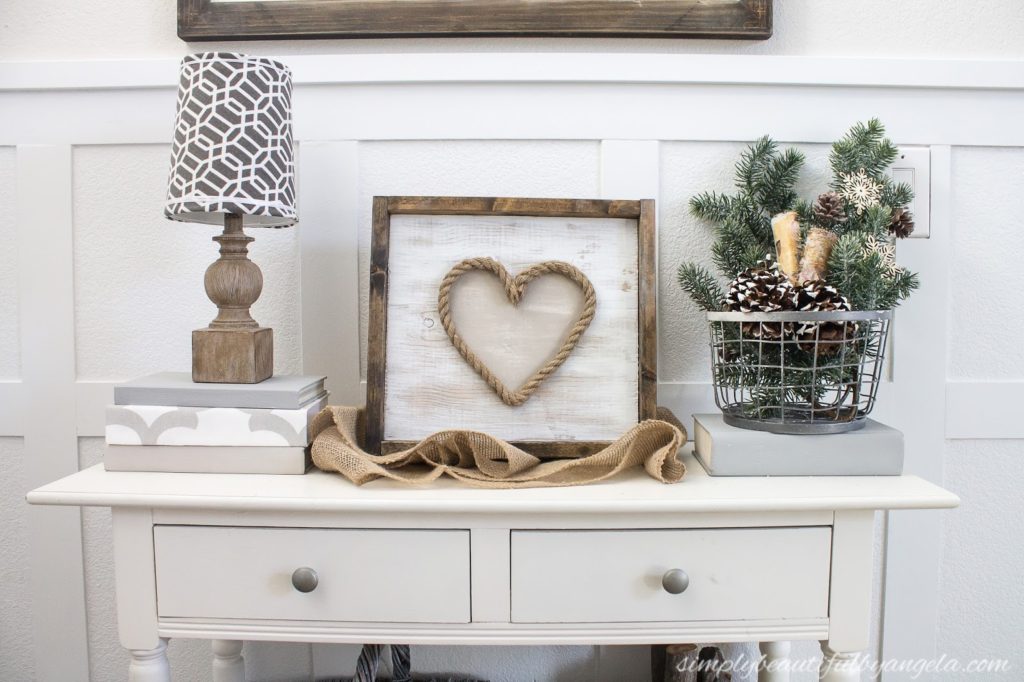
I didn’t add a picture hanger but you certainly could if you wanted to put it up on a wall. For now I am really liking the look of it just leaning on a table.
Not too bad for about 15 minutes of work and using supplies that I already had on hand, right?

I’m calling my first Valentine’s Day project a success! Now I’m already starting to think about what else I could make…
Okay my sweet friends I’ll be back next week with another fun tutorial that could potentially be used for Valentine’s décor, although I’m actually making it for a friend’s baby shower. You’ll see what I mean. See you all then!
Linking up to these awesome parties!
That's so pretty! I love that it's neutral and would go with any decor. Visiting from Wine'd Down Wed 🙂
Corrine
http://www.sprinklesandstreamers.com
Thank you so much Corrine!
Cute! The rope look would match my beach decor. Visiting from Thursday's Favorite Things party.
Thanks Victoria!! I didn't even think about incorporating it in nautical décor, that just gave me an awesome idea for summer 🙂
How pretty this is. It is neutral enough to leave out all year round.
Thank you Debra! I completely agreee, now if only I had the space haha!
نقدم لكم بعض الخدمات فى الاعمال المنزلية الممثله فى التنظيف الشامل للمنزل ومكافحة الحشرات وعزل الاسطح وكشف تسربات المياة ونقل الاثاث بكل انوعه كل ذلك يساعد فى الحصول علي مظهر رائع بواسطة افضل الفنيين والمتخصصين فى هذا المجال باستخدام احدث المعدات.
شركة عزل اسطح بابها
شركة كشف تسربات بابها
شركة تنظيف خزانات بابها
شركة مكافحة حشرات بابها
شركة عزل اسطح بخميس مشيط
شركة كشف تسربات بخميس مشيط
شركة مكافحة حشرات بخميس مشيط
شركة تنظيف منازل بالطائف
شركة نقل عفش بالطائف
Visiting from Thursday's Favorite Things party.
Goldclub Slot