
Hello and happy Friday everyone! So this past weekend I didn’t get a chance to photograph my latest project which meant that I had nothing to edit and share with you guys. I know–booooo!
I typically take my blog pictures on the weekend and then work on the posts throughout the week. A big part of the work is actually in the photo editing and I would say it’s probably what I spend most of my time on. But not as much time as I used to spend on my old photo editor! So it got me thinking and actually inspired me to take this week to share something a little bit different from the norm with you all today.
I’ve been blogging for almost 3 and a half years and up until last fall I used a basic free online editing program called Fotor. It worked decently well and was better than nothing, but I could never get them to turn out quite exactly how I wanted them to.
I’d heard amazing things about Adobe Photoshop Lightroom 6 but kept putting off purchasing it because well…I’m super cheap. However when I got a new laptop I decided to finally get on board and you guys–I am so happy that I did!
Although I was super excited to edit my first photo, I was also mighty intimidated. Any type of change really can be scary, but I was determined to start getting some better pictures. I still have loads to learn, but I want to share my very simple method for editing photos in Lightroom with you guys in case any of you are considering switching over. Key word being “simple” because I am not an expert in any way shape or form! All right, enough chit chat–let’s get started!
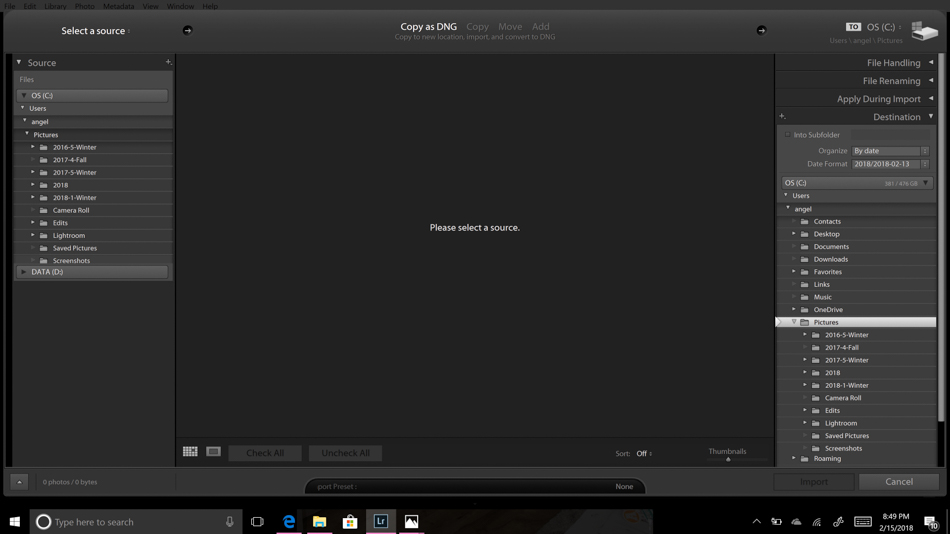
1. Import
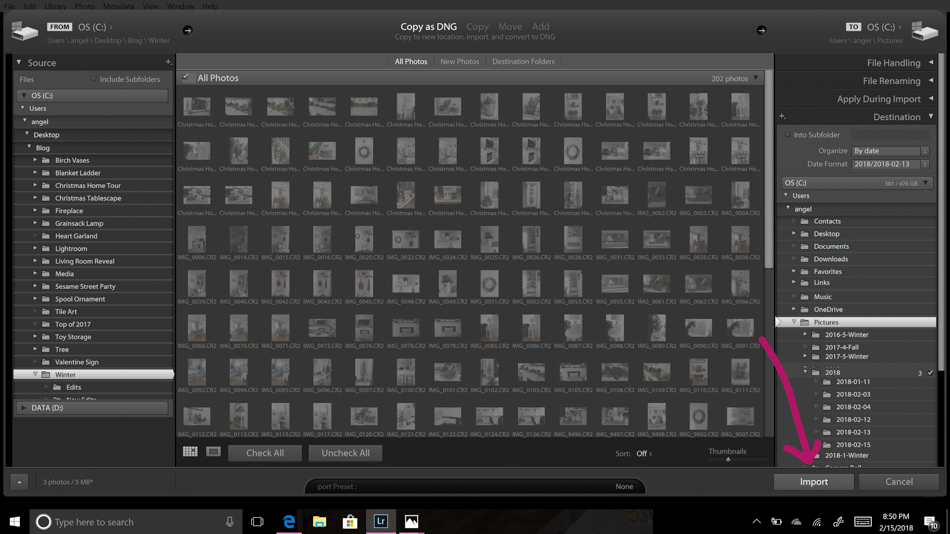
The first step is getting the photos imported. After going to File and selecting Import this screen will pop up.

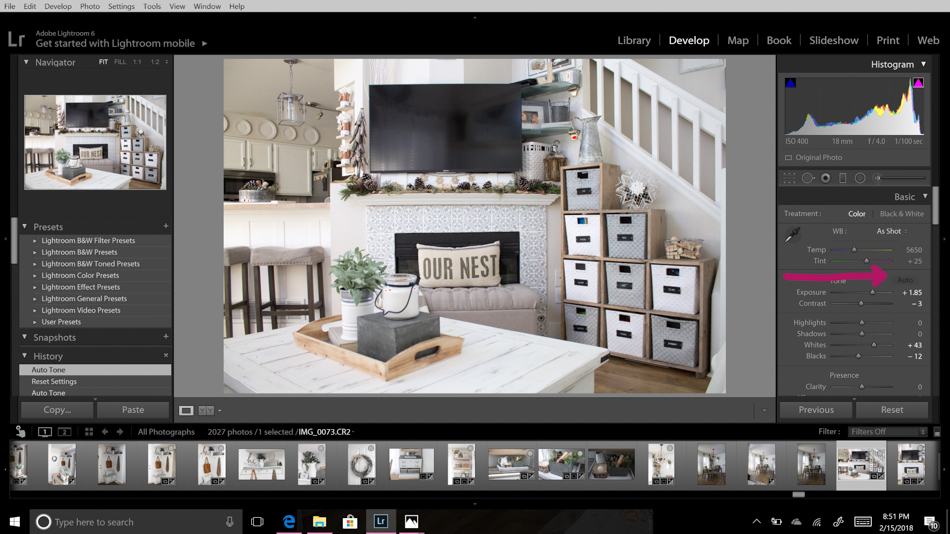
I almost always tweek them a little bit but this feature is an amazing time saver to get me started.
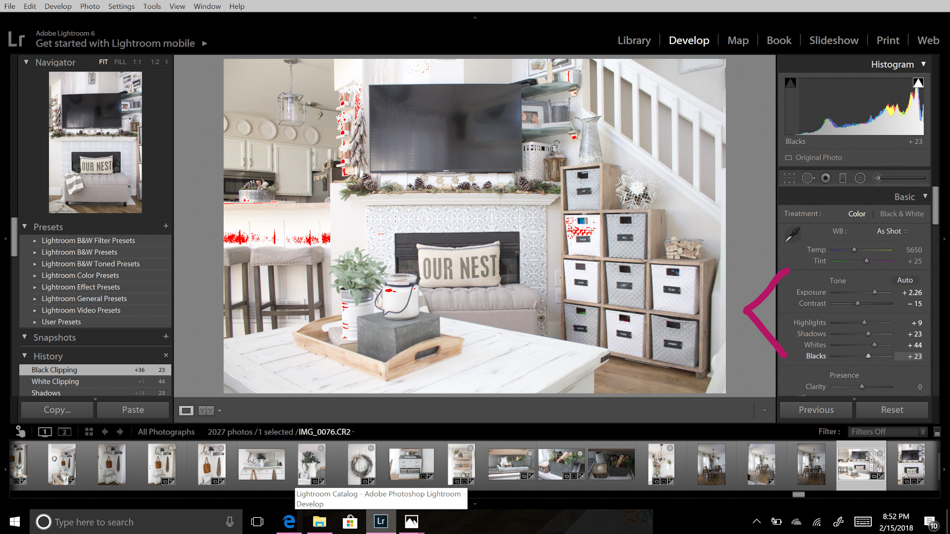

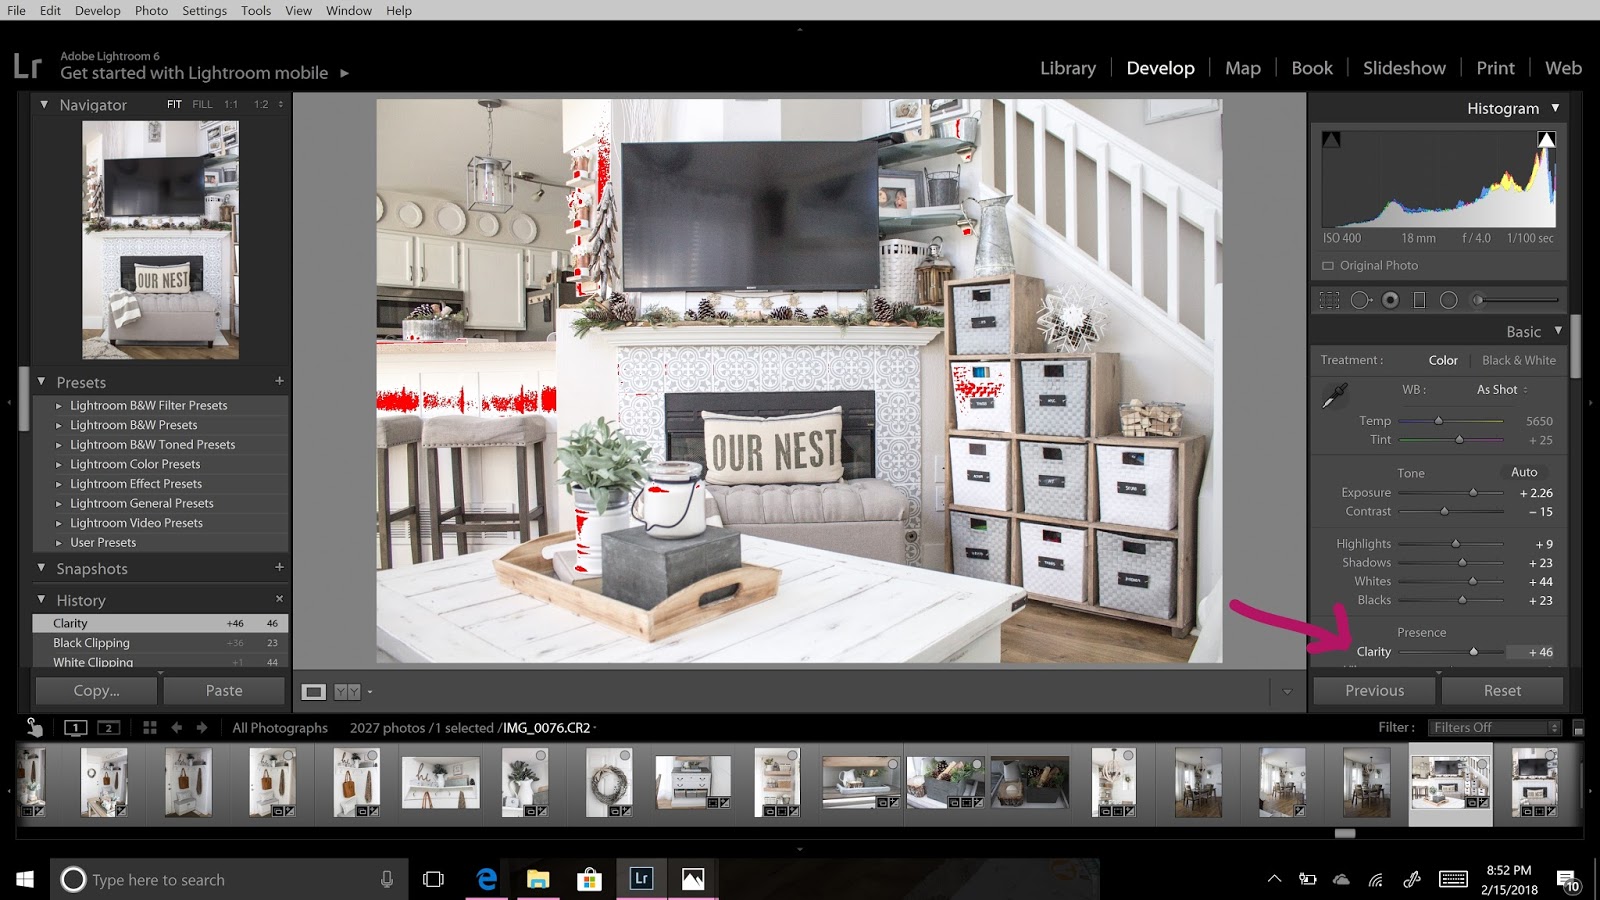
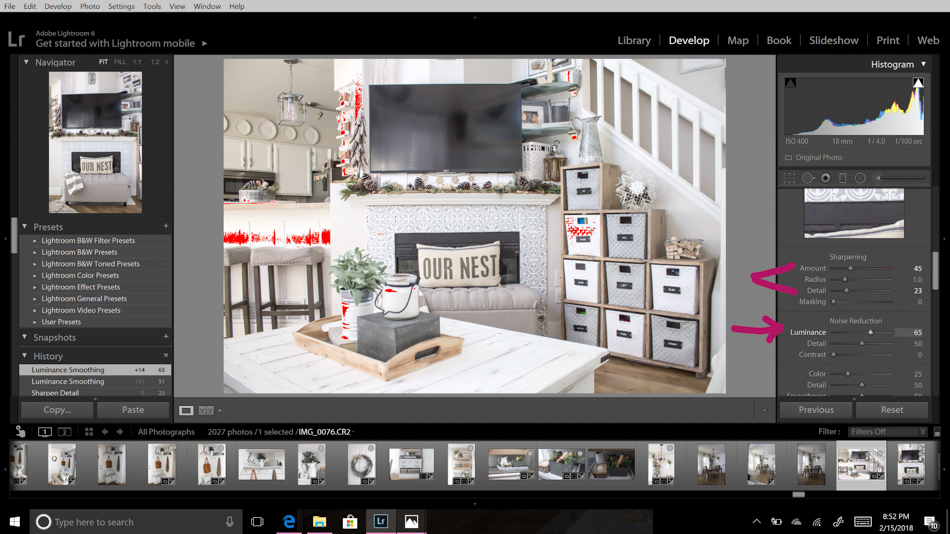
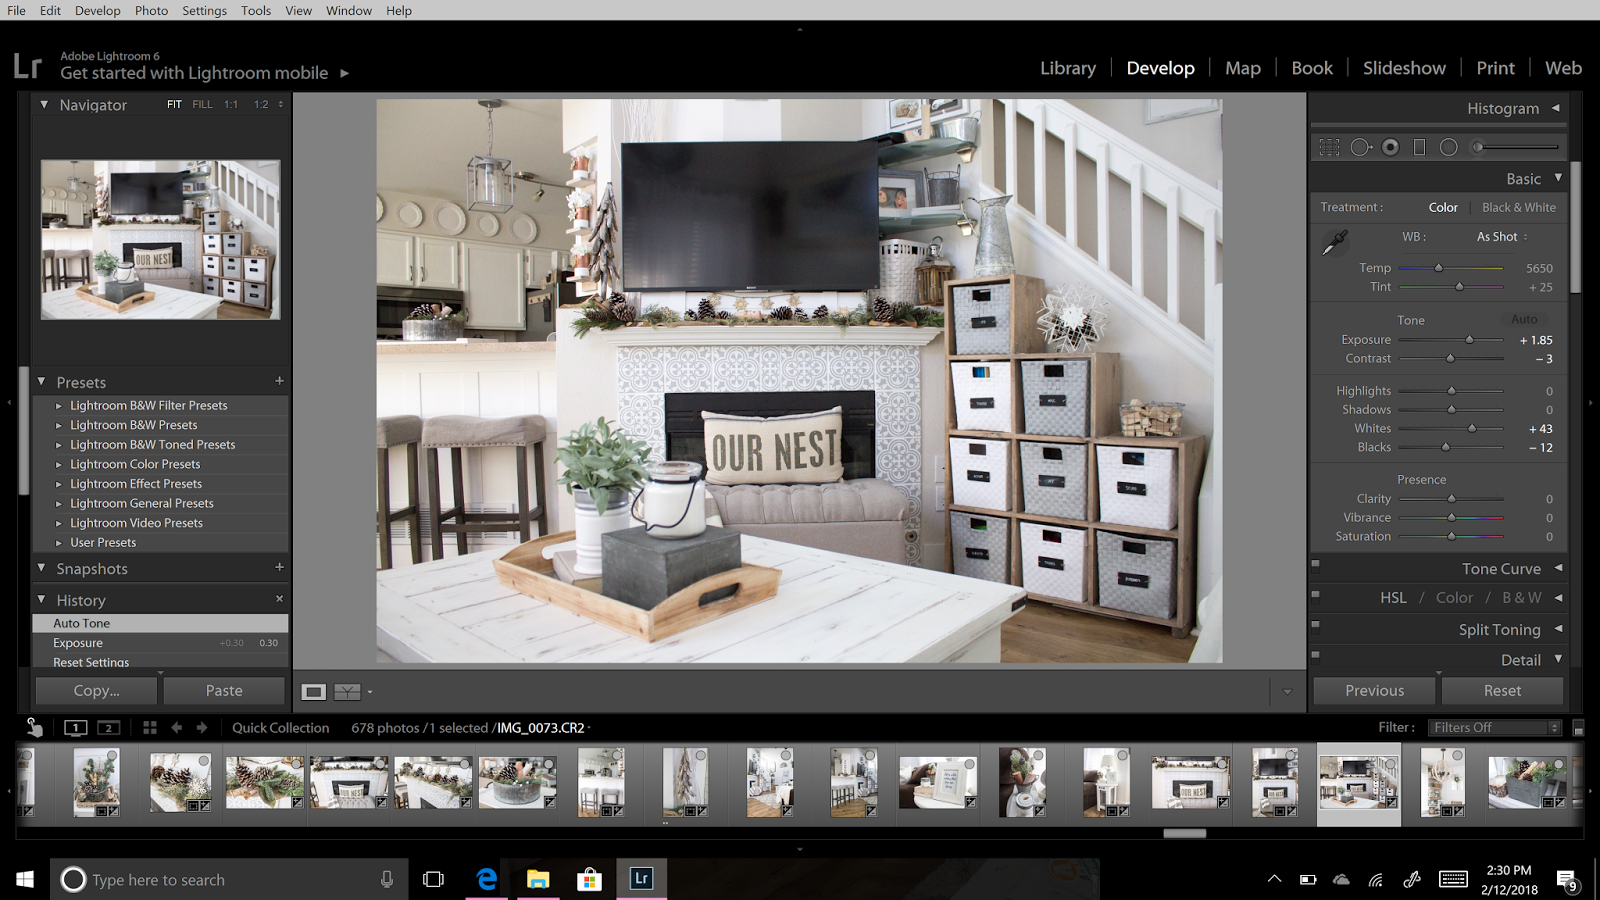
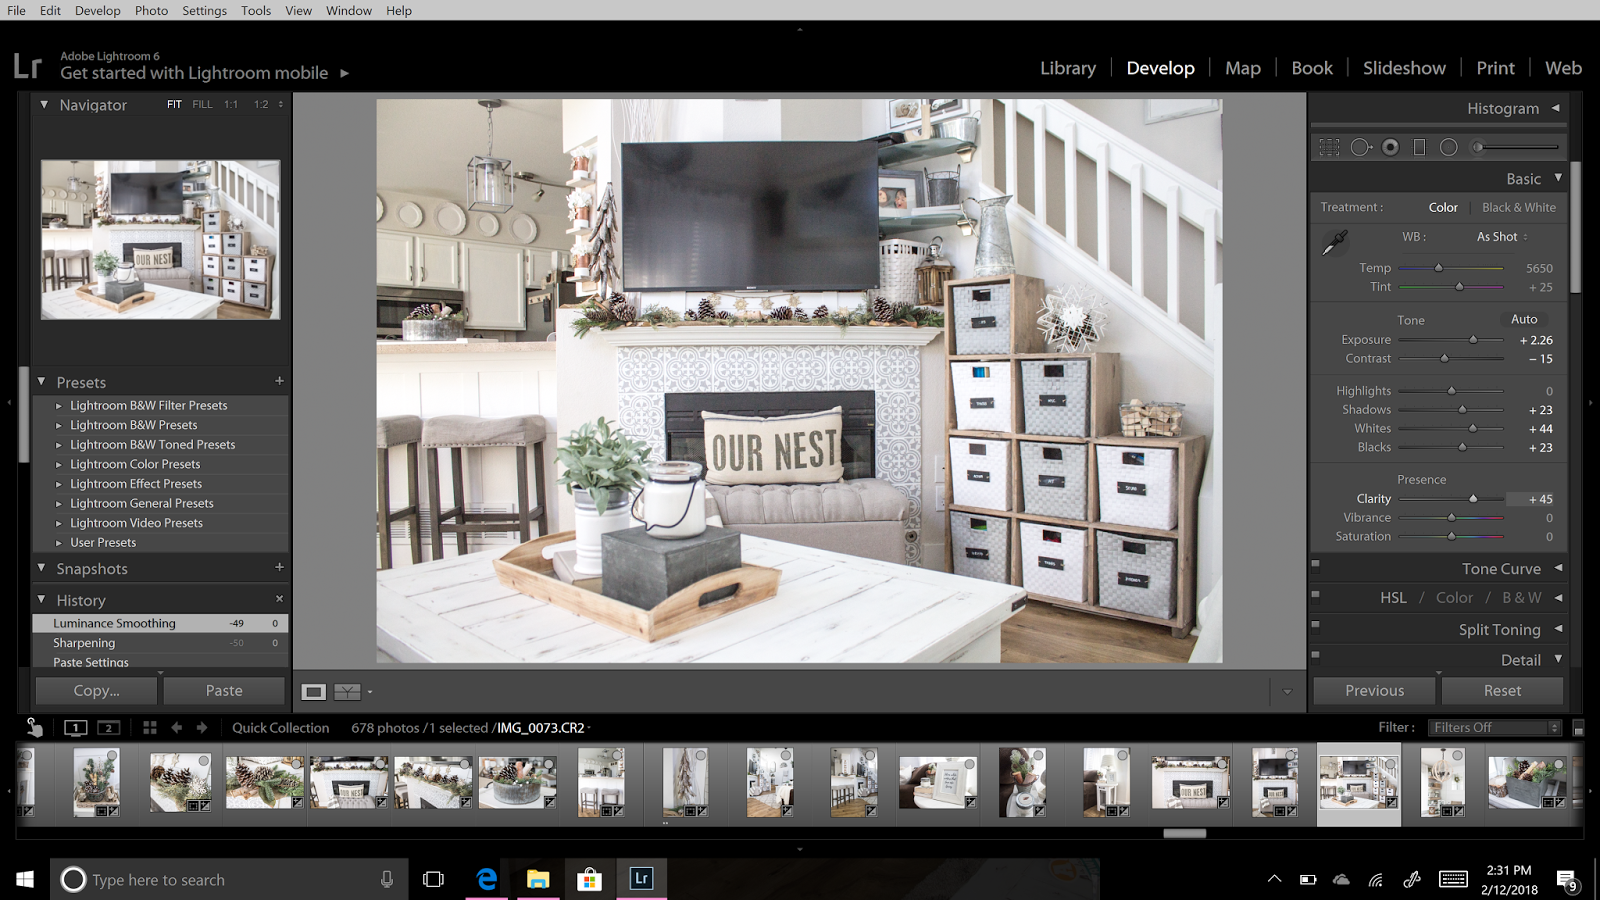
I then scroll down to the sharpening section. The auto button that I clicked on earlier also adjusts this but I usually like to add a little more. I also turn up the luminance because it really smooths the whole image out and gives it a nice polished look.
It may be hard to tell here, but if you look at the TV screen in the picture above and compare to the one below you can see that turning up the luminance completely removed that little bit of grain that was starting to show.
3. Exporting
Once I am happy with how it looks I click on the bubble on the upper right corner of the image on the slider below to save it to something called the Quick Collection.
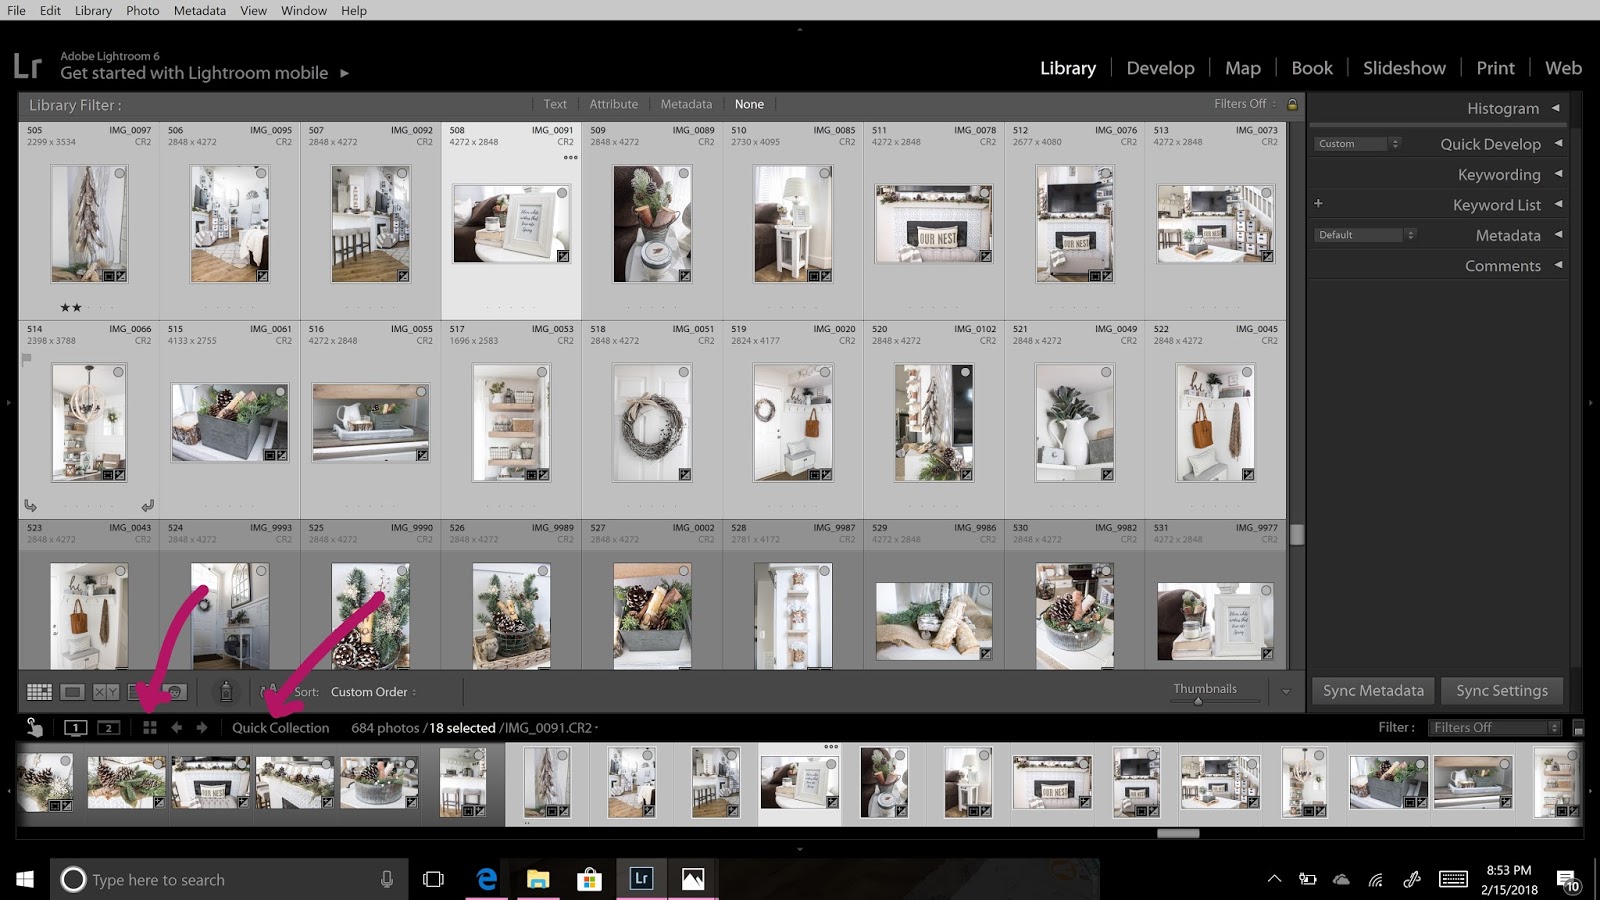
When I am ready to save all of my images, I go to the lower left corner and change the view to Library Grid and select Quick Collection. I then hit control + left click on all of the images that I want to save.

After they have been selected I hit control + shift + E to bring up the Export screen. You could also go to File, Export. From here I save them to the folder and rename them. I also have them resized to fit my blog.
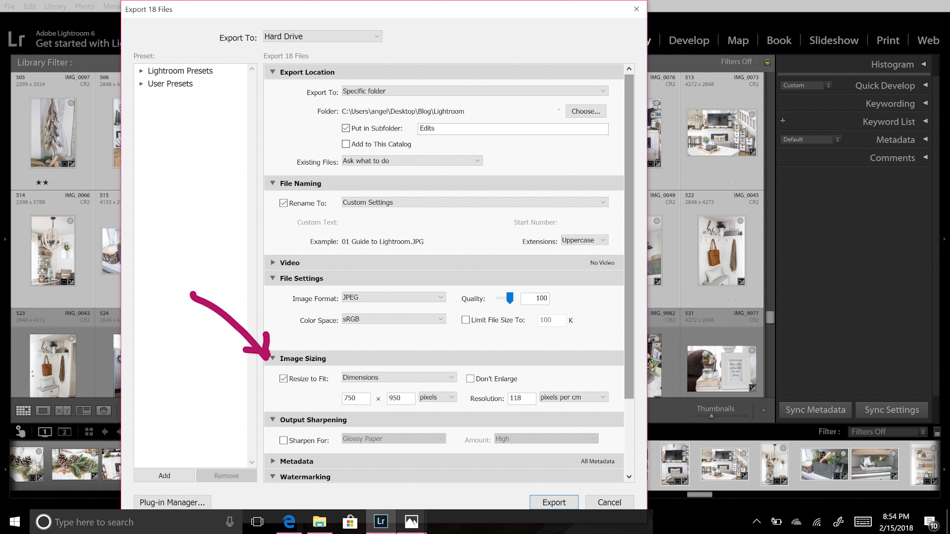
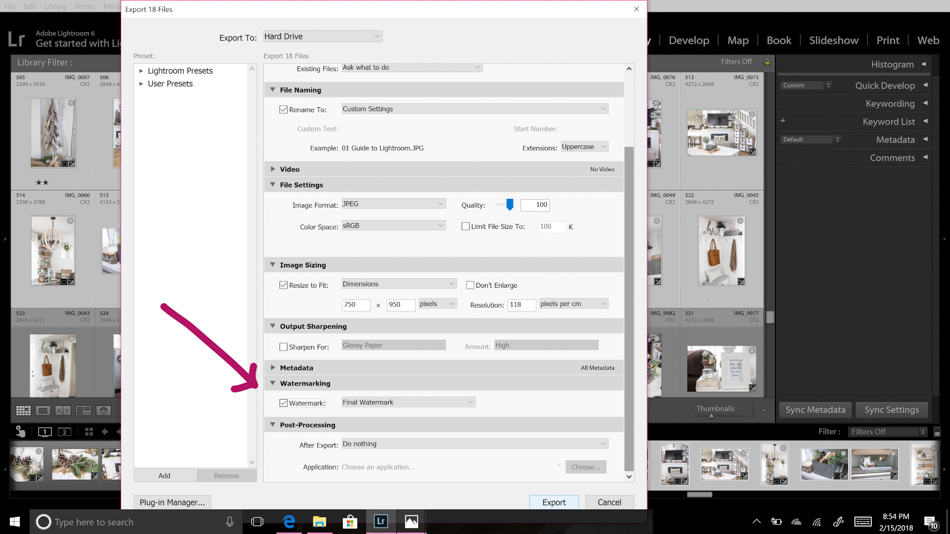
Finally I add a beautiful watermark in one simple click. In Fotor I had to manually create it for every single image I created and it was the worst! It’s so nice to have it done automatically for me.
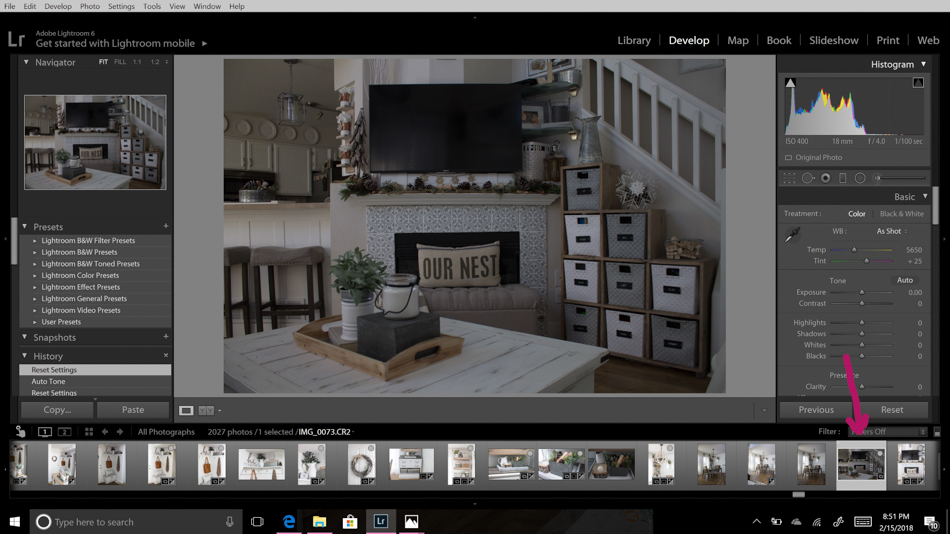
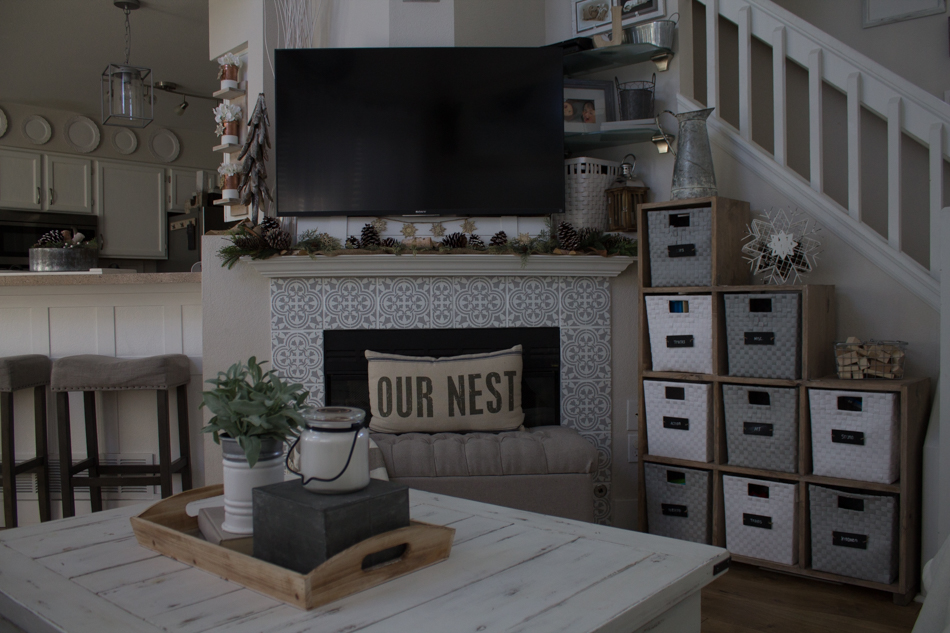
And that’s really all there is to it! Well at least all that I have learned so far. Let’s take a look at a before and after. This is what the photo looked like straight off of my camera with no editing:

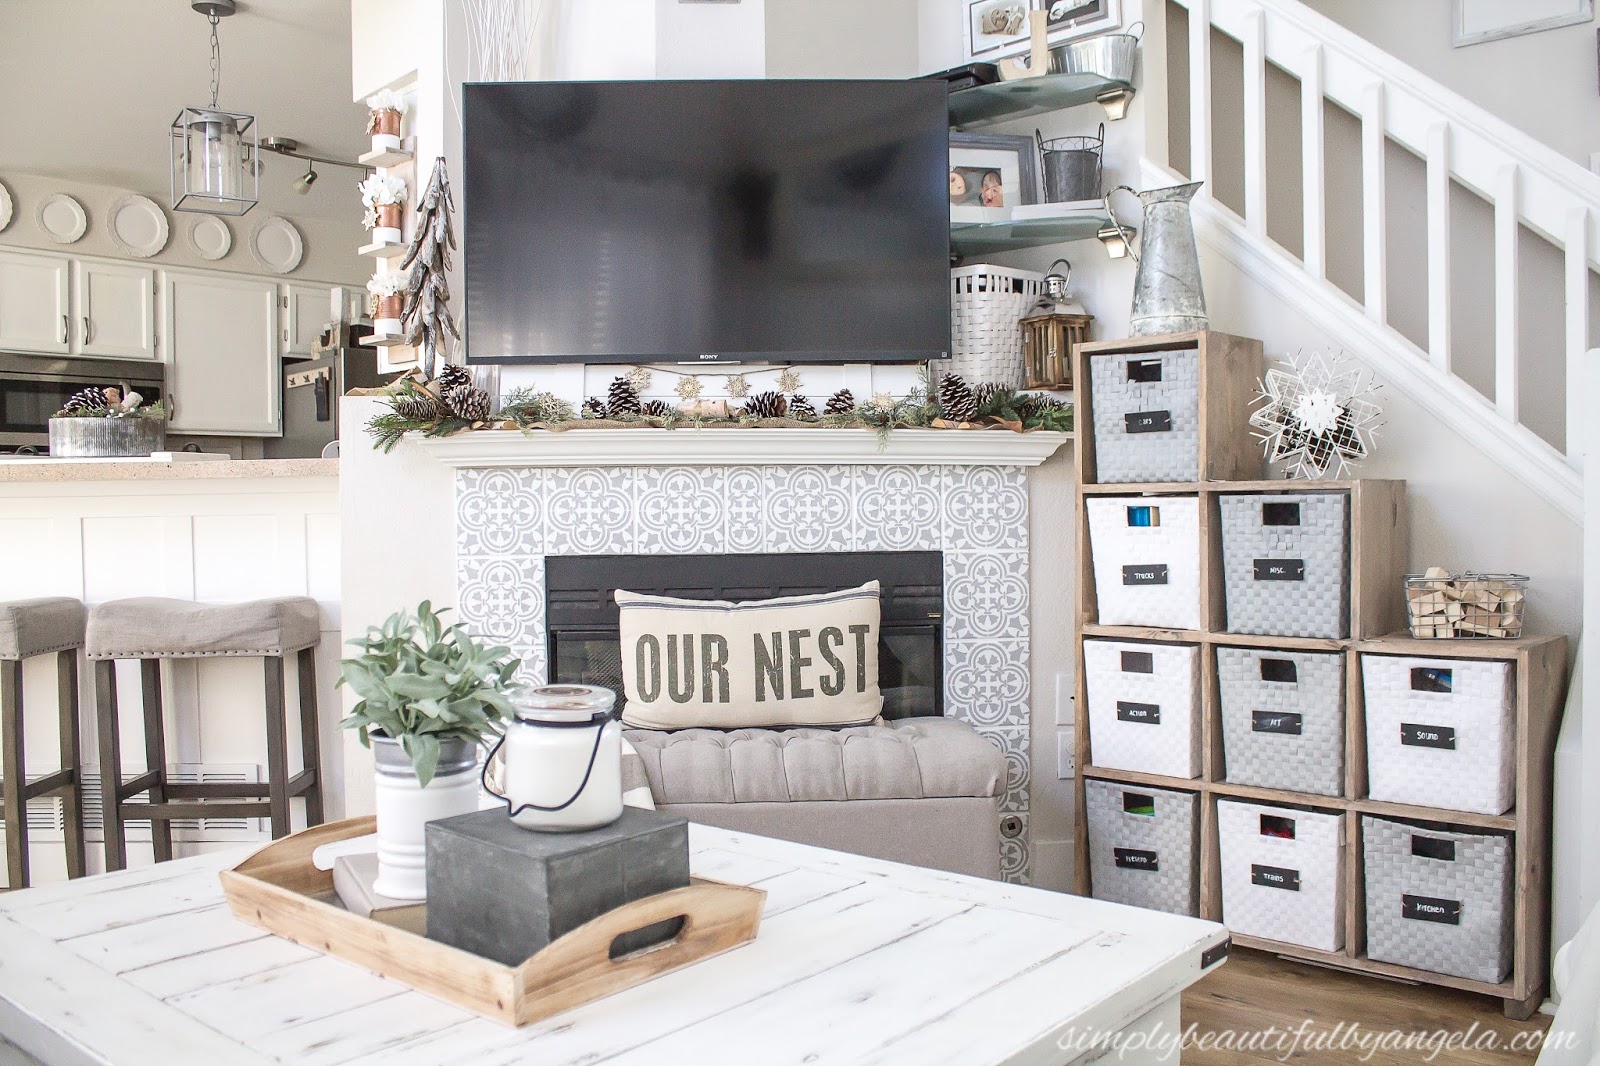
Pretty darn amazing, right?! I’m so happy that I finally took the plunge and I can safely say that it has been money well spent.
Besides the beautiful quality of the photos I would have to say that I love Lightroom because of how much time it helps me save. I almost forgot to mention that there is a preset option that you can use so that you can copy and paste all of your settings on to other photos. So if you have a whole batch that were taken in the same lighting conditions you can drastically cut down on editing time because you aren’t starting from scratch on each one.
If any of you have any tips or see something that I’m missing I would absolutely love to hear about it in the comments!
Alright my sweet friends I hope you enjoyed today’s post, and you all have an incredible three day weekend. Thanks for stopping by!
(Affiliate link provided for convenience. For more info, see my full disclosure here.)
Linking up to these awesome parties!

AGEN TERPERCAYA SEPANJANG MASA bagi bonus untuk anda!!!
It is a very nice house.
ไพ่เก้าเก
This is a very useful guide. I got the knowledge from the article so much thank you.
Gclub