Hi guys! If you are stopping over for the second time today, welcome back!
Earlier today I shared the week 4 update for The One Room Challenge and I mentioned that my goal for this next week is to get the gallery wall up.
I’ve got a few pieces that I’m still working on for it, but I am really excited to show you all how one of my favorites came together just in time for the monthly Thrift Store Challenge!

The Rules:
- Upcycle an item(s) from a thrift store, resale store, or garage sale into a new piece of decor.
- There’s no monthly theme.
- There’s no budget to stick to.
Meet the Hosts
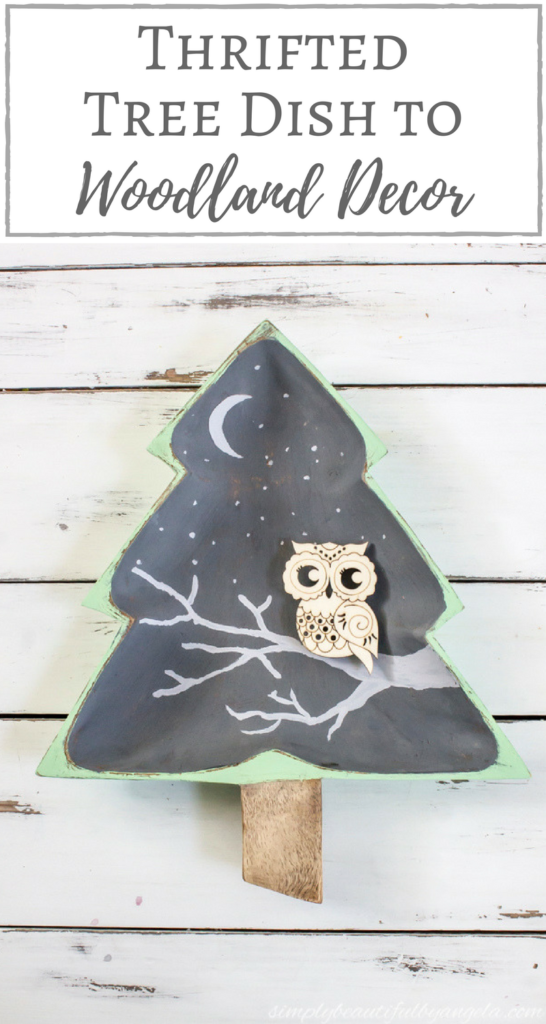
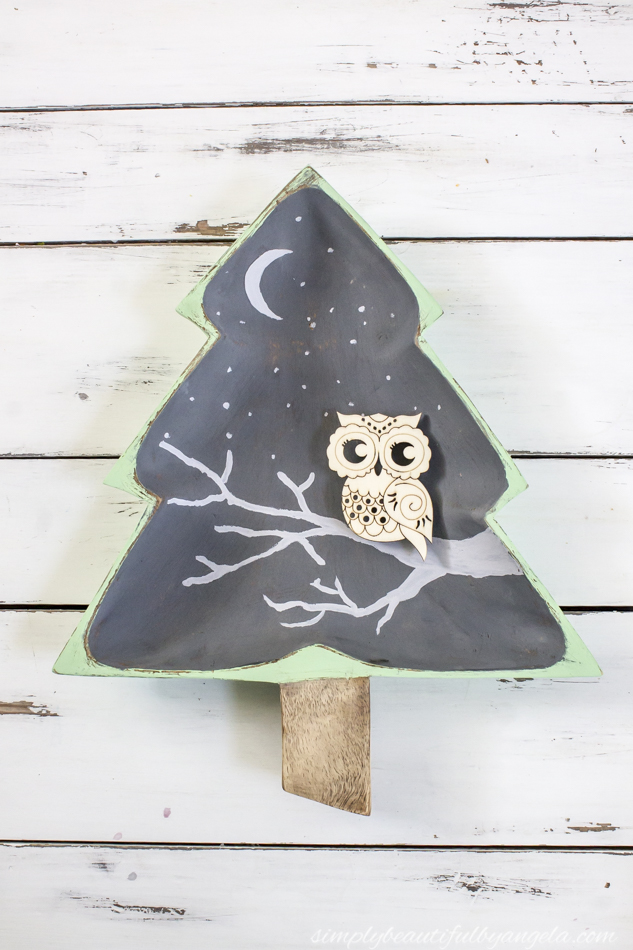
I picked up this wooden Christmas tree dish last summer and it sat in the garage on the to do list thinking that I would be able to make something cool out of it for Christmas.

Of course I forgot about it and found it a couple of weeks ago while we were cleaning out the garage.
I’ve been racking my brain for woodland themed wall decor ideas for Lucas’ room so my wheels started turning I knew that I could probably incorporate this somehow.
This is one of those projects that I didn’t have a solid plan for. I just kind of winged it but am so happy with how cute it came together!
Supplies Used: (Affiliate links may be provided for convenience. For more info, see my full disclosure here.)
- Painters Tape
- Acrylic Paint
- Medium Grit Sandpaper
- Wood Round (not sure what they are called but this
is the closest I could find)
- Wood Owl
(found at Joanns, similar linked)
- Hot Glue Gun
- D Ring Picture Hanger
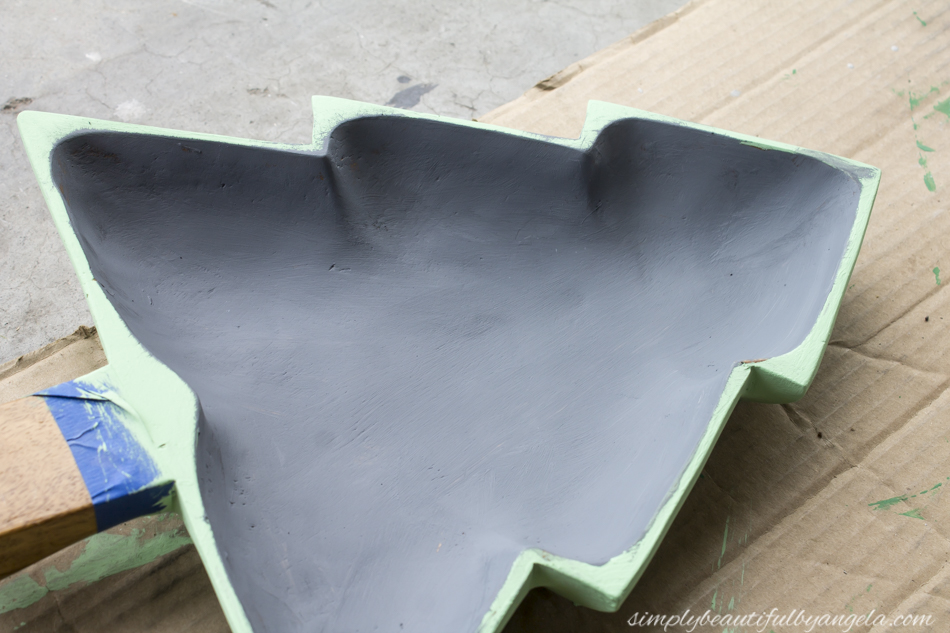
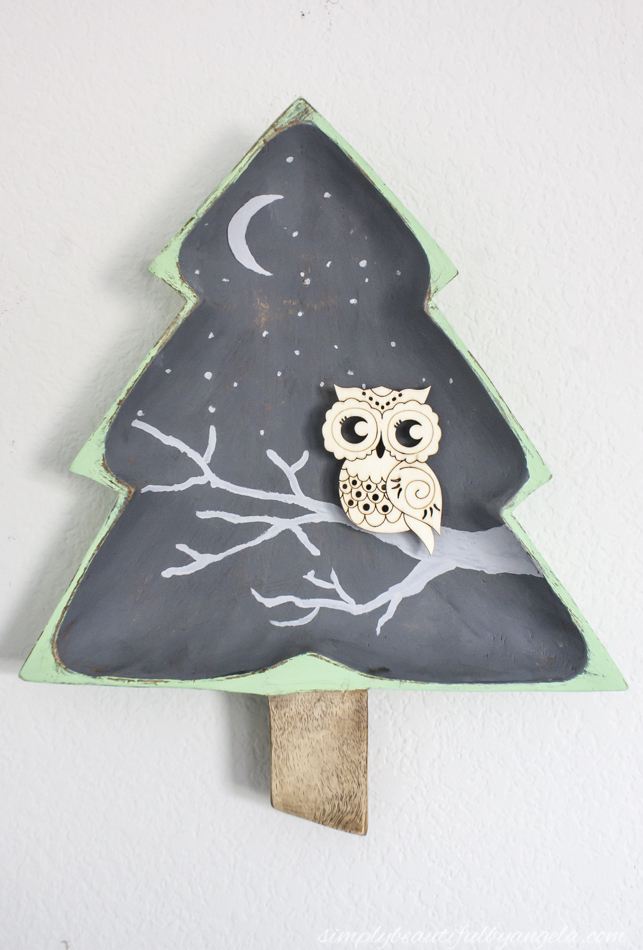
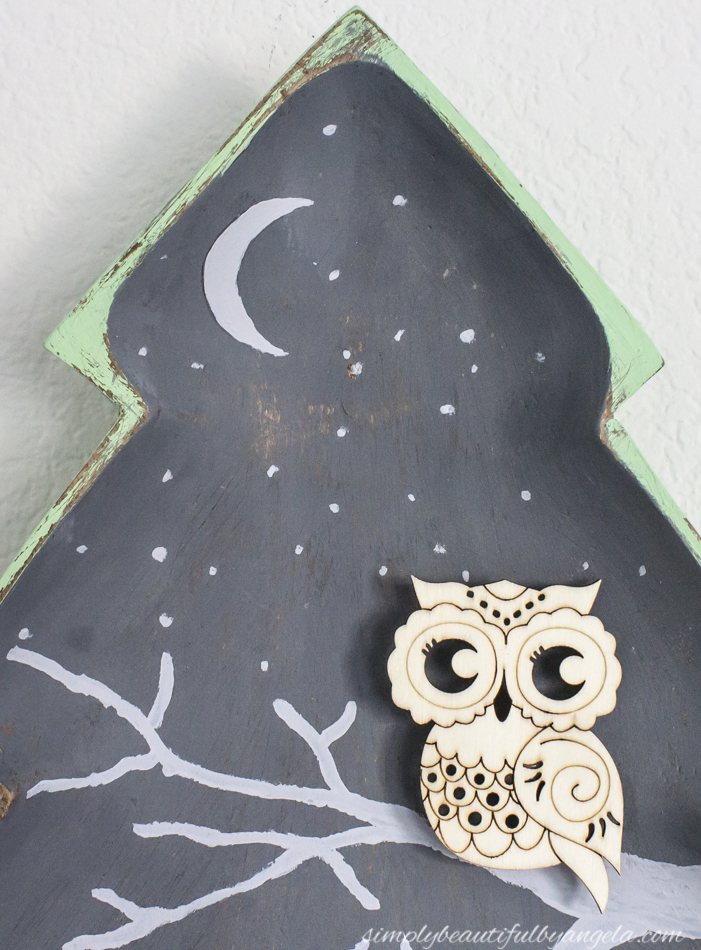
I then used a light green acrylic paint on the outside of the tree as well as the top rim.

I let it dry for a few minutes and then went over the inside of the dish with a dark gray acrylic paint. As you can see I didn’t worry about being too precise next to the edges since I planned on using sandpaper to distress it later on.
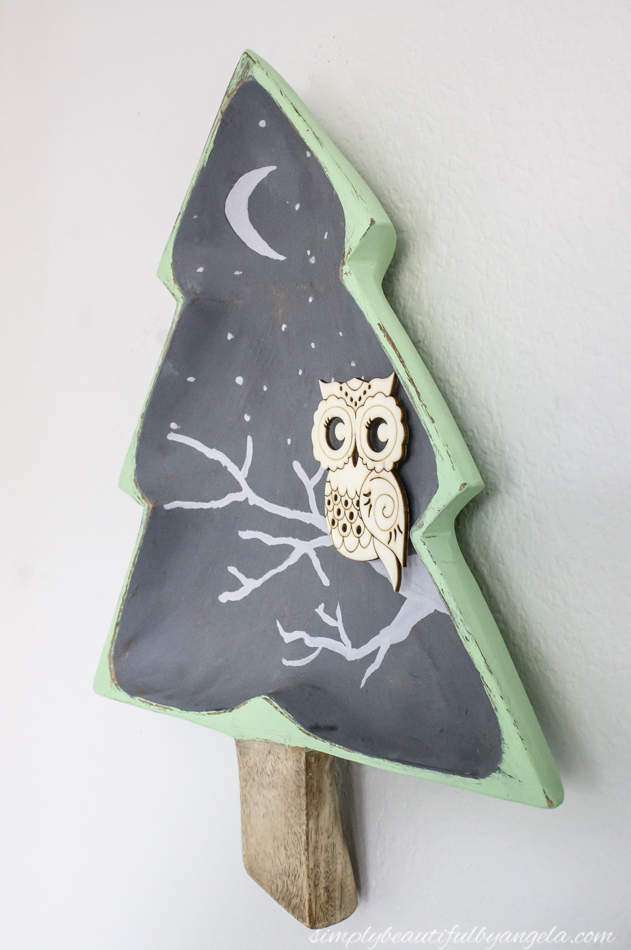
I sanded the tree trunk down and found out that I didn’t even need to re-stain it since I really liked the raw and natural feeling that it ended up having.

At this point I honestly became a little stuck. I first tried to cut a bear silhouette out of a tin pop can, but it didn’t turn out too well. Then I thought about writing something fun inside. But I couldn’t figure out what.
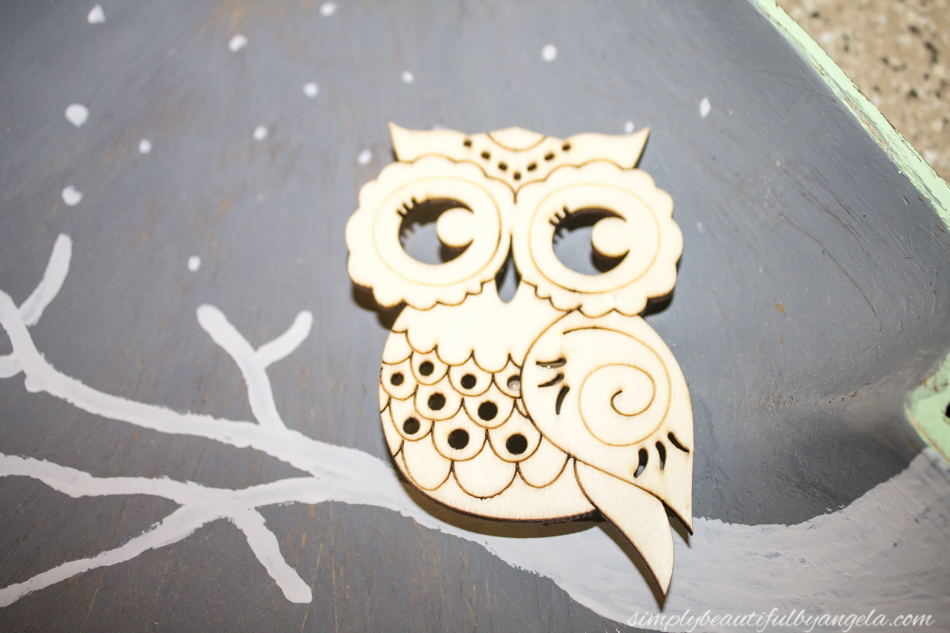
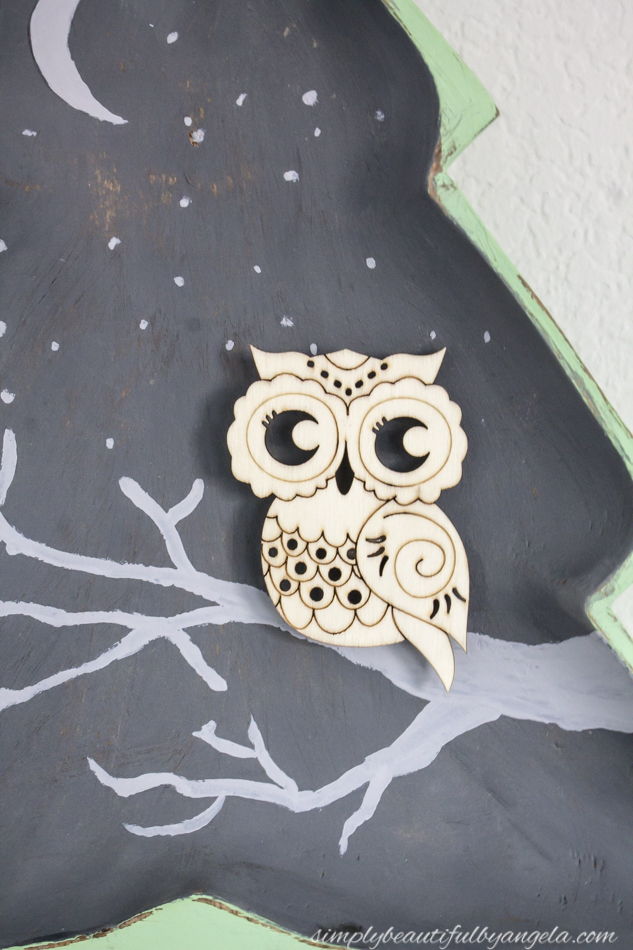
Finally I spotted a cute little wooden owl one day at Joanns and inspiration struck!
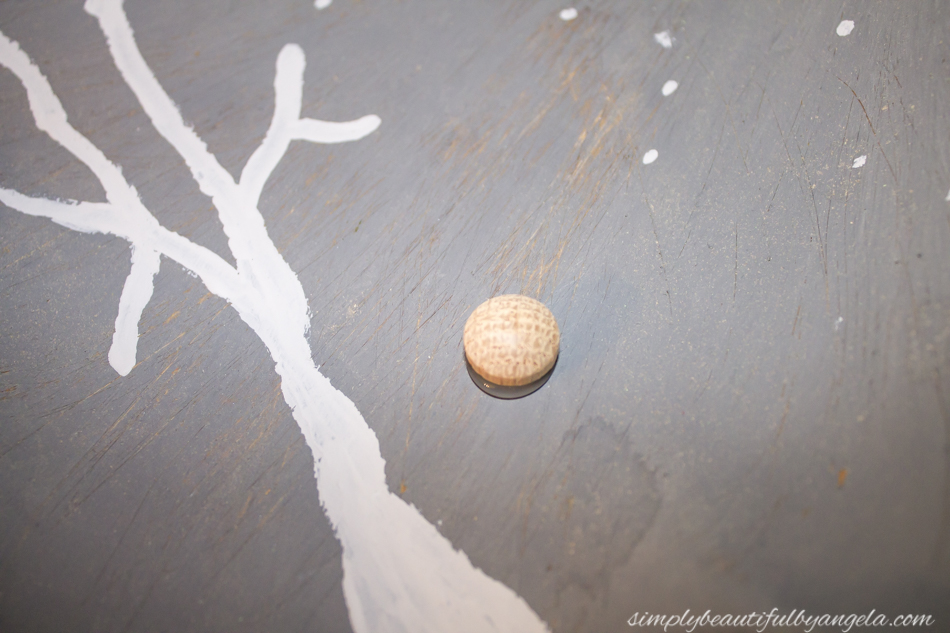
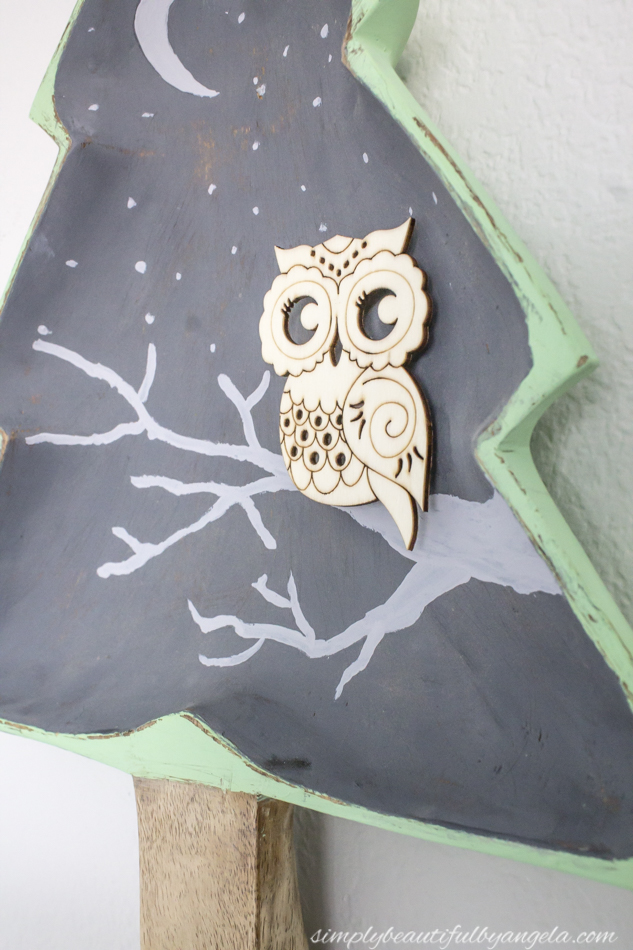
I used a light gray paint to paint a moon, stars and tree branch. I’m no artist by any means, but I’m pretty impressed with my free handing skills here!

Okay, I did use a glass to trace the curves for the moon so it wasn’t 100% freehanded…more like 99%!
I wanted the owl to kind of pop out so I used some hot glue to attach a small wood button and then glued the owl on top of that.
I went back and added a few more twigs to the bottom of my branch to fill out the space a little better.
Once I finally happy with it I attached a D-ring hanger to the back so that I could hang it up on the wall.
I’m glad I decided to leave the owl unpainted because he really stands out against the dark sky scene.
And now for more thrifty goodness!
Check out what my fellow upcyclers created below!

I can't wait to see the rest of the gallery wall. This woodland piece is so cute! The owl pops so nicely on the dark color, doesn't look like a Christmas tree at all! Good luck with the move!
How adorable!!!
I love owls, I love it!!!
The wood aisle at the thrift store is my favorite spot. The woodland tree is so darling. That owl lends it the perfect touch.
Angela, that's just as cute as can be! That little owl is so adorable, and the "Christmas dish" doesn't look Christmasy now at all. You've got a different vibe going on. I like it. Those drawing skills of yours totally surpass mine. I promise you, I can't draw a decent stick man even.
This is just adorable! Great upcycle!
This is a great upcycling project and an adorable one of a kind piece for a kid's room. Love it. Thanks for sharing at #HomeMattersParty
I would have never thought of creating this with the wood tree. It is very creative and adorable! 🙂
Julie